Unicorn Wall Art Tutorial & Free Printable
Craft your own unicorn shadow box with this easy unicorn wall art tutorial & free printable unicorn crown template.
Unicorn wall art is SO popular right now – and I couldn’t be happier.
As a self-confessed unicorn addict, the current trend for unicorn crafts is something I couldn’t resist taking part in! 🙂
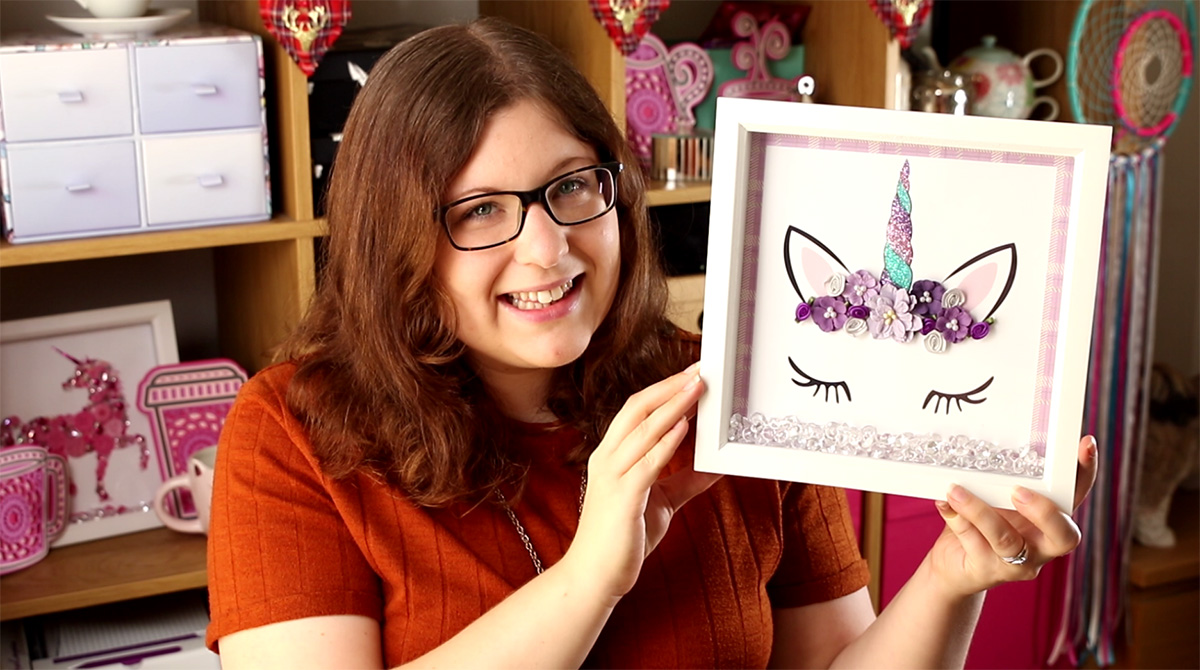
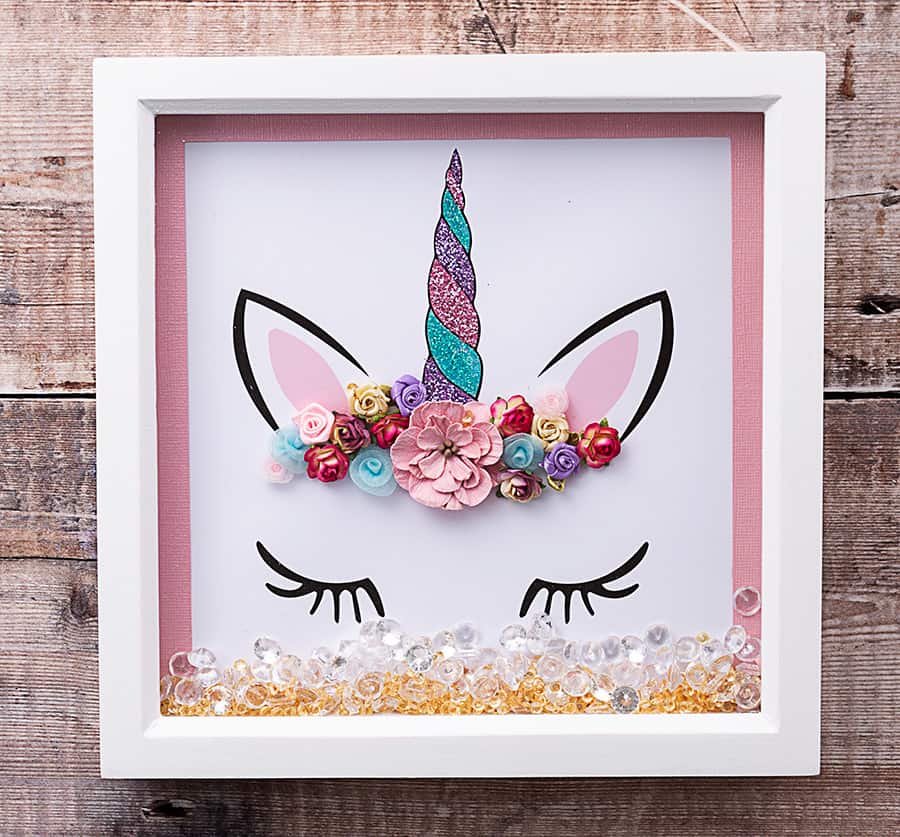
One of my favourite unicorn home decor ideas is creating wall art and box frames with the silhouette of a unicorn’s face.
I’ve taken things one step further for this craft project by adding three colours of glitter to the unicorn’s horn to make her super-sparkly.
After all, glitter and unicorns are definitely a winning combination!
Unicorn box frame tutorial
This is a really simple project to make. It would be a great summer holiday craft project for kids as most of it is just sticking glitter and flowers to your based card.
Watch the video to find out how to make it:
Younger children may need some help and parental supervision for certain aspects of the tutorial that involve a craft knife or paper trimmer.
Love unicorns wall art? Check out this unicorn button art frame.
How to make unicorn wall art
Follow the instructions below to make your own flower crown unicorn wall art.
Please note that some of the links included in this article are affiliate links, which means that if you click through and make a purchase I may receive a commission (at no additional cost to you). You can read my full disclosure at the bottom of the page.
You will need…
- Free unicorn wall art printable (see download box below)
- Glossy photo paper to print on
- Craft knife or paper trimmer
- Thin paint brush
- Mod Podge glue or similar
- Purple, pink and blue/turquoise extra-fine glitter
- A selection of floral embellishments
- Large sheet of coloured card
- 20cm box art frame (I got mine at Hobbycraft)
- Gemstones in various sizes and colours
Unicorn wall art tutorial
Step 1
Print out the unicorn printable onto glossy photo paper.
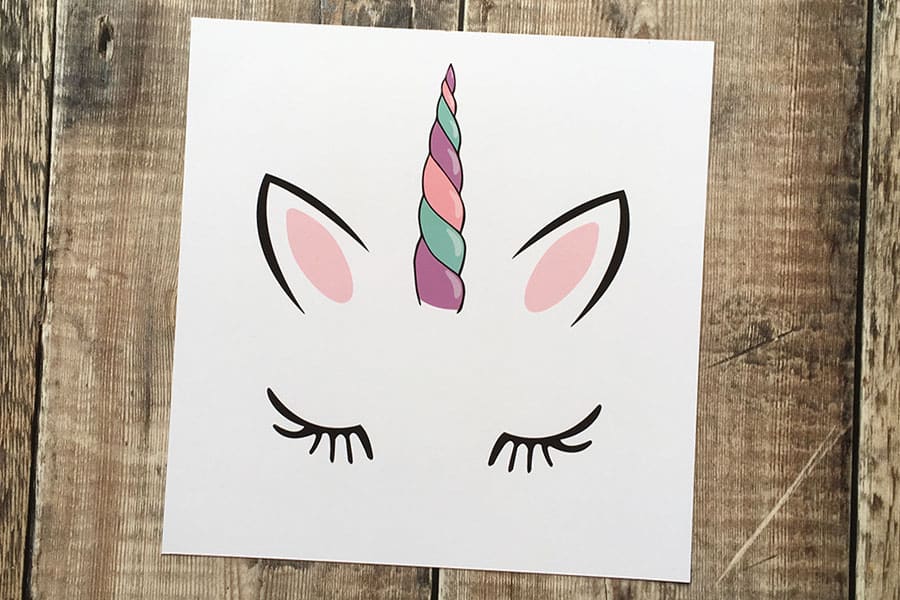
I print my craft sheets onto Crafty Bob Glossy Paper. This is a special type of paper designed especially for greetings cards and crafts. I love this paper because it dries instantly and is smudge-proof straight after printing, meaning that I can start using the printed sheet straight away.
Once printed, use a craft knife or paper trimmer to cut along the pale pink line to trim your wall art into a square.
Step 2
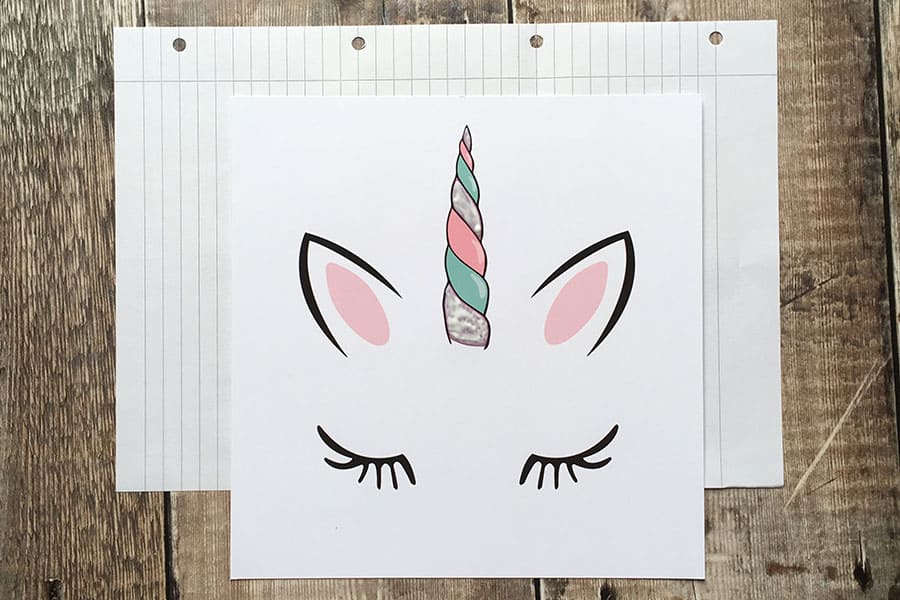
Fold a sheet of paper (I tore a sheet from a notebook) to create a crease all the way down, then open it up again and place your unicorn sheet on top. This will be used to collect excess glitter.
Use a thin paint brush to carefully paint Mod Podge glue all over the purple sections of the unicorn’s horn. Try not to put glue on the black outline as we want that to show through once the glitter is added to give some definition to the shape of the horn.
Step 3
Sprinkle purple extra-fine glitter over the sections of the unicorn horn that you have just put glue on.
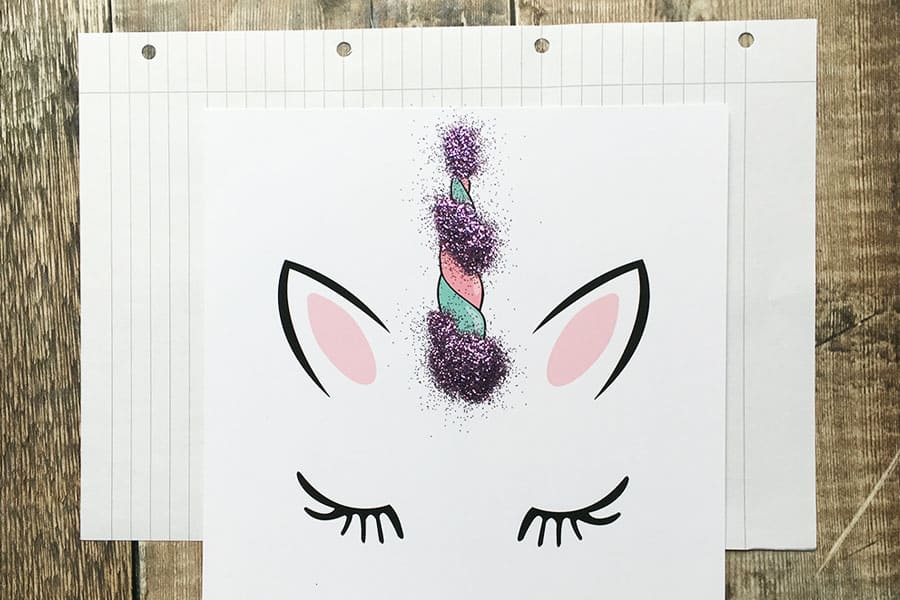
Step 4
Wait a couple of minutes for the glitter to settle and then carefully tap off the excess glitter onto your sheet of paper.
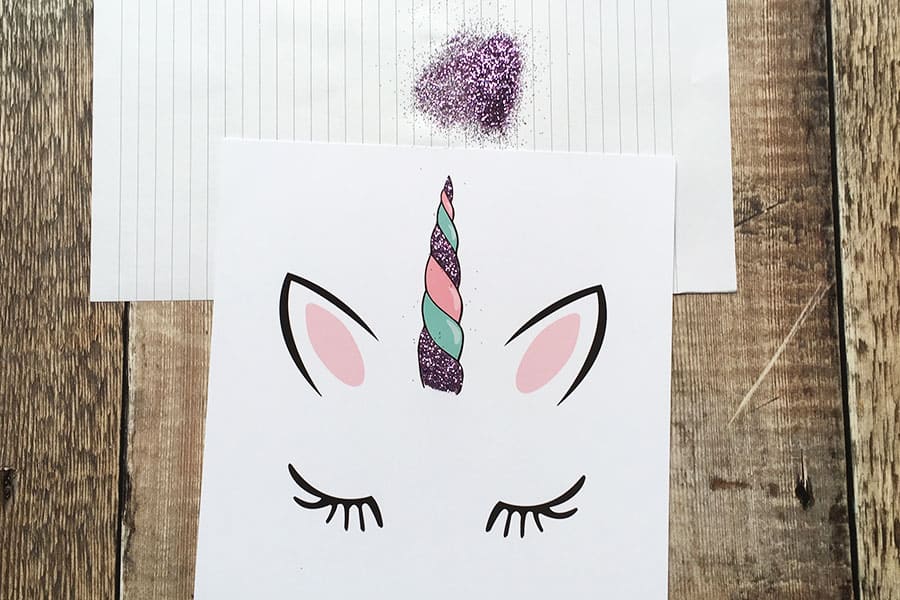
Move your artwork off the paper and then pick up the paper and carefully bend it along the fold line. This creates a ‘funnel’ for the glitter to go down, so you can easily add all the excess back into your glitter pot so that it doesn’t get wasted.
Step 5
Repeat steps 2 – 4 for the pink and blue sections of the unicorn horn. Once finished, you’ll have a beautifully colourful and sparkly unicorn horn.
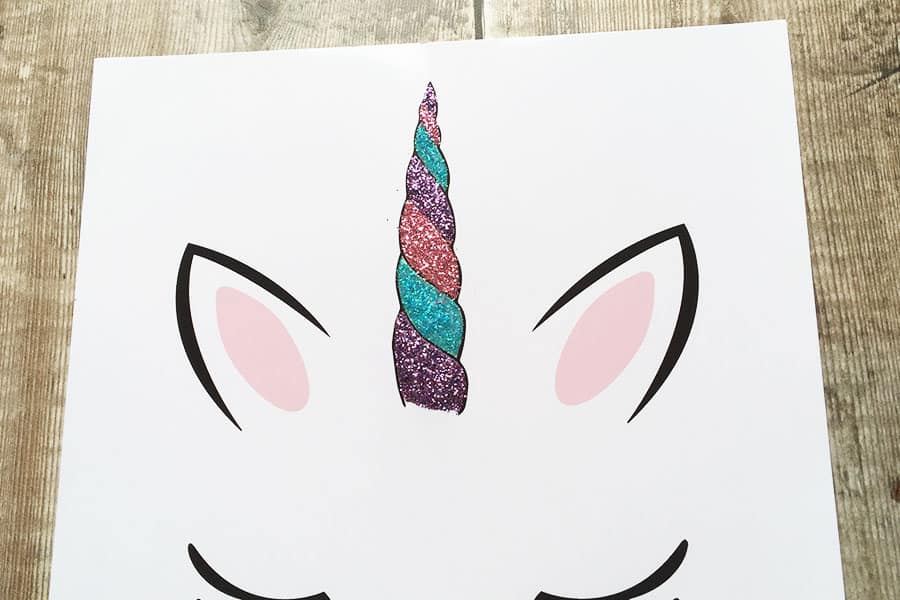
Use a tissue or microfibre cloth to carefully wipe away and excess glitter. Be really careful not to scratch the paper – glossy photo paper can be easy to scratch and we don’t want to damage our artwork now that we are half-way through the project 😉
Step 6
Use Mod Podge glue to attach your flower embellishments.
I arranged the flowers on my work surface before adding them to the unicorn so that I could check that I was happy with all of the placements and colour combination before I stuck them down.
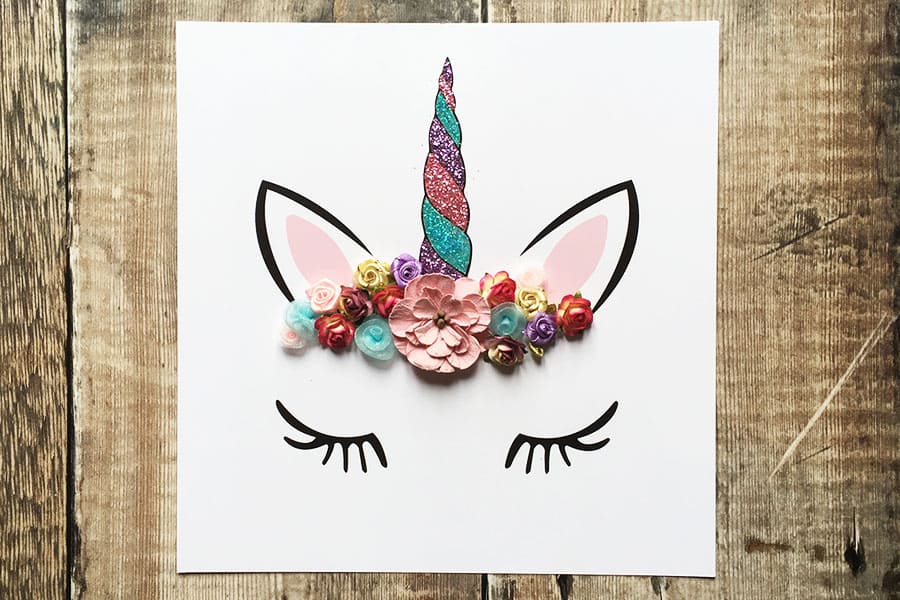
Experiment with different colours, shapes and styles of flowers – the beauty of this unicorn wall art tutorial is that you can add as many or as little decorations as you choose to.
Step 7
Use a large sheet of coloured card to create a mount for your artwork.
You may not need to do this if your unicorn wall art fits nicely into the box frame, however I found that the frame was just slightly too big for my project which is why I added this step in.
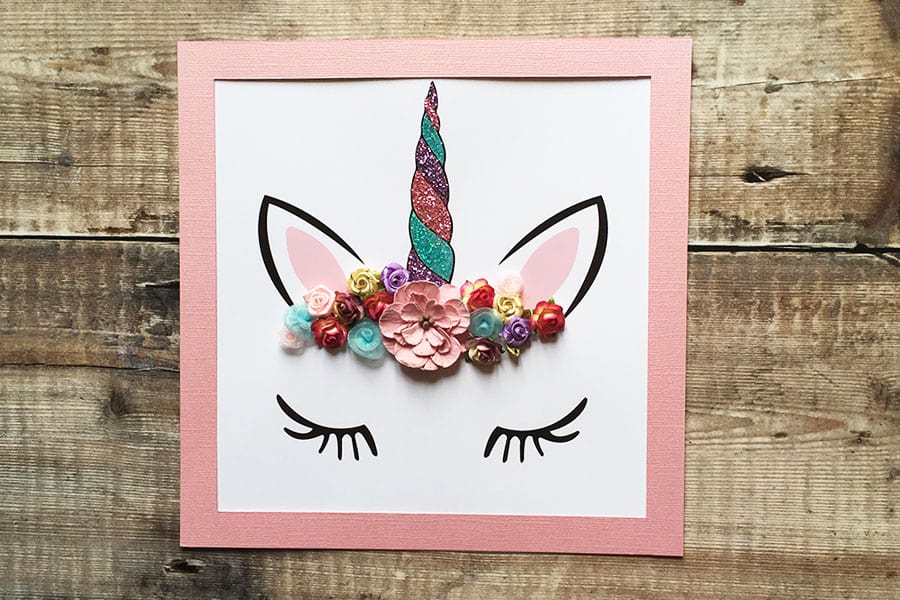
I traced around the insert paper that came with the frame to make sure I was cutting my card to the correct size and then measured a 1.5 cm square along the inside which I cut out using a craft knife.
Step 8
Attach the unicorn wall art to your mount frame. I used re-positionable glue dots just in case I messed up and stuck it wonky (which I usually do – I’m terrible at sticking things on straight!)
Step 9
Place a selection of gemstones, embellishments, sequins or – well – whatever decorations you want ( 🙂 ) inside your box frame. You don’t want to add too many because otherwise they will cover the unicorn’s eyelashes.
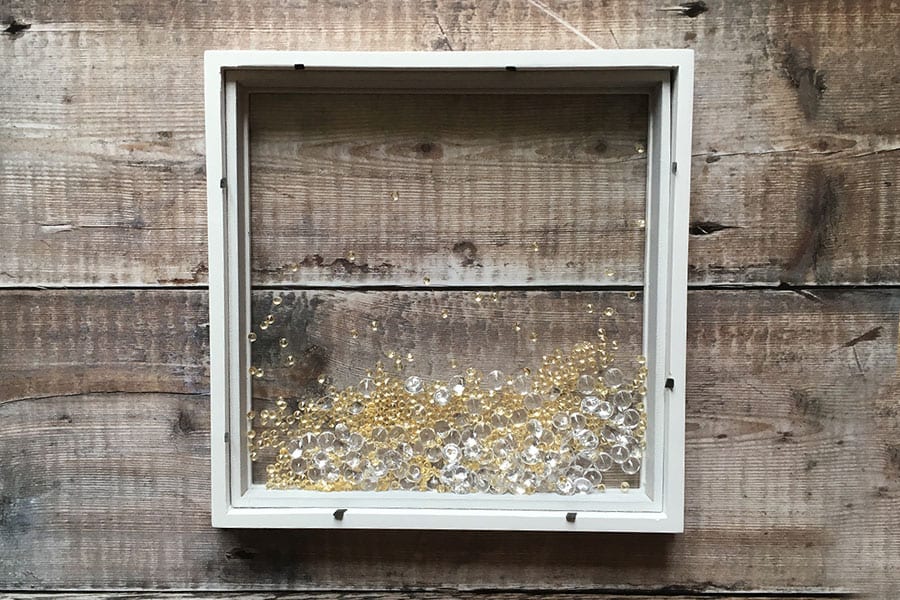
Step 10
Add your unicorn artwork into the box frame and then place the back of the frame into position.
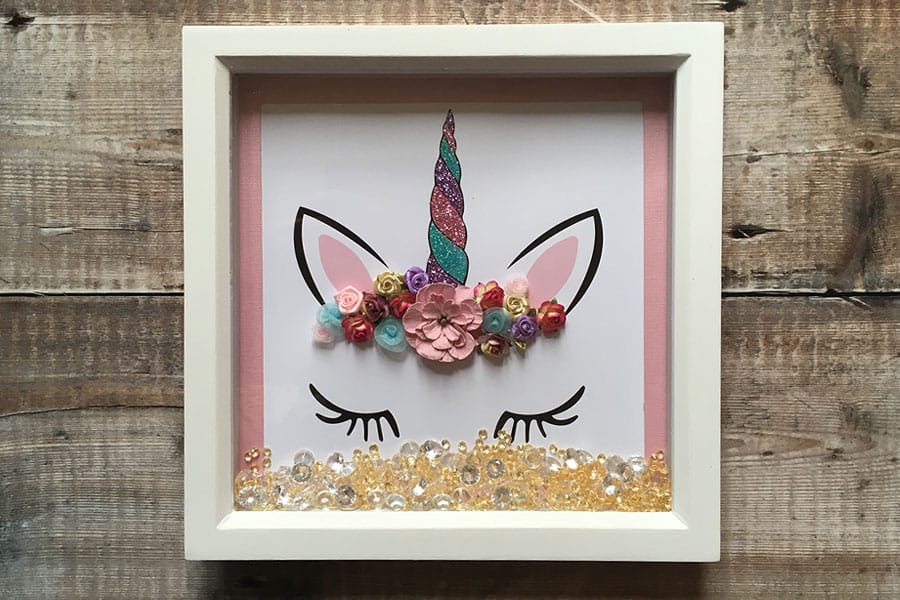
And that’s it – your unicorn wall art with her beautiful floral crown is now ready to be hung on the wall or stood up in the room of your choice.
Want more unicorn craft inspiration? You might want to check out this unicorn handmade card or browse this collection of unicorn crafts for kids.


