How to Cut REALLY SMALL with a Cricut 😲 Cardstock Cutting Tips
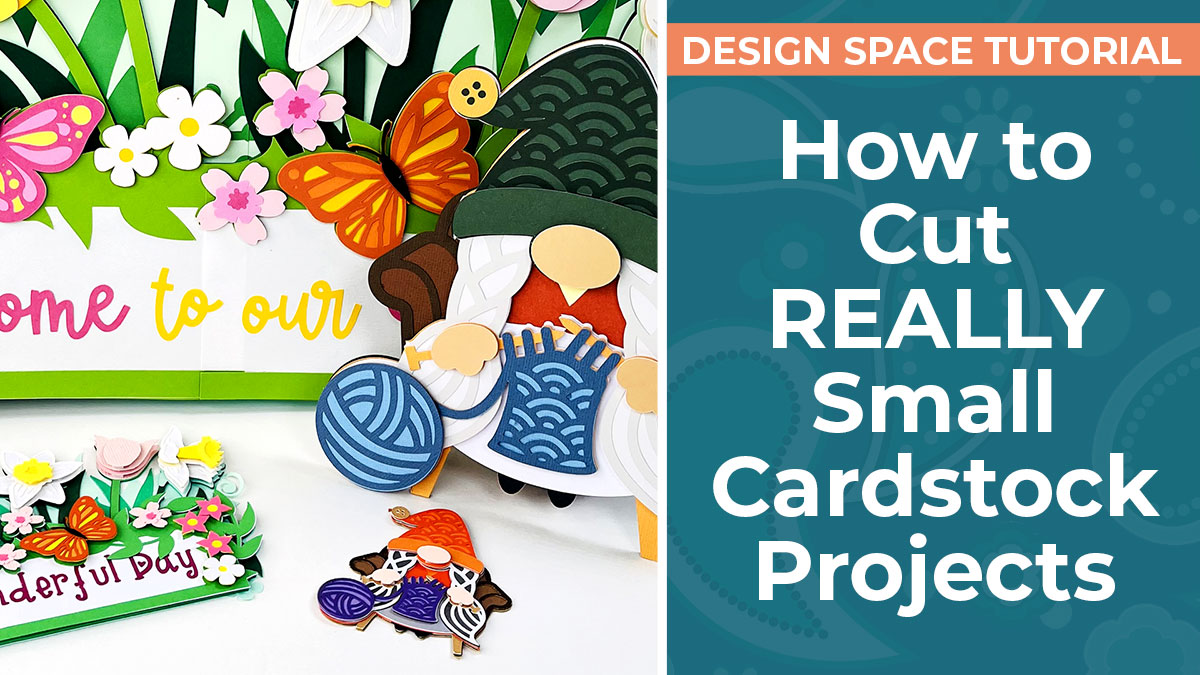
Take the same designs that you know and love, but make them super small!
Here are some tips for cutting small, intricate projects from cardstock with a Cricut machine.
The tutorial starts with general layered designs, then moves on to changing my giant off-the-mat signs to more standard sized projects that will fit on single sheets of card.
One of the questions I get asked a lot is what do you actually do with layered designs once they’re made?
And I get it…. they are usually cut quite big, so sometimes it’s hard to know what to use them for.
I like putting them up on my wall as-is with a bit of blu-tak or command strips on the back, or propping them up a shelf, or using an easel stand. The most common way to display them is by framing them in a shadow box.
But let’s face it, you’ve only got so much wall space, right?
So here is a way to take the same layered SVGs, but get more use out of them by making them small.
For example, at this size you could put a magnet on the back and turn it into a fridge magnet. You could turn it into a brooch or badge, or add it onto any size of greetings card.
Another great reason for cutting the designs smaller is that it makes them cheaper to make as you’ll use far less supplies.
In fact, you might not even need any new sheets of cardstock – you could just dive into your scrap pile and use some of those to cut it out!
In this new tutorial, I’ll show you how to make the layered designs smaller and some top Cricut tips to make sure that they cut beautifully.
Video tutorial: Cutting tiny cardstock projects
Here’s a video which shows how to resize layered designs really small, including tips for removing some layers to make them easier to cut at a tiny size.
Keep scrolling for a written tutorial.
Make teeny tiny cardstock projects
After loading the SVG into Design Space, the next step is to size the design using the width/height boxes.
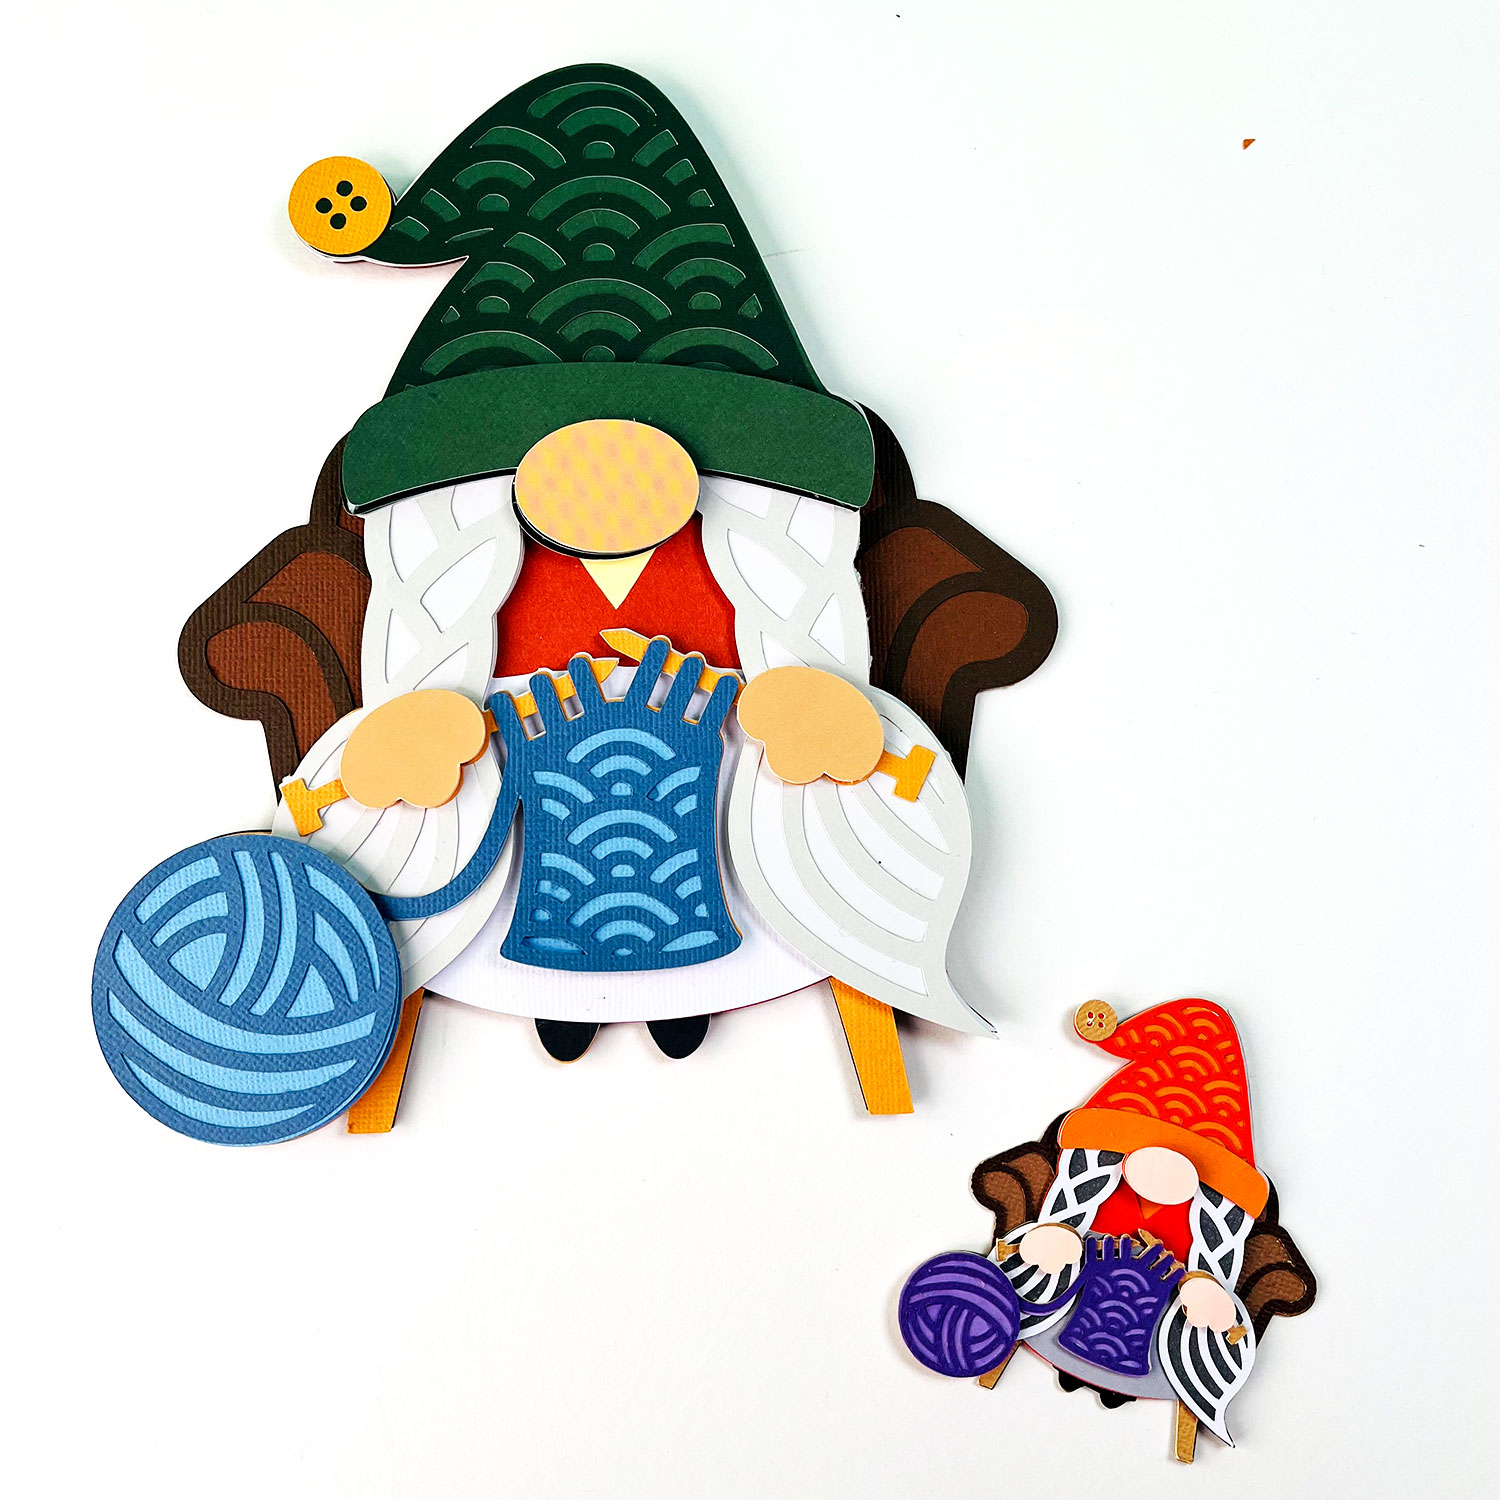
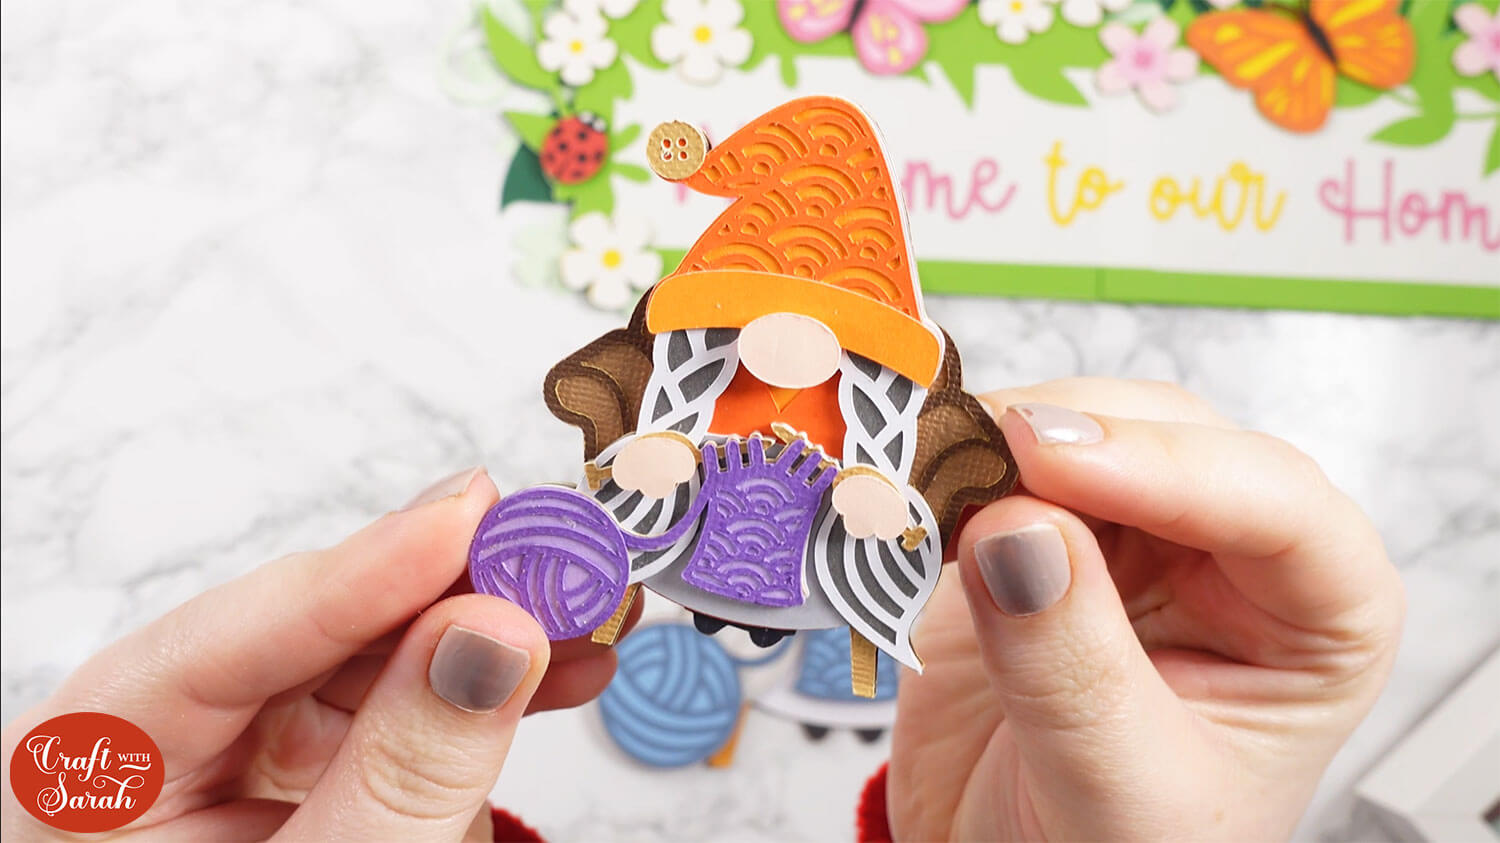
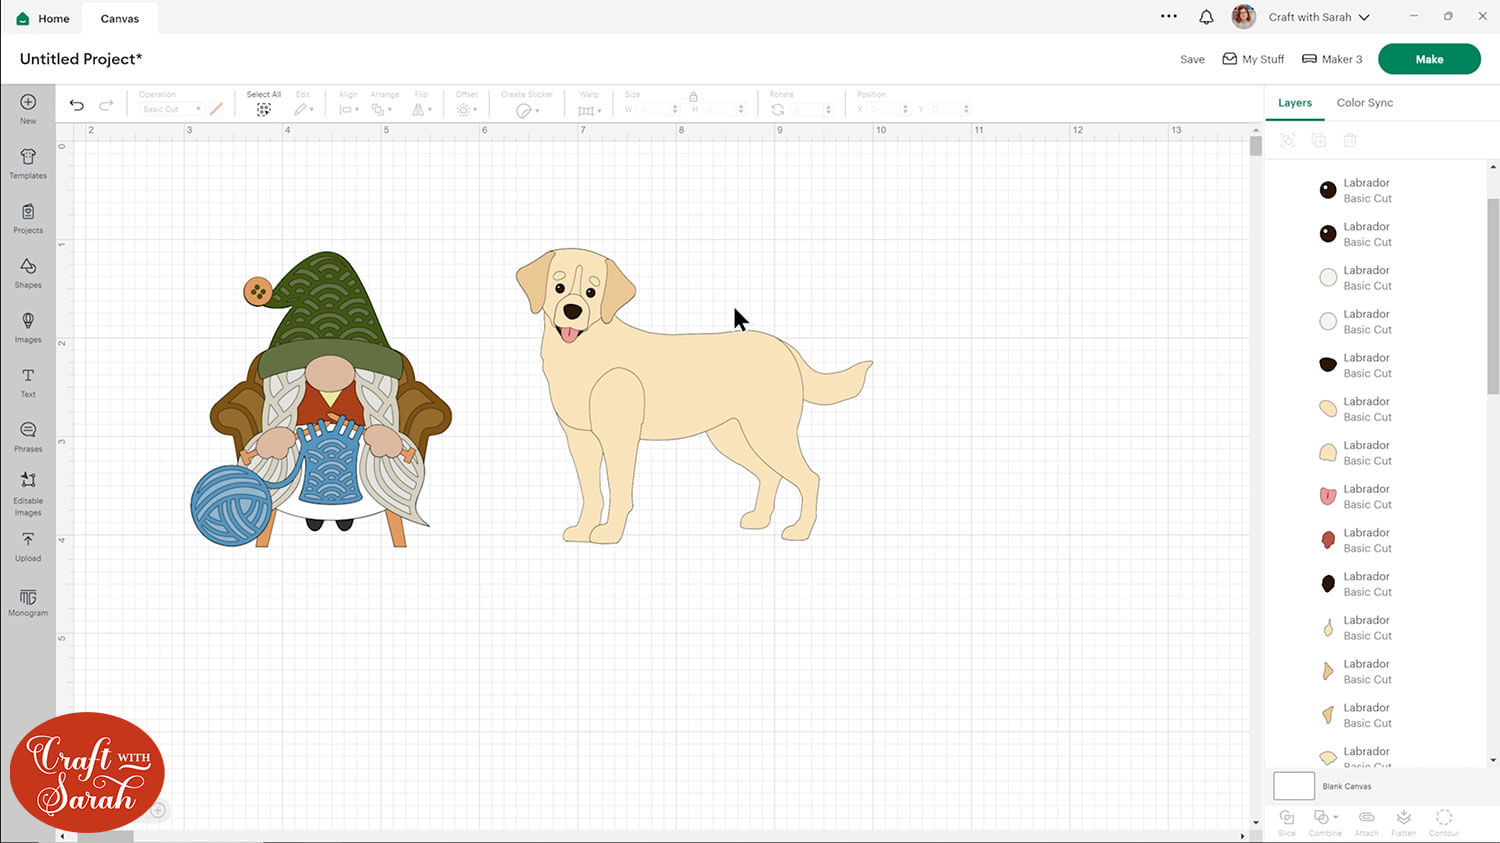
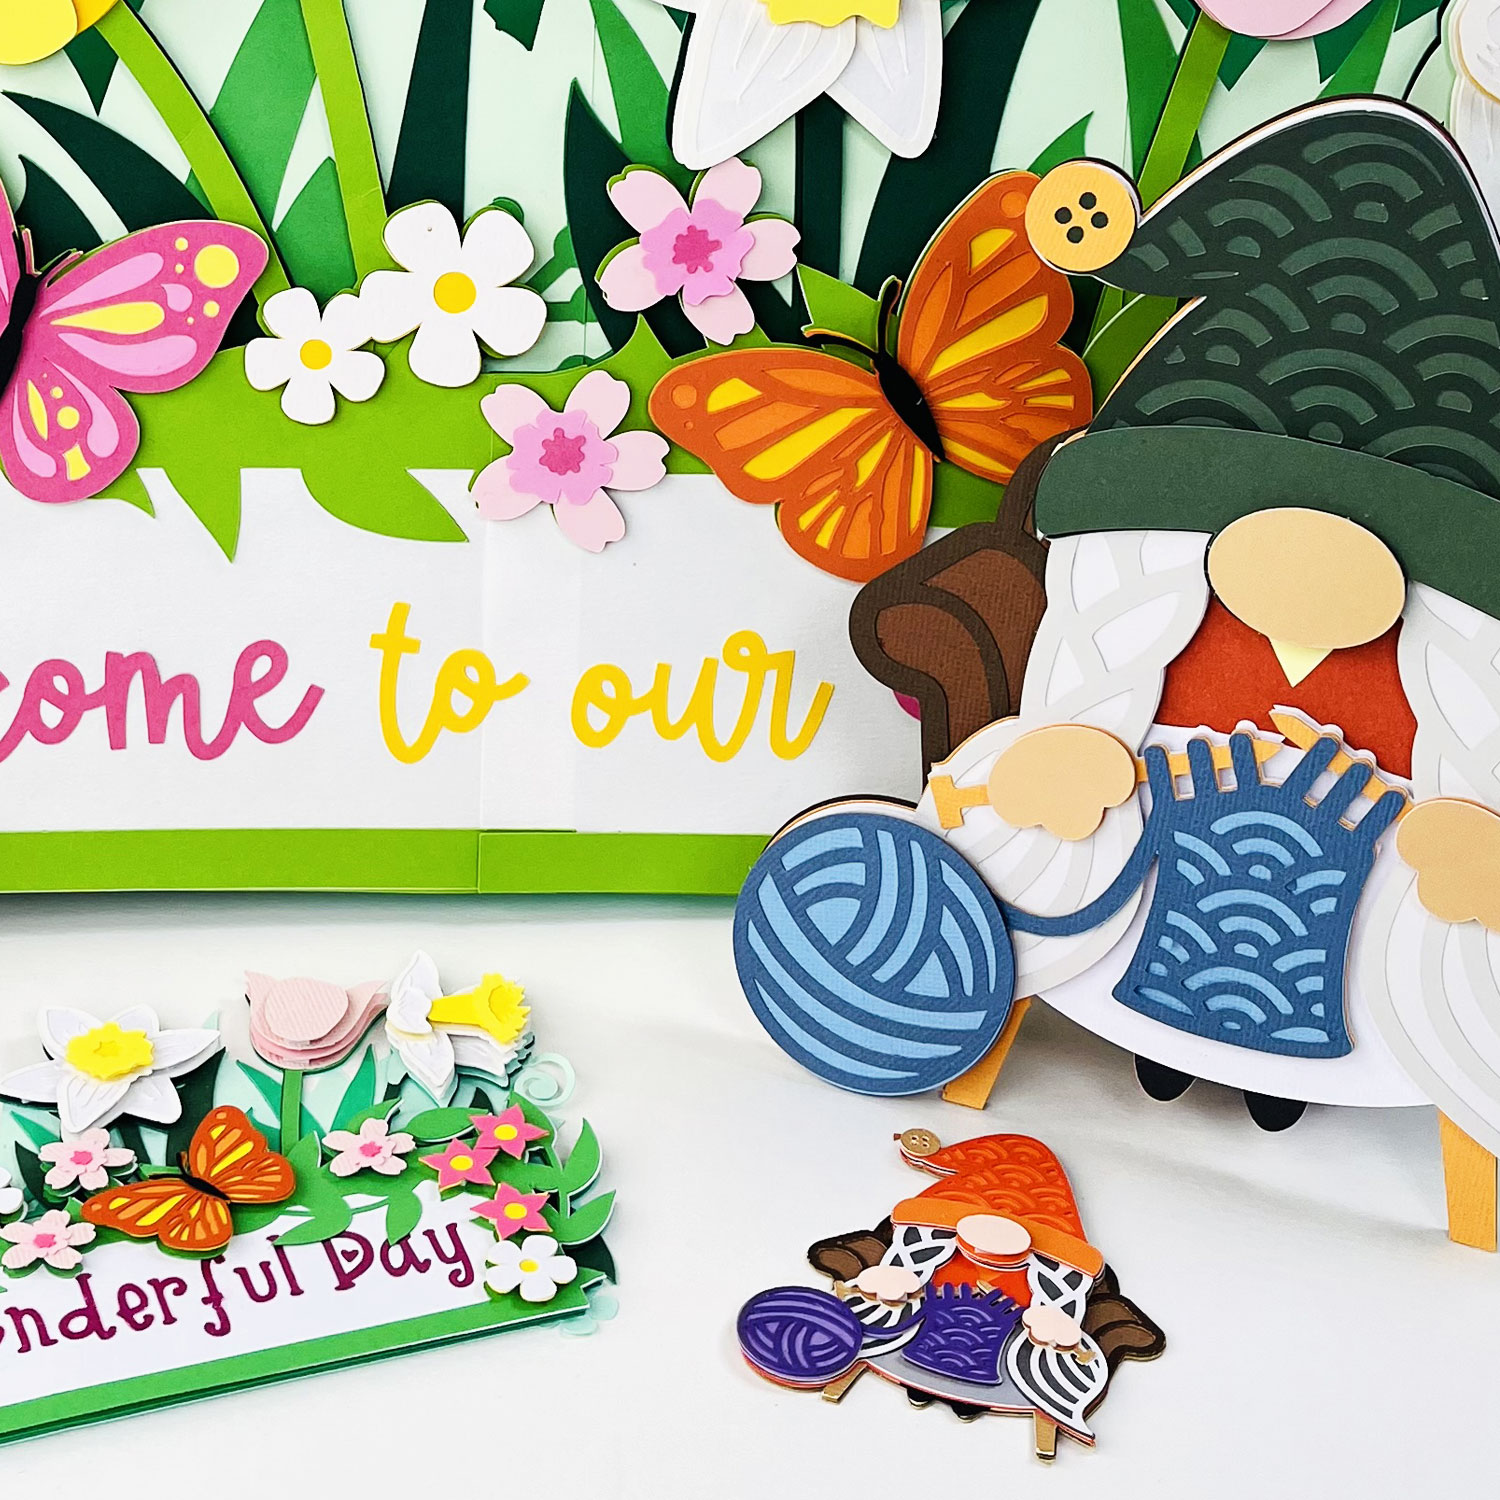
The knitting gnome I showed above is only 3 inches tall.
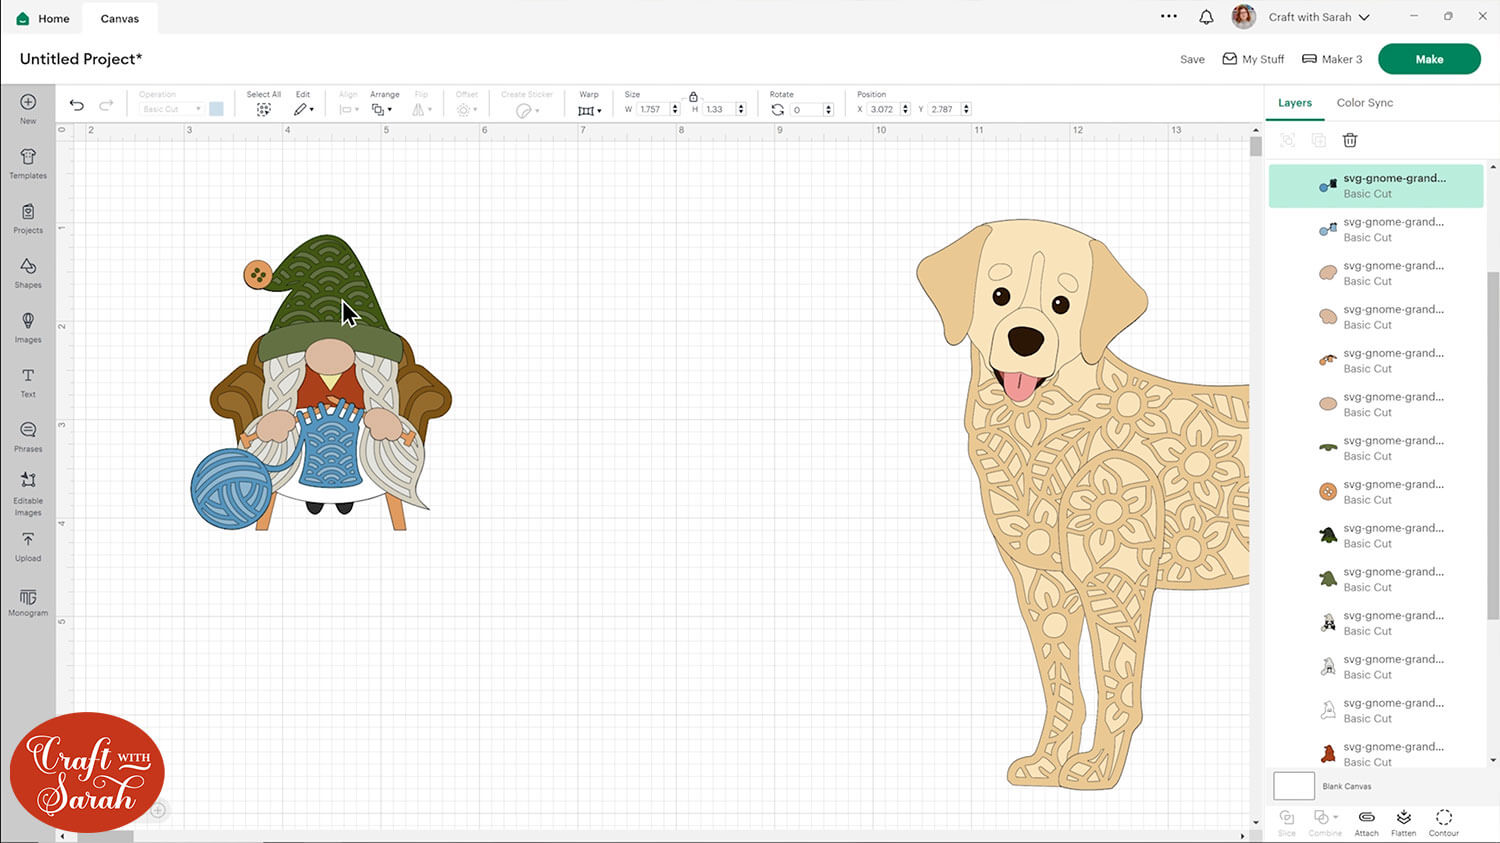
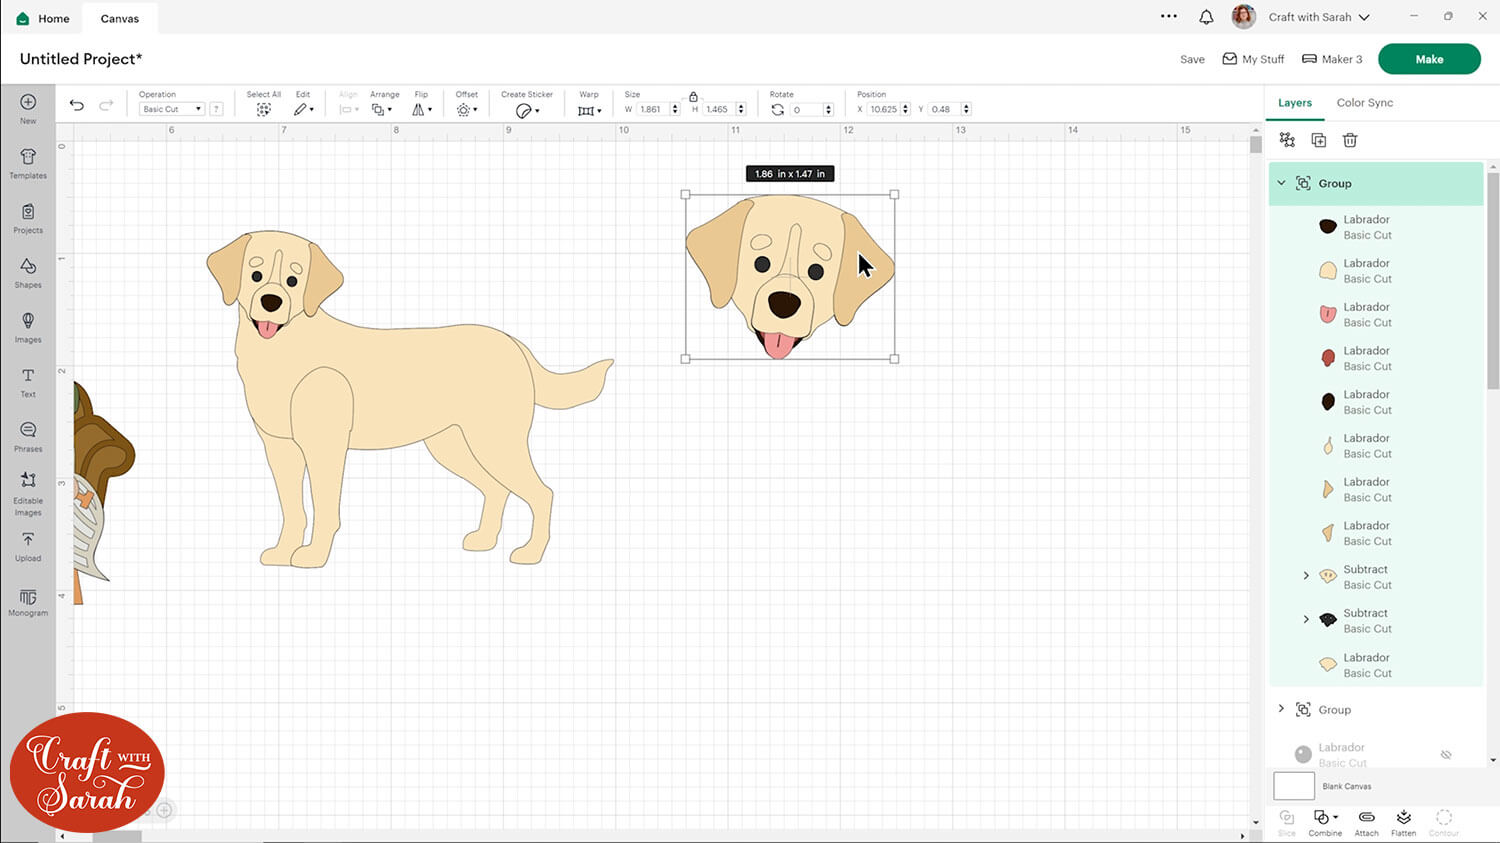
You can simplify the designs by hiding/deleting some of the more intricate layers, for example the hat of the gnome and the flower layers of the dog.
Note: the video above goes into much more detail about these steps, along with thorough explanations of the types of changes to the layers that will make them easier to cut.
However, I think the Cricut might surprise you at just how tiny it can actually cut!
You can hide other details too, such as little whites of the eyes on the dog. When it’s cut small, you wouldn’t be able to see the tiny white circles anyway, so even though the dog looks a little bit creepy at the moment, once it’s cut small it will look just fine.
You could use a white pen to add a little fleck to the eyes instead.
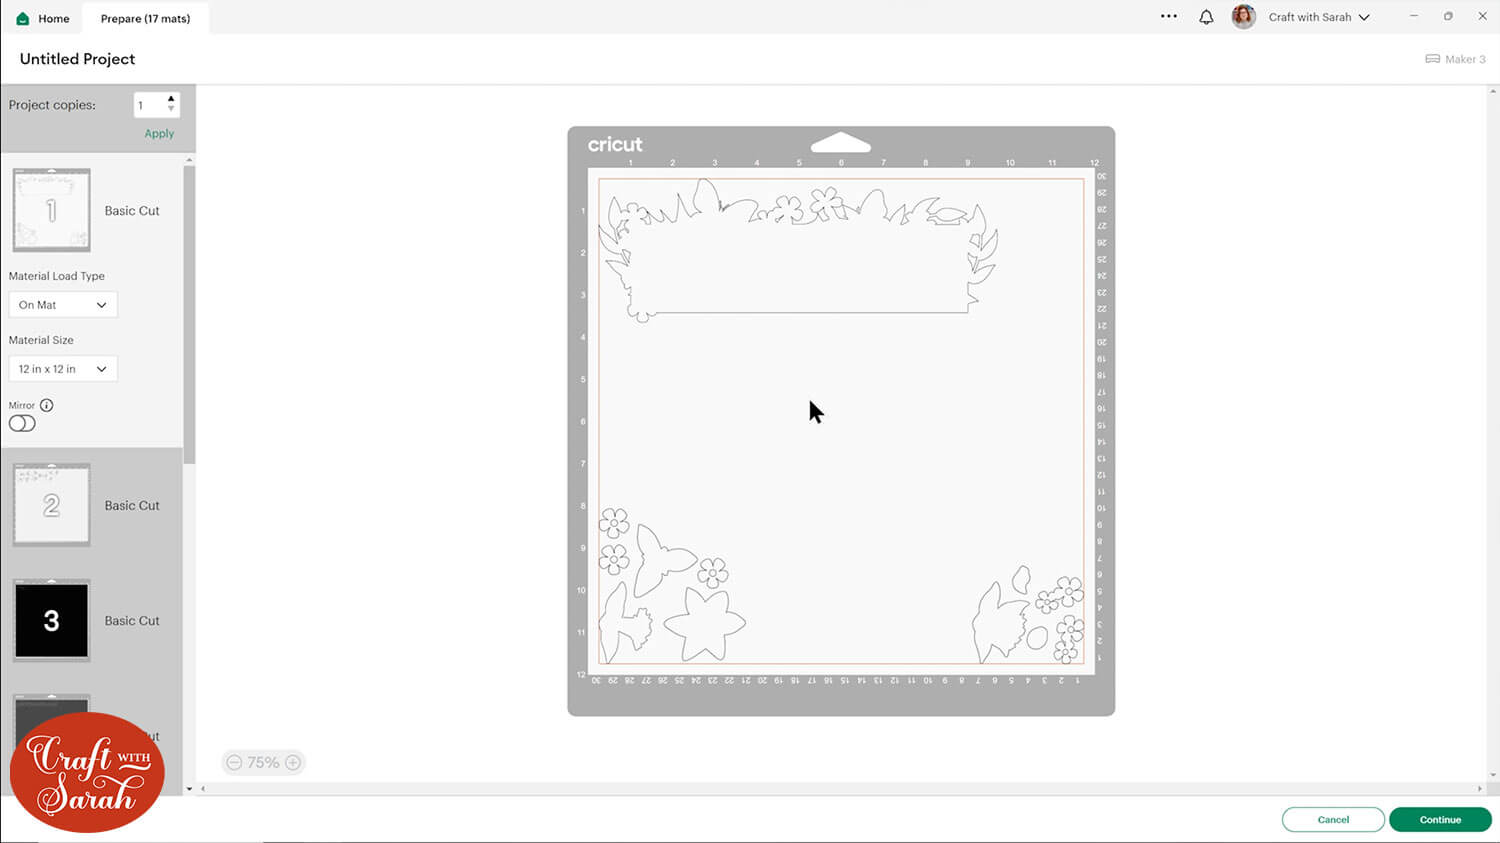
If you’re working on a design that’s intended to be really BIG, for example my giant spring sign, these can be simplified too.
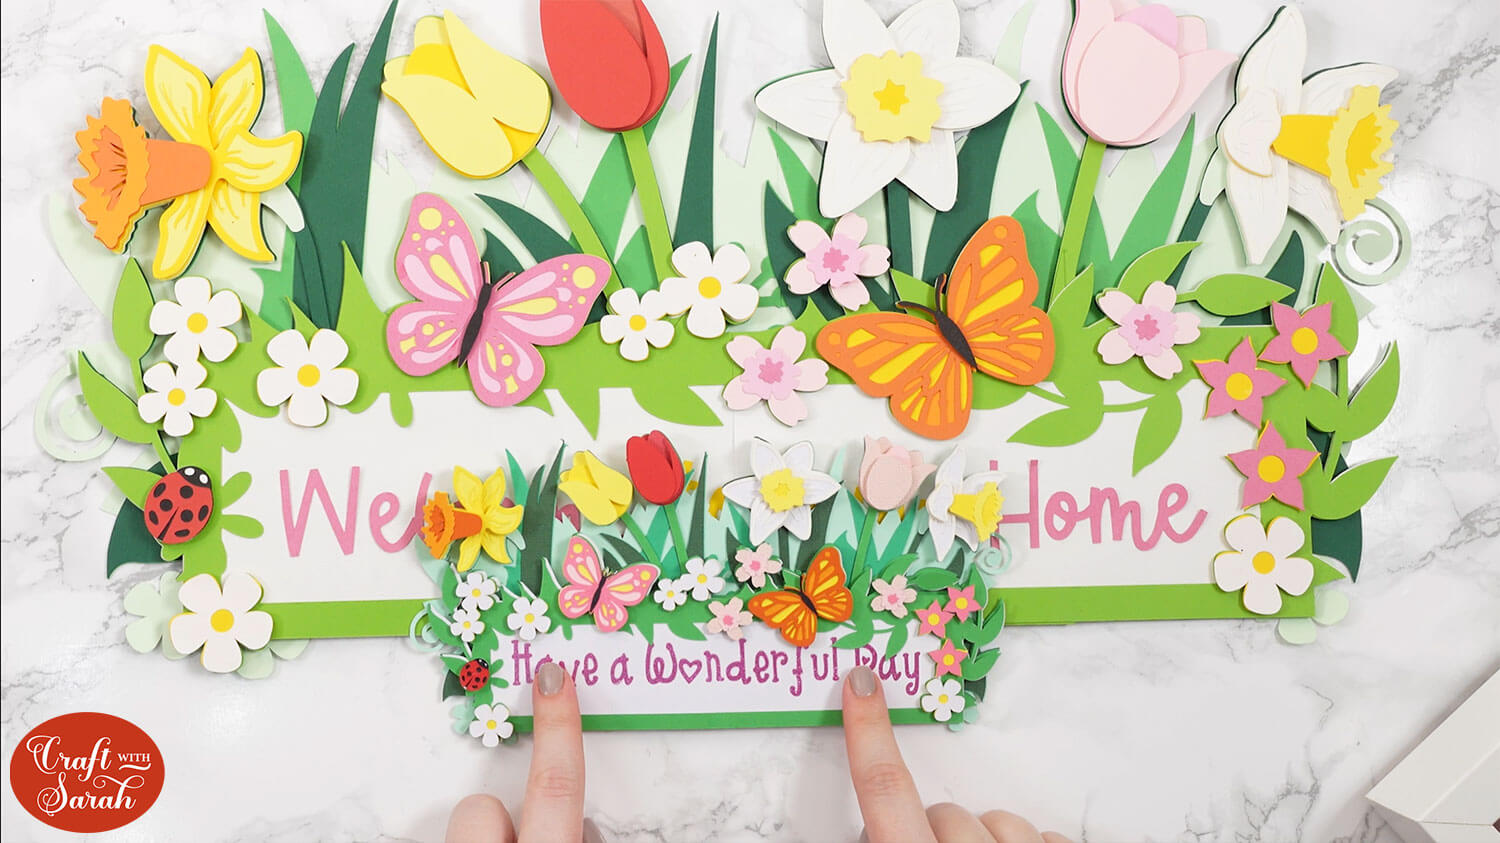
This is designed to be cut at 21.5 inches wide and 10.5 inches tall.
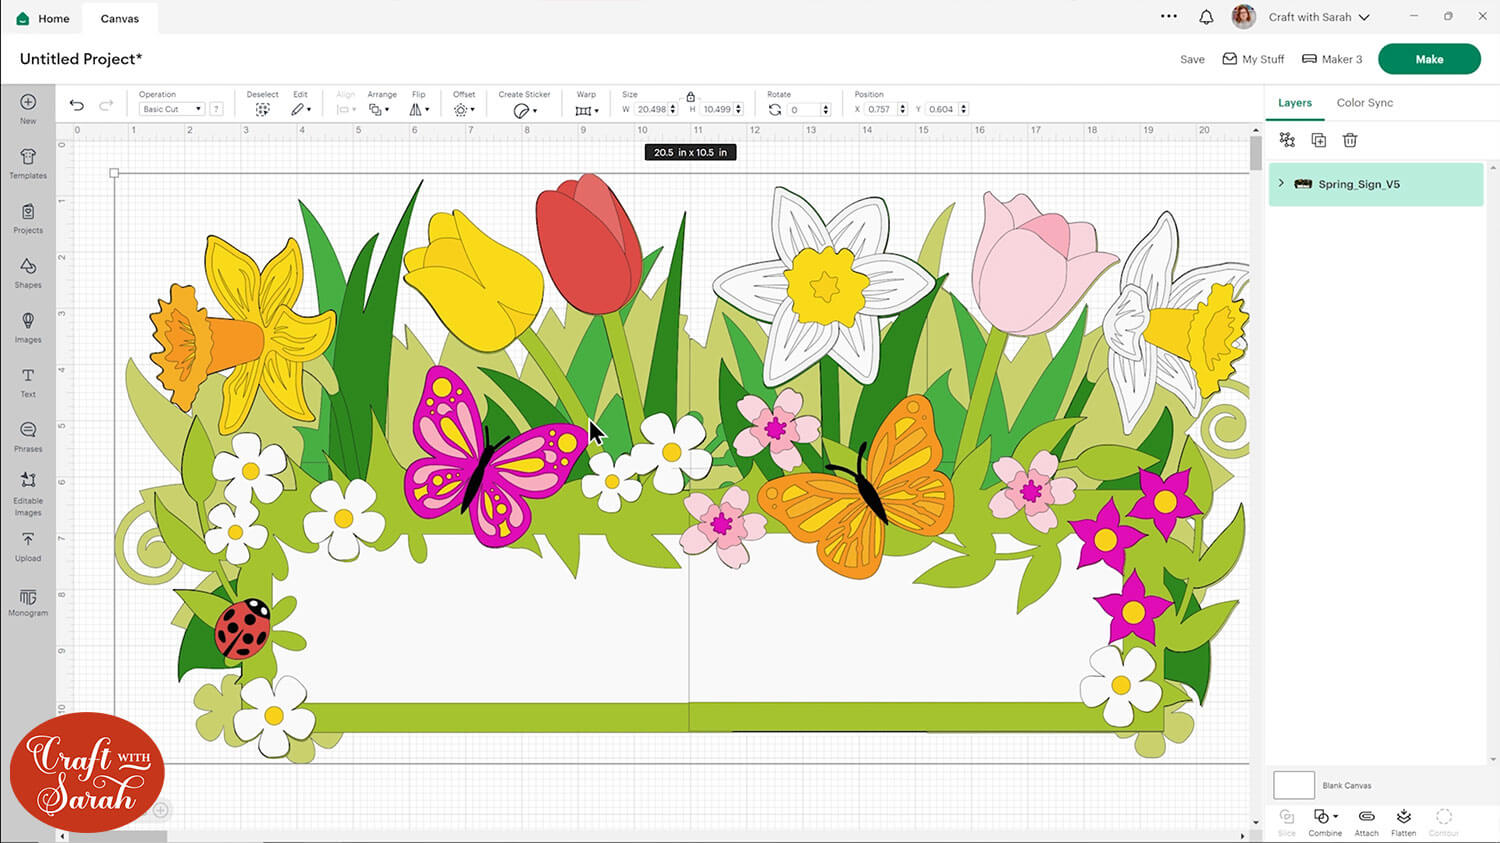
This is achieved by having the bottom layers cut in “sections” that then get glued together to make the full-sized sign.
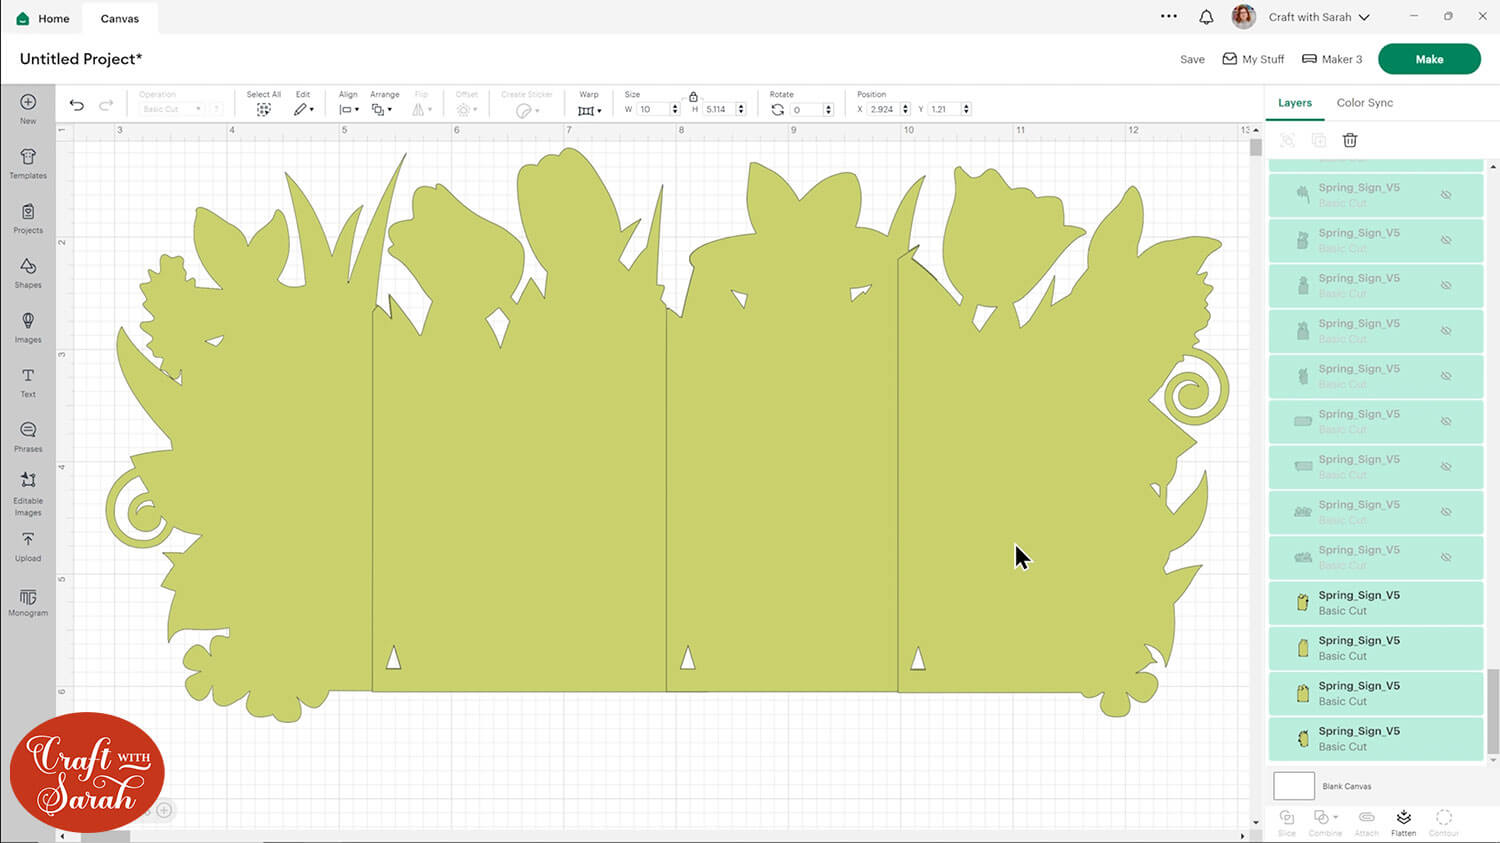
This is not necessary when cutting at a smaller size, as the full width of the design would fit onto one single sheet of card.
To make it easier to cut and stuck together, select all the sections that make up one layer and press “Combine > Weld” to join them into one.
For example, here is the new “bottom” layer of the sign after welding the four base pieces together.
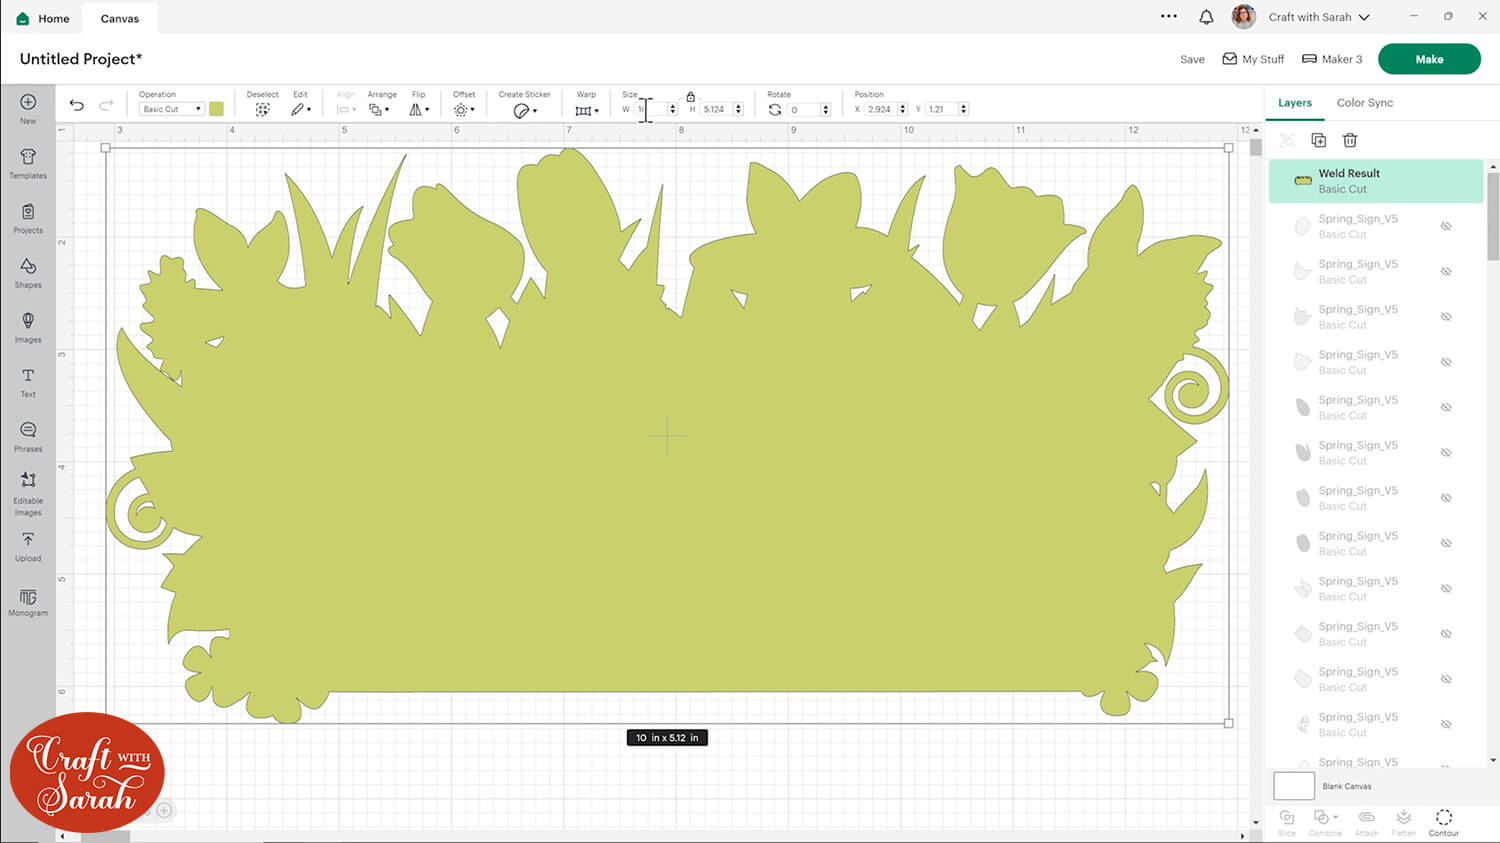
Repeat this for all layers that come in sections.
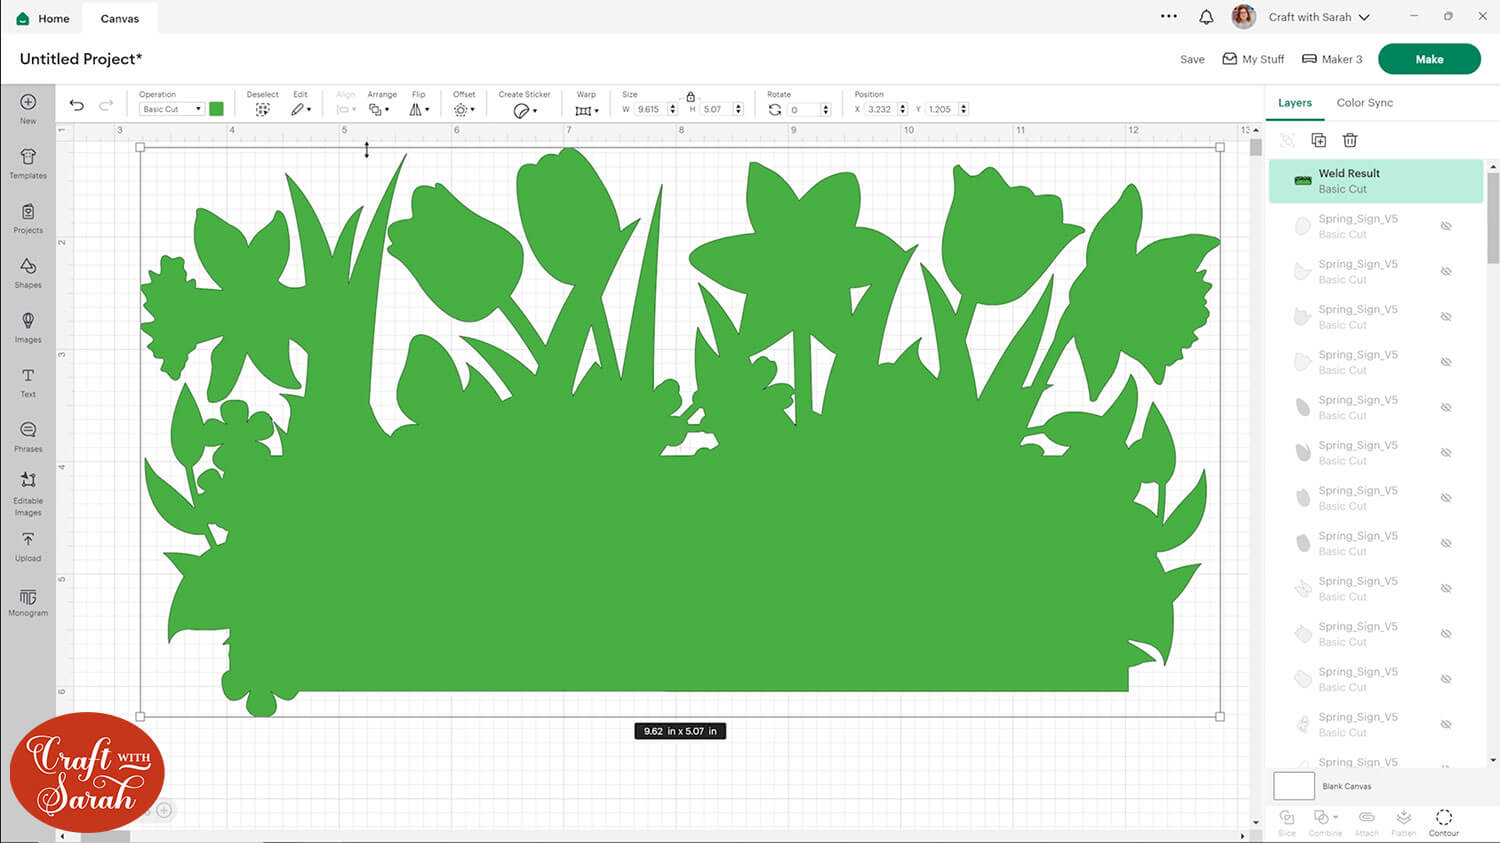
The sign in the screenshot above was resized in Design Space to be 10 inches wide, but the final one that I cut out was even smaller at 4.5 inches tall, which was 8.778 inches wide.
To make the wording easier to apply, cut it from heat transfer vinyl instead of cardstock.
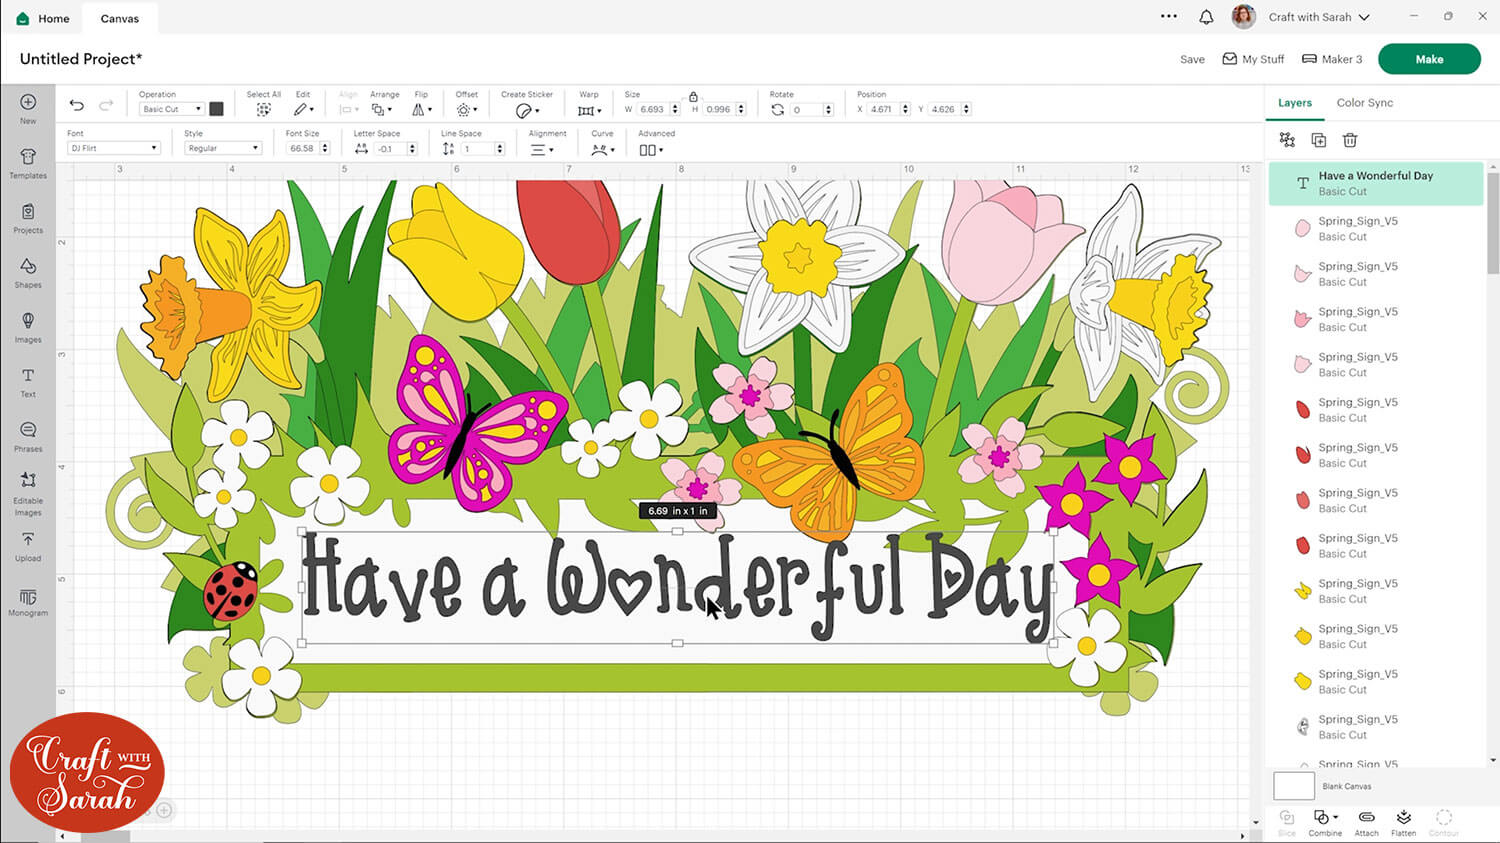
That way, rather than having lots of tiny layers to try to stick on straight, you can just iron them on all in one go!
When sticking the designs together, you may wish to leave out some of the foam squares and glue more layers instead. They can end up looking too “thick” if you use the same amount of foam square piece as you would on a larger version, and it causes them to look out of perspective.
For example, on the tiny knitting gnome everything is glued apart from her nose which is stuck on with foam squares.
Tips for intricate cardstock cuts on a Cricut
Having trouble with cardstock tearing? Struggling to get your tiny pieces off the mat?
Here are seven tips for cutting intricate cardstock designs with a Cricut.
Tip 1: Pay attention to your cutting mat
I recommend either a new or nearly-new Cricut-brand light blue/light grip cutting mat OR a green standard cut mat that is losing its stick a little bit.
You can also try off-brand mats. Usually I don’t like working with off-brand tools as I feel like they don’t work as well or last as long as the Cricut brand versions.
However, when you’re cutting stuff really small, the off-brand mats tend to work quite nicely because they are not quite as sticky as Cricut brand mats, so it’s easier to take the small pieces off without ripping them.
Tip 2: Use a brayer tool
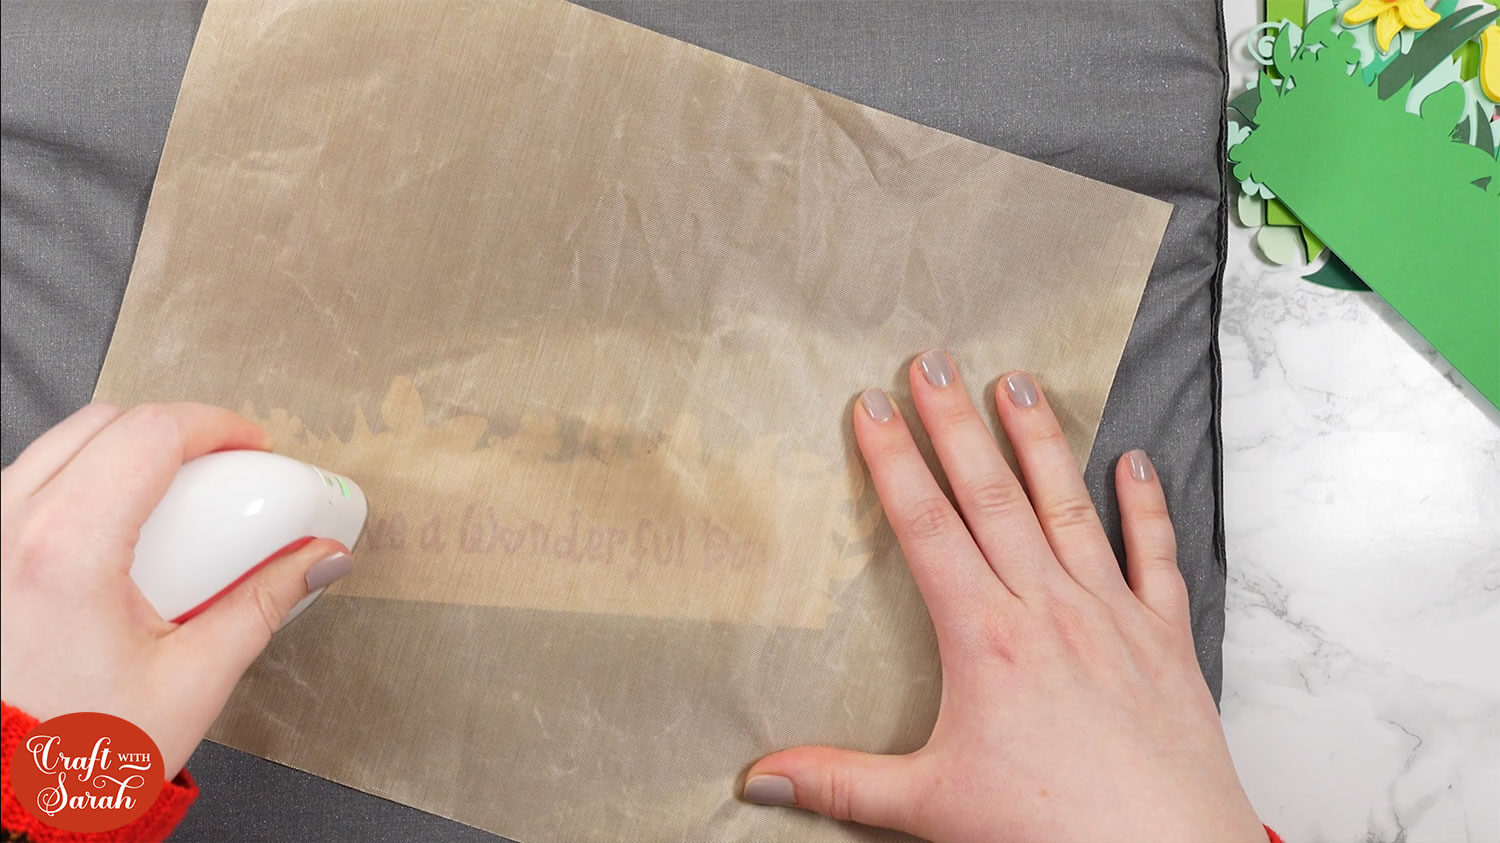
When adding cardstock to your mat, always use a brayer or scraper tool to really push down the card. The blade is going to be making such small movements that it might end up moving your card about, particularly if you’re using little scraps.
Pressing the card down with a brayer stops that from happening.
You could use a rolling pin from the kitchen, or even a tin of baked beans or something heavy that rolls to get the card really well stuck down.

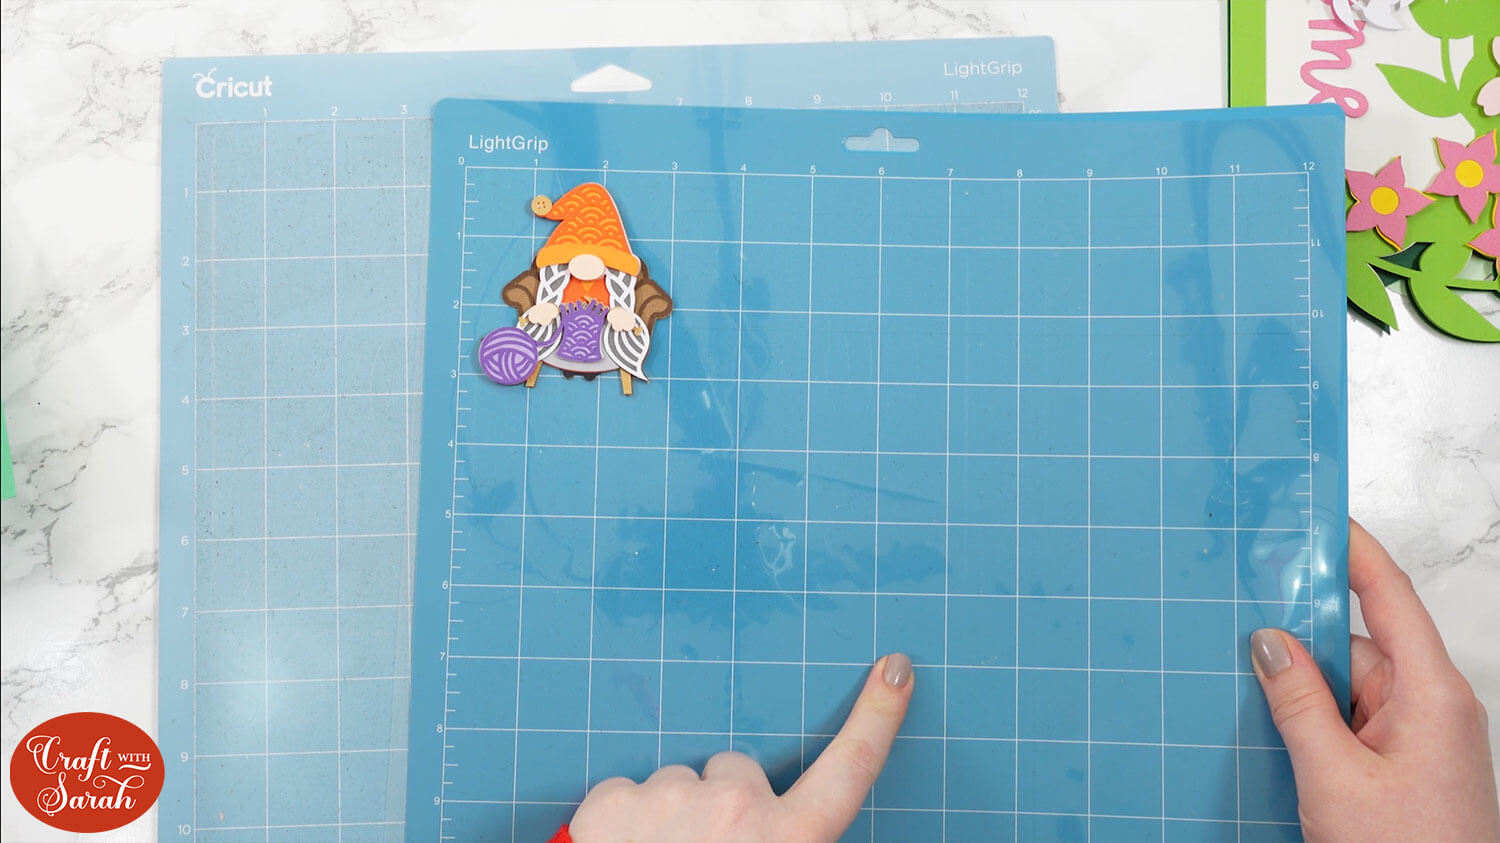
Tip 3: Take advantage of sticky areas on the mat
You probably will find, especially if you’re like me and you don’t use a lot of 12×12 material, that there are some bits on your cutting mat that stay stickier than others because they don’t get used as much.
For example, I tend to use A4 card which means a section of my mats always stays unused.
In Design Space, you can move the pieces around on the mat before you cut them. Try moving them over to the stickiest places on the mat.
Tip 4: Cut settings
Tip four is to try out different cut settings on your Cricut machine.
If you find the Cricut is tearing the card, try again but use a lighter cut setting.
For example, if you used Heavy Cardstock the first time, try Medium Cardstock instead, or even Light Cardstock.
You might find that that doesn’t cut all the way through on the lighter setting. Before you eject your mat after it finished cutting, just peel up the card a little bit and see if it’s cut through. If it hasn’t then press the “Go” button again it will repeat the cut in exactly the same place and that should cut it all through.
If you’re using a particularly thick material again just check it’s cut through before you eject your mat.
Unfortunately you can’t do that trick on the joy or the Joy Xtra because that only gives you the option to eject not recut but if you’ve got the Explore Air or the Maker models you can certainly do that just to make sure it goes through properly.
Tip 5: Use high quality cardstock
Remember that cutting things super-duper-small is hard for our poor little Cricut machines, so we want to make it as easy as possible by giving it high quality cardstock to cut.
Choose solid core cardstock if you can, which is where it’s the same color all the way through so there’s no kind of white layer in the middle.
Also try to choose card that doesn’t have a lot of visible fibers in it. Recycled card isn’t great for doing small things it has a lot more fibers in it (it’s very fibrous card) and all those fibers are an opportunity for the blade to snag on the tiny little pieces.
I like the following brands of cardstock:
- Sizzix Surfacez
- Classic Card by Tonic Studios
- Papermill Direct
- Creative Expressions (this is quite thick)
Tip 6: Become a detective
If the card is still tearing, even with a lighter setting and with a sticky mat, it’s time to become a detective and start investigating alternative methods!
One trick is to move the shape on the Cricut mat in Design Space and then try cutting it again. It might be that you’ve got a little bit of debris on your mat which is causing the blade to kind of snag and that is what’s causing the tear.
Another thing you can try is rotating the shape. Sometimes the blade has problems with something one particular way. If you rotate it 90°, for absolutely no rhyme or reason it can sometimes start cutting it wonderfully.
So just give it a try, move things about and rotate them and just see if that helps.
Also take out your Cricut blade and inspect it. You might have a little bit of card stuck to your blade. Have a look to see if there is any dust or bits of cards stuck on it. If so, use a dry, clean, soft paint brush to brush all the debris away.
You can also clean your blade by rolling up a bowl of tin foil sticking your blade in there a few times. That doesn’t sharpen your blade, but it does clean it a little bit. I prefer the paintbrush option because then you can actually see it being cleaned as you go along.
Tip 7: Don’t get frustrated
If things don’t work out on the first time, or even the second or third time, try not to get frustrated – especially if you’re new to cutting things this teeny tiny.
It’s not as easy for your Cricut to cut small shapes, so give it some patience if it’s not always right.
Remember that crafting is supposed to be fun, so breathe, step away for a moment and then try again.
It will all work out in the end. 🥰
Cricut cardstock tips: Frequently asked questions
Here are some answers to questions about how to cut cardstock with a Cricut machine.
Why is my card ripping on Cricut?
There are a few reasons why your card may be ripping or tearing when you try to cut with your Cricut. Make sure you are using a sticky light grip or standard grip mat and that you use a brayer or scraper tool to get the card stuck down properly to the mat. Take your blade out to inspect for any debris that has got caught when cutting, especially when you have been cutting material like glitter card. Following the cardstock cutting tips in the tutorial above will also help to prevent your card from ripping.
What is the best font for cutting tiny letters?
When you are cutting tiny words with your Cricut, it will help if you select the “Kerned” filter when searching fonts as this will show you the fonts where the letters are joined together which will be much easier to stick! Two of my favourite Cricut Access fonts for cutting small are Double Whipped and BFC Bloomshine.
Do I need to sharpen my Cricut blade?
You don’t need to sharpen your Cricut blade but you might need to take it out and inspect it to see if there is any debris which may be preventing your blade from cutting properly. Take a clean and soft paint brush to gently brush away any debris.
From time to time you may need to change your blade. You can buy replacement blades from Cricut’s website. Make sure you buy the correct blades for your particular type of Cricut machine.
Can you cut Cricut twice?
Yes, the Explore and Maker/Maker 3 machines can be run through multiple times. To do this, don’t eject the mat when your Cricut has finished cutting.
Instead, peel up a little corner of the material to check if it cut all the way through. If it didn’t then stick it back down and press the “Go” button again without ejecting the mat. Don’t touch anything on Design Space – just press “Go” again and it will repeat the cut in exactly the same place which should cut through all the way.
Which Cricut cuts everything?
Cricut machines can’t cut every single material in the world, however the Cricut Maker 3 is able to cut over 300 materials – from cardstock to denim – whereas the Cricut Joy can cut 50+ materials.
If you want to cut thicker materials such as wood, acrylic or metal then a laser cutter may be better suited to your needs. Check out what happened when I put my Cricut Maker and an xTool M1 laser cutter to the test.
How do I change the cut size on my Cricut?
Select the whole design in Cricut Design Space and “Group” it so that you size all the pieces together in proportion.
Click the group and use the height and width boxes which can be found along the top bar above your Canvas. Make sure the padlock icon is closed if you want everything to resize in proportion.
Find more Design Space tricks and tips here.
It’s time to start cutting small things with your Cricut!
I hope you enjoyed this tutorial on to cut layered designs really, really tiny with your Cricut machine.
Once you have mastered the art of little cuts, it will open up a whole new world of possibilities for using layered designs.
Why not get started with one of these free layered cardstock designs, or browse the designs in my shop for over 1,000 additional projects.
Happy crafting,
Sarah x

