3D Star Tree Display ⭐ The Perfect Light-Up Table Centerpiece!
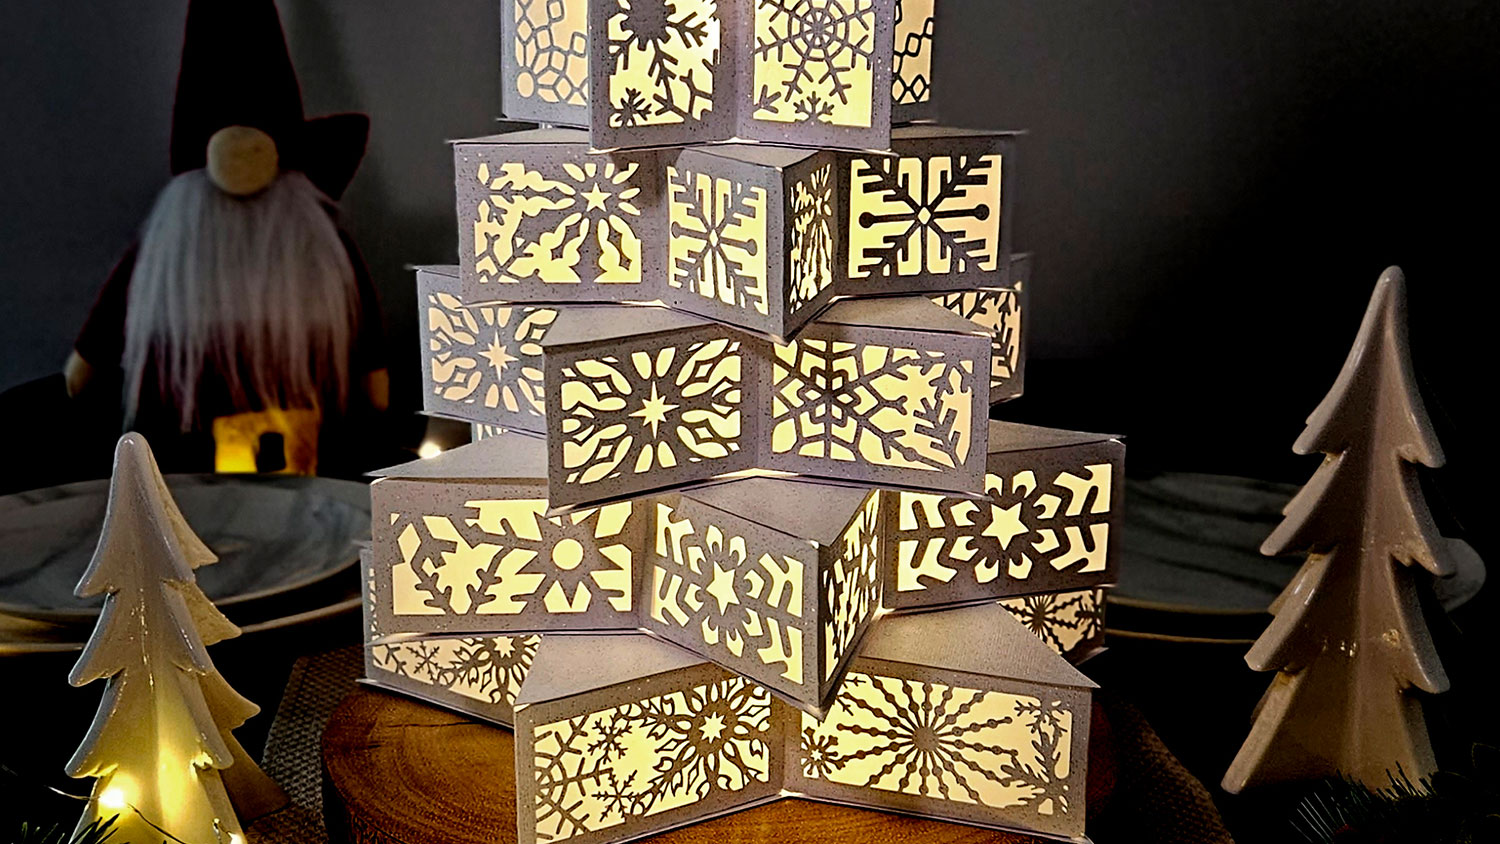
Make an incredible 3D centerpiece to showcase at Christmas with this light-up Christmas tree full of snowflake patterns.
This star tree was originally created as a Cricut Design Space project back in 2023. However, this caused some of you to be disappointed that the project could only be made with a Cricut Access subscription, so I thought it was time to make a free SVG version too so that anyone can make it!
Now, the 3D tree can be made with other brands of cutting machine too, such as Silhouette and ScanNCuts. If you have a Cricut machine, you no longer require the Cricut Access subscription to make this tree.
However, the original Cricut Access version is still available. If you have the Cricut Access subscription, I recommend using that version as the project is all set up and ready to make straight away so you don’t have to do any “preparation” work in Design Space.
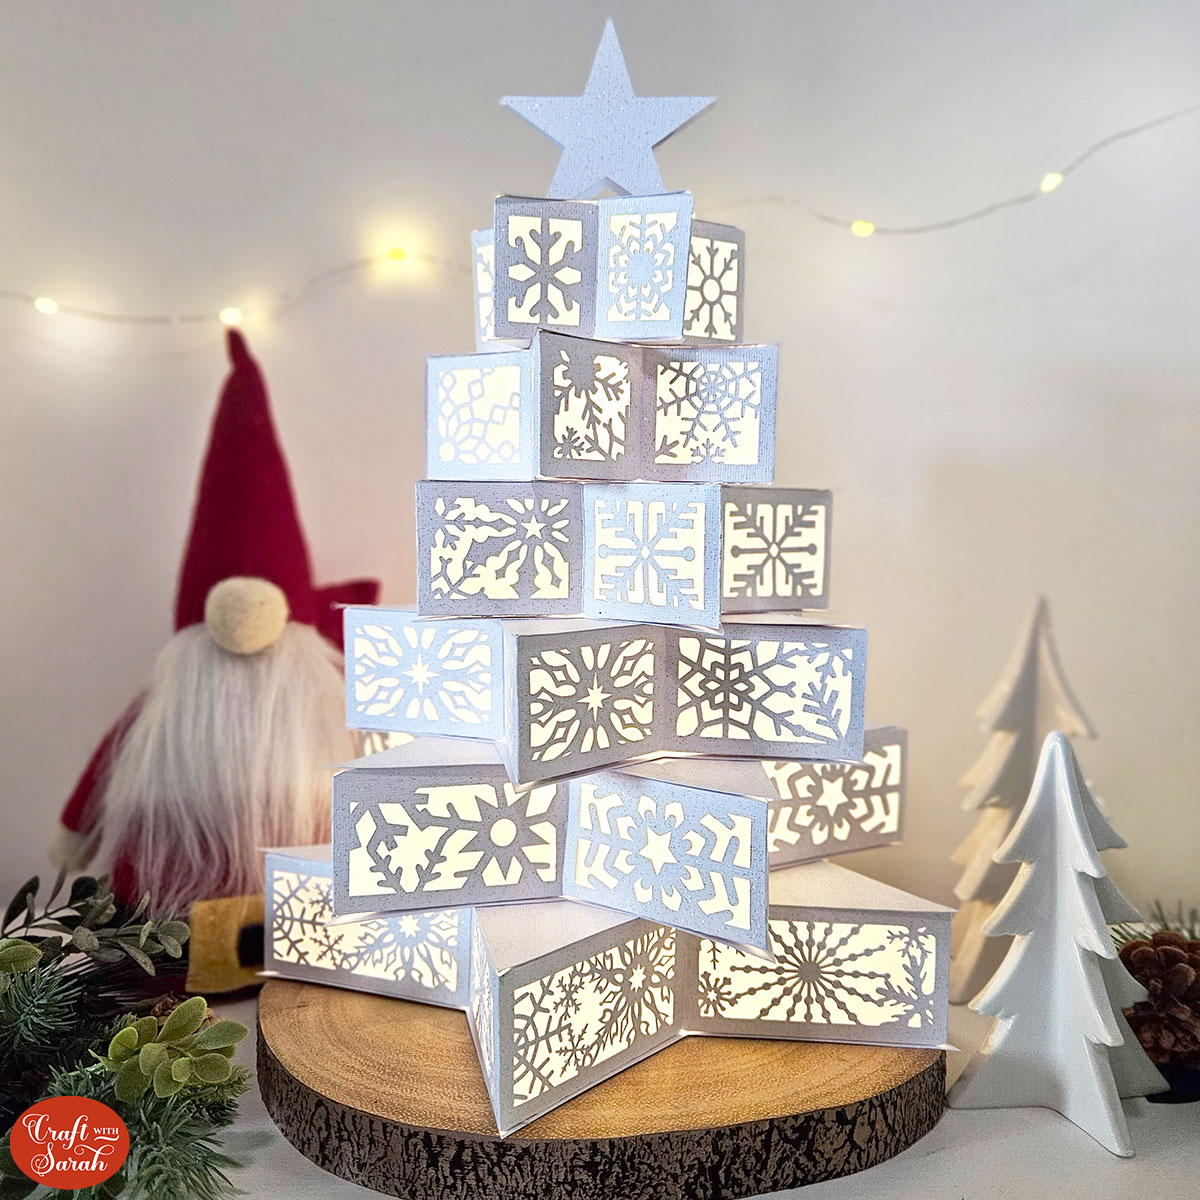
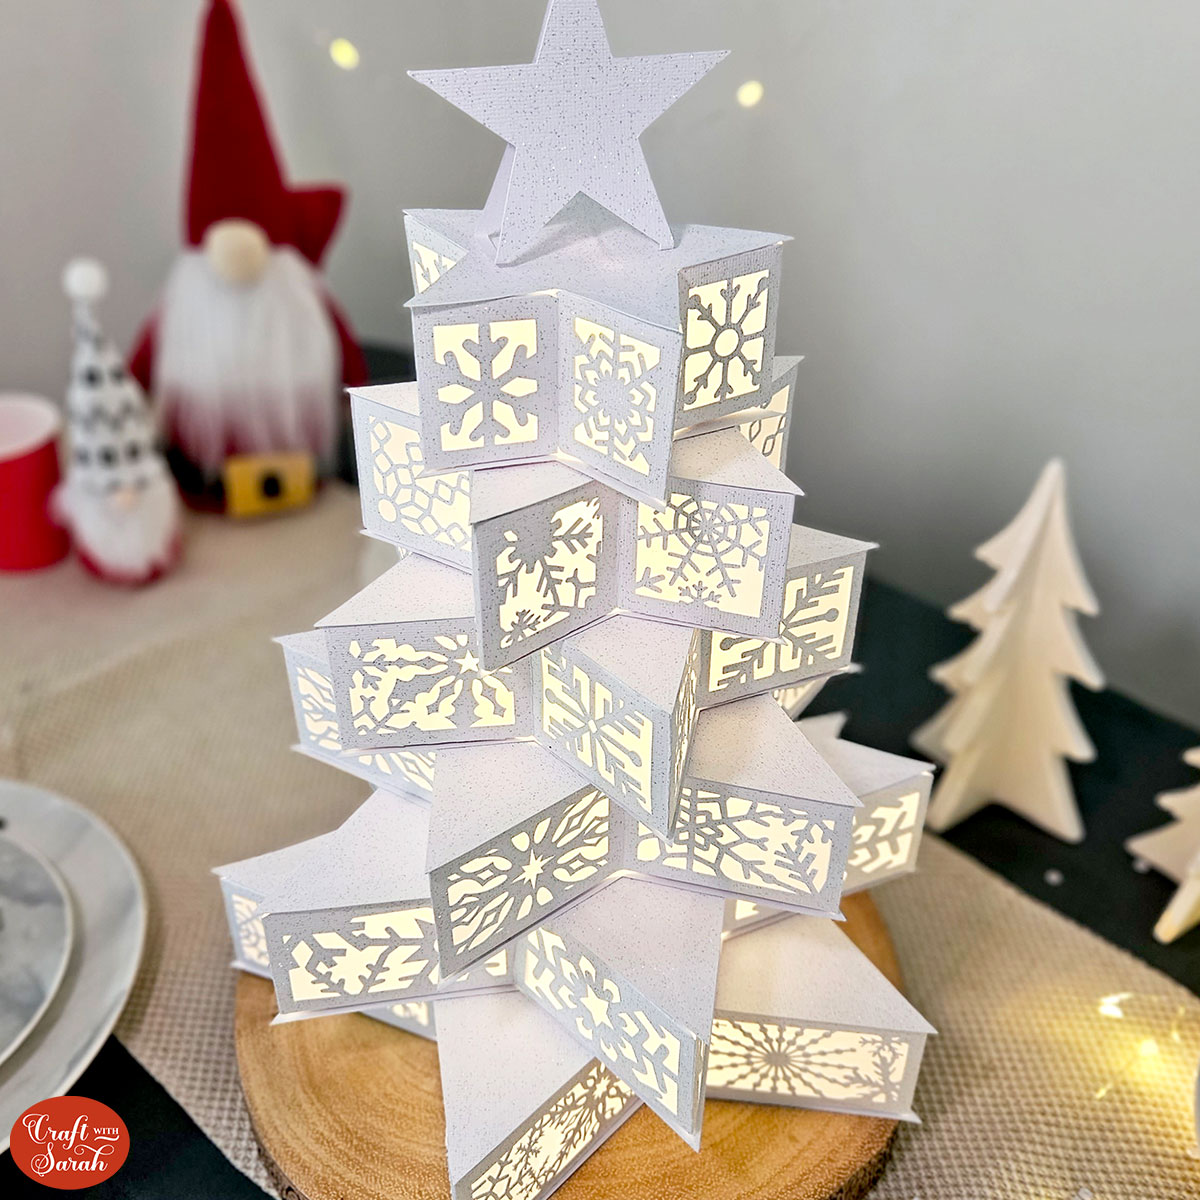
Whether you are using the Cricut Access version or the SVG format, this is a must-do project which leaves you with a beautiful Christmas centerpiece for your dinner table this Christmas Day.
This Christmas centerpiece is finished off with battery fairy lights inside for gorgeous glow radiating from the inside. Vellum is used behind the snowflake cutouts to help to hide the lights and create a smooth glow.
NOTE: The photos on this page show the Cricut Access version of the tree. The snowflake designs are slightly different in the SVG version.
Materials supply list
Here is a list of the materials that I used to make this project.
Please note that some of the links included in this article are affiliate links, which means that if you click through and make a purchase I may receive a commission (at no additional cost to you). You can read my full disclosure at the bottom of the page.
- Cricut machine
- Light blue Cricut cutting mat
- 12×12 inch white card (I used white glitter card)
- Craft glue, such as Bearly Art Glue or Collall
- Translucent material such as vellum or tracing paper
- Battery powered fairy lights (I used 2 sets)
- Sticky tape
- Scoring wheel or stylus (optional)
- Double-sided sticky tape (optional)
- Brayer tool (optional)
This project is suitable for the following types of Cricut machine: Explore Air 2, Explore Air 3, Maker, Maker 3 and Venture. You could make it on the Joy Xtra if you made the whole design smaller. The tree is too large to make on the original Cricut Joy machines.
Video tutorial
Watch the video below to see how to make this project. Keep scrolling for a written tutorial.
Written tutorial (with photos!)
Here’s how to make your very own 3D Christmas tree using a Cricut machine!
Step 1) Download the cutting file(s) & unzip the downloaded folder
Download the Free Cutting File

Please login to your account to download this file.
TERMS OF USE:
You may sell finished, handmade physical craft items that you have made using this product but must not sell or share the digital files. Read full terms of use
Before you upload the SVGs to Design Space, you need to unzip the download folder that they comes in.
Step 2) Load the project in Design Space
CRICUT ACCESS VERSION
If you pay for the Cricut Access subscription, choose the Cricut Access version of this project as the score line will load in automatically which will save you some time and effort!
If you don’t have Cricut Access you will need to upload one of the two SVG files into Cricut Design Space.
The Cricut Access folder contains a PDF document with the link to open the project. Click the link and you’ll see a screen like this:
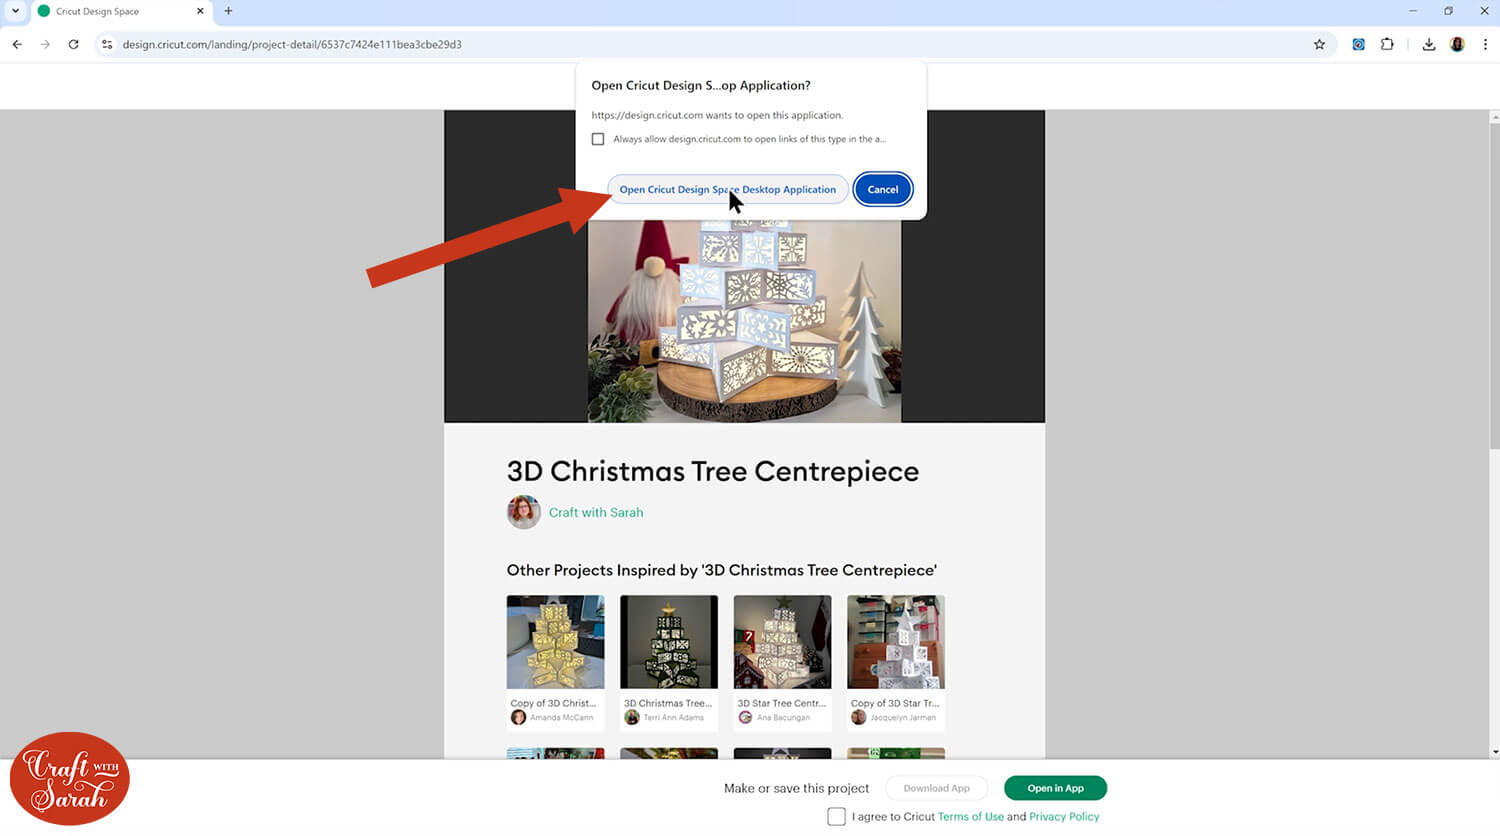
Press “Open Cricut Design Space Desktop Application”.
This will open Design Space on your computer, with a screen like this:

Mine has a “Customize” button at the bottom as it’s my original project. Your screen will say something like “Edit a copy” or “Open” instead. Press that to open the project.
SVG VERSION
If you are using the SVG version of the file, open up Cricut Design Space and start a new Project.
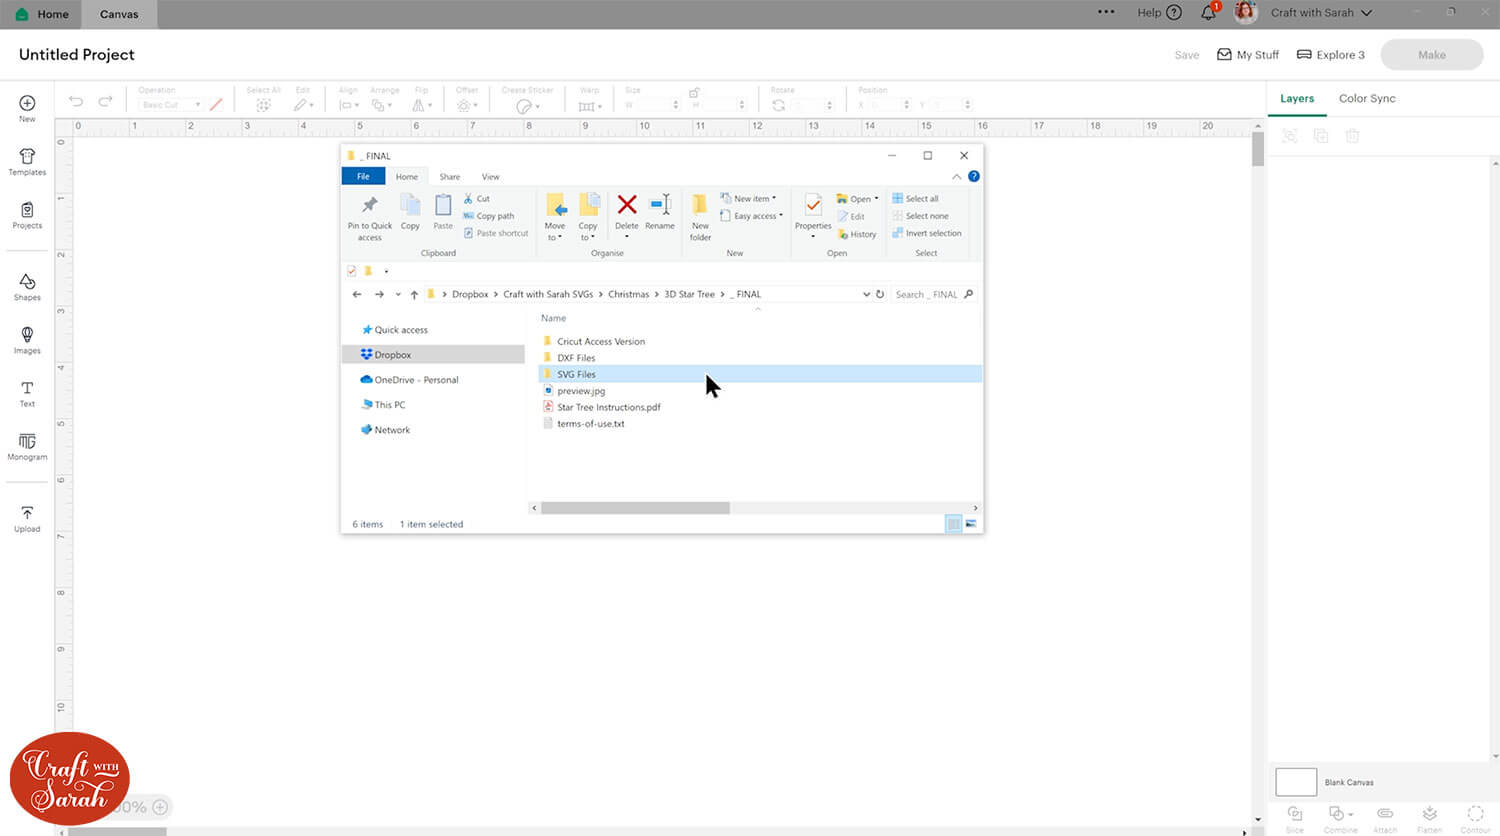
Click “Upload” and then find your unzipped version of the downloaded files for this project.
Go into the “SVG Files” subfolder and select a design to upload.
There are two versions of the design to choose from: one has solid lines that you will need to convert to “score” lines and the other is automatically set up to make “dashed” cut lines in the sides instead.

The dashed lines version will cut lots of little lines which will act as a score line so that your pieces are easy to fold and you won’t have to worry about doing all the score line formatting in Design Space, as this version loads ready to cut. This is the best option if you don’t have a scoring wheel or stylus.
Make sure you upload the file which starts svg- in the filename!!
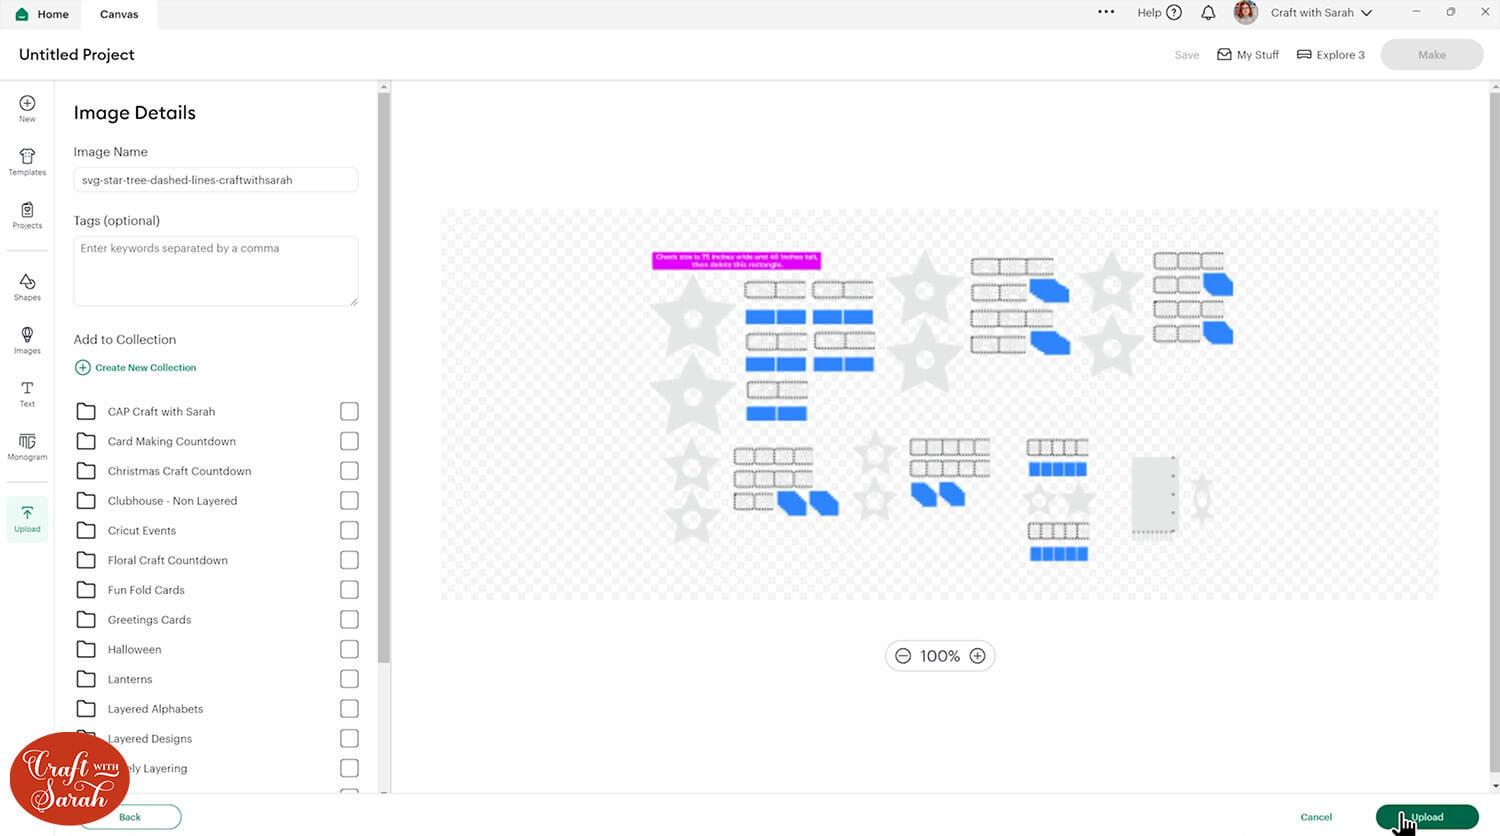
Step 3) Check the size
You can skip this step if you are using the Cricut Access version.
Click the project on your canvas and, just as the pink box says, make sure it is sized correctly at 75 inches wide and 40 inches tall.

If not, resize it to fit those measurements.
Click the design and press “Ungroup” to separate out the layers.
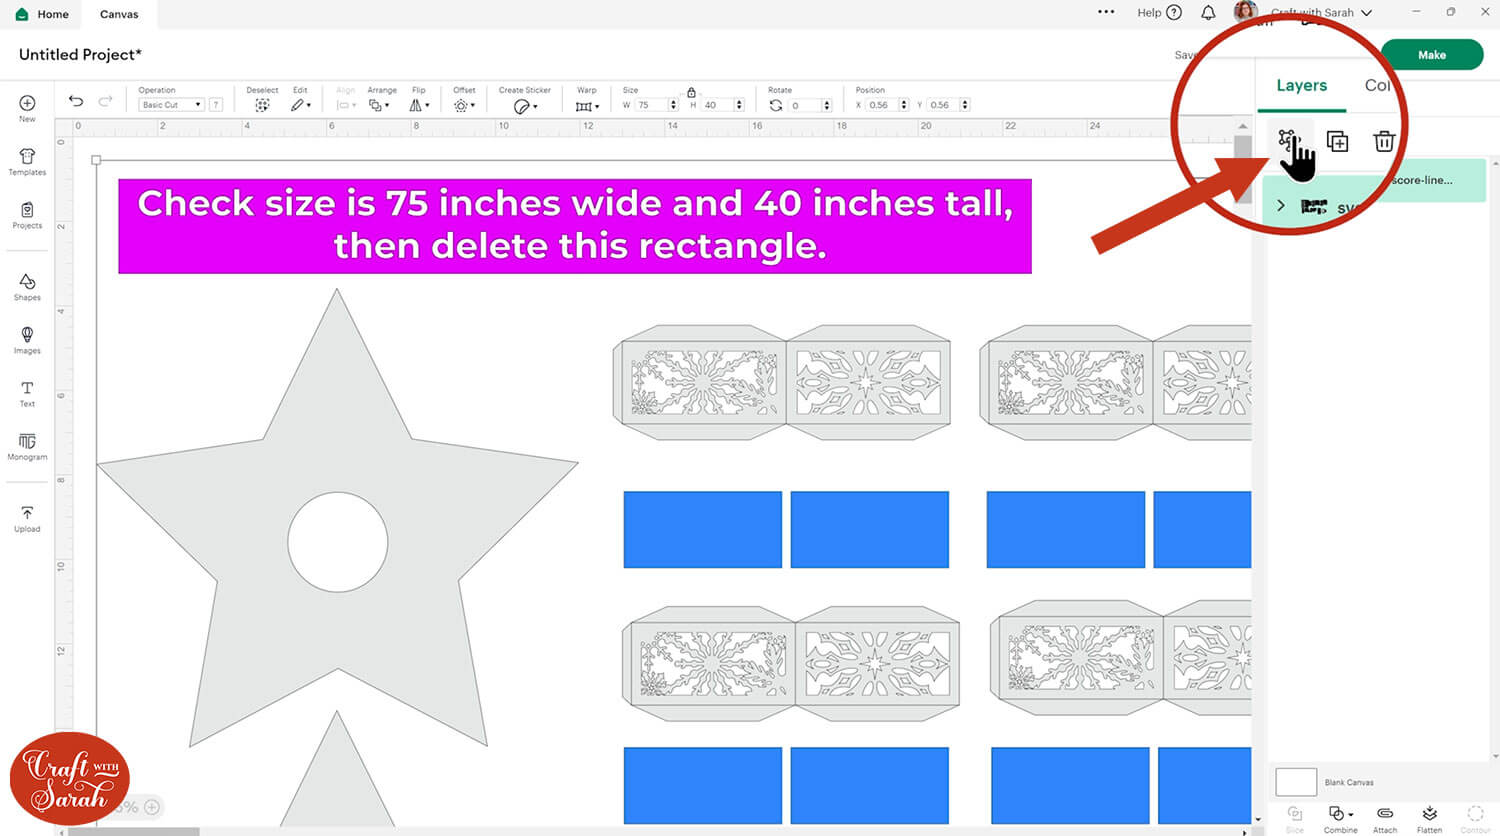
Click the pink rectangle layer and delete it.

After this step, the dashed lines version of the star tree is ready for cutting and you can skip the next step.
If you are using the score lines version then there are a few extra steps.
Step 4) Format the score lines
You ONLY need to do this step if you are using the “score lines” SVG version of this design.
If you are using the Cricut Access version or the “dashed lines” version, skip ahead to the next step.
For the score line version of the file, Design Space doesn’t automatically understand that we want to score some of the layers instead of cutting them, so we need to tell it what to do.
If you look in the layers panel, you will see that many of the pieces in this design have a little arrow/chevron symbol to the left of them in the layers panel. This means that they are part of a group.
Click one of the groups and press the arrow to open up the layers.
Each group consists of two layers: a solid shape at the bottom and a single-line layer on top.
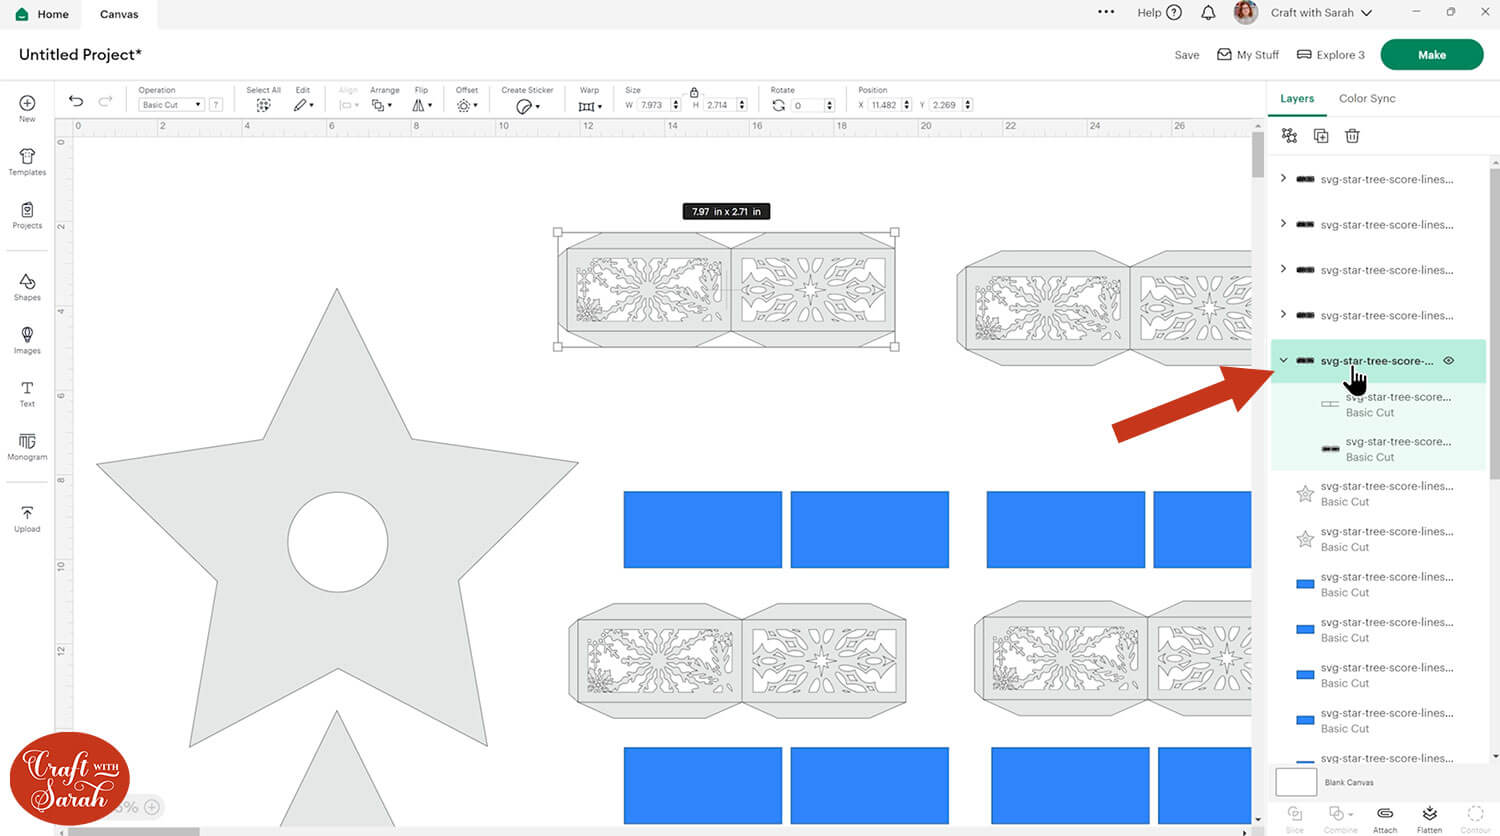
Click the single line layer in the group that you have opened.
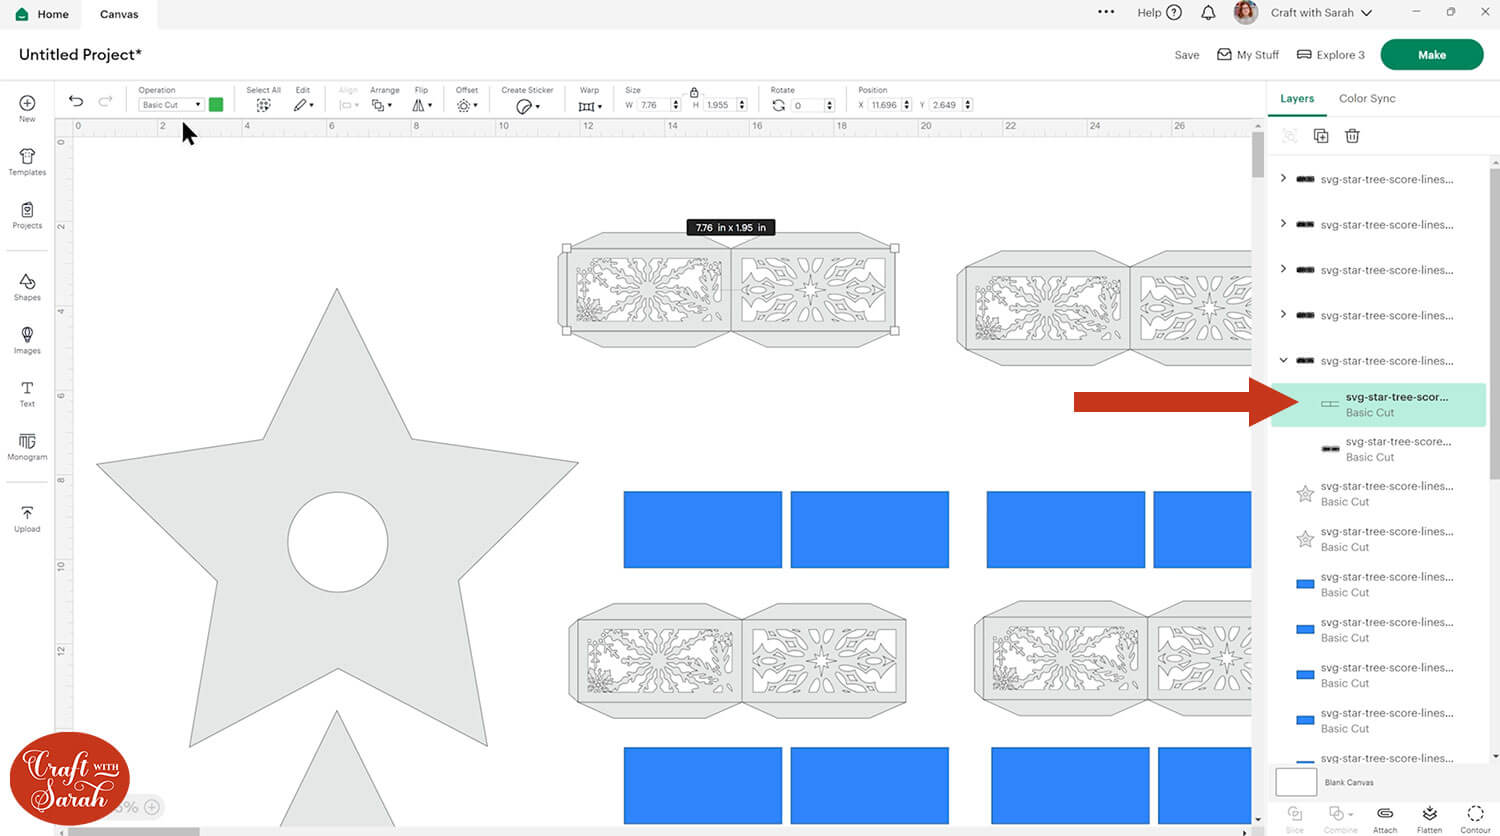
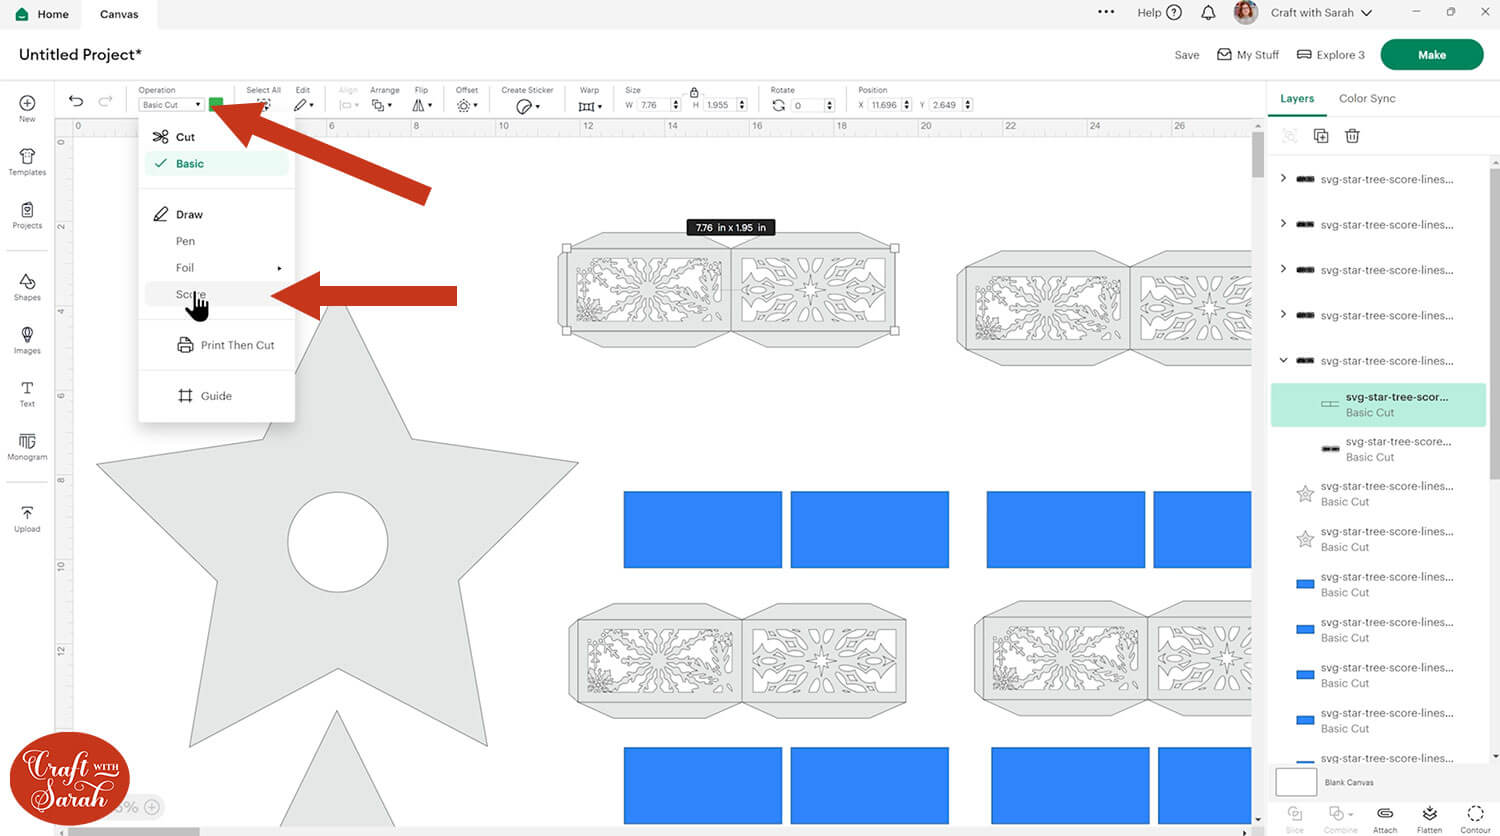
Change it to “Score” using the Operations dropdown menu.
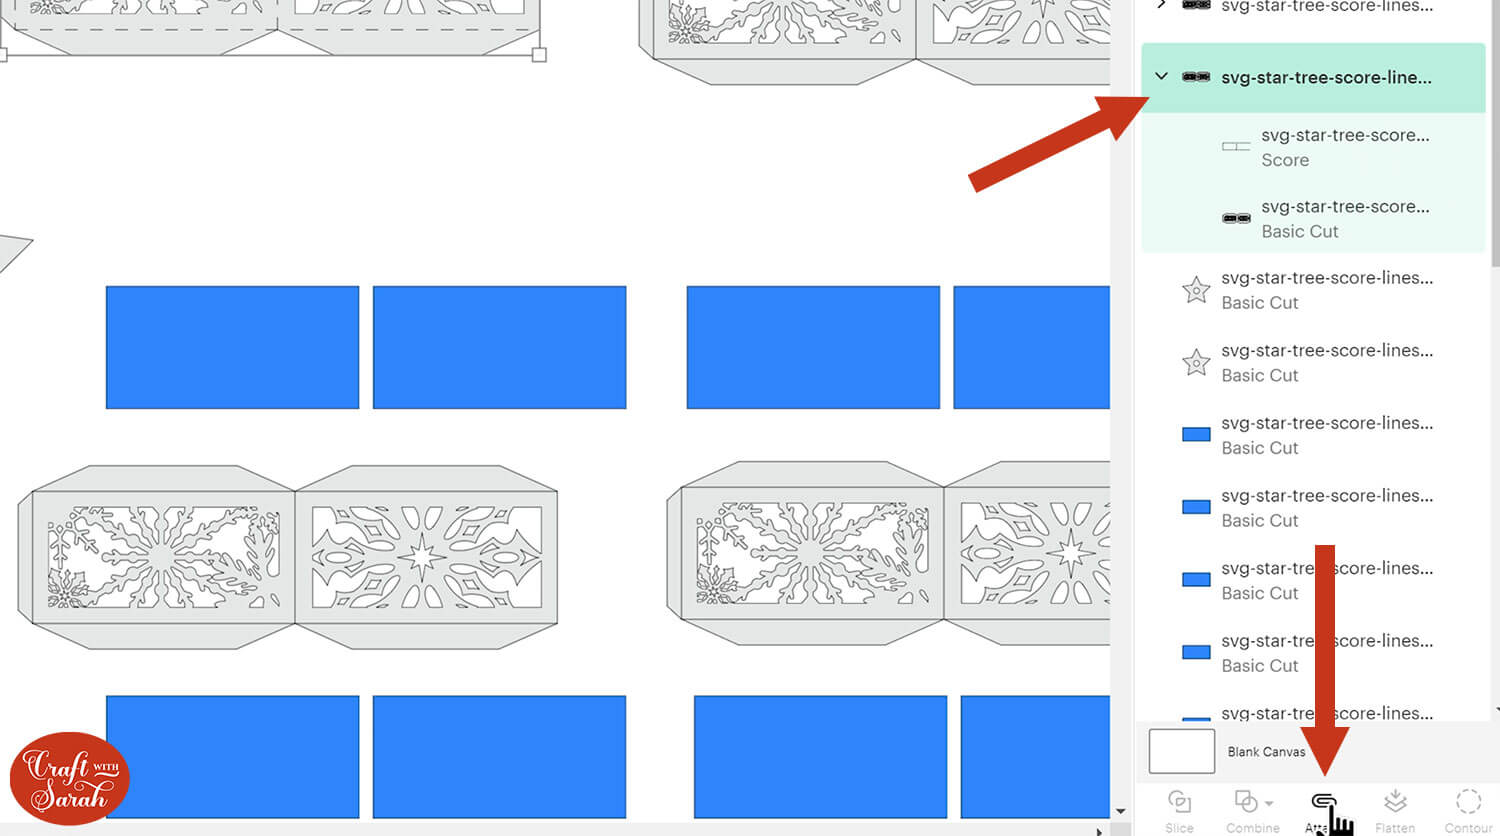
Click to select the group (of 2 layers) and press “Attach”. Attach is what tells the Cricut where to do the scoring.
Repeat this for all of the layers in the design that need score lines.
There are quite a few, so be patient and work through them carefully to make sure none are missed.
Save the project when you are done so that you don’t lose all that hard work!
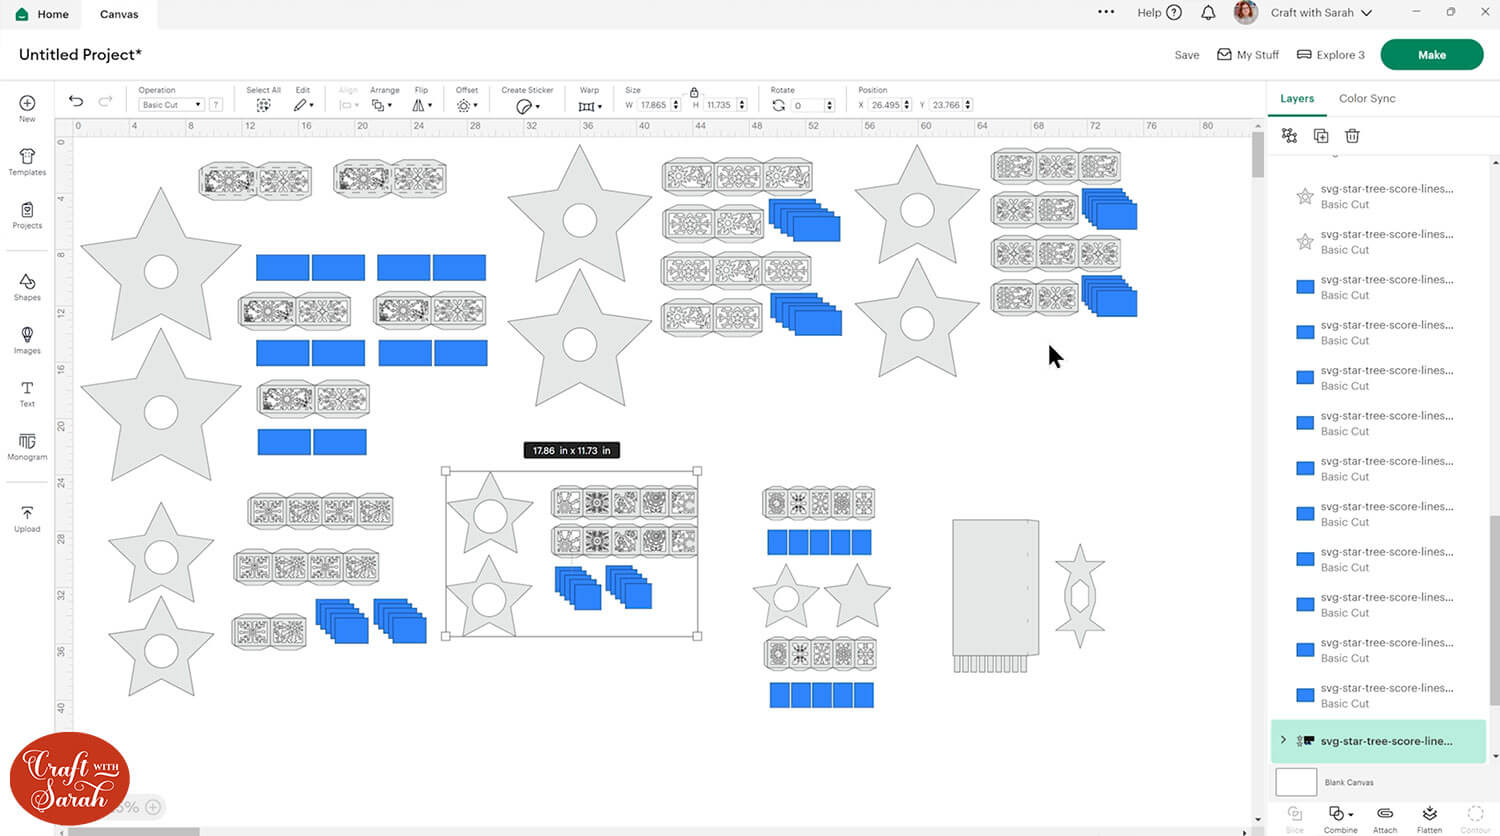
Step 5) Cut the star tree project
Click “Make” in the top-right corner of the screen to begin the cut process.
The blue rectangles in the design are to be cut from a transcluscent material such as vellum or tracing paper. This will help to diffuse the light from the fairy lights to make a more cohesive and pretty glowing effect.
Get everything cut out and then gather your pieces together for the assembly.
Due to the complexity of the snowflake designs, this project takes a long time to cut out!
Step 6) Stick the stars together
All the stars go together in the same way. Each one has a top and bottom “star” shape with a circle cut out of the middle, the edge snowflake pieces and the vellum rectangles.
We will start with the largest star.
Take one of the snowflake side pieces, turn it upside down and fold along the score lines. You can use a ruler to help you keep your score lines precise.
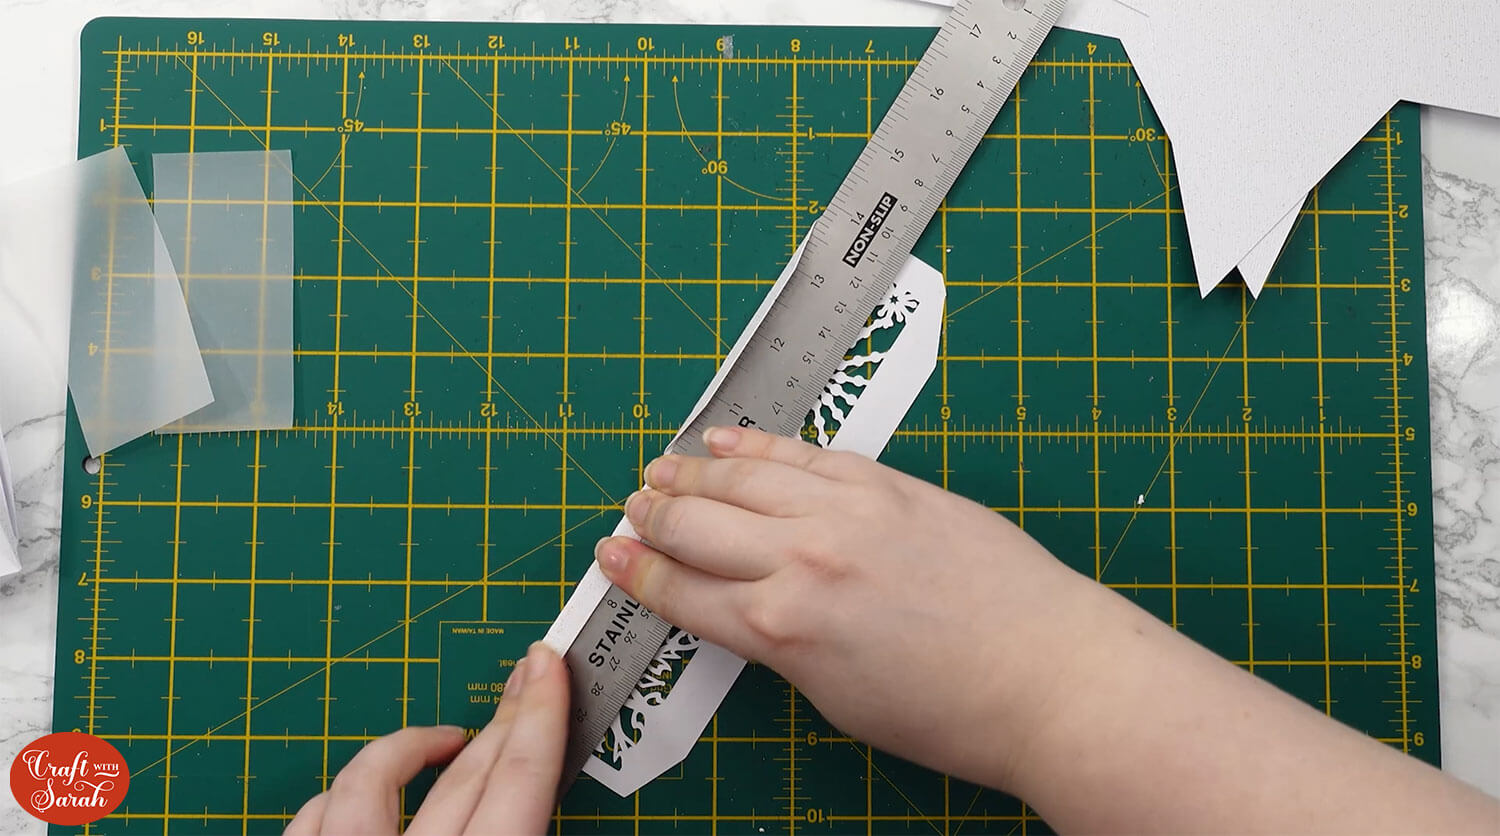
If you have one, use a brayer tool to go down the fold lines to make sure they are really sharp and crisp.
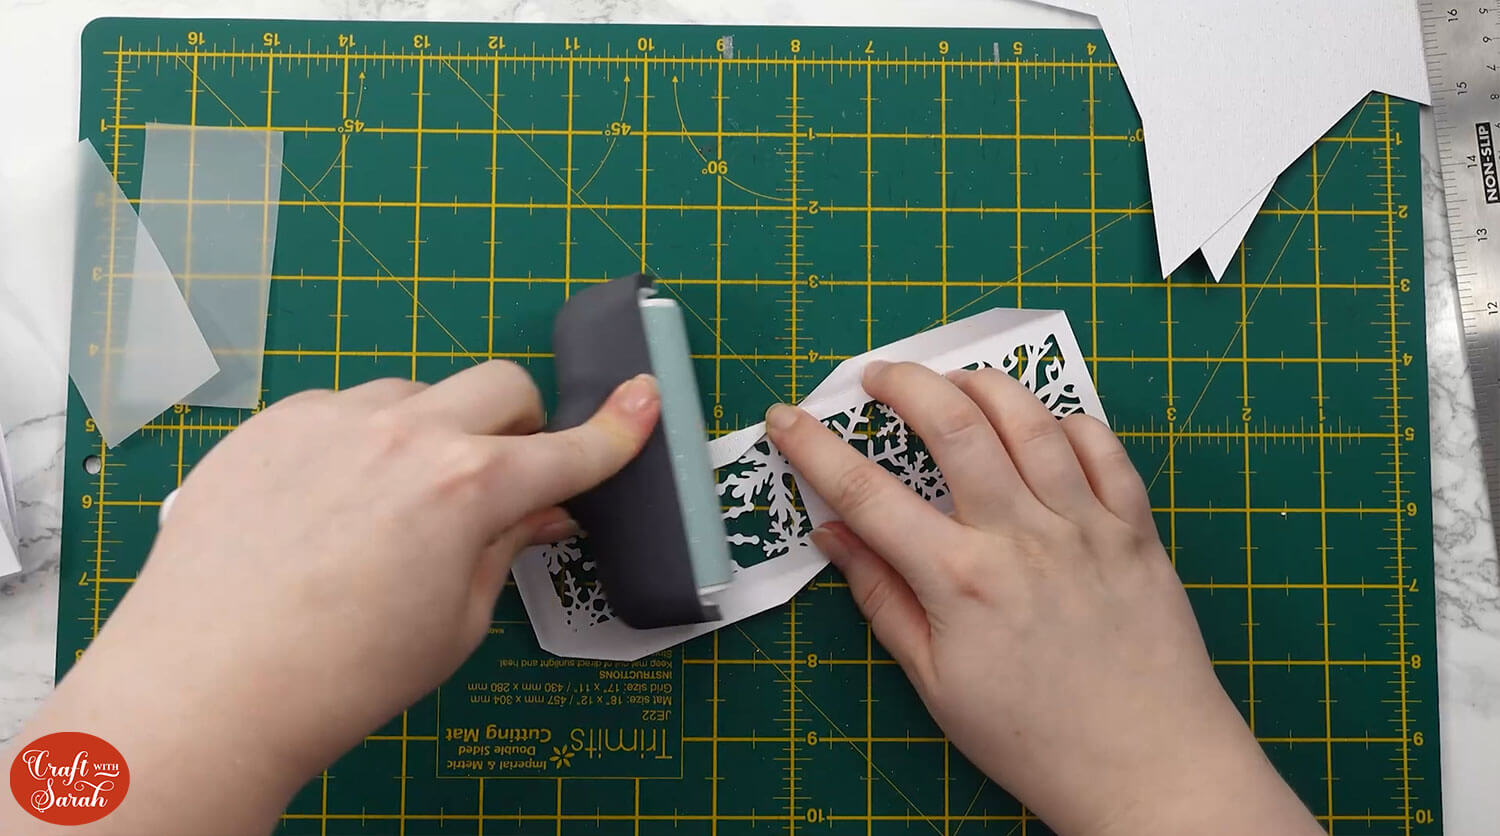
Keep the snowflake piece upside down and glue the vellum rectangles behind the cutouts.
Push the vellum down gently so that the glue doesn’t smush out the sides.
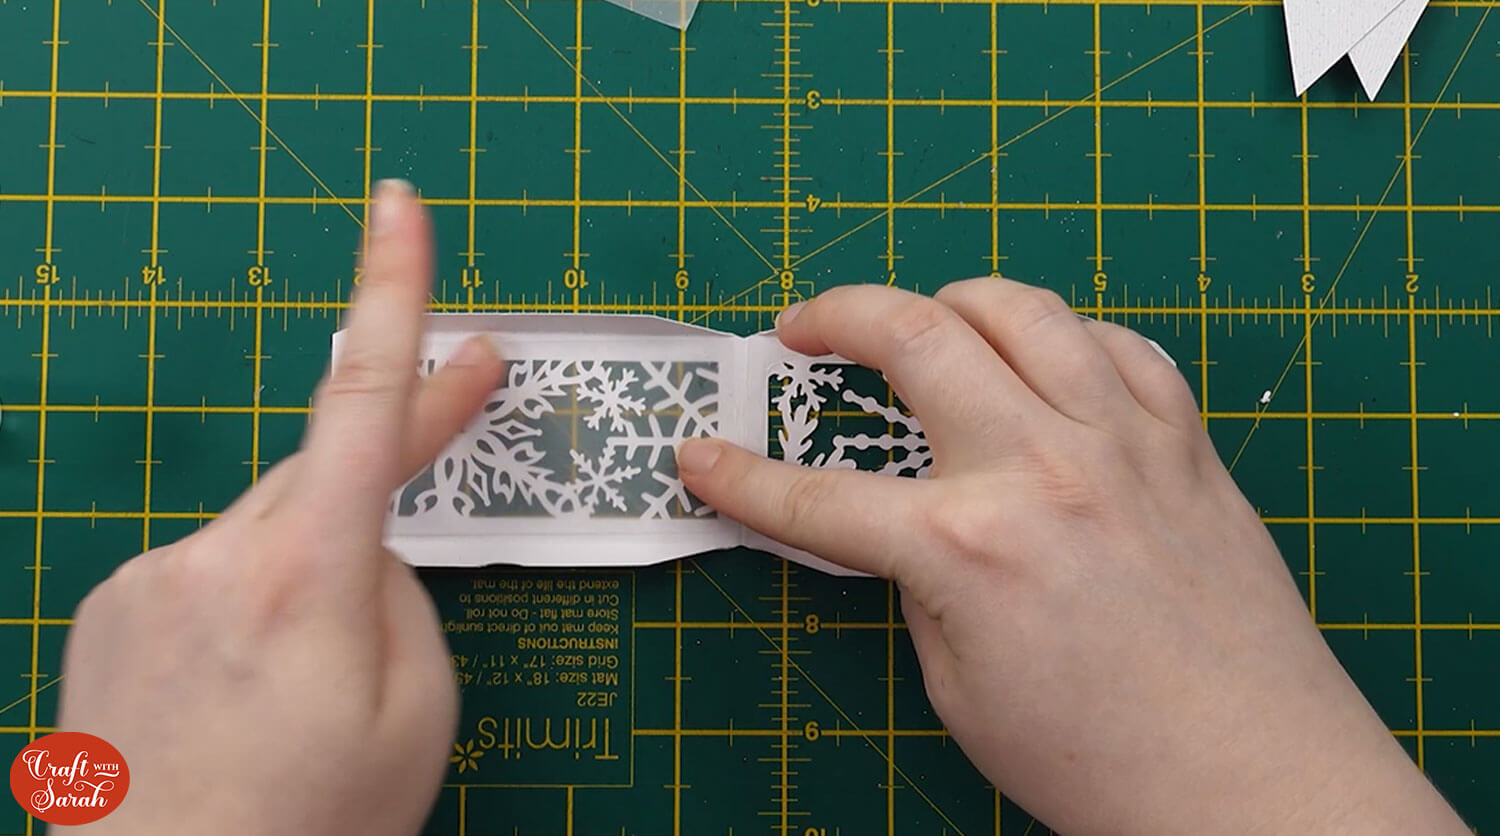
Do this for all the snowflake side pieces for the particular star that you are making.
Stick each of the side panels together, using the tabs on the edges. Double-sided tape is a little easier to use than glue as you won’t have to wait for it to dry.
It might be helpful to check Design Space to see the order to stick the side pieces together. There is a repeating pattern in the snowflake design so you don’t want to put two of the same pieces next to each other.
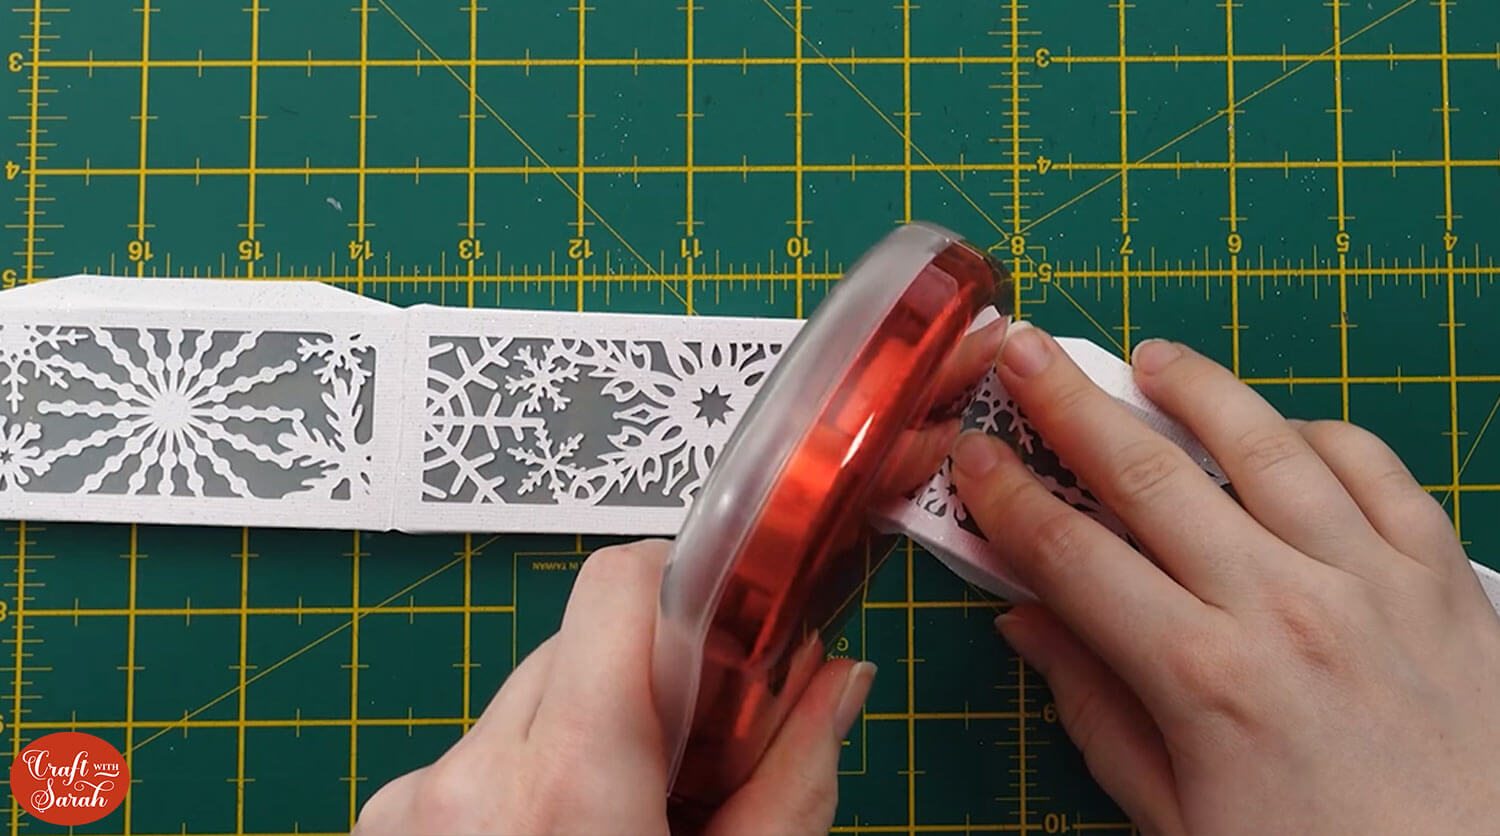
Stick all the pieces together in one line. You should have 10 snowflake “panels”/rectangles for each star.
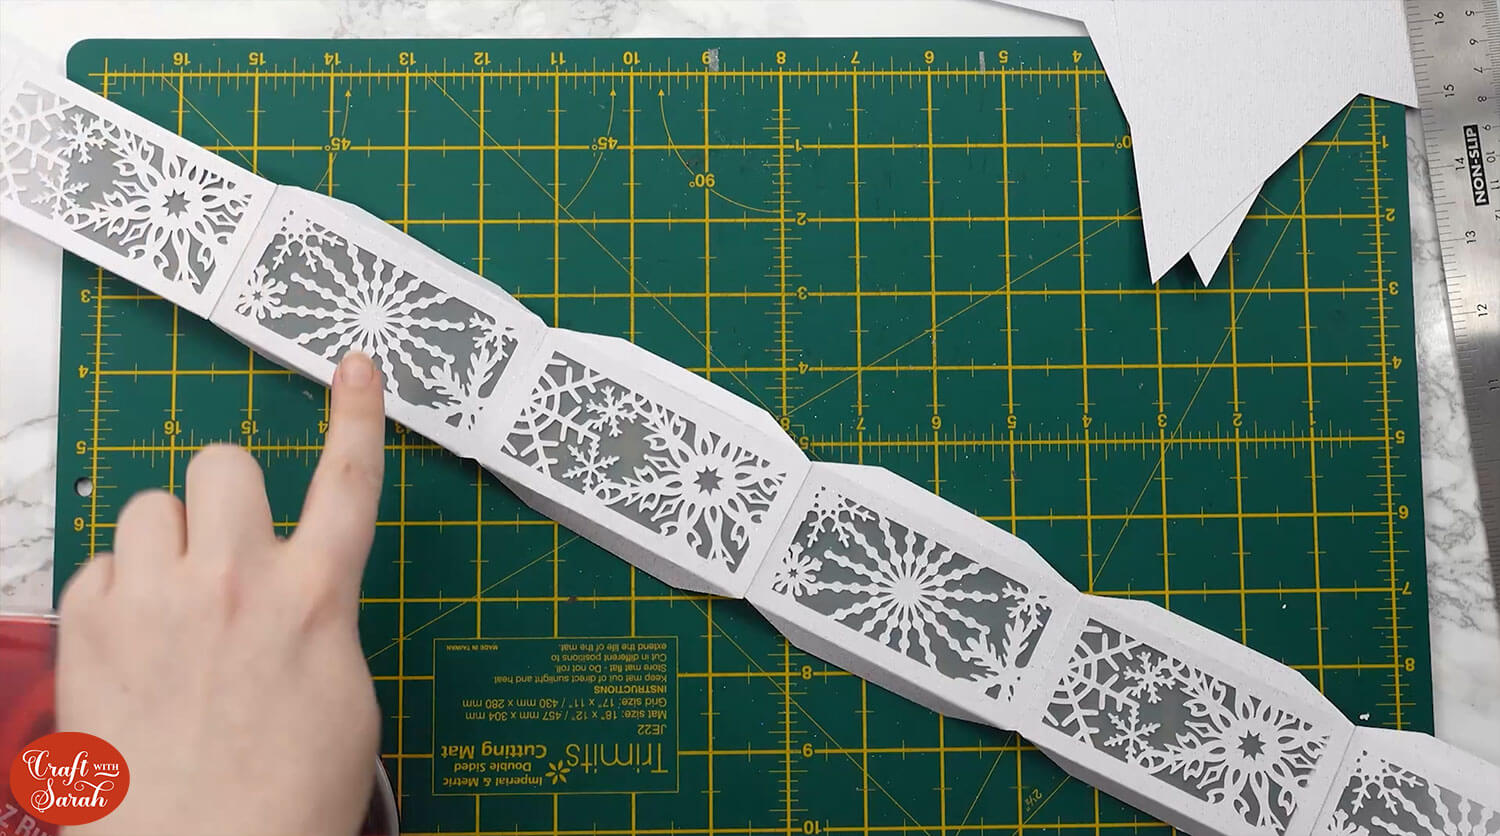
Take one of the star shaped pieces and place it upside down.
Keep the snowflake piece the right side up and run your tape down all the tabs on one side.
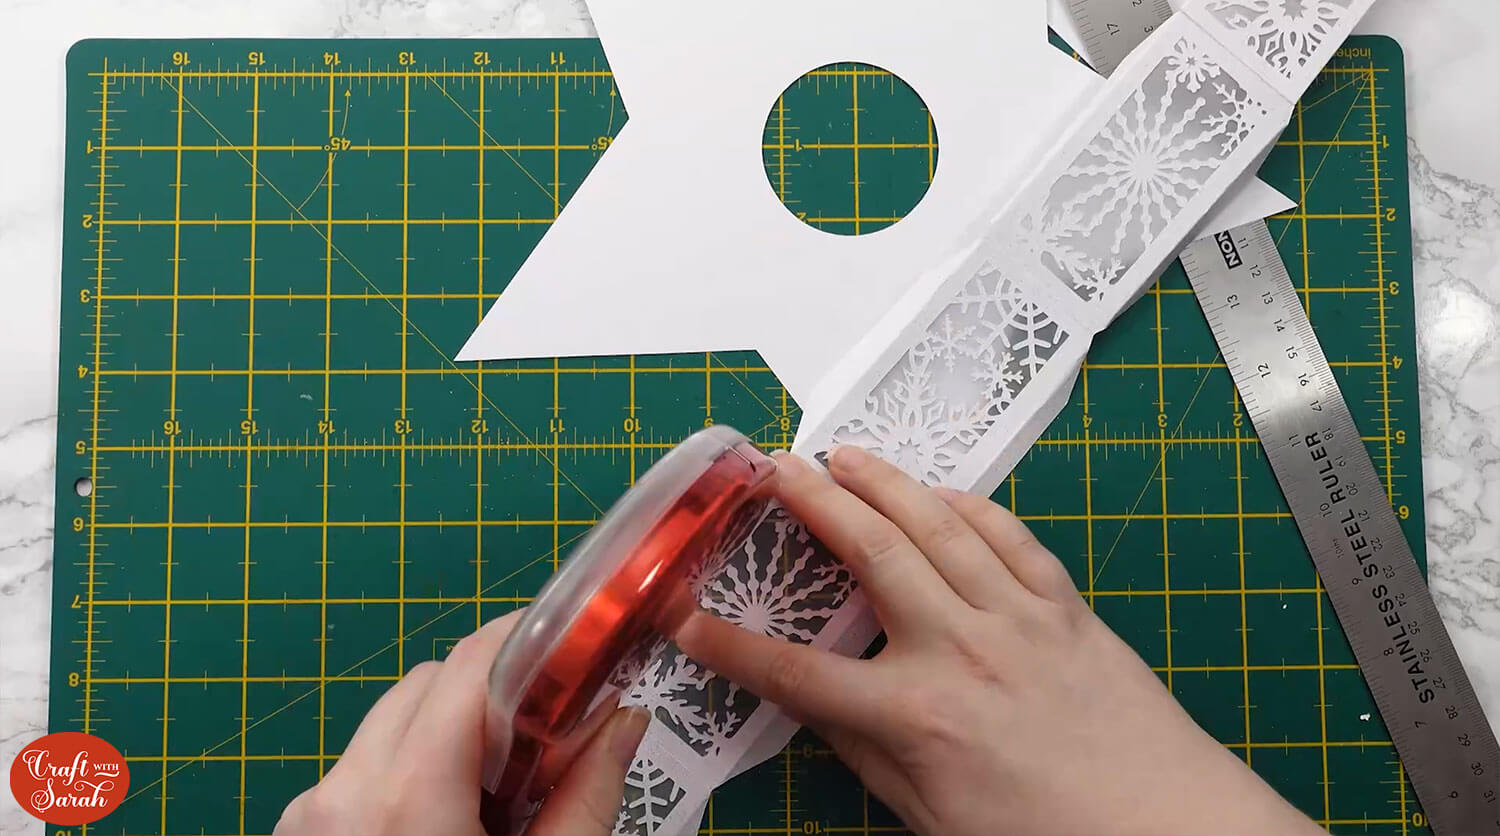
Start with one triangle/point of the star and stick the tabs to the star piece. The tabs don’t go right up to the edge, there’s about a 1mm overhang on each side which will make it much easier to stick down.
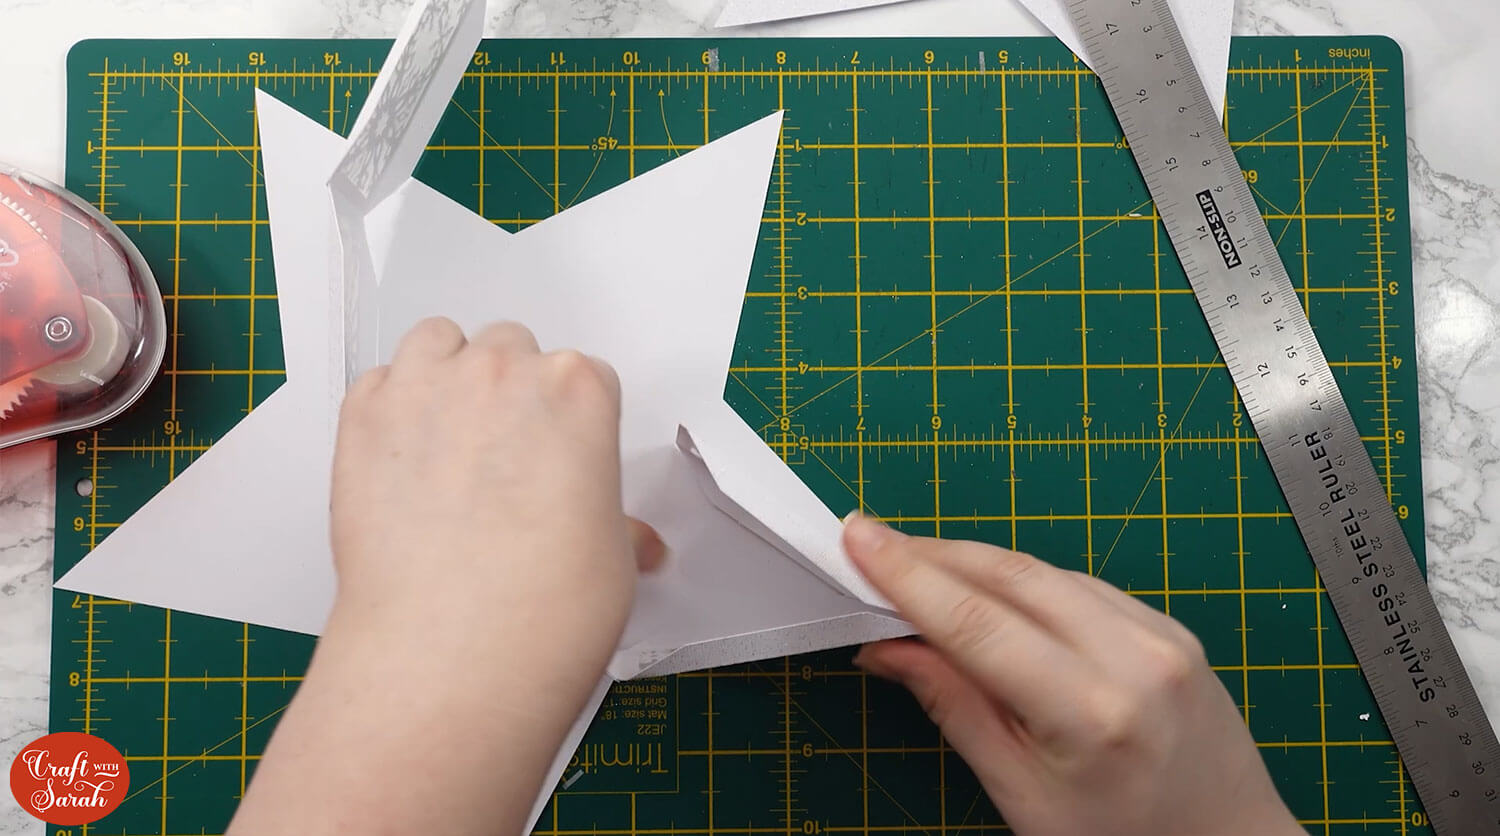
Continue sticking all the tabs on that side onto the star. It can be a bit fiddly but take your time with it.
When you get to the final section, stick the remaining tab to the back of the first one you stuck down.
Next, press down the folds on the remaining tabs and make sure they are sitting flat and flush, ready for the other star piece to stick on top.
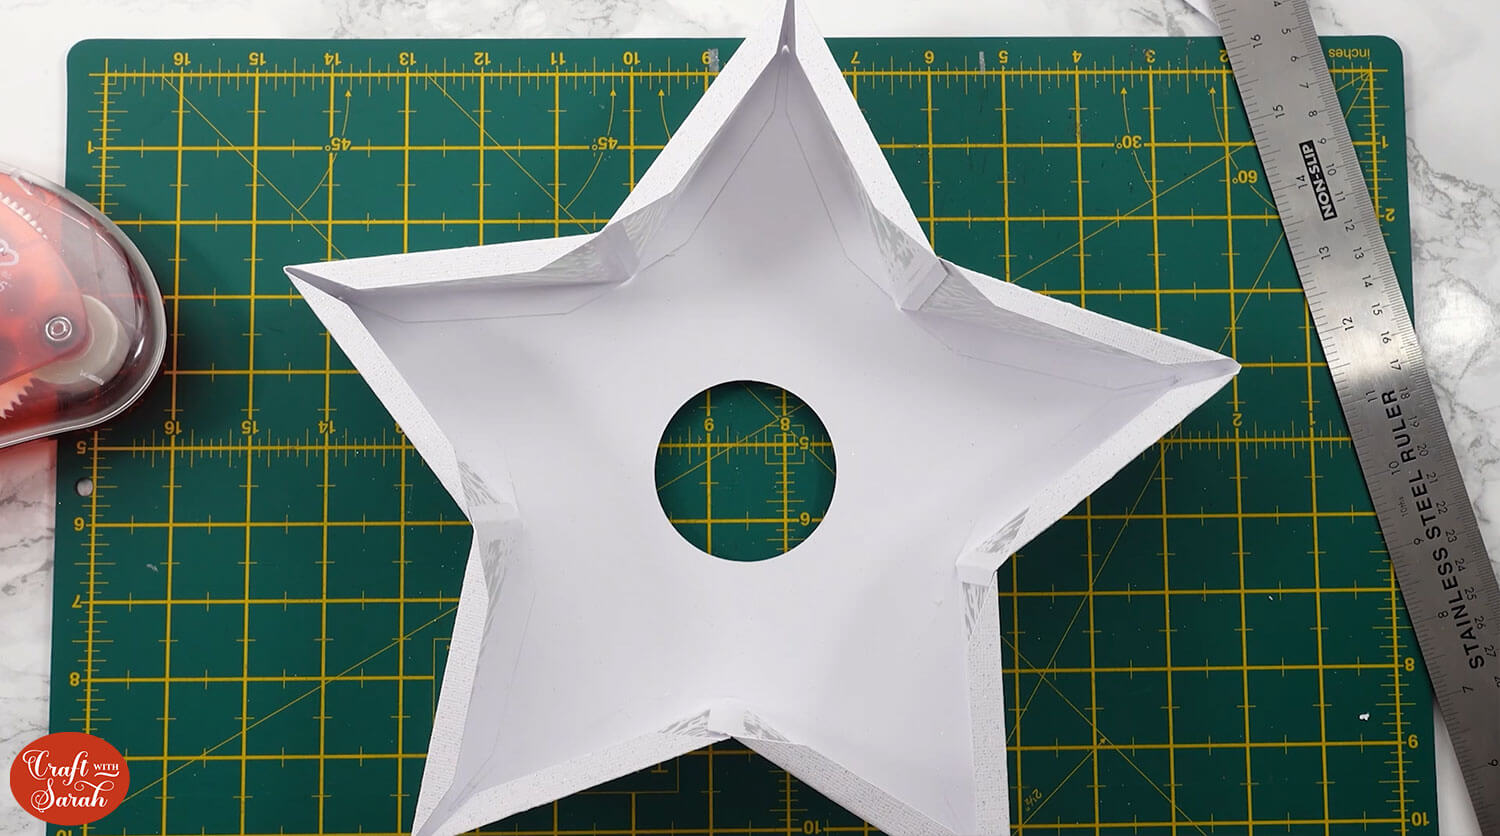
Add glue to the top of the tabs.
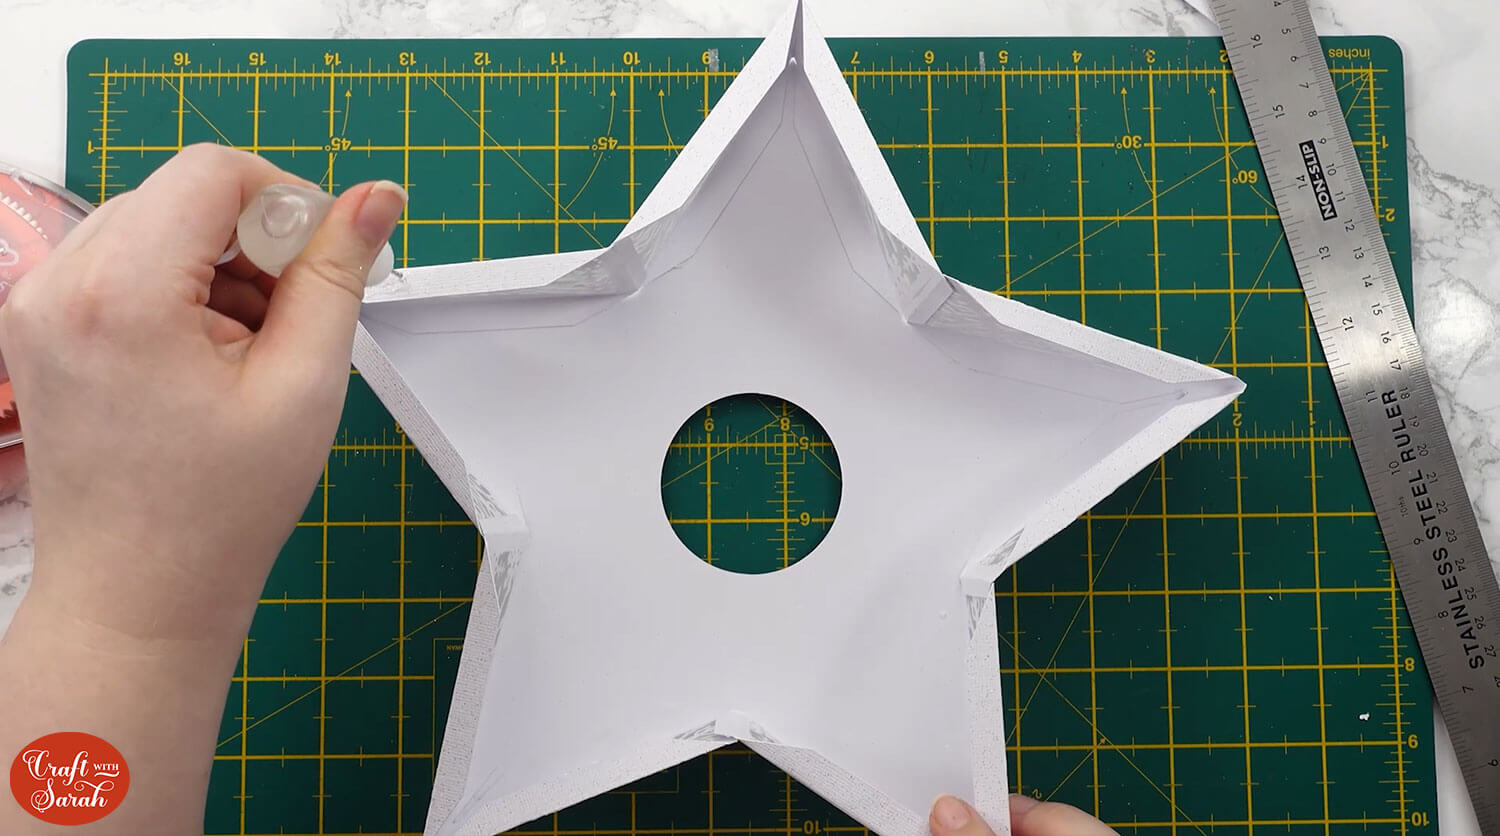
Take the matching star shape and make sure you have it pretty side up.
Place it onto the tabs. At first you will notice that it doesn’t fit, you will need to squeeze in one side at a time until it fits. Work quickly to do the same to the other sides of the star before the glue dries.
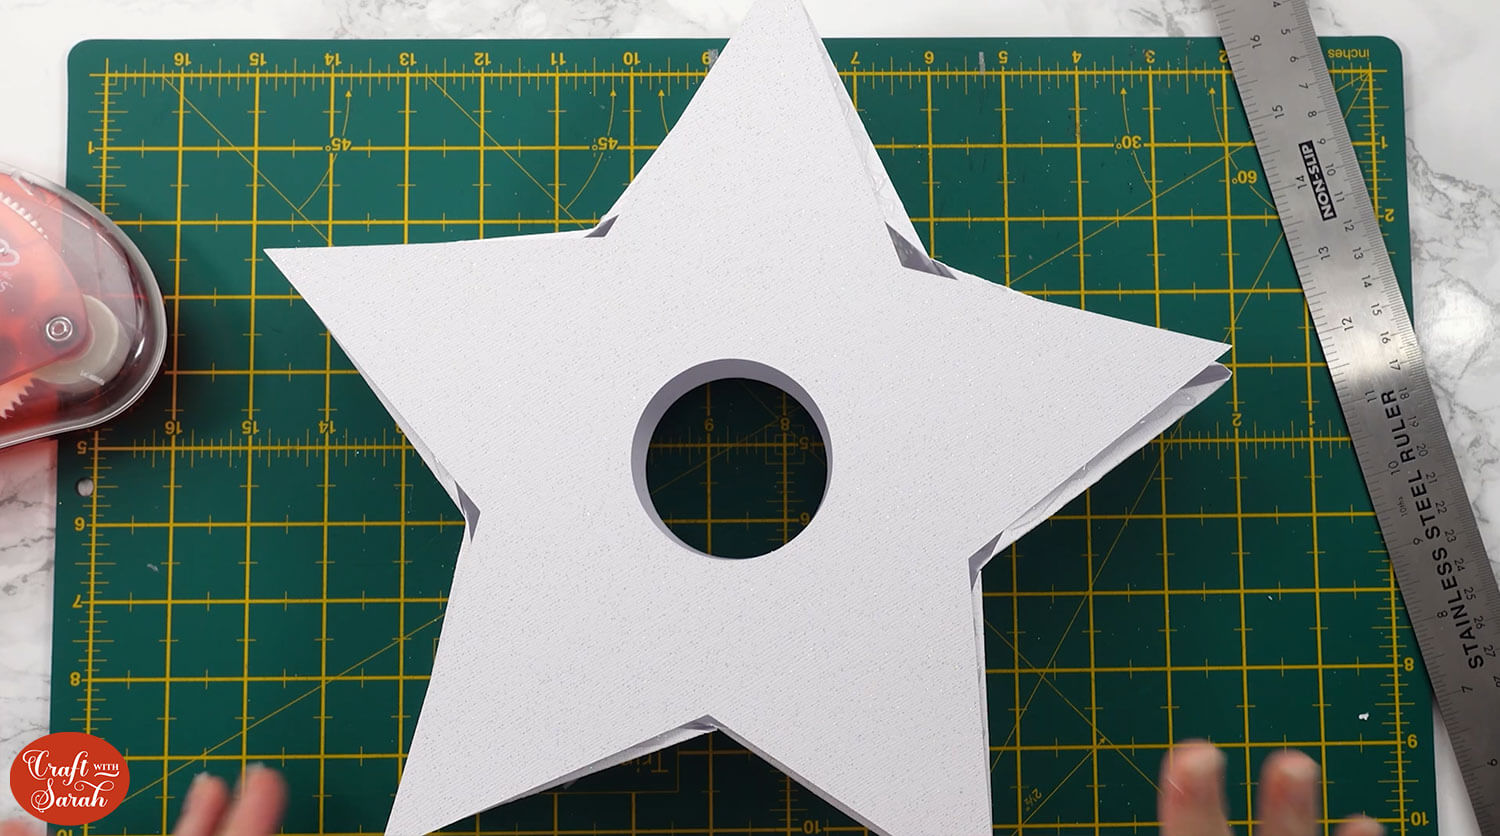
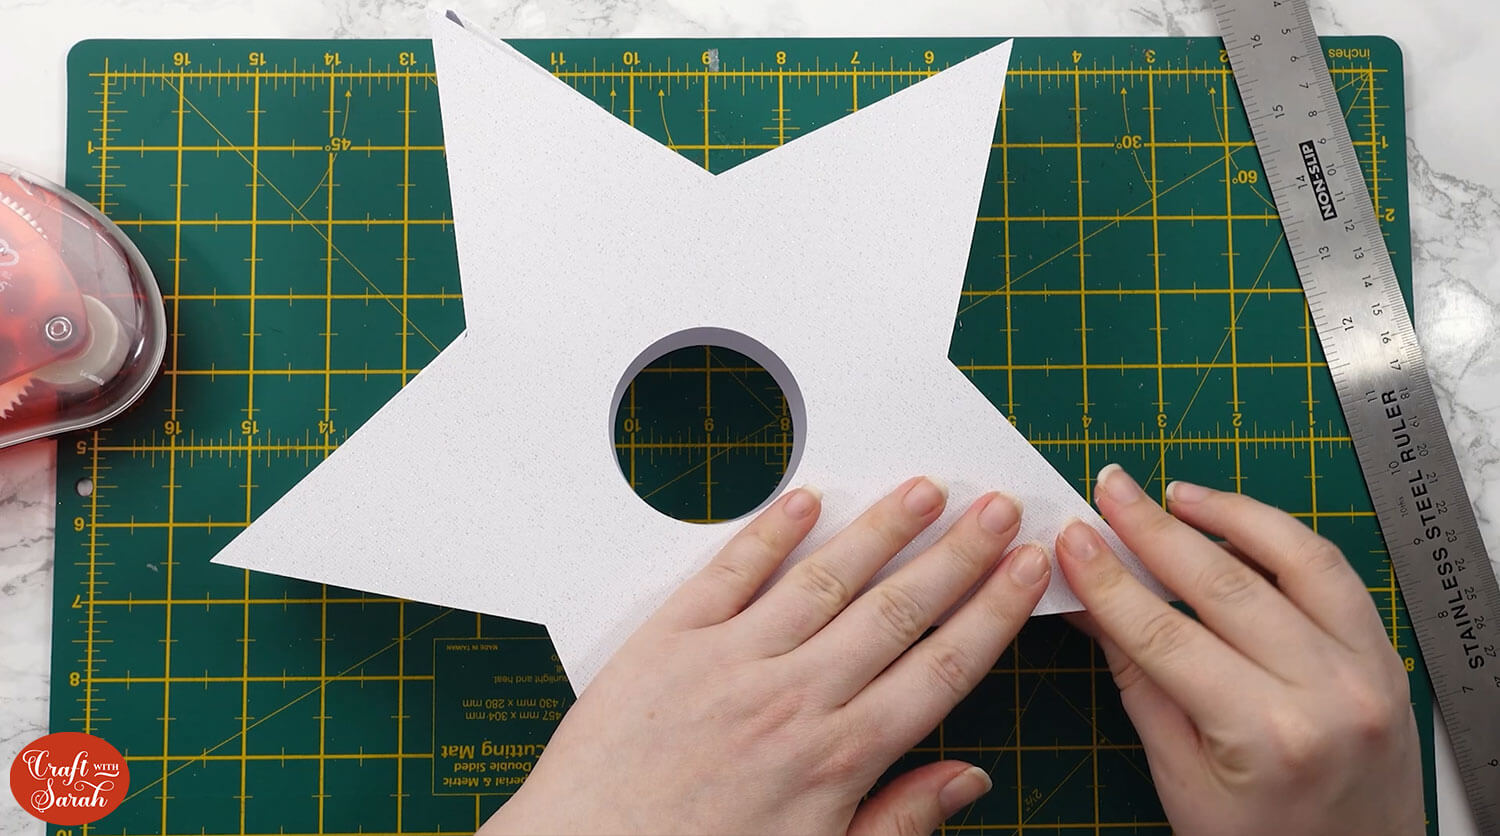
Don’t worry if it comes apart a bit as you are putting it together, just go back to the pieces that have come unstuck and press them together again.
That’s your first star finished!
Repeat these steps for the other stars.
Step 5) Assemble the tube for the fairy lights
Take the rectangular piece with lots of little tabs along the bottom.
If you are using the Cricut Access version then you will have a pen/draw line down one of the sides. If you are using the SVG version then you will see some dashed lines instead.
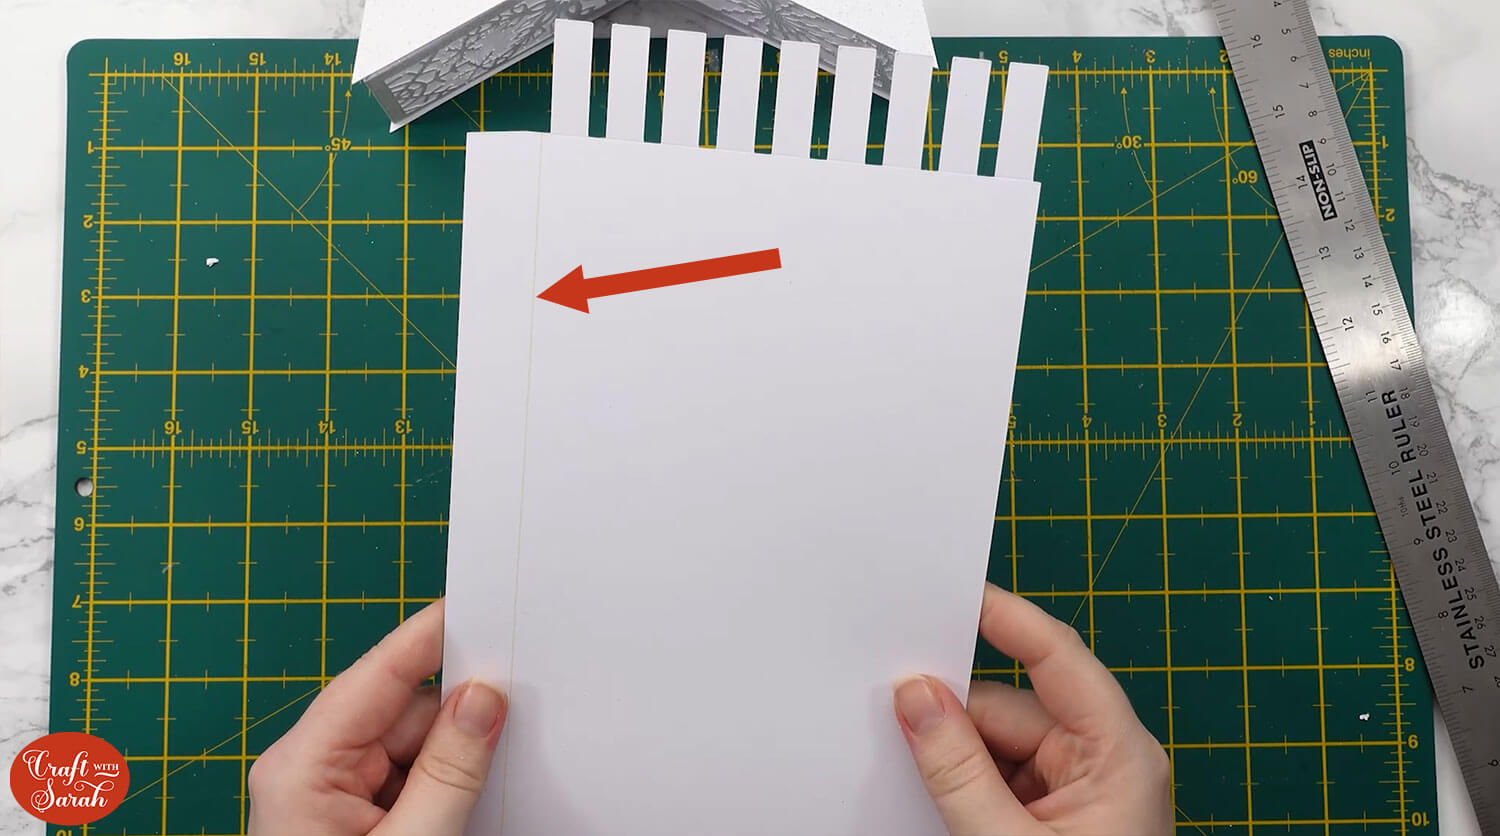
Turn the piece upside down and fold up all of the tabs.
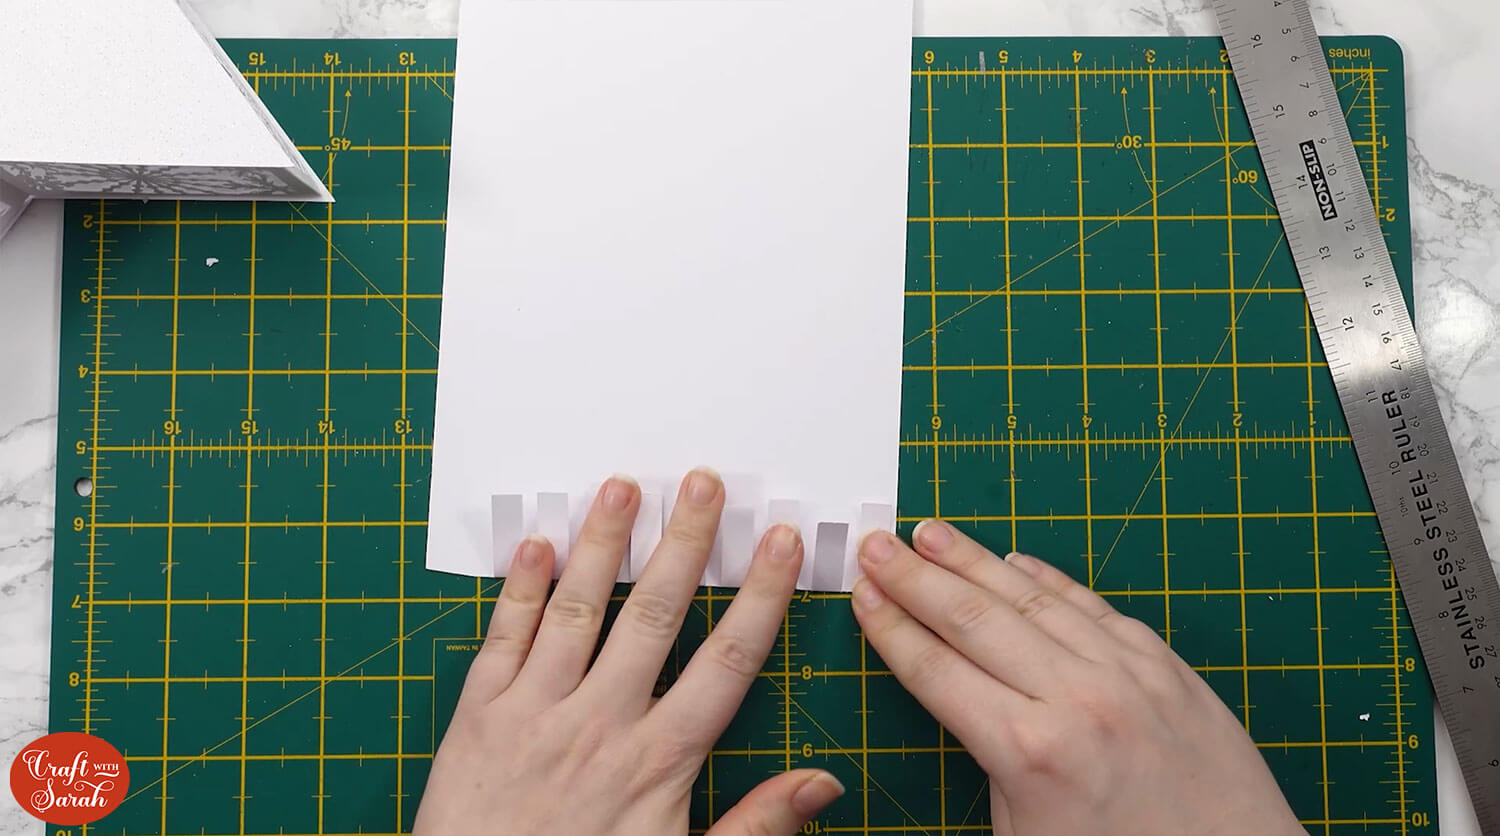
Add tape or glue up to the line.
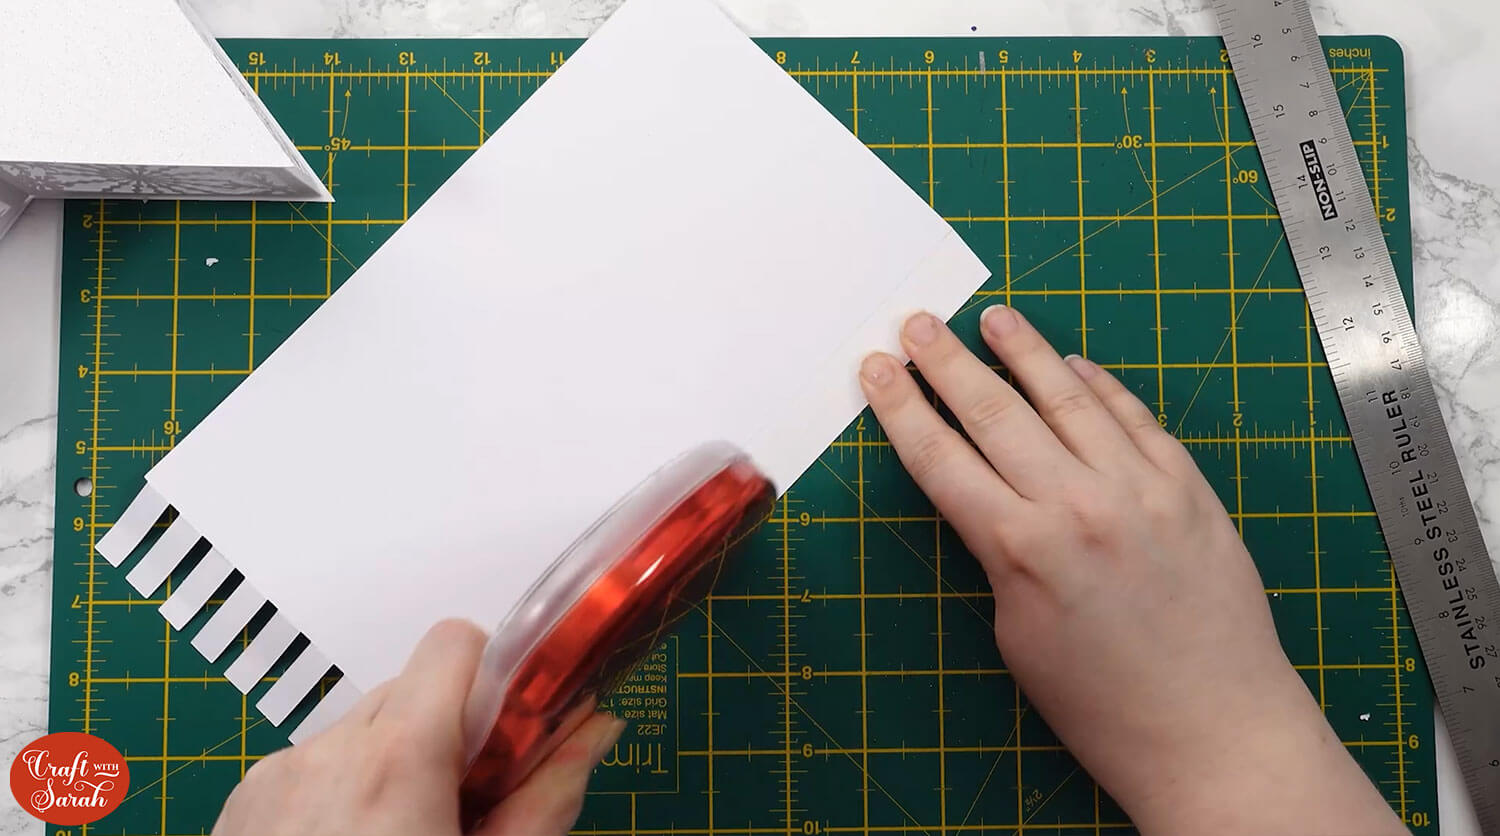
Bend the card around a little to help prepare it to roll.
Roll the tube up and stick it together so that it lines up with the guide lines. The guide lines are there so that it fits in the holes of the star perfectly.
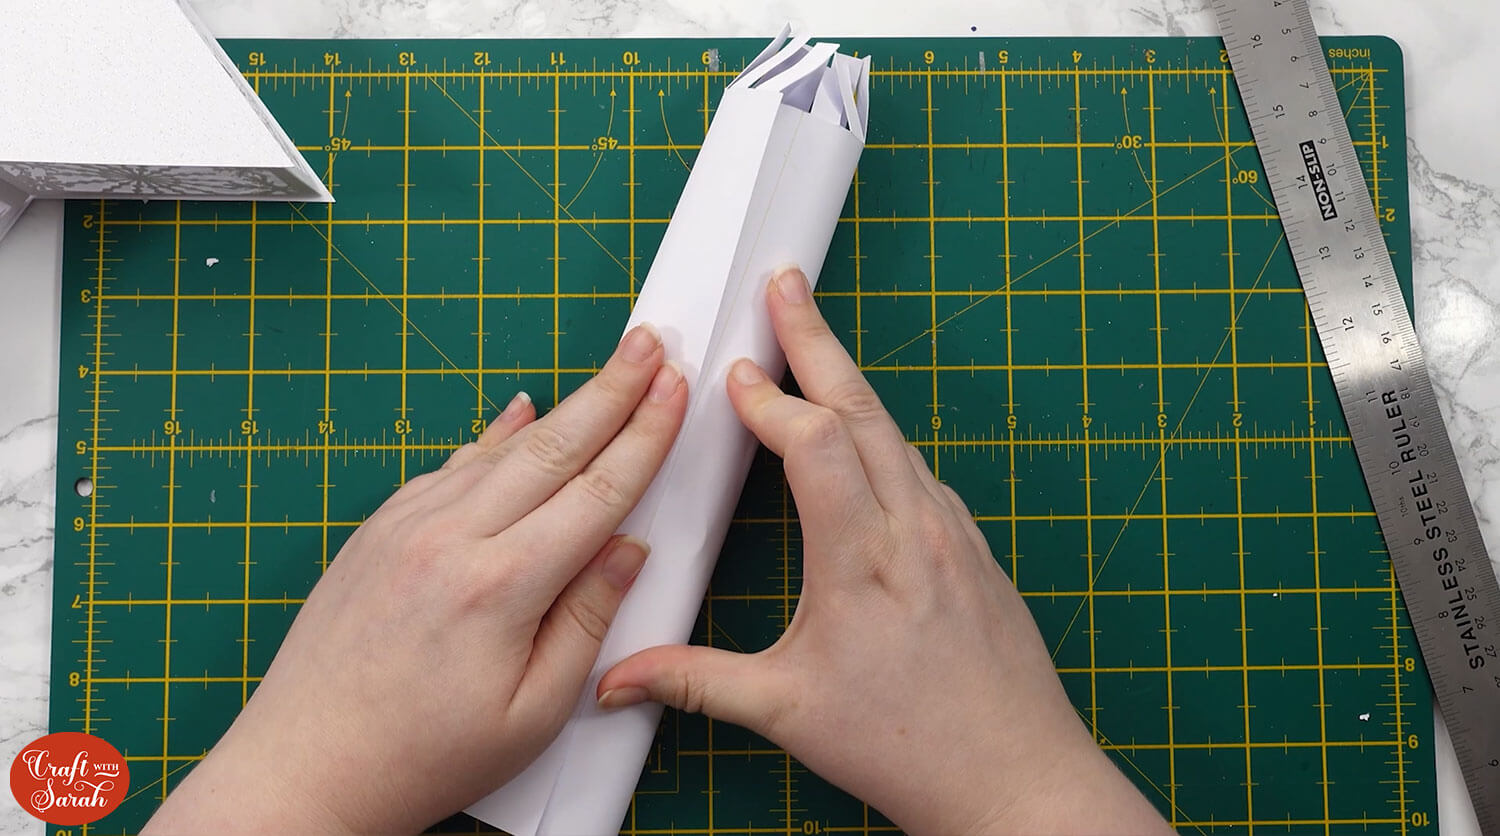
Open out the tabs. This end will go at the bottom of the tree.
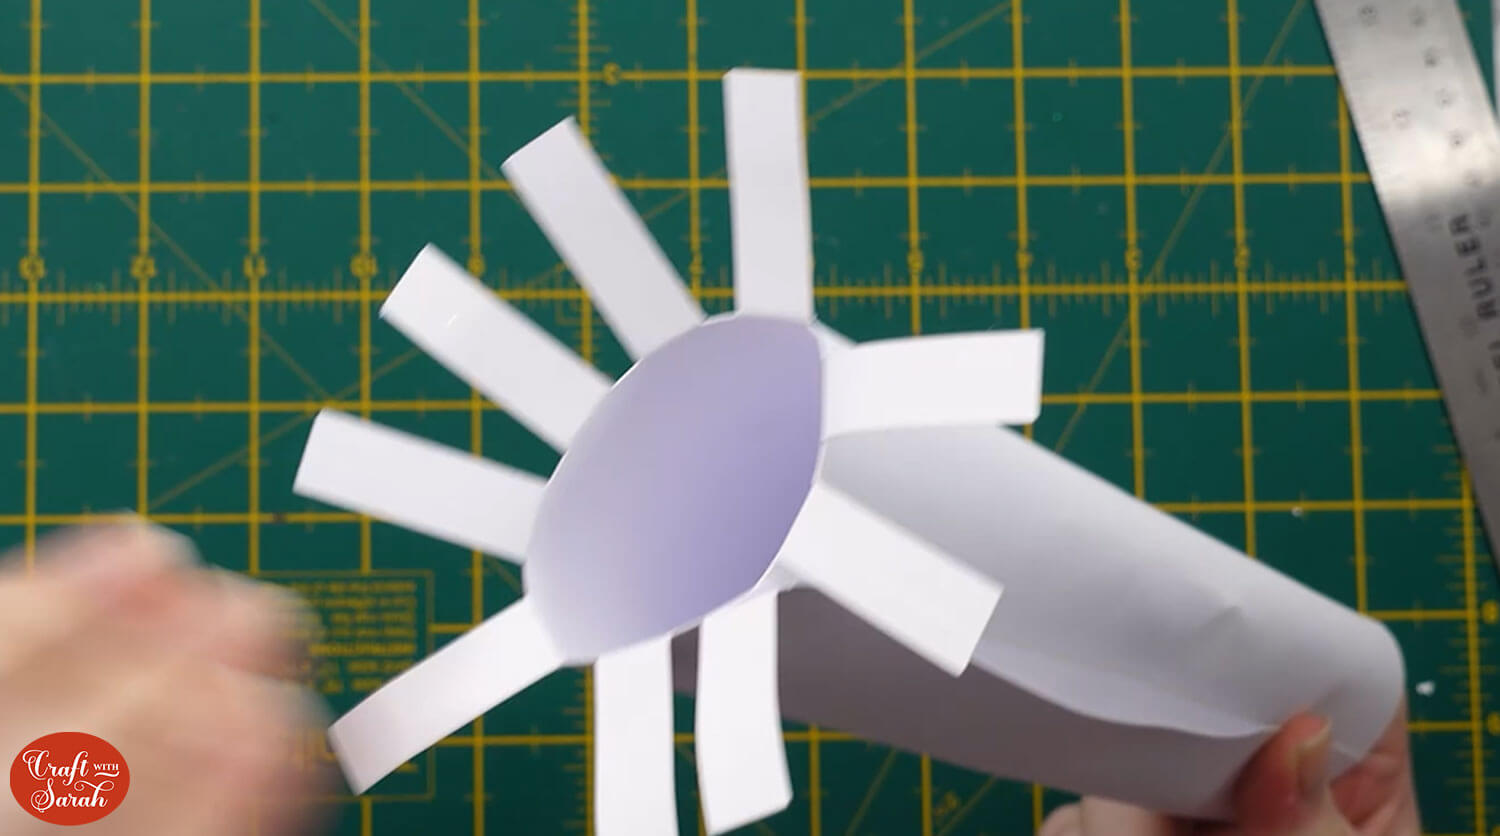
Take your battery fairy lights and wrap them around the tube. Use sticky tape to adhere them to the tube so that they don’t slip down.
I used two sets of battery fairy lights.
Leave a section of lights that aren’t wrapped around the tube as we will use these to light up the very top star.
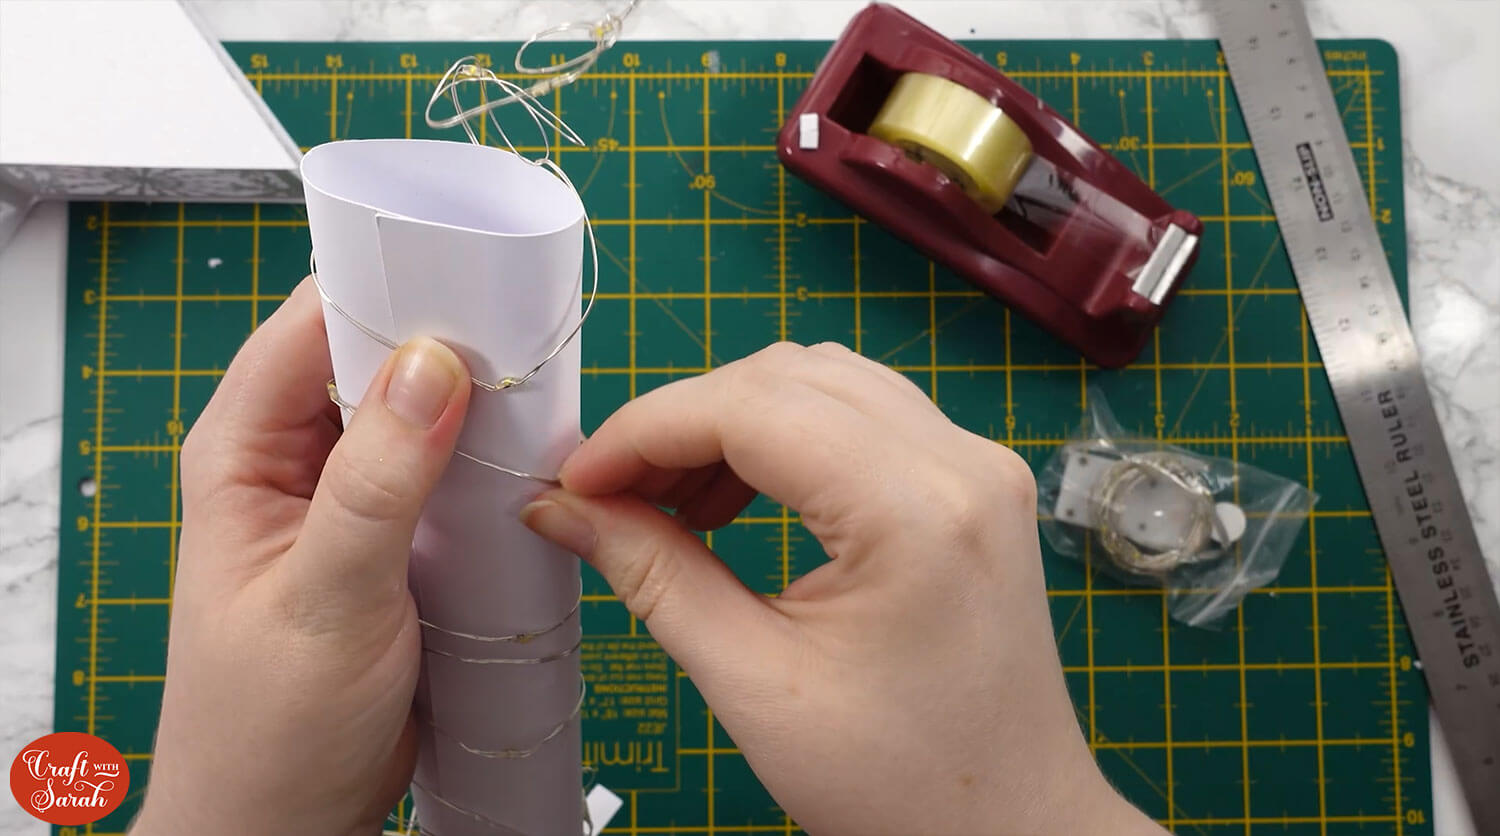
Slot the largest star over the top of the tube and thread it all the way down to the bottom. Pass the battery packs under the bottom star so that they are easy to turn on and off.
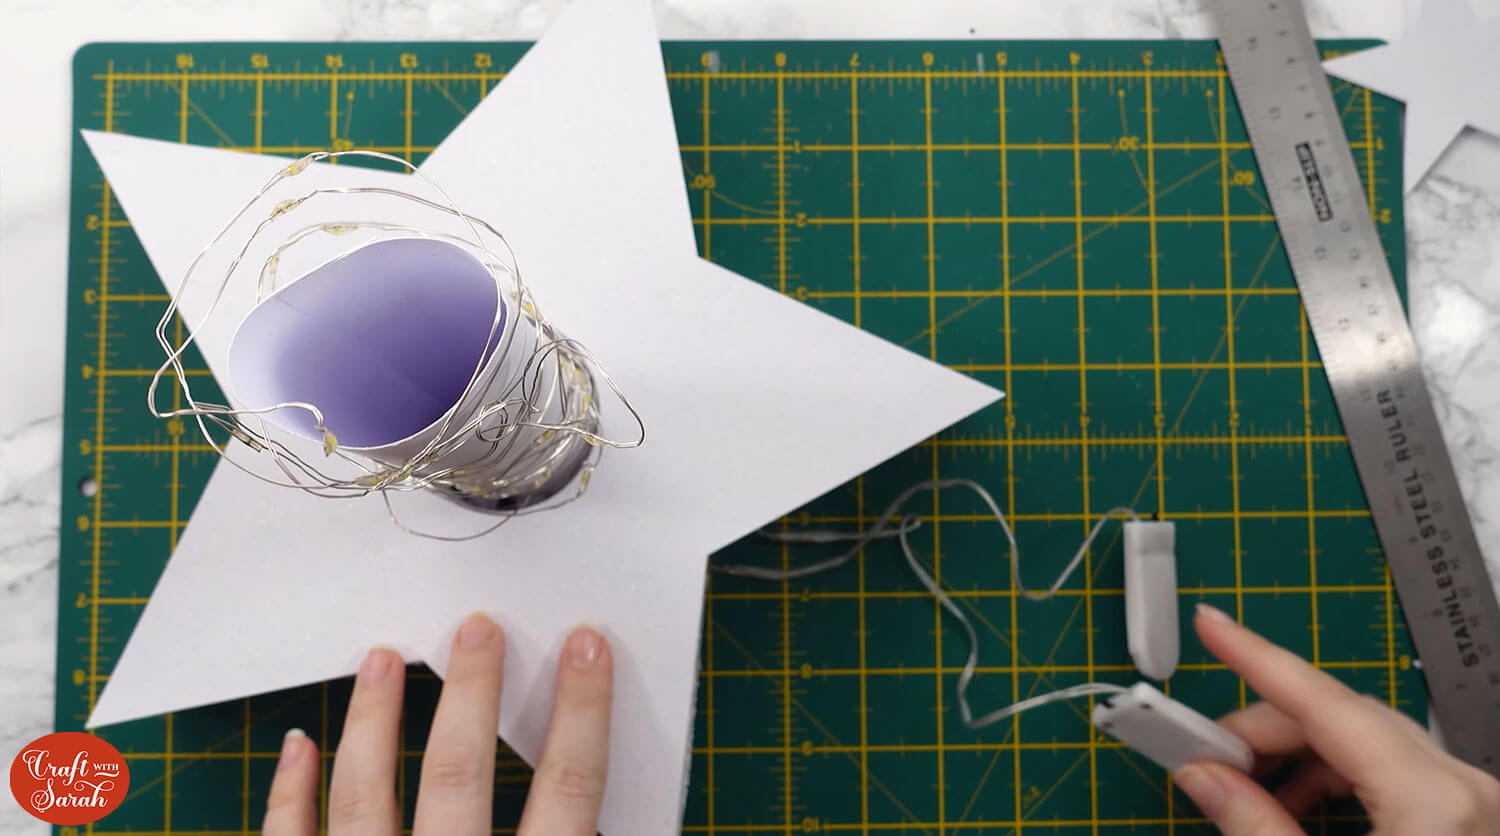
Add the rest of the stars on top.
When you place each star on, you want to position it so that the spikes of the star alternate as you look at it from a bird’s eye view. This is what makes it look like a “tree”.
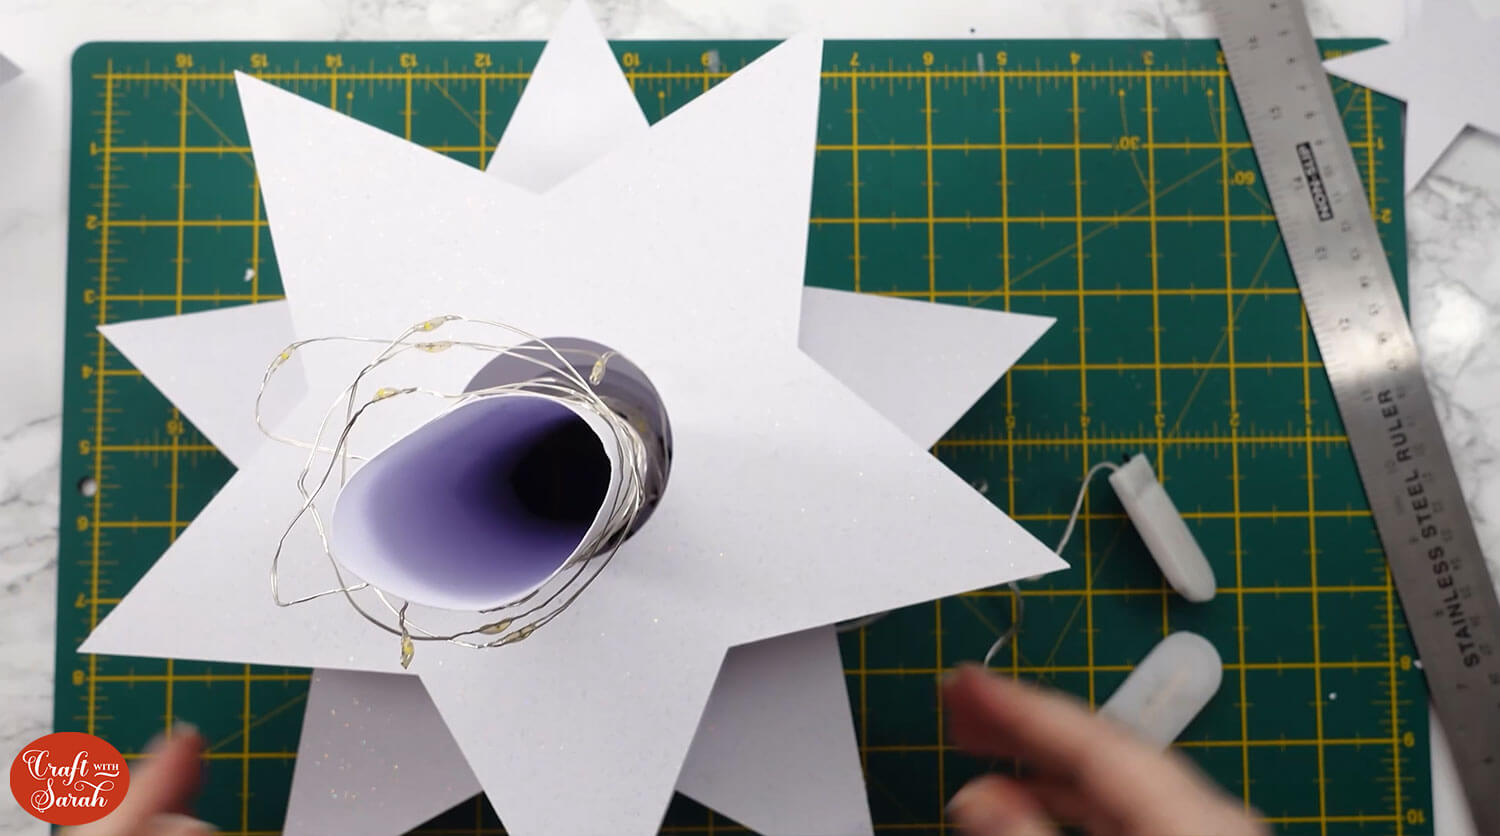
You will finish with the final, smallest star. Place the leftover fairy lights inside the hole of the star as you place it onto the tube.

Once all the stars are slotted onto the tube, you’ll have one piece of card left which is the star that stands on the very top.
Fold it where the thin rectangle meets the stars and stick the star pieces together with foam or glue.

Handmade Christmas tree centerpiece
Now your Christmas Star Tree Centerpiece is all finished!
I love how impressive the tree looks when it’s complete and glowing from the inside.
It will look magical when it takes pride of place on the dinner table this Christmas – it’s sure to be a showstopper piece.
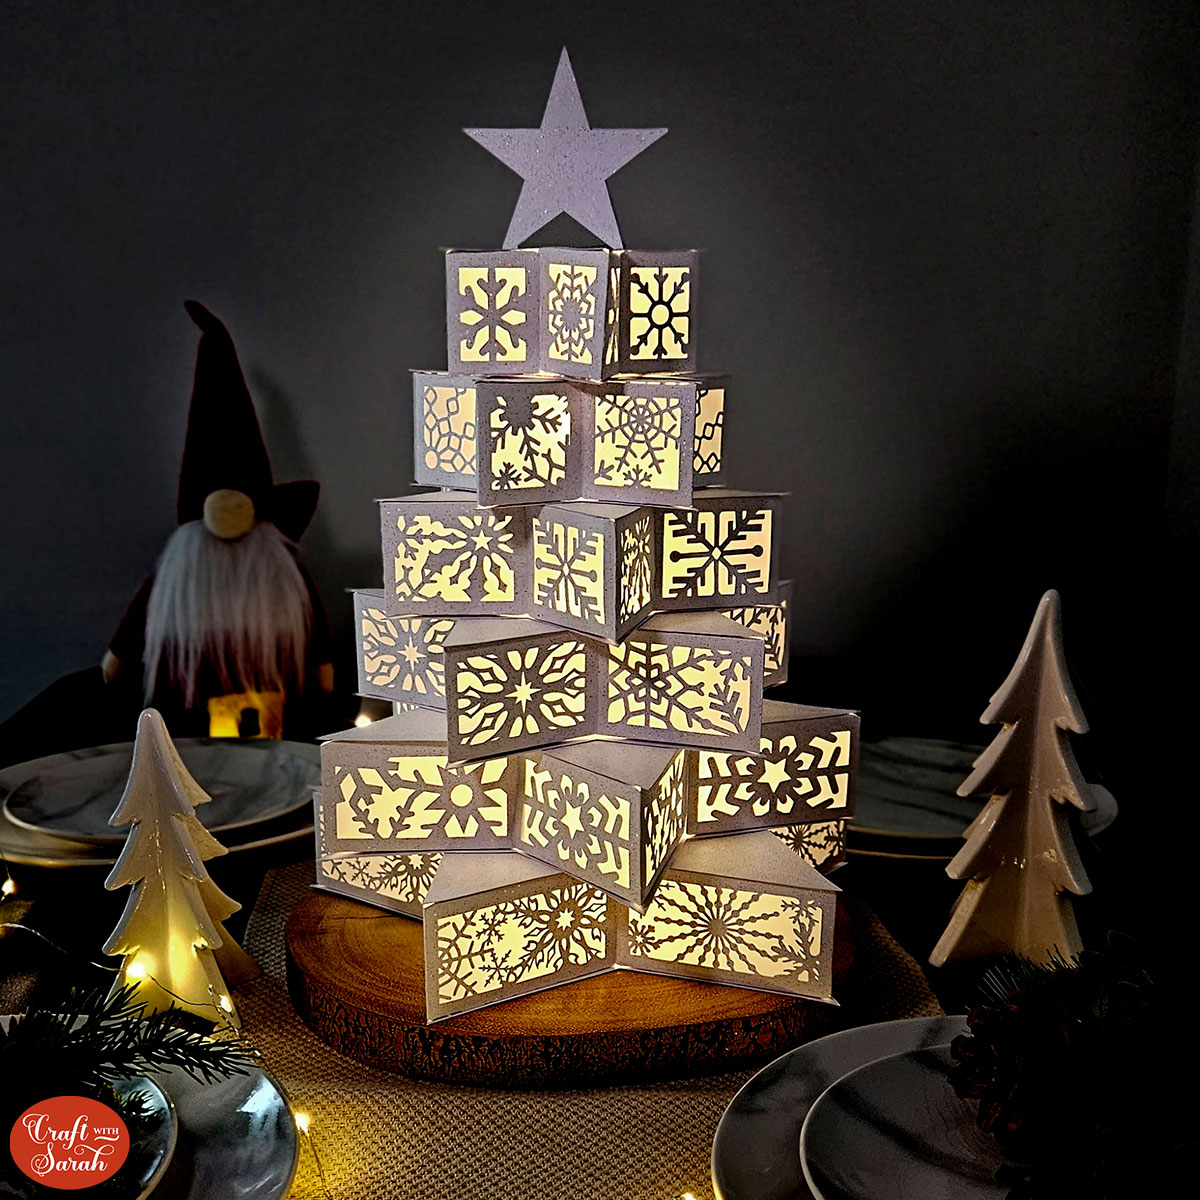
You can take it apart for easier storage for next year by removing the stars from the central tube.
Happy crafting,
Sarah x

