GIANT Snowman Craft ☃️ Cricut Design Space Project
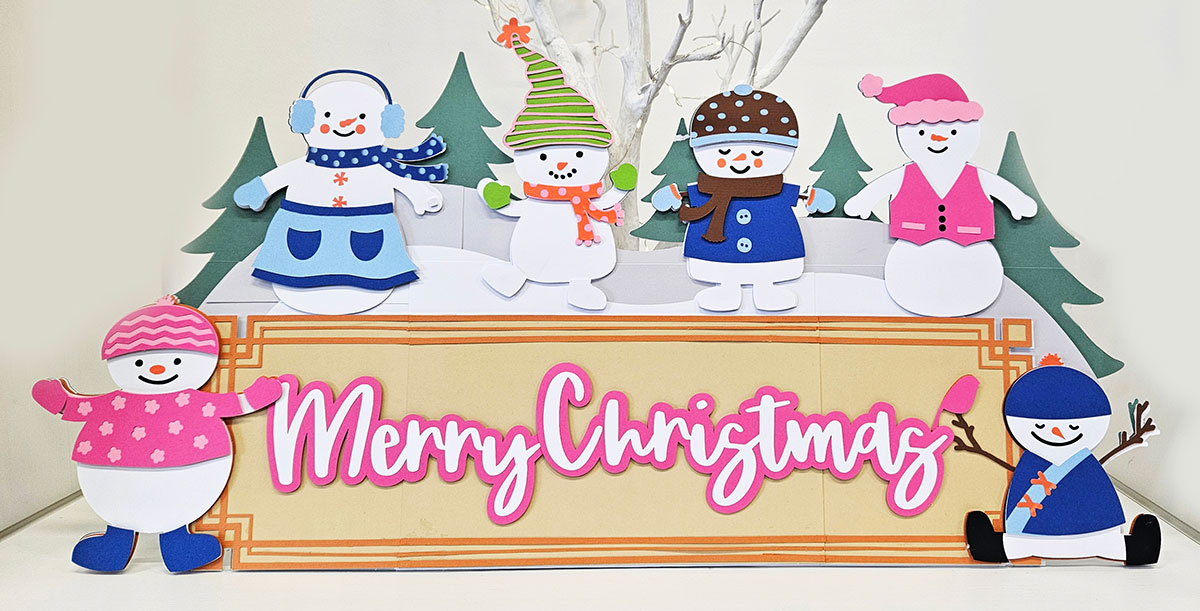
Make an impressive snowman craft with this giant sign that’s FULL of happy little snowpeople.
This is an “off-the-mat” project, which means that it ends up bigger than a Cricut machine can cut when it’s all finished.
The bottom pieces come in sections that are stuck together to create the supersized design.
So, despite the huge size, it can still be cut from A4, US Letter or 12×12 inch cardstock on a regular 12×12 cutting mat.

This project a little bit different to my normal designs because this is not a SVG cut file that you upload to Cricut Design Space.
Instead, I’ve created this directly within Design Space using Cricut Access imagery, which means it’s only available to those with a Cricut brand of cutting machine and you’ll need the Cricut Access subscription to be able to cut it for free.
This is one-off project; I am not moving away from creating SVG files. I just wanted to see if it was possible to design giant signs directly within Design Space, using some of the lovely imagery included with the Cricut Access subscription… and it is! Yay!
If you’d like to learn how to design your OWN giant signs, keep reading until the end of this tutorial to find out how.
But for now, let’s start making this giant 28-inch snowman sign!
Materials supply list
Here is a list of the materials that I used to make this project.
Please note that some of the links included in this article are affiliate links, which means that if you click through and make a purchase I may receive a commission (at no additional cost to you). You can read my full disclosure at the bottom of the page.
- Cricut machine
- Light blue Cricut cutting mat
- Coloured Card
- Black and orange adhesive vinyl
- Collall All Purpose Glue
- Needle Tip Applicator Bottle
- 3D foam pads
- Sticky tape
- Washi tape / painters tape / masking tape
- Twine or ribbon to hang the sign
This project is suitable for the following types of Cricut machine: Explore Air 2, Explore Air 3, Maker, Maker 3, Venture and Joy Xtra.
Video tutorial
Watch the video below to see how to make this project. Keep scrolling for a written tutorial.
Snowman craft project tutorial
Here’s how to make a giant off-the-mat snowman with a Cricut machine.
Step 1) Open the project in Cricut Design Space
This is a Cricut Design Space project. You need the Cricut Access subscription to be able to cut it for free.
Click the button below to open the project.
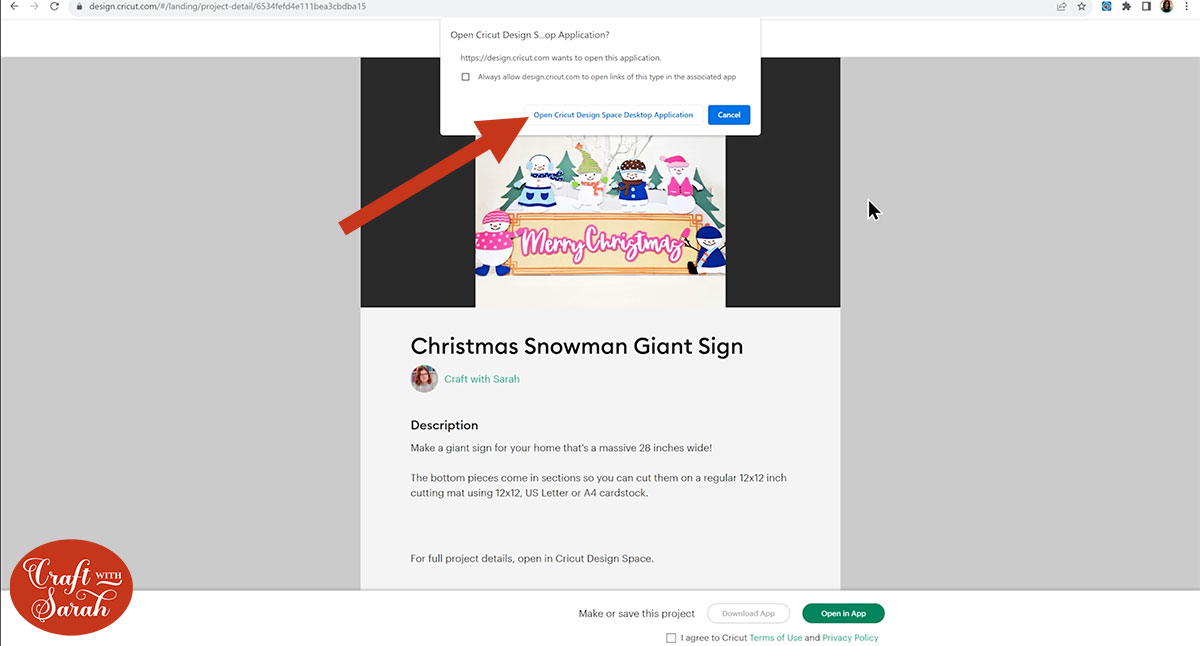
This will open a web page with a little popup window. Click the button that says “Open Cricut Design Space Desktop Application”.
If you cannot see the little popup, click the green “Open in App” button at the bottom of the screen.
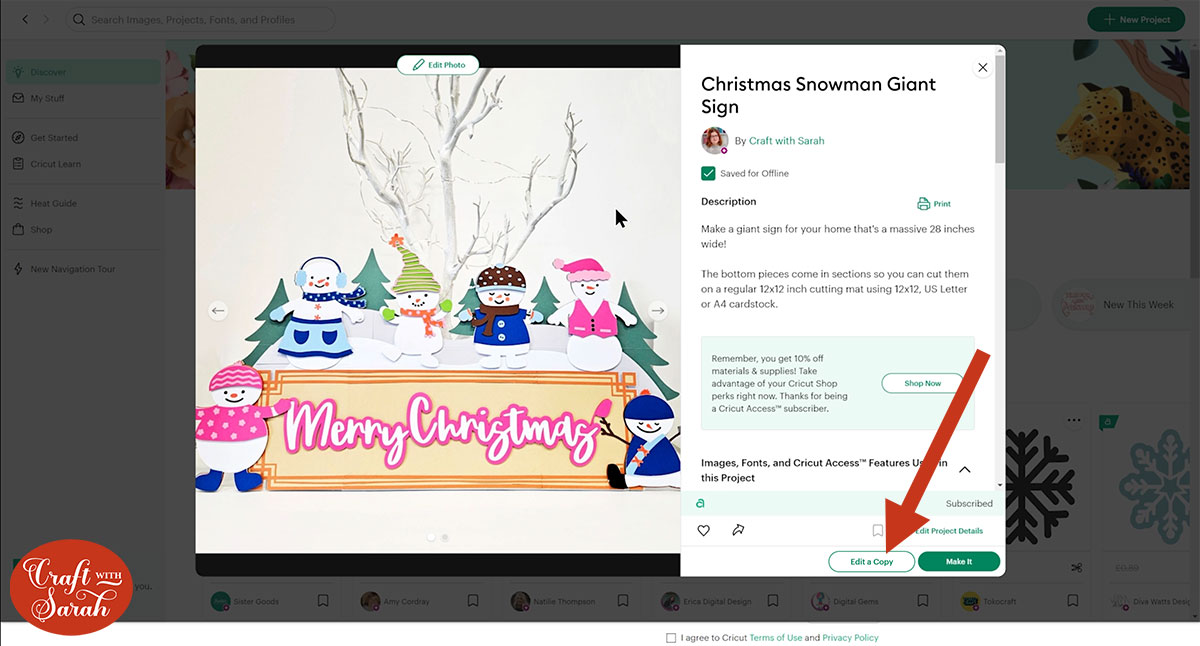
Cricut Design Space will open. It might take a little while to load.
You’ll see a window that gives a photograph of the giant sign and some information about the project.
Click the “Edit a Copy” button.
The project will then open.
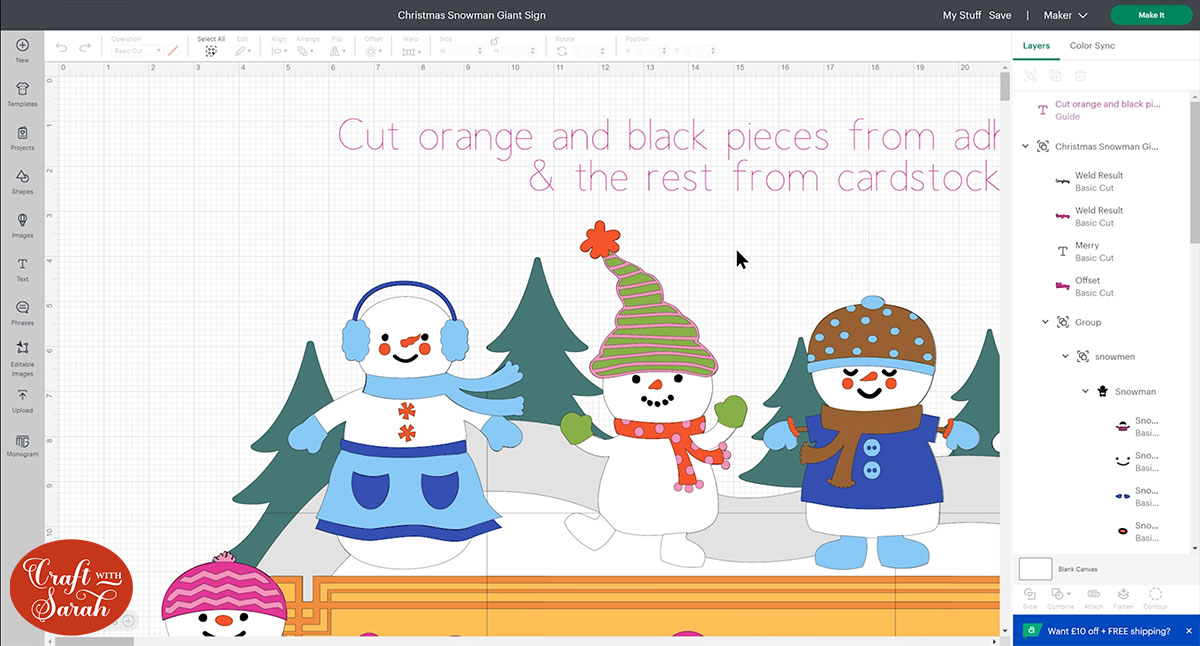
Step 2) Cut the project
The project is all formatting for you, so you don’t need to make any changes.
Click “Make It” to start the cut process.
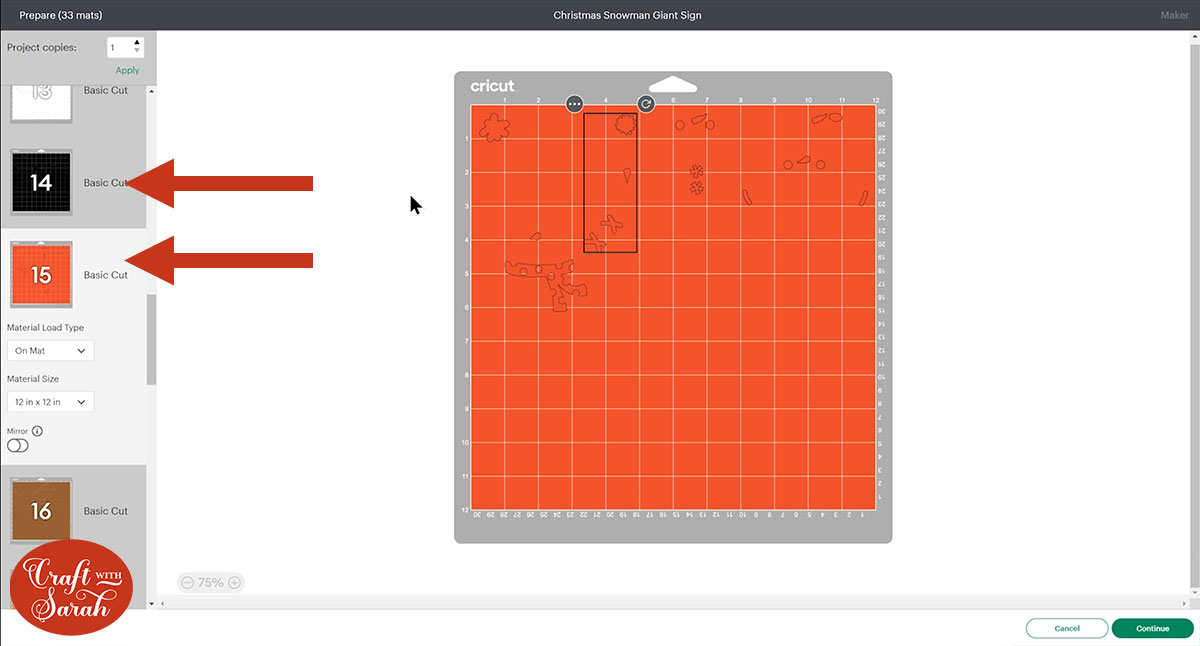
All the pieces will be cut from coloured card, with the exception of the orange and black mats which should be cut from adhesive vinyl.
This is because the faces and noses of the snowmen are quite small, so it’s much easier to stuck them on with adhesive vinyl than trying to glue tiny bits of cardstock!
Each snowman’s black/orange parts will appear “joined” together on the mat, which again makes it easier to stick them in the correct place.
I moved each snowman’s pieces apart from the others a little bit, to make it easier to see where one snowman’s featured ended and the next began.
You can change the paper size by using the dropdown menus down the left-side of the screen.
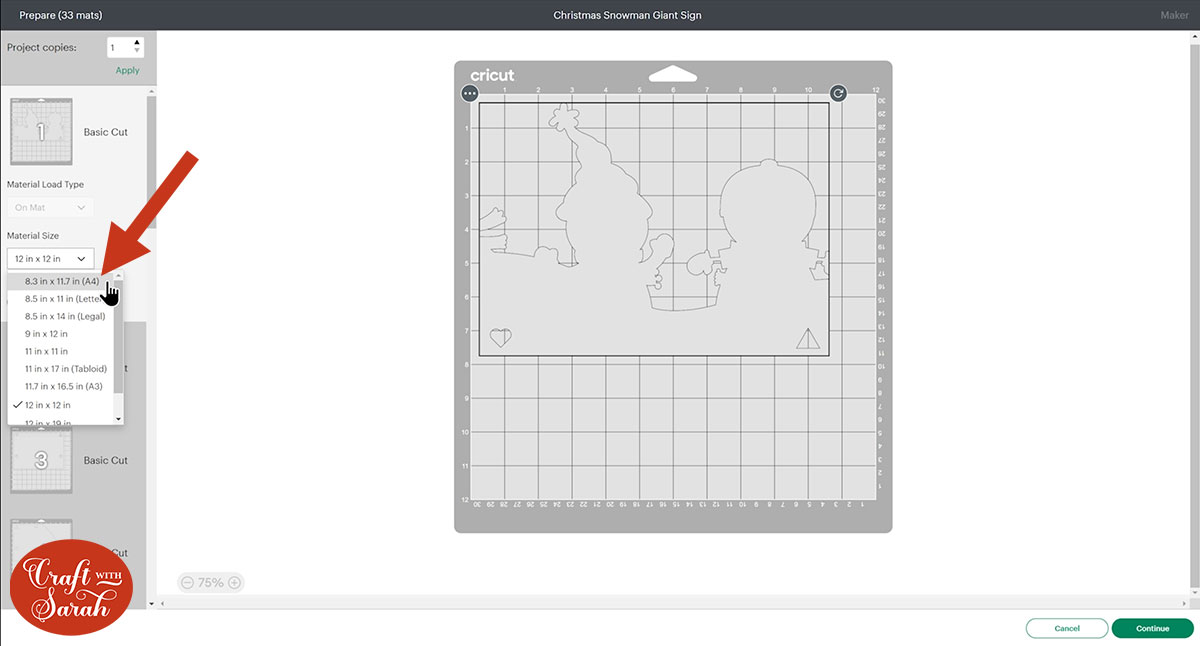
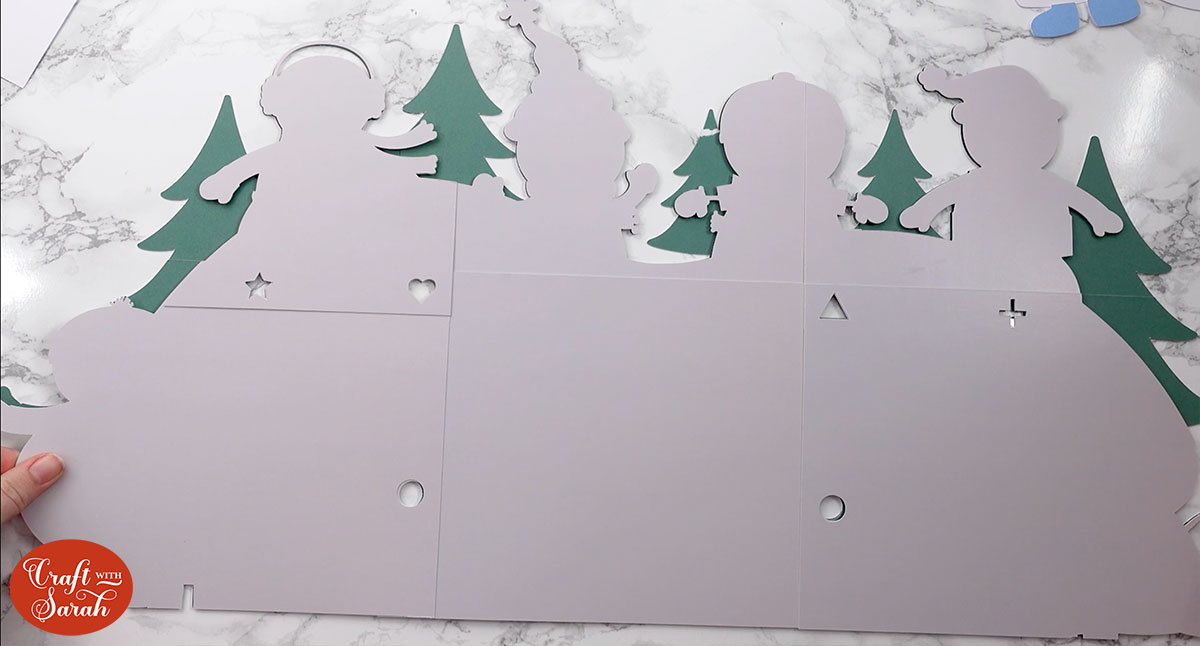
The cutout shapes that you can see on the image above are guides to help us line up the base pieces of the giant sign.
Step 3) Stick the base of the sign together
Select the six dark green pieces that make up the bottom of the sign.
Lay them out so that all the shape cutouts perfectly line up with each other, so you can see your work surface through the holes.
Use washi tape, masking tape, painter’s tape or similar to tack the card in-place so it doesn’t move.
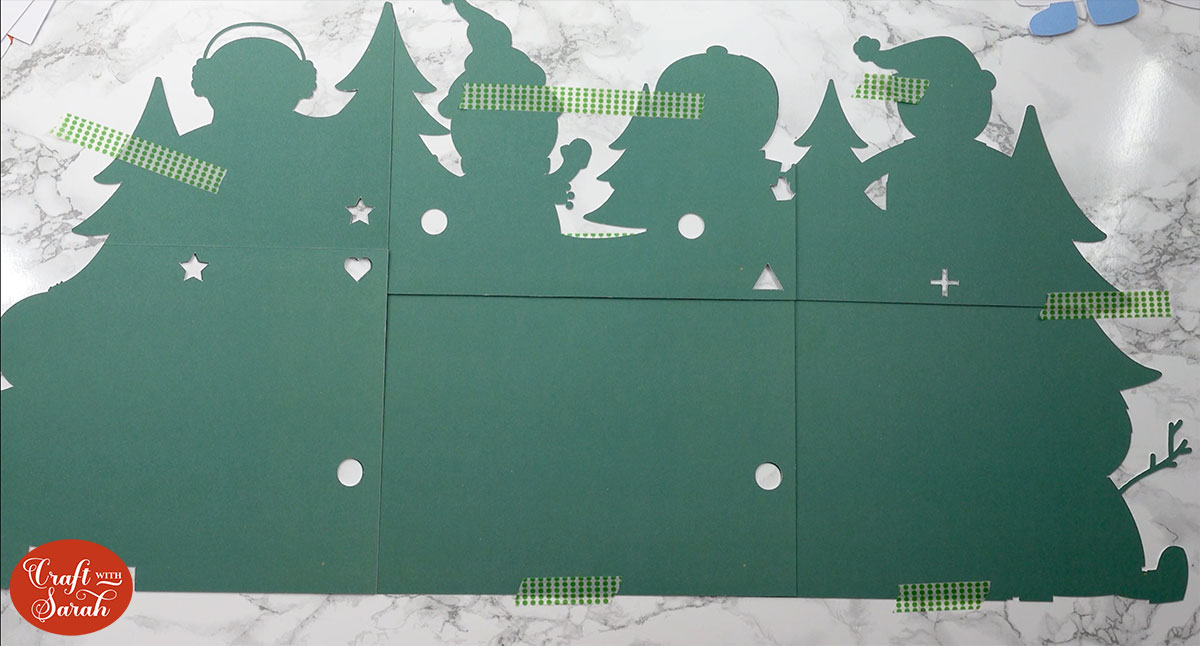
Remove the tape, one section at time, and glue the pieces together along where the card overlaps.
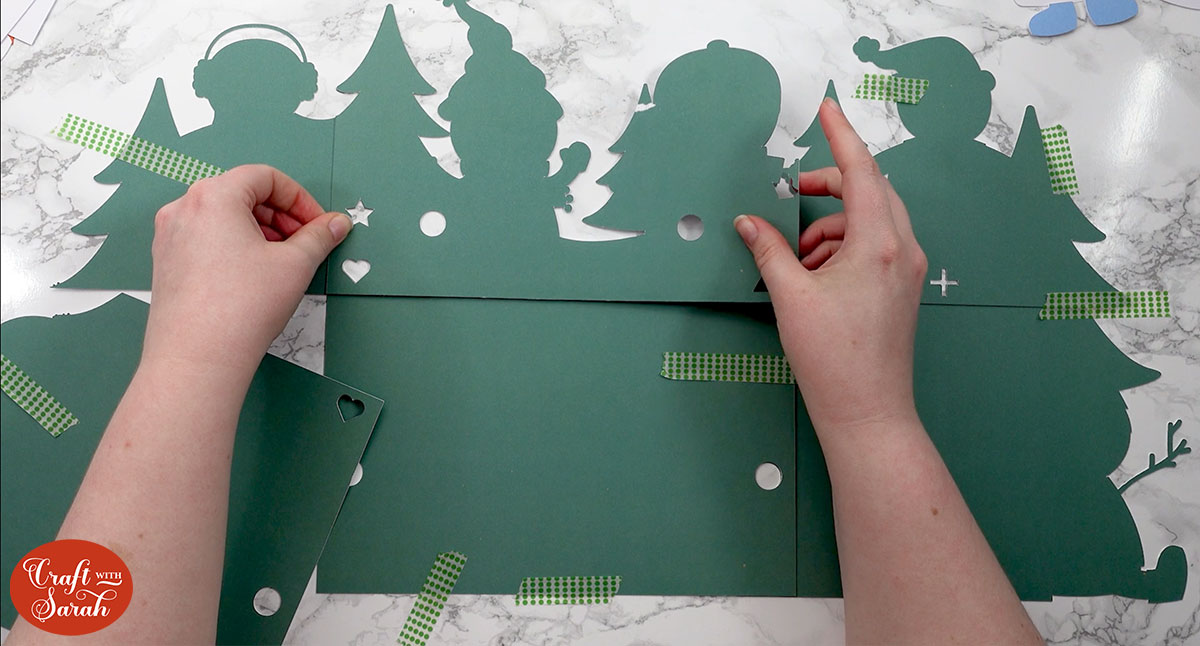
When the glue is completely dry, turn the sign upside down and add sticky tape down all the join lines for some extra stability.
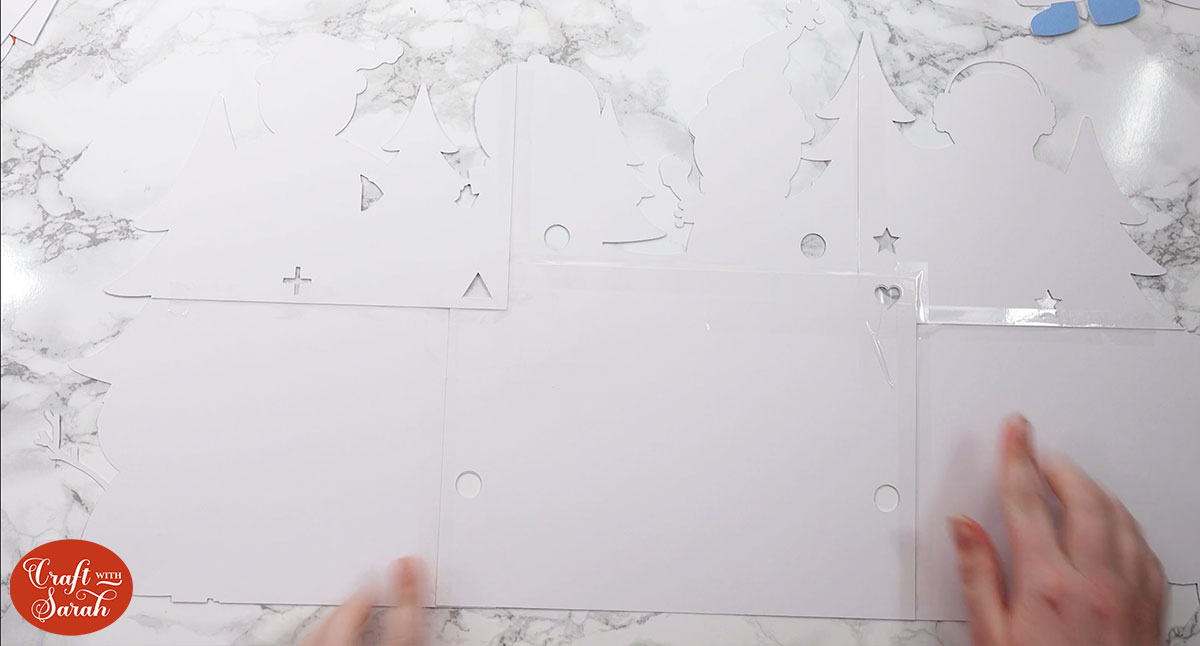
If you are using twine/ribbon to hang the sign, thread it through the two top circular holes now and secure it in place.
Next, find the pieces that make up the grey snow layer. Place them on top of the green layer but do NOT glue them to the green!
Instead, use this as a guide to know where to stick the six grey pieces together, and glue them together using the overlaps of card.
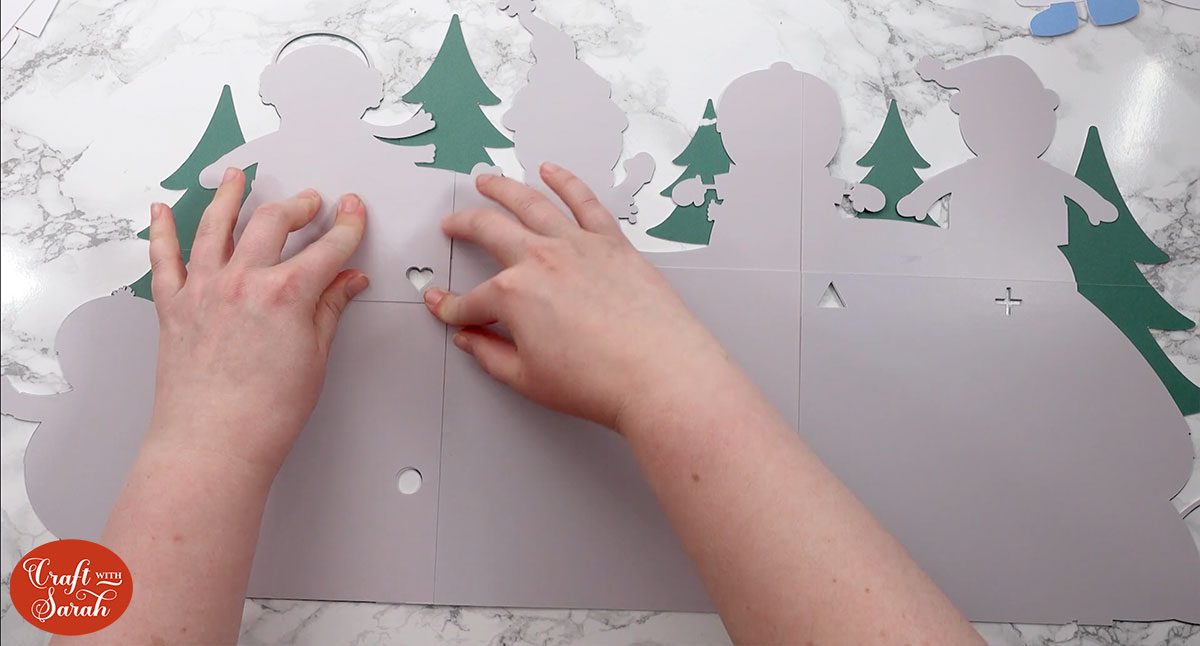
When the grey pieces are dry, turn it upside down and add sticky tape down the join lines, then add foam squares onto the back.
You need LOTS of foam squares to make sure it has stability all the way across.
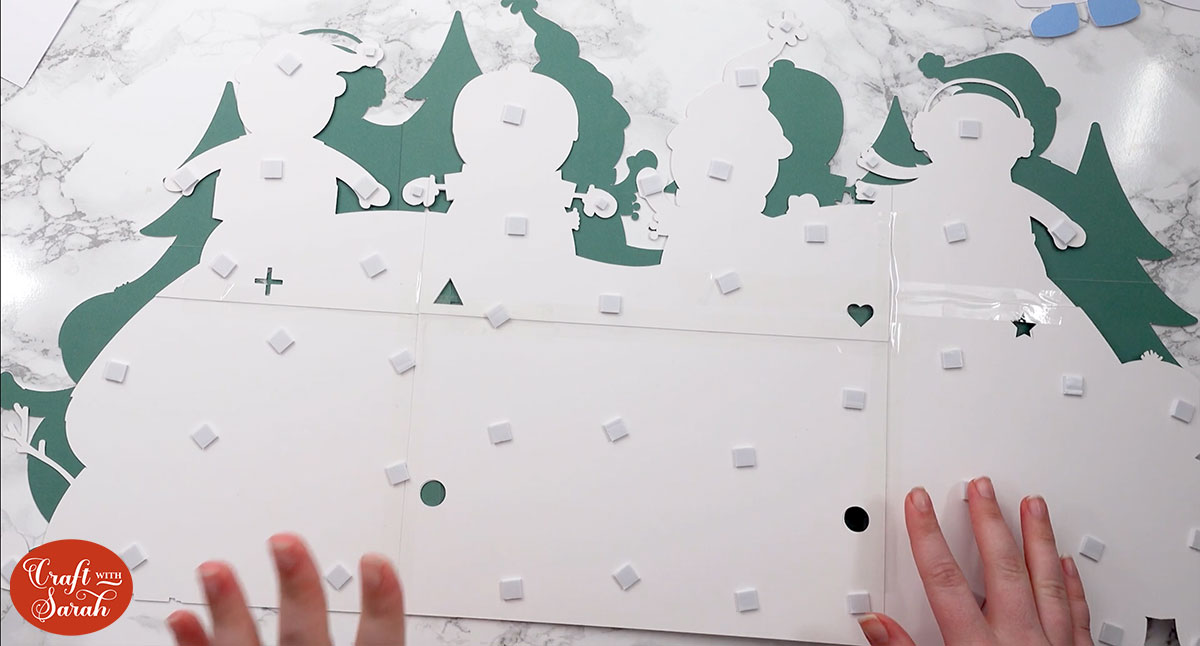
Stick this onto the green base layer.
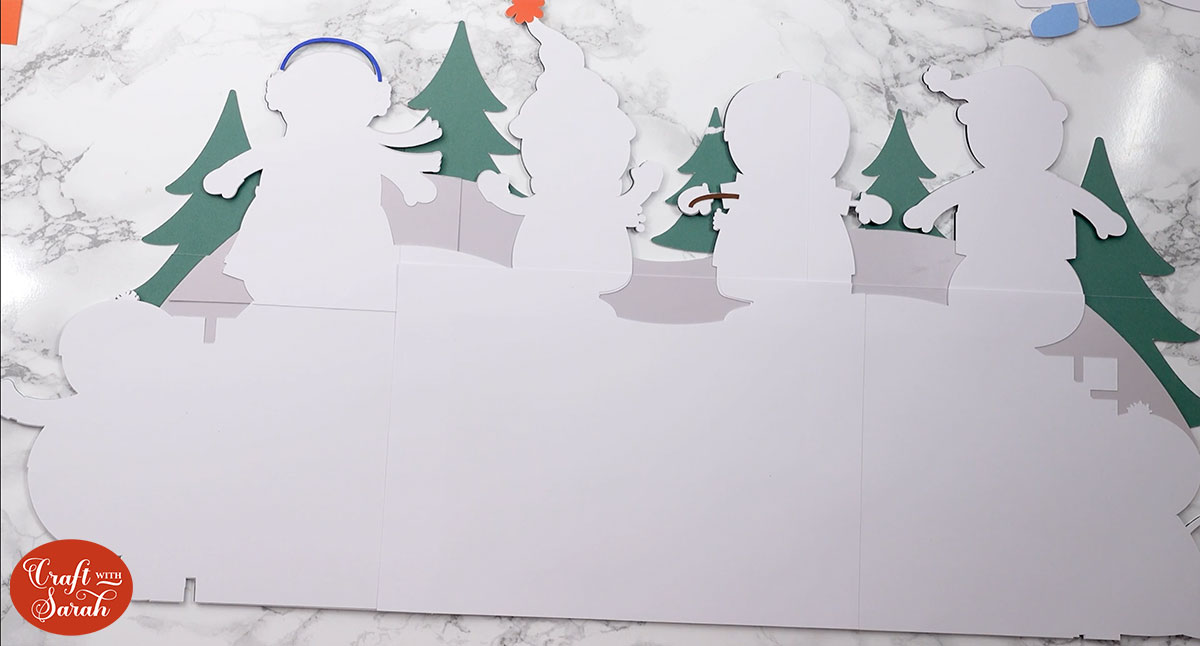
Glue the white pieces that make up the next “snow” layer directly onto the sign.
(I had stuck some of the little pieces of the snowman on my sign at this point – you can do that now, or wait until later.)
Step 4) Add the “Merry Christmas” plaque
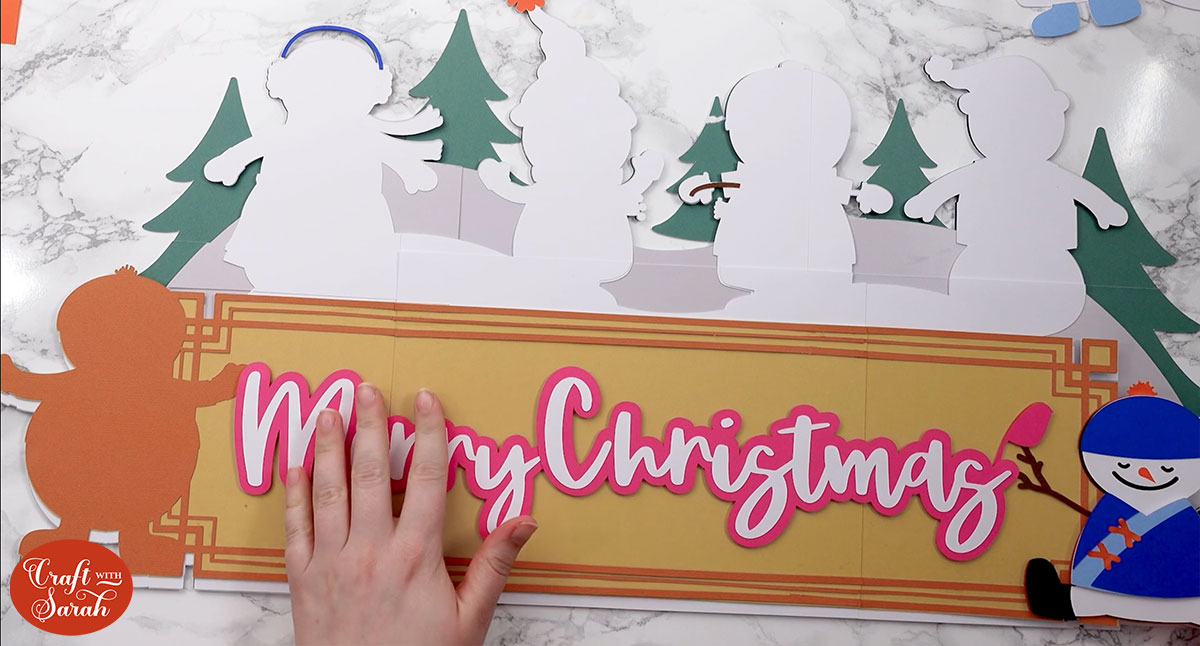
Use the existing sign to get the three pieces of the yellow plaque into position and glue the yellow pieces to each other along the overlaps to form a piece that fits along the sign.
Glue the orange border decorations on top. This is a little tricky with the thin rectangles.
Use foam squares to stick the plaque onto the giant sign.
Use foam squares to attach the pink “border” of the greeting onto the plaque.
Glue the white “Merry Christmas” letters on top.
Step 5) Stick the snowmen together and add to the sign
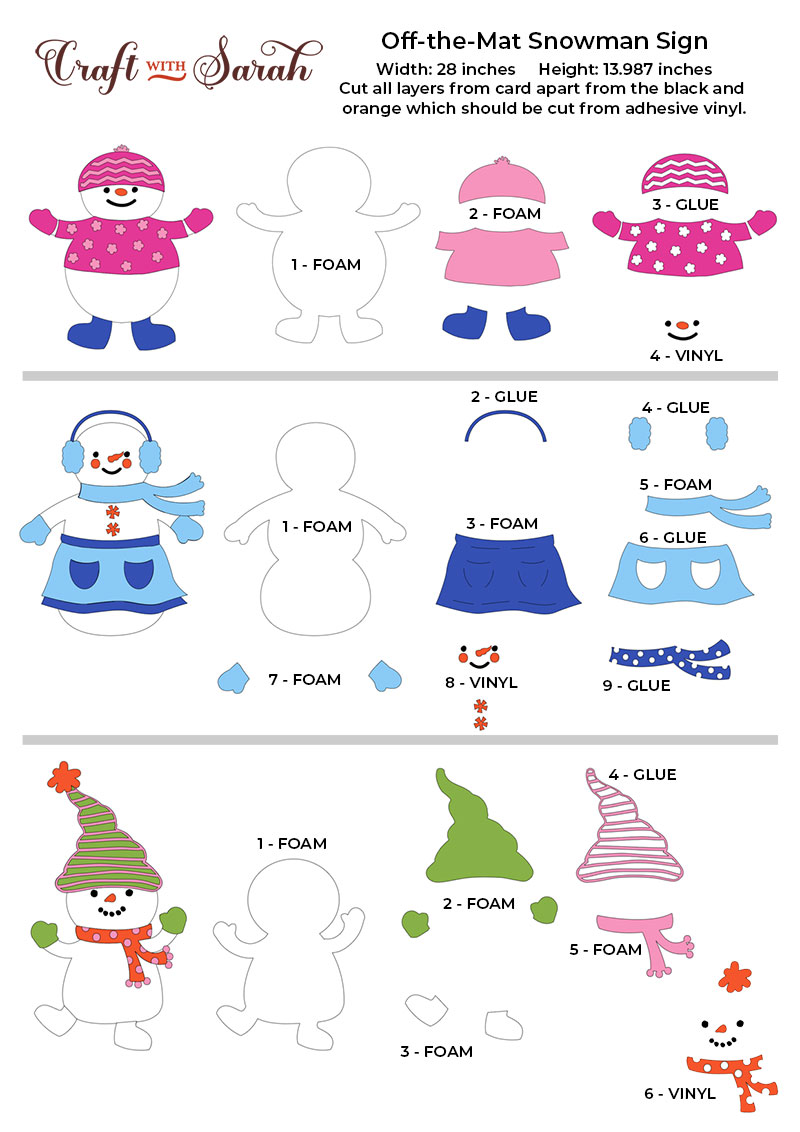
Stick the snowpeople together using the guides below, then glue or foam them onto your sign.
Download the full 4-page assembly guide
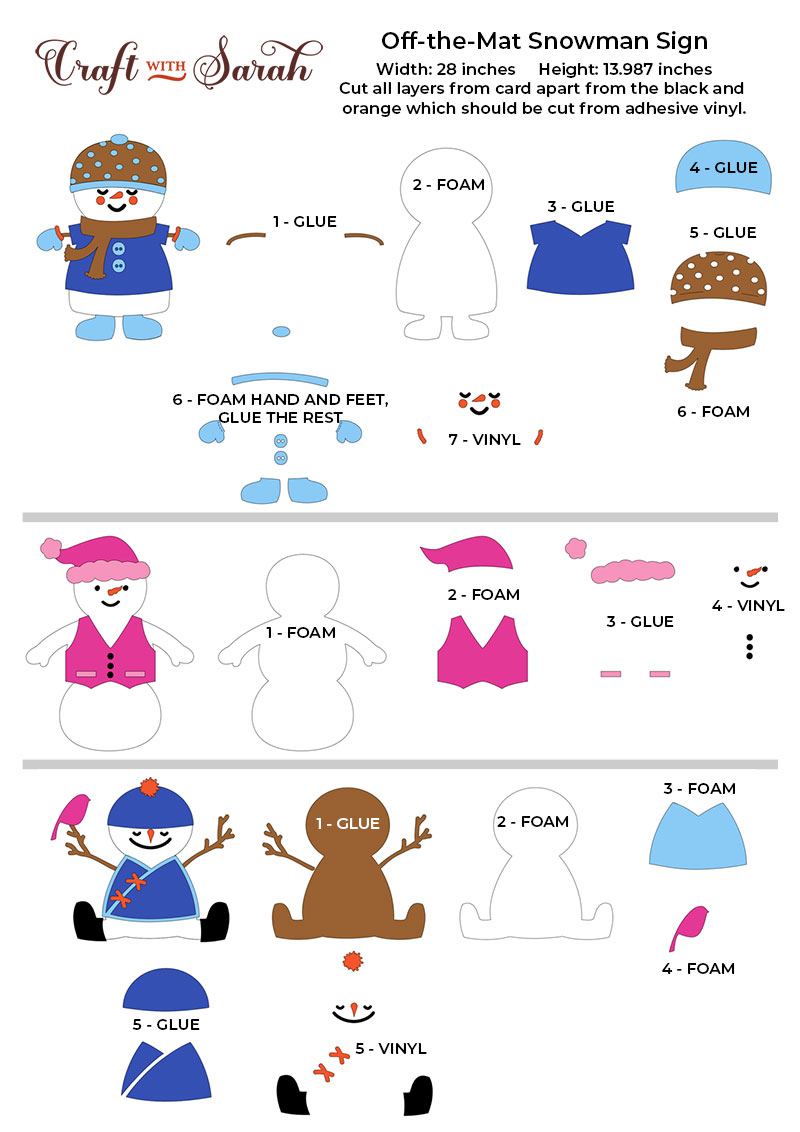
When they are attached, your sign is finished!

Design your OWN giant signs!
If you would like to know how to design your own giant signs for any occasion check out Lovely Layering, my step-by-step Design Space course.
With Lovely Layering, you’ll easily learn everything you need to know about creating gorgeous layered designs right within Design Space.
Watch easy to follow Design Space based training videos to transform your Cricut crafting.
It’s time to easily learn how to make your own layered projects that look exactly how you want them to.
It includes tutorials on how to design projects such as shadow boxes, mandala letters, cake toppers, layered greetings cards, paper wreaths, floral bouquets, turning your own photos into layered projects and of course giant signs.
With Lovely Layering, here are just some of the amazing designs you’ll be able to design:

After following the Lovely Layering training lessons you’ll never look at your Cricut the same way again with all the new possibilities that you have unlocked.
Find out more about Lovely Layering
More off-the-mat papercraft projects
I hope you enjoyed this tutorial on how to make a giant off the mat snowman sign.
I love all the bright colours and cute little snow-people around the edge.
For even more giant signs, check out these projects:
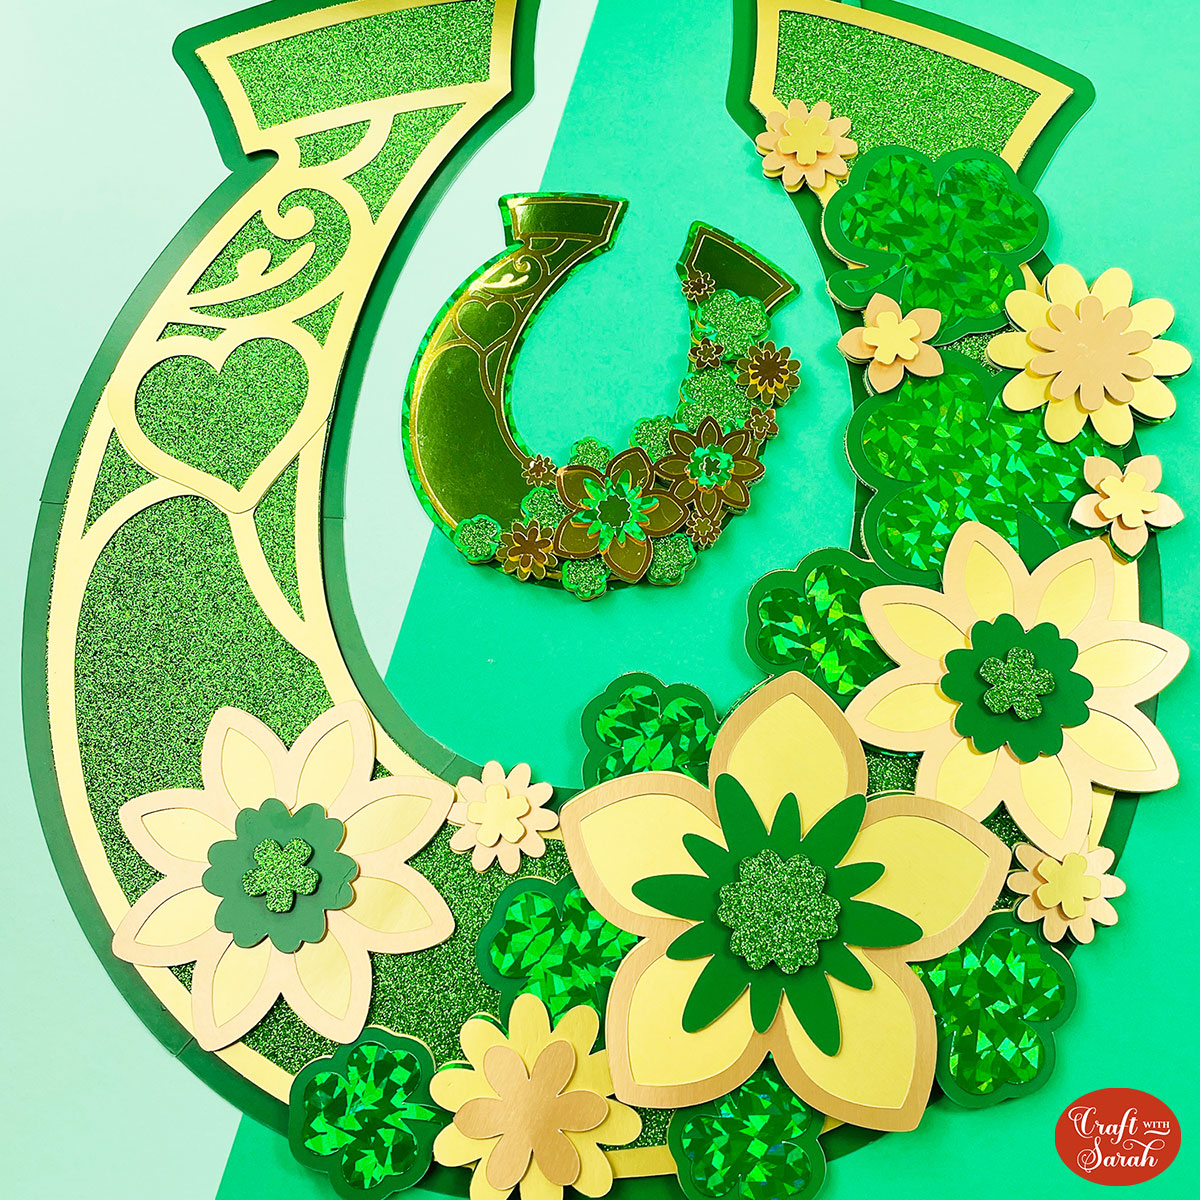
FREE - St Patrick's Day Lucky Horseshoe
Make a GIANT lucky horseshoe for St Patrick’s Day. This flower and shamrock filled design looks beautiful when cut from gold and holographic card to give it some shine.
FREE - Valentine's Day Banner
Get ready for the season of love with this giant Valentine’s Day banner. You can add some ribbon in the top if you want to hang it up, or simply prop it up on a shelf without the ribbon using the flat bottomed edge.
FREE - Happy New Year Sign
Make a Happy New Year giant sign to display for your New Year's celebrations.
Use holographic or glitter card to make the fireworks really sparkle!
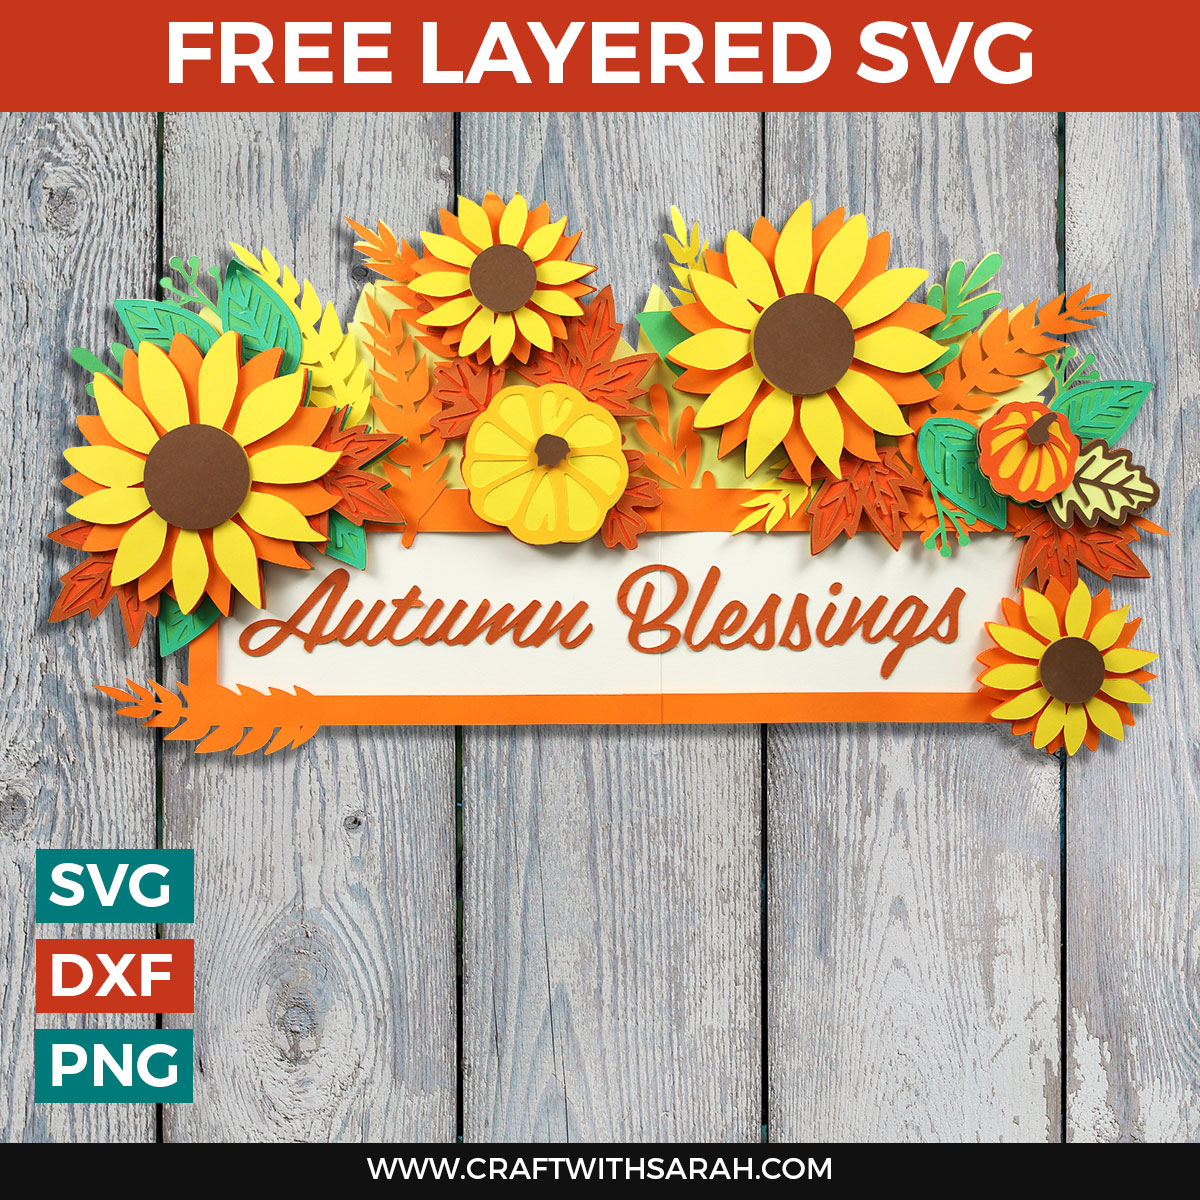
FREE - Giant Autumn Sunflowers Sign
Sunflowers and pumpkins are the stars of the show for this giant sign for Fall.
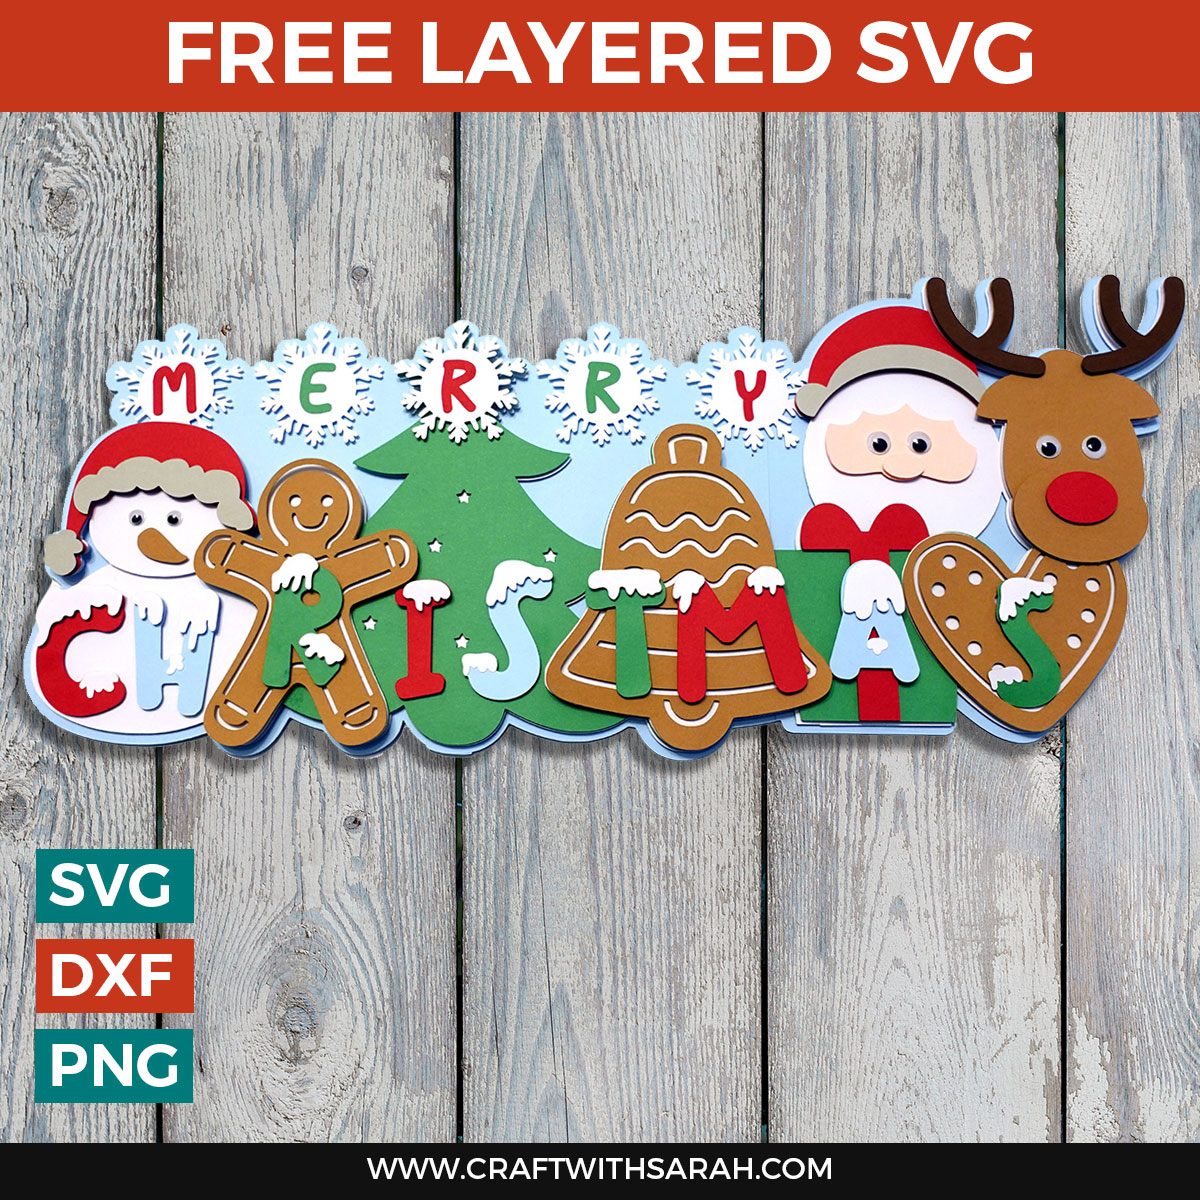
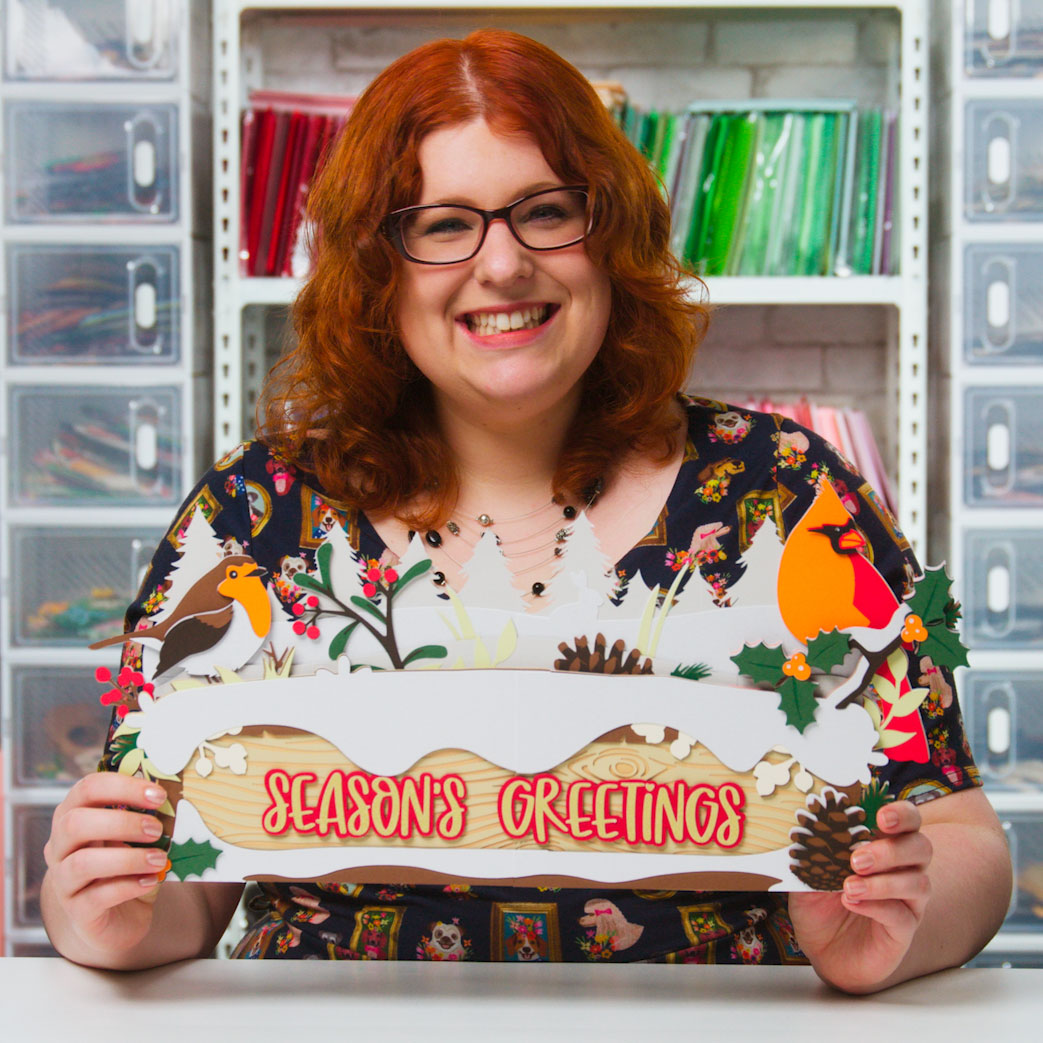
FREE - Merry Christmas Giant Sign
How cute are all these little Christmas characters?
Make wall decor that makes an impact with this giant off-the-mat design.
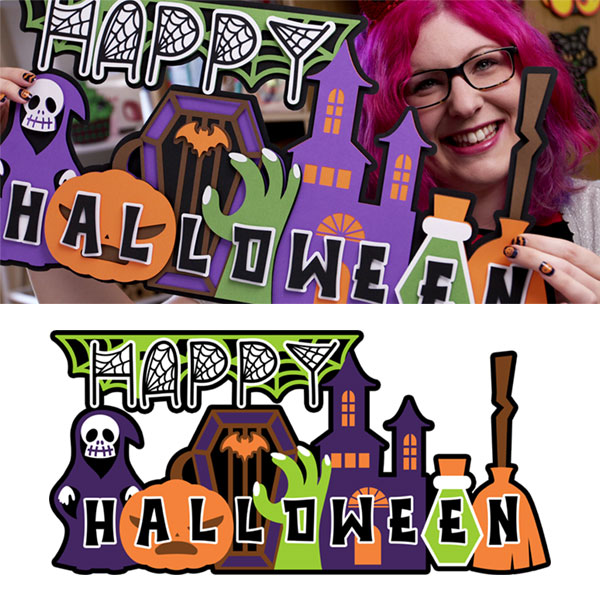
FREE - Giant Halloween Sign
Get ready for the spookiest season of them all with this giant Halloween wall art sign.
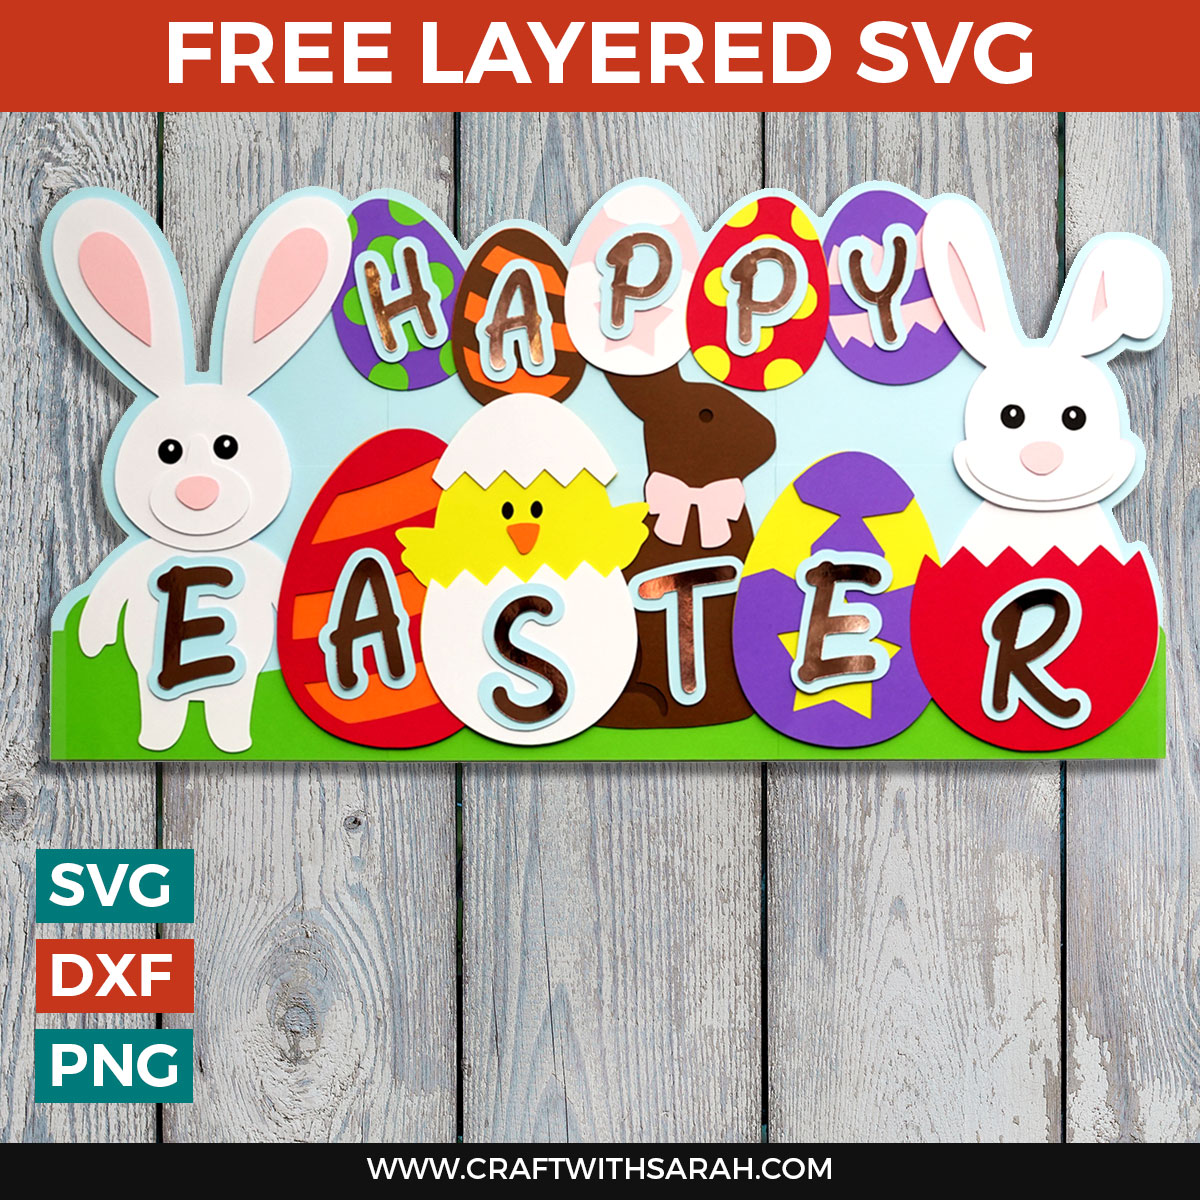
FREE - Giant Easter Sign
Decorate your walls for Easter with this amazing and HUGE layered Easter sign.
Giant Spring Sign
What could be more perfect for Spring than these gorgeous pastel coloured blooms?
Giant Summer Sign
Make a beautiful floral welcome sign for Summer that's bursting with colour!
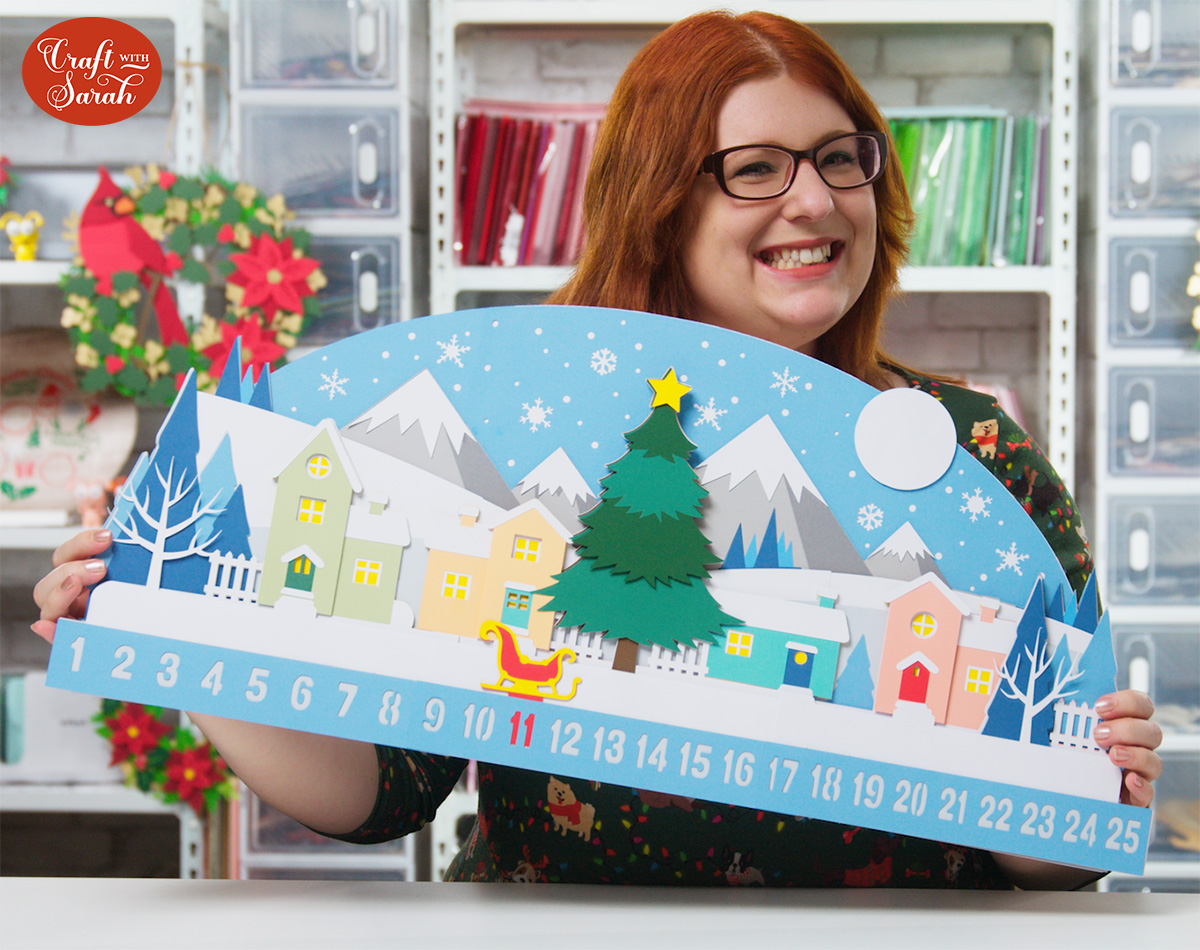
Advent Calendar
Count down the days until Christmas with this larger-than-mat Advent Calendar. Simply pull the sleigh out each day and move it along to the next number to track the number of sleeps until Santa comes to visit.
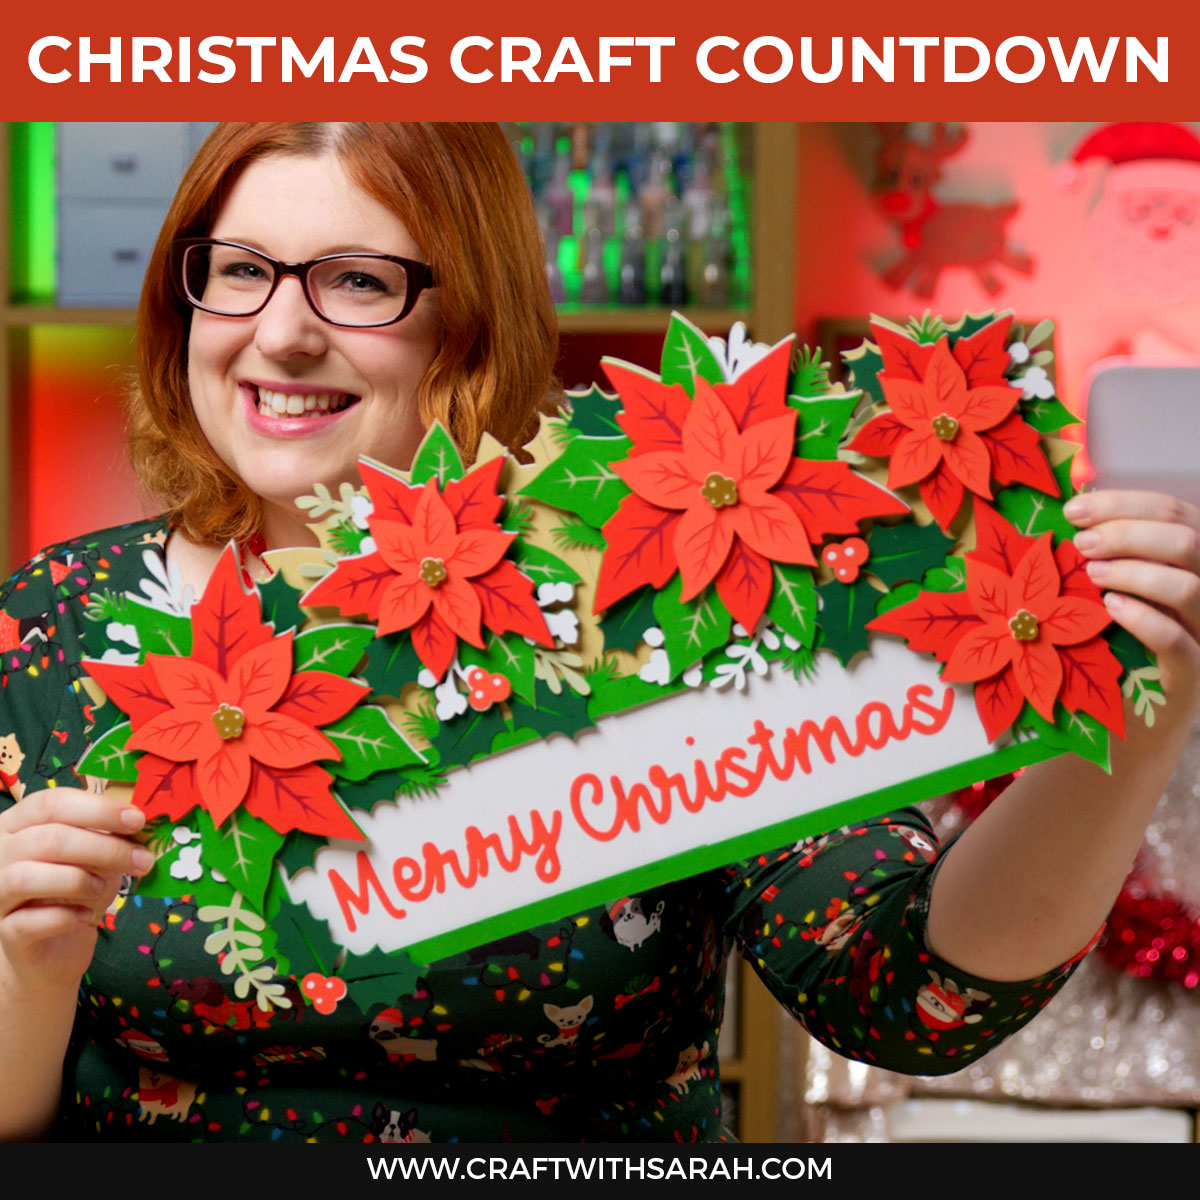
Giant Christmas Poinsettias Sign
Transform your home for winter with this beautiful poinsettia filled sign.
Snowman Giant Sign
Make an impressive snowman craft with this giant sign that’s FULL of happy little snowpeople. If you’d like to learn how to design your OWN giant signs, read to the end of the tutorial to find out how!
Nativity Giant Sign
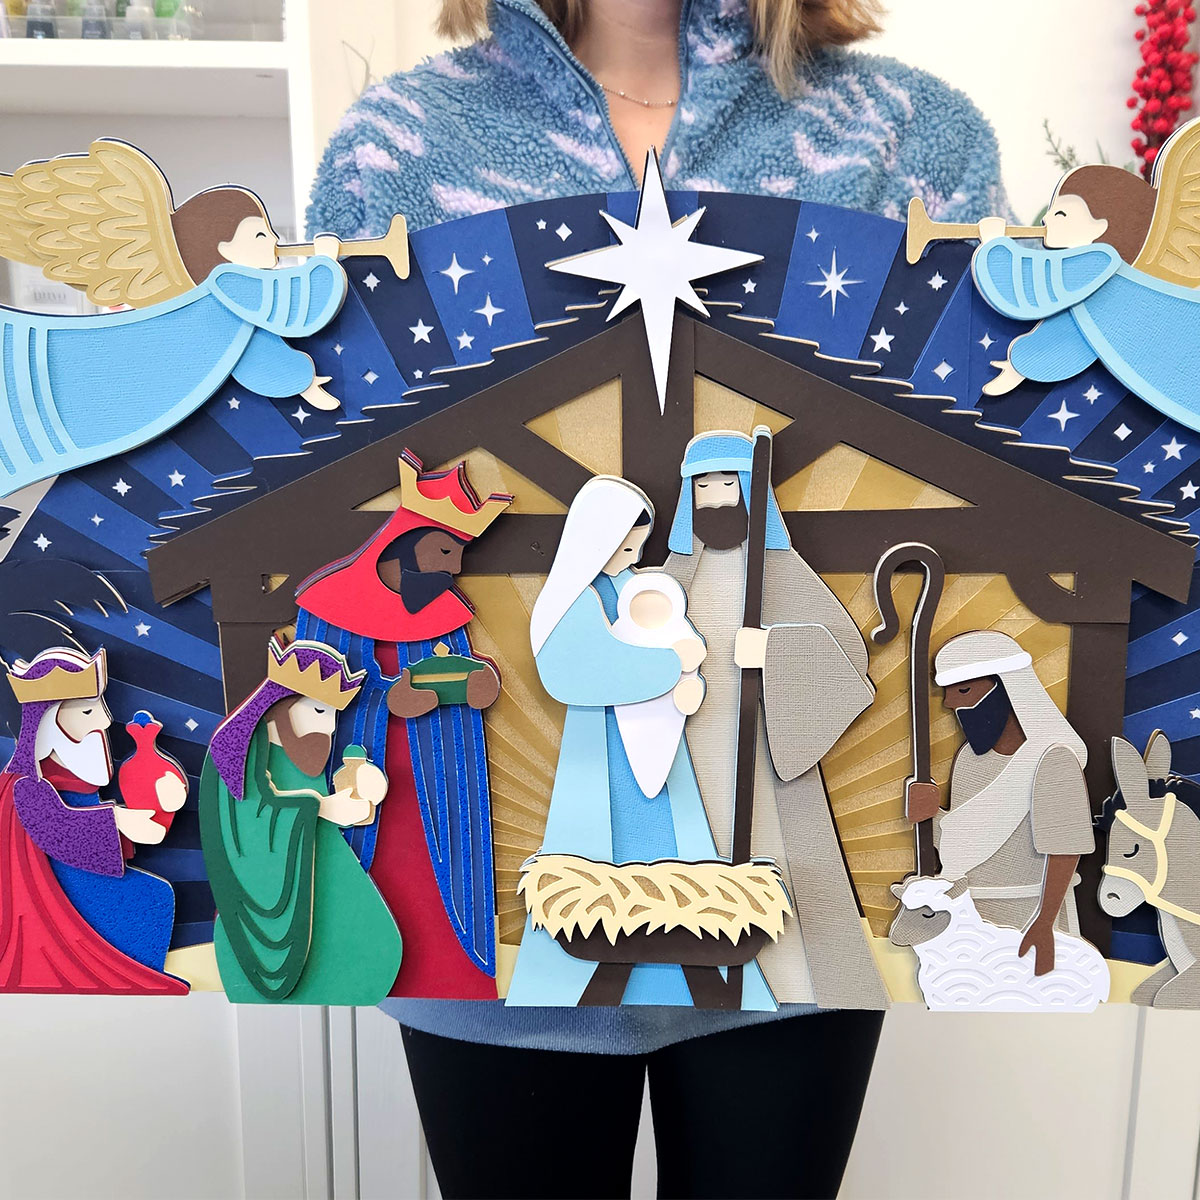
This incredible giant Nativity sign measures a whopping 28 inches wide! What I especially love about this giant sign design is that all the Nativity characters are made as their own stand-alone layered designs, so you can use them on other projects such as greetings cards and shadow boxes too.
All the best,
Sarah
