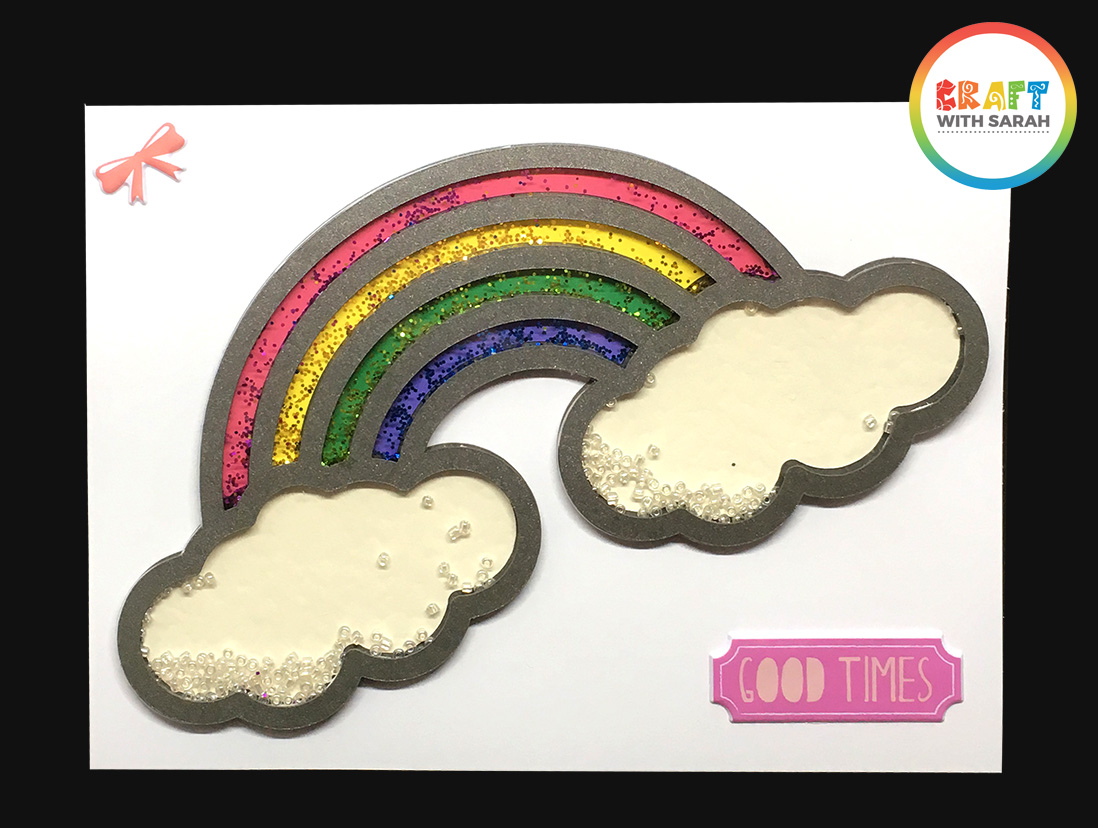
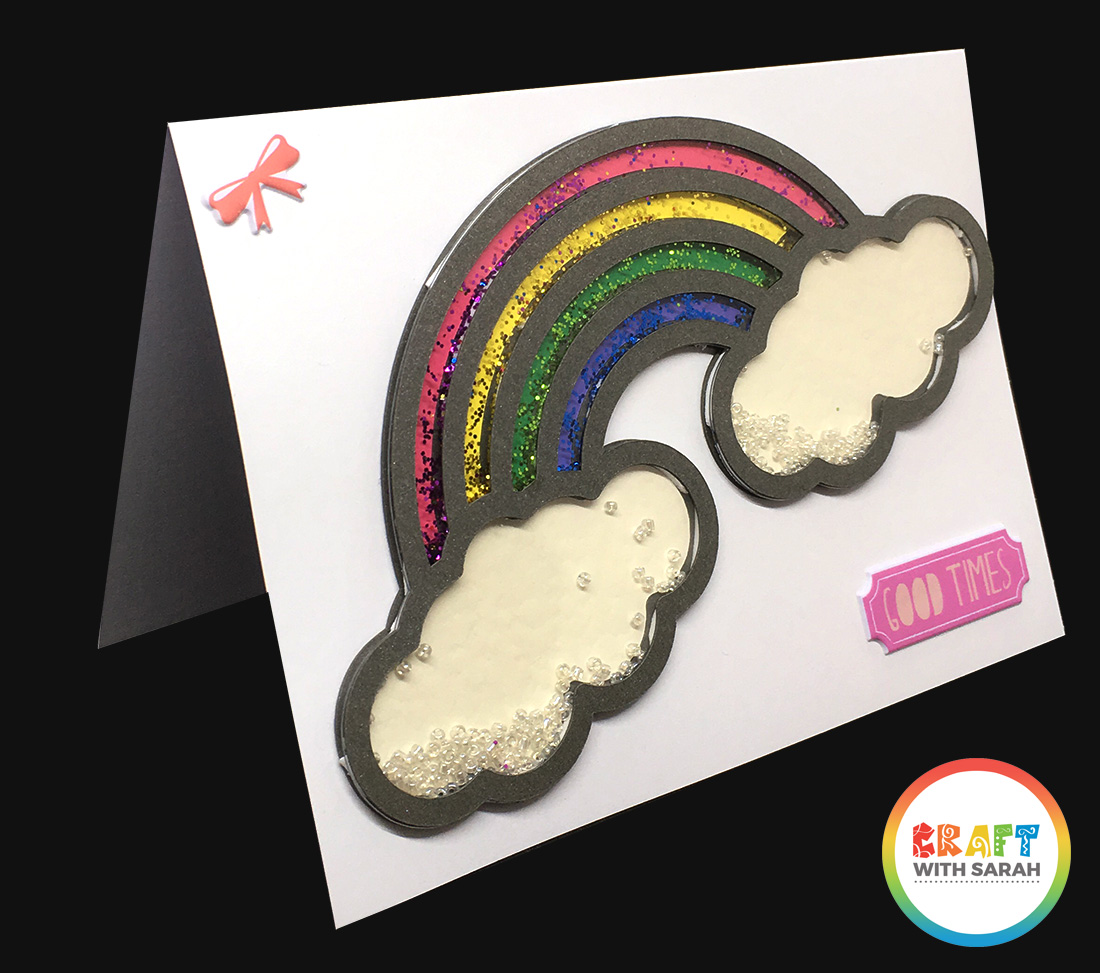
How to Make a Rainbow Shaker Card with Cricut (Card 4 of 4)
Make someone’s day with this colourful and cheerful rainbow shaker card.
This rainbow card design uses a rainbow image from Cricut Access.
You need to do a few simple changes in Design Space to the rainbow image to make it suitable for cutting into a shaker card.
After that, you’ll cut all the different parts, slot them together like a jigsaw and then assemble the shaker card with four different colours of glitter AND cute little seed beads.
The video below contains full instructions on how to design, cut and assemble the card, including how to cut acetate with your Cricut machine.
Please note that some of the links included in this article are affiliate links, which means that if you click through and make a purchase I may receive a commission (at no additional cost to you). You can read my full disclosure at the bottom of the page.

How to make a rainbow shaker card with your Cricut
Watch the video below to find out how to make a rainbow shaker card with your Cricut.
This is part 4 in a 4-part series on Shaker Cards. Watch the other videos on YouTube now!
Materials list
Here is a list of materials of what I used to create this rainbow shaped shaker card.
- Cricut Maker
- 3D foam tape
- Acetate
- Seed beads
- Dovecraft ‘Make a Wish’ puffy stickers
- Glitter
- 5×7 inch card
- Coloured card
[cws_clubhouse design=’1069′]

I hope that you enjoyed this video on how to make a rainbow shaker card.
Don’t forget, this is the final tutorial in a 4-part series on how to make shaker cards. Check out the other tutorials below:
- Part 1: Simple shaker cards
- Part 2: Shaped shaker cards
- Part 3: Complex shaker cards
- Part 4: Rainbow Shaker Card
Happy crafting,
Sarah x

