3D Chinese Lantern Craft for Lunar New Year 🏮

Make a 3D papercraft for Lunar New Year with this free Chinese lantern SVG.
For the first tutorial of 2025, I’m showing you how to make this lovely slot-together lantern for Chinese New Year.
You can add a little battery light inside so that your lantern glows as it hangs.
The finished lantern looks absolutely beautiful and it’s much easier to make than it first appears.
In this tutorial, I’ll take you through each of the steps so to make your own hanging lantern for Chinese New Year
Add extra sparkles to the middle of the blossom sparkles with adhesive gems, Nuvo Drops or similar products, or leave them plain – it’s up to you!

Materials supply list
Here is a list of the materials that I used to make this project.
Please note that some of the links included in this article are affiliate links, which means that if you click through and make a purchase I may receive a commission (at no additional cost to you). You can read my full disclosure at the bottom of the page.
- Cricut machine
- Light blue Cricut cutting mat
- Coloured card
- Craft glue such as Bearly Art Glue or Collall
- Translucent vellum, tracing paper or similar
- Lights to go inside the lantern such as submersible lights, battery powered tea lights or fairy lights with small battery packs
- Gemstones, Nuvo Drops or other embellishment (optional)
- Ball tools (usually used for fondant cake making) (optional)
- Piece of thick foam or similar (optional)
This project is suitable for the following types of Cricut machine: Explore Air 2, Explore Air 3, Maker, Maker 3, Venture, Joy Xtra and Joy.

Video tutorial
Watch the video below to see how to make this project. Keep scrolling for a written tutorial.
What lights work best inside the lanterns?
Never use a real flame/candle as your lantern will catch fire!!
Instead, choose battery powered lights.
As you are putting the light in an enclosed space with the walls made from cardstock, it is essential that you choose lights that do NOT get warm during use.
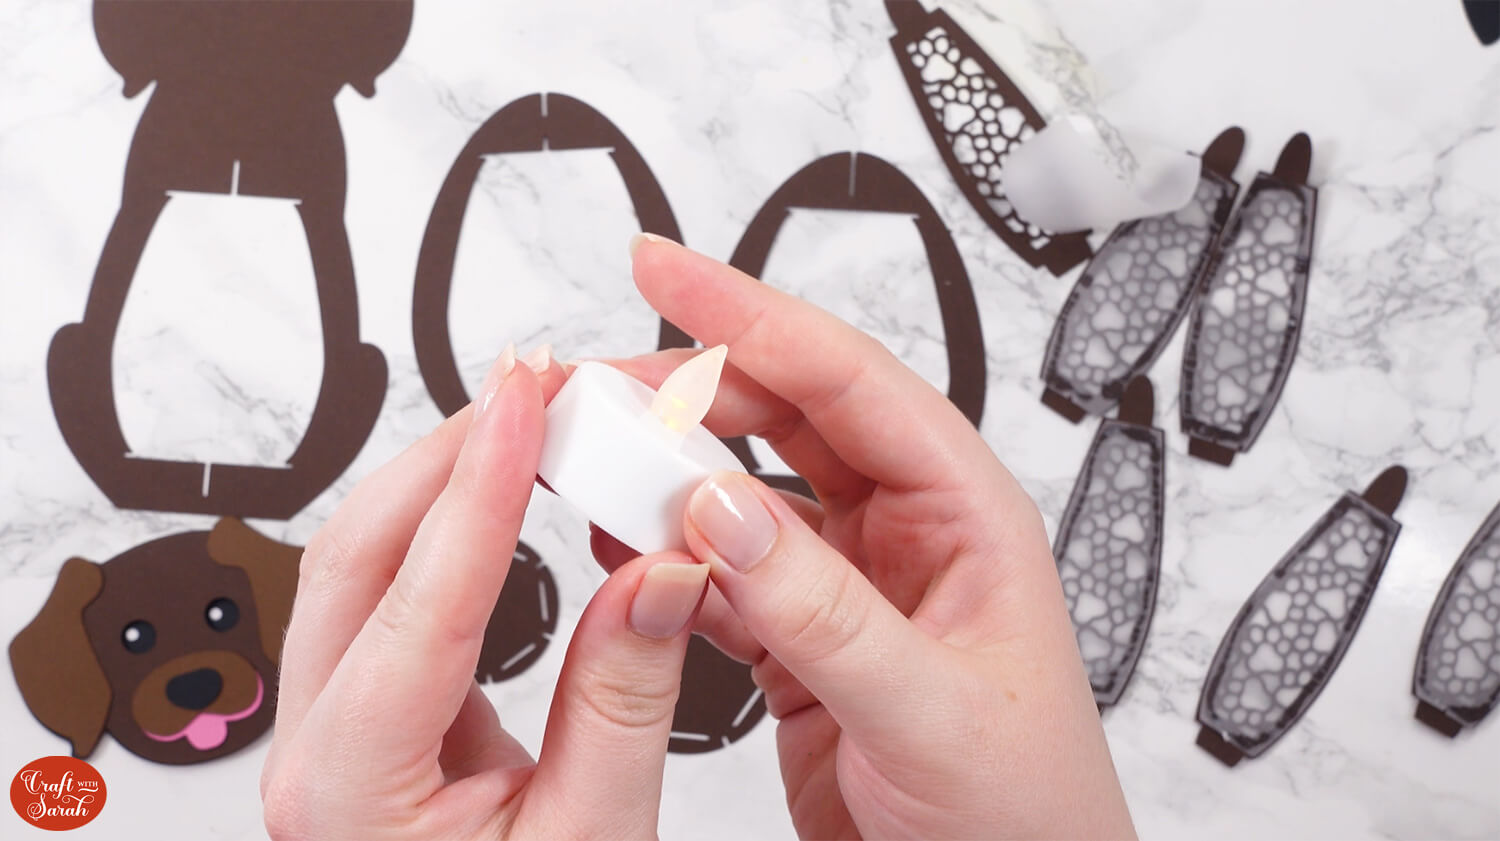
Option 1: Battery powered tea lights
The lanterns have been designed to perfectly fit a battery powered tealight inside. This is a nice option to add, especially if you choose one with a flickering effect.
However, they do not give off much light, so the other lighting options below may be more effective.
Find battery powered tea lights on Amazon
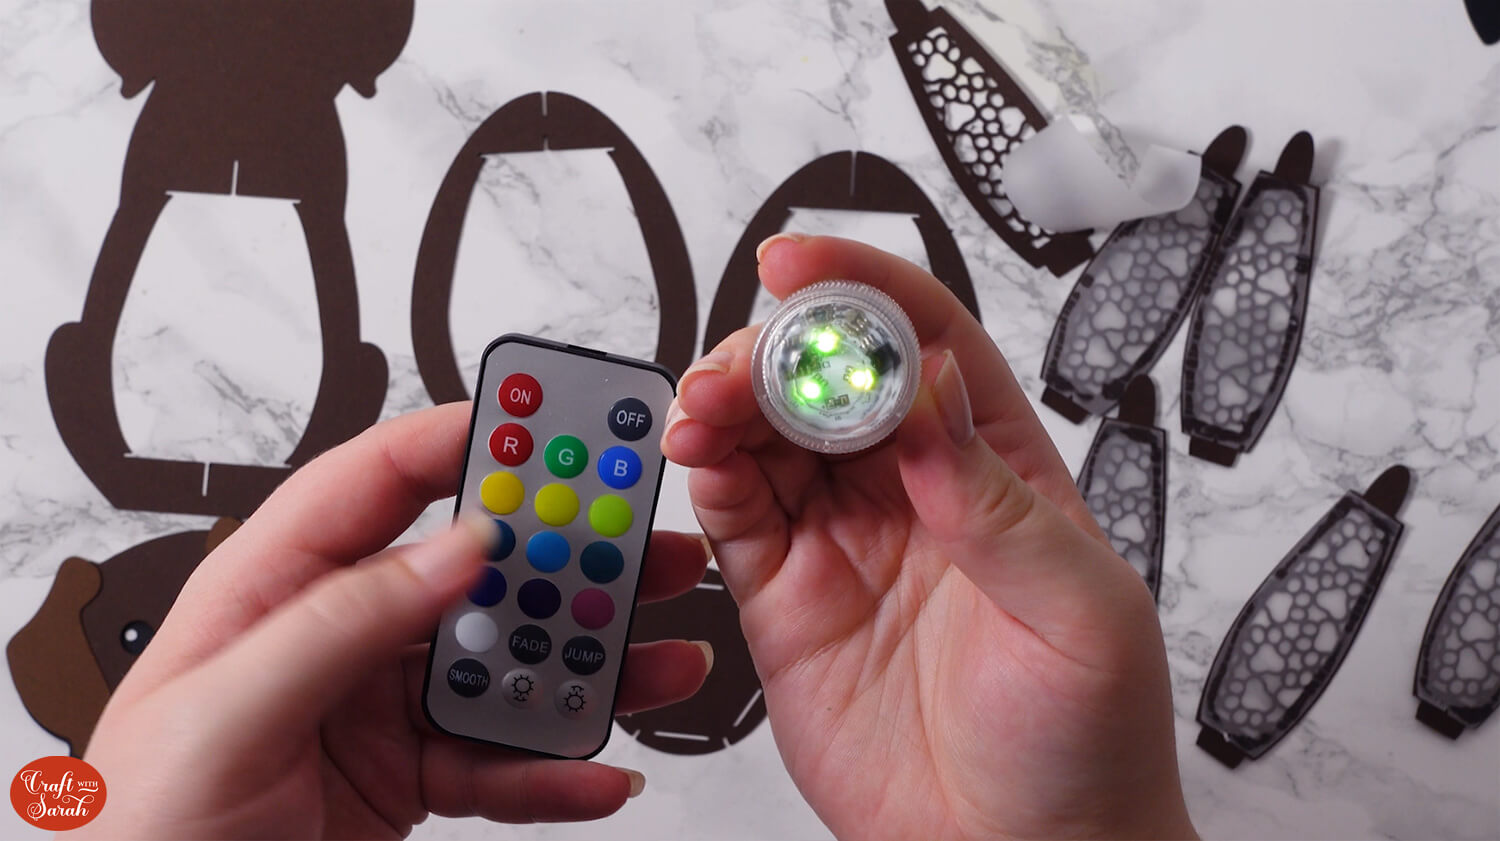
Option 2: Submersible LED lights
This is my favourite lighting option. These tiny little lights come with a remote control to change the colour. You can even make your own disco light show by having them flash or fade through all the different colours!
Find submersible lights on Amazon
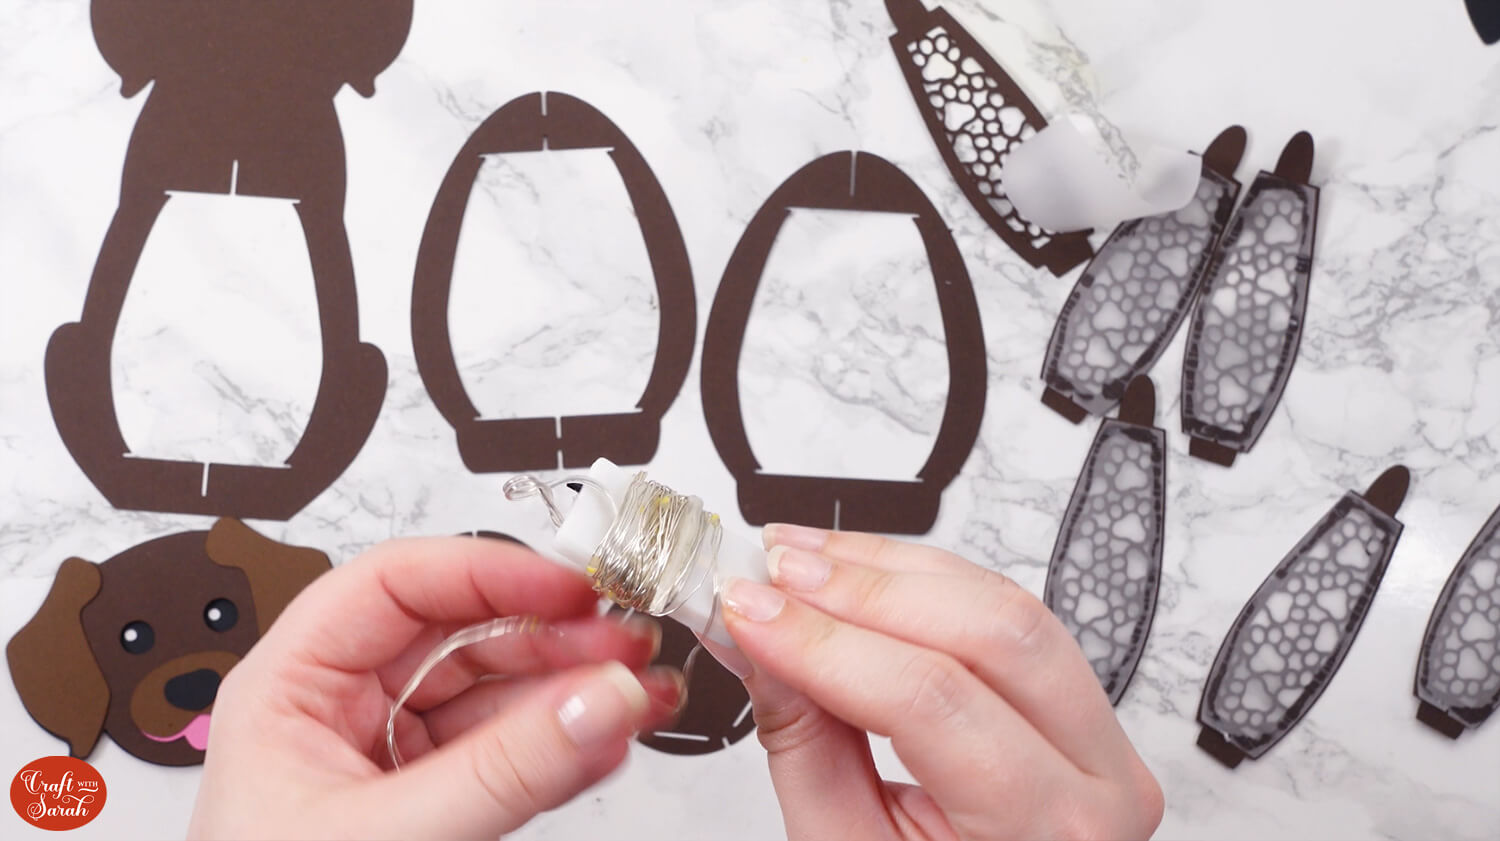
Option 3: Fairy lights
Putting a string of fairy lights inside the lanterns gives the brightest overall effect.
However, as they are quite large and take up lots of room, you can see the edges of the strings of lights when you look at the lanterns from certain angles, so it is perhaps not the neatest of options.
Choose lights with small battery packs and make sure you unravel/unwrap the lights from the battery pack before using them, for safety reasons.
Written tutorial (with photos!)
Here’s how to make Lunar New Year lanterns using a Cricut machine.
Step 1) Download the cutting file(s) & unzip the downloaded folder
Download the Free Cutting File

Please login to your account to download this file.
TERMS OF USE:
You may sell finished, handmade physical craft items that you have made using this product but must not sell or share the digital files. Read full terms of use
Before you upload the SVG to Design Space, you need to unzip the download folder that it comes in.
- How to unzip a folder on Windows computer
- How to unzip a folder on a Mac
- How to unzip a folder on an iPad/iPhone
- How to unzip a folder on an Android device
Step 2) Upload the SVG file into Design Space
Open up Cricut Design Space and start a new Project.
Click “Upload” and then find your unzipped version of the downloaded files for this project.
Choose the file called svg-chinese-new-year-lantern-craftwithsarah.svg
Make sure you upload the file which starts svg- in the filename!!
This is how it should look after you have selected the file:

Press “Continue” to progress to the next screen, then press “Upload”.

The file should load in at 12 in wide and 13.5 in tall. If yours is different then change it to match those sizes using the width and height boxes.

This file comes ready to cut so there’s nothing that you need to do to change on the screen however I would like to bring your attention to a couple of things.
These six blue shapes are designed to be cut from vellum or tracing paper or some other kind of translucent material so that your lantern can glow.
They’ll be glued behind the gaps in the windows to help diffuse the light but if you don’t have any you could use acetate to help give the lantern a bit of extra stability.

TIP: If you resize the ornaments, make sure the padlock icon above the width/height boxes is CLOSED before you resize. If it appears “open”, click it with your mouse to close it.
To make your Chinese New Year lantern even more festive you could cut the yellow pieces from a gold cardstock to give it some shine.
Step 3) Cut out the lantern from cardstock
When you’re happy with how the project is looking in Design Space, click “Make” and follow the instructions on-screen to cut out all the layers.
To change the paper size, go into the dropdowns over on the left side of the screen and choose the paper size that you want to use. You need to change it for every single colour.

To save space on your cardstock, you can move things around by clicking and dragging. Make sure when you’re moving things about that nothing overlaps because otherwise, it won’t cut out properly.

Cut the red lantern pieces from medium or heavy weight cardstock (don’t use Kraft Board as that’s too thick). A solid-core cardstock that’s coloured on BOTH sides of the paper works best, as you can see the front and back sides of the card on the finished ornament.
The yellow pieces can be cut from any weight of cardstock.
TIP: New to cutting cardstock with a Cricut? Check out this in-depth tutorial which goes through every step of the process, including tips for getting the best quality cuts from your Cricut.
Step 4) Stick the window panels together
If you are using the backings for the window panels, glue them into place now.
Just use a tiny amount of glue and make sure you don’t press the pieces together too hardly, otherwise the glue might “smush” out the sides and become visible.
Leave everything to one side to let the glue dry fully.

Once they are dry, you can add the flowers on.
I chose to shape my flowers to make them appear 3D. To do that, I used a rectangular piece of squishy foam and a ball tool (usually used for shaping fondant when making cakes).
Pressing down with the tool in circular motions in the middle of the flowers will make the petals gently bend upwards.

Glue the flowers onto the side panels.

You don’t have to shape them to make them 3D – they look lovely glued on flat too.
I added adhesive gems and Nuvo Drops to the middle of the flowers for an extra sparkly effect.

Step 5) Assemble the lantern shape
Select the following pieces and make sure they are in the order listed below.

Slot the second structure piece into the top of the first piece, then carefully slit it into the bottom too.

Hold the two pieces flat against each other, then slit in the third structure piece.
You will end up with six sides.

Place one of the the small circles into the top of the ornament and slot the outer ridges into the little gaps in the main shapes.
This is a little bit fiddly, so take it slow and be careful that you don’t rip any of the pieces of card.

Repeat with the bottom circle.

Next, take the handle piece and attach it to the lantern by placing it in the slit and securing it using the hook. Do this for both sides of the handle.


Take the fringed yellow/gold piece and roll it round into a circular shape. Secure the shape with glue and allow it to dry.

Attach the bottom piece to the lantern using the slit hooks on the lantern and the rectangles on the bottom piece.

You can then gently flick out the cuts in the bottom pieces to stop it looking so uniform.


Step 6) Add the window panels
Finally, slot each of the window panels into the lantern structure. Use the slits on the top and bottom of the lantern and post the tabs of the window pieces through.
There are two different designs to the windows. Alternate them to have a repeating pattern going around all the edges.
Slide the top “point” shape of one of the side panels into the ornament.

Gently bend the panel and slot the bottom “point” shape into the bottom of the ornament.

Repeat for the remaining sides until you have one left empty.
Add the light inside, then close up the final side.

3D lanterns for Chinese New Year
Now your 3D Chinese lantern is finished and ready to hang up in your home.
I love the way they look when you have a few hanging together as they glow so beautifully!
Happy crafting,
Sarah x

