The EASIEST Way to Display Papercrafts 🤩 Free Hook & Stand SVGs
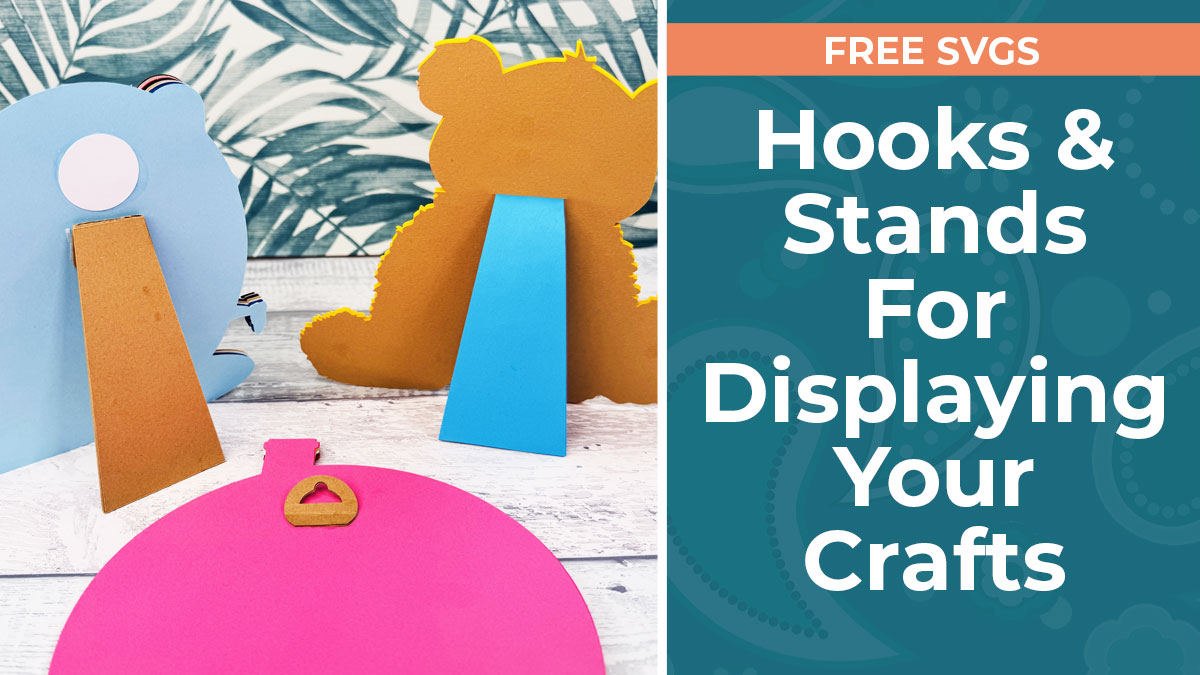
Running out of wall space for your papercraft projects? Here’s an easy way to display them!
As you probably already know, I LOVE making layered cardstock designs, but they’re not always easy to display. After all, there is only so much space on your walls to put up shadow box frames, right?
Sometimes you just need something you can make quickly and easily to get your hard work up on display right away.
These hooks and stands are fantastic scrap-busters to use up your old supplies and they don’t take long to make at all.
You might remember my easel stands that I made a while ago. I thought it was time to follow the same concept but create something that’s invisible once it’s in use AND add a way to mount papercraft projects to the wall without any need for a frame.
Video tutorial: Hooks and stands for papercraft projects
Here’s a video which shows how to make simple hooks and stands for your papercraft projects.
Keep scrolling for a written tutorial.
Materials list
Here is a list of the materials that I used to make this project.
Please note that some of the links included in this article are affiliate links, which means that if you click through and make a purchase I may receive a commission (at no additional cost to you). You can read my full disclosure at the bottom of the page.
- Cricut Machine
- Light blue Cricut cutting mat
- Cardstock or Kraft Board (works best with Kraft Board but cardstock is fine too – the thicker the better)
- Glue or double-sided tape
- Scoring stylus or scoring wheel
Hooks and stands tutorial
Step 1) Download the free file & unzip the downloaded folder
Download the Free Cutting File
Please login to your account to download this file.
TERMS OF USE:
You may sell finished, handmade physical craft items that you have made using this product but must not sell or share the digital files. Read full terms of use
Before you upload the SVG to Design Space, you need to unzip the download folder that it comes in.
- How to unzip a folder on Windows computer
- How to unzip a folder on a Mac
- How to unzip a folder on an iPad/iPhone
- How to unzip a folder on an Android device
Step 2) Upload the SVGs and format the score lines
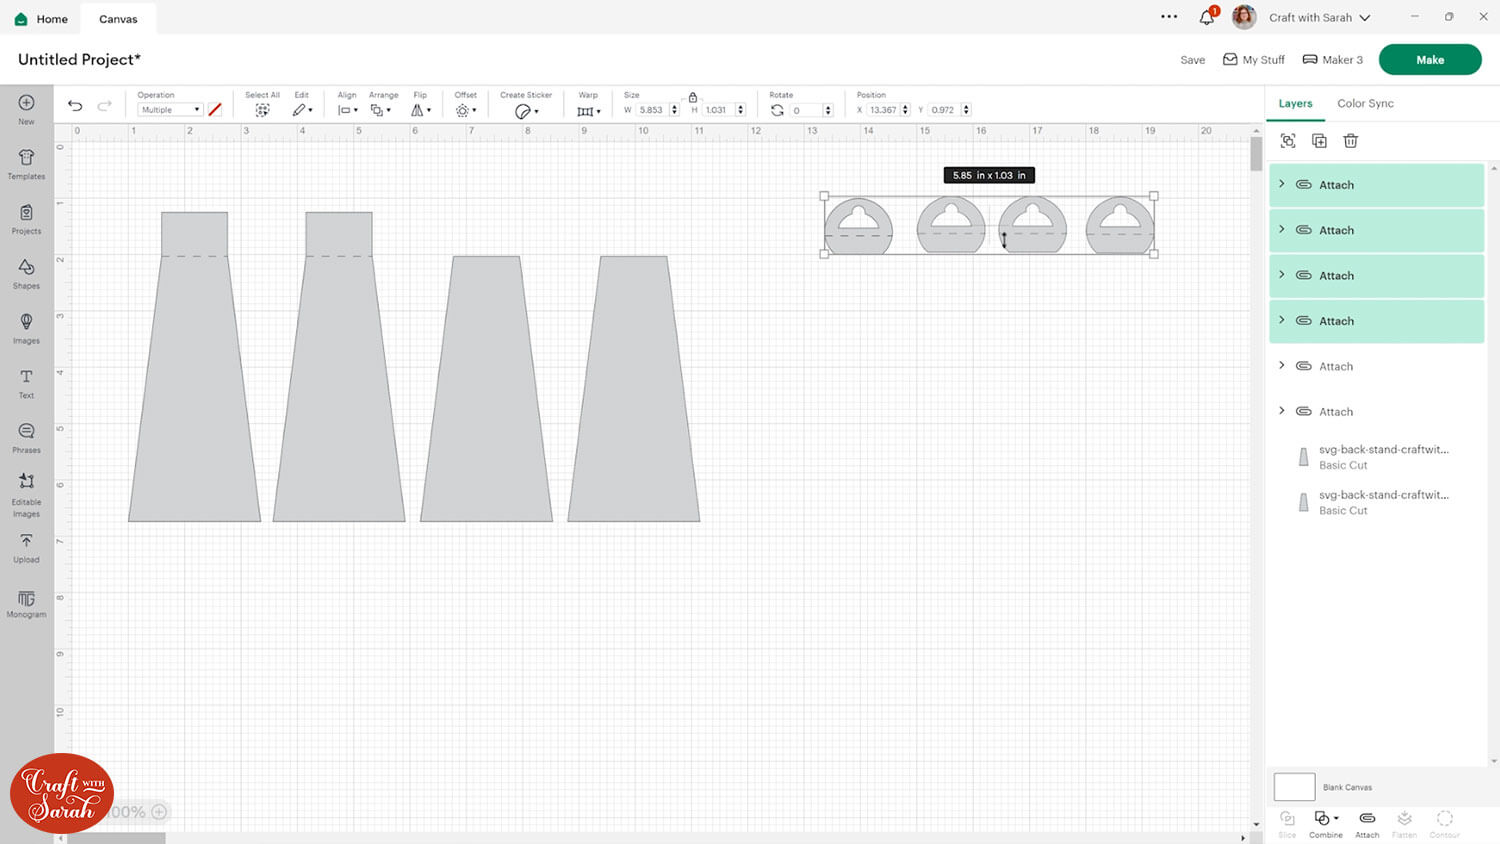
The hook and stand SVGs come as separate files so you will need to upload the one you wish to use.
Need some help with this step? Here’s how to upload SVGs into Cricut Design Space.
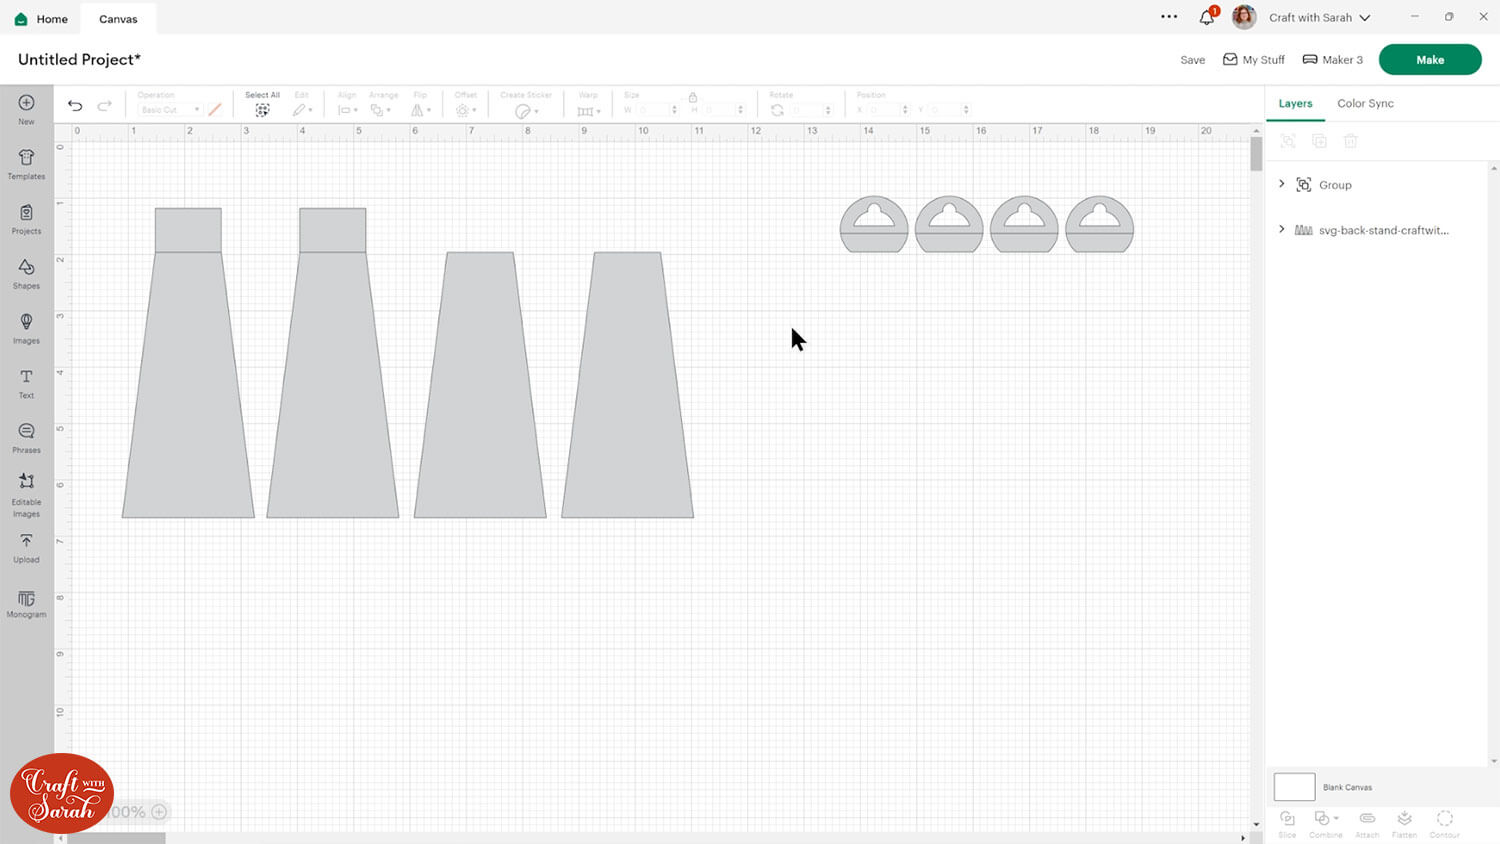
The reason why there are multiple versions of the shapes is so that even if you cut them from a thinner cardstock, you can glue the pieces together to ensure it’s sturdy enough to hold up the papercraft project.
Formatting the stands
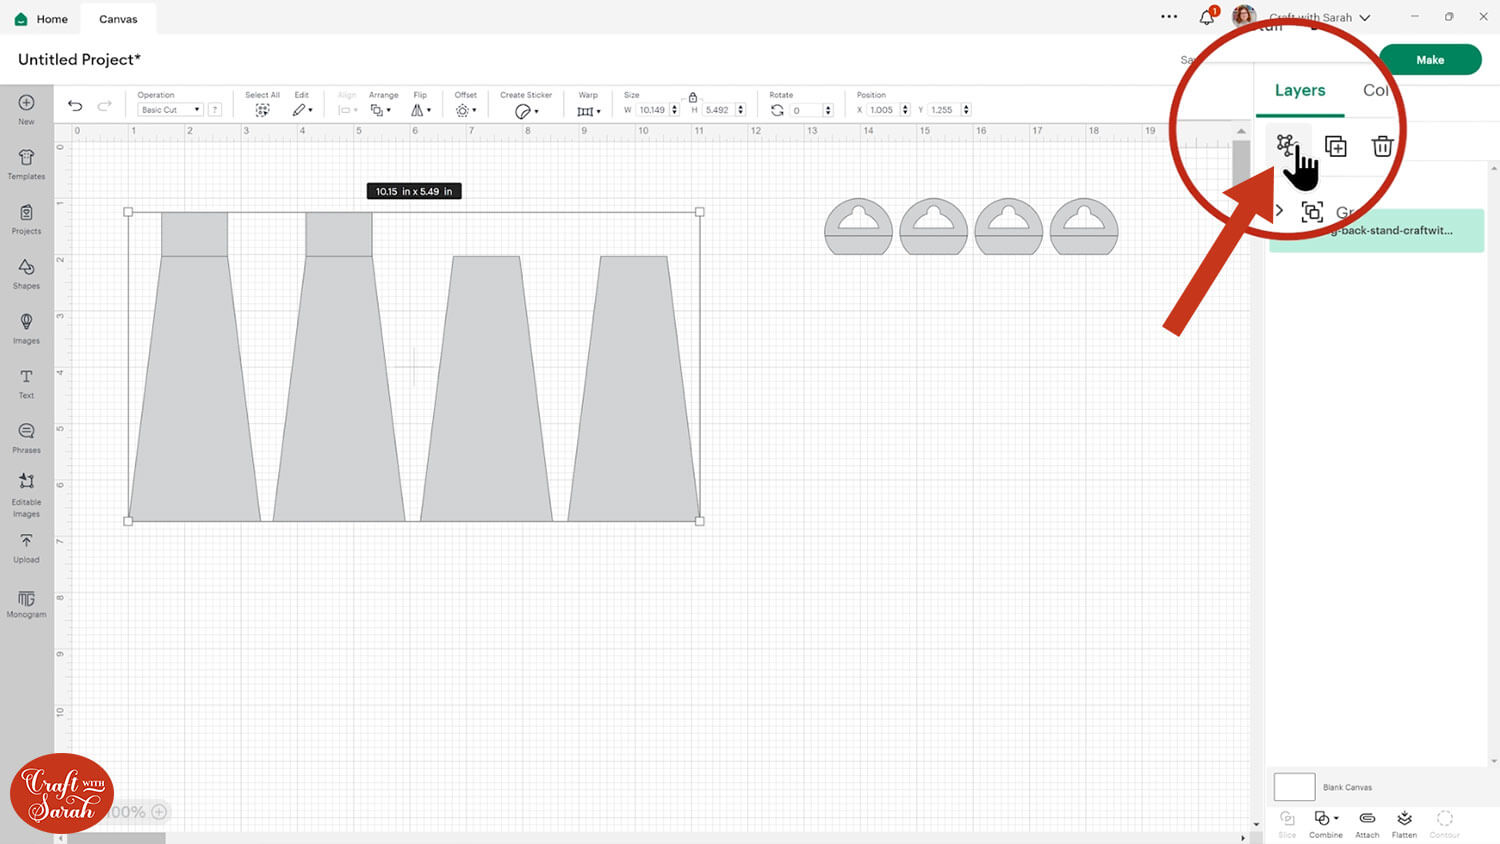
To get the stands ready for cutting, first click the Ungroup button to separate out the layers.
You will notice that two of the stand pieces have a horizontal line towards the top.
We need to change these to score lines.
Look down the layers panel and click the arrow to open up the mini group.
Select the horizontal line.
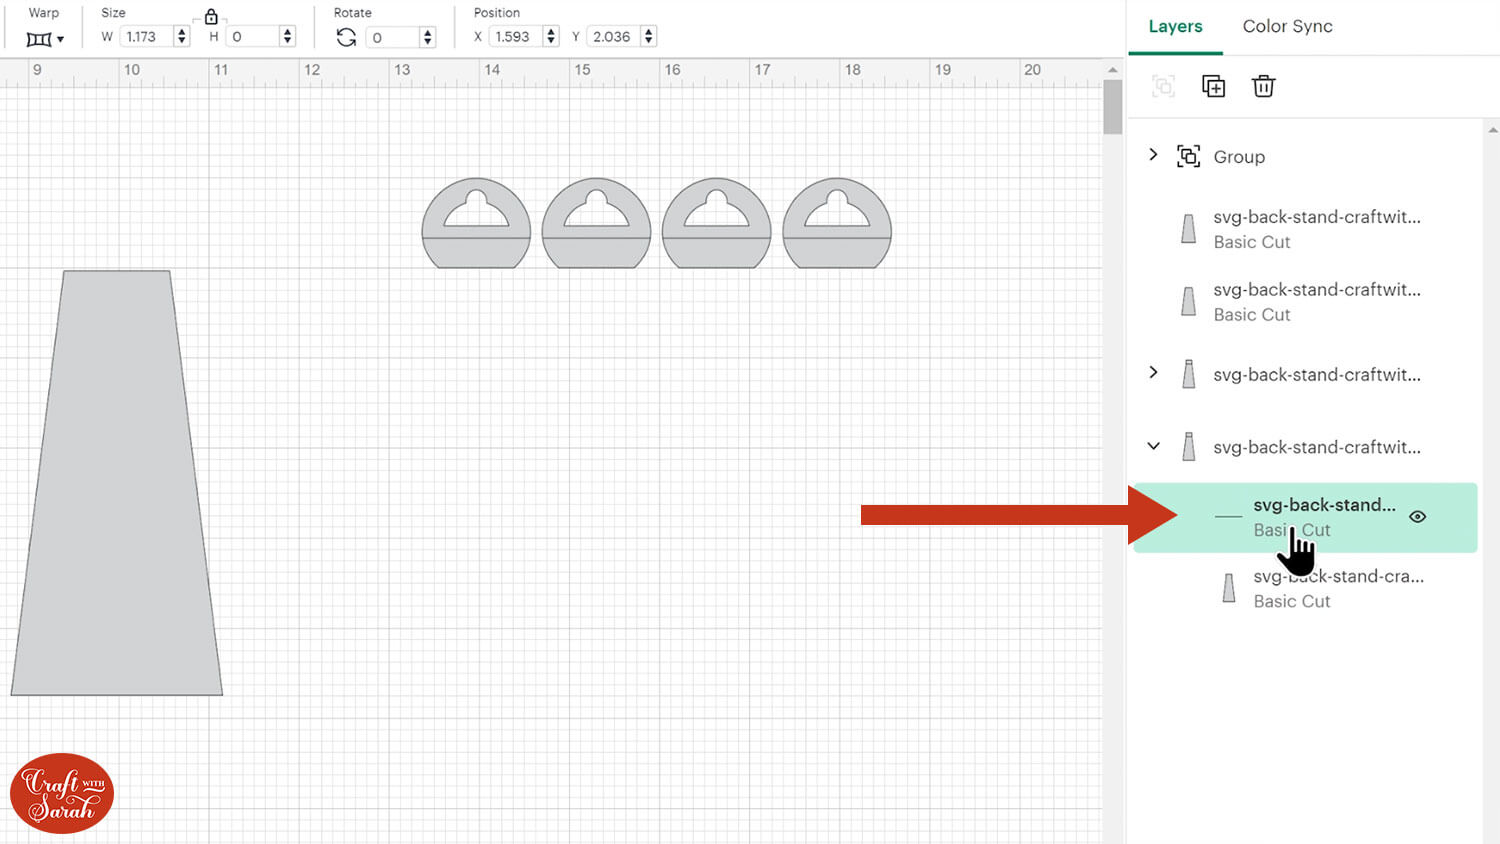
Change it to Score under the Operations dropdown.

We then need to tell the Cricut where to score by selecting both the stand layer and the score line and pressing Attach.
Do the same thing for the other piece that has a horizontal line.
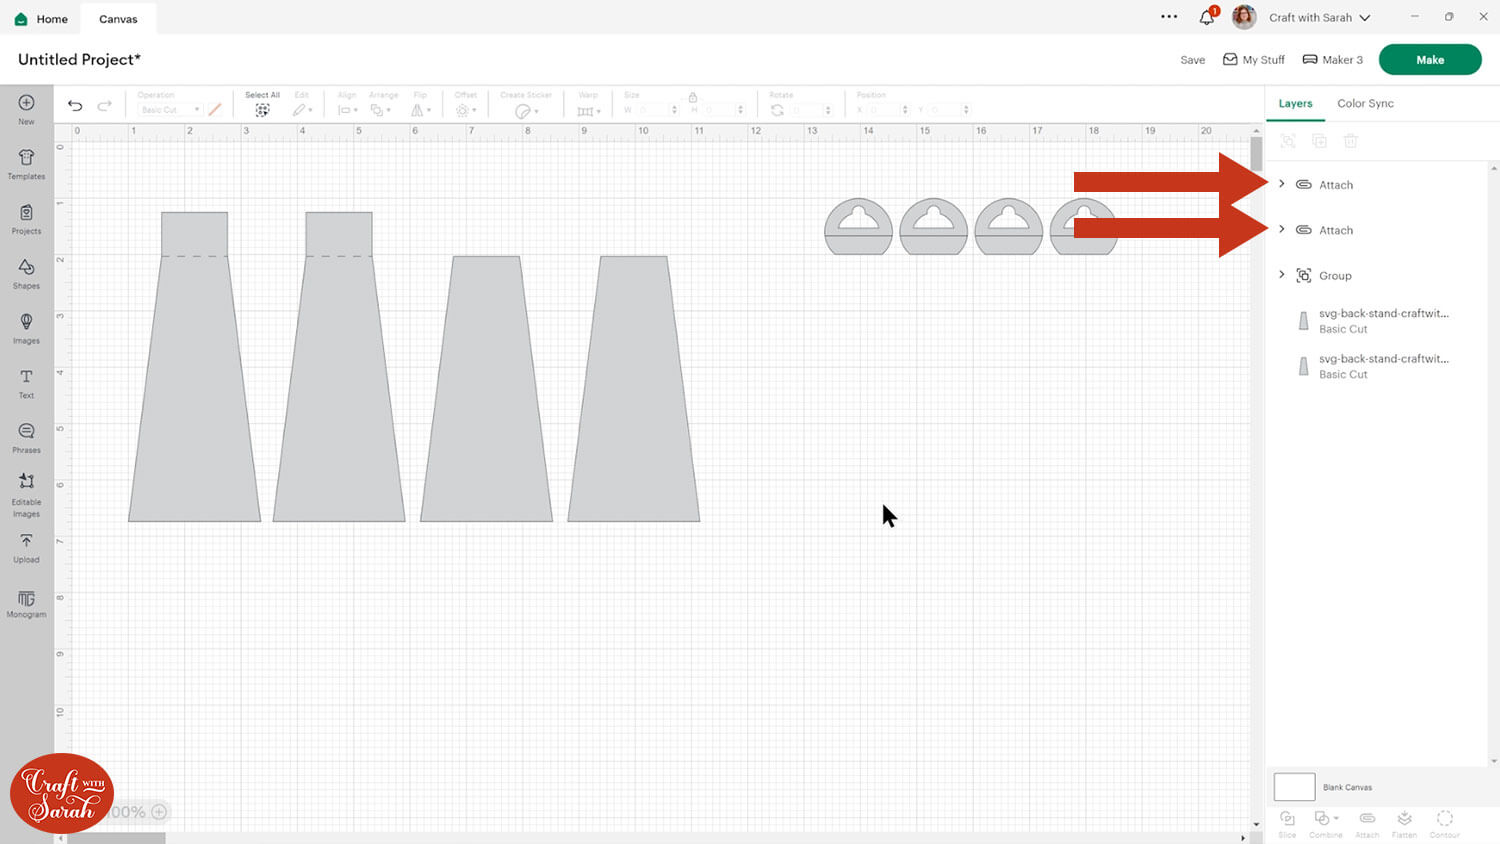
You then might want to resize the design. The easiest way to do that is to select all four stand pieces and go Align > Centre to put them one on top of the other.
Then press Align > Align Bottom.
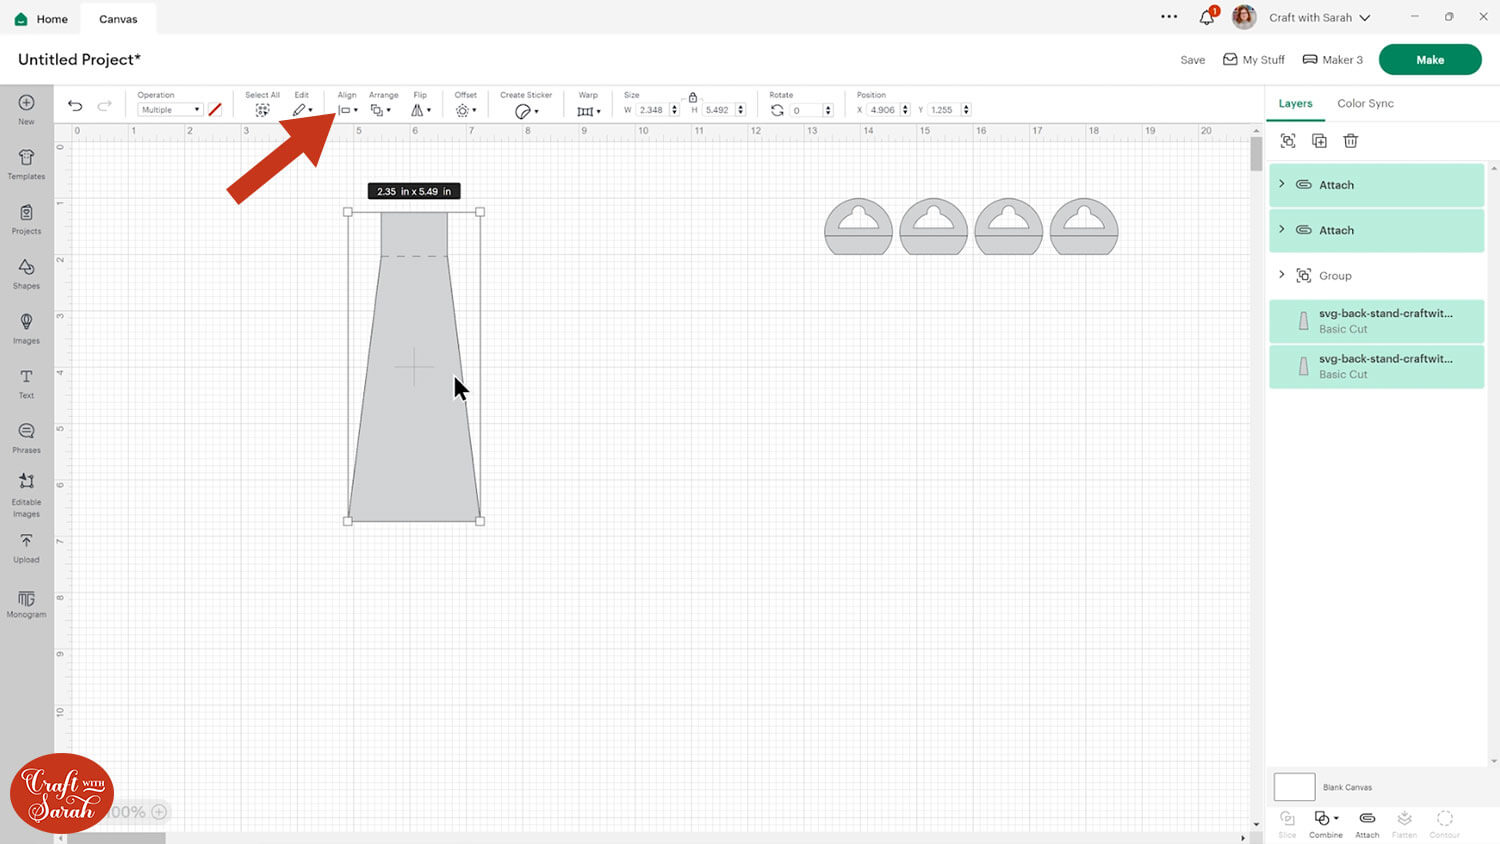
Drag a box around them all so that you know they are all selected and resize them.
You may want to size them a bit like this if you are making something short and wide.

Alternatively, if your design is particularly thin then you may want to make it thinner and taller.
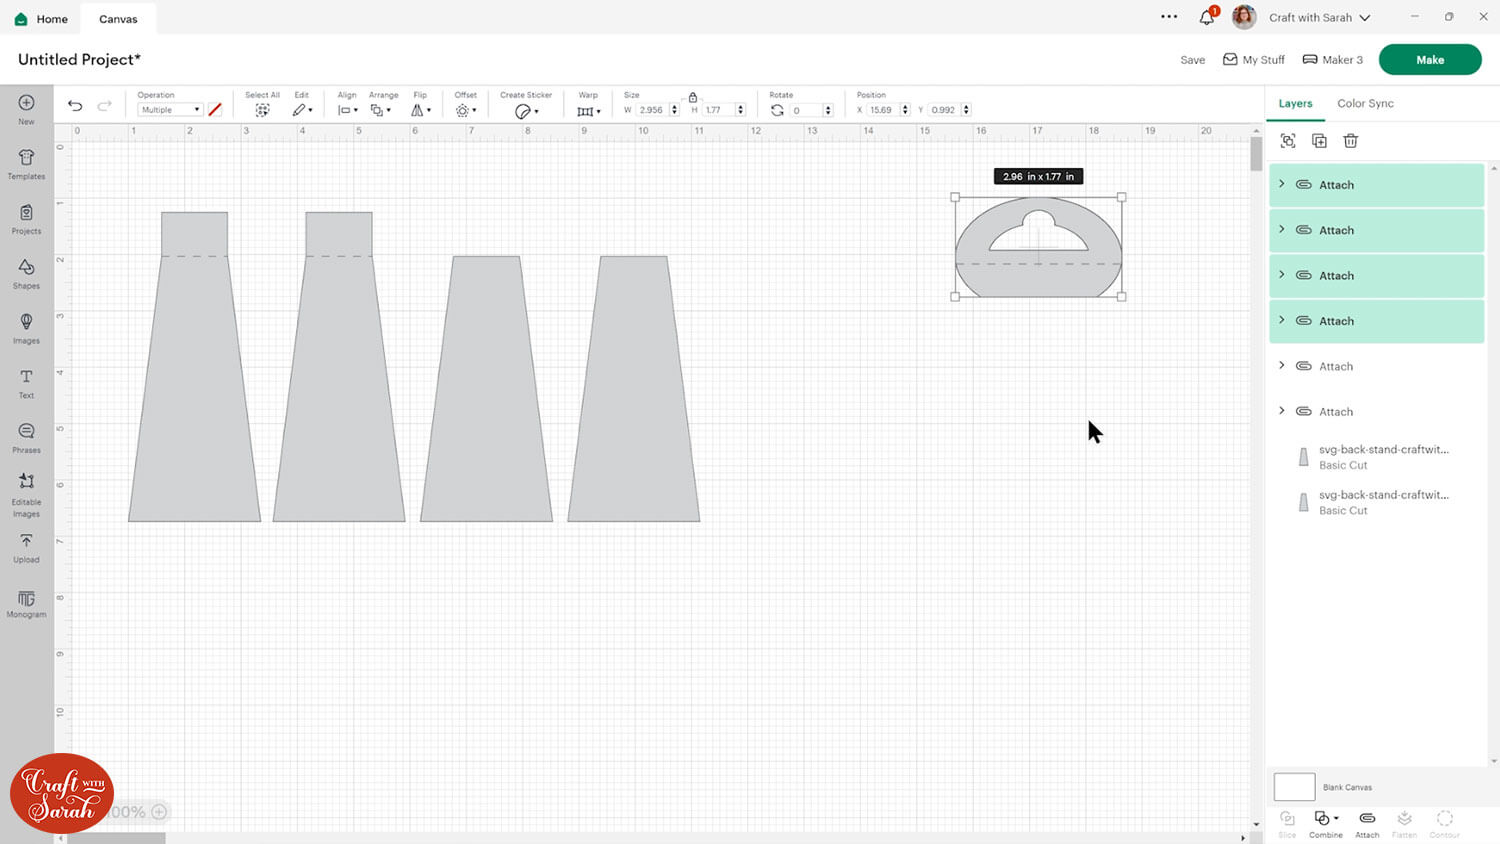
Formatting the hooks
We will format the hooks in a similar way.
Ungroup the SVG to separate out the pieces. The easiest way to format the hooks is to delete three of the shapes, and just do the formatting on the one that’s left.
Then, duplicate the formatted design three times at the end to save having to repeat all the formatting four times!
To format the score lines you will need to change the horizontal lines in the mini group to score under Operations.

Select the hook and the score line and press Attach, just like we did for the stands. Duplicate the formatted hook three times.
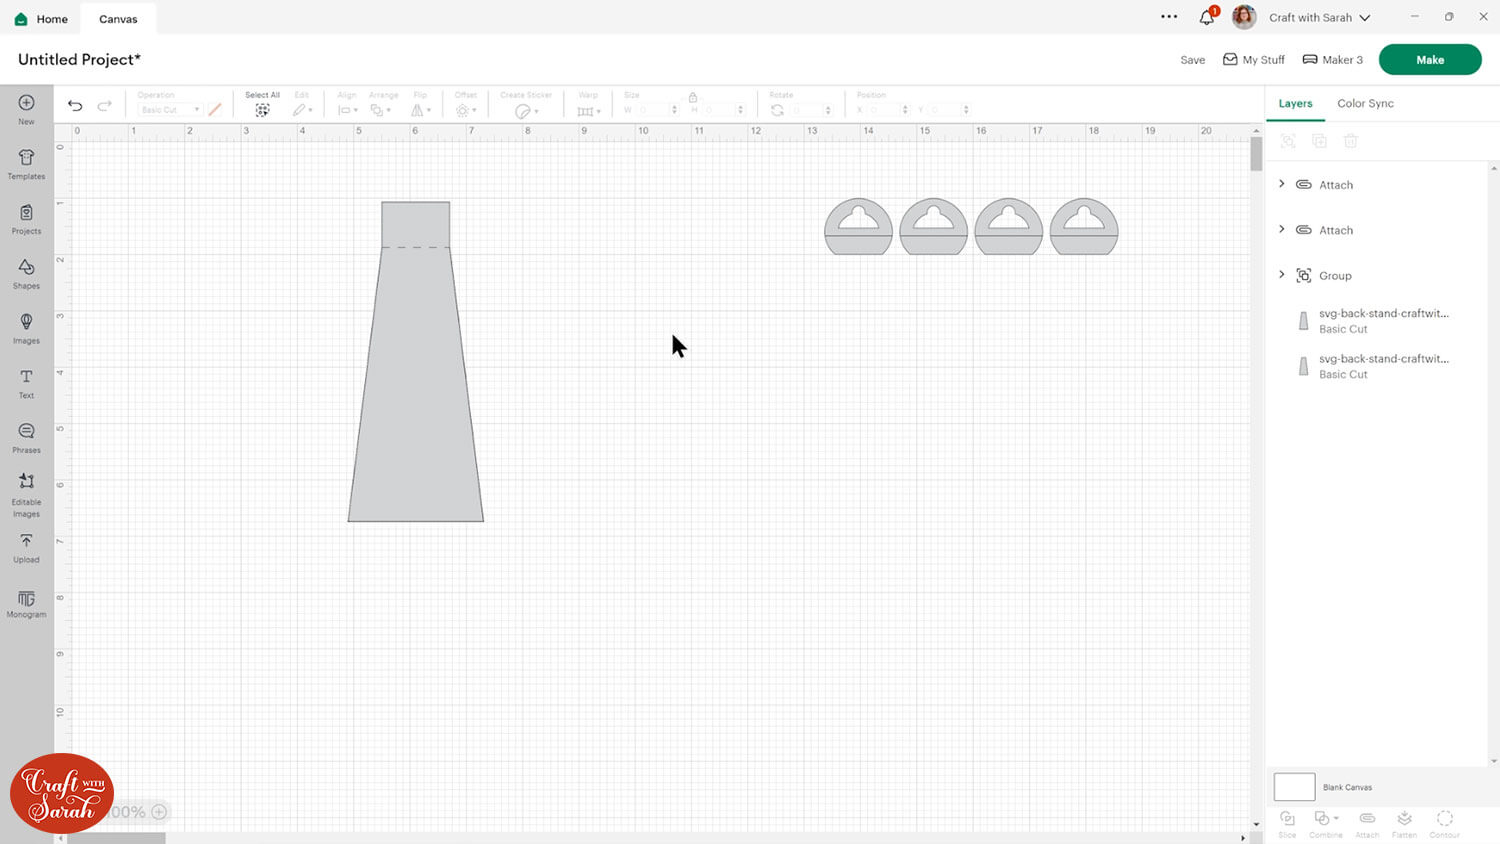
If you would like to resize them, select them all and go Align > Center to put them on top of one another and then resize them to the size that you would like.
Now your hooks and stands are ready to go!
Step 3) Cut the hooks and stands
When you’re happy with the formatting and sizing, click Make to get everything cut out.
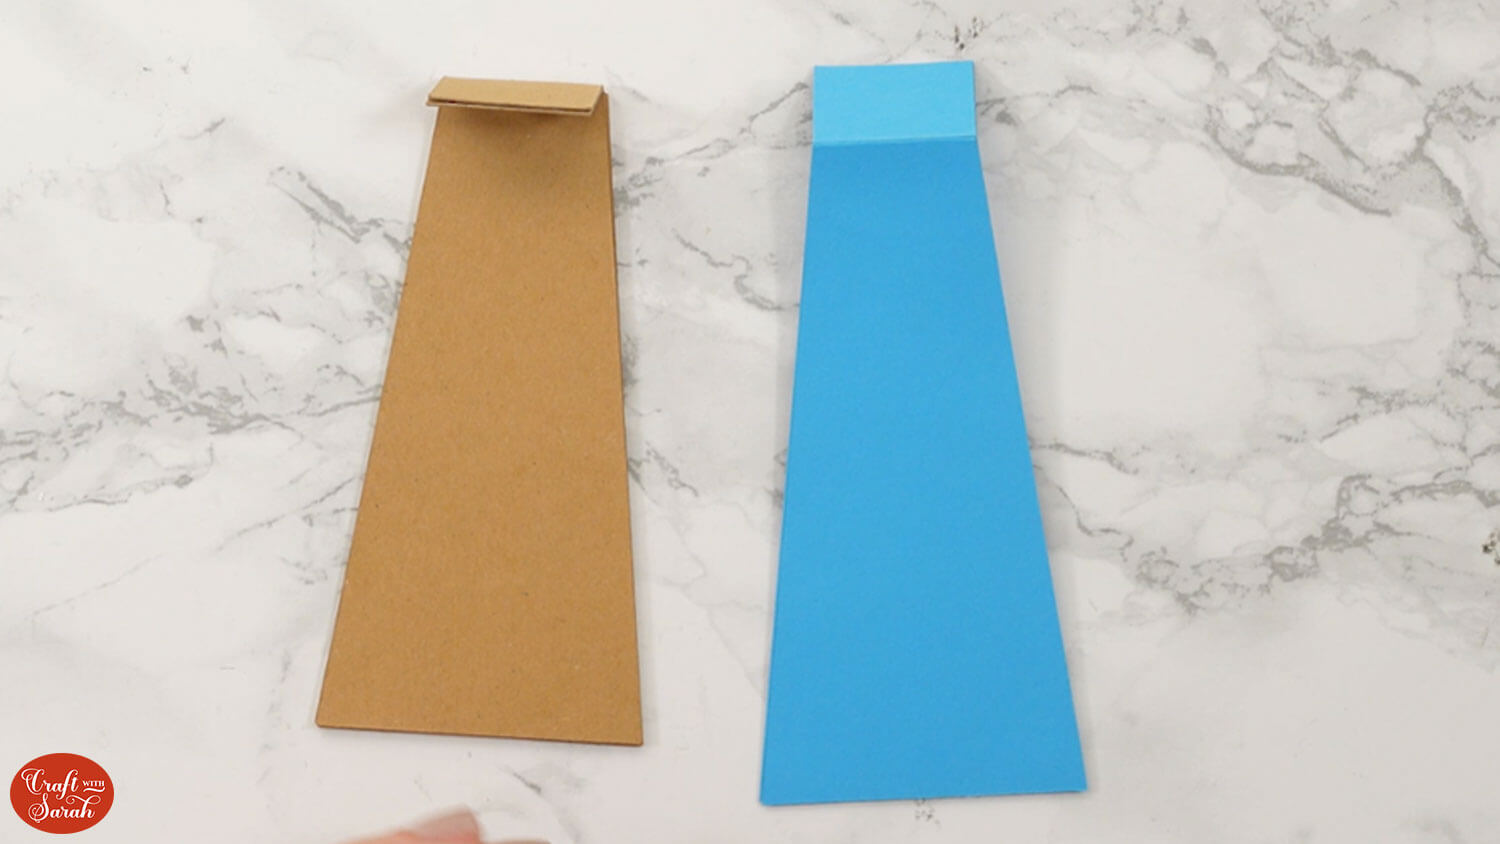
You can use regular cardstock for both of these designs but it will work better if you can get your hands on some Kraft Board as it’s thicker and sturdier so it will hold more weight.
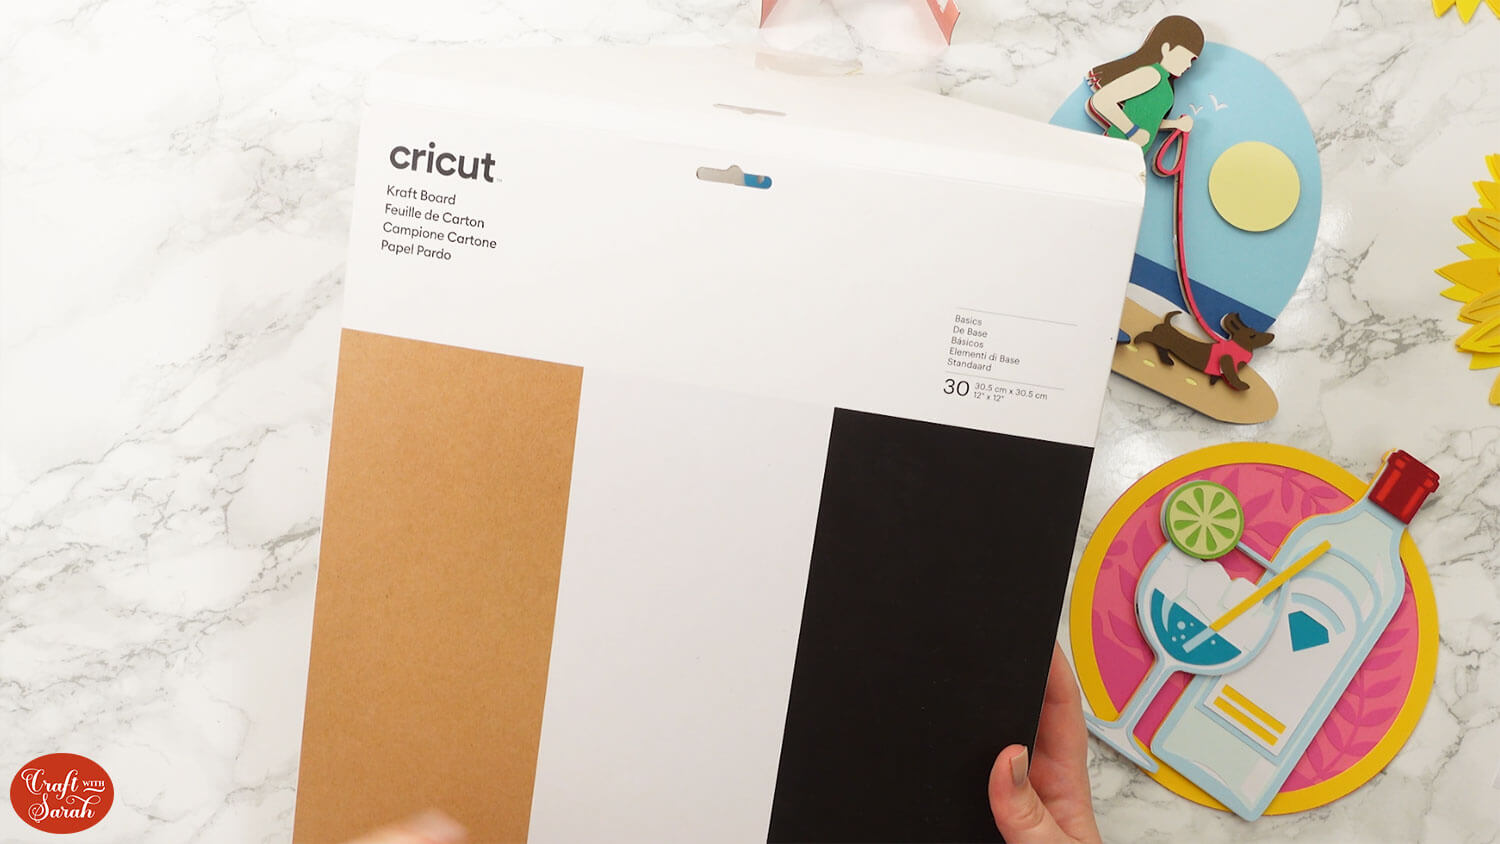
If you are using Kraft Board, click “Browse All Materials” and select the “Kraft Board” cut setting.
With the Kraft Board, you may find that you don’t need to stick quite as many of the pieces together. E.g. for the hooks, I only needed to stick two together.
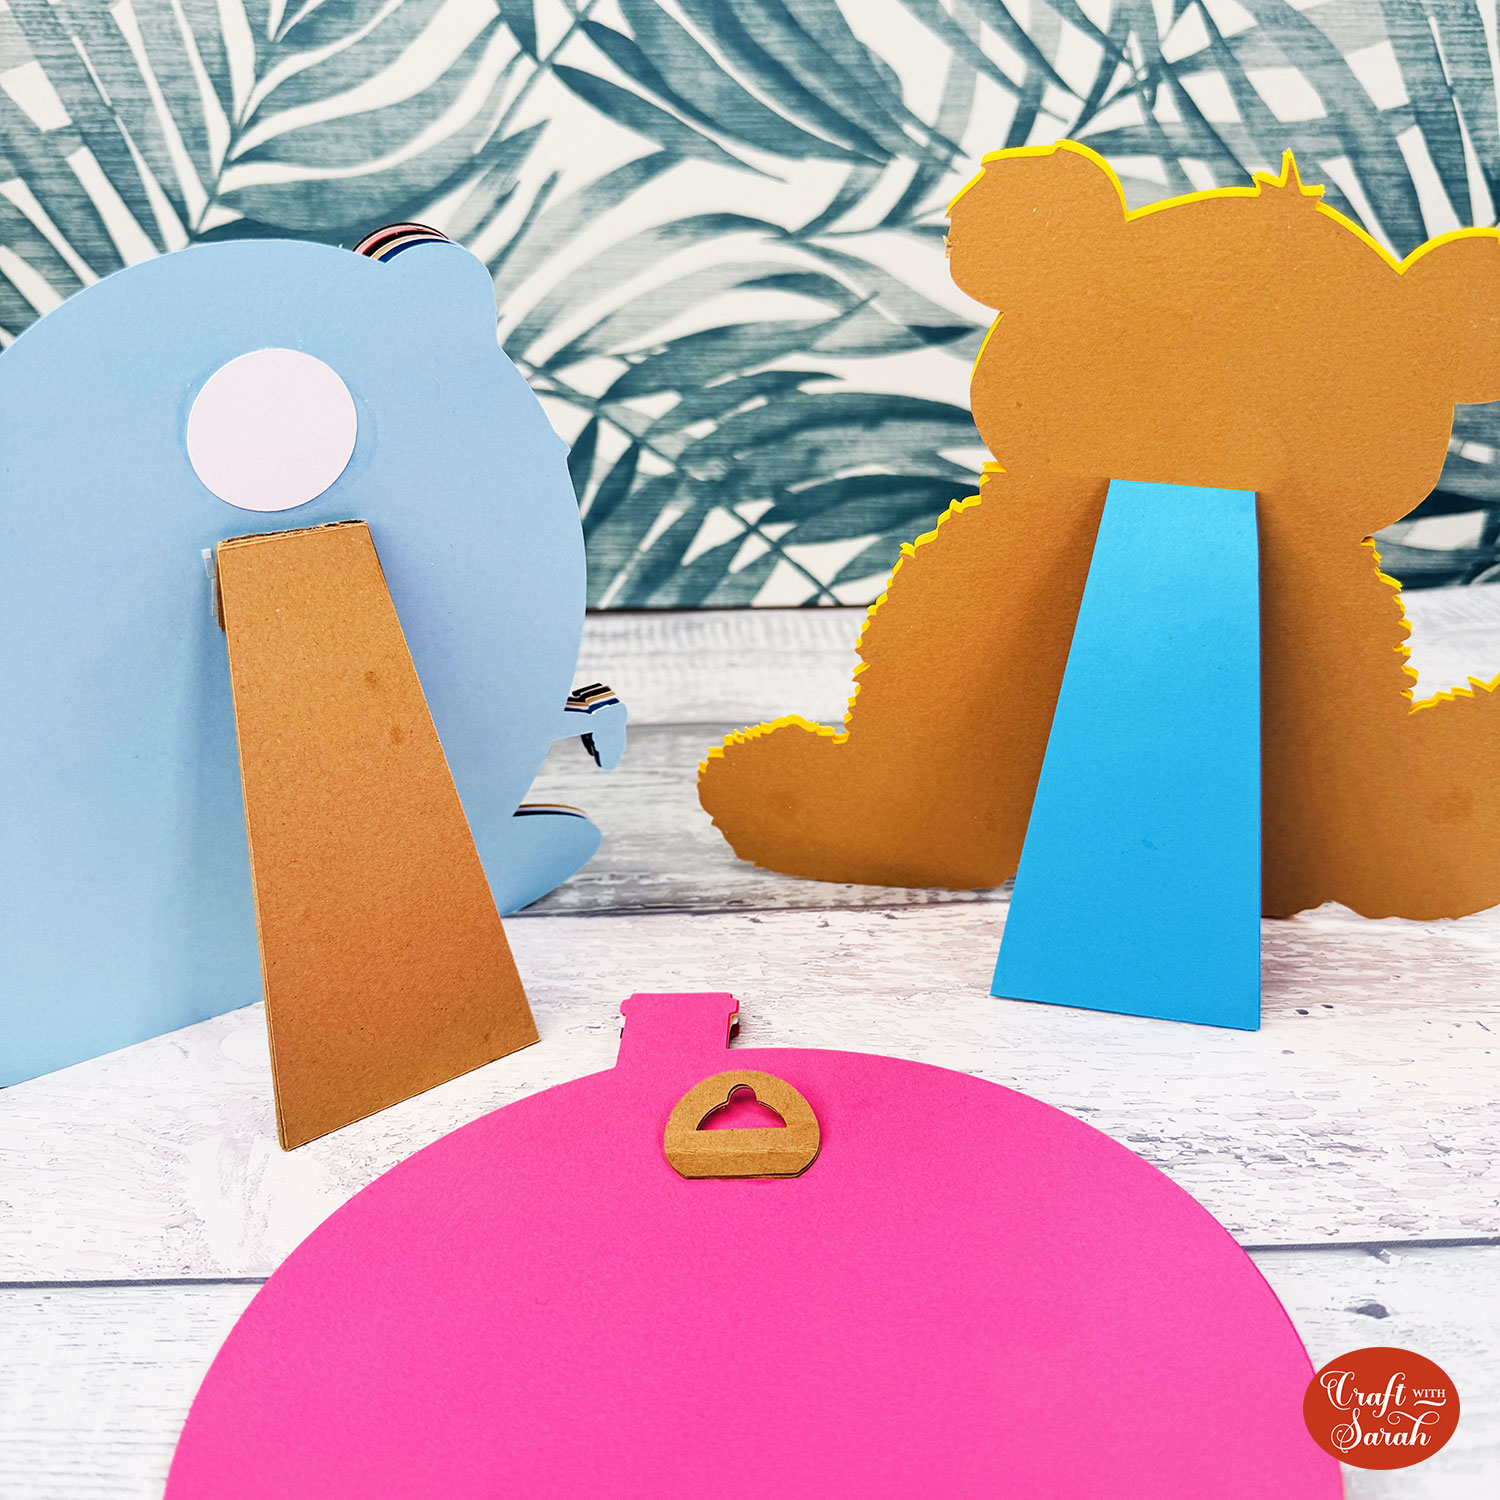
Step 4) Assemble and attach the stand
We will start with the stands.
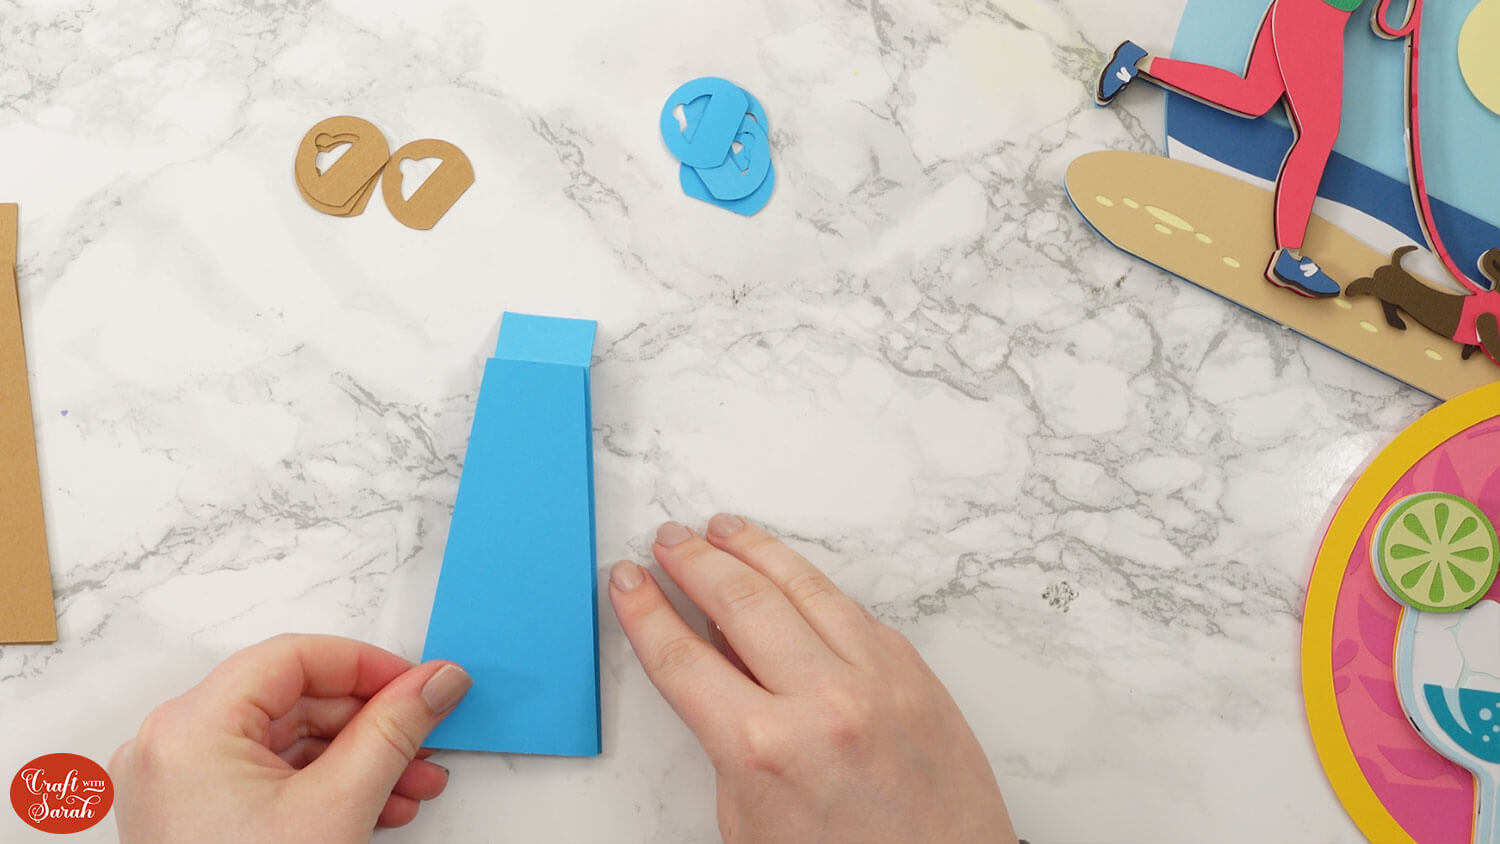
Take the two taller pieces and fold along the score lines.
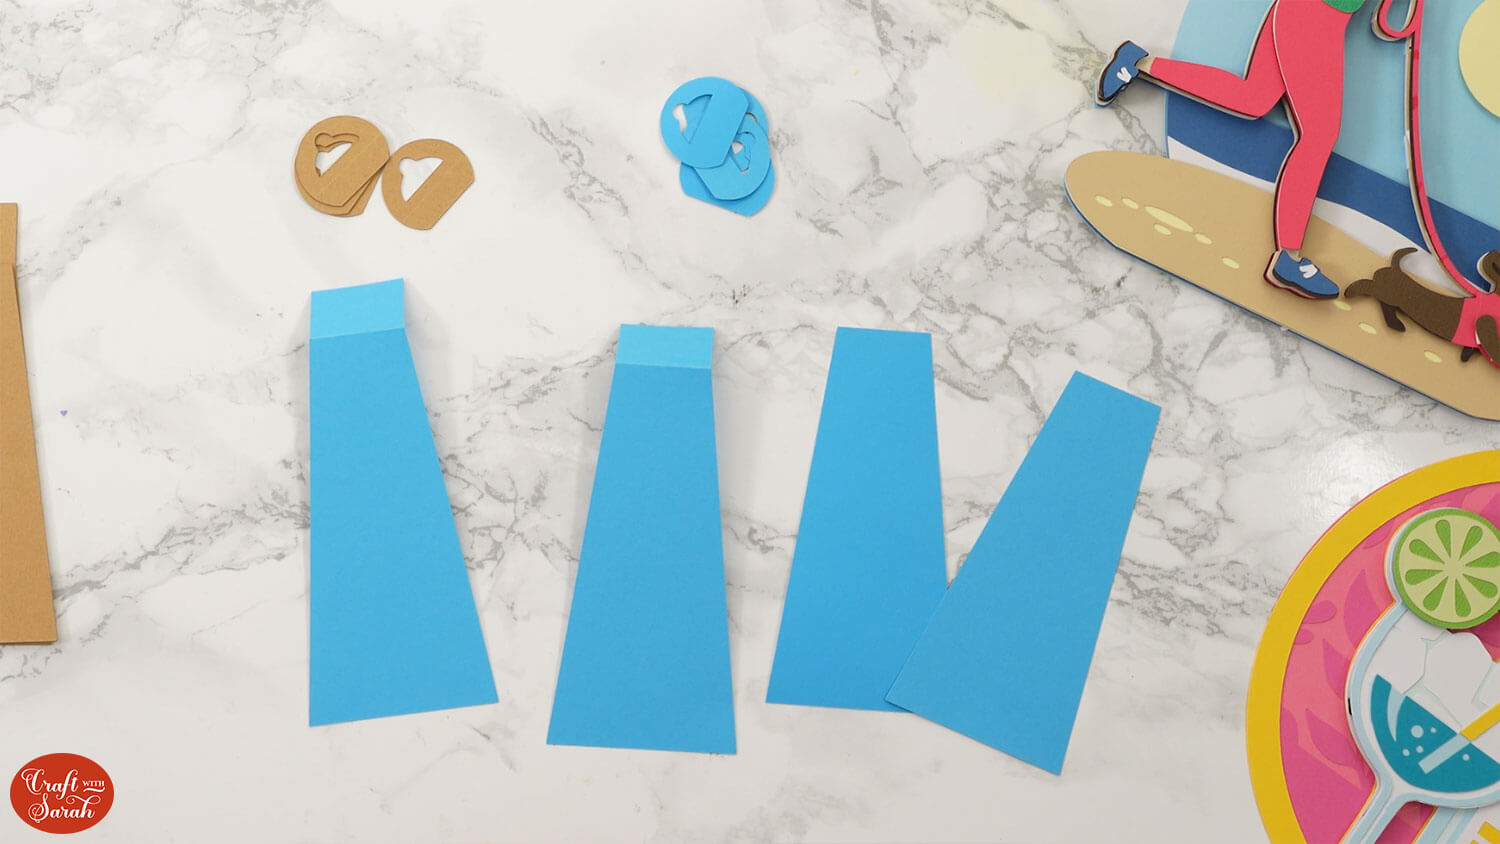
Glue one piece on top of the other. Avoid putting glue onto the score line itself.
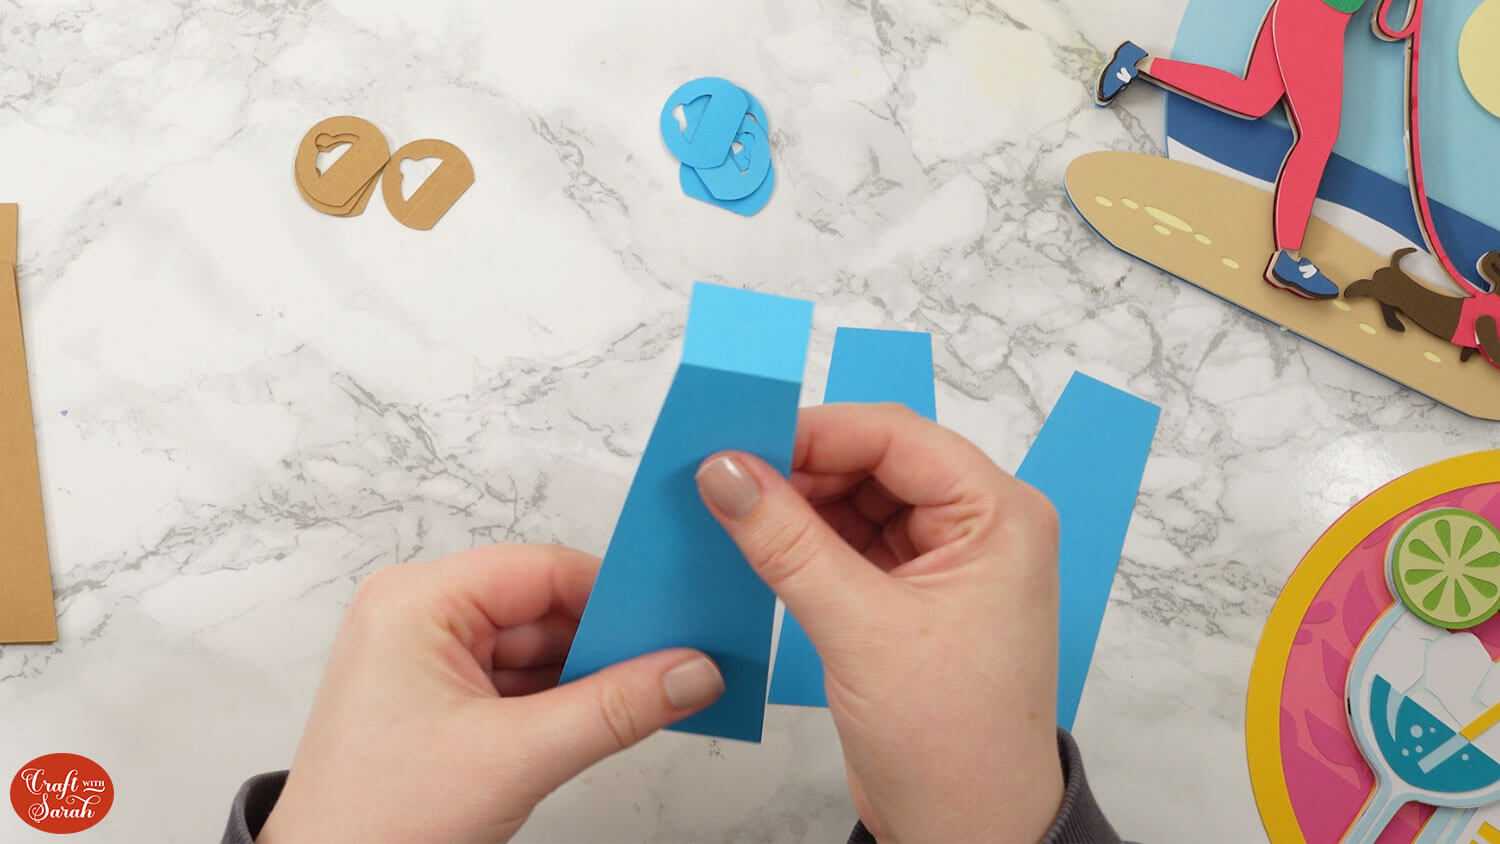
Stick the other two pieces either on top or on the bottom of the two pieces you have just stuck together, lining them up using the score line at the top for guidance.
This will help give the stand more stability.
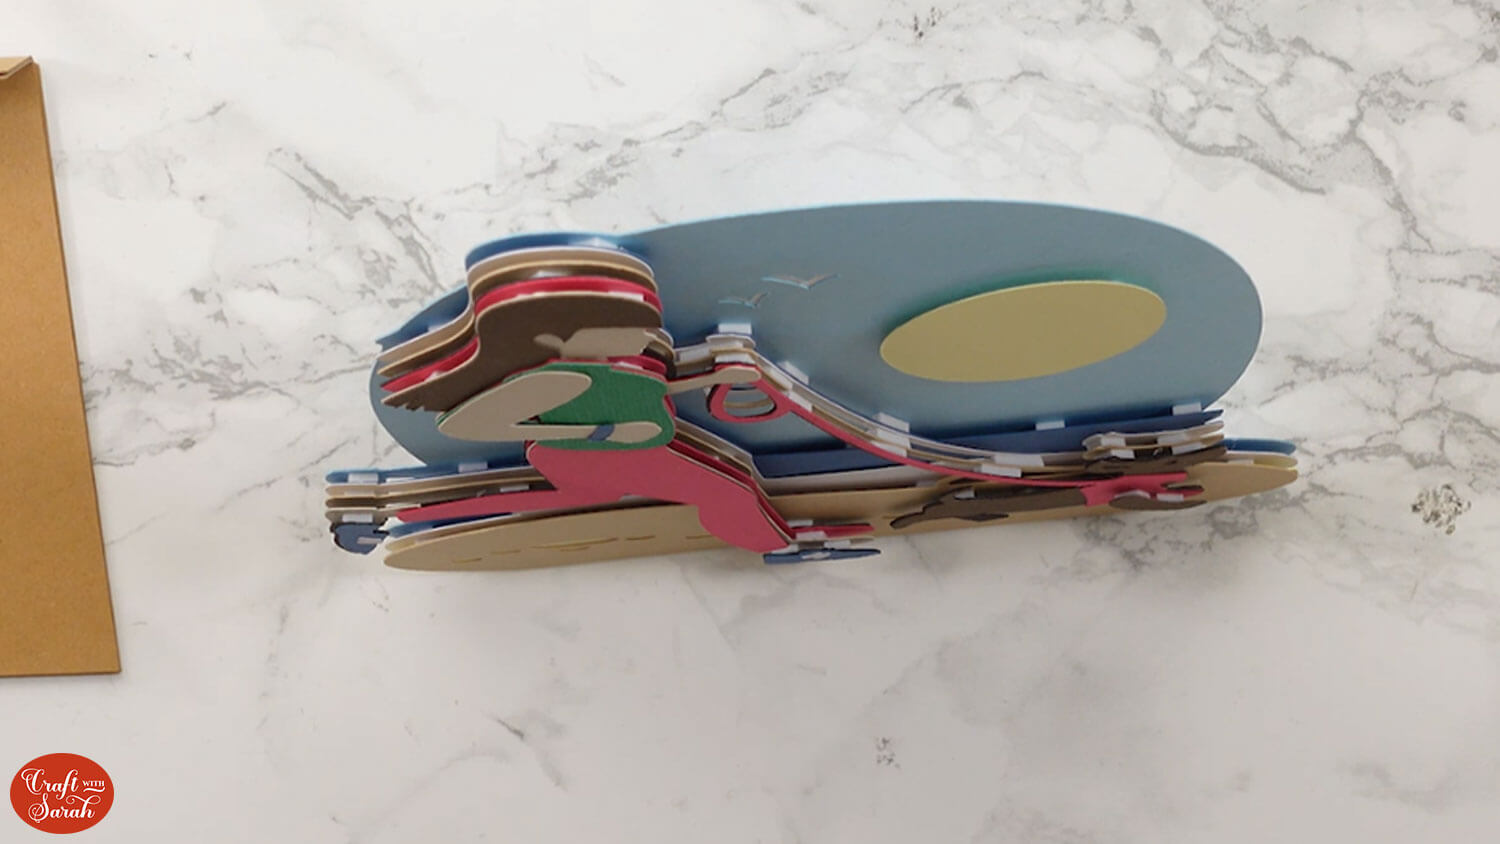
I assembled both a cardstock and Kraft Board version. The Kraft Board one was definitely studier as it was double the width. They both still worked perfectly on my layered designs.
Take the layered design that you wish to display and use glue or double sided tape (which is easier if you think you may want to take it off in the future) in the top tab to stick to your layered design.
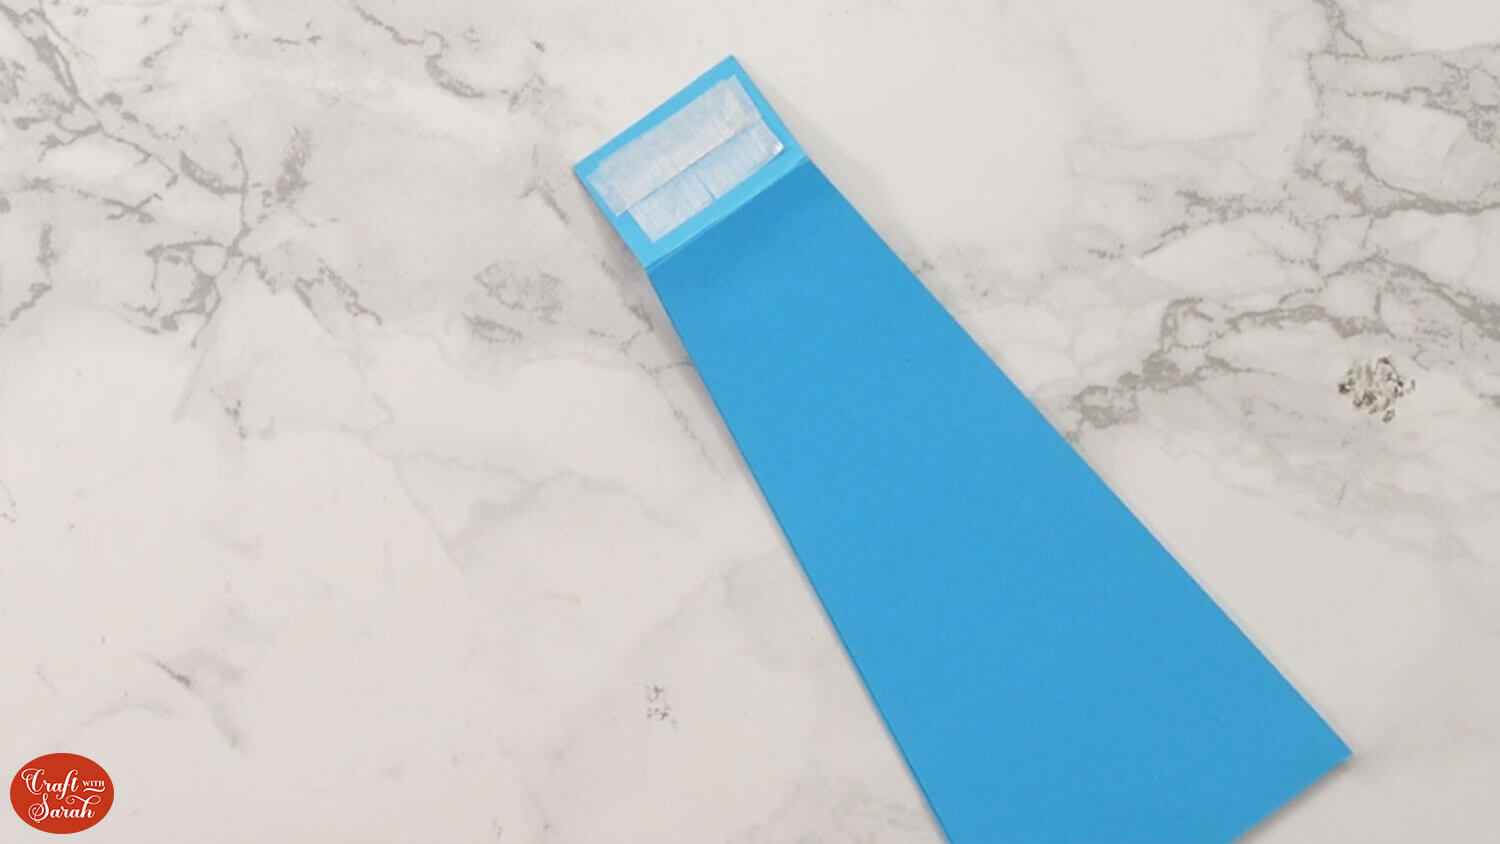
Use the bottom of the design and stand to position the stand correctly.

Now your layered design is freestanding!
If you are using cardstock instead of Kraft Board then you may need to place the stand close to the design so that it holds the design up properly. This is just because it isn’t as strong as the Kraft Board version.
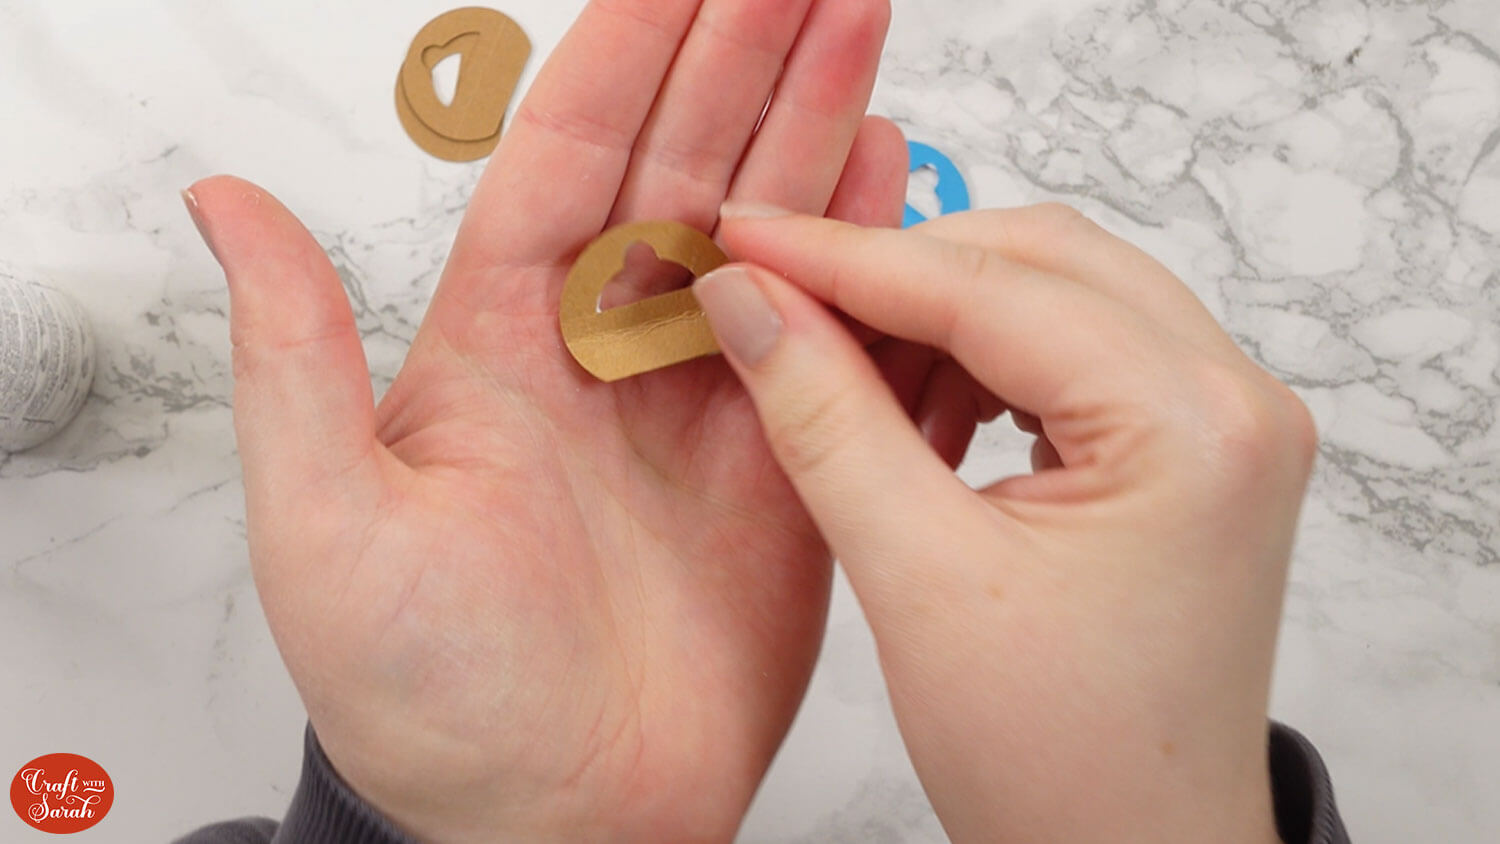
Step 5) Assemble and attach the hook
Fold along the score lines on the little hooks.
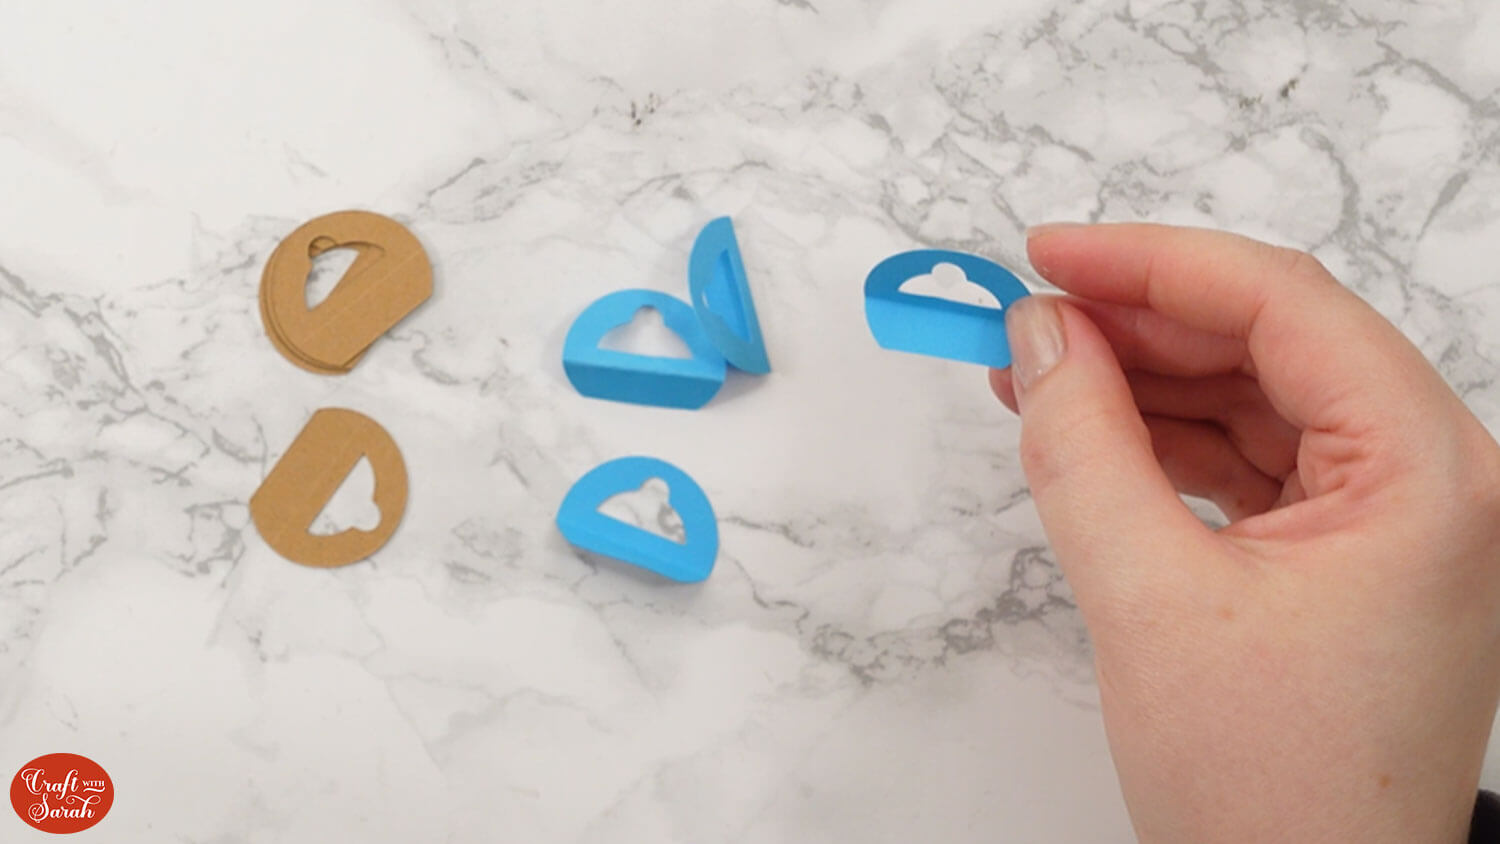
Glue them on top of each other (the Kraft Board versions only needed two layers rather than the full four).
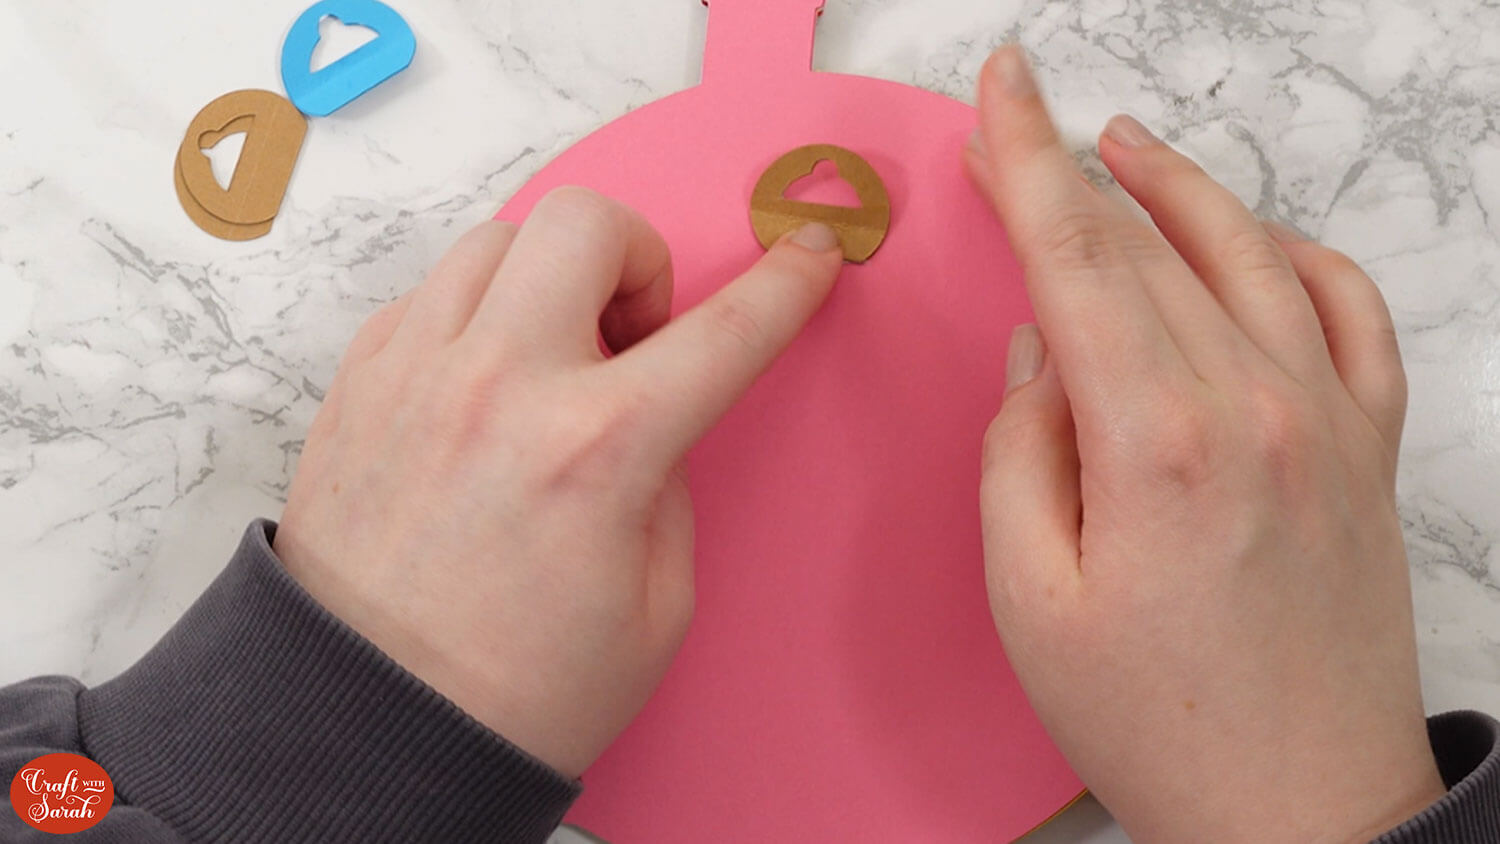
Take your layered design and put glue or tape onto the tab which will stick onto the design.
Then, stick it to the back of your design.
Allow it to dry before doing anything else!
What a quick and easy way to display your layered designs!!
Just place it onto an existing hook or nail in your wall and you’ve got your handmade craft on display with hardly any effort at all.
How to display Cricut papercraft projects
I hope that you enjoy making these quick and simple hooks and stands to display your Cricut papercraft projects.

If you’re making your layered designs as gifts, you could include a hook or stand so that the recipient can put them up on display right away.
Why not get started with one of these free layered cardstock designs, or browse the designs in my shop for over 1,000 additional projects.
Happy crafting,
Sarah x

