Easy DIY Pop Out Card
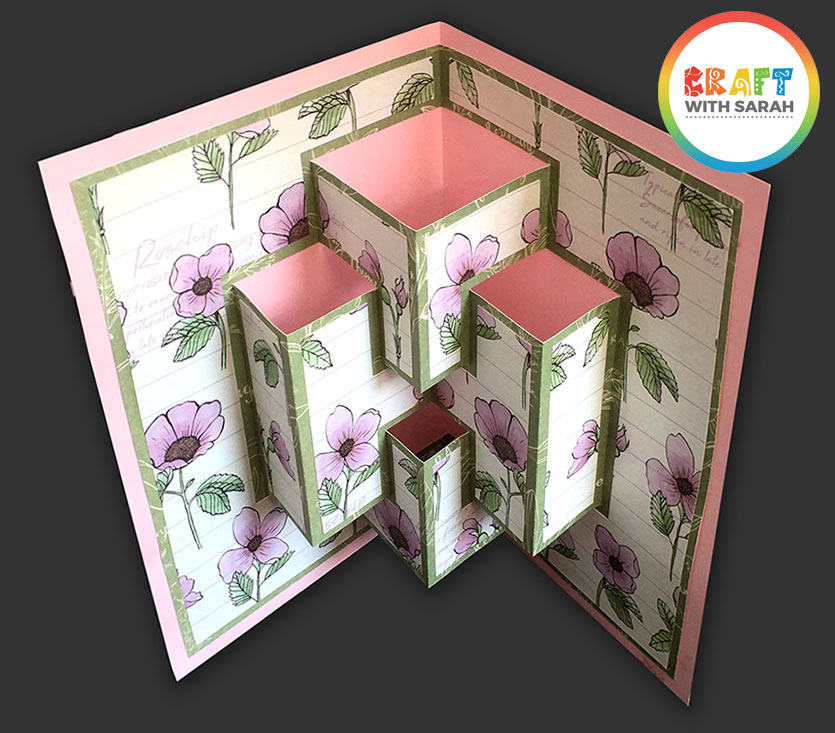
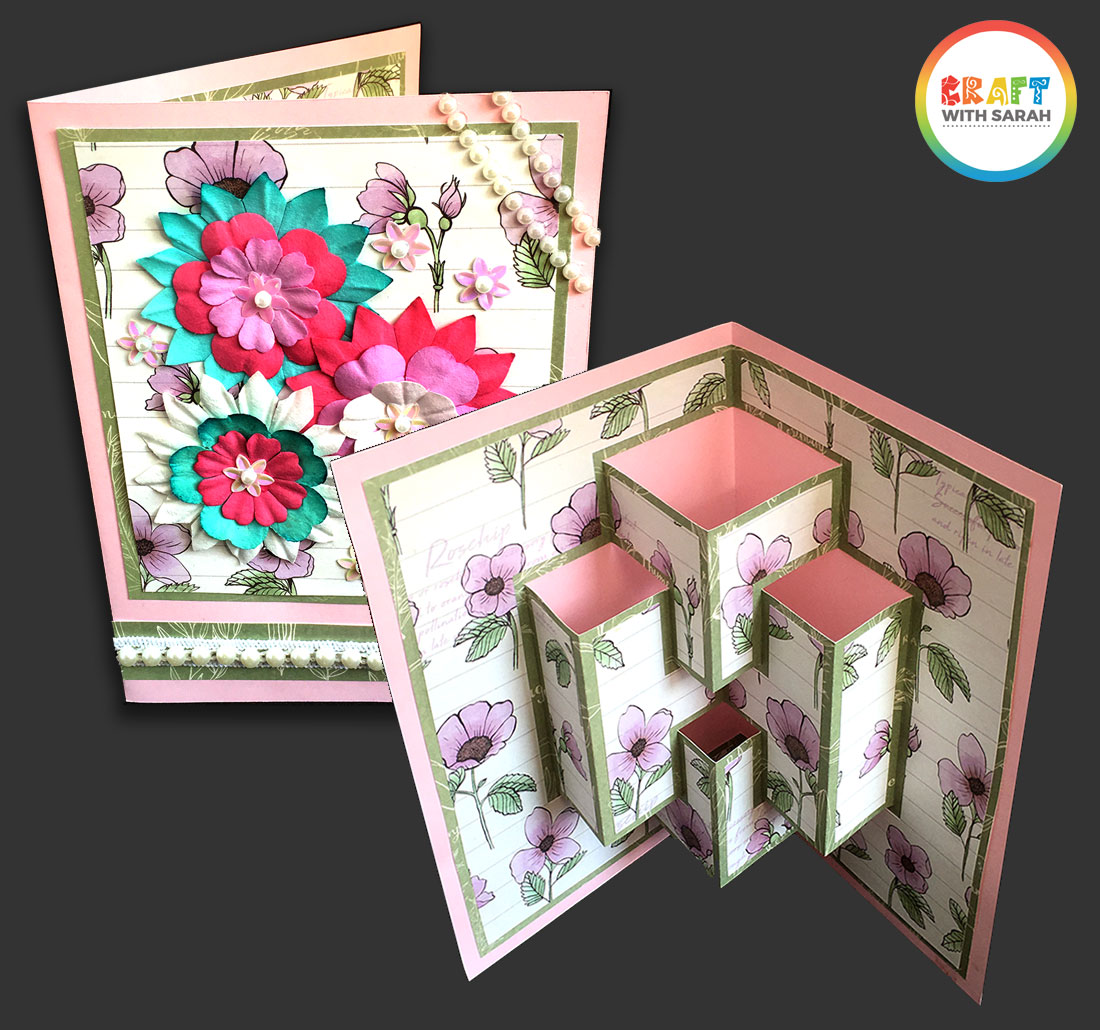
Create a card that REALLY stands out with this fun DIY pop out card.
This card looks SO impressive, but it’s actually really simply to put together.
AND… it folds completely flat for posting!
All it needs is a few cut and score lines, and then it’s all about how you fold it together to create the awesome pop up effect.
Contents:
Please note that some of the links included in this article are affiliate links, which means that if you click through and make a purchase I may receive a commission (at no additional cost to you). You can read my full disclosure at the bottom of the page.
Pop out card template
I’ve designed a Design Space template so that you can cut the pieces of card for the pop up card really easily.
All cut and score lines are marked on the template, so there’s no measuring needed – just print it out, cut/score where shown and start folding.
VIDEO: How to make this pop out card
Watch the video below to discover how to make this fun fold card.
Materials list
Here is what you’ll need to make this pop out card…
You will need…
- 1 piece of card to create the main card (OR use a premade 5×7 inch card blank)
- 2 different pieces of card or paper to make the pop out card insert (I used this Secret Garden paper pack)
- Tape runner / Double-sided tape / Tacky glue
- Embellishments such as sticky gemstones and flowers
TUTORIAL: Make a DIY pop out card
Follow the instructions below for how to make this card.
Step 1: Print/cut the template
Open the Design Space project and cut the design with your Cricut machine.
Cut and score all lines where shown in the template.
Step 2: Create the base card
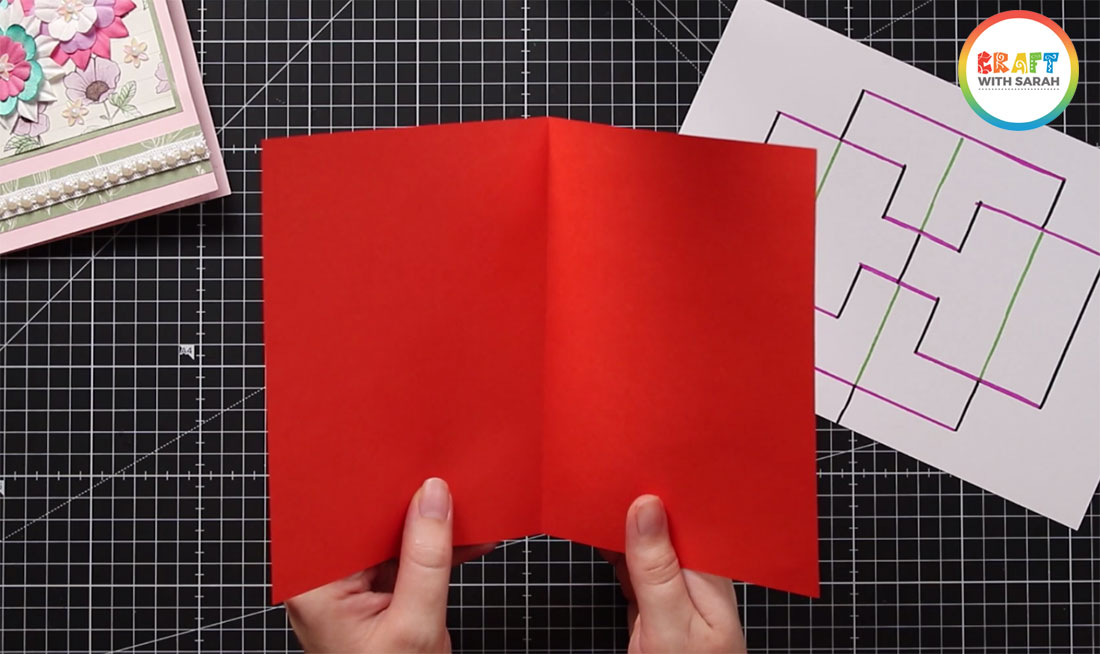
Take the 5×7 inch rectangle which you cut from the first page of the PDF and fold it down the central score line to create the base of your handmade card.
Step 3: Fold the pop out insert
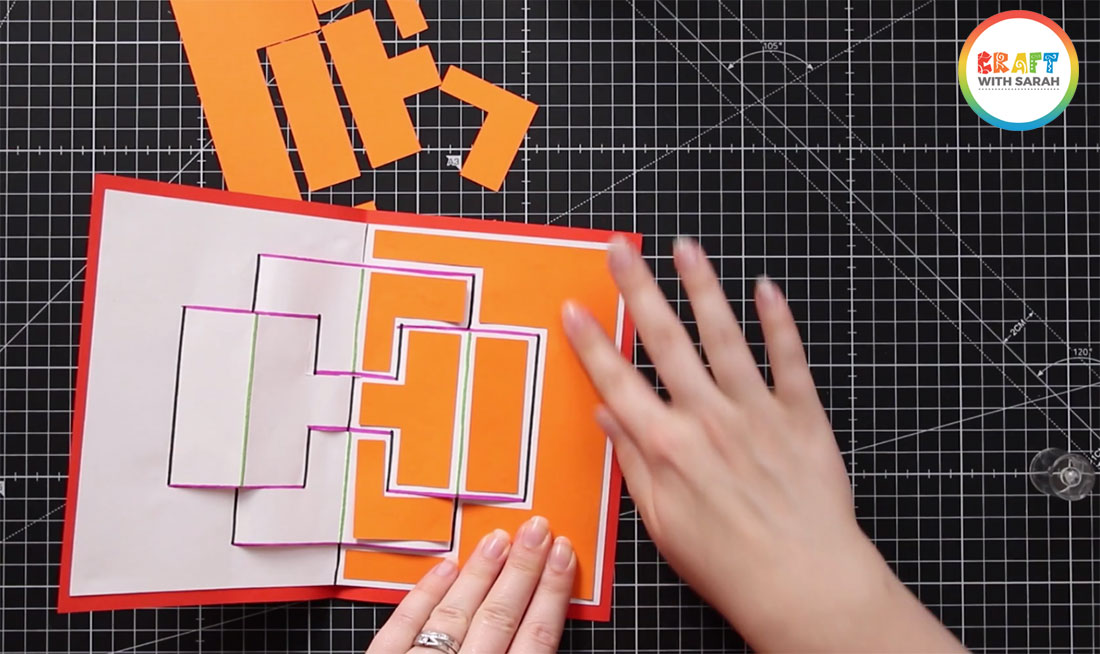
Fold the pop out insert along all of the cut and score lines as shown below.
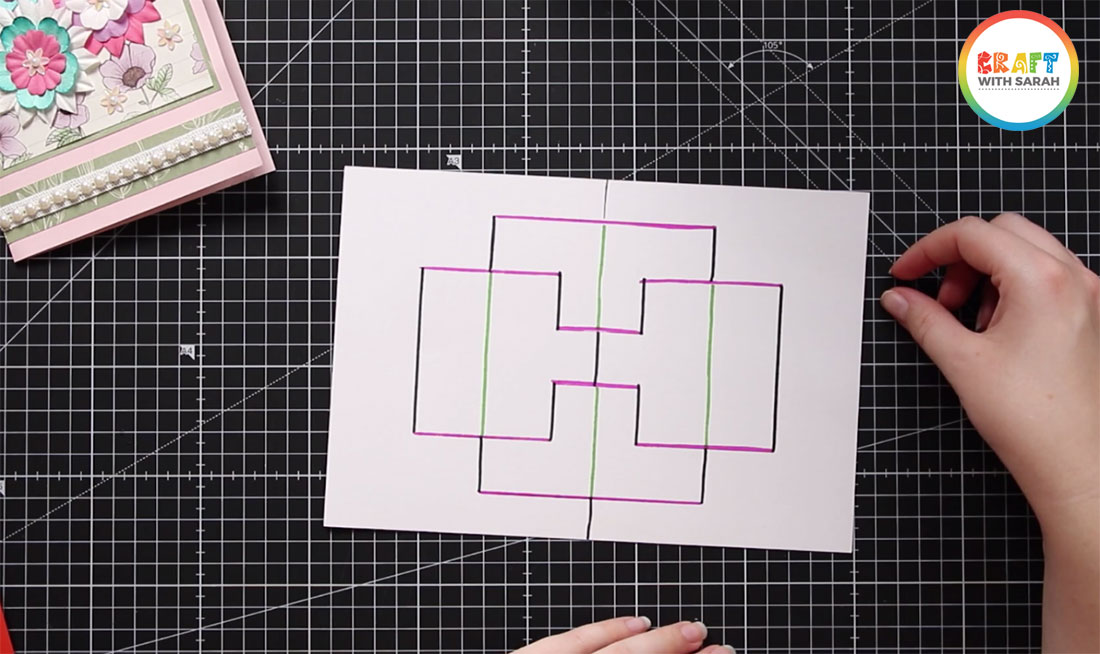
The black lines are score lines that need to be valley folded, green lines are score lines that need to be mountain folded and pink lines are the cuts.
It’s REALLY important that you fold in the specified directions, otherwise your card won’t “pop out” correctly.
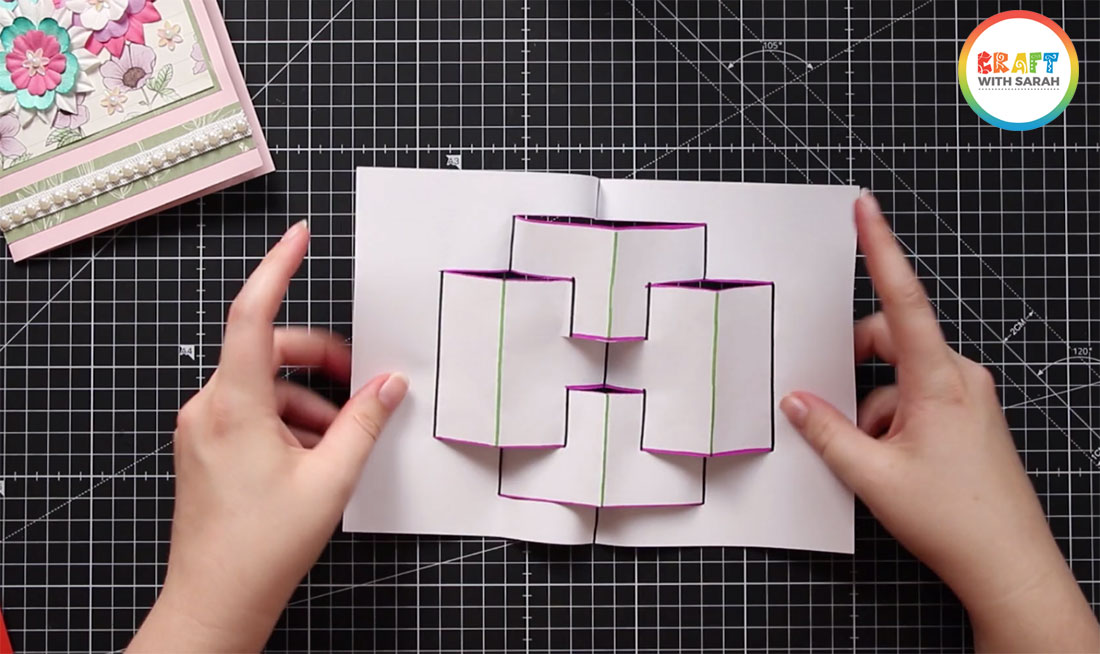
Don’t know the difference between a mountain and a valley fold? Scroll up and watch the video tutorial for an explanation.
Step 4: Stick the insert into your card
Fold your popup piece in half.
When it’s folded, it should look like this:

Press firmly down to make sure all your creases are nice and crisp.
Put the pop up piece inside your card base and line it up with the central crease of the card base.
Put glue or double-sided tape down the side of the pop out that’s showing.
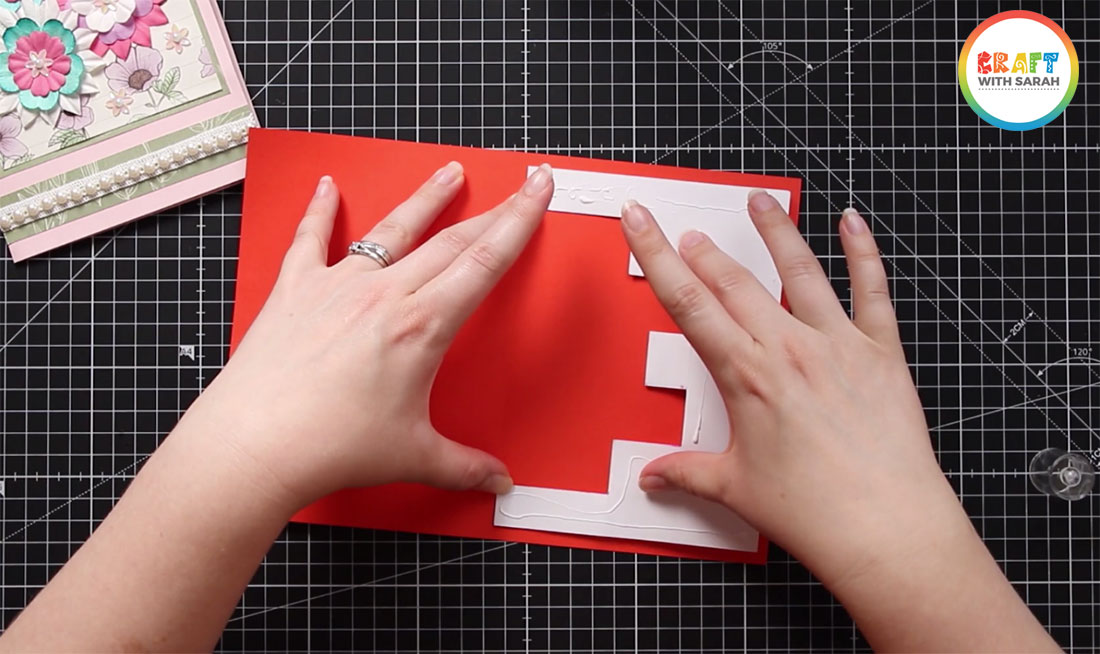
Fold the card base over to stick your pop out piece perfectly positioned inside the card.
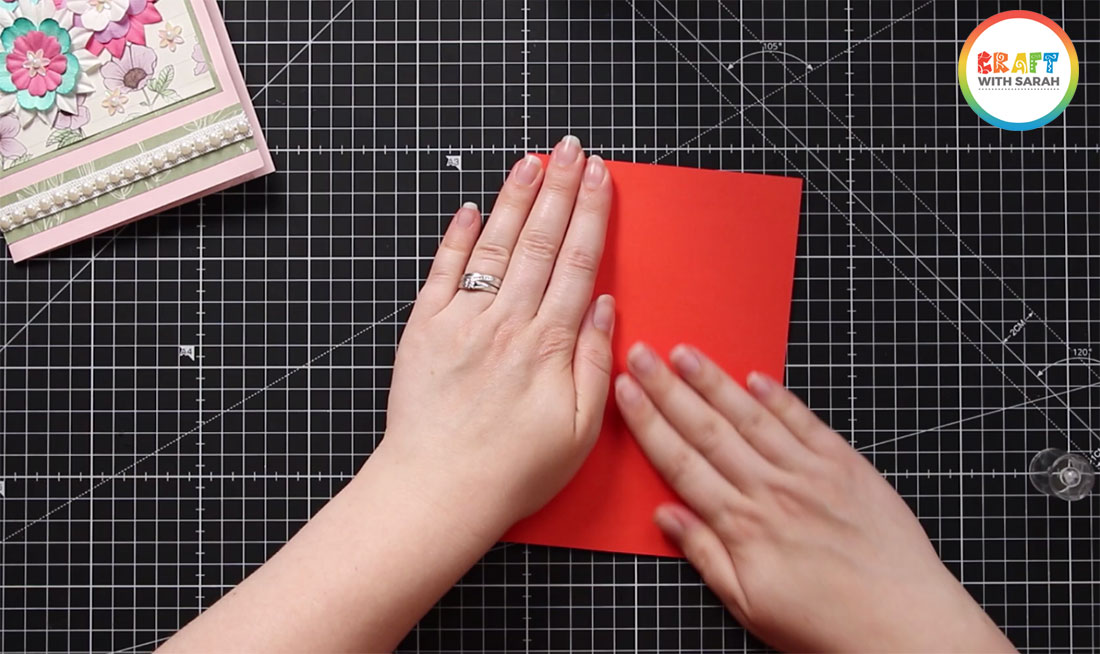
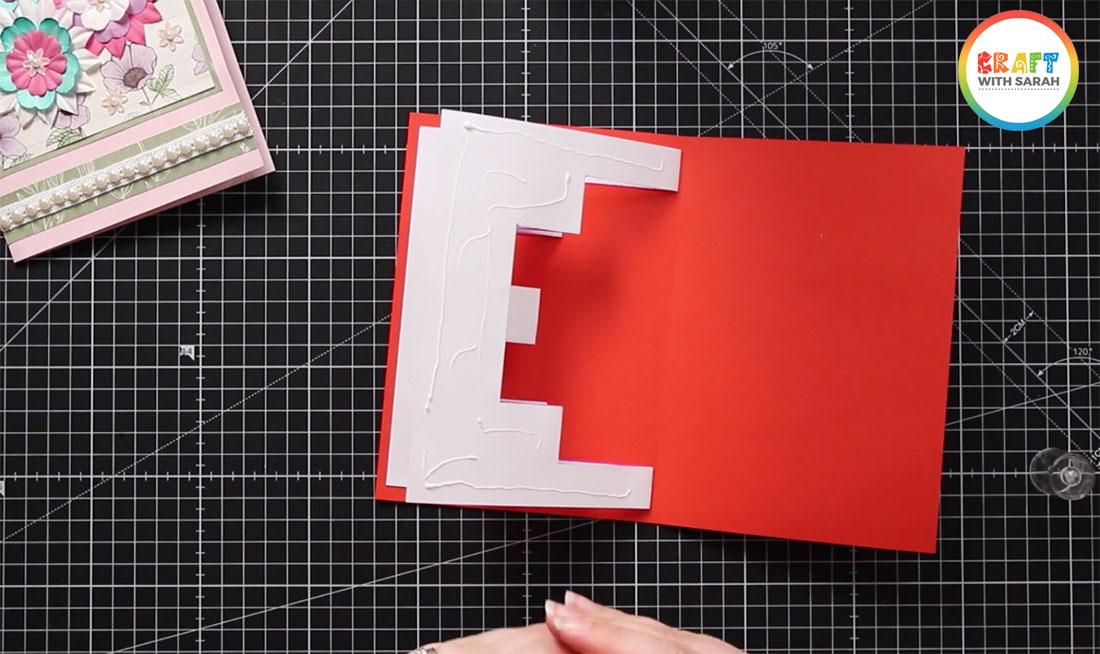
Open it up and stick the other side in the same manner.
Step 5: Add decorative pieces
Stick on the decorative squares, rectangles and shapes that you cut out earlier.
If you are using patterned paper (like I did), be warned that if you stick them ALL on, there isn’t anywhere to write your message!!
I only realised that after I made the card, whoops! My message will go on the back of the card that I made.
Step 6: Decorate the front of the card
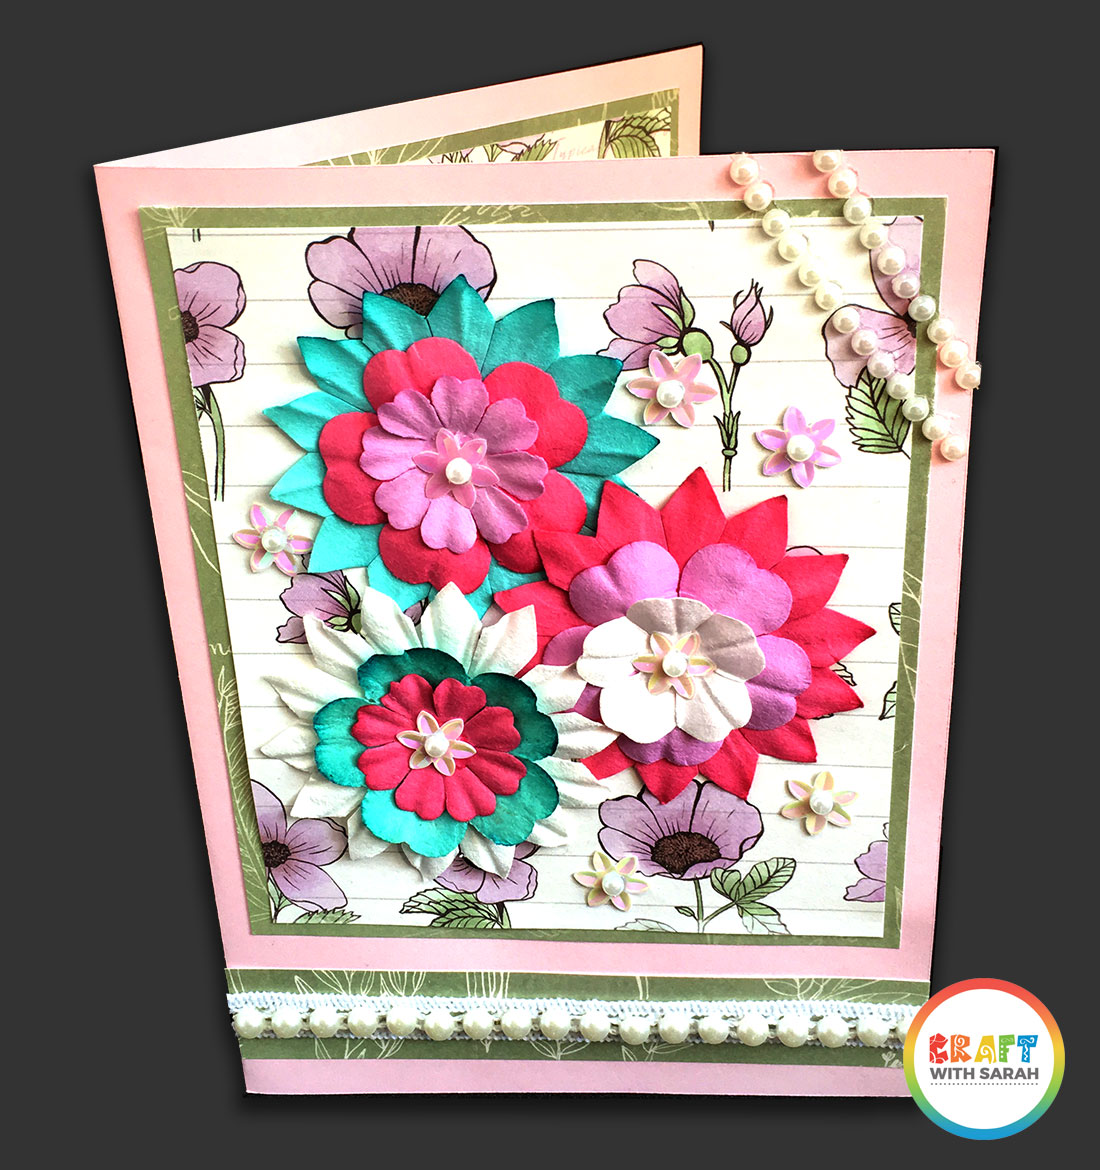
Now that the popup section of the card is complete, it’s time to decorate the front!
You can do this however you want, but I like to use the same style and papers that were used for the popup, to keep a bit of consistency flowing throughout the finished card.
I hope that you have enjoyed this DIY pop out card tutorial.
Check out my other card making tutorials and Cricut crafts for more crafting ideas.
Happy crafting,
Sarah x

