Easy Christmas Cards to Make ❄️ Fractured Card SVGs
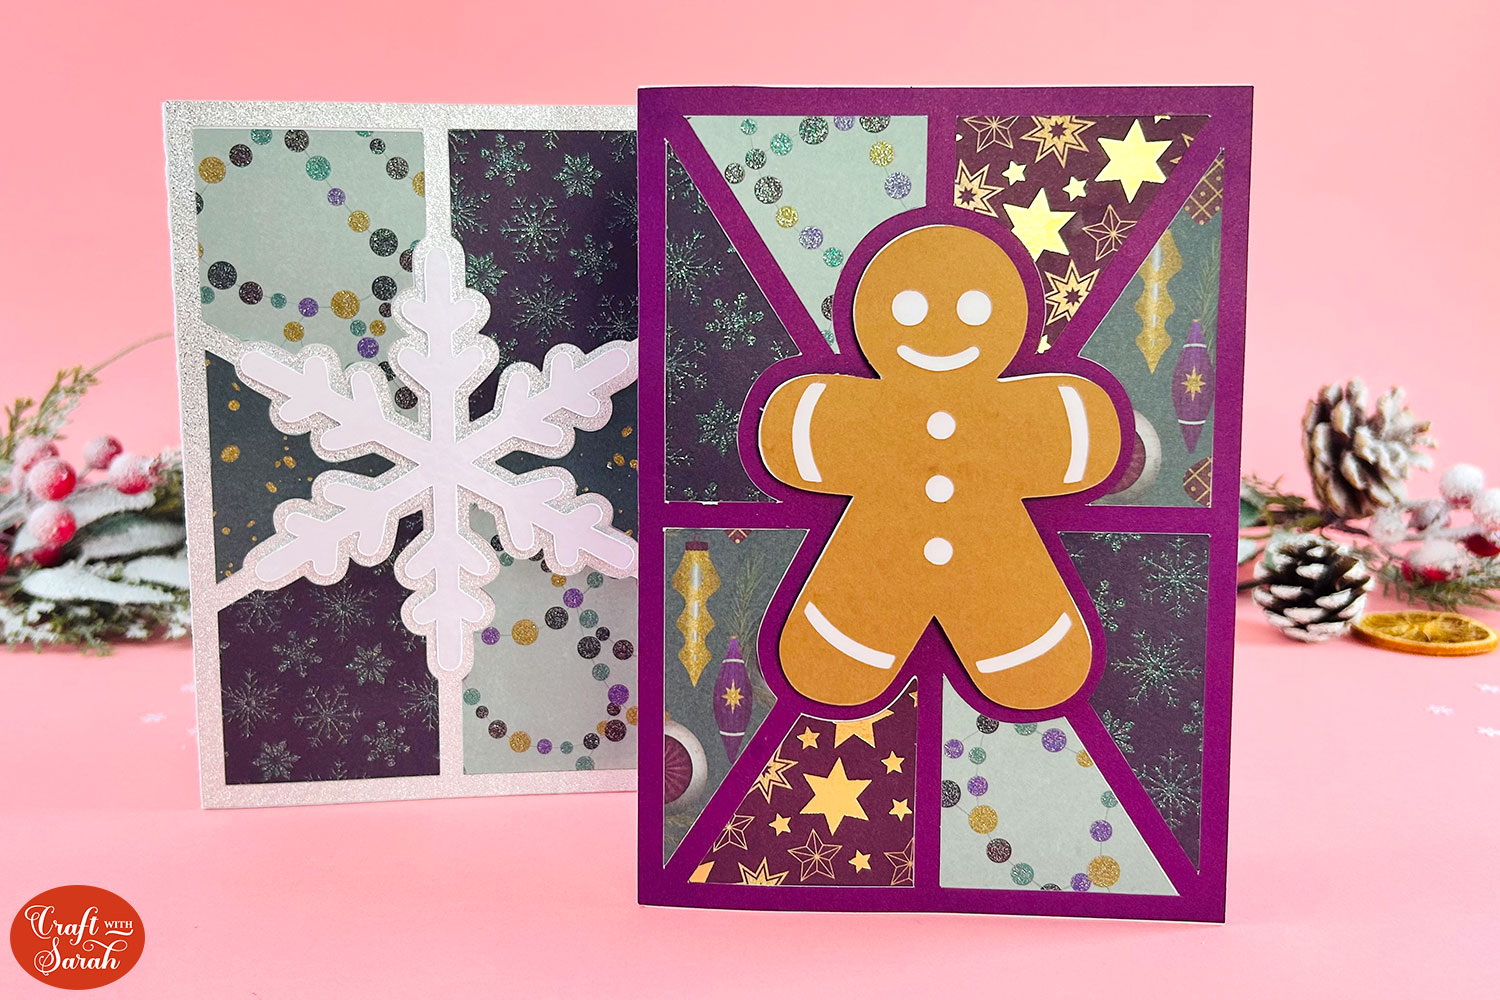
Pull out your favourite patterned or scrapbook paper and let’s make fractured cards!
This card making project is the perfect opportunity to put your craft stash to good use.
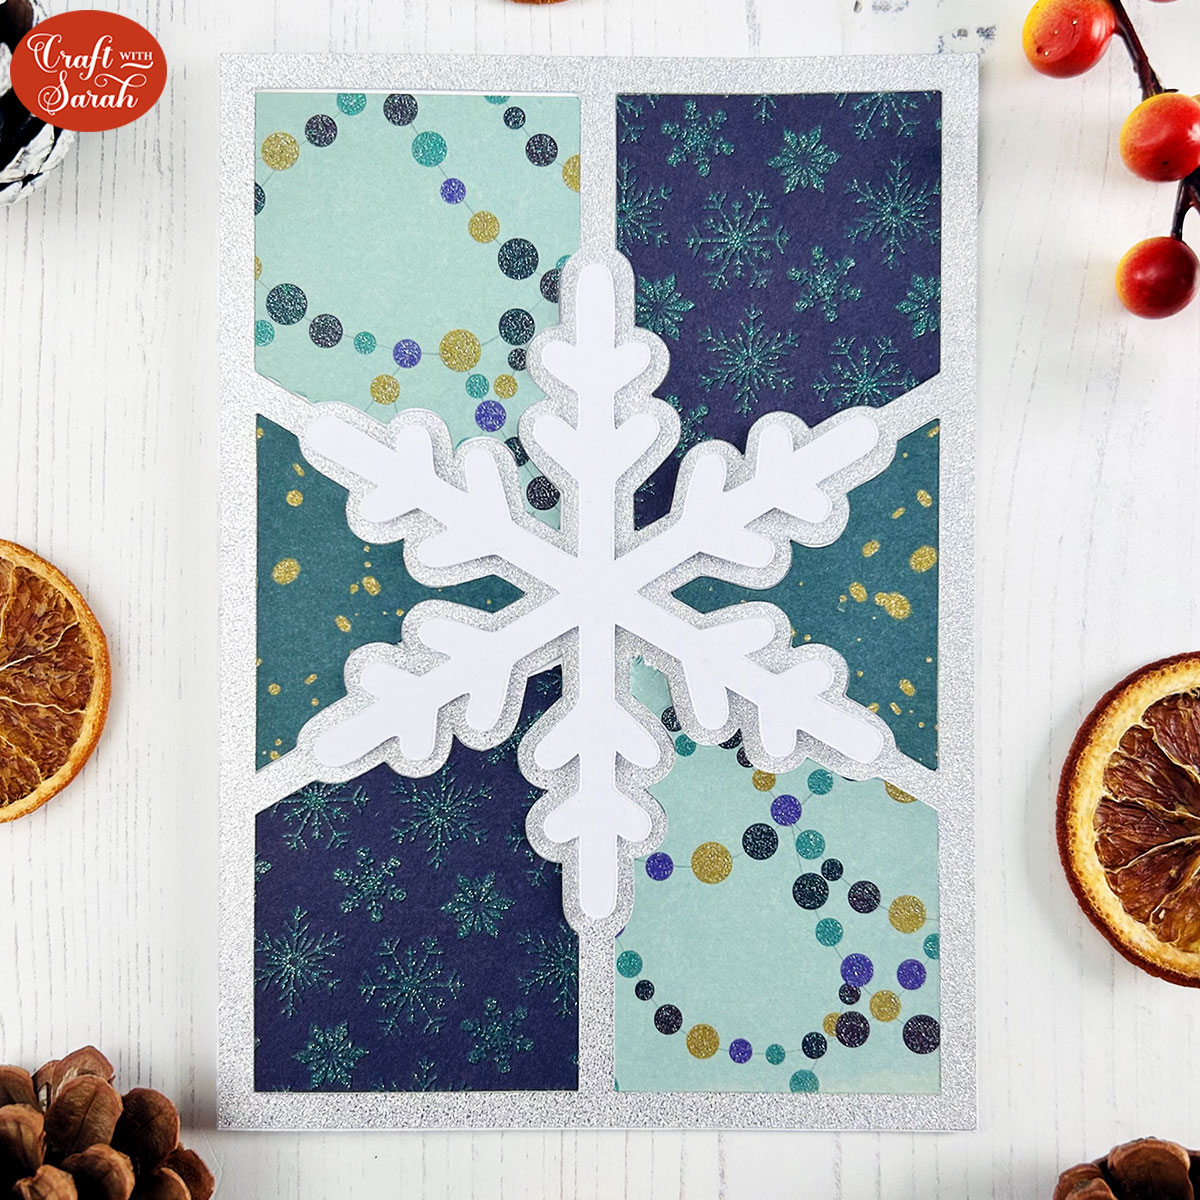
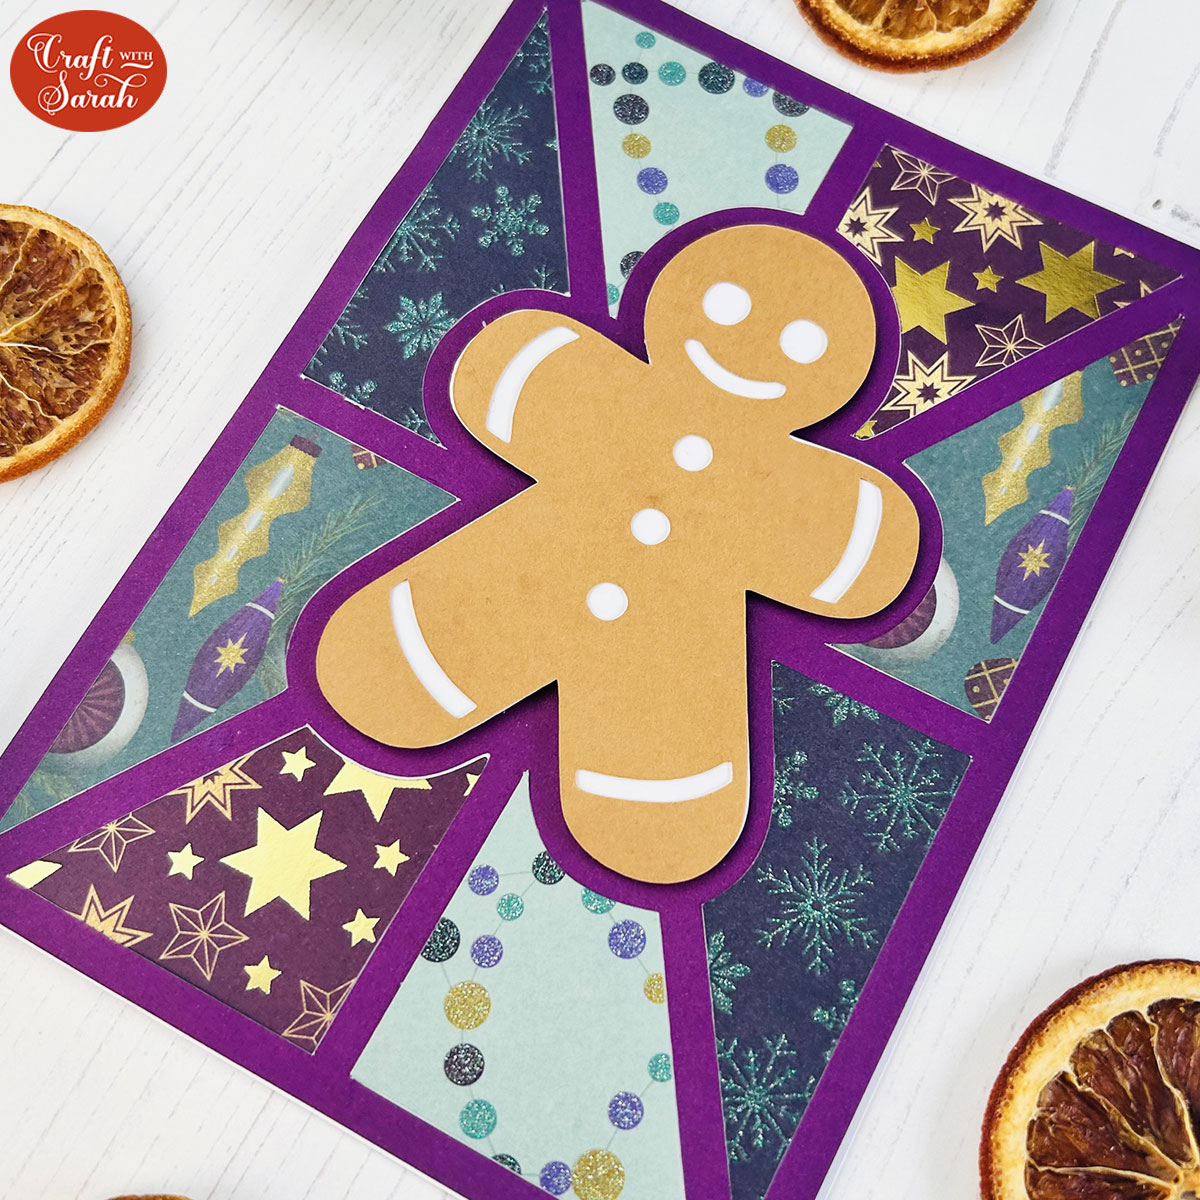
We’re creating fractured cards — a stunning card making technique where pieces of patterned paper are cut into sections, giving the illusion of shattered fragments artfully coming together.
They are a brilliant way to transform your leftover paper scraps into beautiful Christmas cards that are full of festive charm.
Materials supply list
Here is a list of the materials that are required to make this project.
Please note that some of the links included in this article are affiliate links, which means that if you click through and make a purchase I may receive a commission (at no additional cost to you). You can read my full disclosure at the bottom of the page.
- Cricut machine
- Light blue Cricut cutting mat
- Cricut scoring wheel or scoring stylus (optional)
- Cardstock in a range of colours
- Patterned paper (several different designs)
- Glue or double-side sticky tape (I like Bearly Art Glue and Collall brands of glue)
- Foam squares
This project is suitable for the following types of Cricut machine: Explore Air 2, Explore Air 3, Maker, Maker 3, Joy Xtra and Joy.
Video tutorial for fractured cards
Watch the video below to see how to make fractured cards with a Cricut machine.
If you prefer to read rather than watch, keep scrolling!
How to make fractured cards for Christmas
Here’s how to make quick and easy handmade cards for Christmas using a Cricut machine!
Step 1) Download the cutting file(s) & unzip the downloaded folder
The download box below contains both the gingerbread man and the snowflake versions of the cards.
Download the Free Cutting File
Please login to your account to download this file.
TERMS OF USE:
You may sell finished, handmade physical craft items that you have made using this product but must not sell or share the digital files. Read full terms of use
Before you upload the SVGs to Design Space, you need to unzip the download folder that they come in.
- How to unzip a folder on Windows computer
- How to unzip a folder on a Mac
- How to unzip a folder on an iPad/iPhone
- How to unzip a folder on an Android device
Step 2) Upload the SVG file into Design Space
Open up Cricut Design Space and start a new Project.
Click “Upload” and then find the unzipped version of the downloaded files for this project.
Choose your preferred template and upload the SVG file into Cricut Design Space.
I will be using the gingerbread man template, but the steps are the same for the snowflake design too.

Make sure you upload the files that start SVG_ in the filename!!
Make sure your card has loaded in at 10×7 which will make a 5×7 inch card. If it hasn’t, use the width and height boxes to change the size.
If you’re using the Cricut Joy (blue machine) then you’ll need to delete the 10×7 inch base layer of the cards and resize the design down to 4.5 inches wide so that you can cut it on your machine. Hand-cut your base card instead.
Don’t worry that the card looks rather dull with different shades of grey. This is so that you can change up the colours as you wish to match what patterned paper you have.
Step 3) Add a score line
If you have a scoring stylus or wheel then you may wish to add a score line to the base card to make it easier to fold.
Don’t have a scoring tool? Here’s how to do Cricut scoring without one!
Click the design and separate the layers by pressing the “Ungroup” button at the top of the layers panel.

Move the base card underneath everything else so it’s easier to work with.
Go into “Shapes” and select a score line. Make it 7 inches tall.

Select the card base layer and the score line and press Align > Align Center to put the score line exactly in the middle.
With both layers still selected, click the “Attach” button at the bottom of the layers panel.

Attaching the layers will move them to the top of the layers panel. Click the base card and press Arrange > Send to Back to move it back to the bottom.
Drag it back underneath the rest of the card.

Step 4) Choose your papers & cut the project
I prefer to choose my papers at this stage, so I can place them next to each other on my table and decide which one I want to appear in which space on the card.
I have a very bad habit of buying pretty paper packs and then never using them… so these cards are great for helping clear some of the older papers!

To make it easier to cut the shapes from the correct paper, you can either re-colour the shapes to very different colours, OR, if the papers you have chosen all have different main colours to them then change the shapes to match the main colour of each bit of card.
It might help to write the new colours on a piece of paper and add a description of the paper next to it (e.g. red = ballerina paper, green = dinosaur paper) to help you remember.

The base card will be completely covered up, so that can be any colour you like. I tend to stick to white so that it’s easier to write inside.
TIP: Cut the “frame” layer from a dark or bold solid-colour of card so that it will stand out against the patterned paper.
Step 5) Cut the project with your Cricut
When you’re happy with your paper selection, press “Make” and follow the steps to get everything cut with your Cricut.
To change the paper size, go into the dropdowns over on the left side of the screen and choose the paper size that you want to use. You need to change it for every single colour.

To save space on your cardstock, you can move things around by clicking and dragging. Make sure when you’re moving things about that nothing overlaps because otherwise, it won’t cut out properly.

TIP: New to cutting cardstock with a Cricut? Check out this in-depth tutorial which goes through every step of the process, including tips for getting the best quality cuts from your Cricut.
Step 6) Stick the fractured card together
Glue the frame to the front of the card.

Glue the shapes inside the frame. They will perfectly fit inside, like pieces of a jigsaw puzzle.


Use foam squares to attach the bottom layer of the gingerbread man, or the snowflake if you are making that template instead.

Glue the cinnamon brown piece of the gingerbread man on top.

Easy handmade cards for Christmas
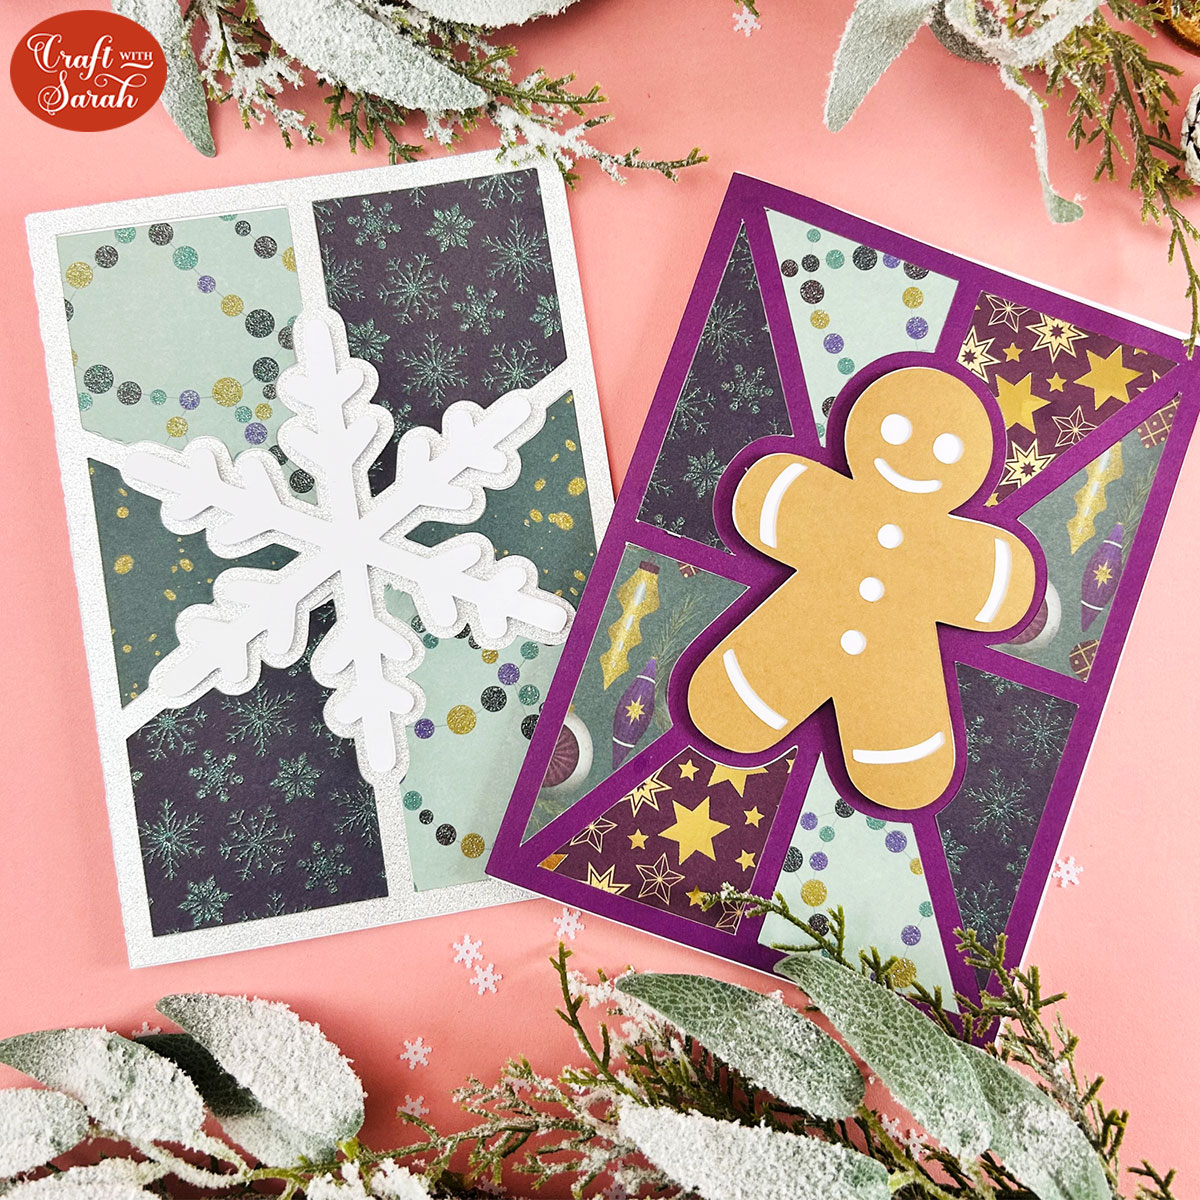
Now your beautiful Christmas patterned paper scraps have been transformed into gorgeous Christmas cards for your loved ones this holiday season.
These Christmas cards are super quick and easy to make so they work perfectly for when you need a last minute Christmas card!
Want even more designs? Check out these extra Christmas fractured cards that are available in my shop.
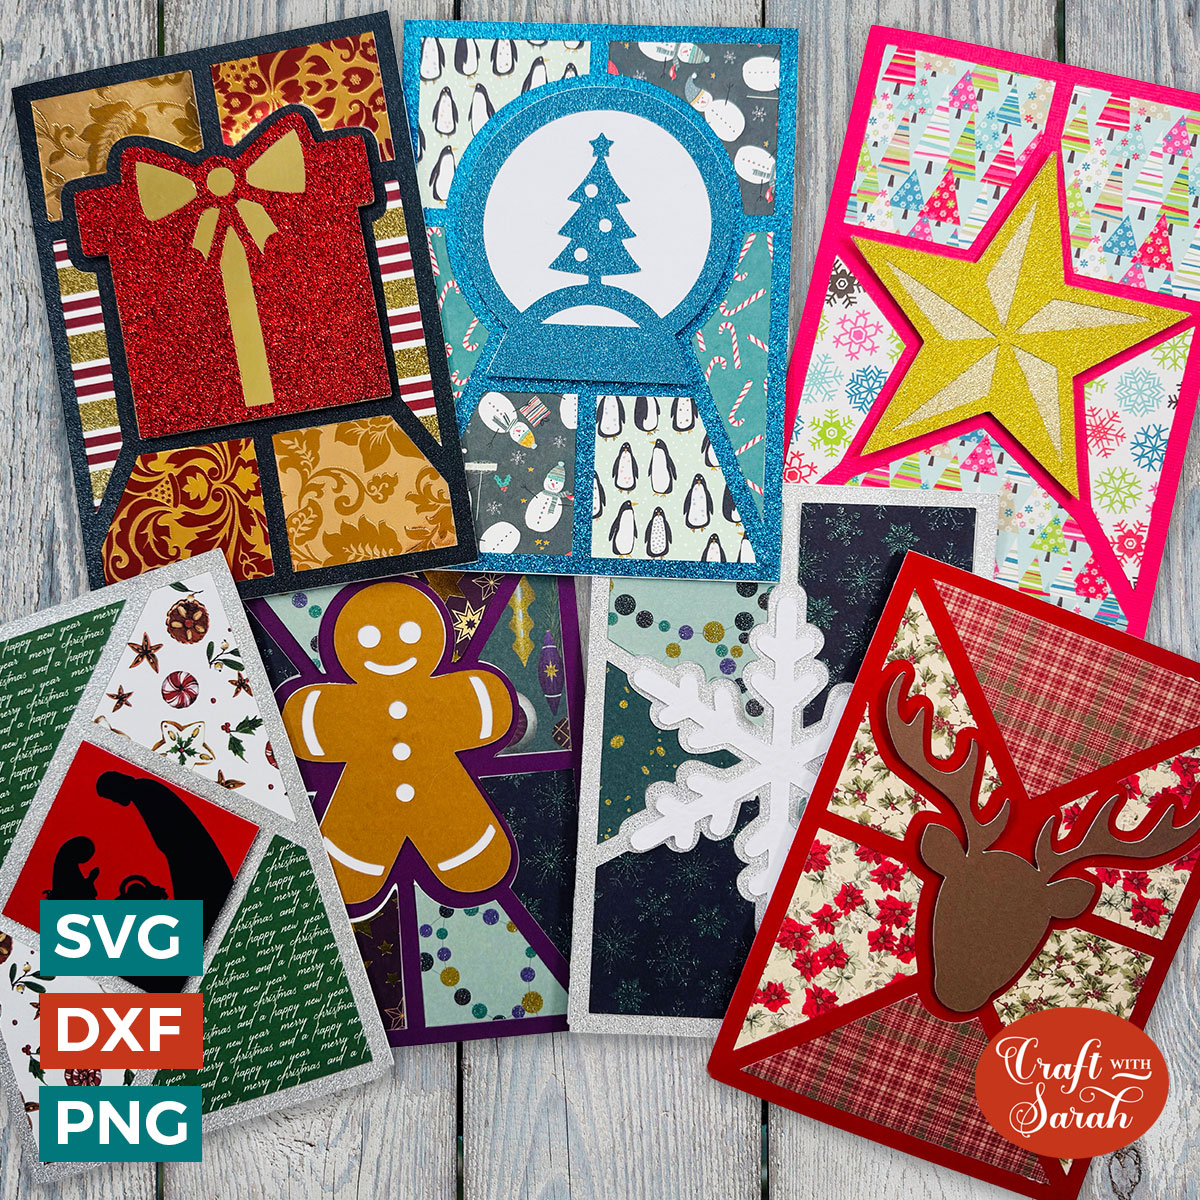
The finished fractured cards measure 5×7 inches so they will fit in a standard 5×7 envelope. Or, make your own with these free envelope SVGs.
Happy crafting,
Sarah x

