CCC 2024 Day 02: Winter Postbox Layered Design

Welcome to day two of the 2024 Christmas Craft Countdown, where I’m sharing 20 festive themed Cricut papercraft projects in 20 days.
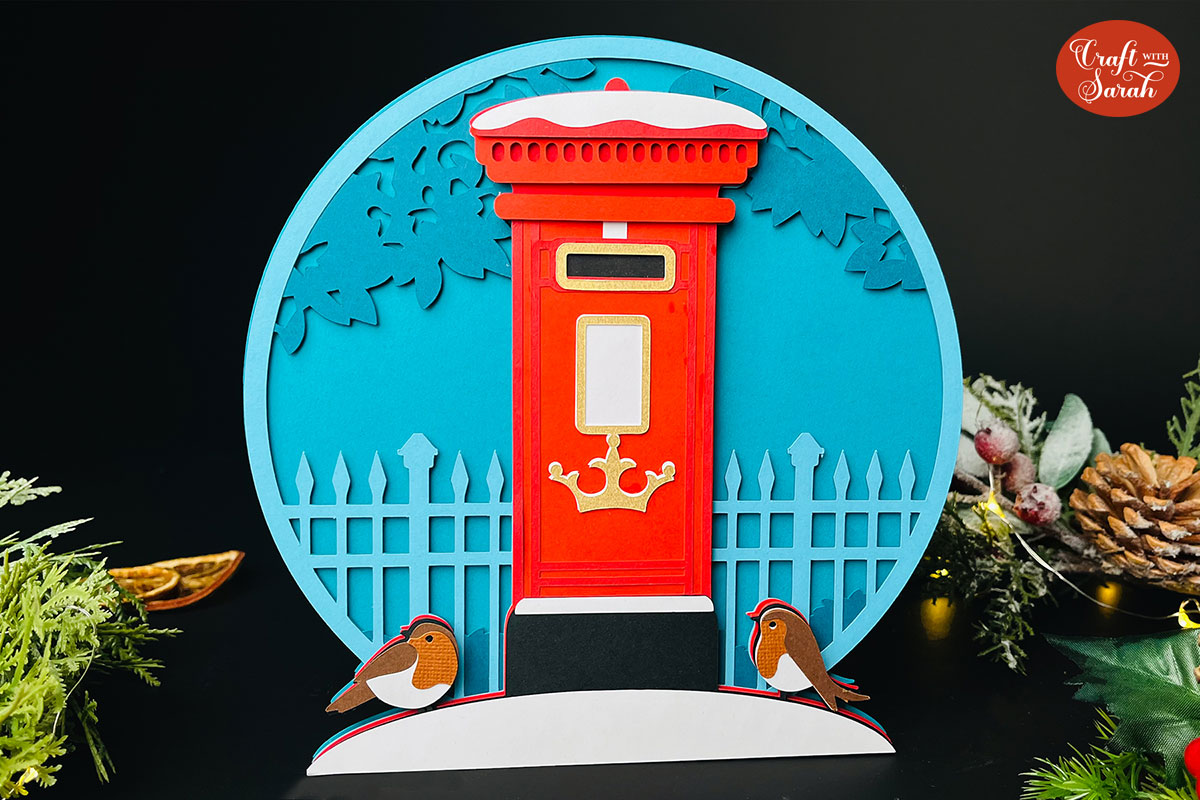
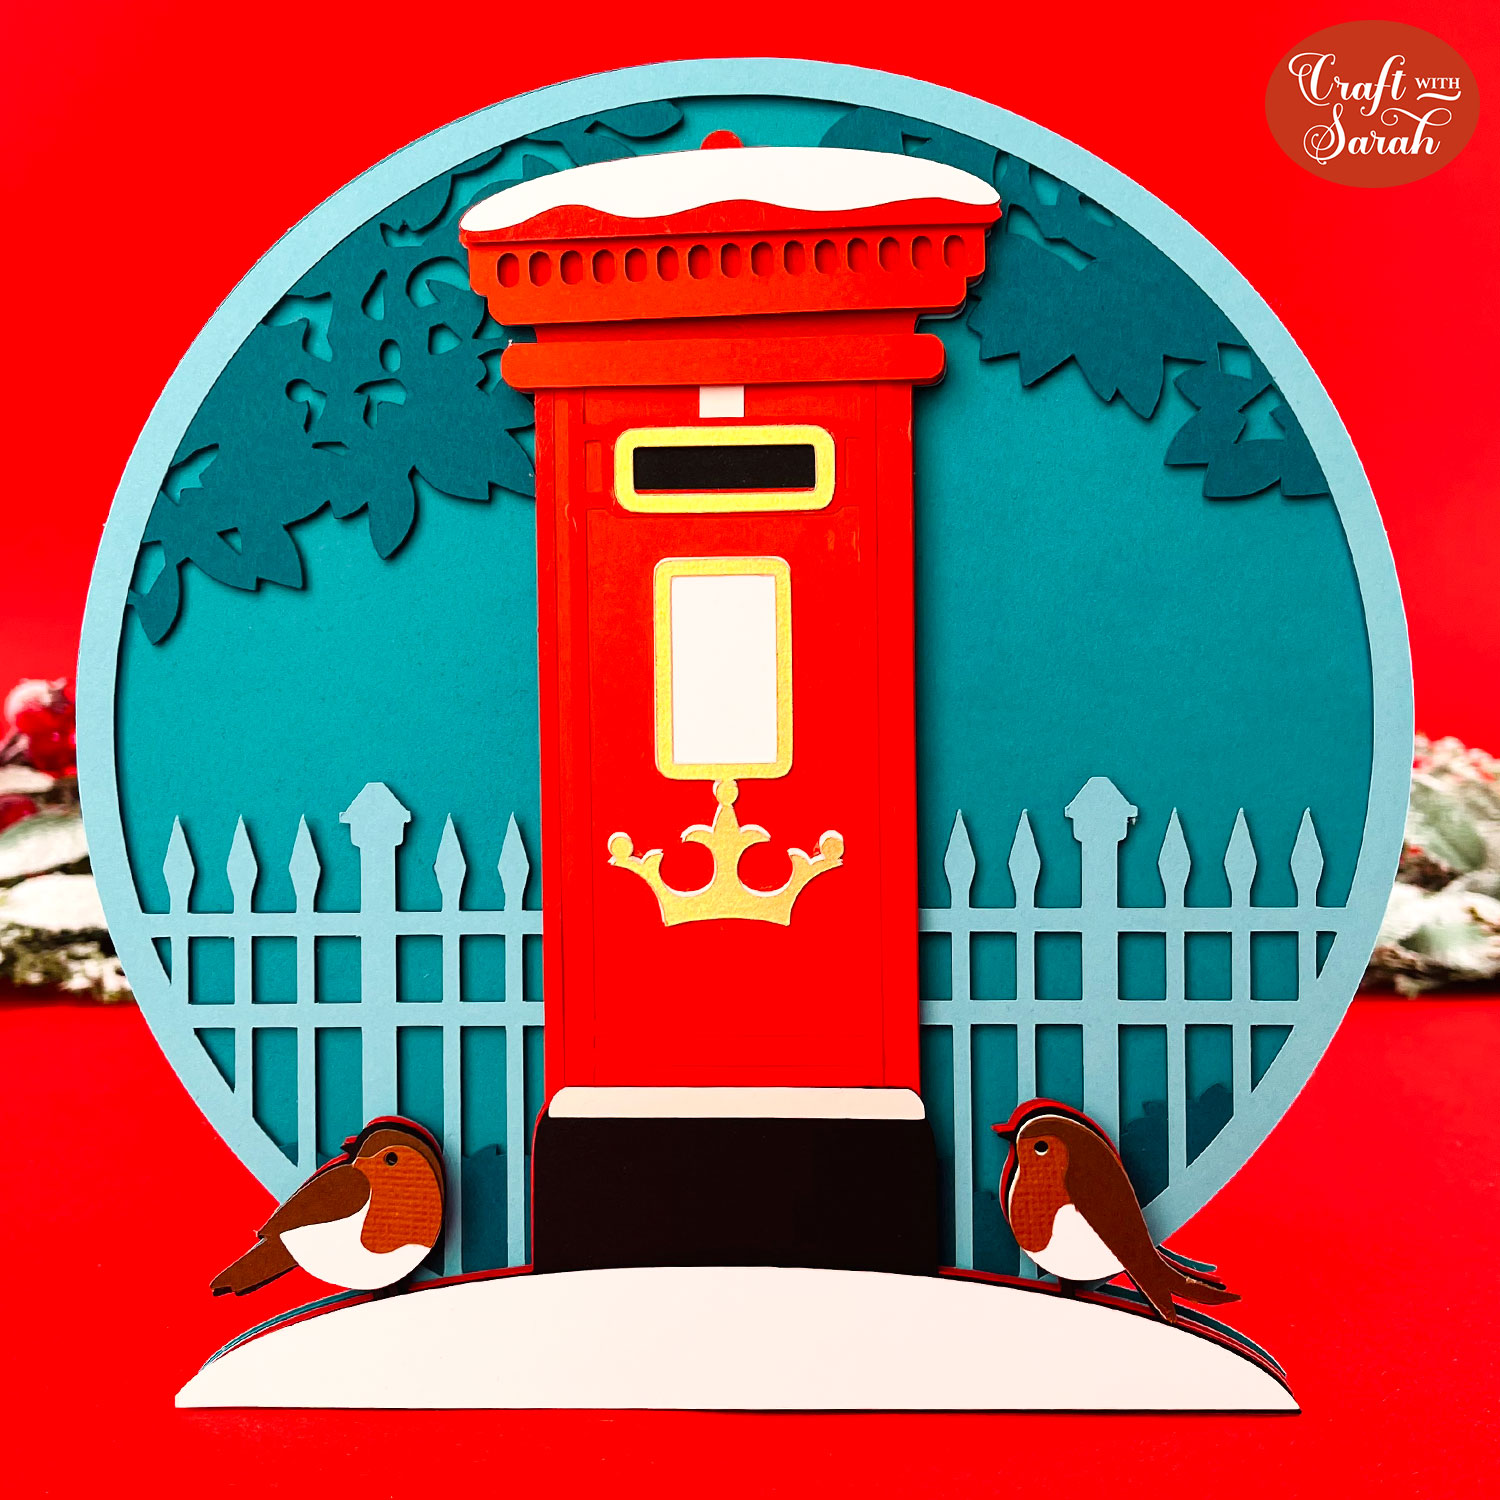
Create a charming touch of winter magic with this SVG of a snowy English village postbox, perfect for cutting from cardstock with your Cricut machine.
Inspired by cozy village scenes, this detailed design features a classic red postbox dusted with snow, surrounded by curious robins playing at its base.
In the background, you’ll find delicate trees and an iron fence, adding depth and detail to the scene.
Whether you’re crafting holiday cards, seasonal decorations, or unique gifts, this SVG brings the charm of a wintery English village right to your craft table.

This Project was part of the Christmas Craft Countdown 2024
Materials supply list
Here is a list of the materials that I used to make this project.
Please note that some of the links included in this article are affiliate links, which means that if you click through and make a purchase I may receive a commission (at no additional cost to you). You can read my full disclosure at the bottom of the page.
- Cricut machine
- Light blue Cricut cutting mat
- Coloured Card
- Glue (I like Bearly Art Glue and Collall)
- 3D foam pads
This project is suitable for the following types of Cricut machine: Explore Air 2, Explore Air 3, Maker, Maker 3, Venture, Joy Xtra and Joy. You will need to make the design smaller to cut on the original Joy.

Foundation learning
If you're new to crafting with your Cricut, you may find the below links helpful.
They teach some of the skills mentioned throughout this tutorial.
- How to upload SVG files into Design Space
- How to make 3D layered Cricut projects
- The BEST way to frame papercraft projects
- How to mount multiple designs in the same frame with magic guides
- How to score with a Cricut (even without scoring tools)
- Print then cut tutorial
- Design Space tools (Combine, Attach, Slice, Weld, Flatten, etc.)
- Pattern fill tutorial (for making backgrounds & cutting images to a specific shape/size)
- Free envelope SVGs that can be sized to fit any card
- How to write inside cards with Cricut pens
- How to cut layered designs at a small size
- Design Space tips & tricks
- Cricut pens tutorial
Video tutorial
Watch the video below to see how to make this project. Keep scrolling for a written tutorial.
Written tutorial (with photos!)
Here’s how to make a winter postbox papercraft using a Cricut machine!
Step 1) Download the cutting file & upload to Design Space
Download the files using the box below.
Purchase the File(s)
This cut file is available as part of the Instant Access Bundle.
Or, purchase this design individually here

Before you upload the SVG to Design Space, you need to unzip the download folder that it comes in.
- How to unzip a folder on Windows computer
- How to unzip a folder on a Mac
- How to unzip a folder on an iPad/iPhone
- How to unzip a folder on an Android device
After unzipping, upload the SVG file into Cricut Design Space. This is the file which starts svg- in the filename.
Not sure how to do this? Here’s how to upload SVGs to Cricut Design Space. Make sure you upload the file which starts svg- in the filename!

Step 2) Size the design
Click the design on your canvas and use the width/height boxes near the top of the screen to make it the size that you want to cut.
TIP: Make sure the padlock icon above the width/height boxes is CLOSED before you resize. If it appears “open”, click it with your mouse to close it.

I don’t recommend going smaller than 4 inches wide as some of the details will get hard to cut. Here’s a tutorial on how to cut designs really small with a Cricut.
If you are cutting this design on the original Cricut Joy machine, you’ll need to make it maximum of 4.5 inches wide.
If you are cutting the design to fit in a specific frame, watch this video to see my top tips on how to resize it to fit perfectly, or read the tutorial here.
Step 3) Cut out all the layers
When you’re happy with how the project is looking in Design Space, click “Make” and follow the instructions on-screen to cut out all the pieces.
To change the paper size, go into the dropdowns over on the left side of the screen and choose the paper size that you want to use. You need to change it for every single colour.

To save space on your cardstock, you can move things around by clicking and dragging. Make sure when you’re moving things about that nothing overlaps because otherwise, it won’t cut out properly.

TIP: New to cutting cardstock with a Cricut? Check out this in-depth tutorial which goes through every step of the process, including tips for getting the best quality cuts from your Cricut.
Step 4) Stick the project together
Use 3D foam pads and glue to stick the layers together.
Use this guide to see the order to stick the layers together in.
A printable version of this assembly guide is included in the folder when you download the cut files.

My favourite glues to use on papercraft projects are Bearly Art Glue and Collall All Purpose Glue.
These are great because they don’t “warp” or bend the cardstock like some glues do. You can use as much of it as you want and the card stays perfect – and it dries perfectly clear too!
Bearly Art Glue comes with a tiny nozzle to make it easy to apply glue to small areas of card. The Collall glue doesn’t come with this, so it’s easiest to decant it into needle tip applicator bottles so that you have more control.

The foam pads that I use are from “Dot & Dab”, but any foam squares will work. If yours are big then you may need to cut them smaller with scissors to fit inside the edges of the layers.

When adding the foam pads to larger pieces of card, make sure you add some in the middles of the pieces of card so it gives stability to the middles.
If you don’t add any foam pads in the middles then it can “sag” under the weight of the other layers which doesn’t look as good.

Continue sticking the pieces together, following the assembly guide, until your papercraft is all finished.
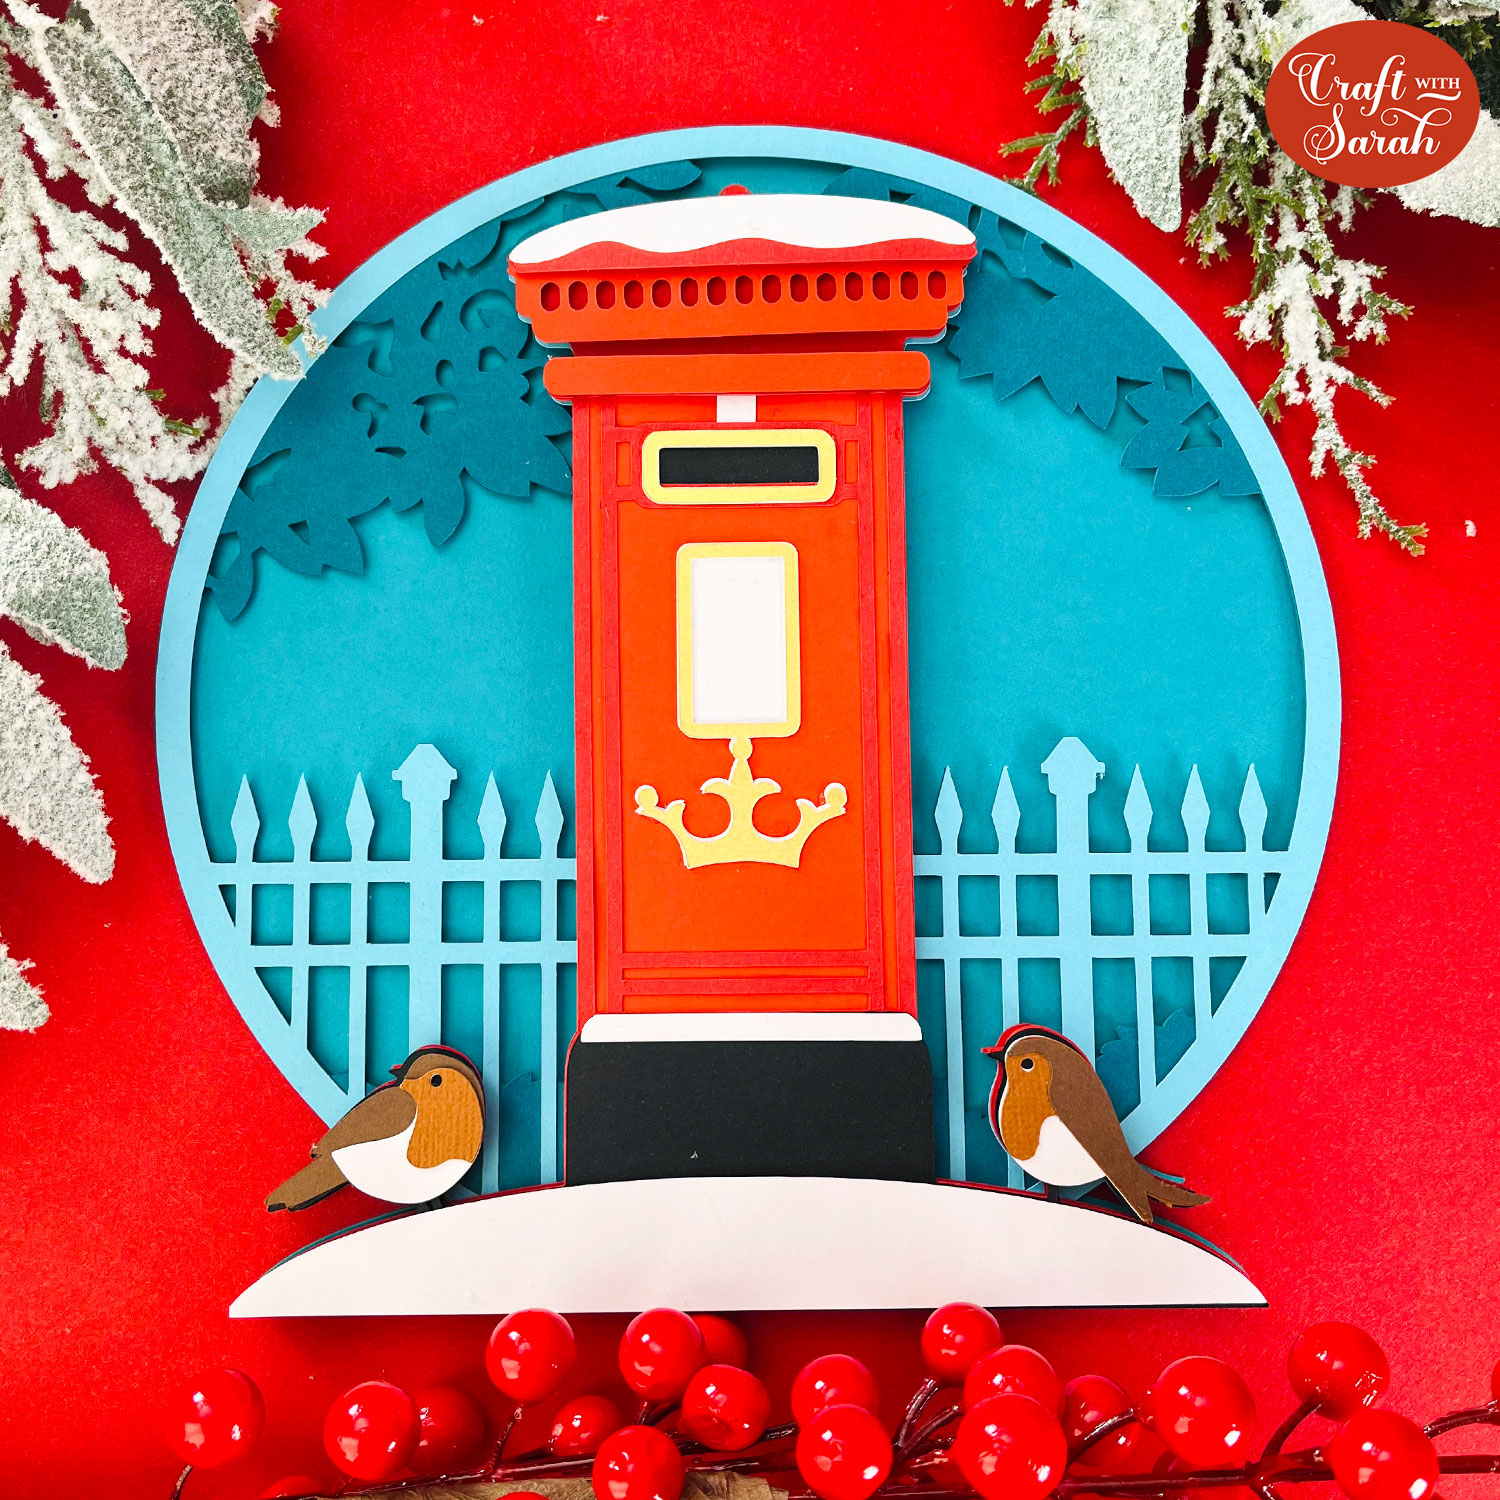
Christmas postbox layered papercraft design
After sticking all the pieces of card together, your snow-covered postbox is all finished!
You could then mount it in a shadow box or glue it to the front of a greetings card.

If you’d rather not mount your project in a shadow box, check out these free easel stands for two alternative ways to display it.
Or, go for a more simplistic approach by making a triangle stand or nail hook.
The triangle stands are completely invisible from the front of the project, making it look like it’s standing up by magic! The hooks allow you to hang the design straight on the wall without a frame.
Happy crafting,
Sarah x

