FCC 2024 Day 04: 3D Slot-Together Vases
Welcome to day four of the Floral Craft Countdown, where I’m sharing 14 flower themed Cricut papercraft projects in 14 days.
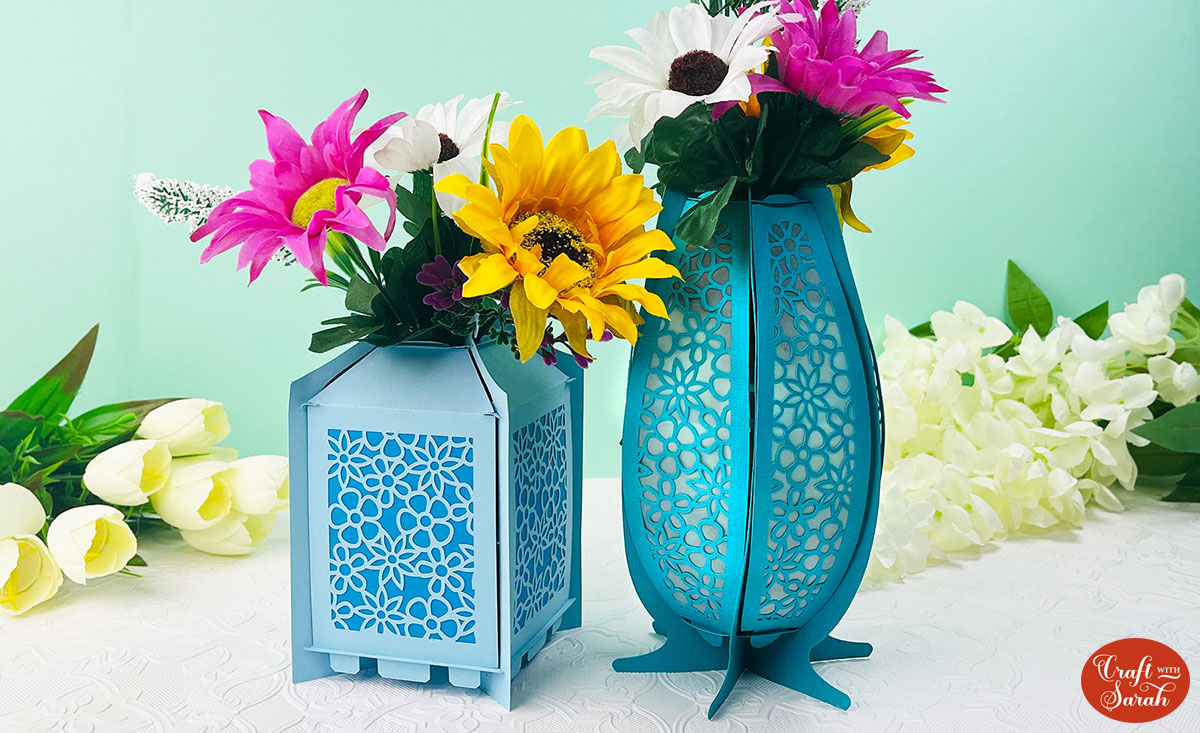
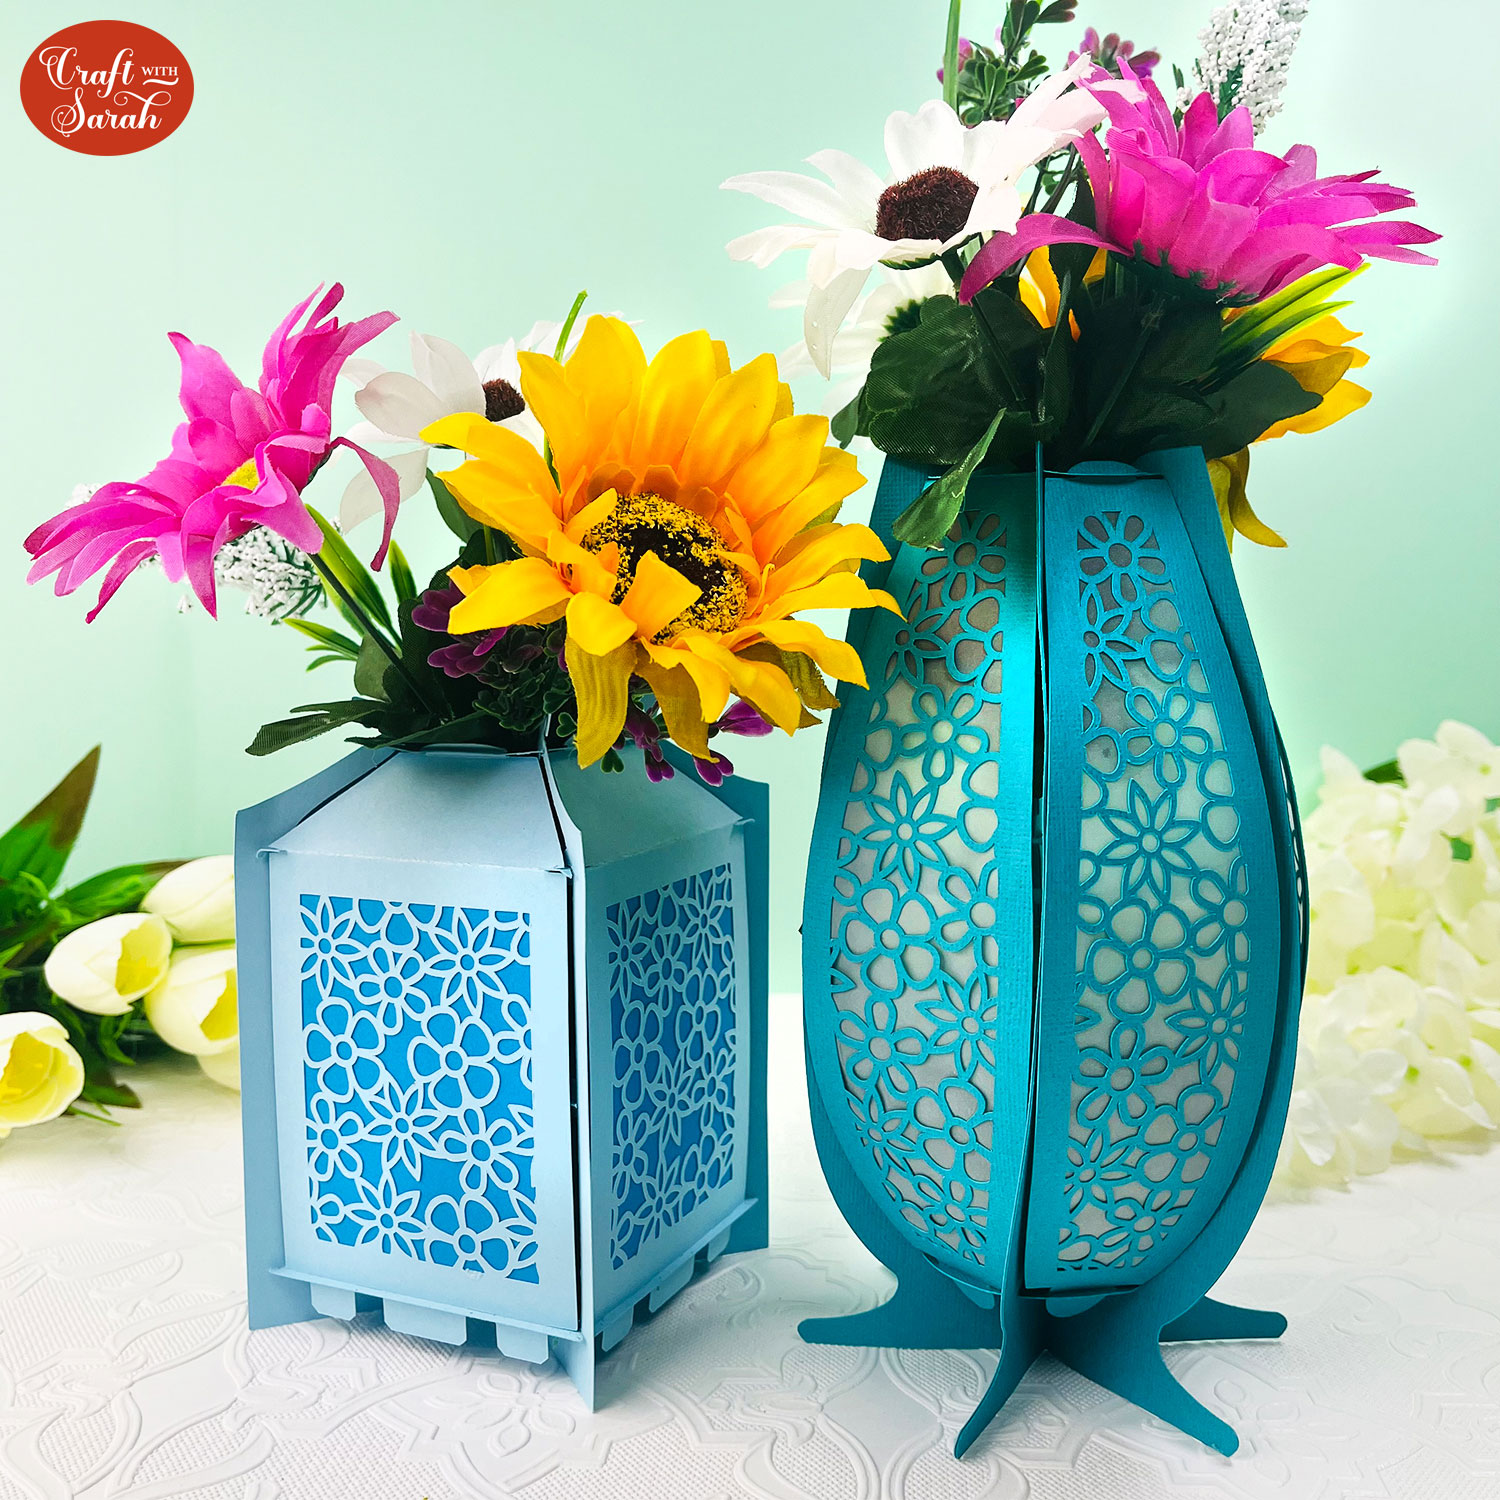
Today we’re making decorative papercraft vases that are great for displaying artificial flowers.
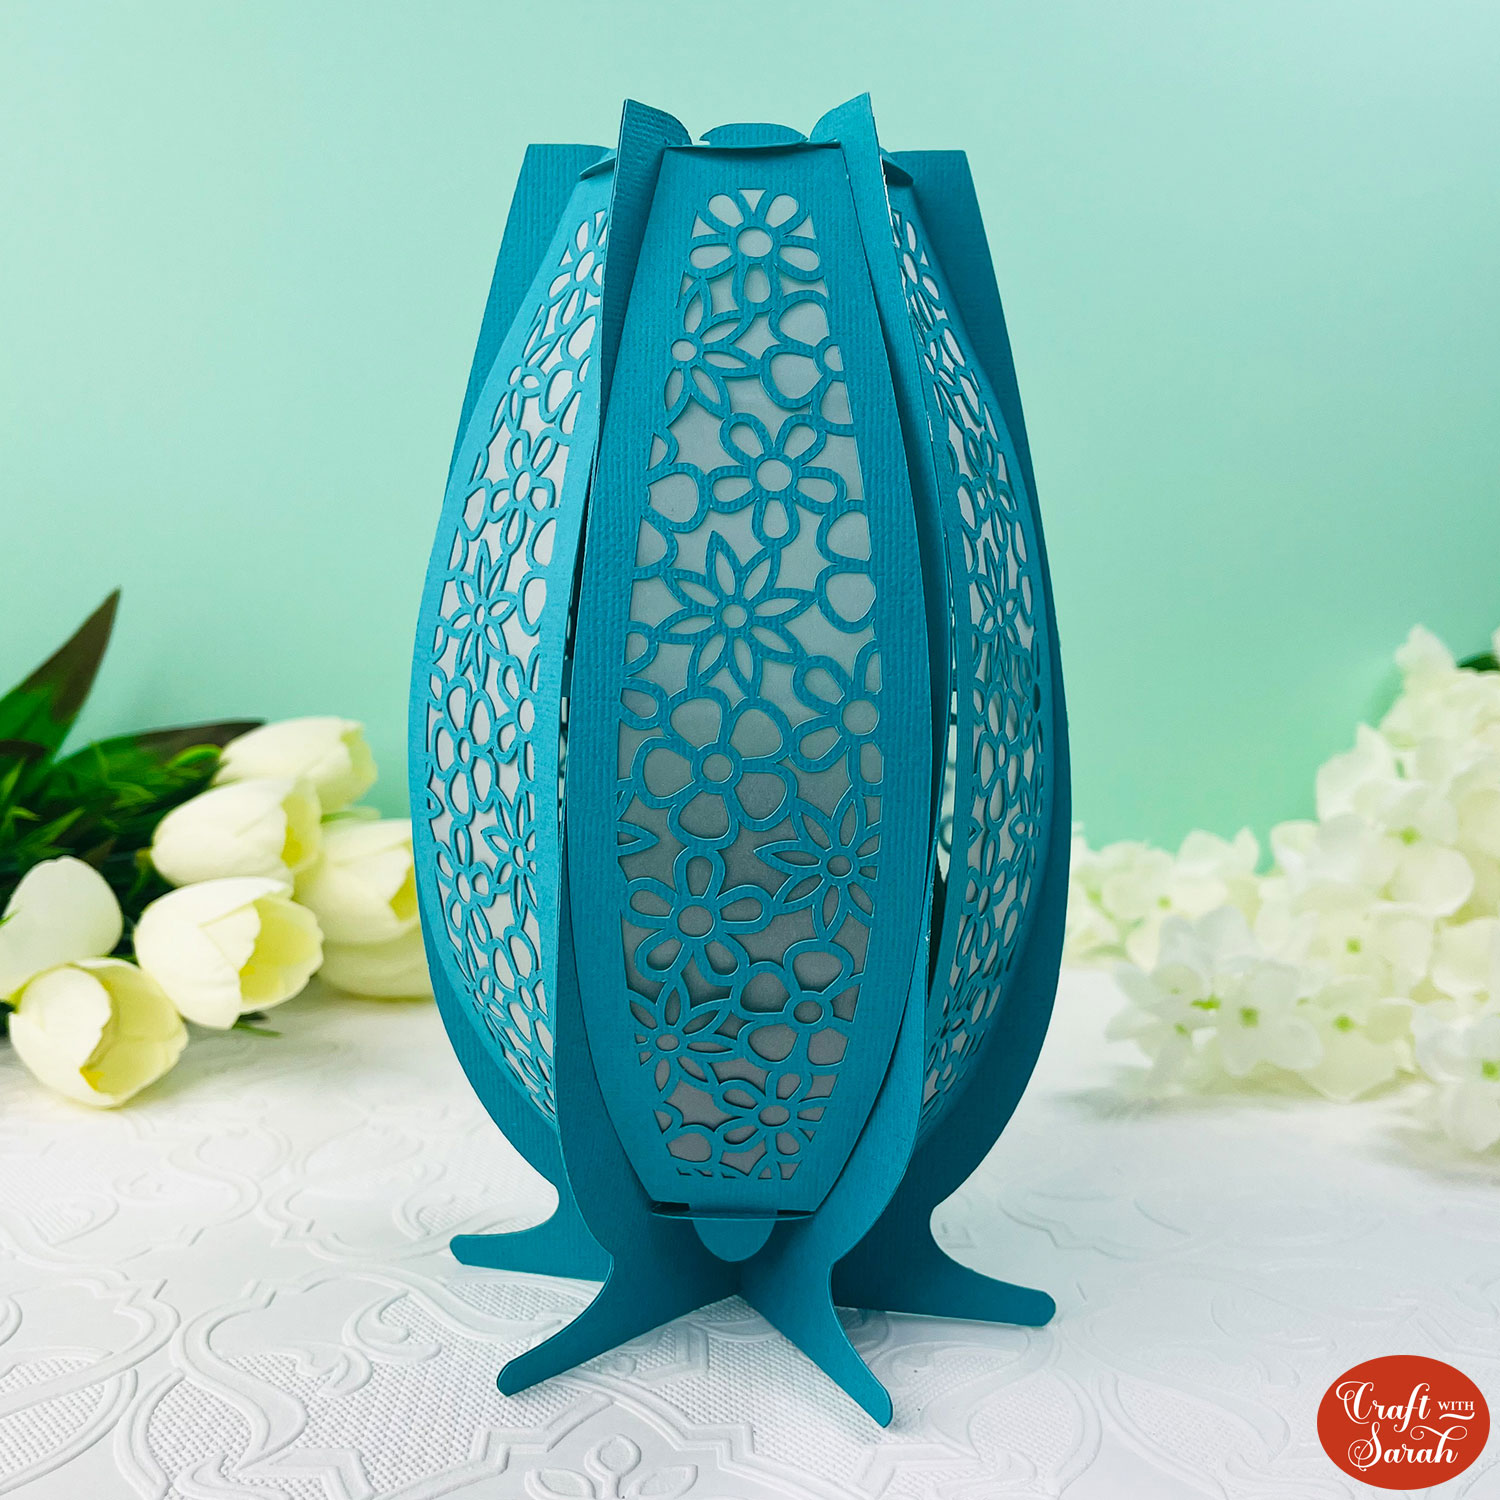
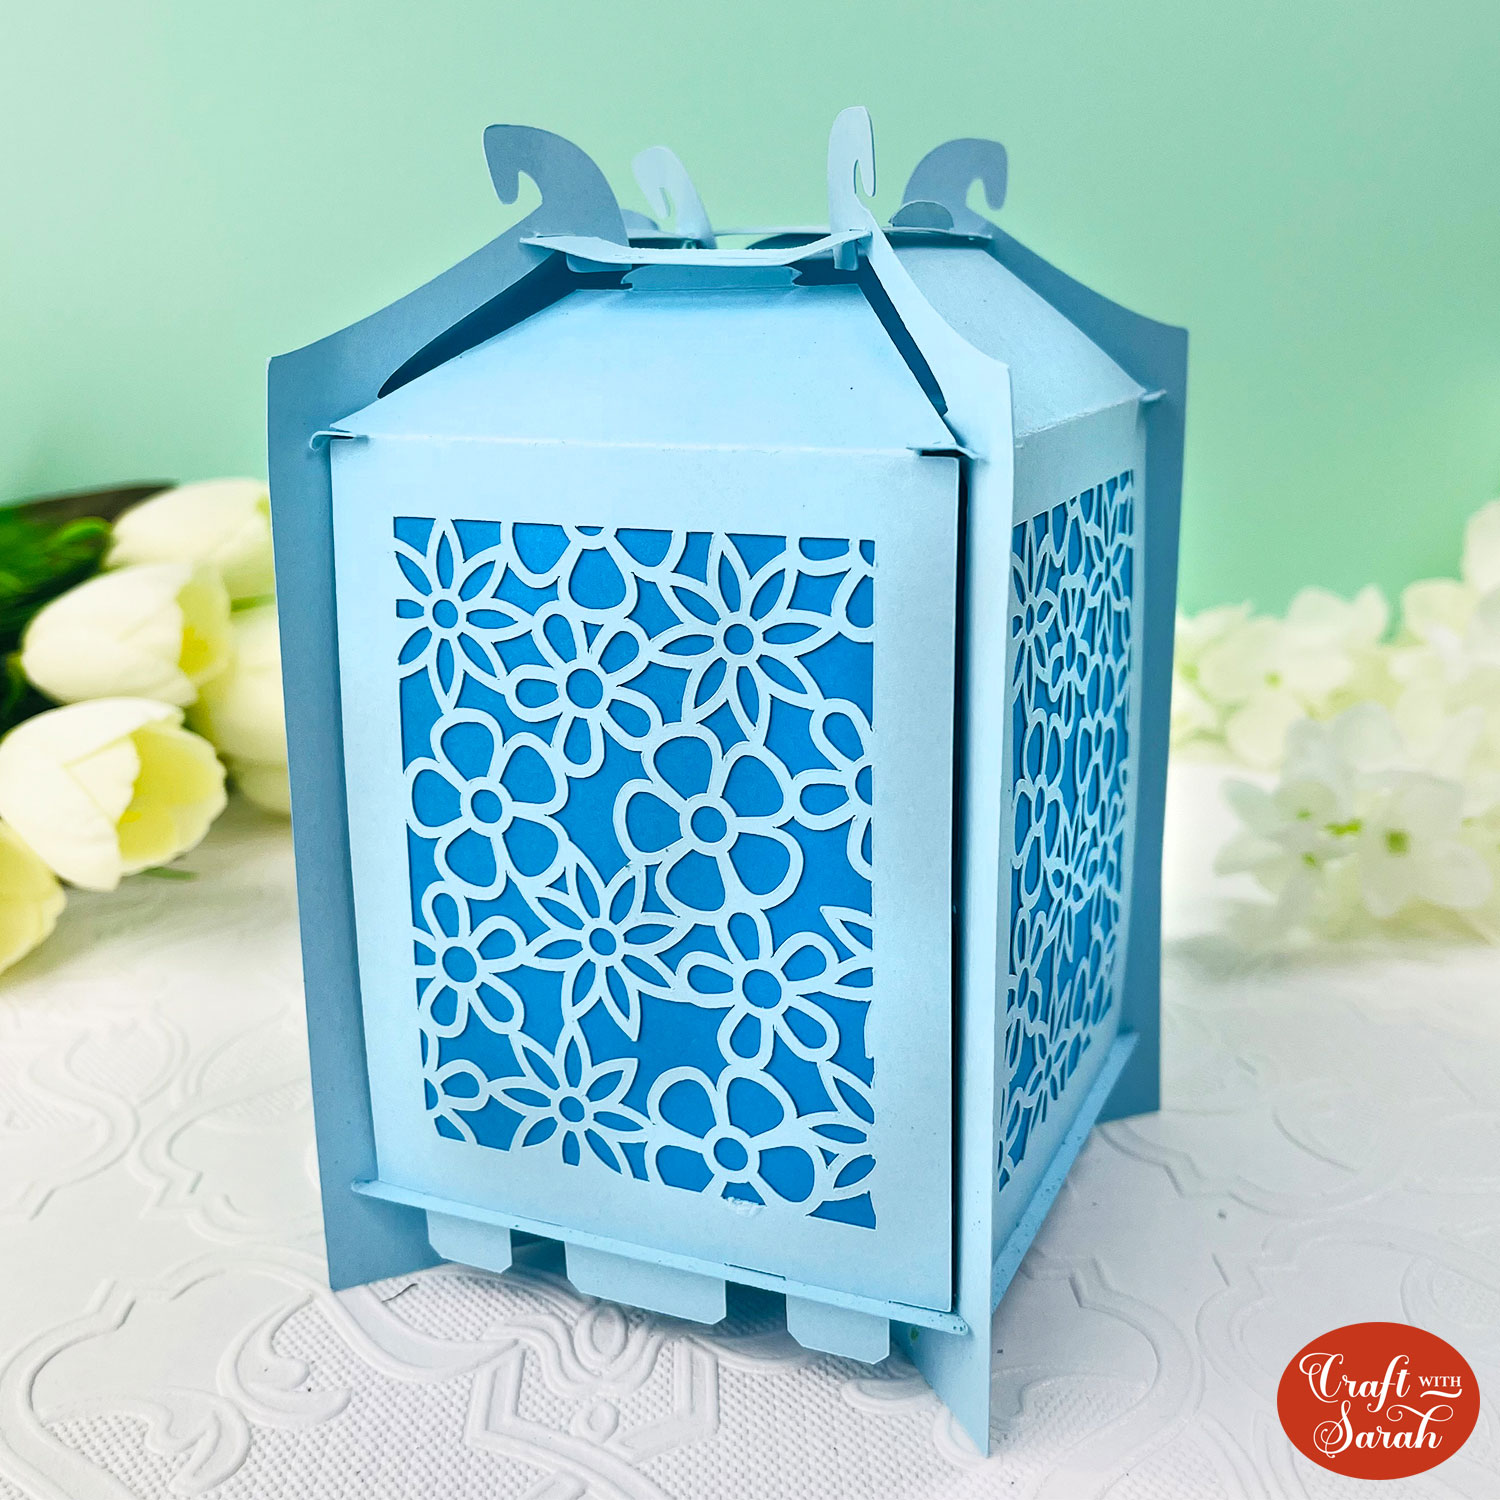
Two different shapes of vase are included: a spherical design and a square design.
They go together in very similar ways, so for this tutorial I’m going to show you how to put the spherical one together but it will be the same technique for the square one too.
This Project was part of the Floral Craft Countdown
Materials supply list
Here is a list of the materials that I used to make this project.
Please note that some of the links included in this article are affiliate links, which means that if you click through and make a purchase I may receive a commission (at no additional cost to you). You can read my full disclosure at the bottom of the page.
- Cricut machine
- Light blue Cricut cutting mat
- Coloured card (thick card works best)
- Glue
- Vellum or tracing paper (optional)
This project is suitable for the following types of Cricut machine: Explore Air 2, Explore Air 3, Maker, Maker 3, Venture, Joy Xtra and Joy. You will need to make the vases smaller to cut on the Joy.
Foundation learning
If you're new to crafting with your Cricut, you may find the below links helpful.
They teach some of the skills mentioned throughout this tutorial.
- How to upload SVG files into Design Space
- How to make 3D layered Cricut projects
- The BEST way to frame papercraft projects
- How to mount multiple designs in the same frame with magic guides
- How to score with a Cricut (even without scoring tools)
- Print then cut tutorial
- Design Space tools (Combine, Attach, Slice, Weld, Flatten, etc.)
- Pattern fill tutorial (for making backgrounds & cutting images to a specific shape/size)
- Free envelope SVGs that can be sized to fit any card
- How to write inside cards with Cricut pens
- How to cut layered designs at a small size
- Design Space tips & tricks
- Cricut pens tutorial
Video tutorial
Watch the video below to see how to make this project. Keep scrolling for a written tutorial.
Written tutorial (with photos!)
Here’s how to make 3D slot-together cardstock vases using a Cricut machine.
Step 1) Download the cutting file & upload to Design Space
Download the files using the box below.
Purchase the File(s)
This cut file is available as part of the Instant Access Bundle.
Or, purchase this design individually here
Before you upload the SVGs to Design Space, you need to unzip the download folder that they come in.
- How to unzip a folder on Windows computer
- How to unzip a folder on a Mac
- How to unzip a folder on an iPad/iPhone
- How to unzip a folder on an Android device
- Florist foam / polystyrene / foam packaging / etc (optional)
After unzipping, upload the SVG files into Cricut Design Space. These are the files that start svg- in the filename.
Not sure how to do this? Here’s how to upload SVGs to Cricut Design Space. Make sure you upload the file which starts svg- in the filename!
Each vase comes as a different SVG files, so you will need upload them individually.
Each design comes in three versions:
- Blank version – for adding your own pictures to the vase sides
- Flowers – the patterned flower designs show in this tutorial
- Plain – filled in sides for solid, one-colour vases
I’m using the flower version of the circular vase for this tutorial.
Step 2) Size and cut the SVG
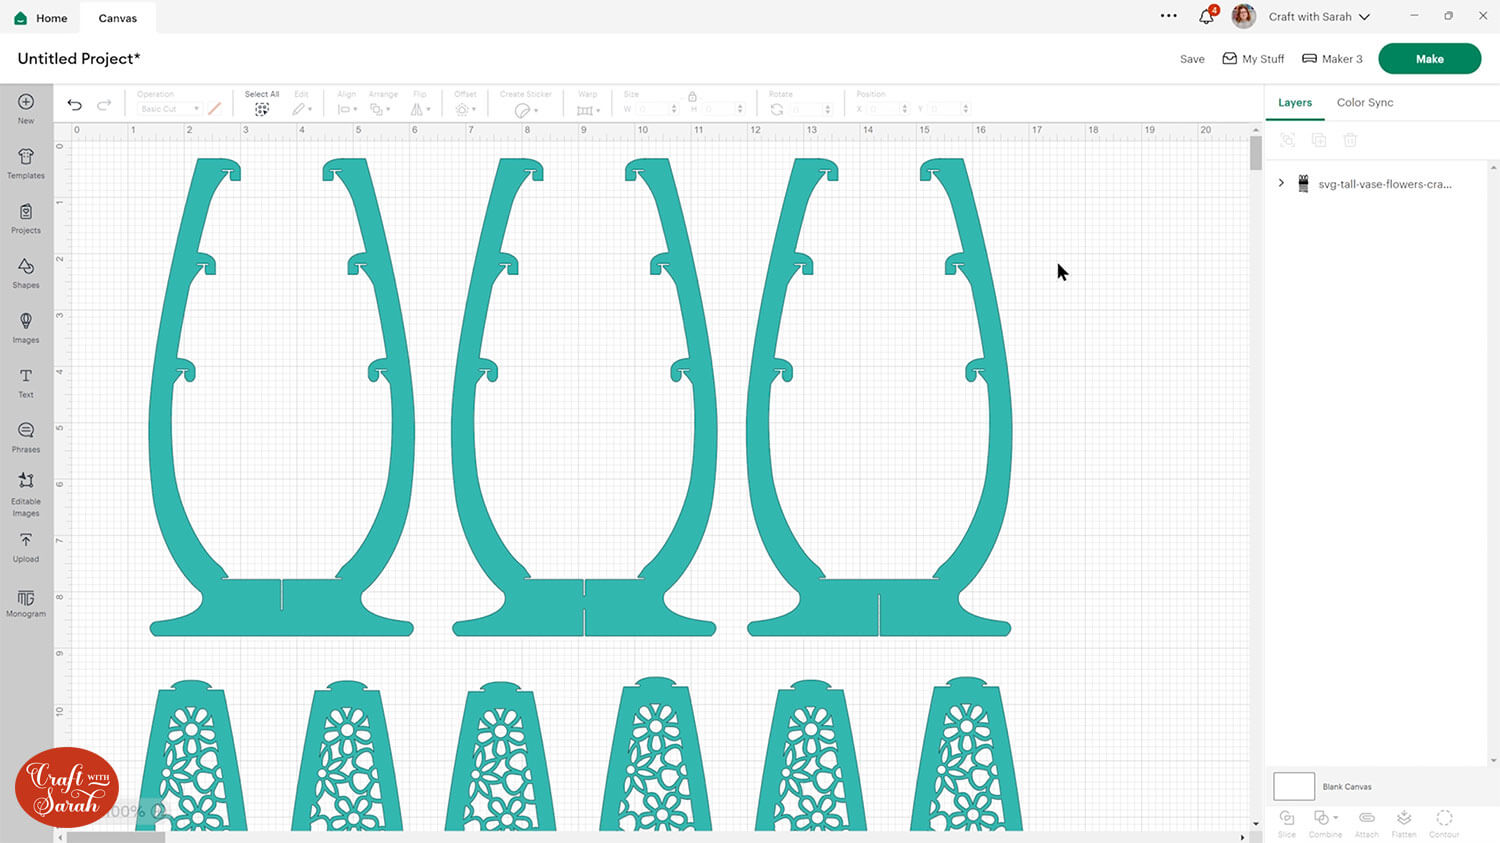
All the vase templates will load in at a great size for putting flowers in.
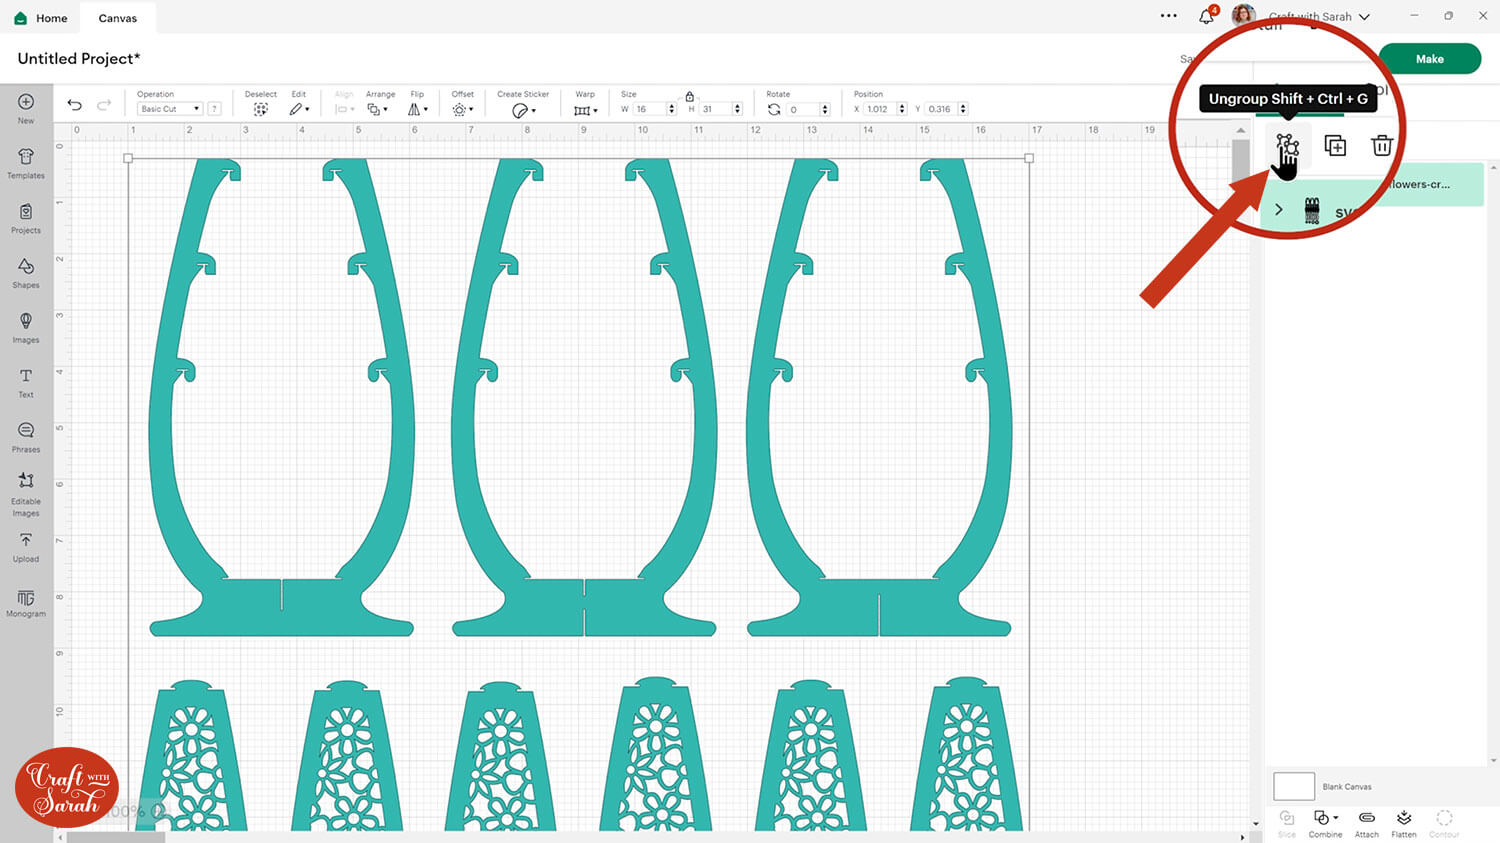
If you did want to resize the vase, first ungroup all the layers by pressing the “Ungroup” button at the top of the layers panel.
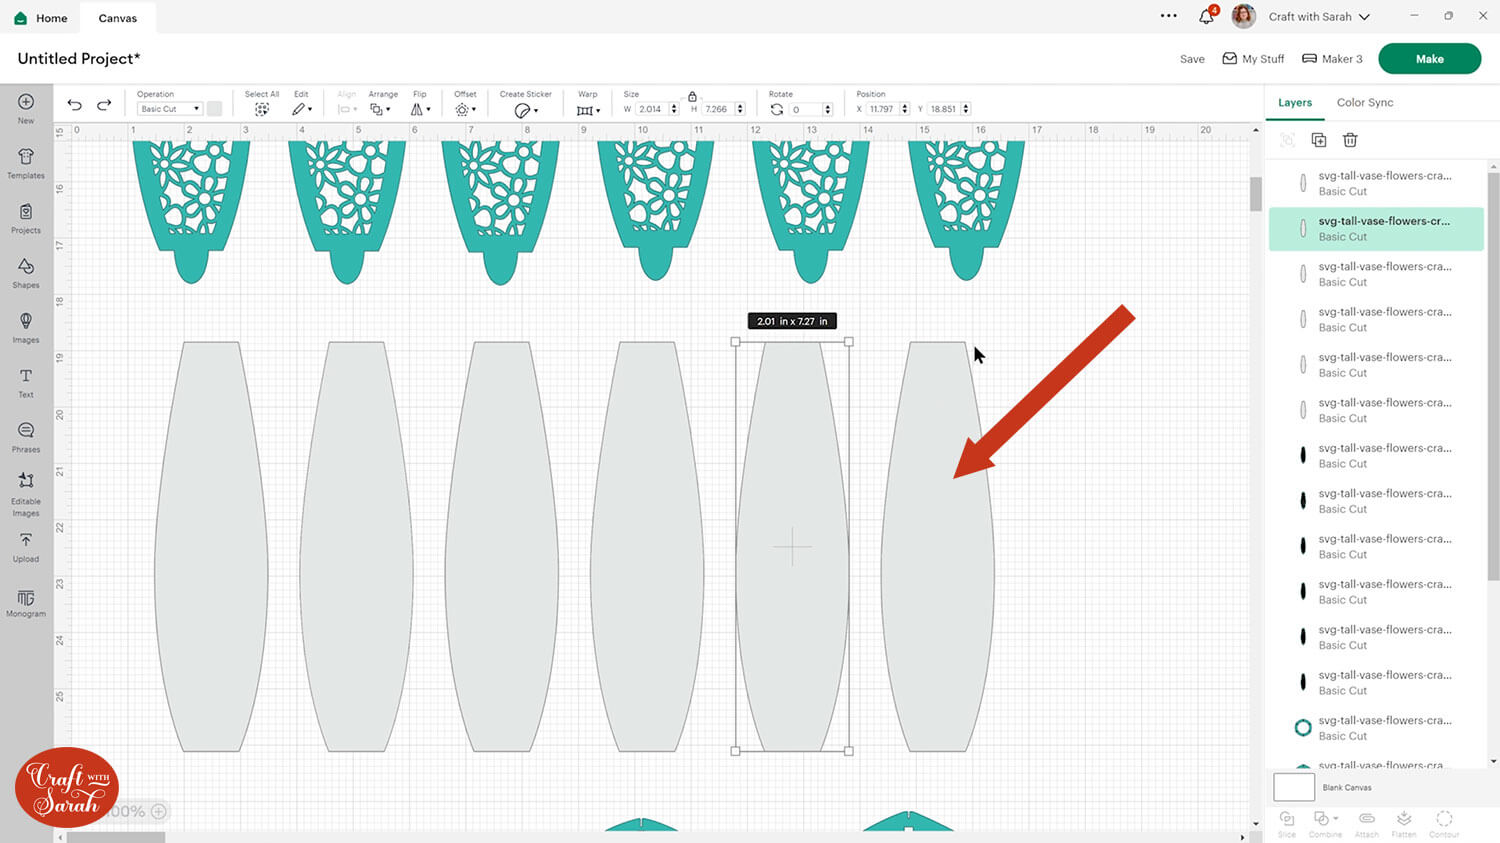
You can see the height of the design by clicking on one of the main vase shapes, it’s almost 8.5 inches tall.
It’s a bit harder to tell the width but generally the width of it is about 4.75 inches in by default.
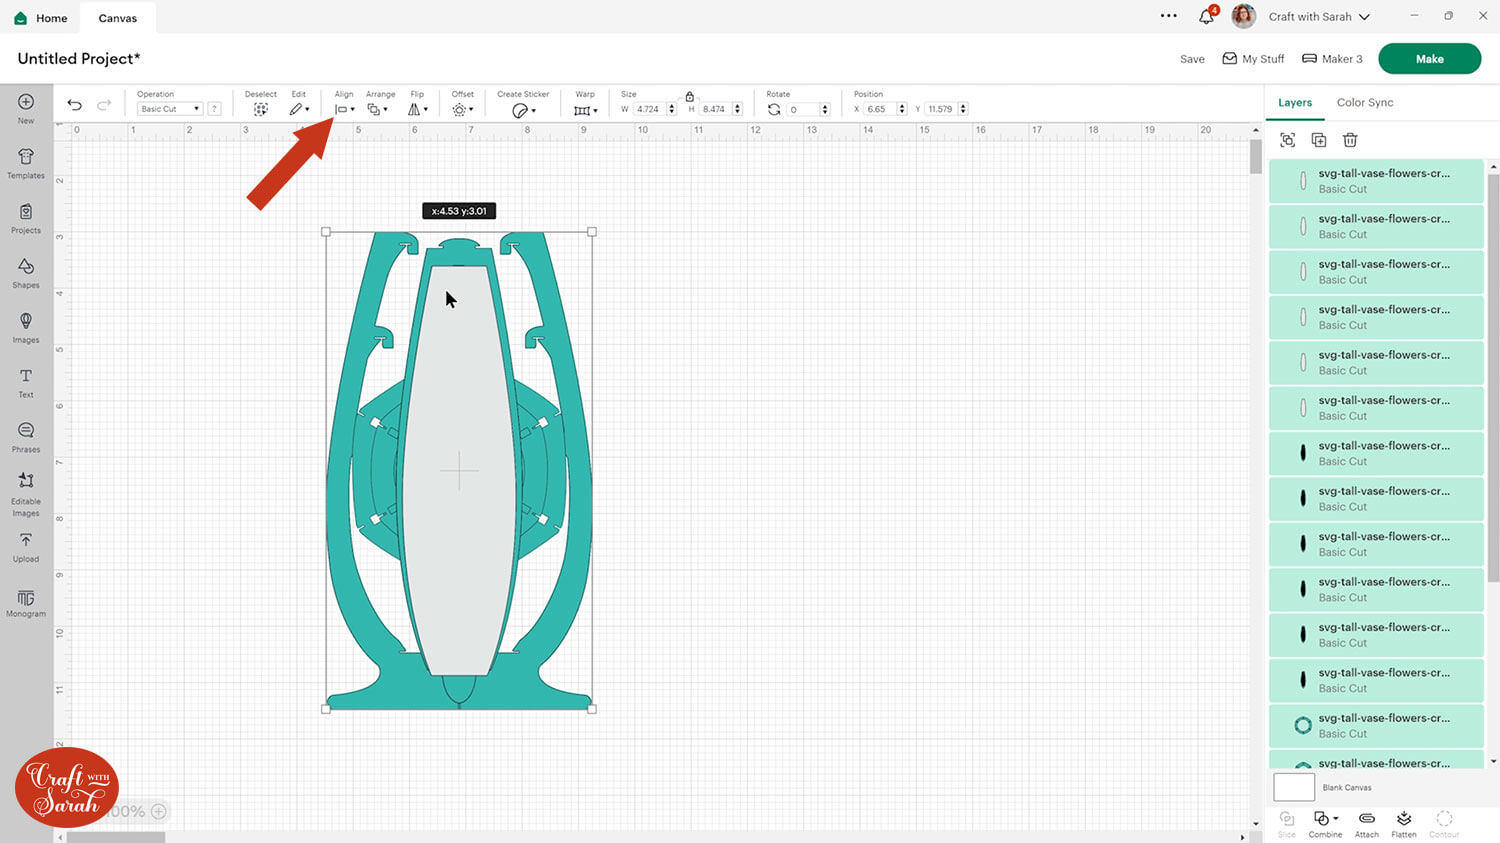
To resize the vase, press “Select All” along the top and then “Align > Center” to put all the pieces on top of each other.
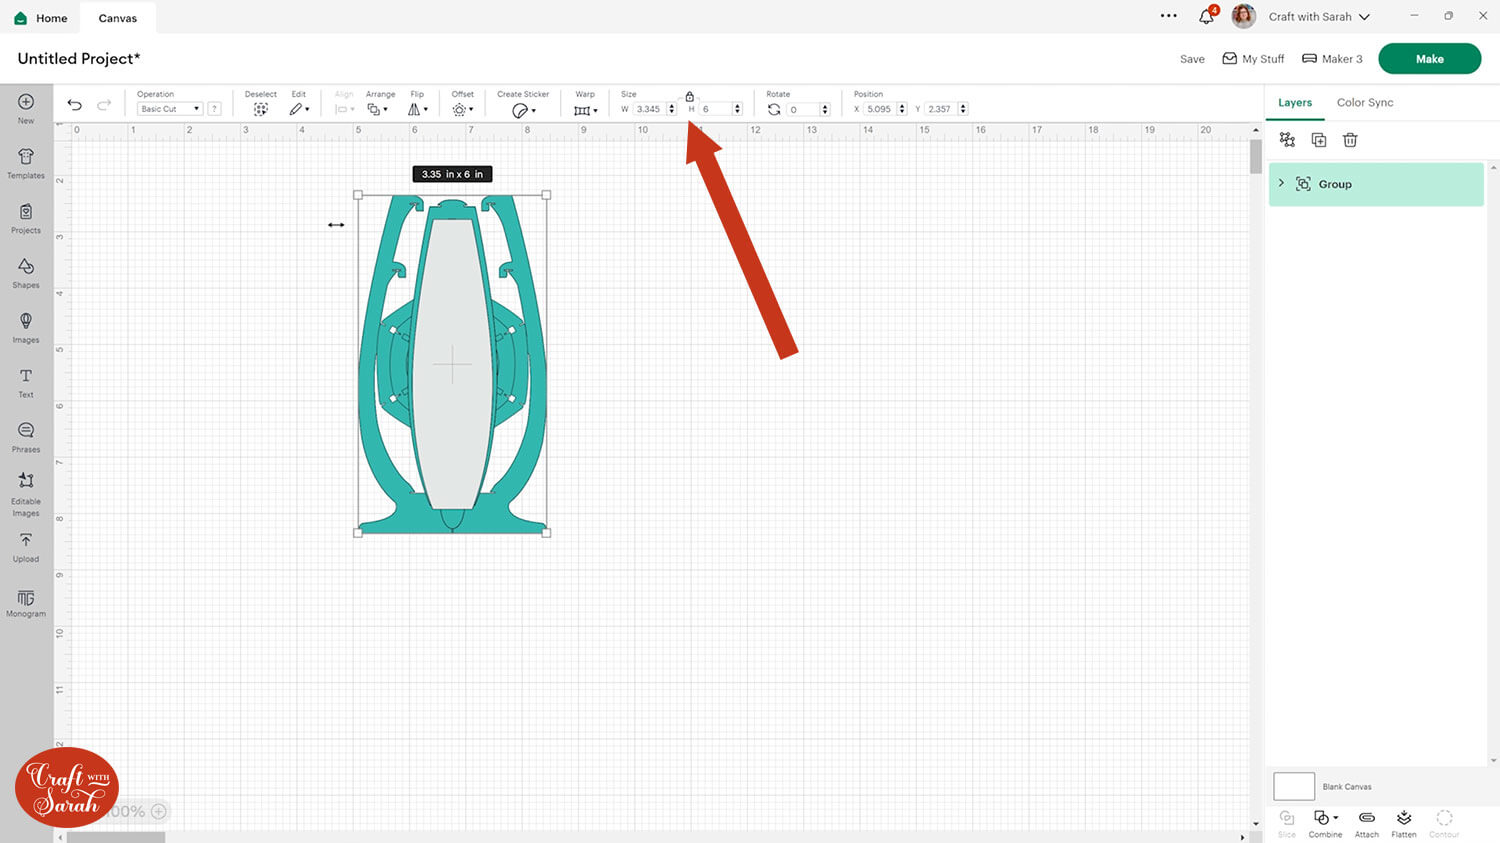
Group everything again by pressing the “Group” button and then resize the vase. Make sure the padlock icon is closed so that everything changes in proportion.
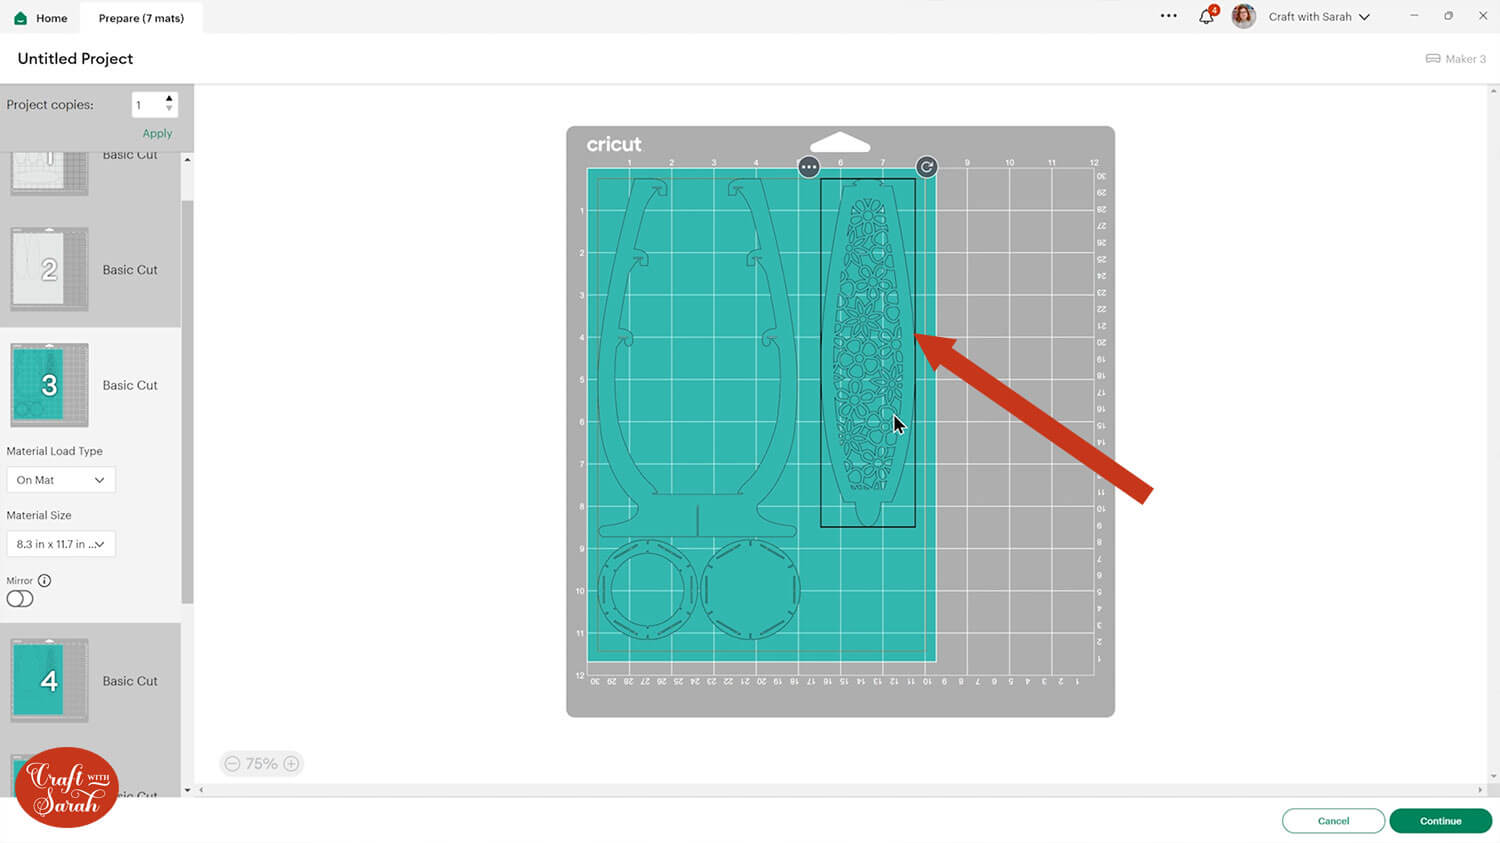
One thing to be aware of when cutting the vases is the pieces in the image below. They are designed to be glued to the back of the sides of the vase.
If you want a “see-through” effect then you can to cut these pieces from vellum or tracing paper. For a bright and bold vase, choose a coloured card that will stand out well against the main colour of your vase.
If you are using the blank templates with the gaps to add your own decorations, here’s how to customise them with your different images or patterns.
There is nothing else you will need to do in Design Space for this vase so go ahead and get everything cut out. Click “Make” and then follow the on-screen instructions.
To change the paper size, go into the dropdowns over on the left side of the screen and choose the paper size that you want to use. You need to change it for every single colour.
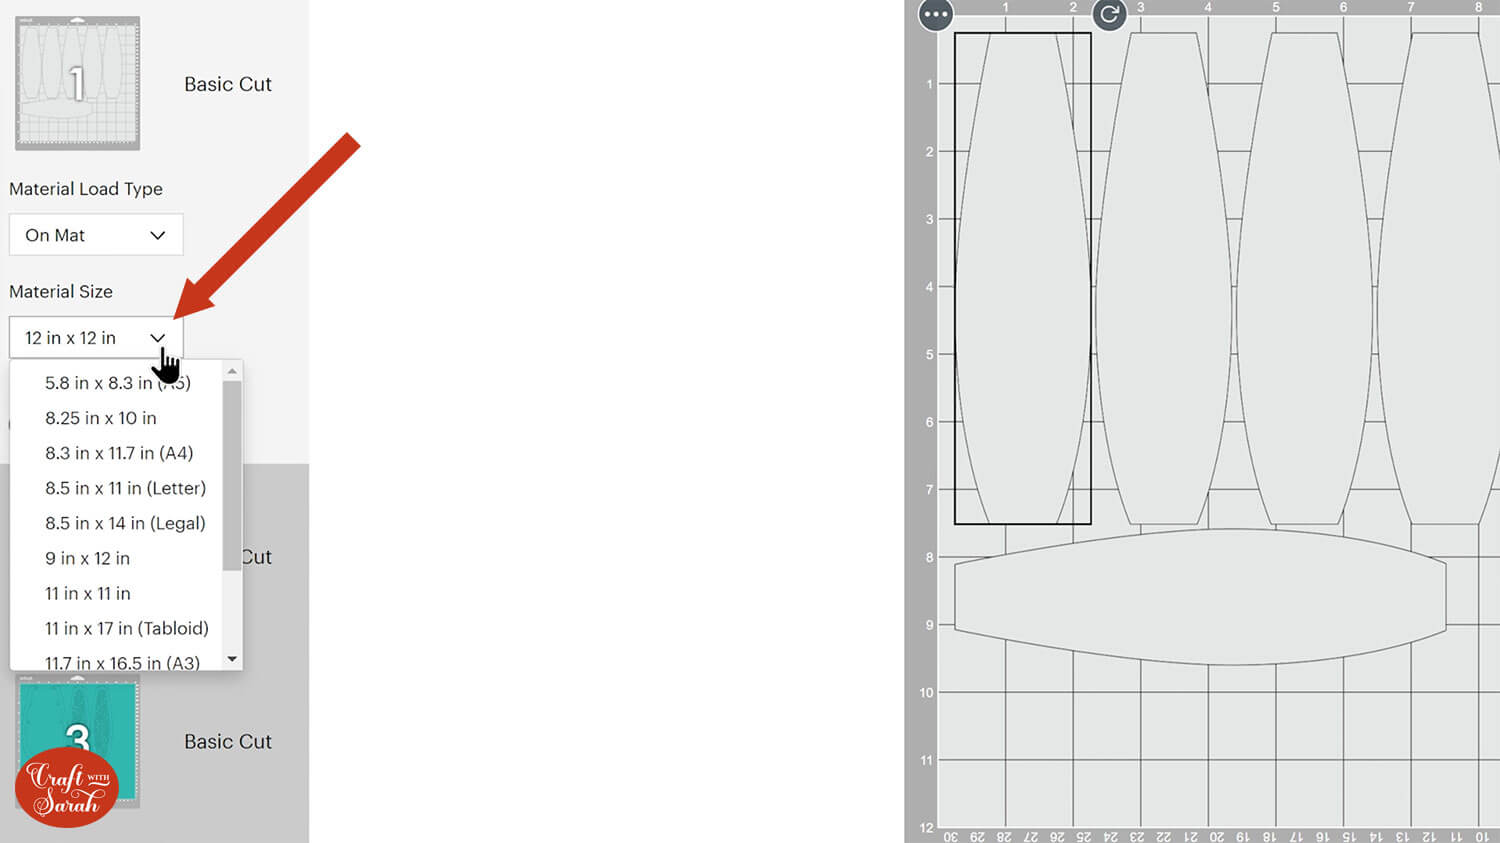
To save space on your cardstock, you can move things around by clicking and dragging. Make sure when you’re moving things about that nothing overlaps because otherwise, it won’t cut out properly.
IMPORTANT – these vases work best when cut from thick cardstock as it gives them more stability. Thin cardstock might bend/warp if you add heavy flowers inside the vases.
TIP: New to cutting cardstock with a Cricut? Check out this in-depth tutorial which goes through every step of the process, including tips for getting the best quality cuts from your Cricut.
Step 3) Assemble the vase structure
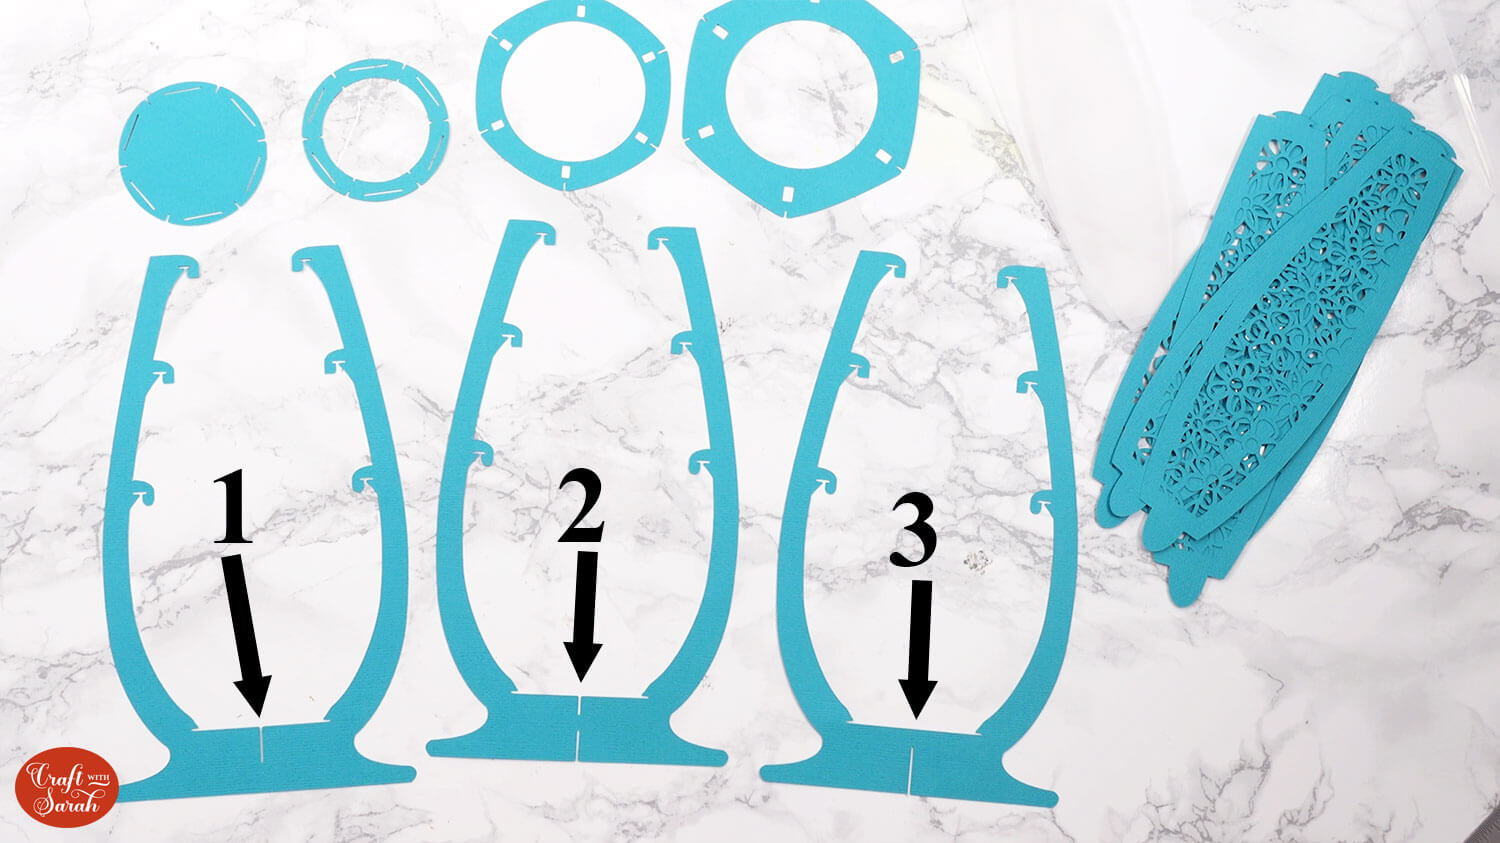
Here are all the pieces of my vase cut out. I’ve cut the inner pieces from a tracing paper/vellum type material.
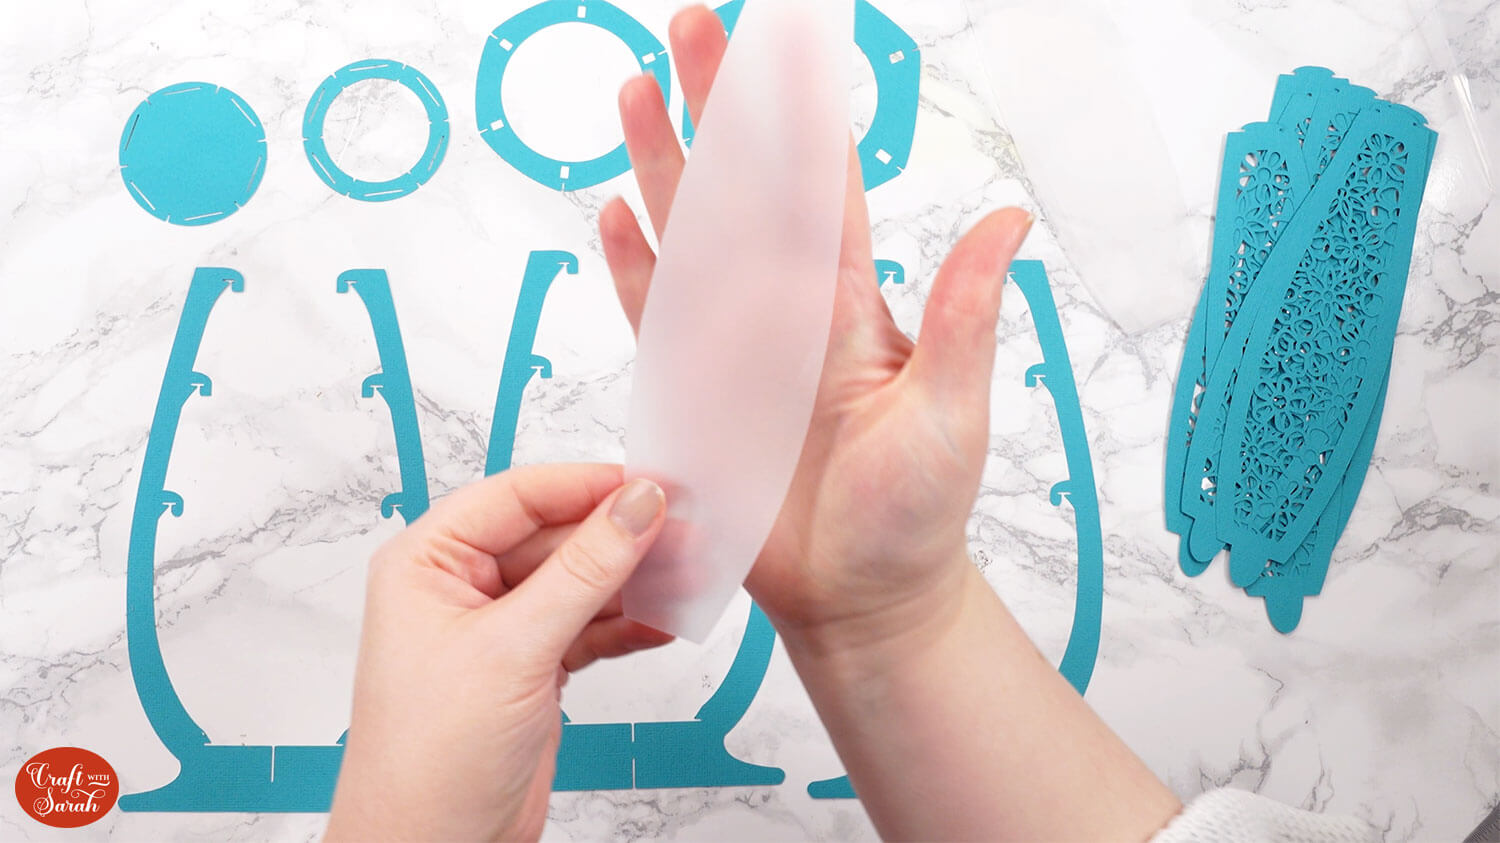
Put the main structure pieces of the vase in the order that you will be putting them together in.
The first piece is the one with a slit in the bottom segment that comes down from the top direction.
The second has a slit in the top and bottom.
The third has got a slit in the bottom.
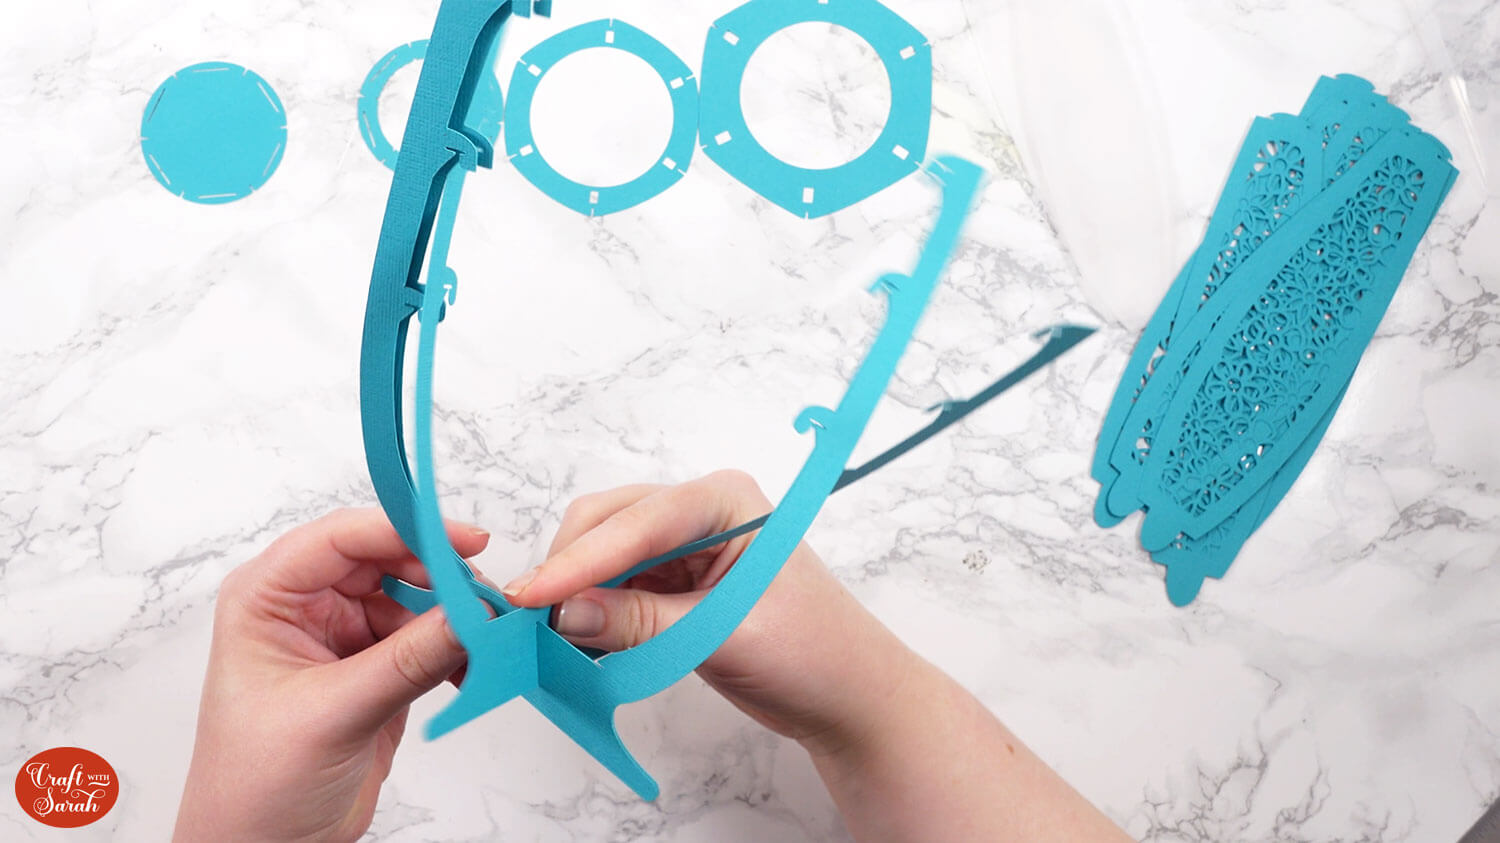
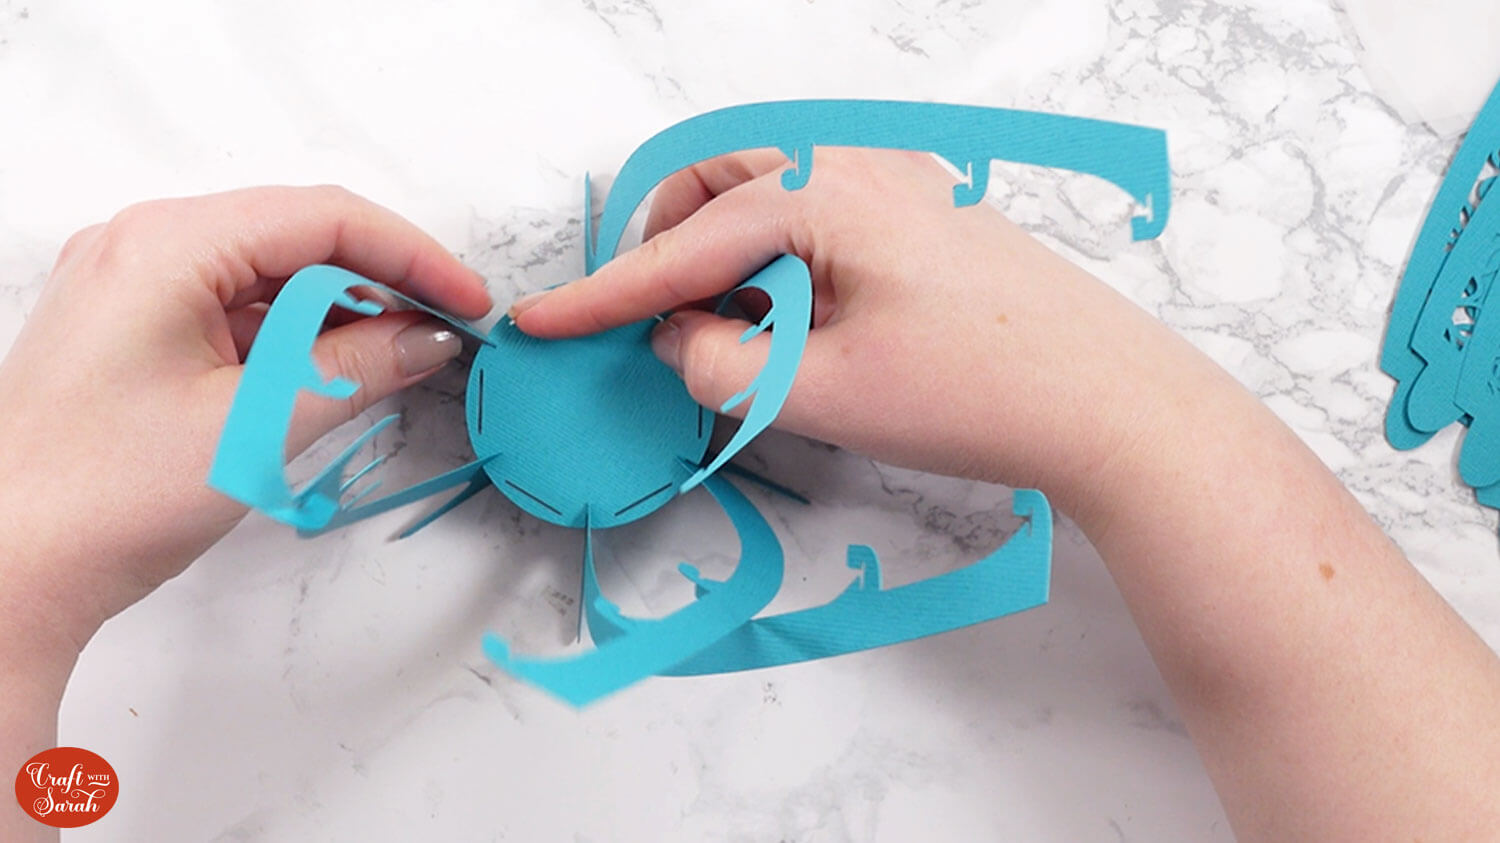
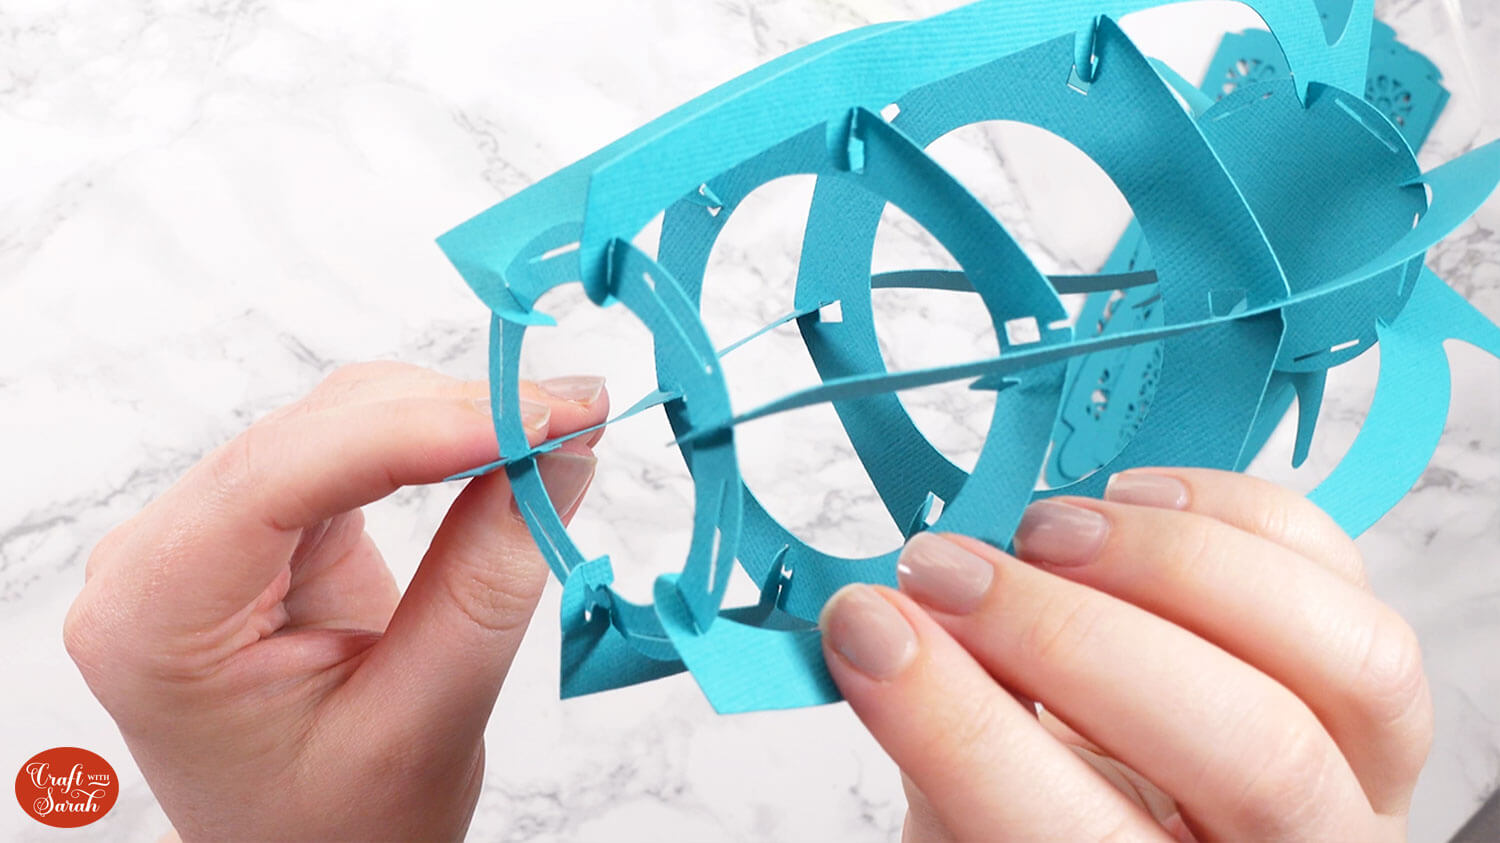
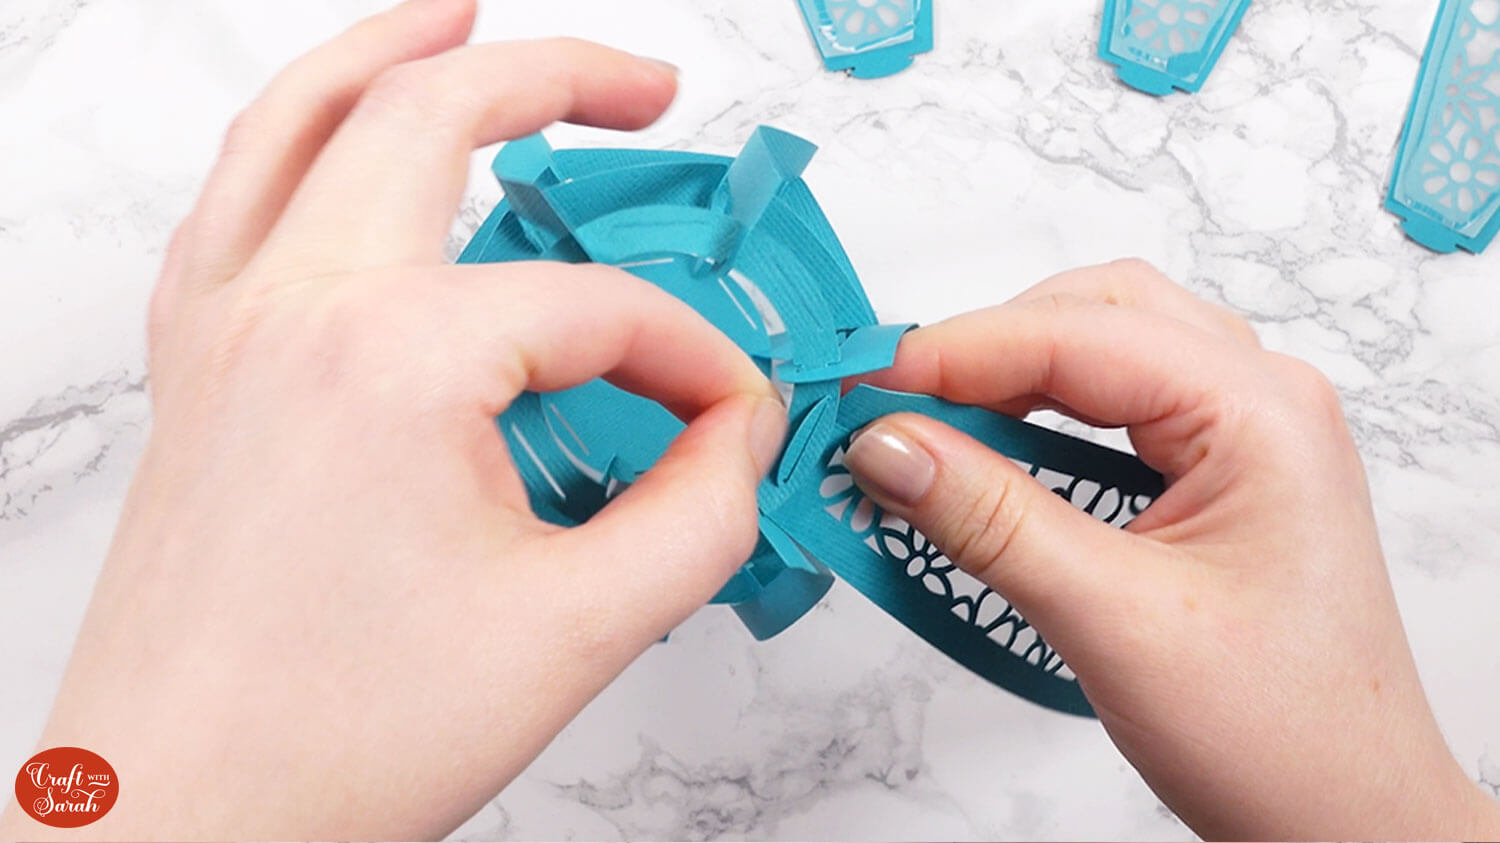
Take piece number 1 and 2. Slot number two into number one, at the bottom, to make a cross shape.

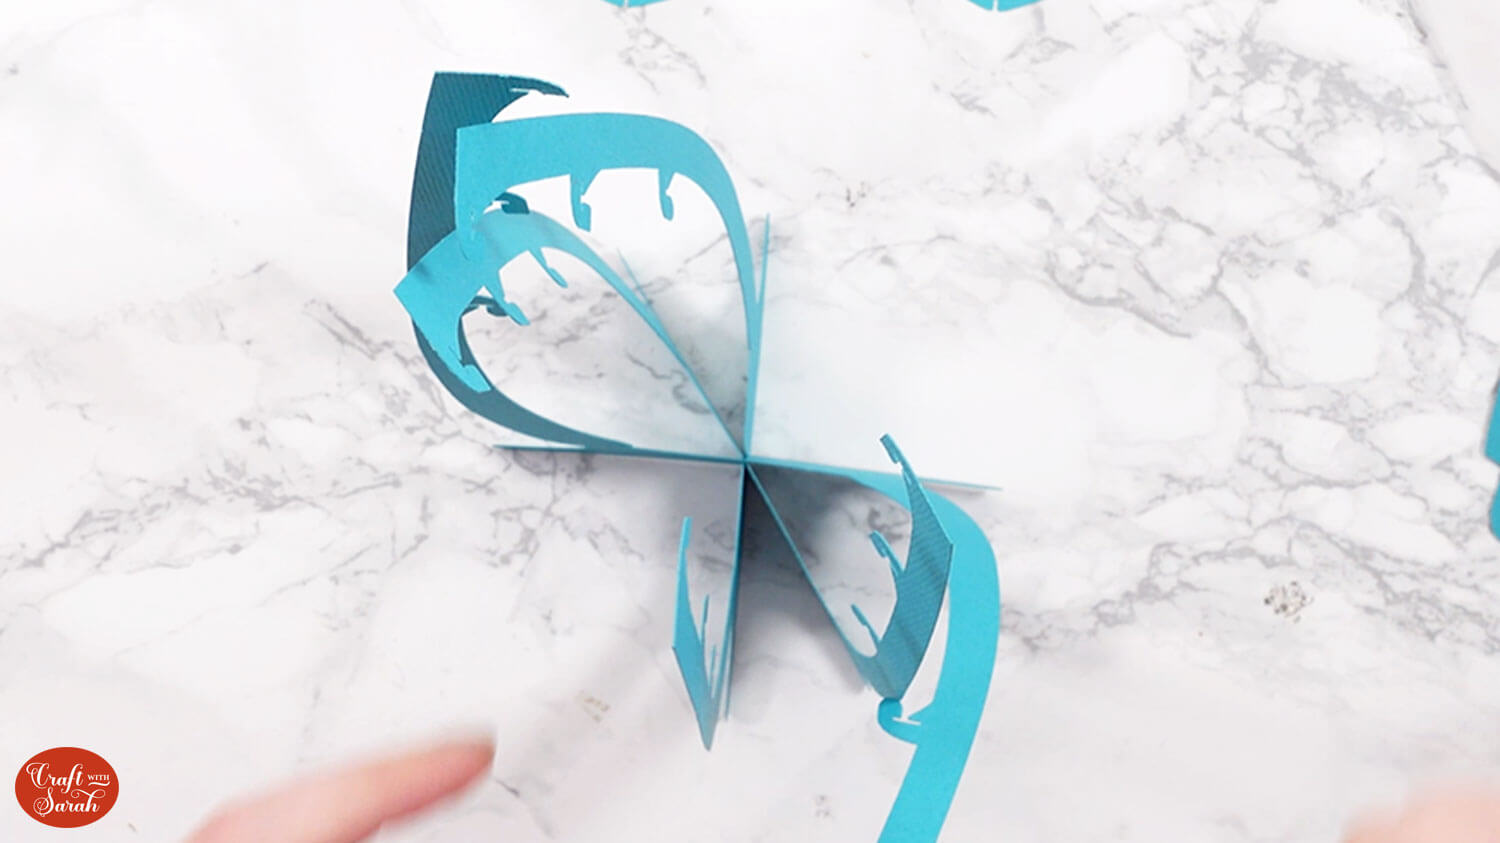
Hold them flat against each other and slot the third piece into the bottom.
If you’re making the square version of the vase, it’s a little bit different as you’ve only got two to slot together rather than three.
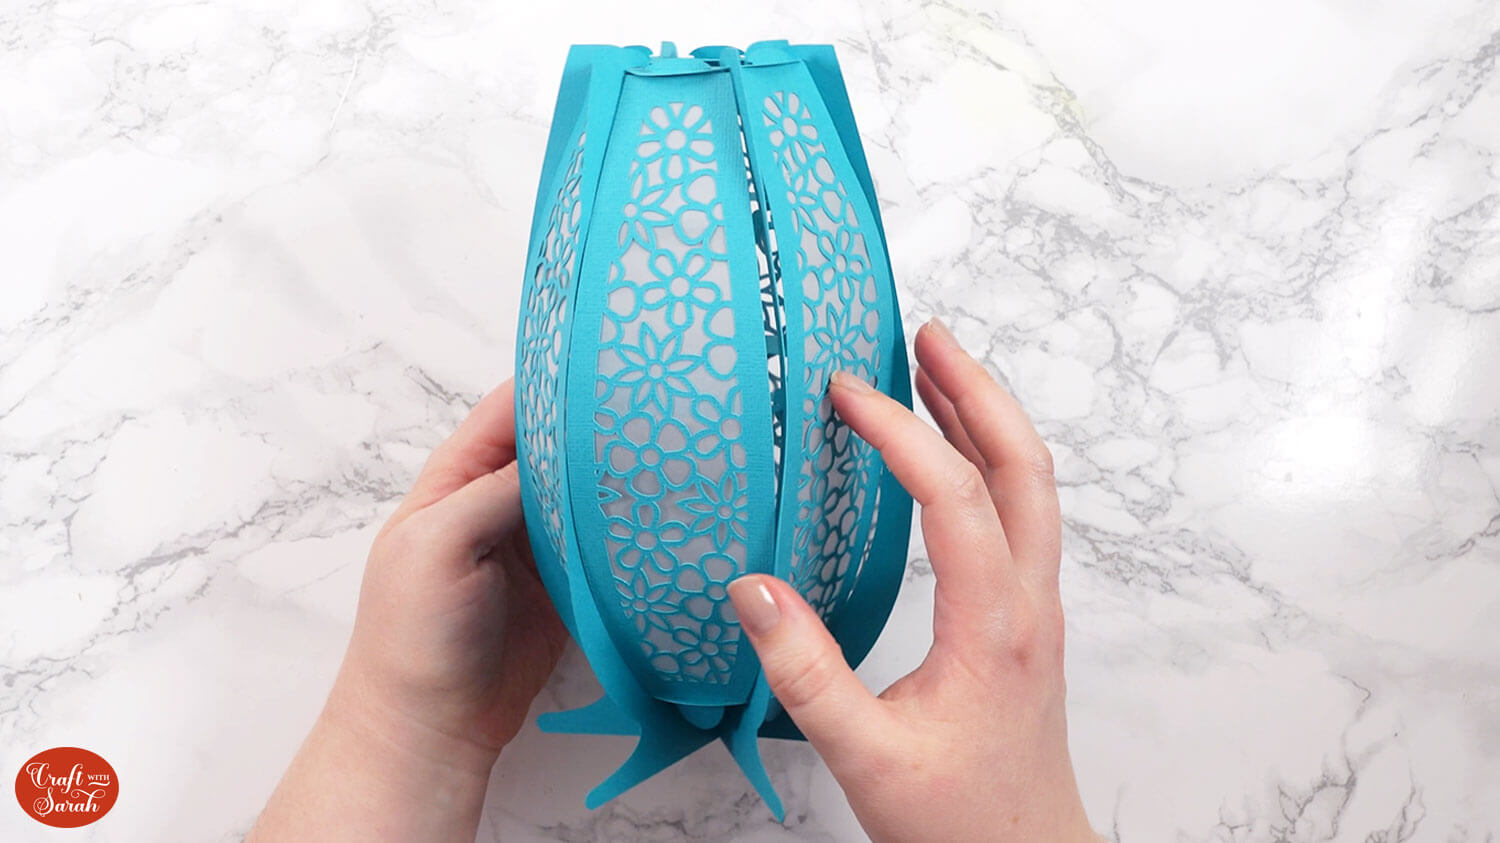
The structure should now be freestanding, if a little bit odd-looking with the thin edges not currently held in place.
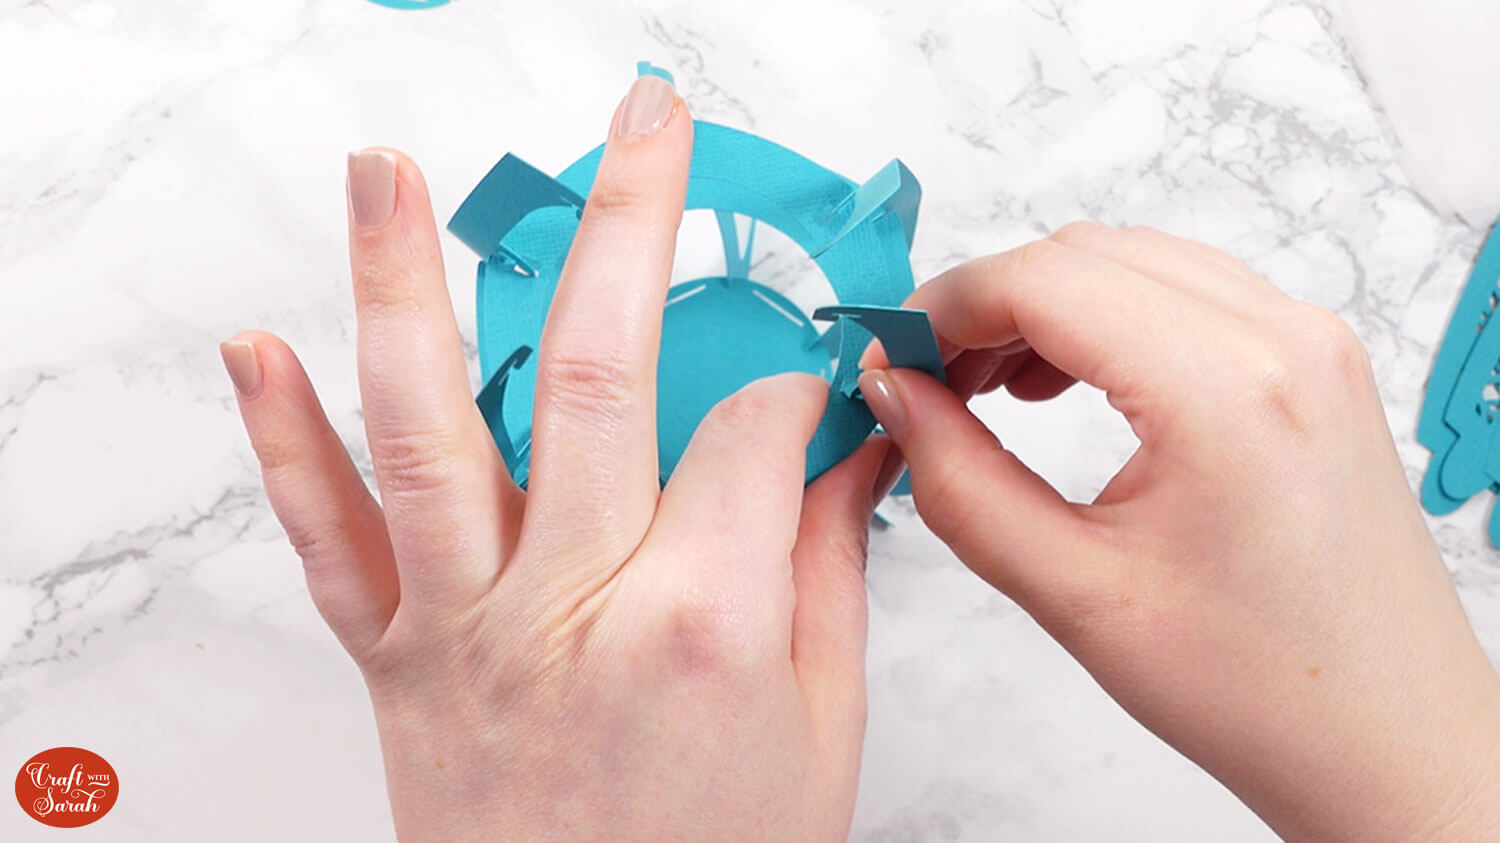
Take the small circle that is solid (without a hole in the middle). This slots into the little slits along the bottom. The tiny slits correspond to the slits in the side of this structure.
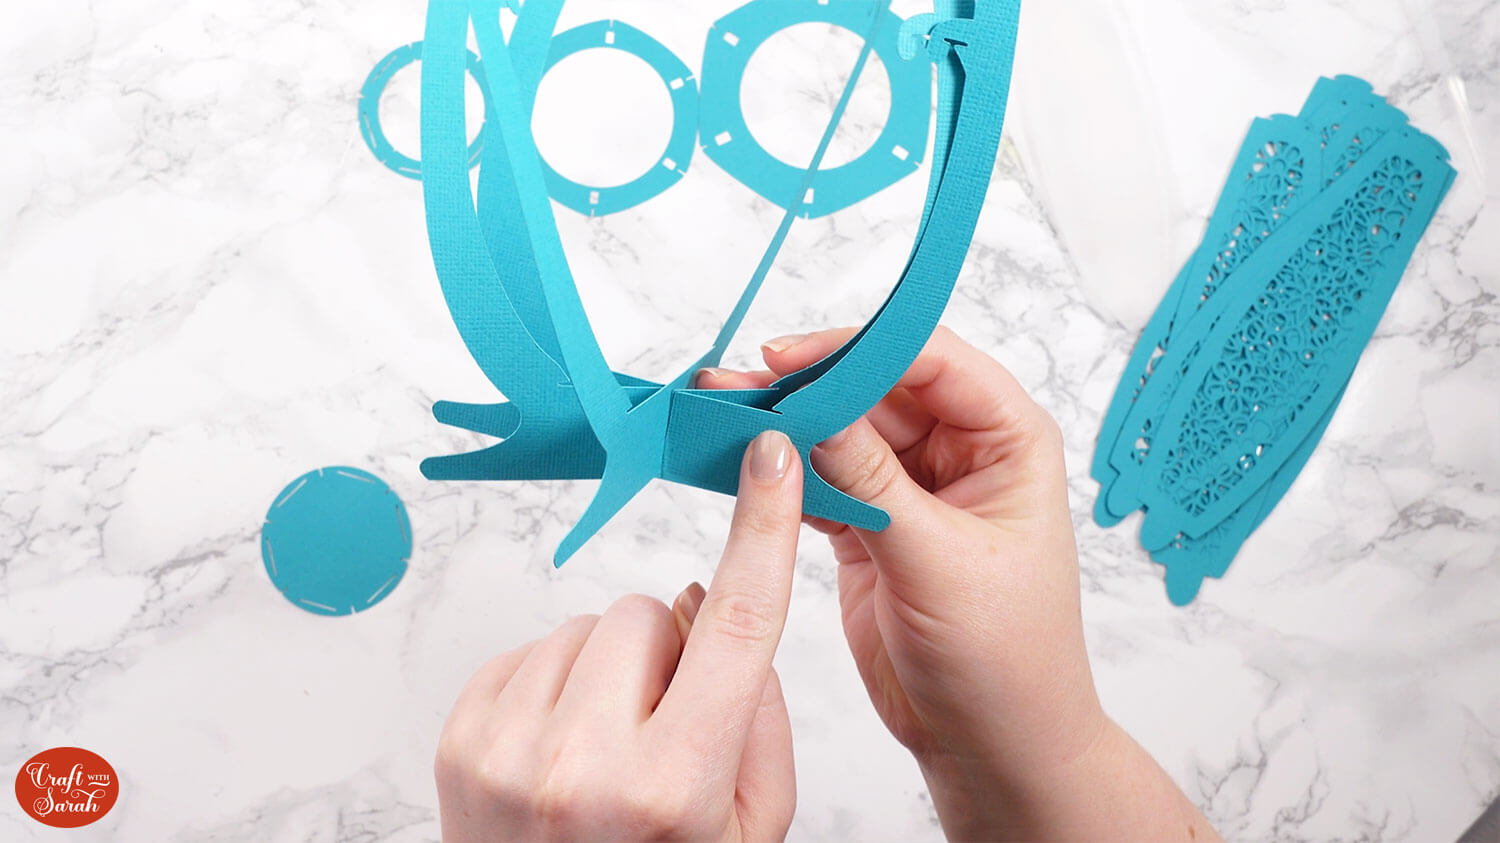
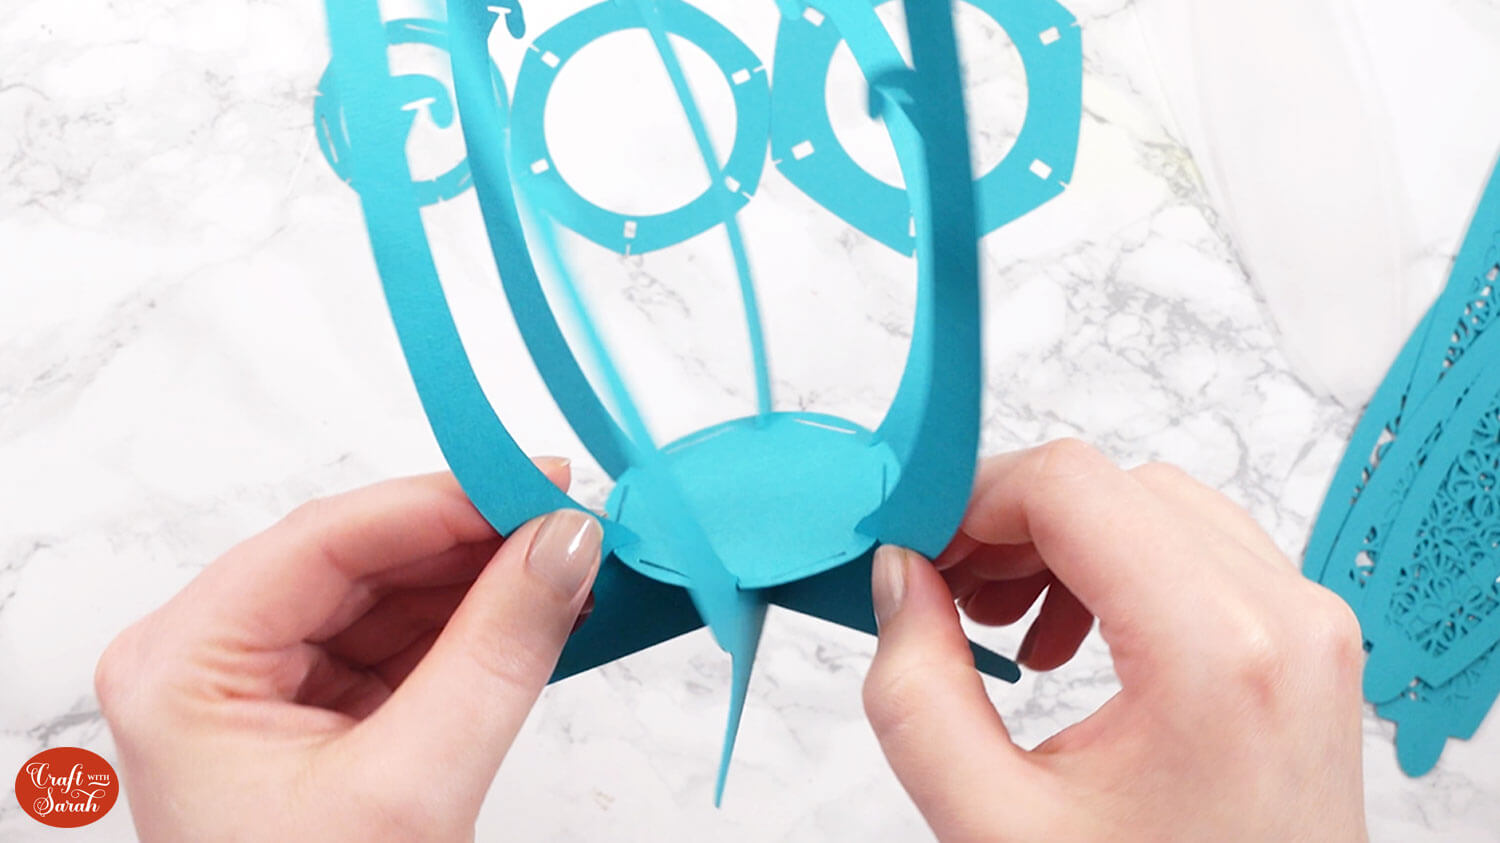
Add the largest circle into the next set of slits.
The edges of the vase structure “hook” into the rectangles in the circle to hold it place securely.
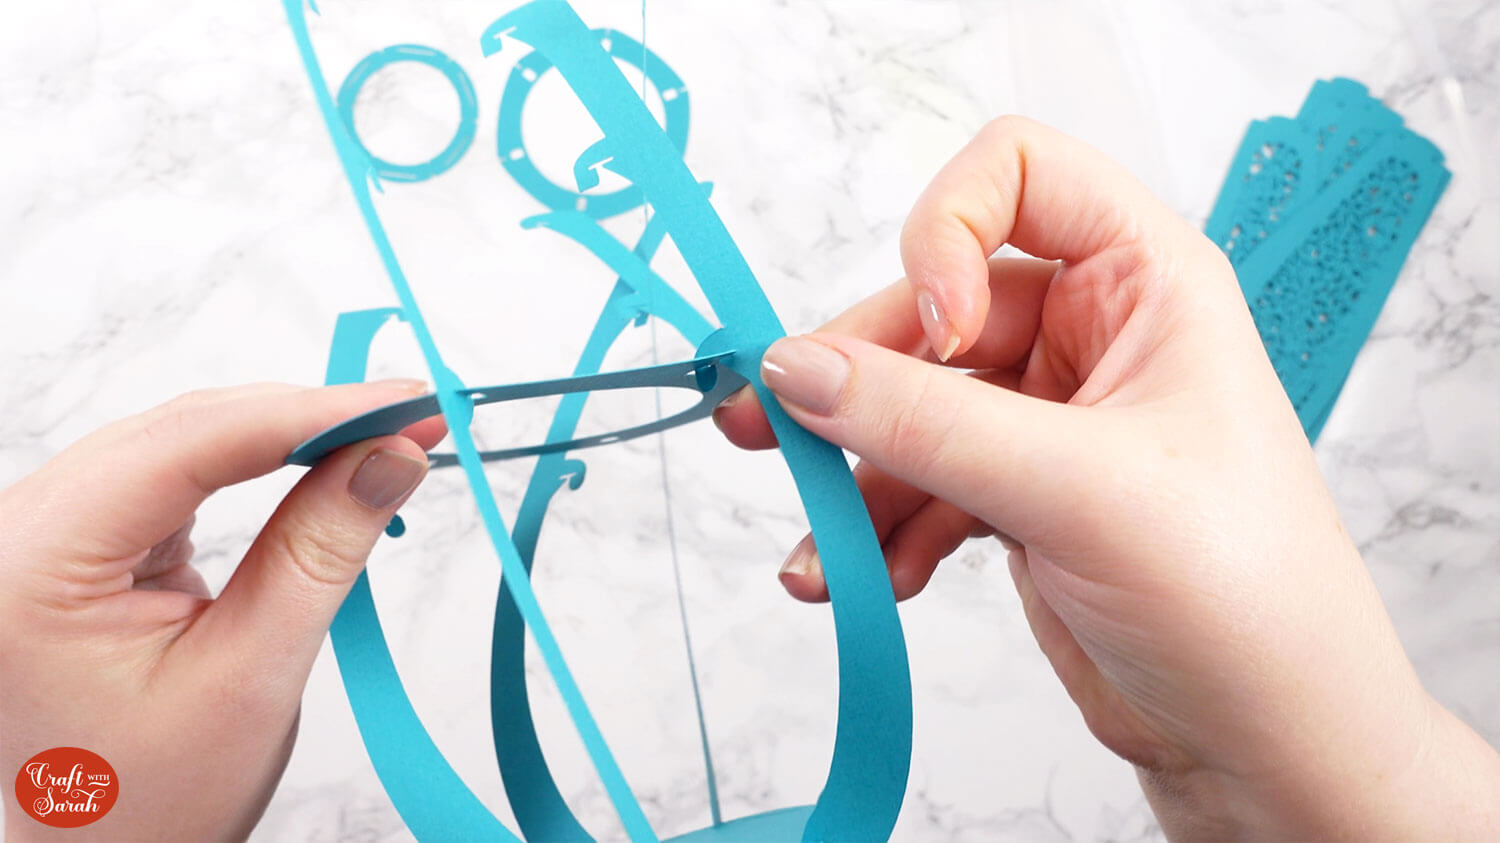
Put the bigger of the remaining two circles into the next set of slits.
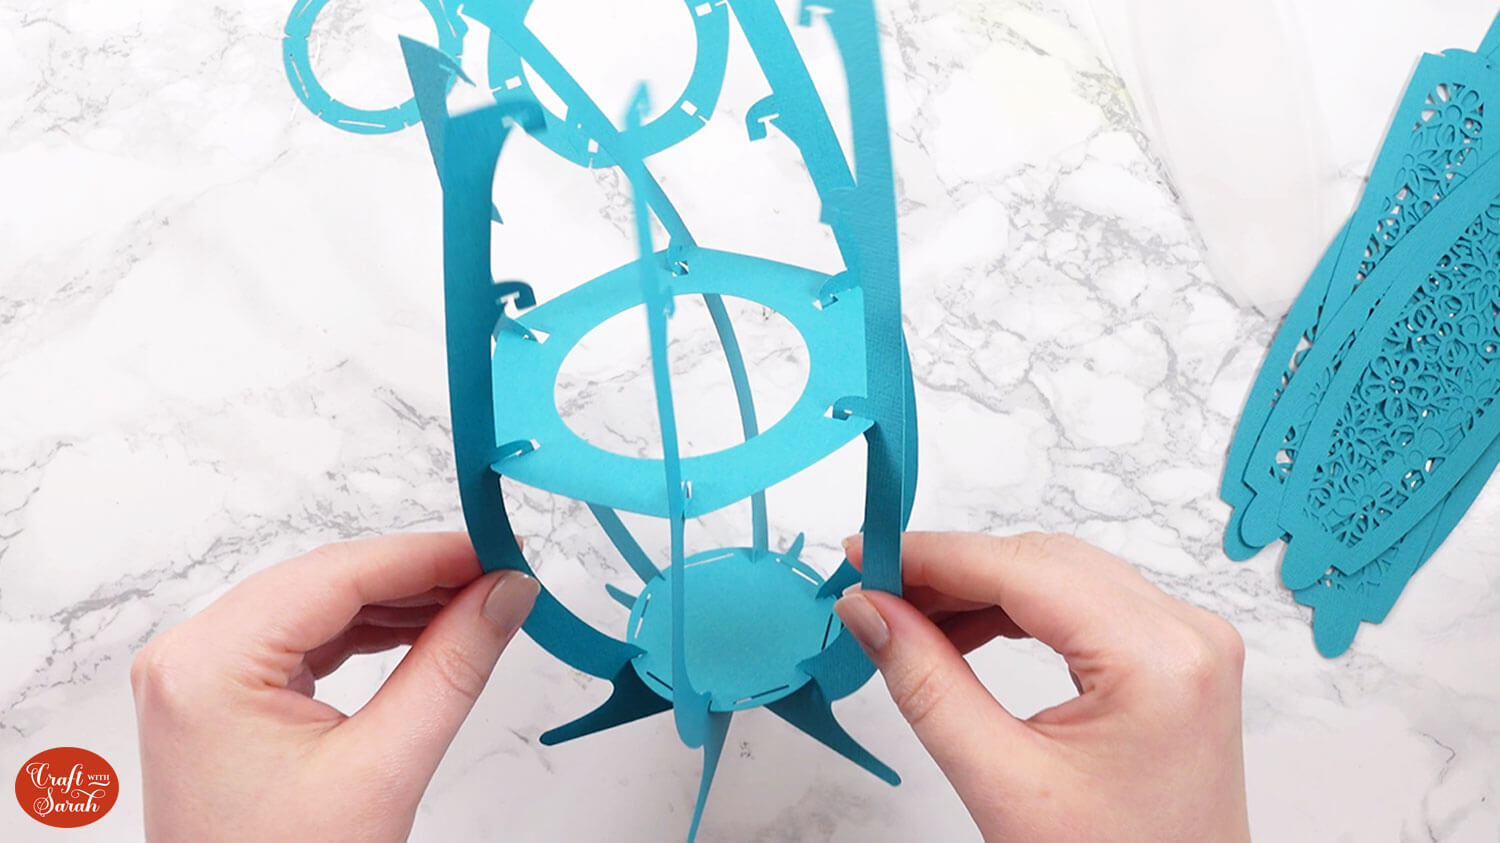
Add the final circle into the top set of slits.
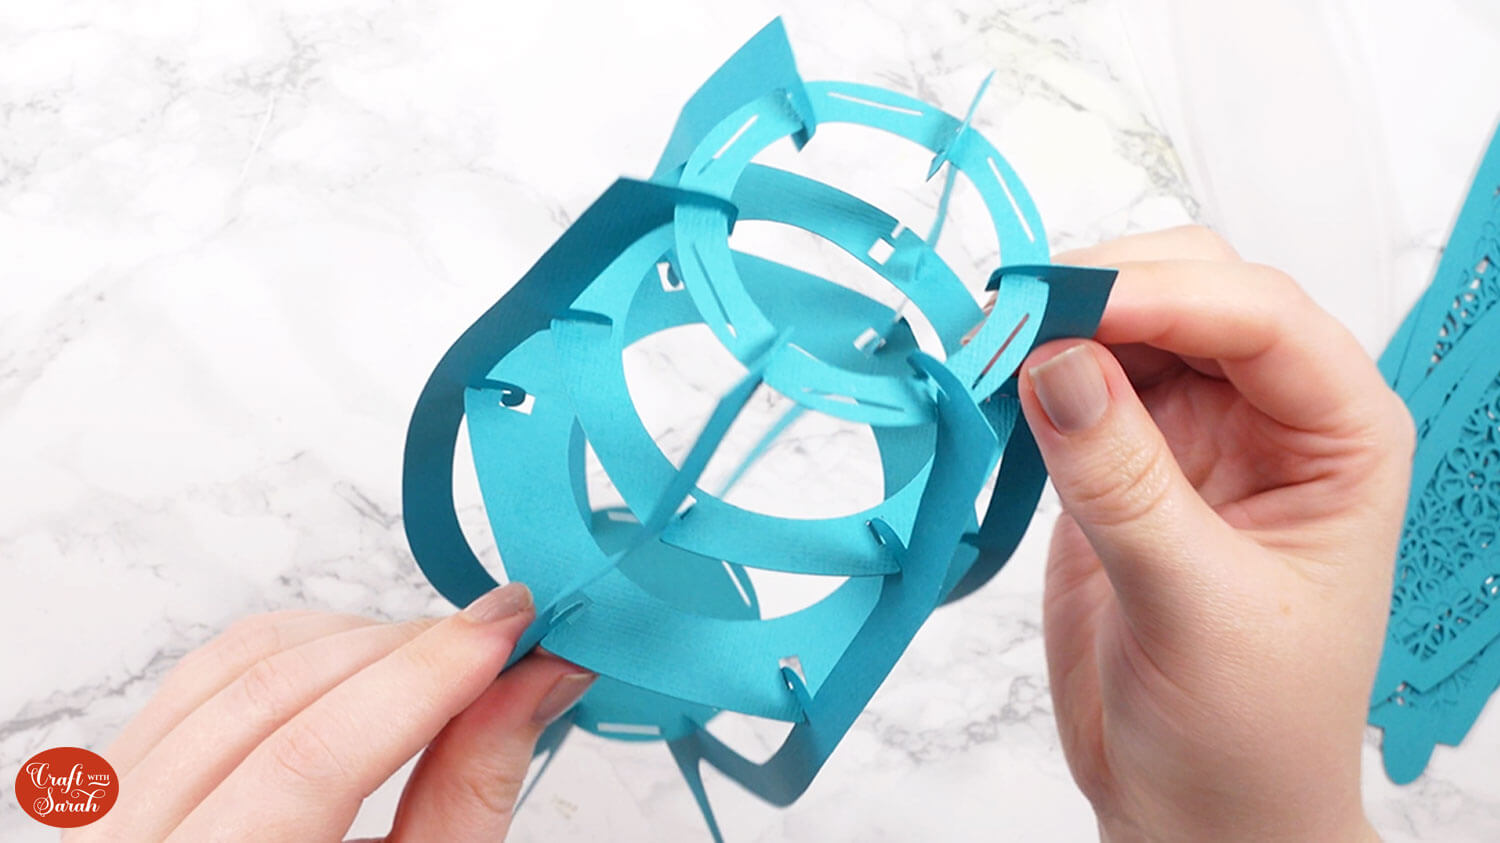
Now is a good time to check that none of the hooks or slits have popped out.
Step 4) Do the glueing for the project
Take the vase side panels and turn them upside down.
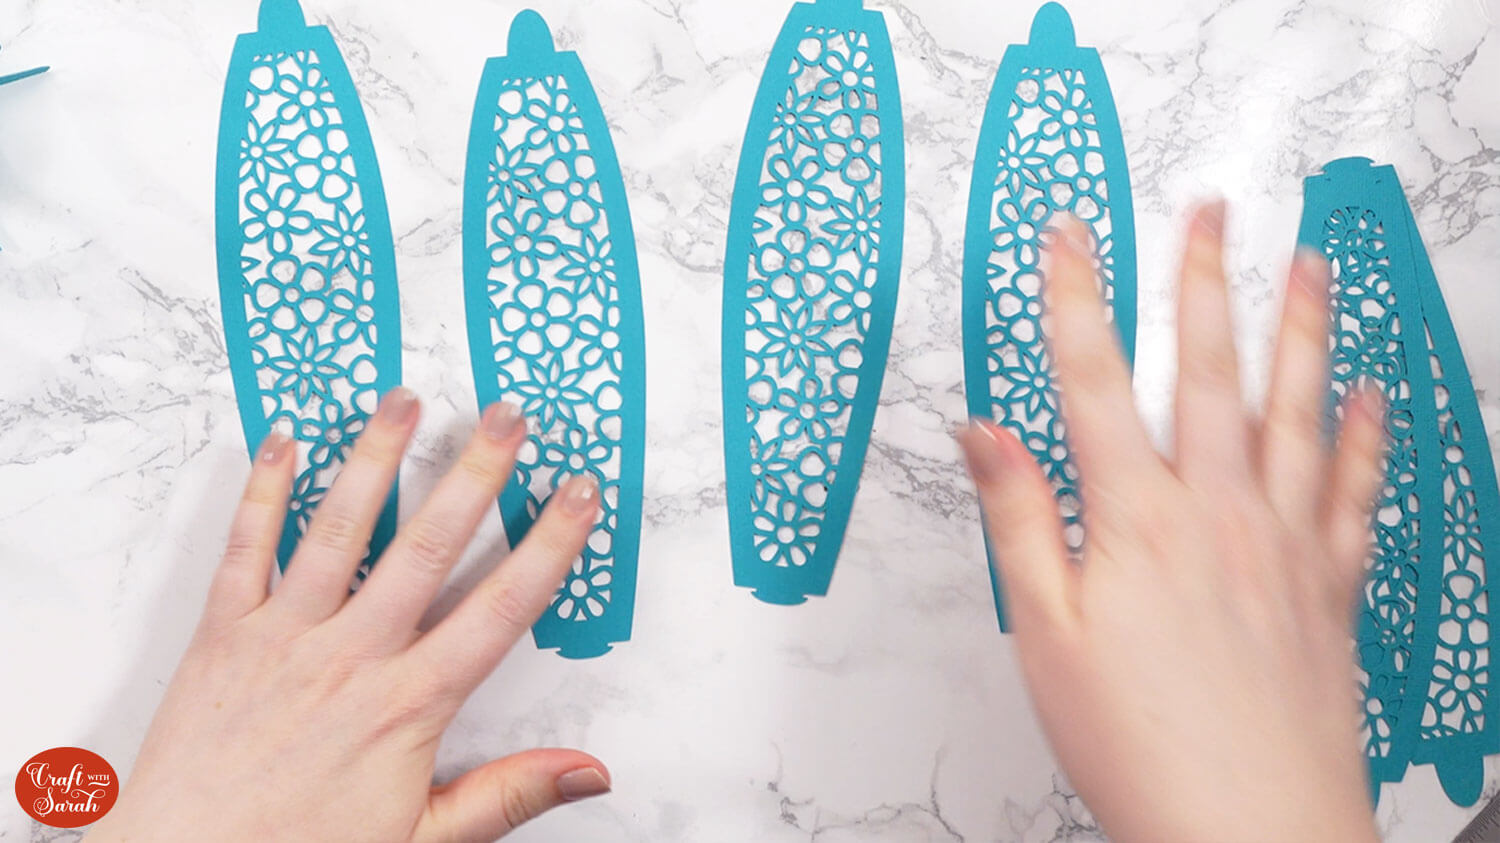
Add glue to the back of your pieces and stick the solid layer (whether it’s cardstock or vellum) to it. The solid backing piece won’t come right to the edge of your cutout pieces so make sure you add a thin line of glue to the inside edge.
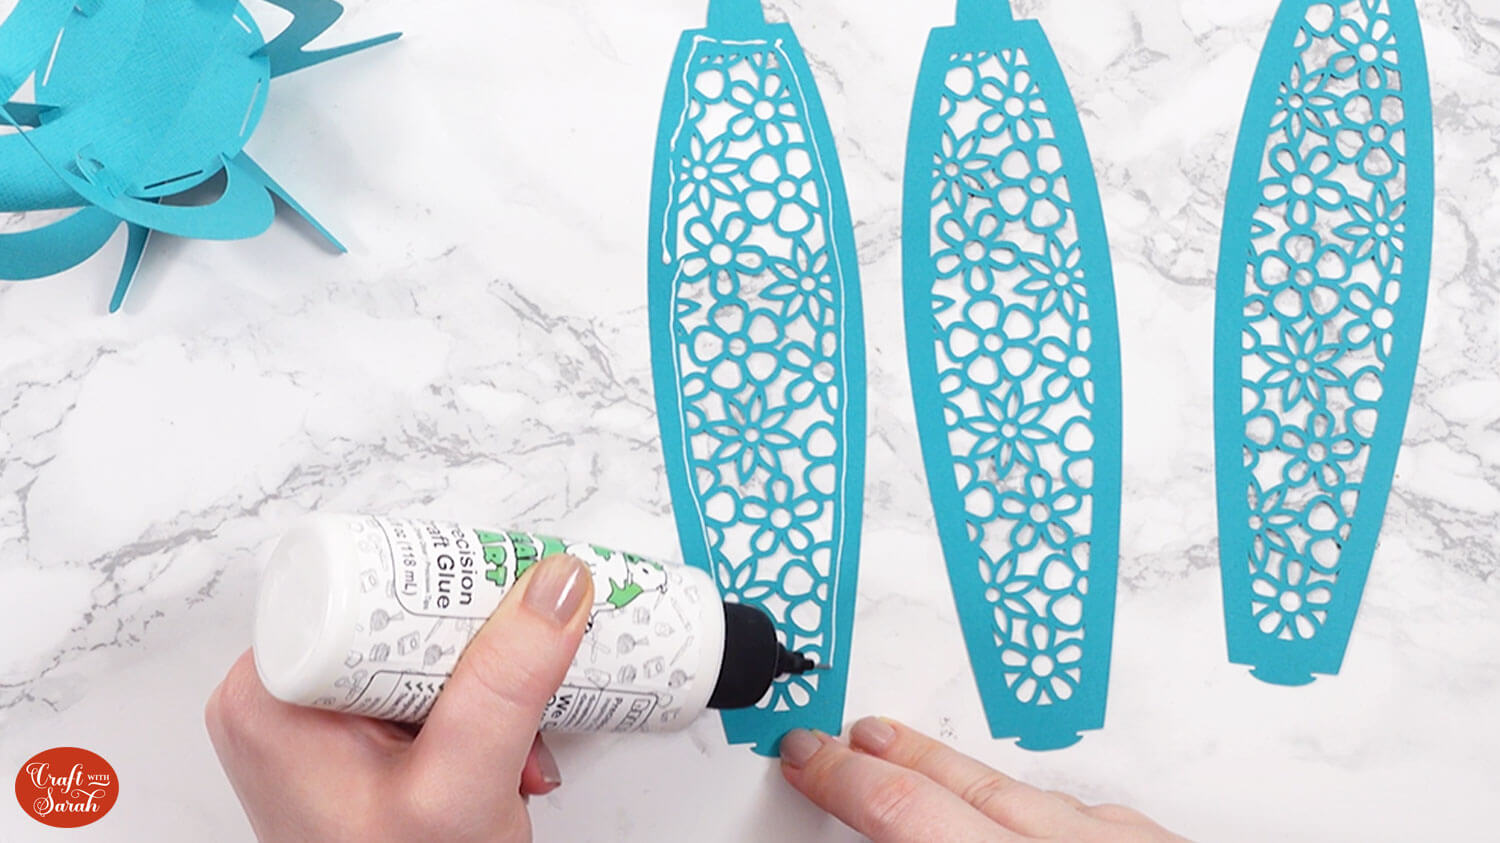
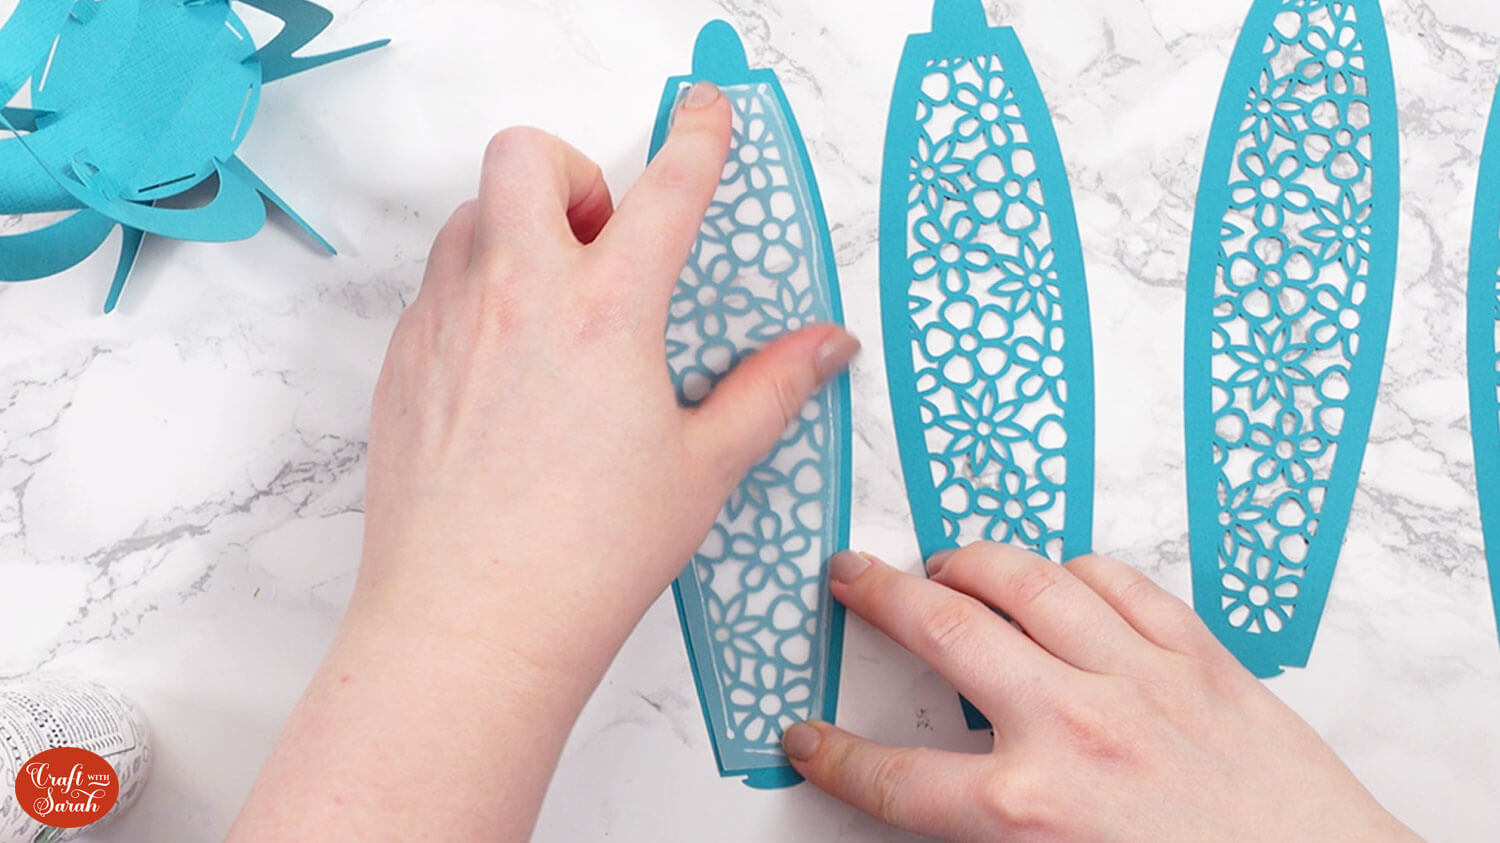
Do this for each of the side panels.

Step 4) Add the side panels to the vase
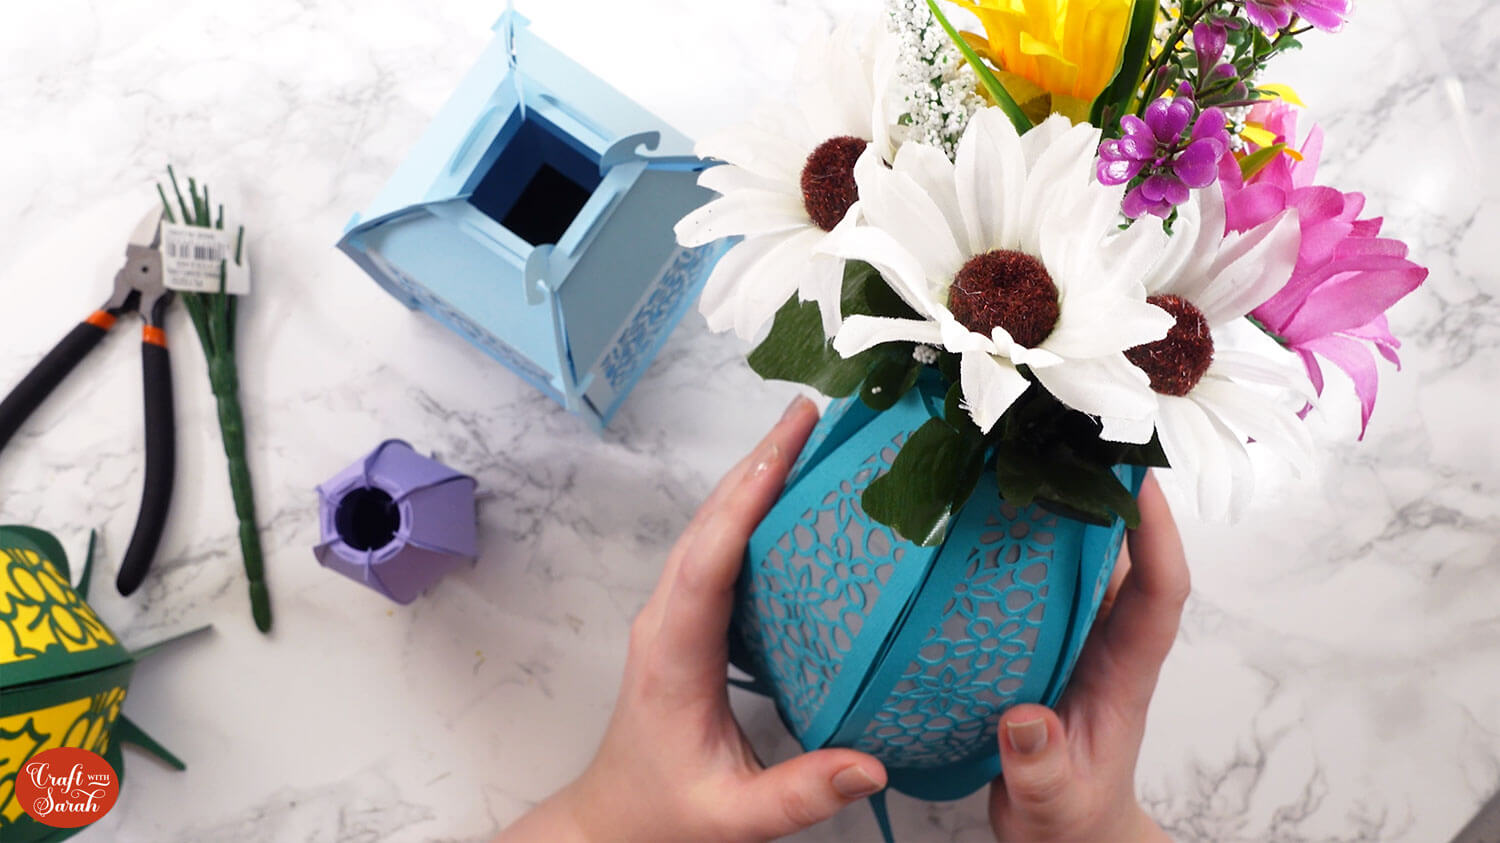
The side panels slot into the main vase structure, with the smaller tab at the top and the bigger one at the bottom.
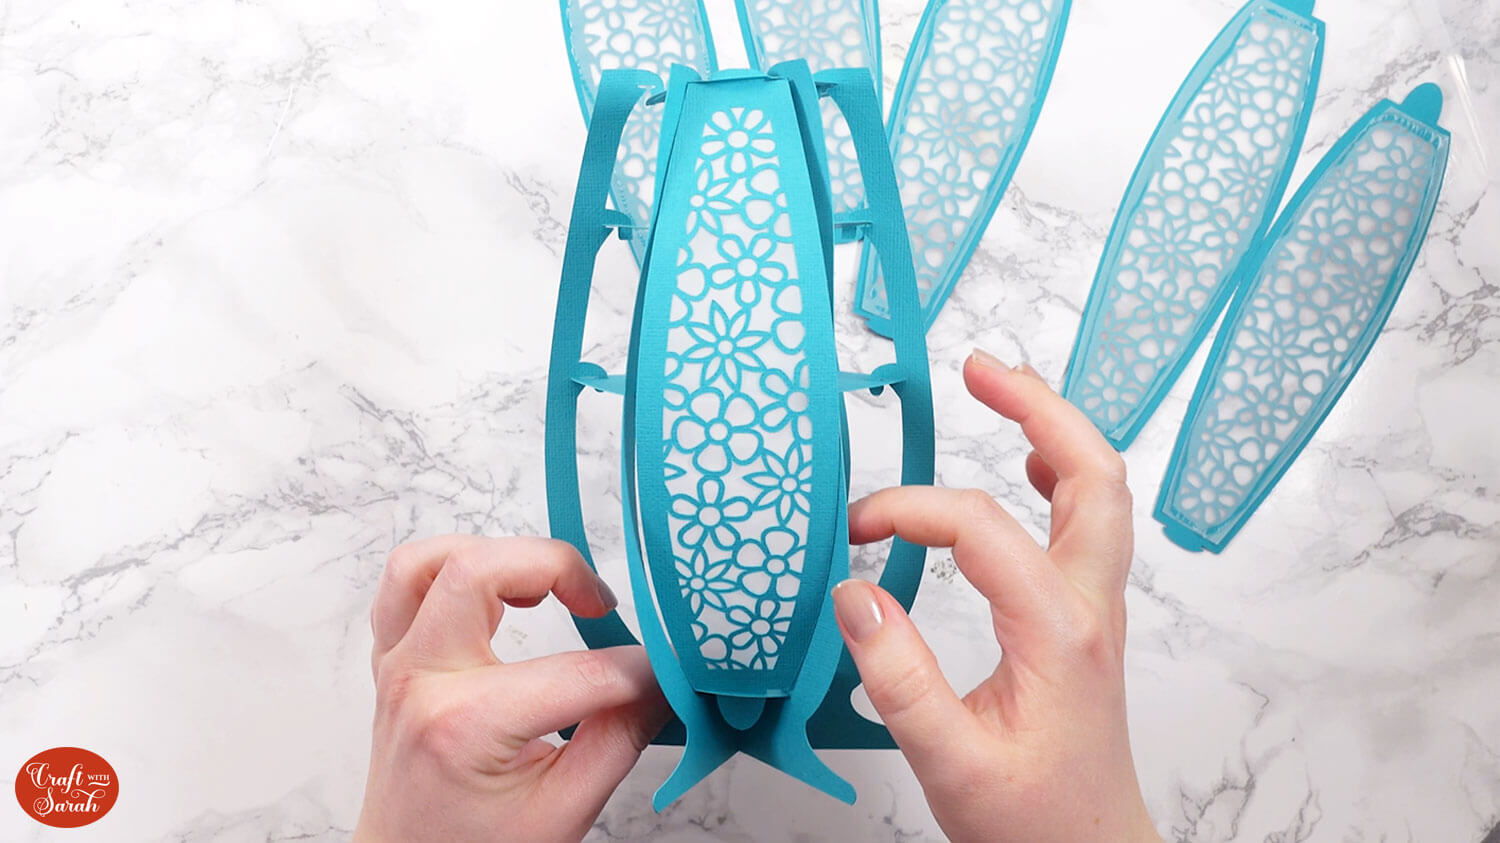
Do this for all the sides of the vase.
The vase is now finished and ready for your flowers!
Don’t forget, lightweight flowers are best.
I found that the best way to add flowers on wires was to add some florist foam (or polystrene/packaging foam) inside the vase. Simply take off one of the side panels to slip the padding inside, then put the side panel back on.
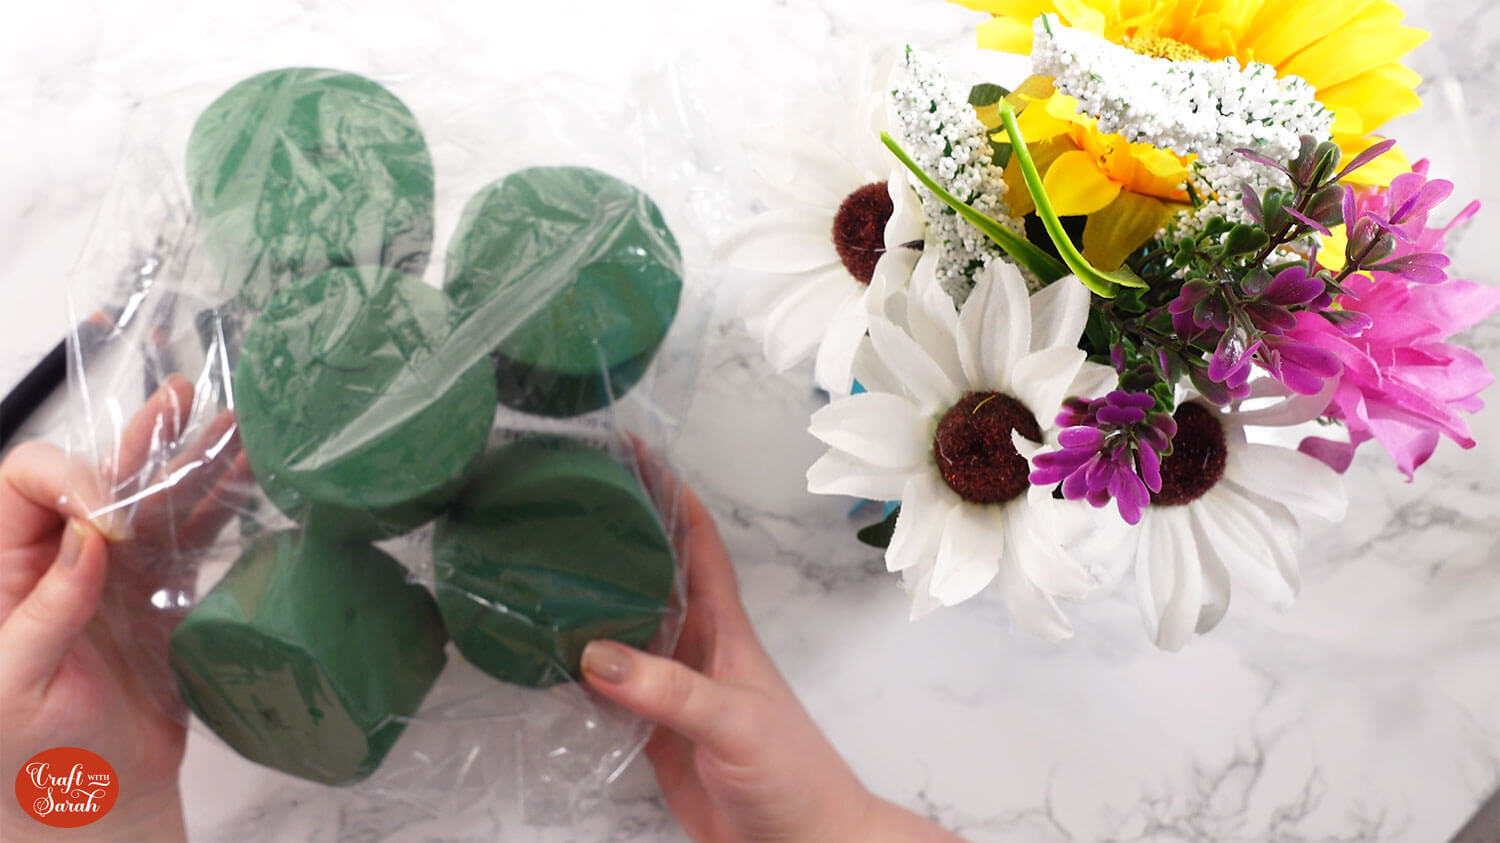
The wire can then be put into the foam which makes the flowers stay held upright and it stops any wires from poking out through the gaps in the vase.
Paper vases with a Cricut
I hope that you enjoyed this tutorial on how to make cardstock vases with a Cricut machine.
I love that they (almost) go together without any glue, and they can be taken apart to store flat if you don’t want them on display all the time.
Then, you get all the fun of assembling them again when you get them out of storage!

But… now we have handmade vases… wouldn’t it be nice to have handmade flowers to go inside them?
I wonder WHAT tomorrow’s Floral Craft Countdown project could be…. 😁😆😅
Happy crafting,
Sarah x

