FCC 2024 Day 14: Giant Sunflower Wreath
Welcome to day 14 of the Floral Craft Countdown, where I’m sharing 14 flower themed Cricut papercraft projects in 14 days.
Today is the final day of the Countdown. I hope that you have enjoyed the projects that have been shared!
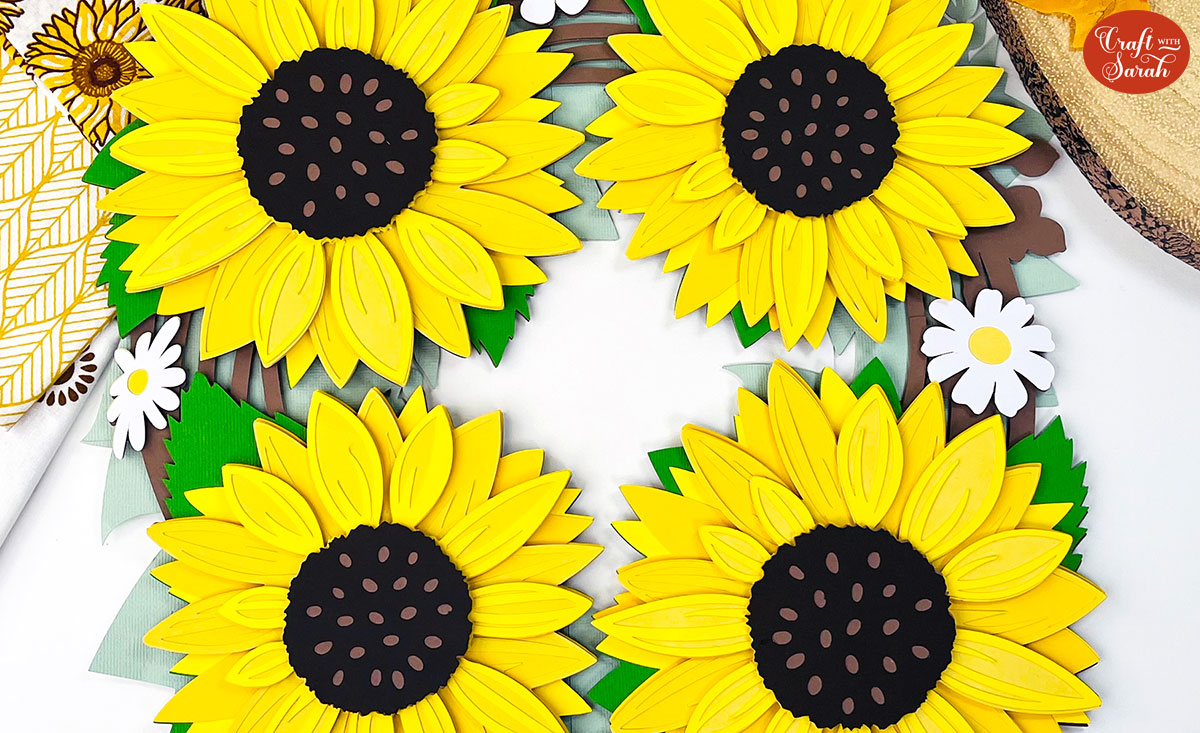
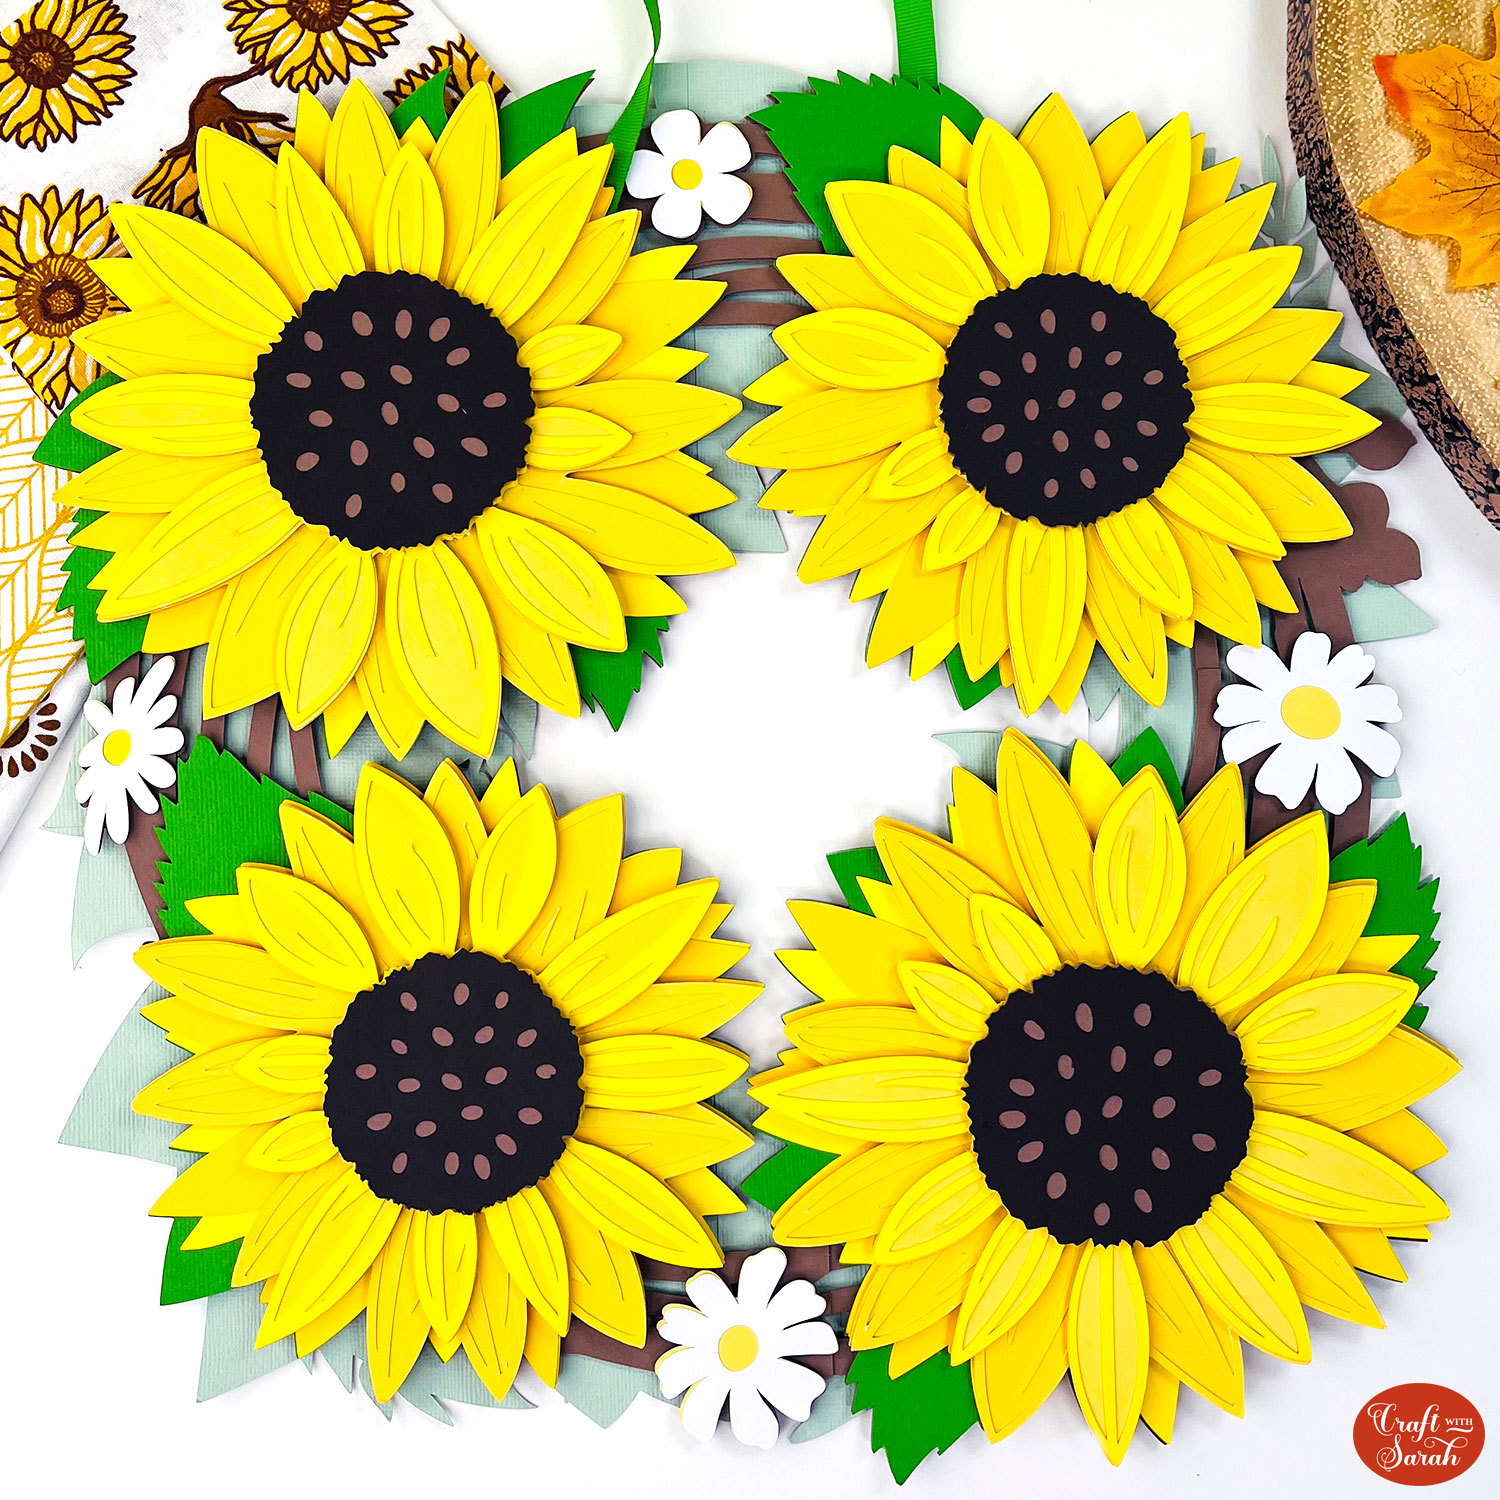
I’ve left the biggest project to last. Make a HUGE sunflower wreath with this giant off-the-mat papercraft design.
It comes in sections so you can cut it from A4, US Letter or 12×12 cardstock on a regular sized Cricut cutting mat.
This Project was part of the Floral Craft Countdown
Materials supply list
Here is a list of the materials that are needed to make this project.
Please note that some of the links included in this article are affiliate links, which means that if you click through and make a purchase I may receive a commission (at no additional cost to you). You can read my full disclosure at the bottom of the page.
- Cricut machine
- Light blue Cricut cutting mat
- Coloured Card
- Glue (I like Bearly Art Glue and Collall)
- 3D foam pads
- Ribbon/twine to hang the wreath
- Sticky tape
This project is suitable for the following types of Cricut machine: Explore Air 2, Explore Air 3, Maker, Maker 3, Venture, Joy Xtra and Joy. You will need to make the design smaller to cut on the original Joy.
Foundation learning
If you're new to crafting with your Cricut, you may find the below links helpful.
They teach some of the skills mentioned throughout this tutorial.
- How to upload SVG files into Design Space
- How to make 3D layered Cricut projects
- The BEST way to frame papercraft projects
- How to mount multiple designs in the same frame with magic guides
- How to score with a Cricut (even without scoring tools)
- Print then cut tutorial
- Design Space tools (Combine, Attach, Slice, Weld, Flatten, etc.)
- Pattern fill tutorial (for making backgrounds & cutting images to a specific shape/size)
- Free envelope SVGs that can be sized to fit any card
- How to write inside cards with Cricut pens
- How to cut layered designs at a small size
- Design Space tips & tricks
- Cricut pens tutorial
Video tutorial
Watch the video below to see how to make this project. Keep scrolling for a written tutorial.
Written tutorial (with photos!)
Here’s how to make a giant sunflower wreath papercraft using a Cricut machine.
Step 1) Download the cutting file & upload to Design Space
Download the files using the box below.
Purchase the File(s)
This cut file is available as part of the Instant Access Bundle.
Or, purchase this design individually here
Before you upload the SVG to Design Space, you need to unzip the download folder that it comes in.
- How to unzip a folder on Windows computer
- How to unzip a folder on a Mac
- How to unzip a folder on an iPad/iPhone
- How to unzip a folder on an Android device
After unzipping, upload the SVG file into Cricut Design Space. This is the file which starts svg- in the filename.
Not sure how to do this? Here’s how to upload SVGs to Cricut Design Space. Make sure you upload the file which starts svg- in the filename!
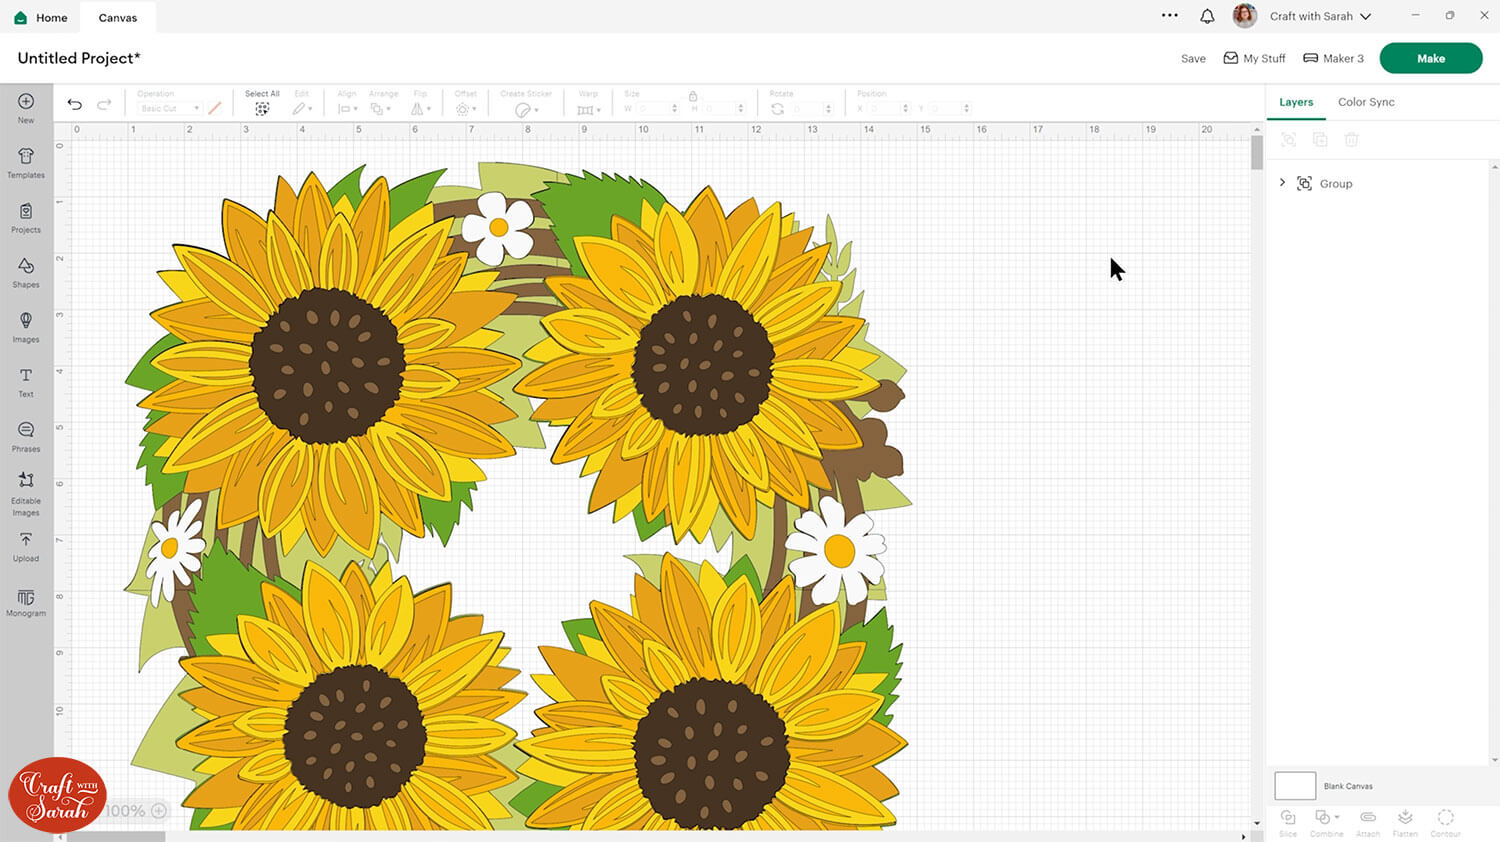
Step 2) Resize design if required
By default, the wreath loads into Design Space at approximately 14 inches wide and 14.25 inches tall.
That is larger than the Cricut can usually cut, but don’t worry – the bottom pieces come in “sections” that are glued together after cutting, so you can still use your regular 12×12, US Letter or A4 sized paper on a standard 12×12 inch cutting mat.
If you would like to make a different sized wreath, click the design on your canvas and use the width/height boxes near the top of the screen to make it the size that you want to cut.
TIP: Make sure the padlock icon above the width/height boxes is CLOSED before you resize. If it appears “open”, click it with your mouse to close it.
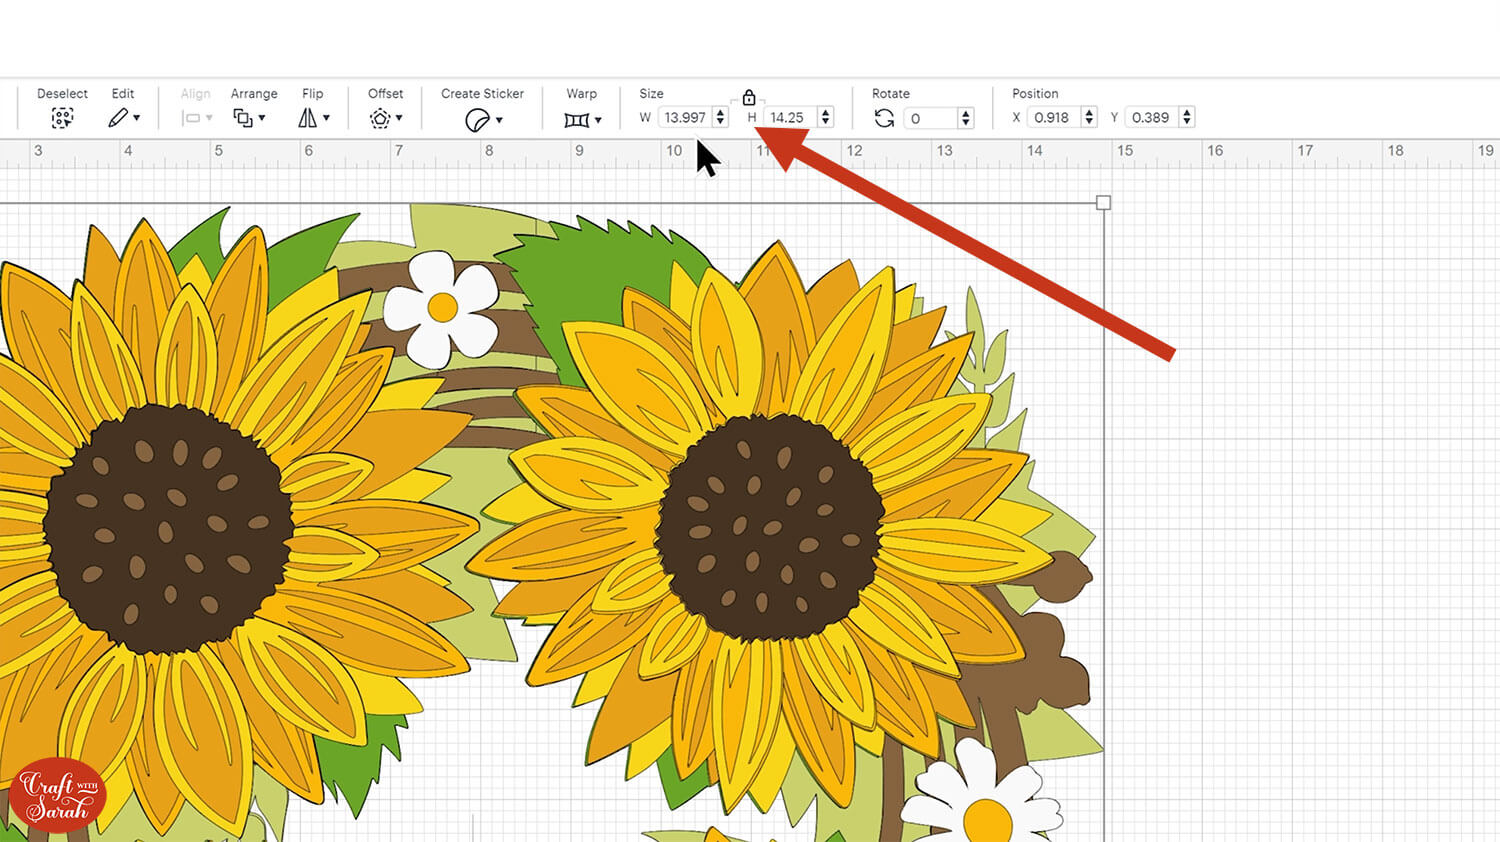
If you are cutting this design on the original Cricut Joy machine, you’ll need to make it maximum of 8 inches wide and 8.145 inches tall. You may need to “Ungroup” the layers before cutting the design to remove the warning message about the design being too large.
If you’re using one of the larger Cricut machines and sizing the design small enough that the entire base could be cut from one single sheet of cardstock then you can join the base pieces together using the “Weld” button. I have a separate tutorial on how to cut giant signs smaller which goes through the process of how to do this.
Step 3) Cut out all the layers
When you’re happy with how the project is looking in Design Space, click “Make” and follow the instructions on-screen to cut out all the pieces.
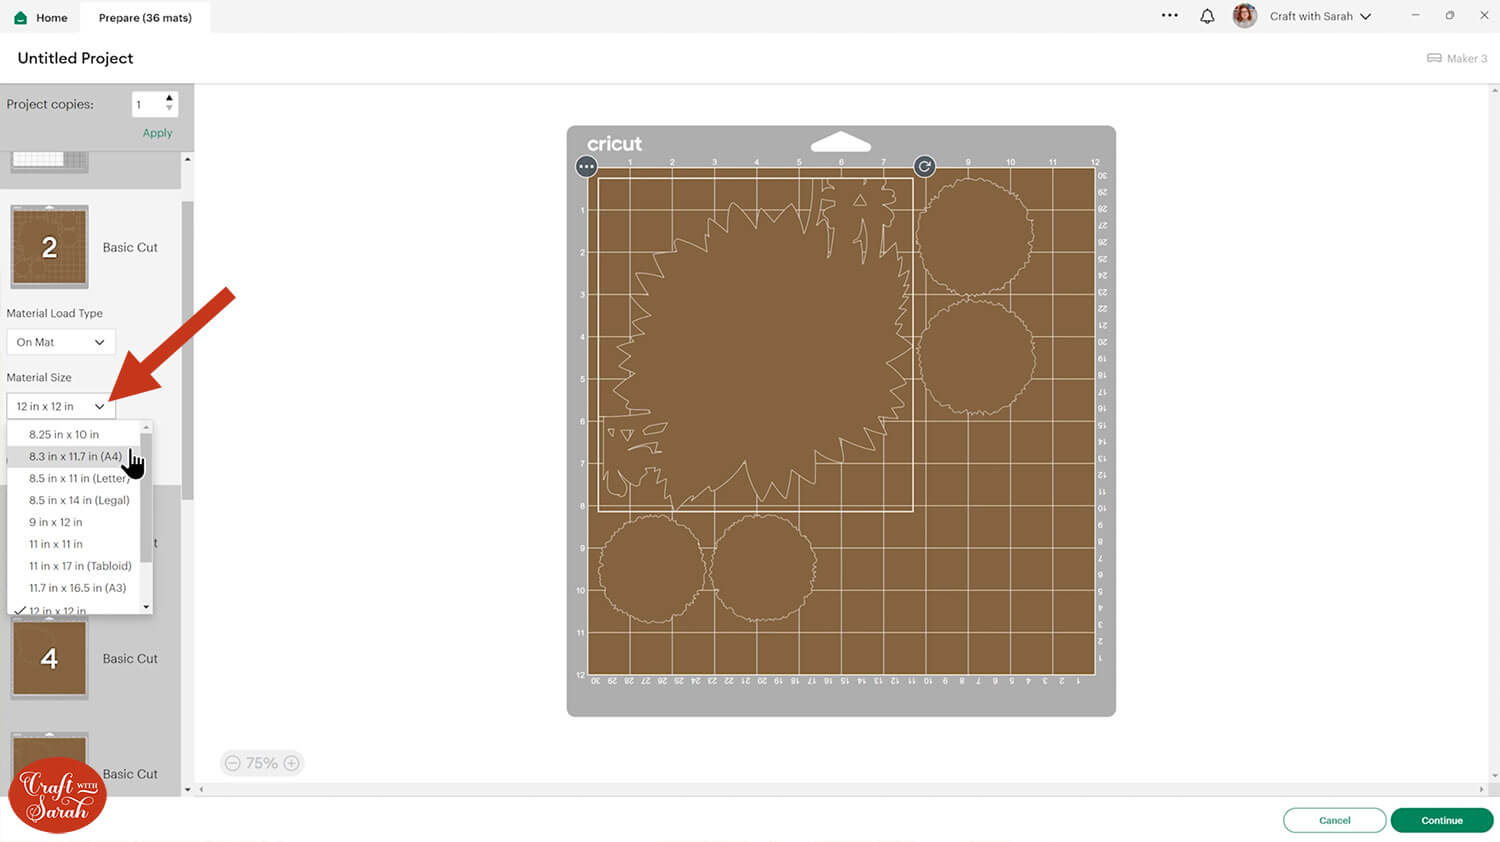
To change the paper size, go into the dropdowns over on the left side of the screen and choose the paper size that you want to use. You need to change it for every single colour.
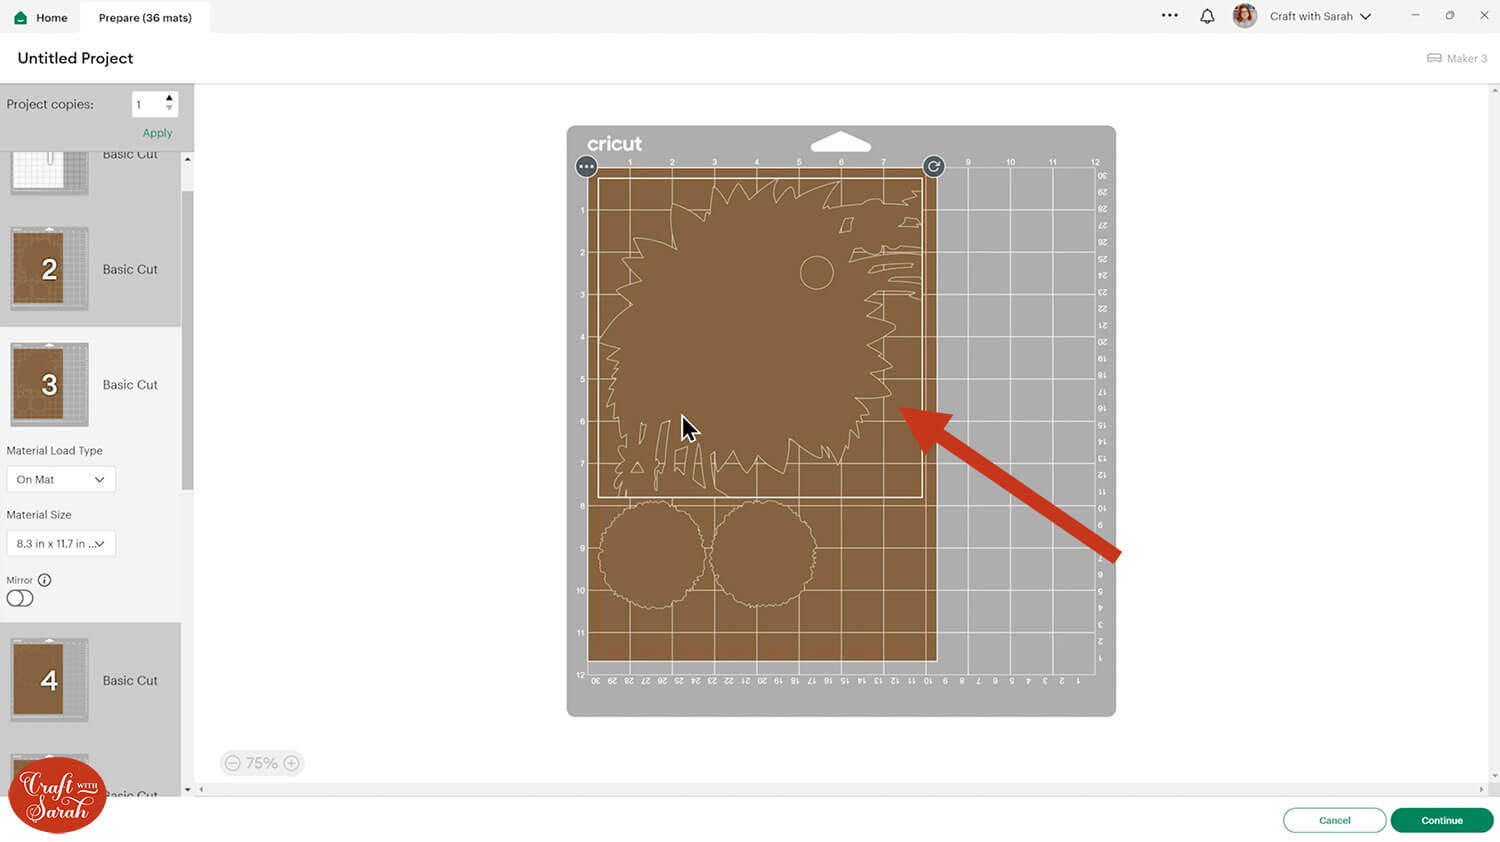
To save space on your cardstock, you can move things around by clicking and dragging. Make sure when you’re moving things about that nothing overlaps because otherwise, it won’t cut out properly.
As this is a large project, it needs quite a few sheets of cardstock. Make sure you have enough of each colour of card before you start cutting.
TIP: New to cutting cardstock with a Cricut? Check out this in-depth tutorial which goes through every step of the process, including tips for getting the best quality cuts from your Cricut.
Step 4) Assemble the base of the wreath
First, we will stick the base of the sunflower wreath together.
Select the four bottom pieces (pale green) and put them in the correct order in front of you.
My favourite glues to use on papercraft projects are Bearly Art Glue and Collall All Purpose Glue.
These are great because they don’t “warp” or bend the cardstock like some glues do. You can use as much of it as you want and the card stays perfect – and it dries perfectly clear too!
Bearly Art Glue comes with a tiny nozzle to make it easy to apply glue to small areas of card. The Collall glue doesn’t come with this, so it’s easiest to decant it into needle tip applicator bottles so that you have more control.
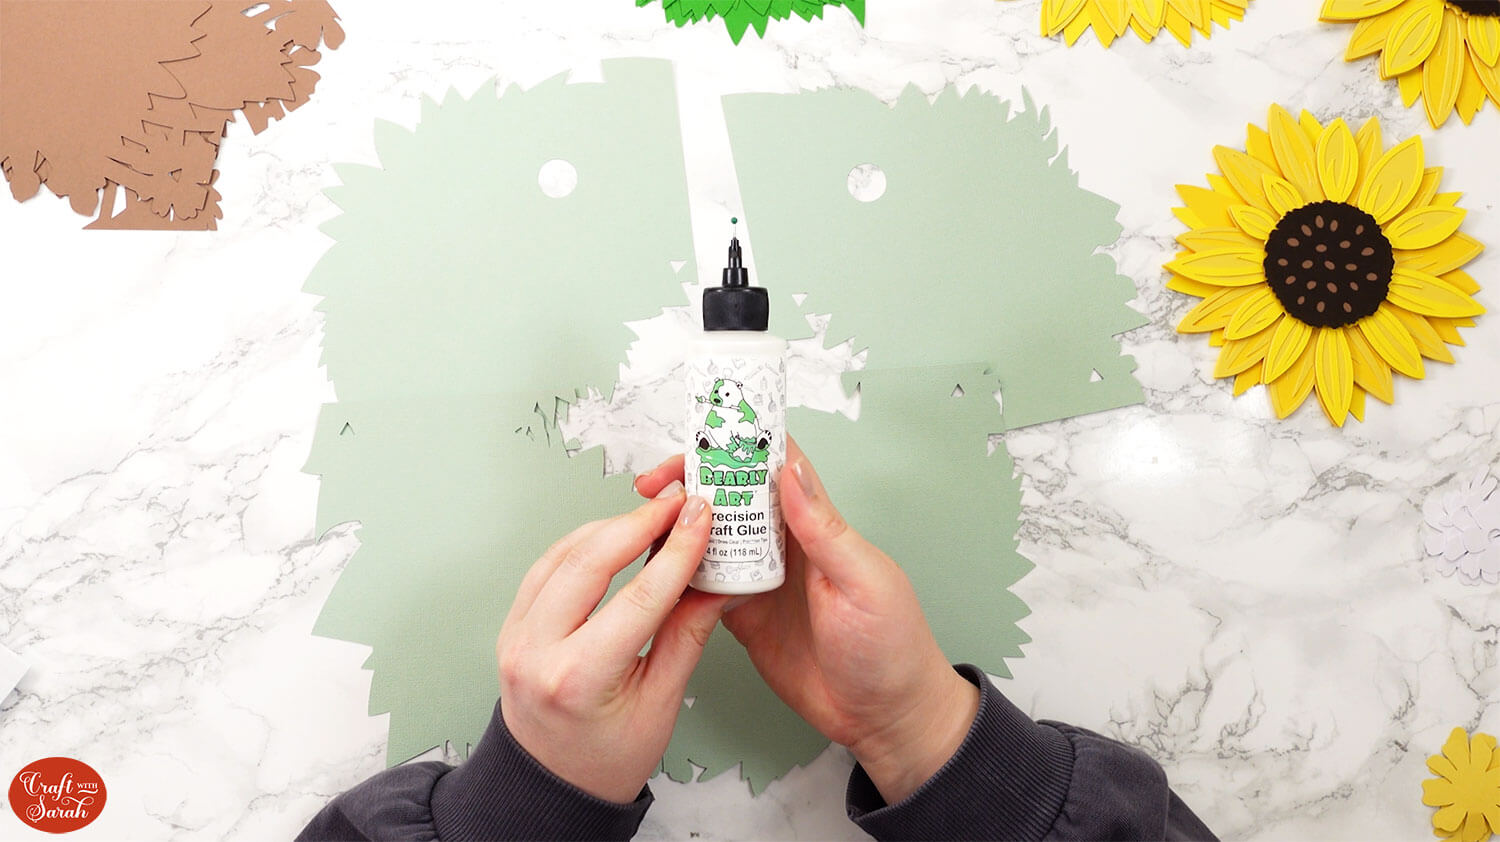
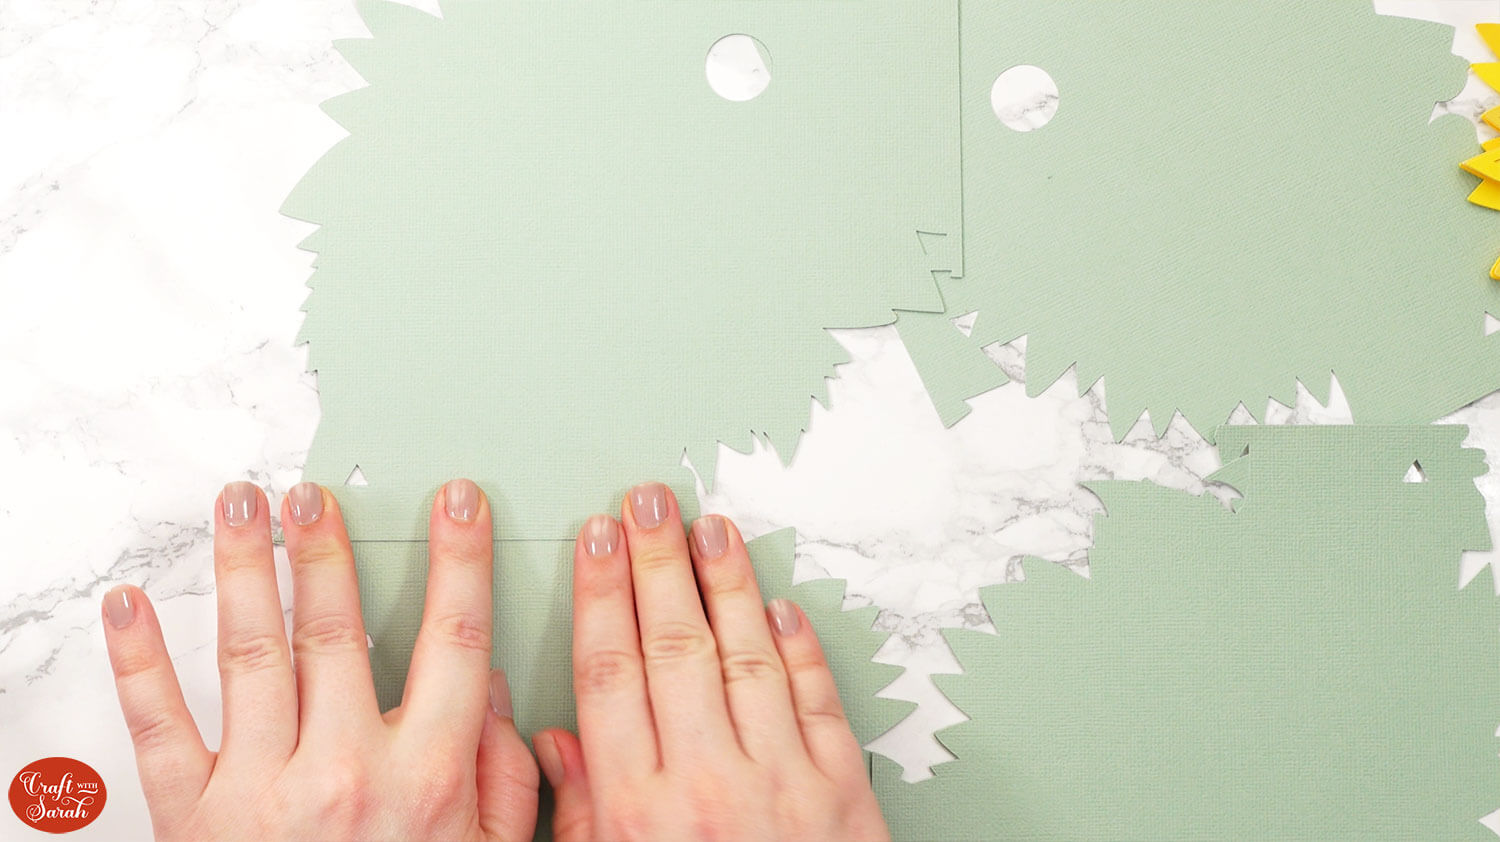
Glue the four pieces together so that the triangle cutouts all line up.
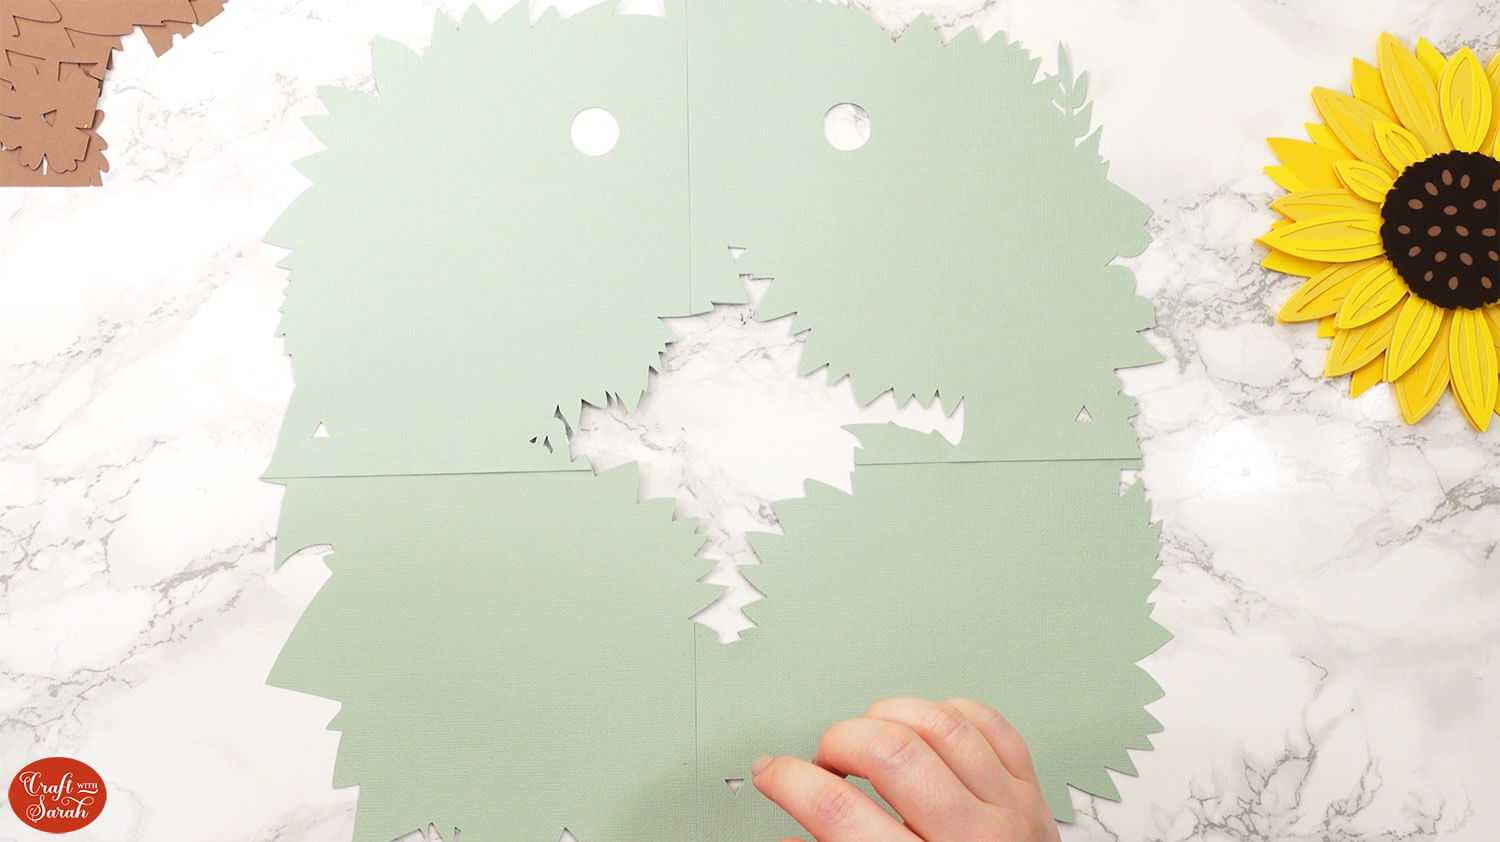
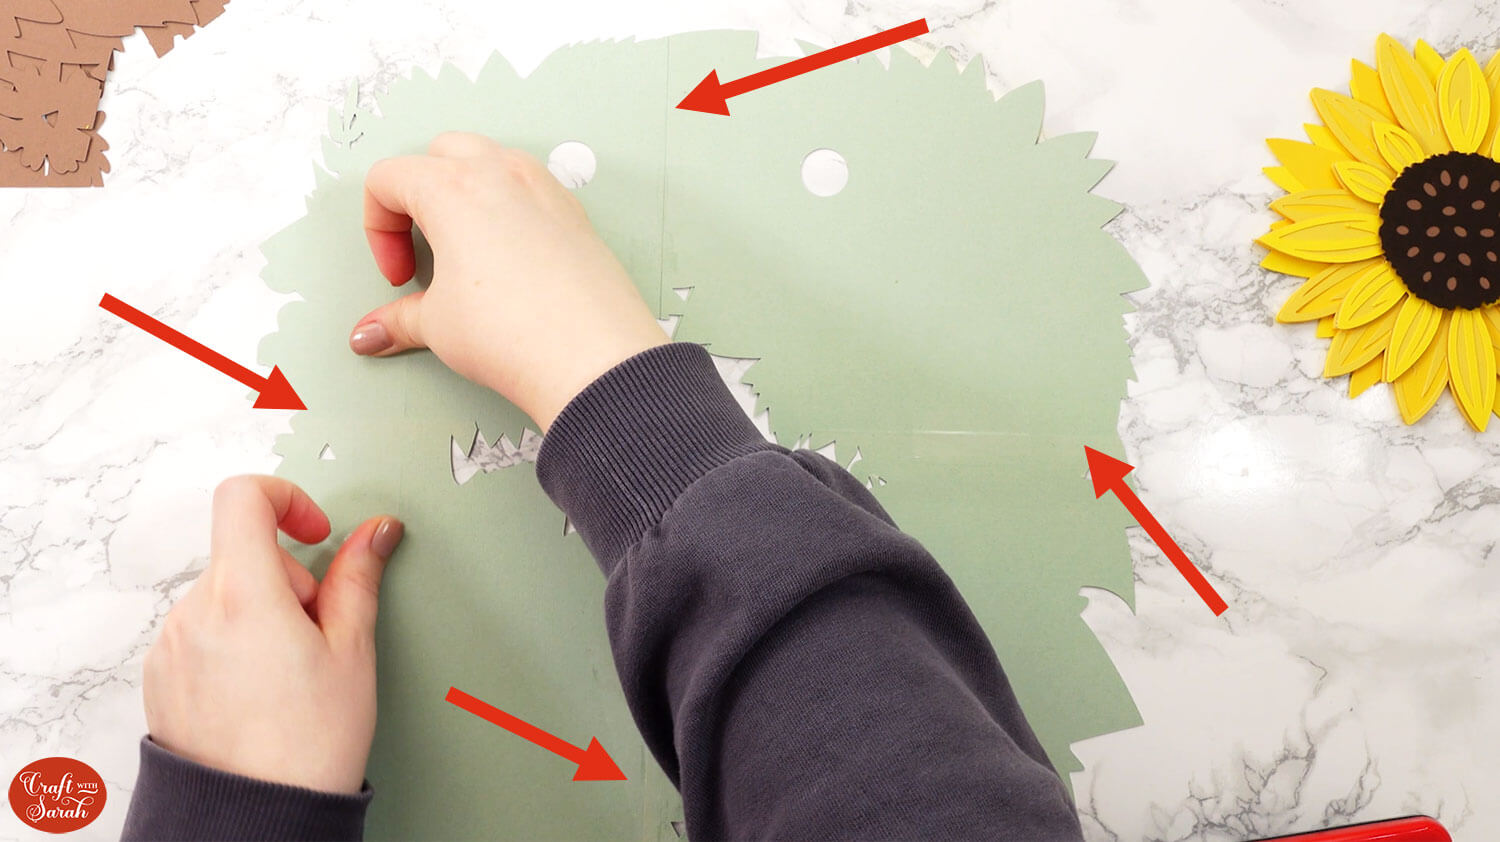
Once the glue is dry, turn the base upside down and add sticky tape down all the join likes to strengthen them.
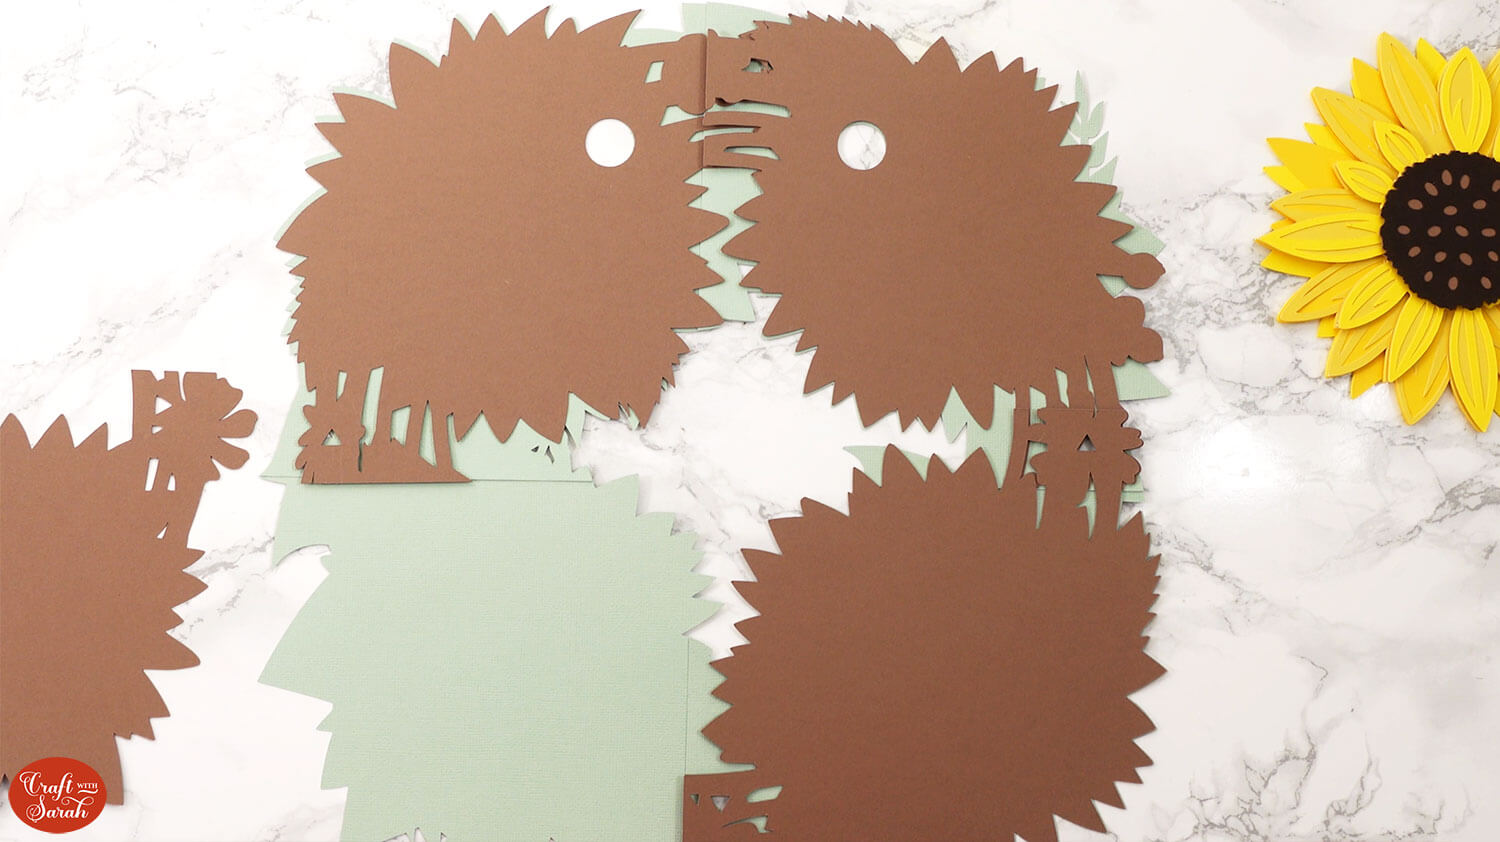
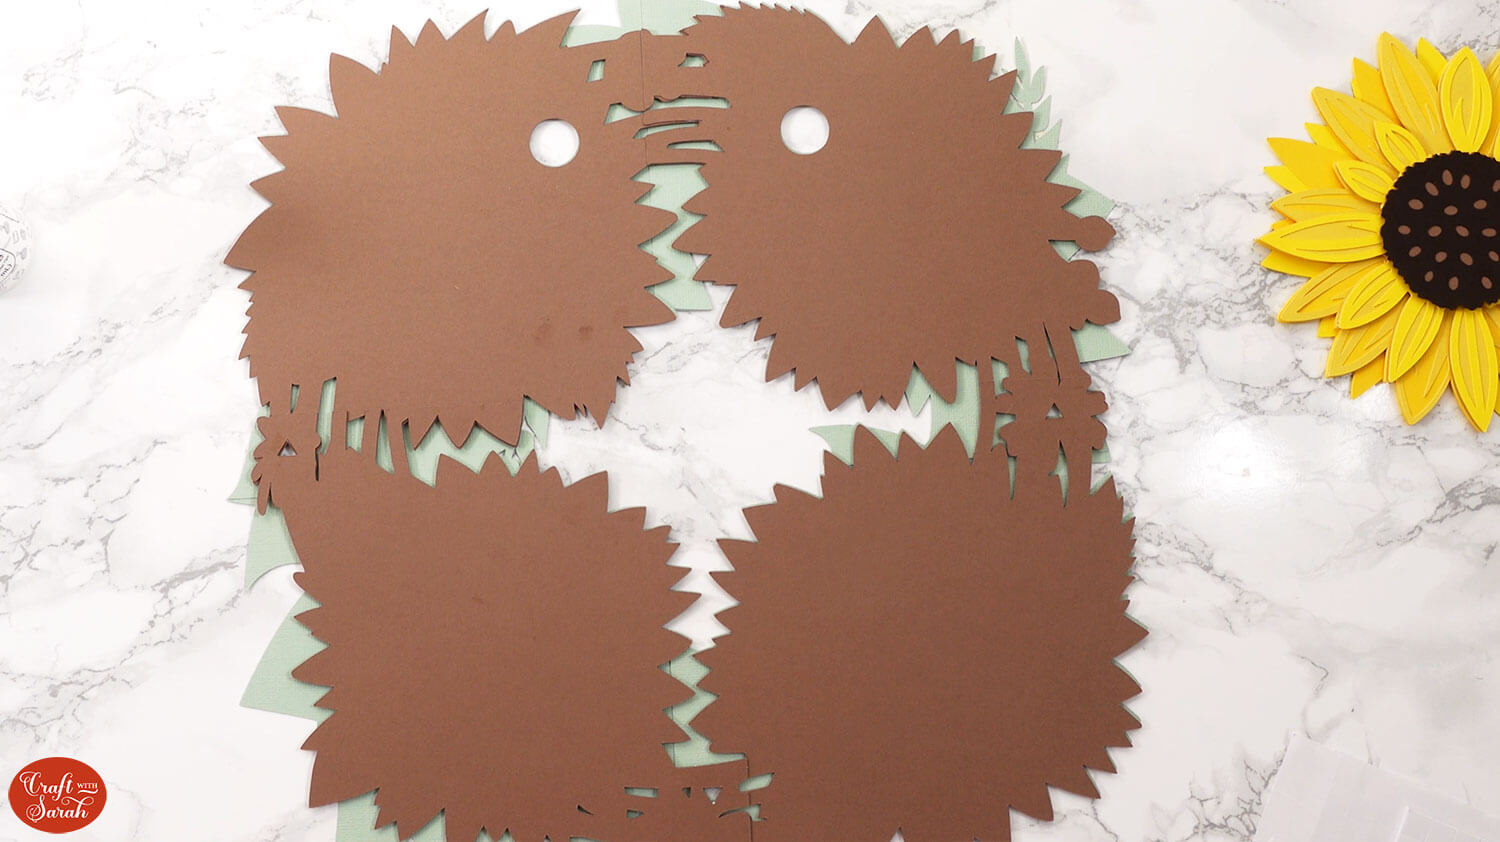
Collect the four brown base pieces and lay them on top of the front of the pale green pieces, but don’t stick them to the green.
Use the green to help you keep the brown pieces in the correct place, then glue the brown pieces to each other along the areas where the brown card overlaps.
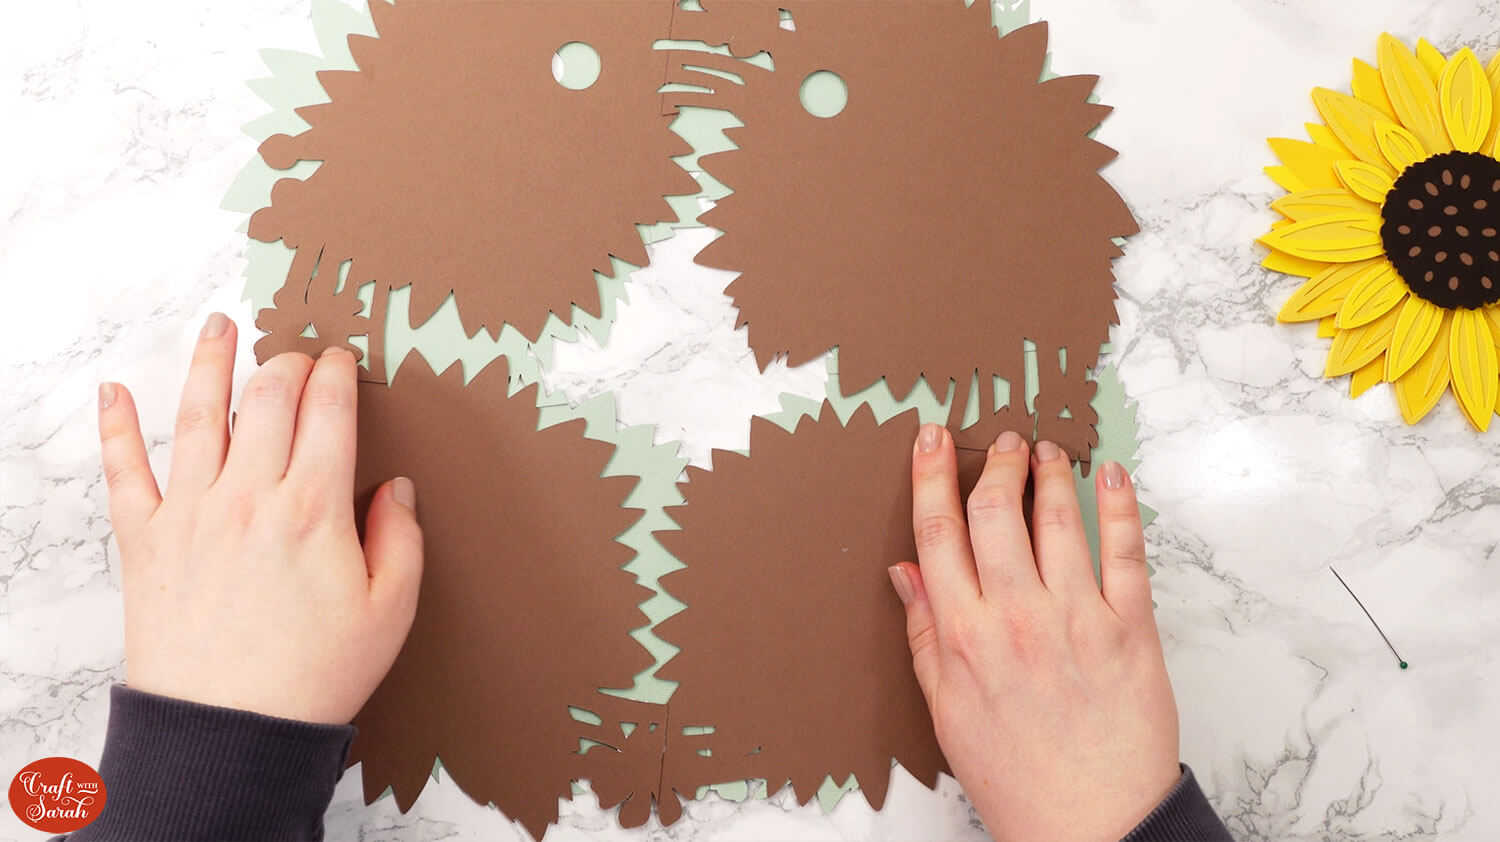
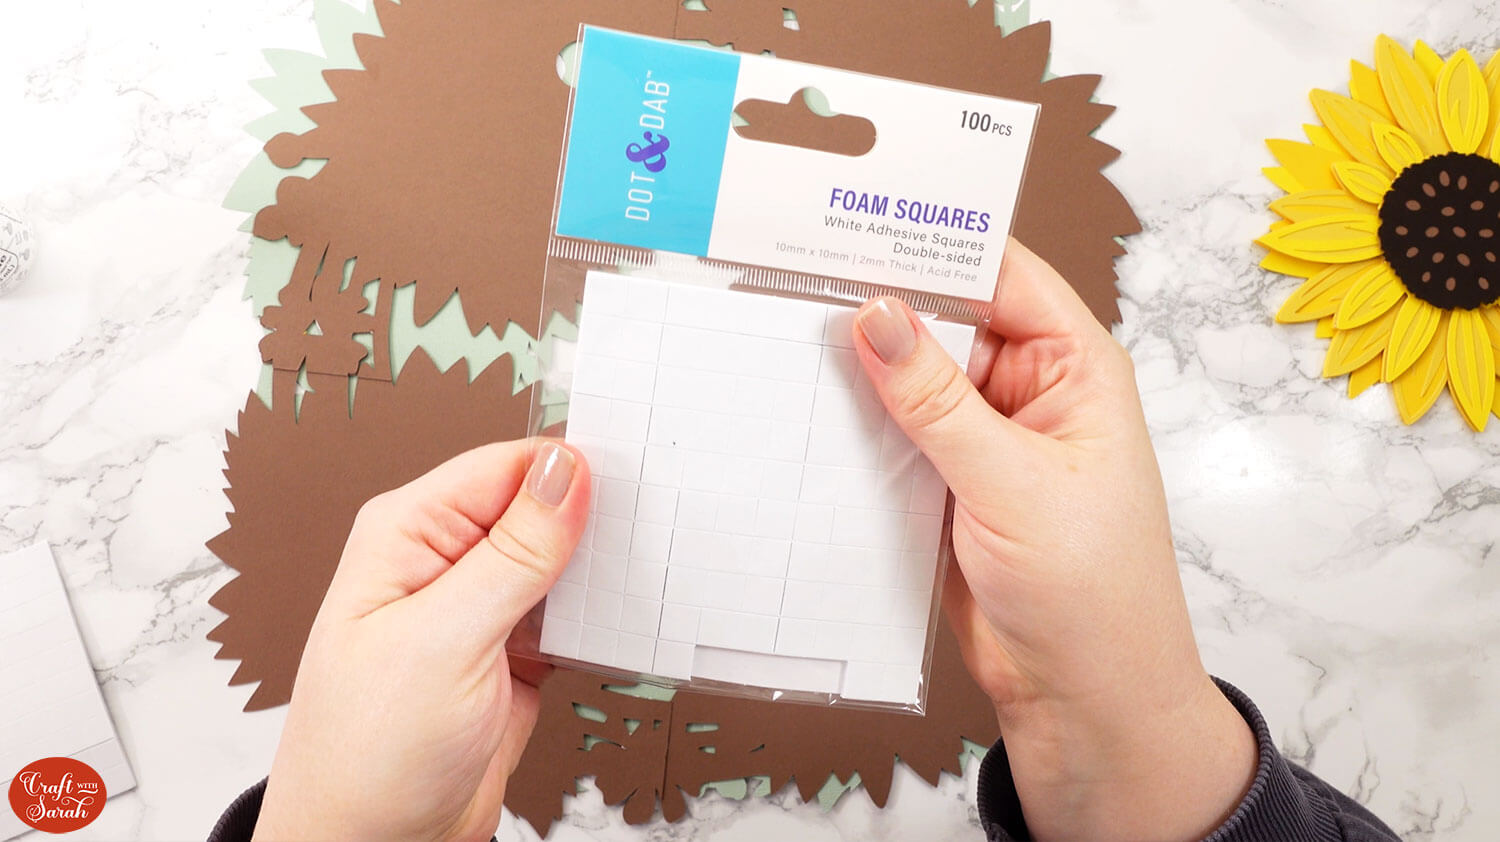
When the glue is dry, turn the brown piece upside down and add foam squares to the back.
The foam pads that I use are from “Dot & Dab”, but any foam squares will work.
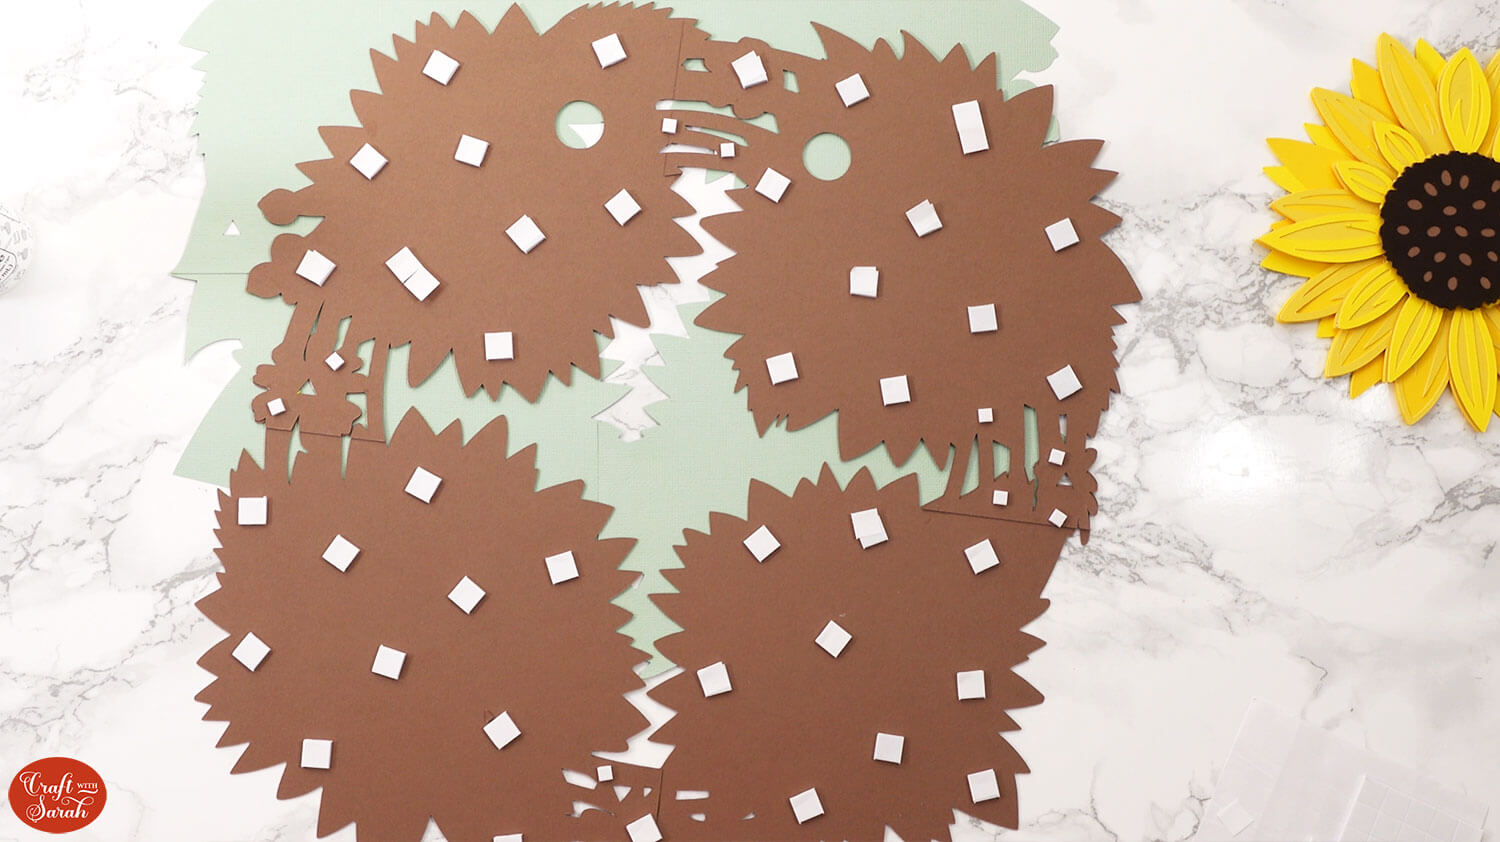
Make sure you don’t put any foam squares over the gaps/spaces in the card, and add a good amount in the middle so it gives stability to the whole piece.
If you don’t add any foam pads in the middles then it can “sag” under the weight of the other layers which doesn’t look as good.
Carefully stick the brown piece onto the pale green one.
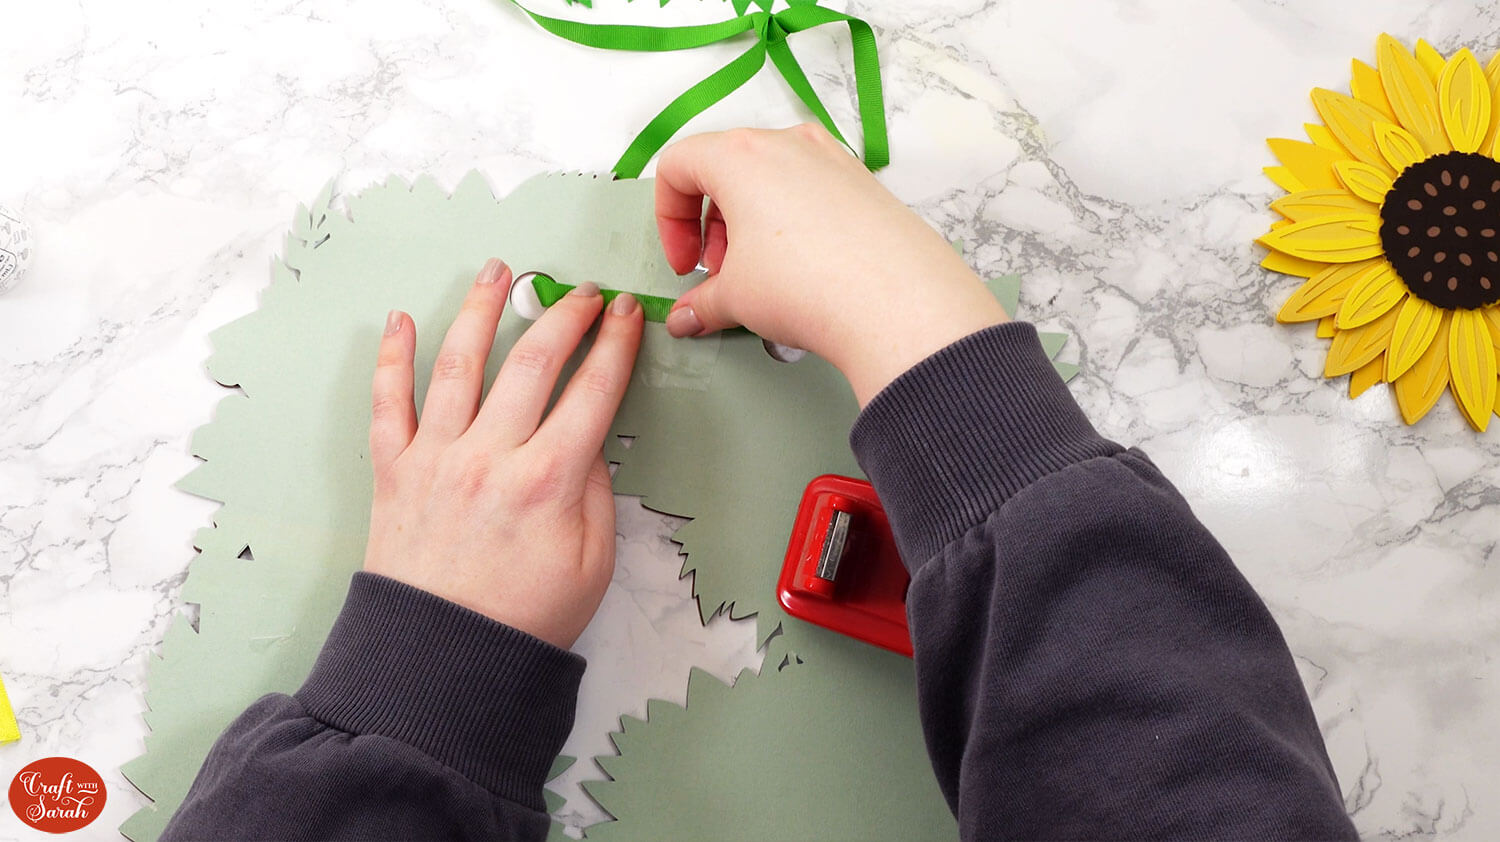
Thread some twine or ribbon through the hanging holes and use sticky tape to secure it to the back of the wreath.
Step 5) Stick the sunflowers together
The wreath has two different sized sunflowers, with two copies of each size.
To make it easier to know which is which, I’ve included circular cutouts on the larger sunflowers and square cutouts on the smaller sunflowers.
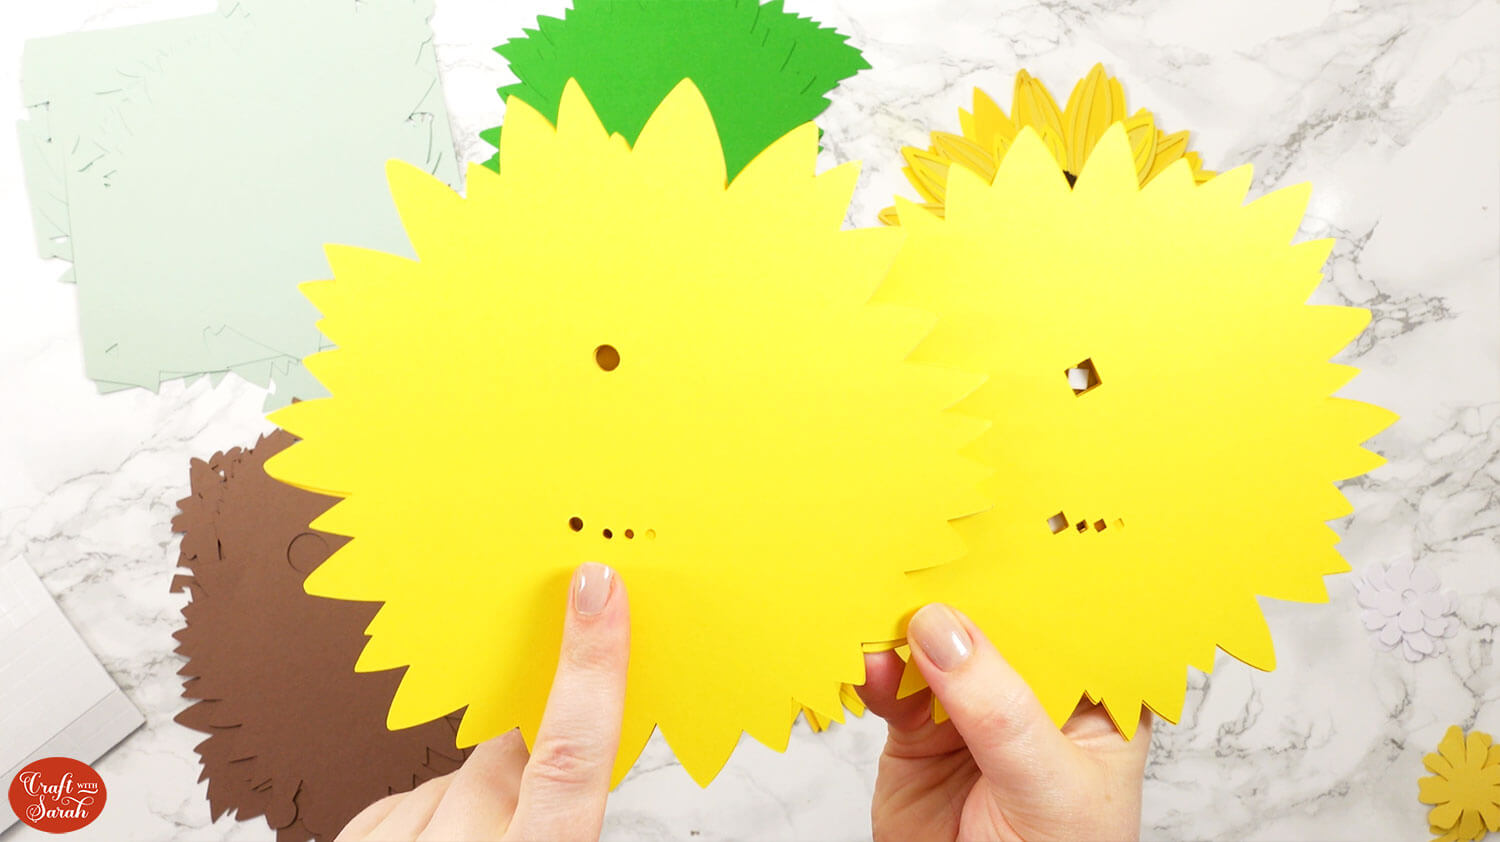
Locate the pieces for each sunflower and lay them on top of each other. Do all four sunflowers now, because you don’t want to start sticking and then realise you have the pieces mixed up!
The number of square or circular holes in the sunflower pieces shows the order to lay the pieces together in. The bottom layers are the ones with the most cutouts, then one cutout is removed for each layer that goes on top.
Line up the square/circle holes for an easy way to line up the petals!
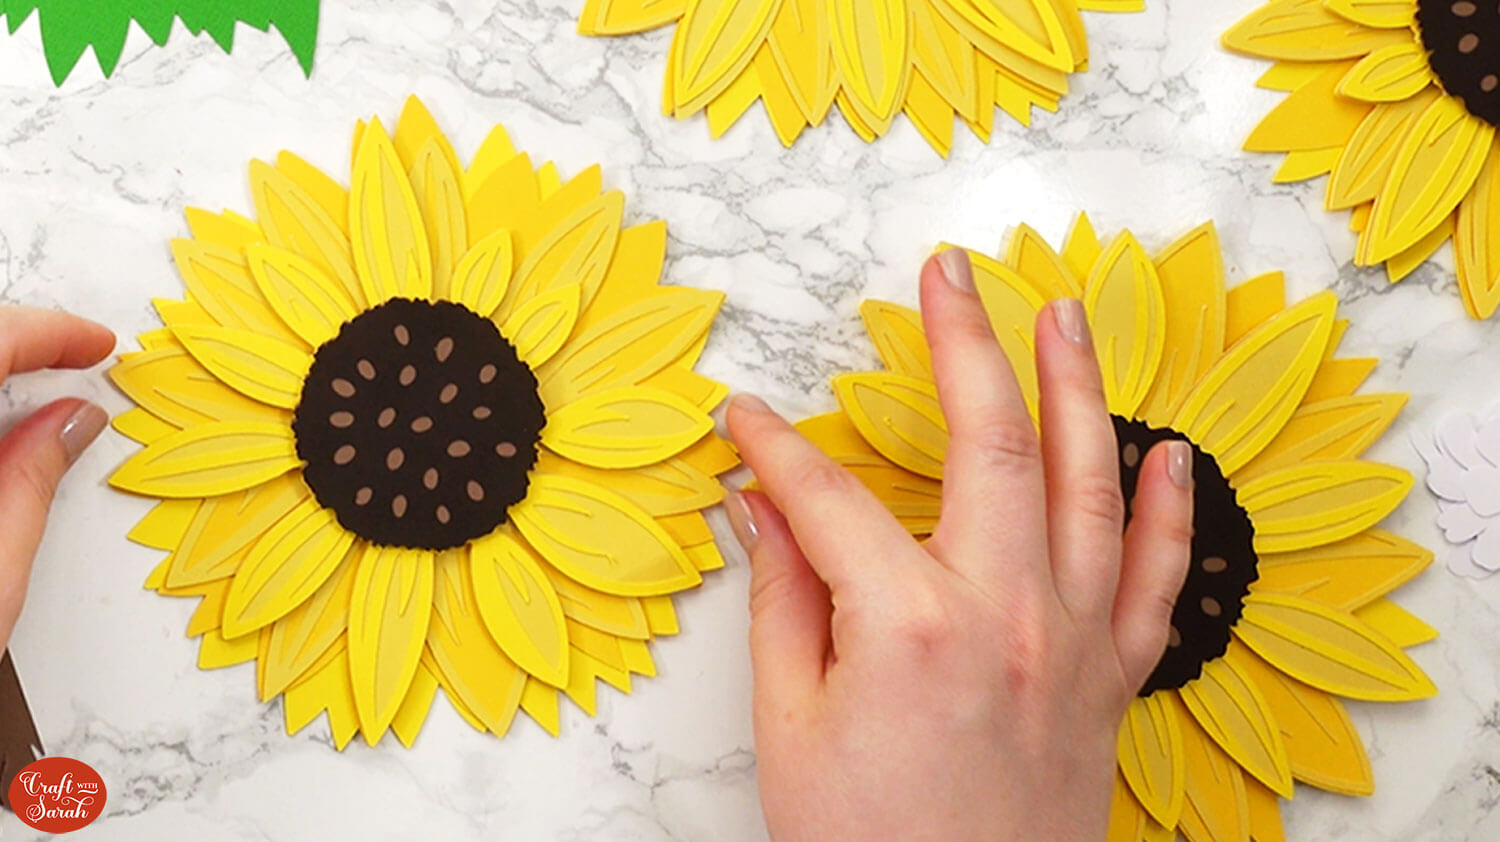
Use foam squares to attach the dark green leaf pieces to your wreath.

You can either stick the sunflowers together on their own first and then stick to the wreath base when you’re finished, or build them straight up on the wreath.
Use this guide to see the order to stick the layers together in.
A printable version of this assembly guide is included in the folder when you download the cut files.
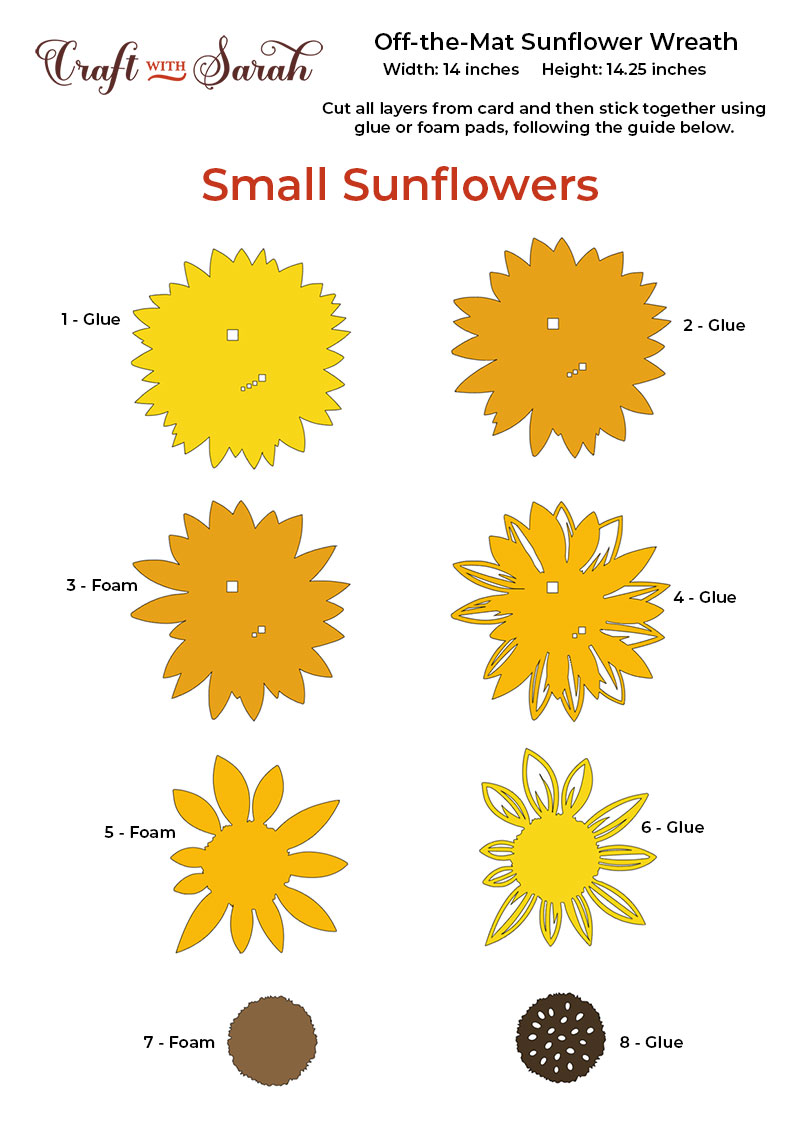
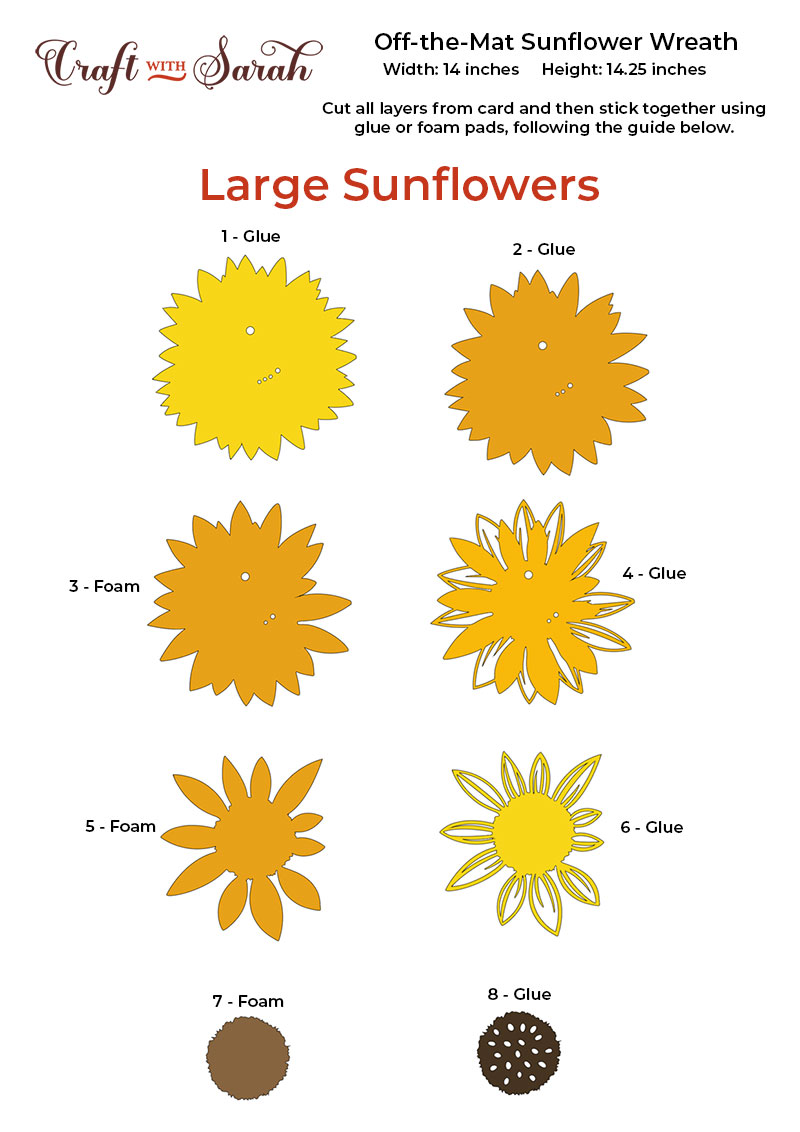
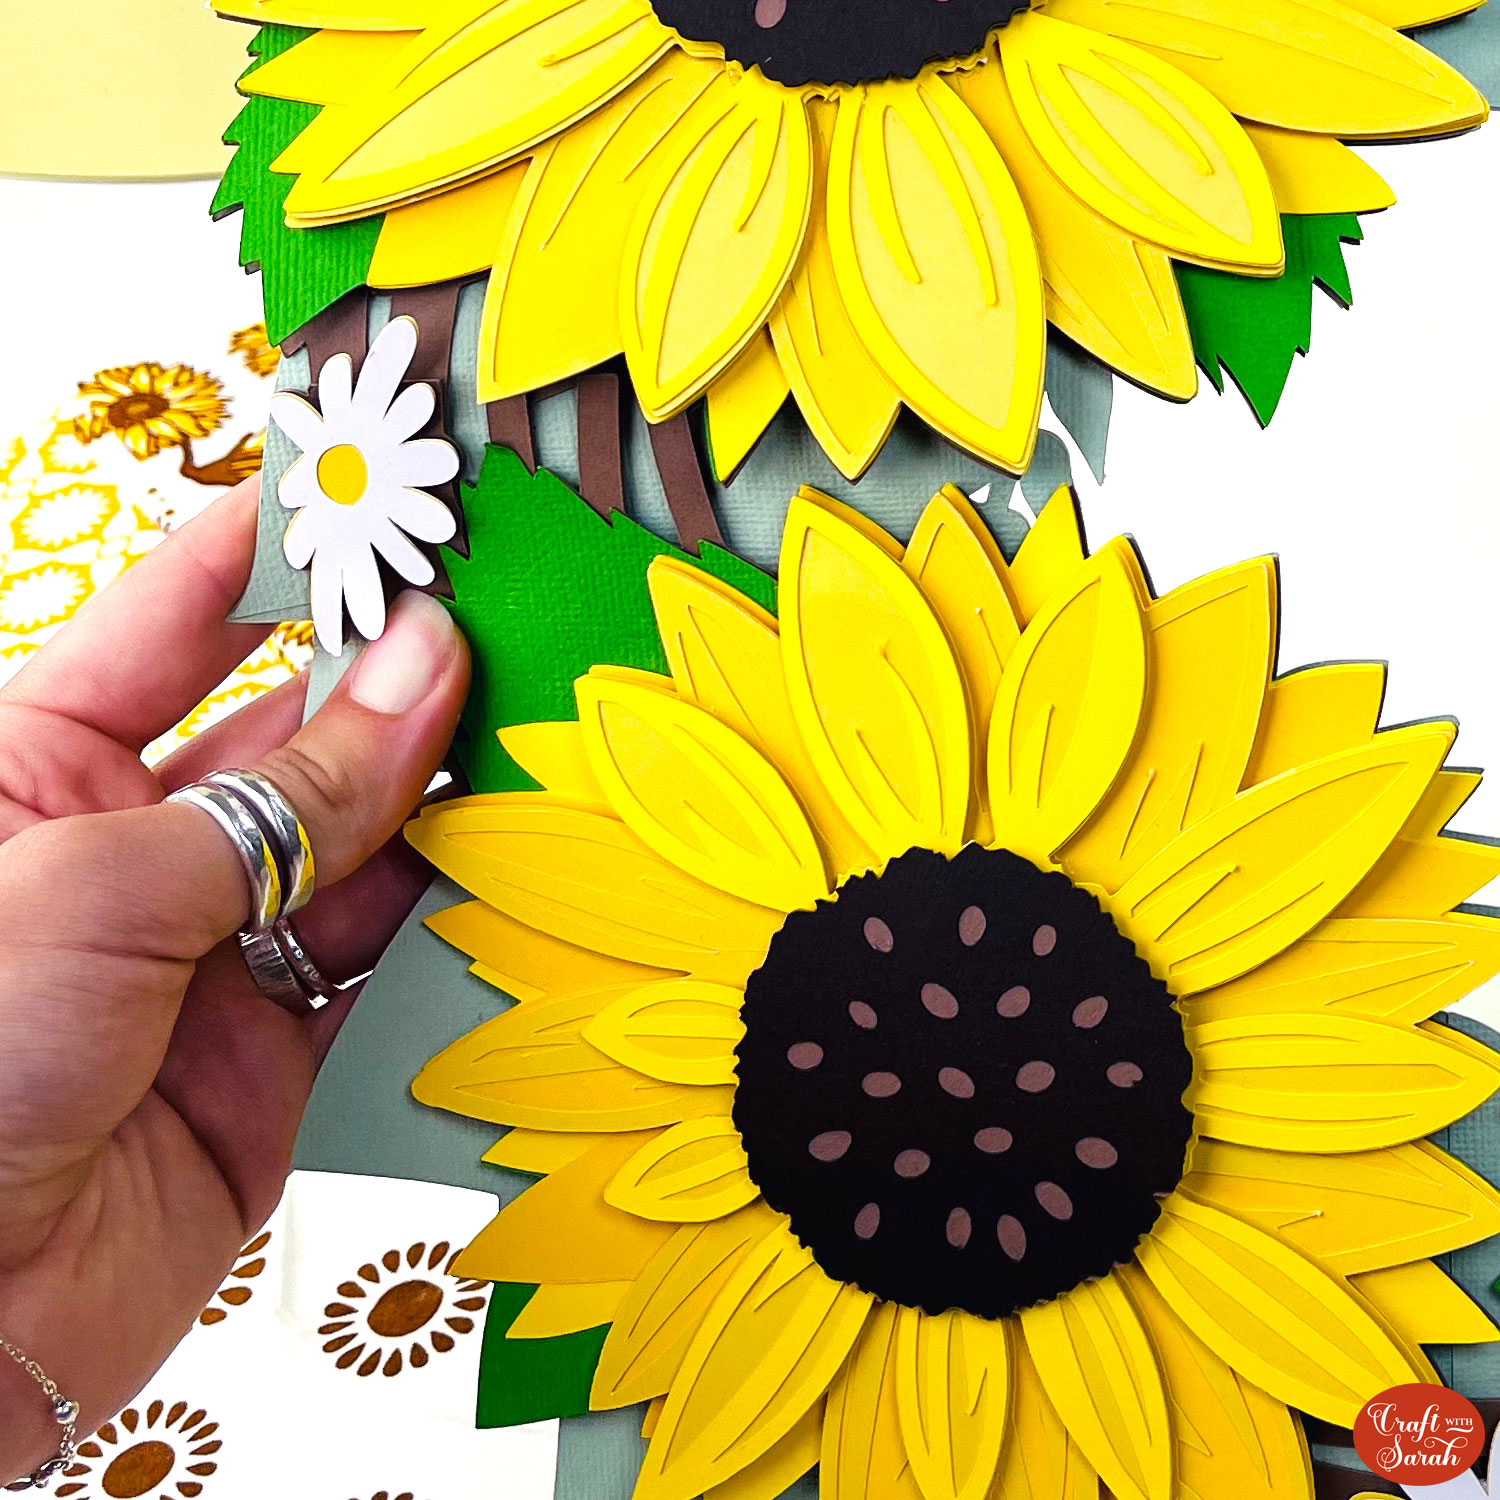
Finally, add the daisy flowers by using foam squares for the bottom pieces and glue for the top pieces.
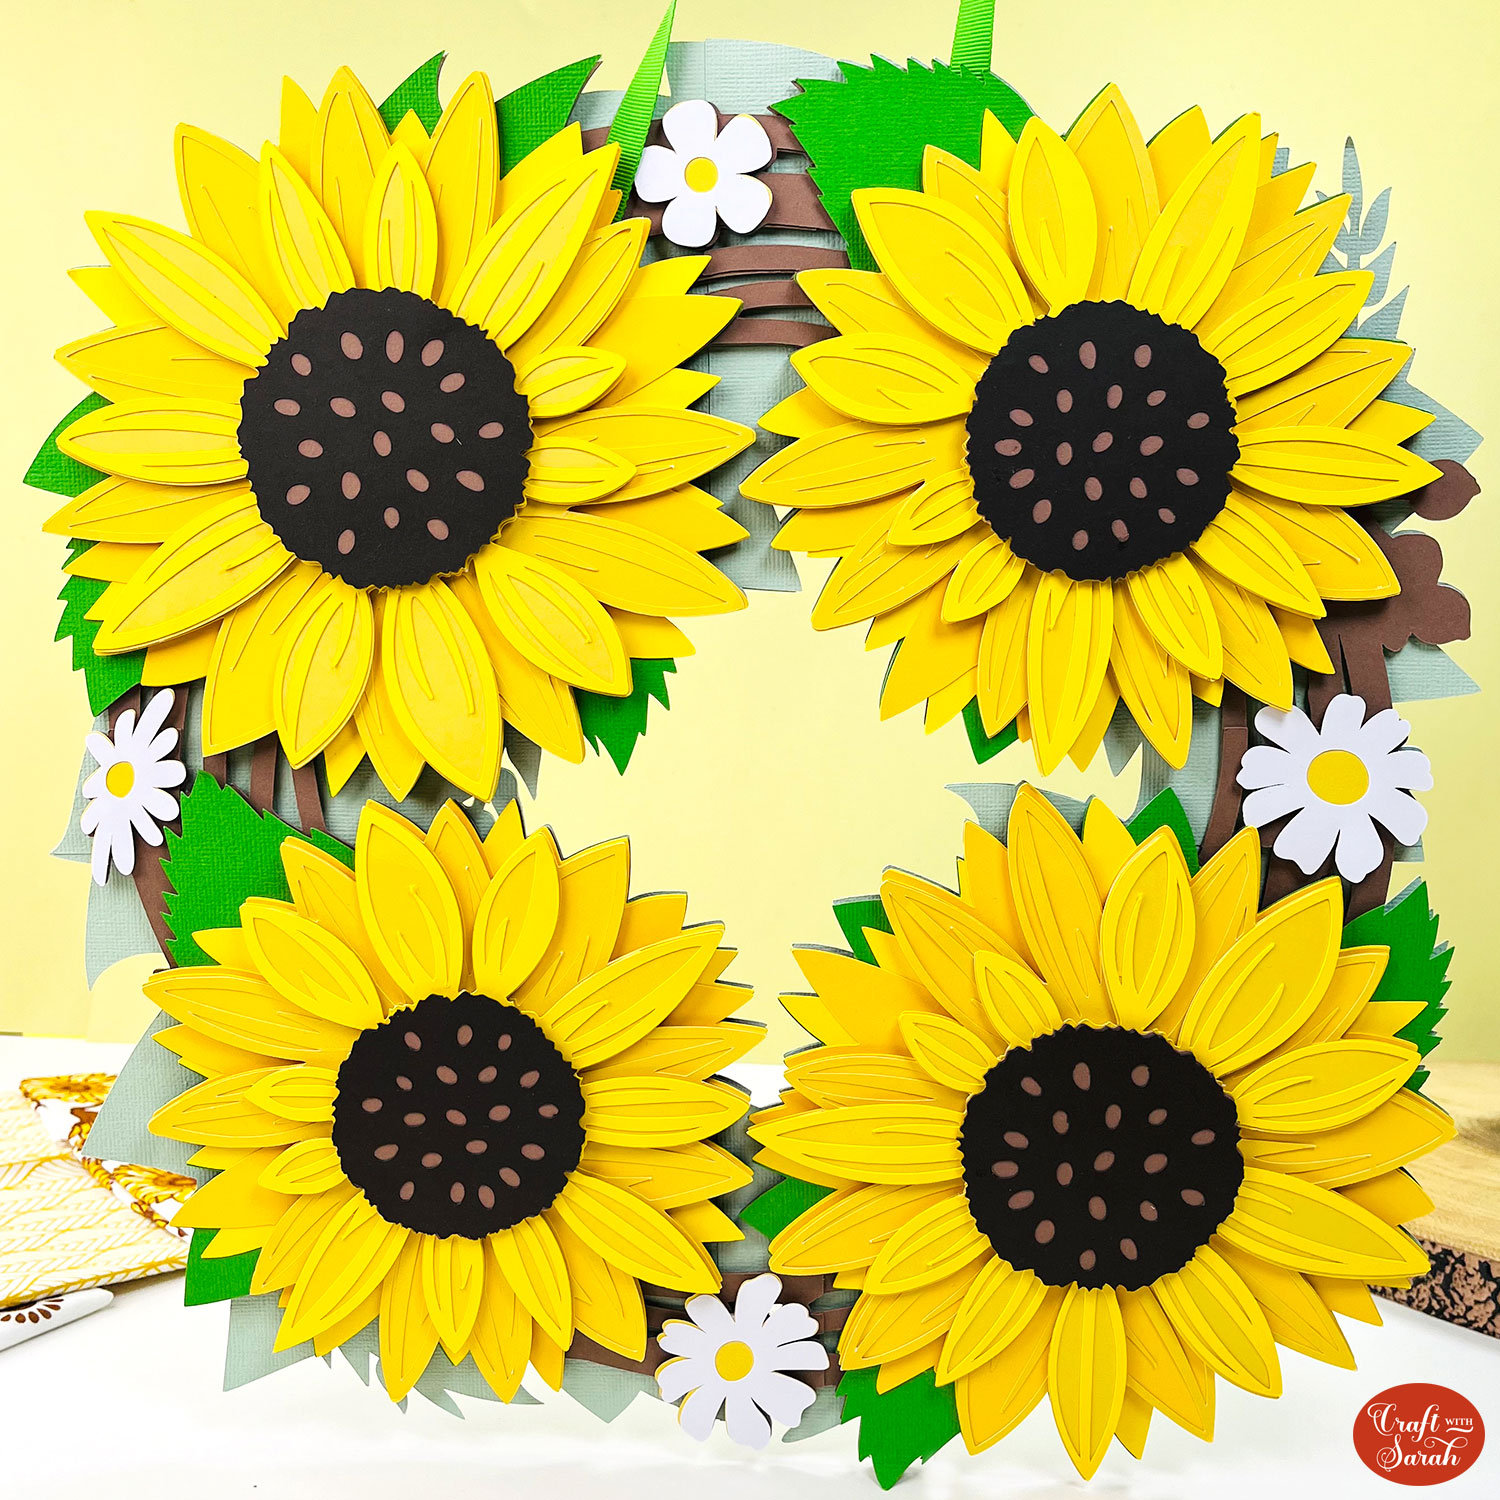
Then that’s it – your giant sunflower wreath is finished!
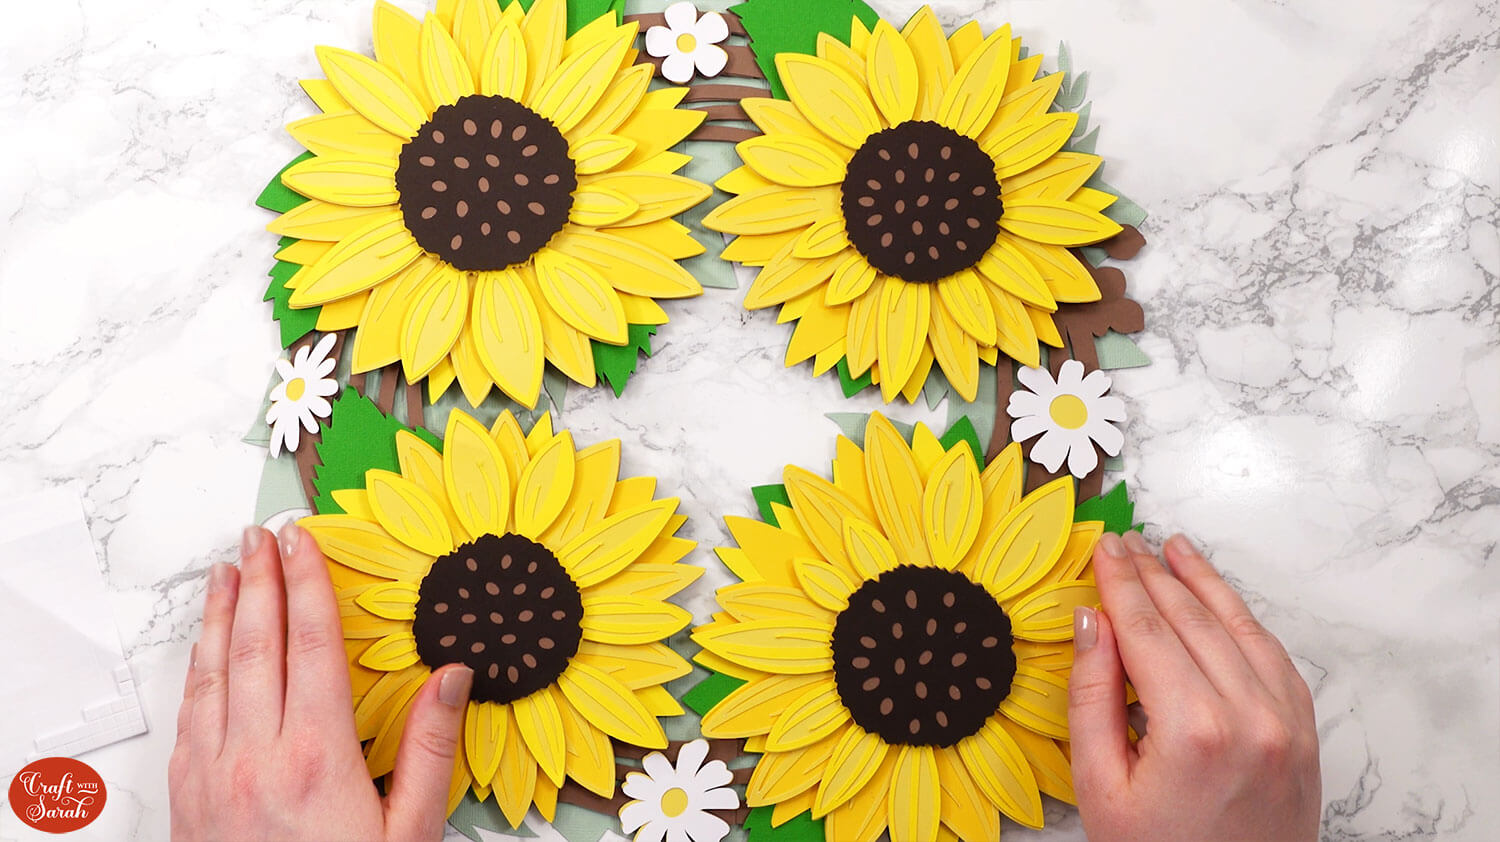
Layered sunflower papercraft design
After sticking all the pieces of card together, you’ll have a lovely sunflower wreath all finished and ready to be hung on the wall.
That concludes all of the projects for the 2024 Floral Craft Countdown.
I had so much fun creating and sharing all the designs with you!
Happy crafting,
Sarah x

