CCC 2024 Day 16: Paper Stitching Bookmarks

Welcome to day sixteen of the 2024 Christmas Craft Countdown, where I’m sharing 20 festive themed Cricut papercraft projects in 20 days.
Create beautiful, hand-stitched bookmarks with this paper stitching project. Using your Cricut to create these stitchable designs is a great way to make detailed holiday gifts or unique accents for your seasonal reading.
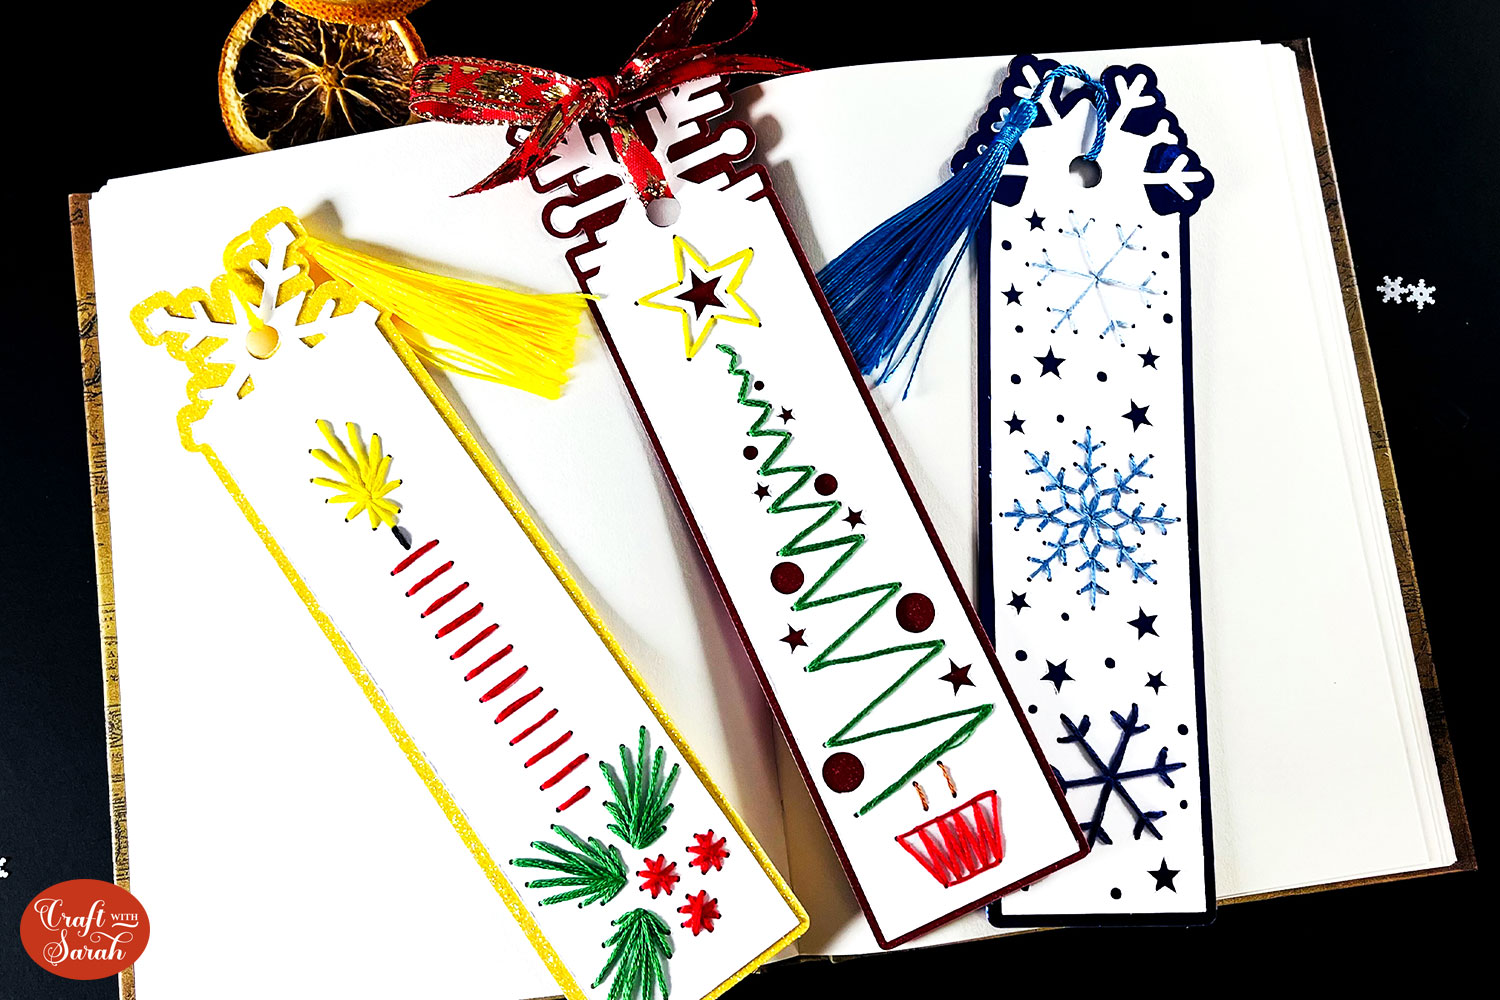
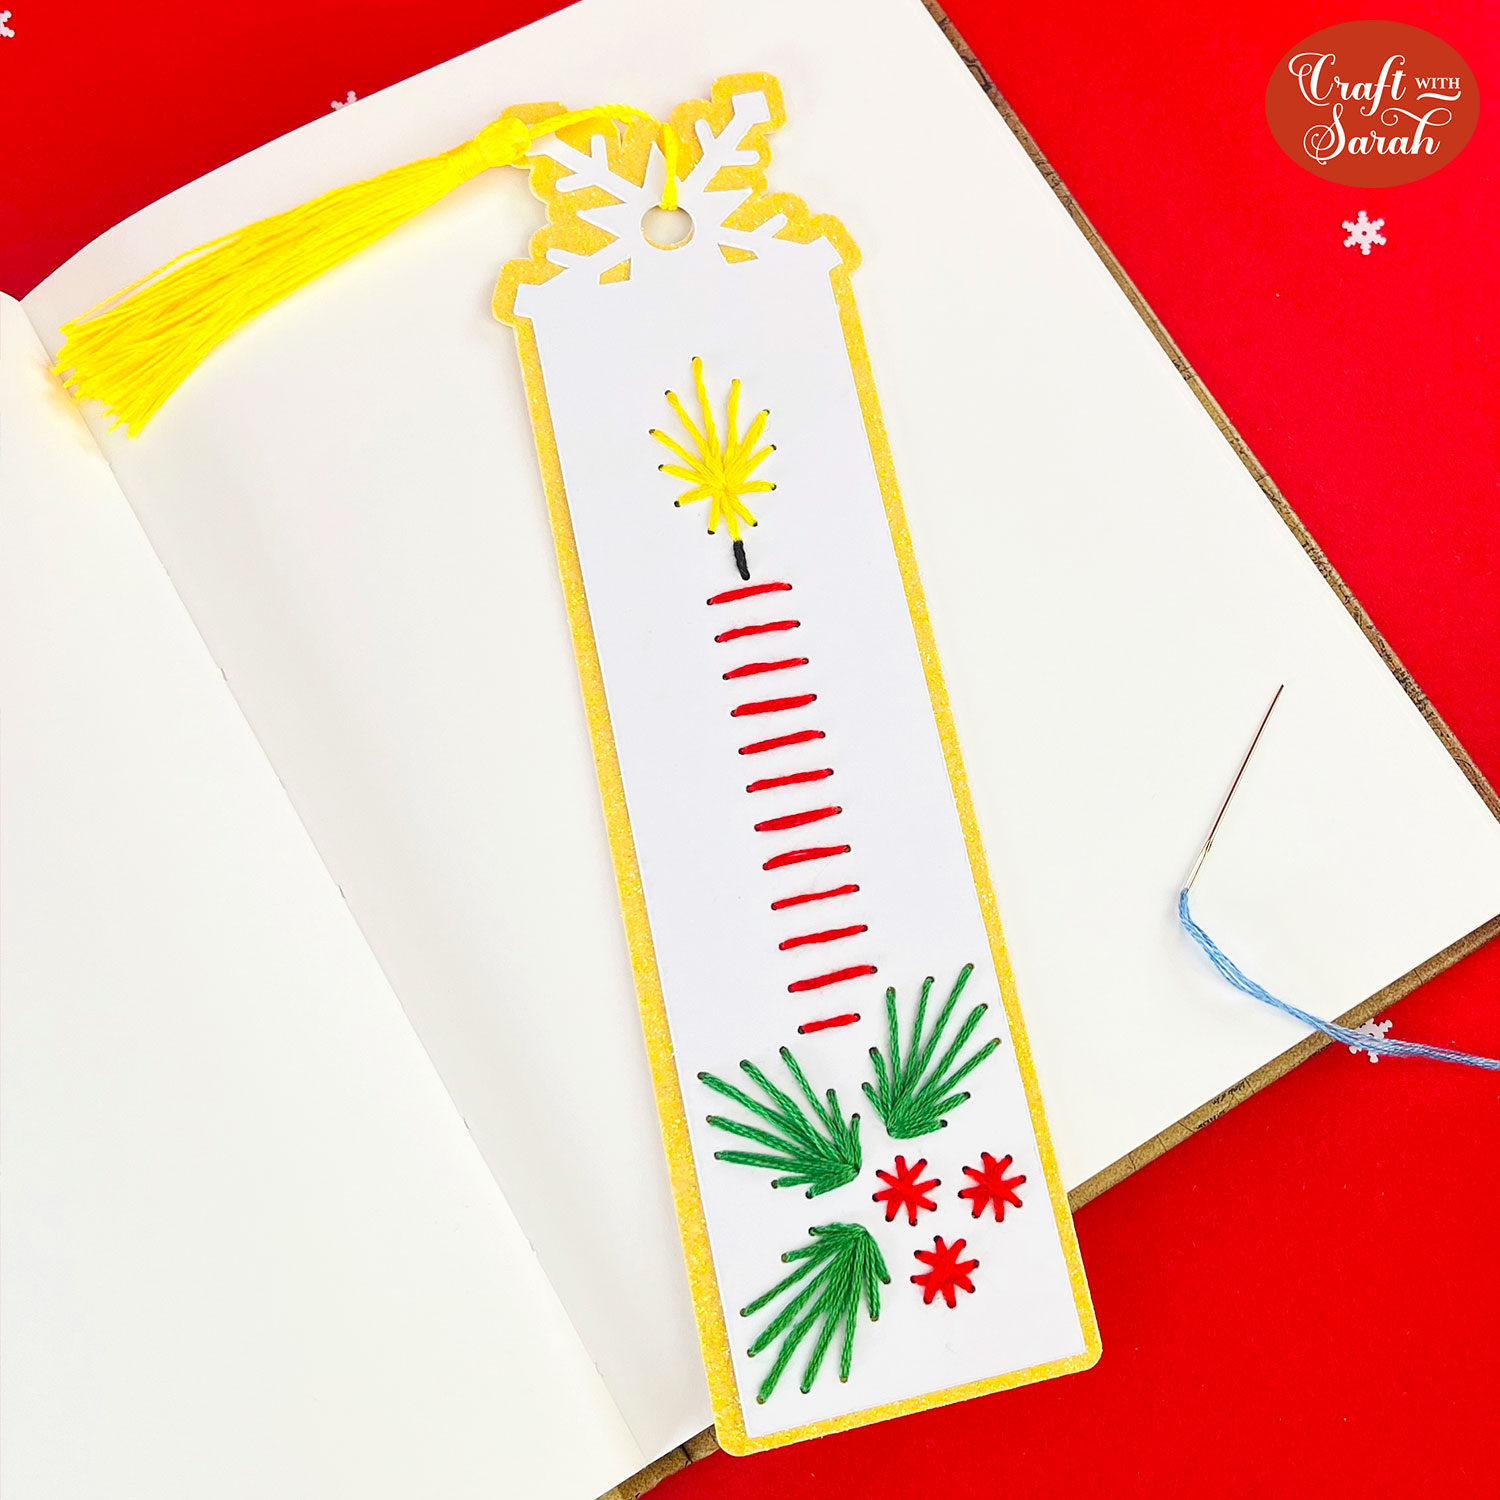
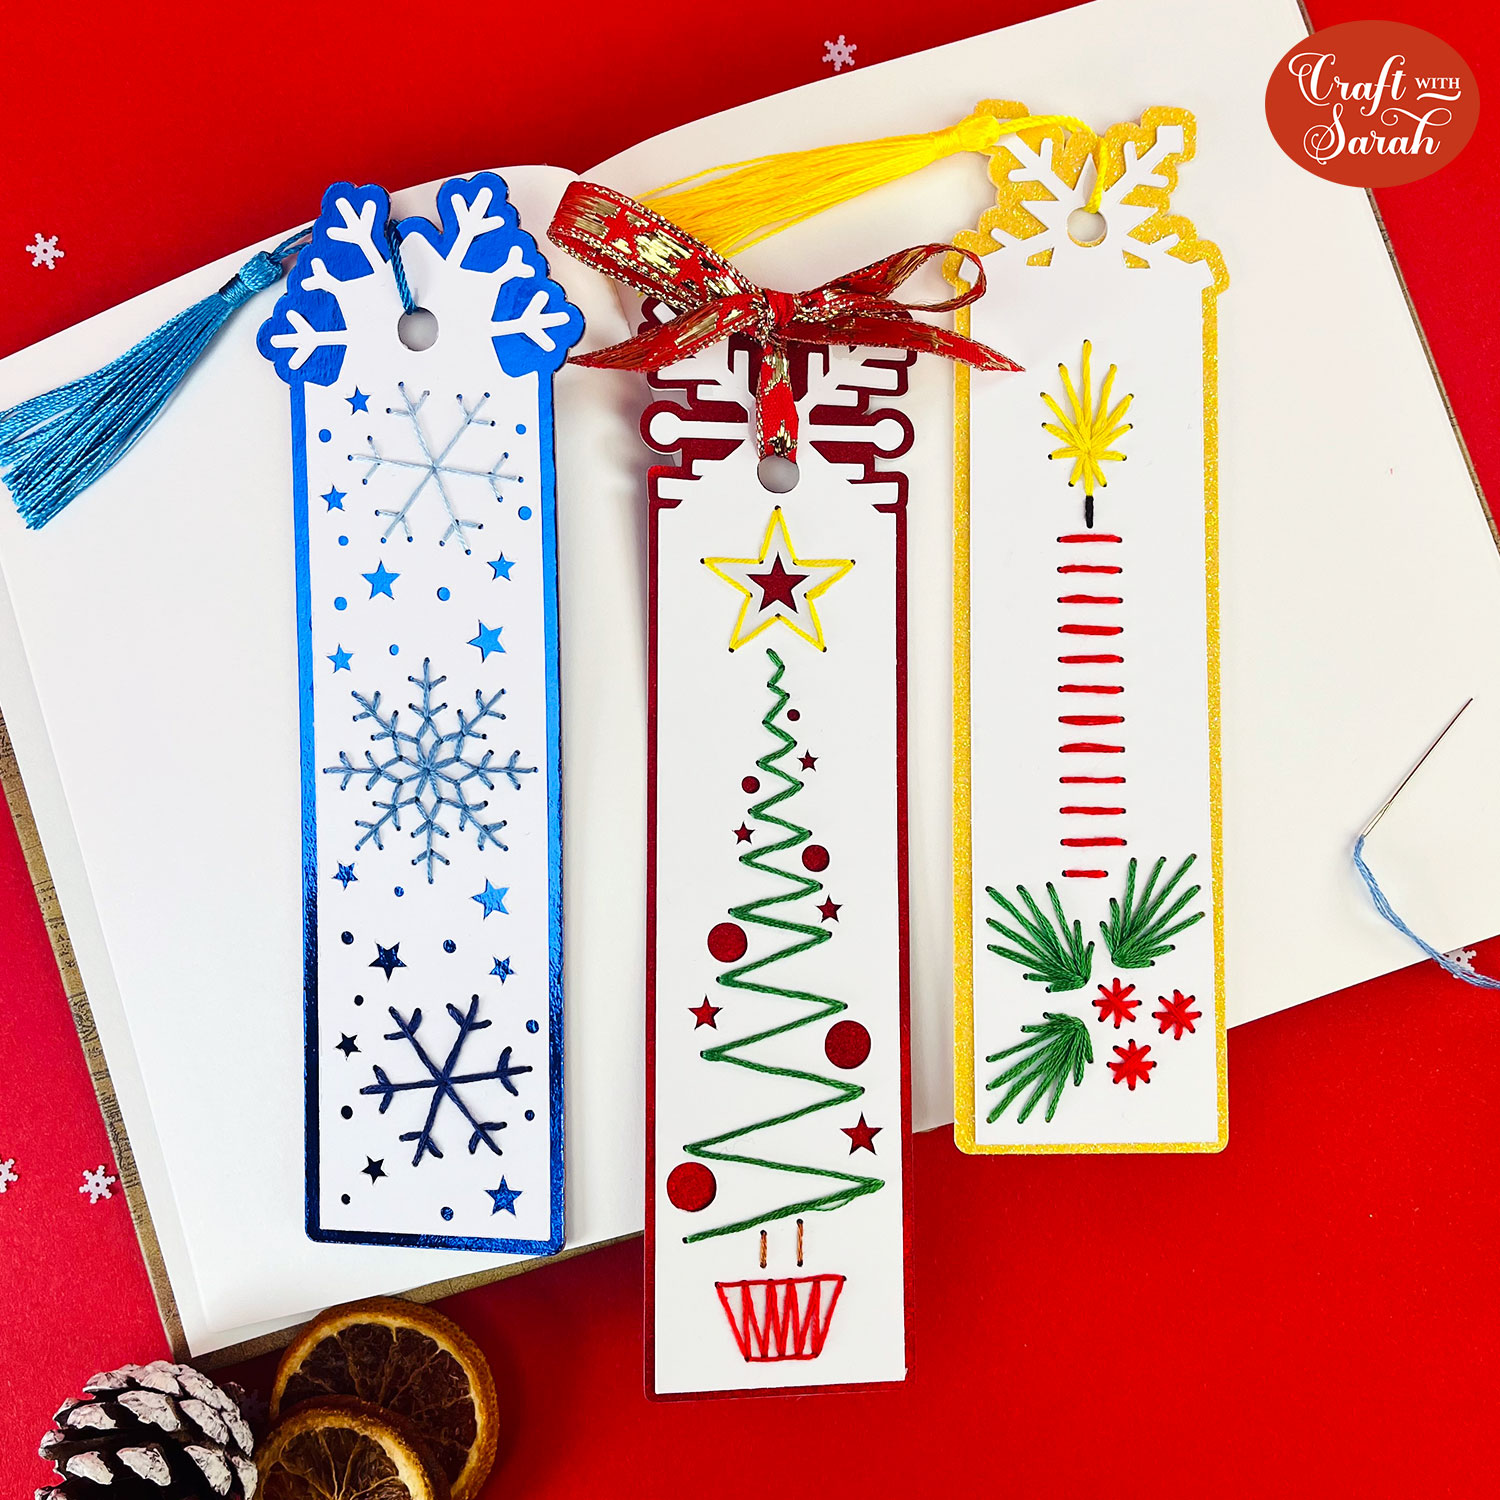
This tutorial shows you how to make three festive bookmark designs: snowflakes, a Christmas tree, and a candle with holly.
They combine Cricut precision with simple embroidery techniques. Each design is prepped with tiny cut-out circles in the cardstock, allowing you to easily add decorative stitching with embroidery thread.
The combination of cardstock and embroidery thread adds a charming, handcrafted feel, while the Cricut ensures each stitch guide is perfectly aligned for a clean, polished look.
These bookmarks are perfect for beginners and seasoned crafters alike.

This Project was part of the Christmas Craft Countdown 2024
Materials supply list
Here is a list of the materials that I used to make this project.
Please note that some of the links included in this article are affiliate links, which means that if you click through and make a purchase I may receive a commission (at no additional cost to you). You can read my full disclosure at the bottom of the page.
- Cricut machine
- Light blue Cricut cutting mat
- Coloured Card
- White Card
- Glue (I like Bearly Art Glue and Collall)
- Sticky tape
- Embroidery thread
- Embroidery needle
- Tassels or ribbon
- Scissors
This project is suitable for the following types of Cricut machine: Explore Air 2, Explore Air 3, Maker, Maker 3, Venture, Joy Xtra and Joy.

Foundation learning
If you're new to crafting with your Cricut, you may find the below links helpful.
They teach some of the skills mentioned throughout this tutorial.
- How to upload SVG files into Design Space
- How to make 3D layered Cricut projects
- The BEST way to frame papercraft projects
- How to mount multiple designs in the same frame with magic guides
- How to score with a Cricut (even without scoring tools)
- Print then cut tutorial
- Design Space tools (Combine, Attach, Slice, Weld, Flatten, etc.)
- Pattern fill tutorial (for making backgrounds & cutting images to a specific shape/size)
- Free envelope SVGs that can be sized to fit any card
- How to write inside cards with Cricut pens
- How to cut layered designs at a small size
- Design Space tips & tricks
- Cricut pens tutorial
Video tutorial
Watch the video below to see how to make this project. Keep scrolling for a written tutorial.
Written tutorial (with photos!)
Here’s how to make card stitching bookmarks using a Cricut machine!
Step 1) Download the cutting file & upload to Design Space
Download the files using the box below.
Purchase the File(s)
This cut file is available as part of the Instant Access Bundle.
Or, purchase this design individually here

Before you upload the SVGs to Design Space, you need to unzip the download folder that they come in.
- How to unzip a folder on Windows computer
- How to unzip a folder on a Mac
- How to unzip a folder on an iPad/iPhone
- How to unzip a folder on an Android device
After unzipping, upload the SVG files into Cricut Design Space. These are the files that start svg- in the filename.
Not sure how to do this? Here’s how to upload SVGs to Cricut Design Space. Make sure you upload the file which starts svg- in the filename!
Each bookmark comes as a separate SVG file. You will need to upload each one individually to make all three bookmarks.

Step 2) Get the bookmarks ready for cutting
The bookmarks should load in at a good size of 7.5 inches tall but you can resize them if you’d like to.
The coloured layers that you can see on screen will be stuck to the back of the stitching pieces to hide the messy backs to the design. These layers look especially good when cut from either glitter or holographic cardstock.

However, a problem with using glitter or holographic card is that it is usually only coloured on one side which means it will look really nice under the stitching but the back of the bookmark will be plain.
To fix this, I duplicated my base layers and flipped them to make a mirror image so that I can glue them back to back.

If your card is pretty on both sides then you don’t need to do this.
Step 3) Cut out all the layers
When you’re happy with how the project is looking in Design Space, click “Make” and follow the instructions on-screen to cut out all the pieces.
The bookmarks will be cut in two layers. Use a thick white card for the top layers as this is the one we will be stitching on.
To change the paper size, go into the dropdowns over on the left side of the screen and choose the paper size that you want to use. You need to change it for every single colour.
To save space on your cardstock, you can move things around by clicking and dragging. Make sure when you’re moving things about that nothing overlaps because otherwise, it won’t cut out properly.
TIP: New to cutting cardstock with a Cricut? Check out this in-depth tutorial which goes through every step of the process, including tips for getting the best quality cuts from your Cricut.
Step 4) Stitch the patterns onto the card
Get some embroidery thread and an embroidery needle. I am using a needle from a cross stitch kit.

Choose your thread colours and cut some lengths to a suitable size.
Decide how many strands of the embroidery thread you want to use. I started with all six, but this made it quite hard to thread the needle and pull through the holes in the card, so I moved down to three strands for the other two bookmarks.
Thread the needle with your first colour of thread.
Turn the bookmark upside down and use sticky tape to secure the end of the thread to the back of the bookmark. Make sure your tape doesn’t cover any of the holes.

Refer to the patterns for each of the different bookmarks to make sure you stitch the right holes.


If you get to the end of your thread, or when you want to change colours, secure the current thread to the back of the bookmark with more sticky tape.

Don’t worry if it looks messy on the back, we will cover this up later.


Step 5) Glue the bookmark pieces together
Take your pretty backing pieces and stick them back to back (if you cut out two pieces).
Glue the stitching patterns to the backing pieces.

Thread a tassel or some ribbon through the hole to finish off the bookmarks.

Paper stitching Christmas bookmarks
After sticking all the pieces of card together, your Christmas bookmarks are all finished.
These bookmarks make beautiful gifts for bookworms this Christmas.

I love how the glitter card creates an extra sparkly effect!
If you enjoy making these bookmarks, check out these other free paper embroidery patterns.
Happy crafting,
Sarah x

