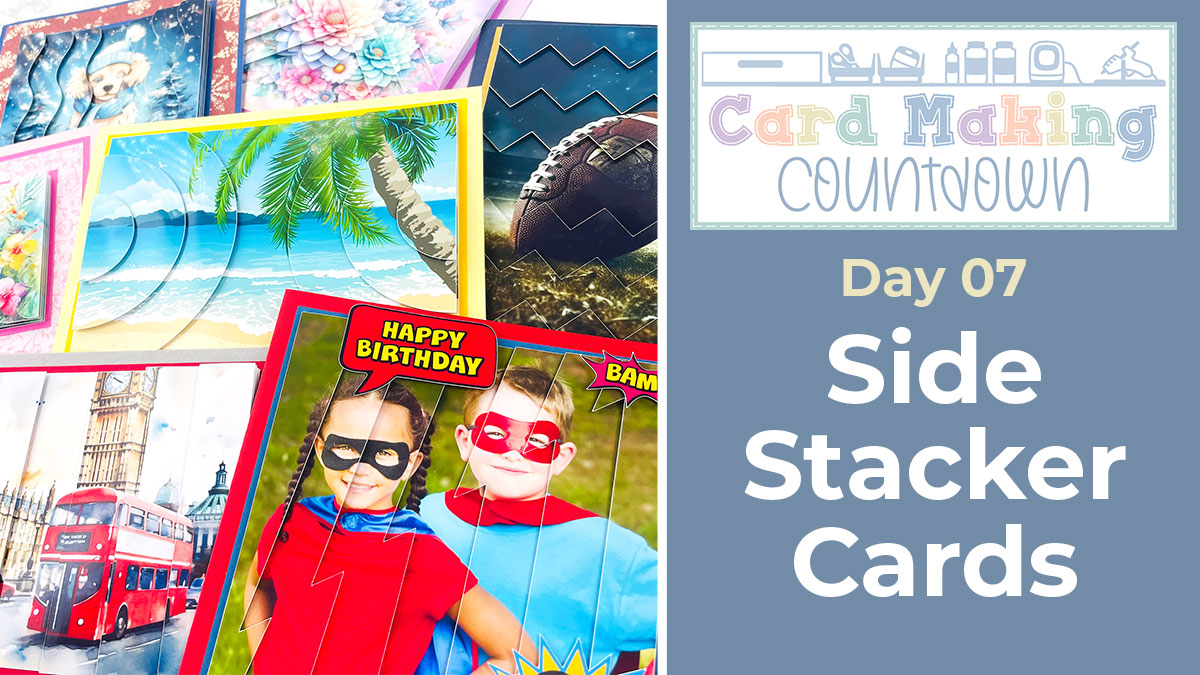
CMC 2024 Day 07 ✂️ Side Stacker Cards
It’s Day 07 of the 2024 Card Making Countdown!
Hello and welcome to Day 7 of the Card Making Countdown, where I’m showing you how to make 10 different types of card with your Cricut machine in 10 days.
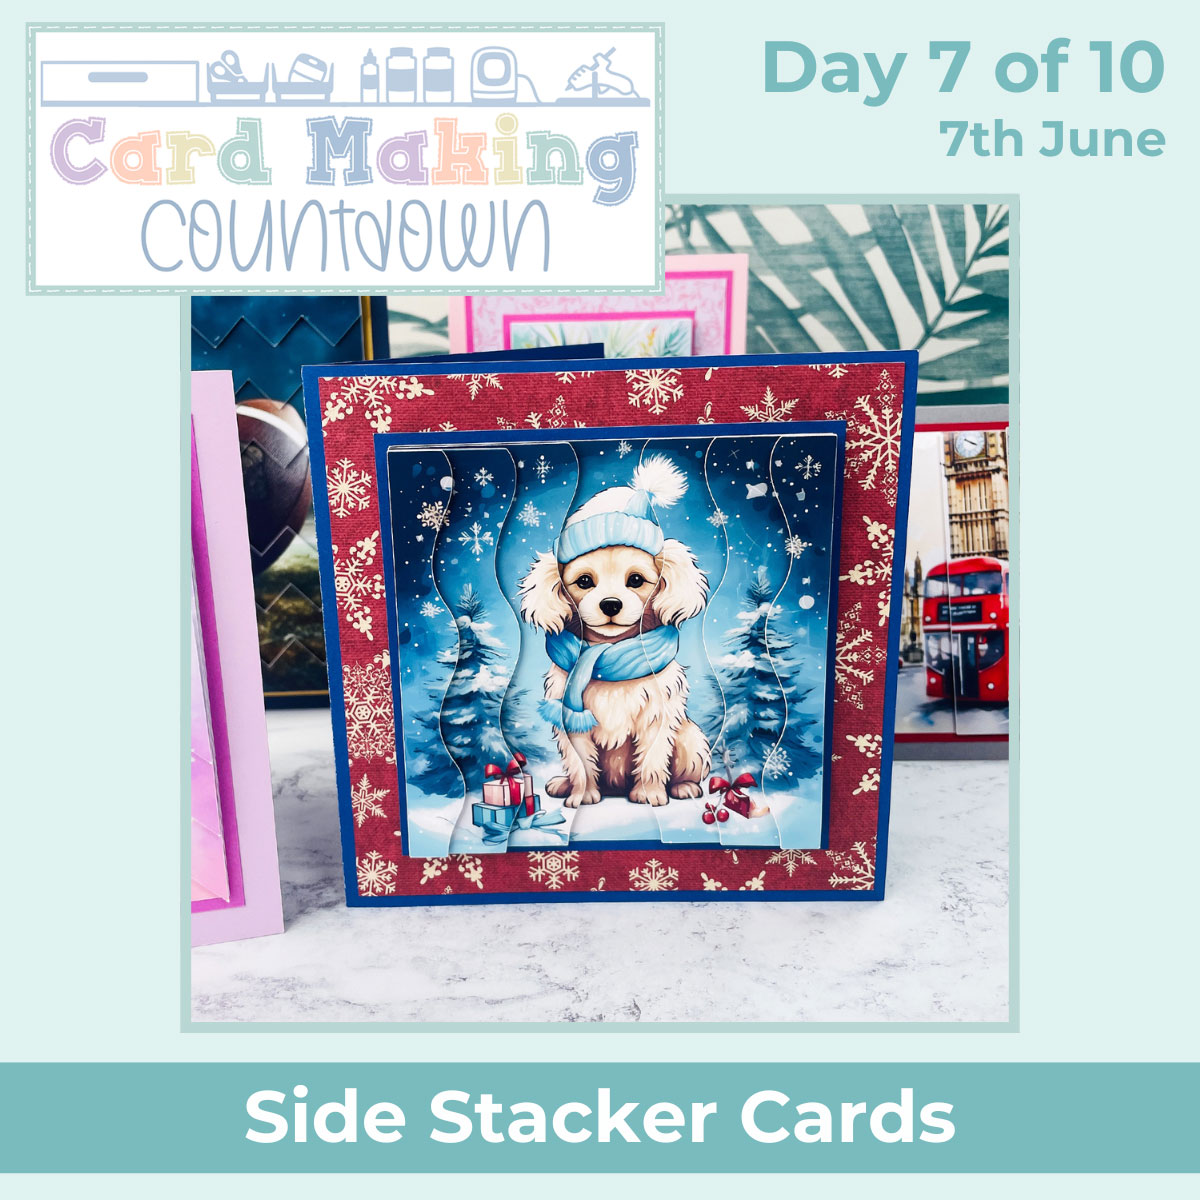
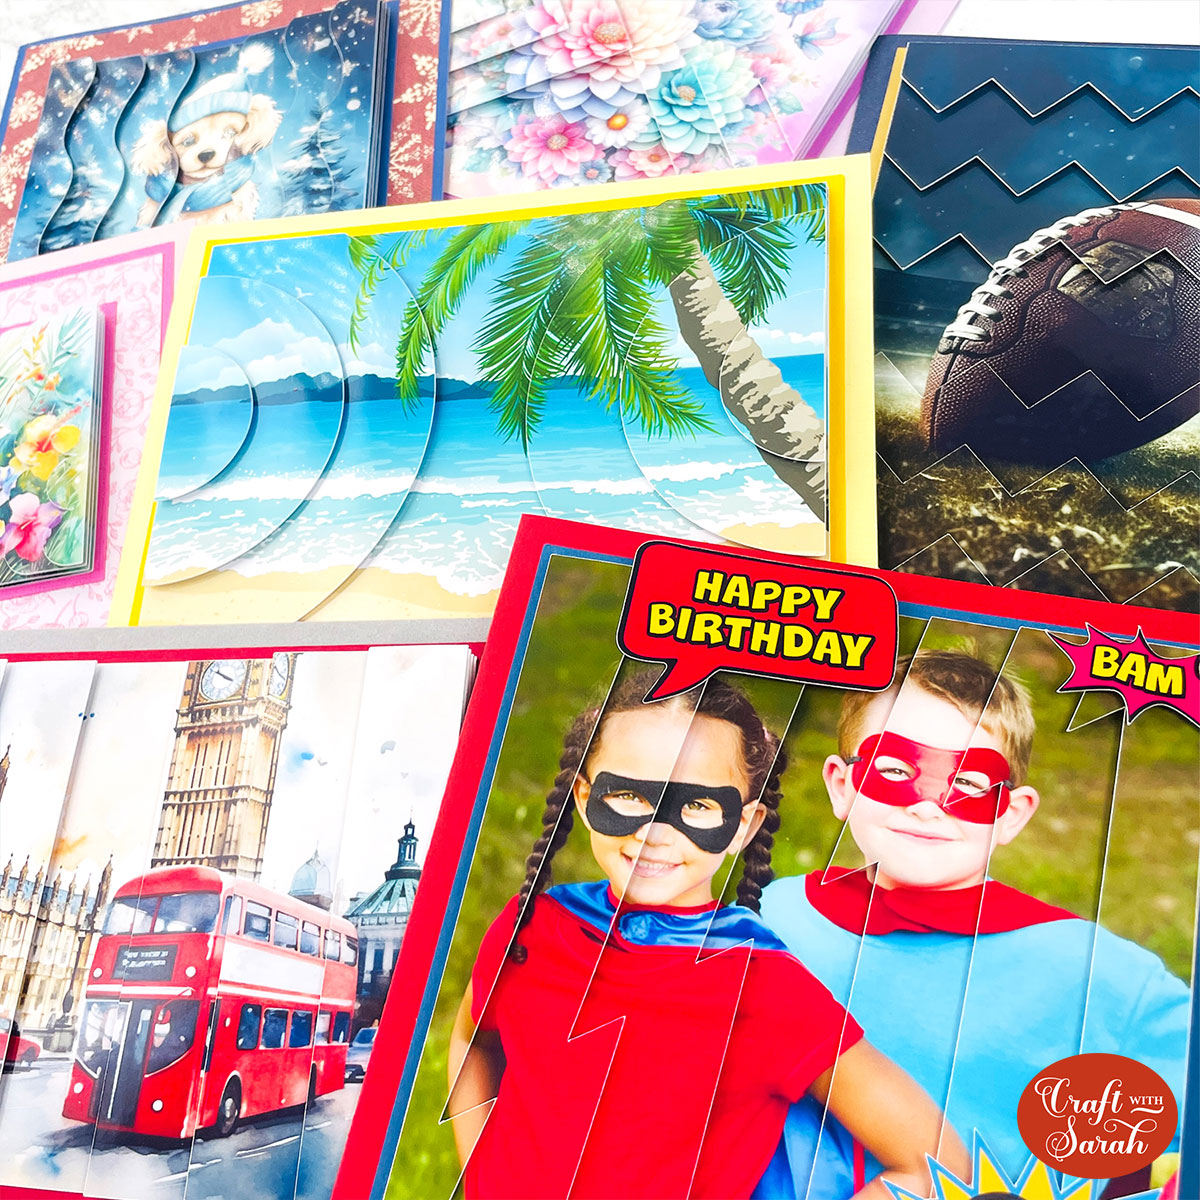
Today we’re making side stacker cards! These are similar to the pyramid cards I shared last year, but instead of squares shapes “popping” out of the image, these ones build up the sides of the graphic for an unusual “stepped” effect.
Turn your favourite photos or images into side stacker card toppers using Cricut’s “print then cut” functionality.
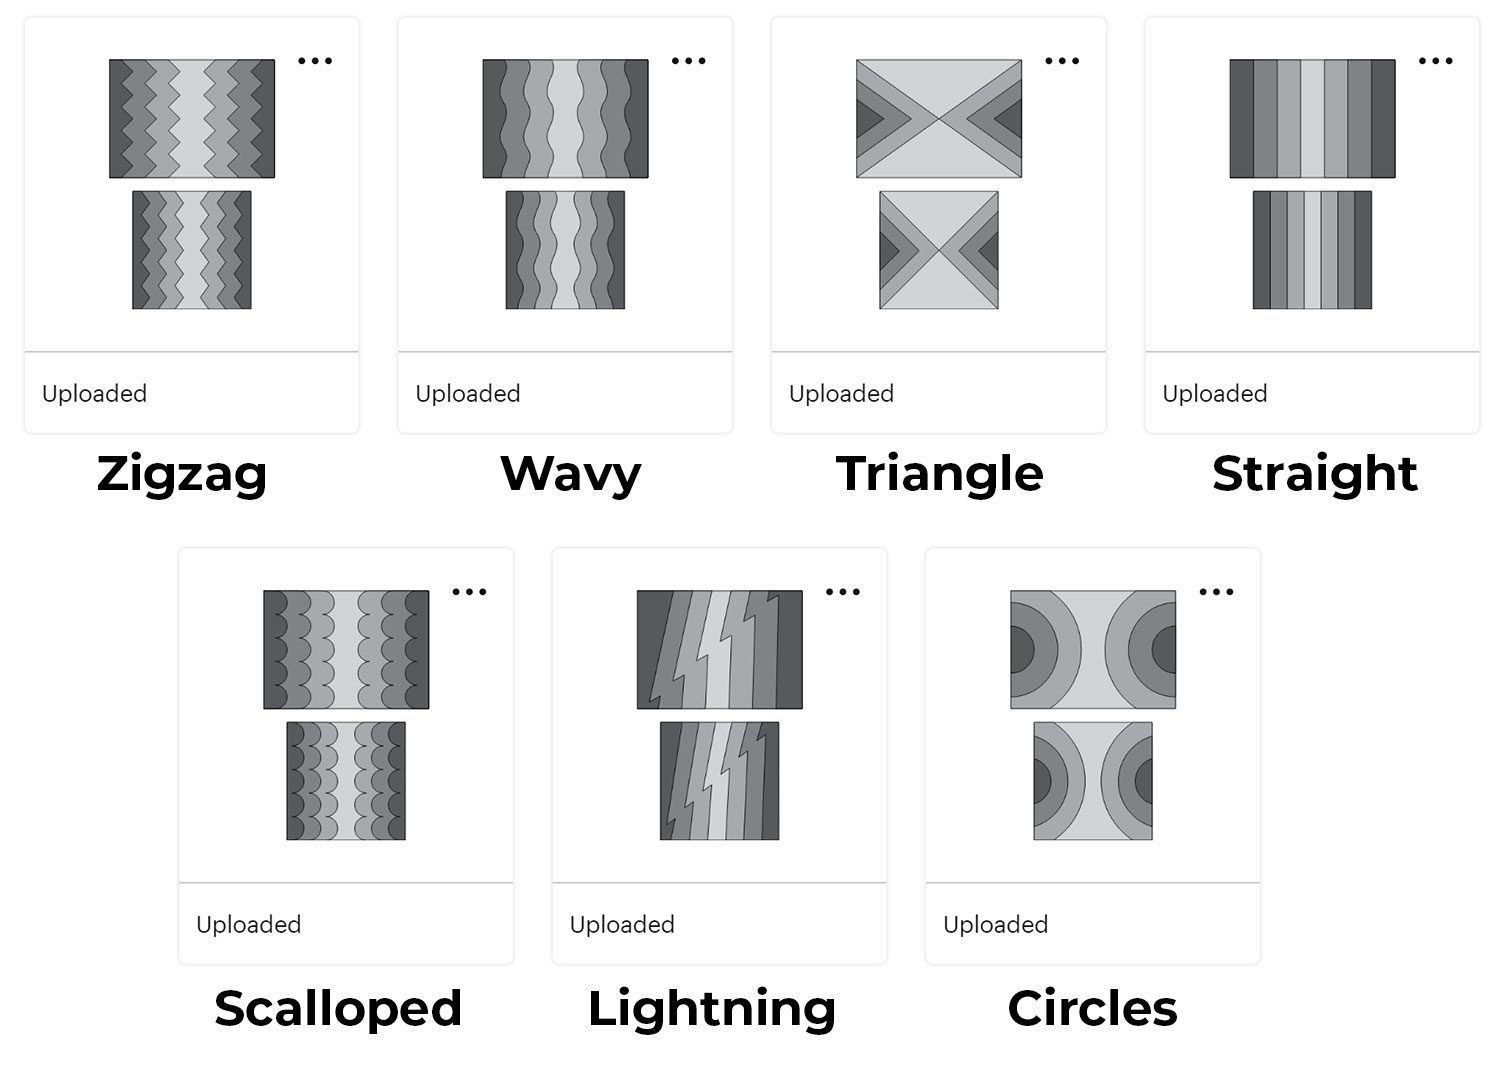
Seven different stacker templates are included for you as part of today’s download. But remember, they’re only available for free for 24 hours, starting at 9am EDT on 7th June 2024.
Each template comes with a rectangular version AND a square version, so you can choose which one to make based on the card size that you’re making.
I hope you enjoy these side stacker cards! Once you get the hang of creating the layers, they are quick and easy to put together.
This Project was part of the Card Making Countdown 2024
Materials supply list
Here is a list of the materials that are required to make this project.
Please note that some of the links included in this article are affiliate links, which means that if you click through and make a purchase I may receive a commission (at no additional cost to you). You can read my full disclosure at the bottom of the page.
- Cricut machine
- Light blue Cricut cutting mat
- Glue or double-side sticky tape (I like Bearly Art Glue and Collall brands of glue)
- Foam squares/pads
- Colour printer
- Photo paper (glossy or matte) or white card to print on
- Square or 5×7 card blanks (or make your own)
- Cricut scoring wheel or scoring stylus (optional)
- Cardstock in a range of colours (optional)
This project is suitable for the following types of Cricut machine: Explore Air 2, Explore Air 3, Maker, Maker 3 and Joy Xtra. It isn’t suitable for the Joy as that cannot do print then cut.
Foundation learning
If you’re new to crafting with your Cricut, you may find the below links helpful.
They teach some of the skills mentioned throughout this tutorial.
- How to upload SVG files into Design Space
- How to score with a Cricut (even without scoring tools)
- Print then cut tutorial
- Design Space tools (Combine, Attach, Slice, Weld, Flatten, etc.)
- Pattern fill tutorial (for making backgrounds & cutting images to a specific shape/size)
- Free envelope SVGs that can be sized to fit any card
- How to write inside cards with Cricut pens
- How to cut layered designs at a small size
- Design Space tips & tricks
- Cricut pens tutorial
Video tutorial for side stacker cards
Watch the video below to see how to make side stacker cards with a Cricut machine.
I love how each different template gives a completely different stacked effect.
If you prefer to read rather than watch, keep scrolling!
PART ONE: How to make Cricut stacker cards
Here’s how to make side stacker cards with a Cricut machine, using the templates from today’s Countdown project.
You will need a colour printer and either photo paper or white card to print the stacker shapes on to.
Step 1) Download the file(s) & upload to Design Space
Download the files using the box below.
Purchase the File(s)
This cut file is available as part of the Instant Access Bundle.
Or, purchase this design individually here

Before you upload the files to Design Space, you need to unzip the download folder that they come in.
- How to unzip a folder on Windows computer
- How to unzip a folder on a Mac
- How to unzip a folder on an iPad/iPhone
- How to unzip a folder on an Android device
Choose your preferred design and upload the SVG file into Cricut Design Space.
TIP: Make sure you upload the files which start svg- in the filename. Not sure how? Here’s how to upload SVG files into Cricut Design Space.
Each template contains a rectangular and square version of the design.
Step 1) Add the main image or photo
Click the design and Ungroup it to separate it into the square and rectangle versions.
Delete the one you aren’t going to use.

Upload your image or photo to use for the stacker design.
The upload process in Design Space has changed slightly since I recorded the video for this tutorial.
It works in a similar way, but here are some updated screenshots to choose the process.
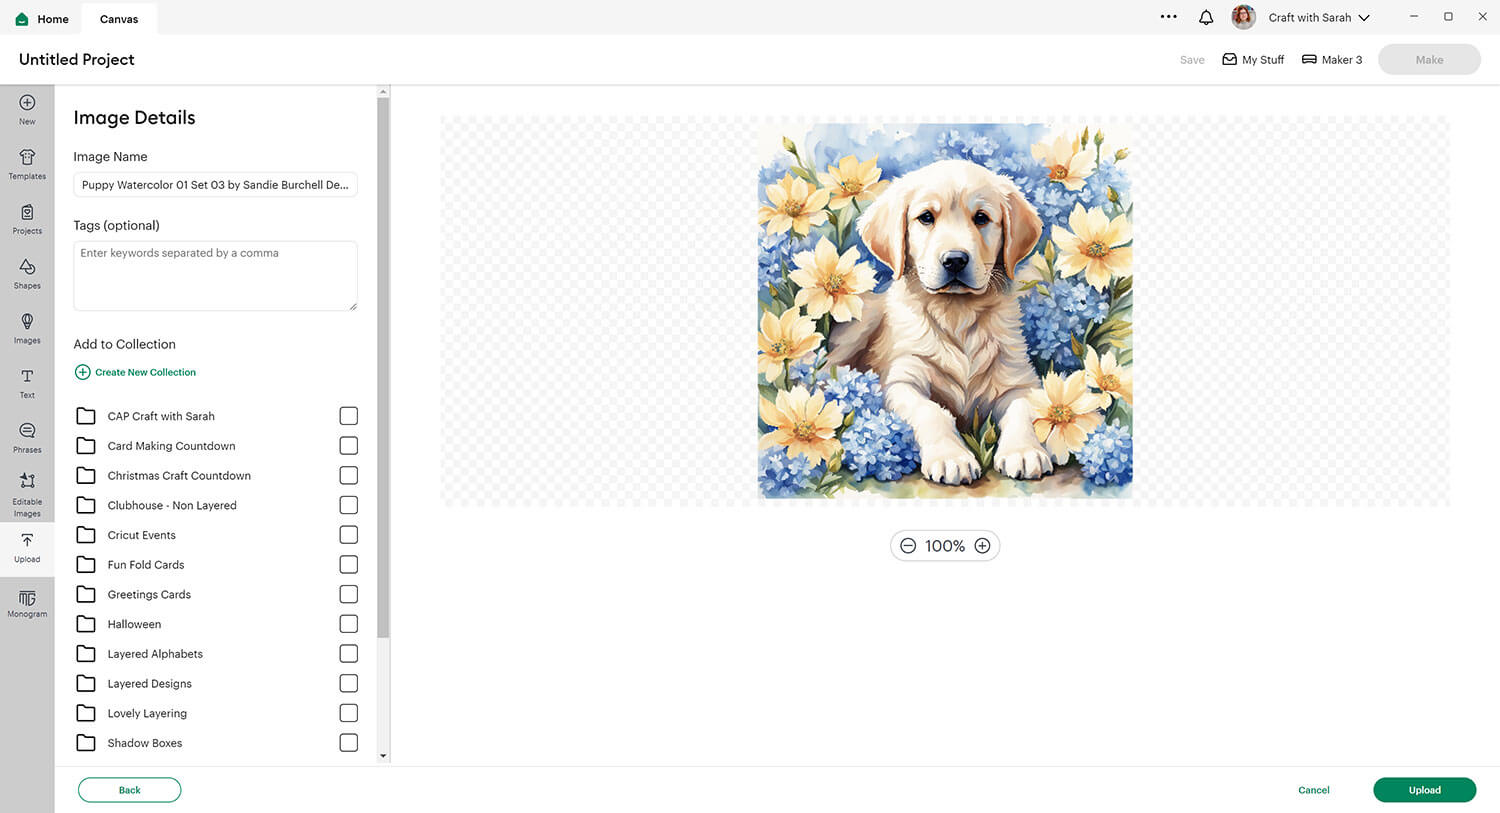
Drag in your image or photo.

Don’t change anything on the next page – just press “Apply & Continue”.
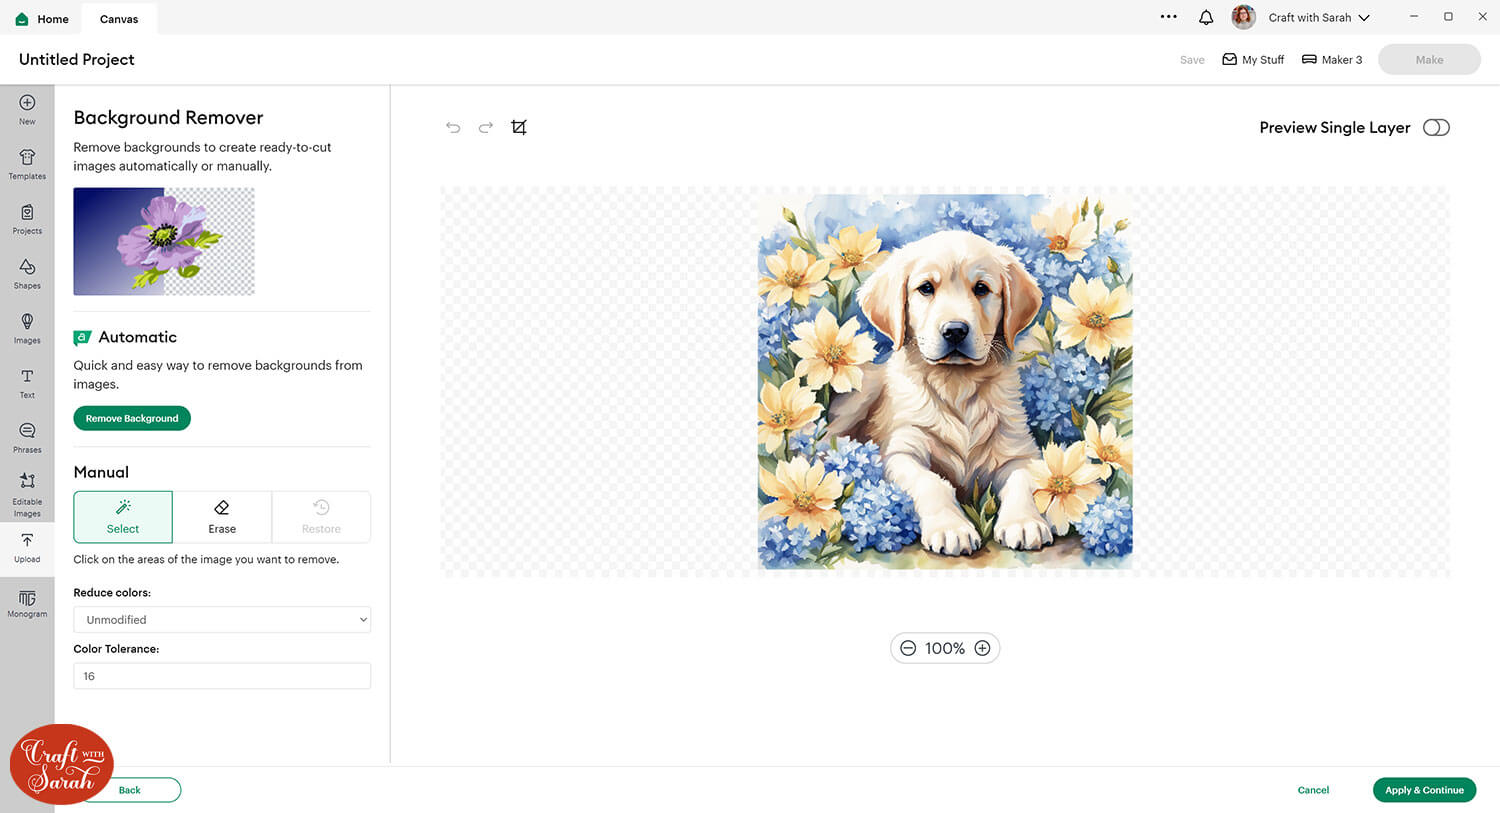
Choose “Flat Graphic” on the next screen.
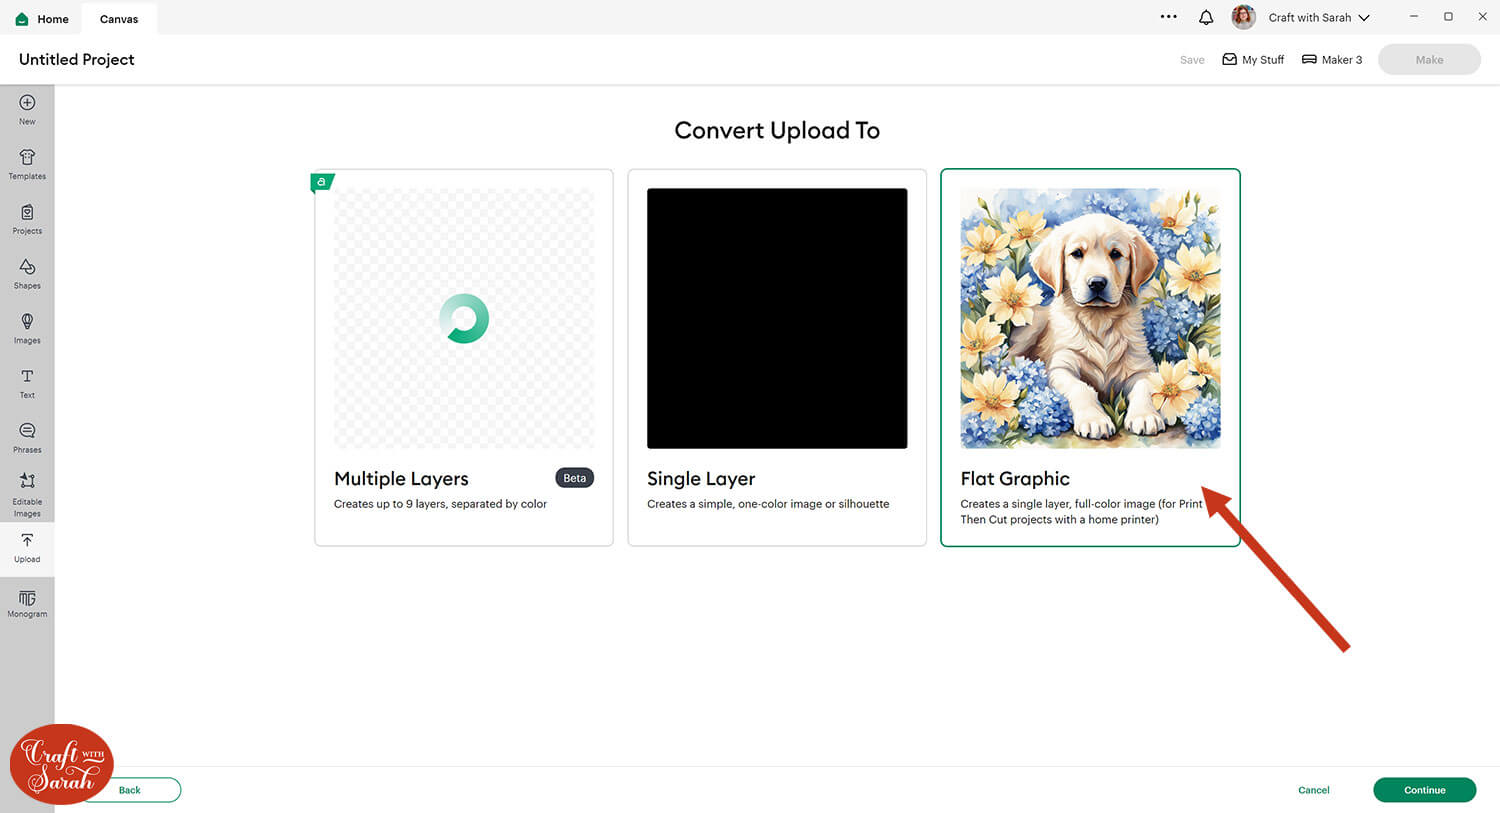
Finally, click “Upload”.
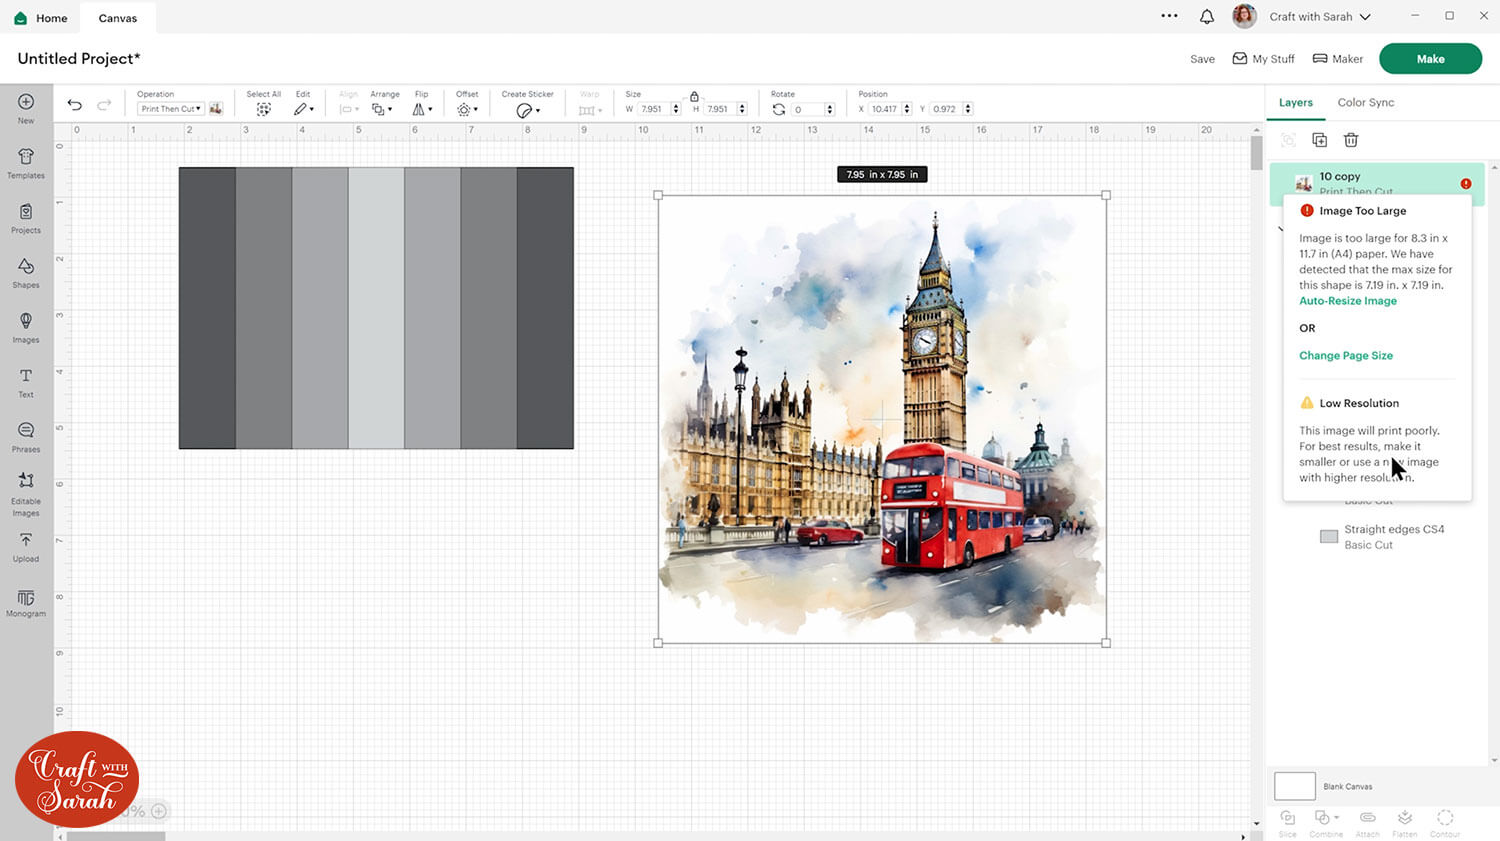
Don’t worry if you see error messages about the size of the image or the print resolution.
We’ll change the size shortly, but Design Space seems to always give the warning about print quality – even when very high quality images are uploaded – so you can ignore that!
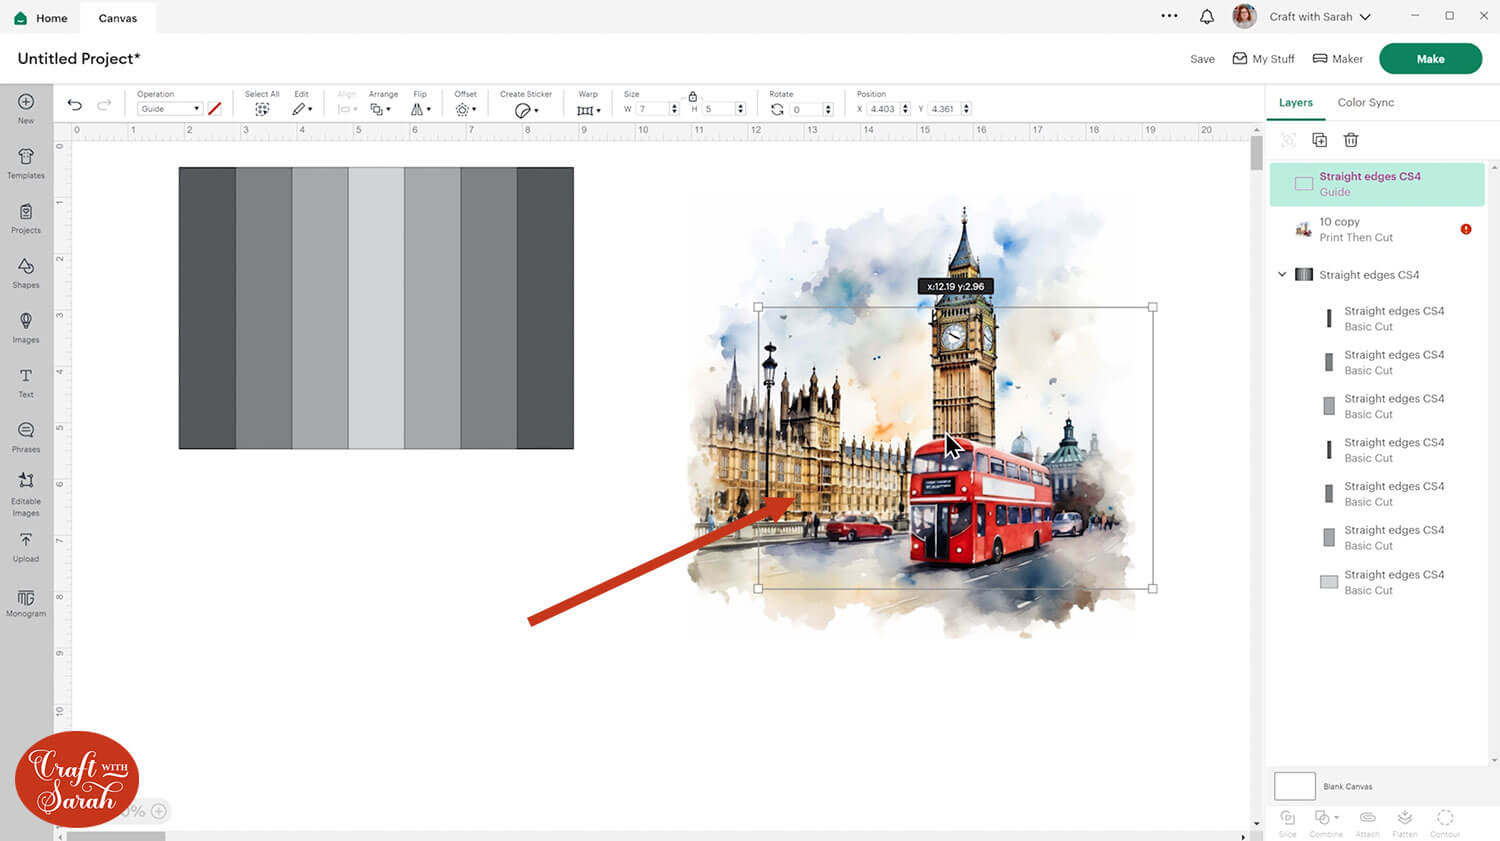
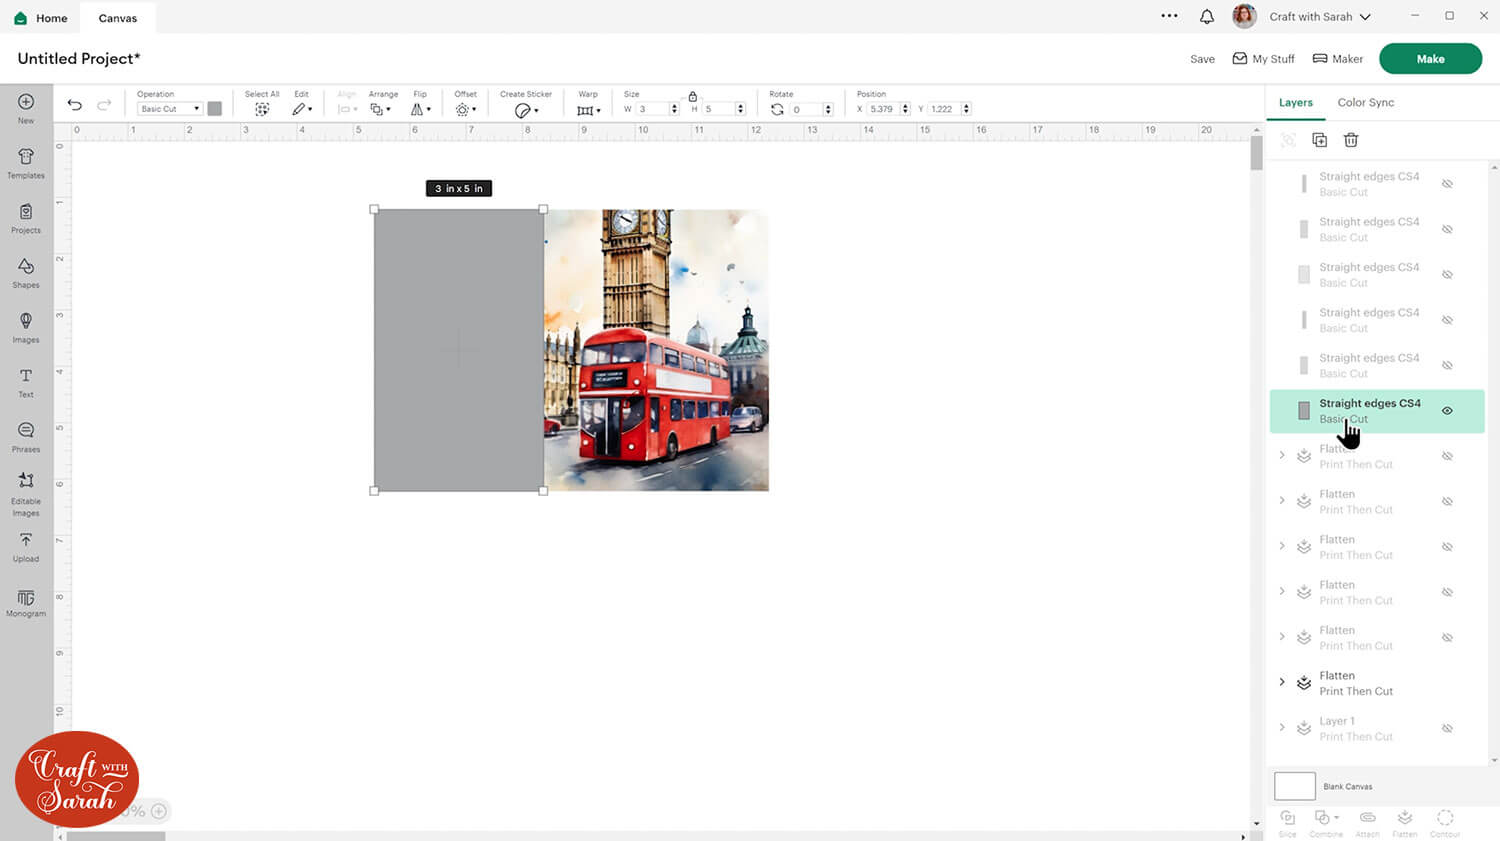
We have to crop the image into the size of the side stacker.
Duplicate the bottom layer of the stacker.
Change it to a “Guide” under the Operations Dropdown. This makes it transparent in the middle with a pink outline.
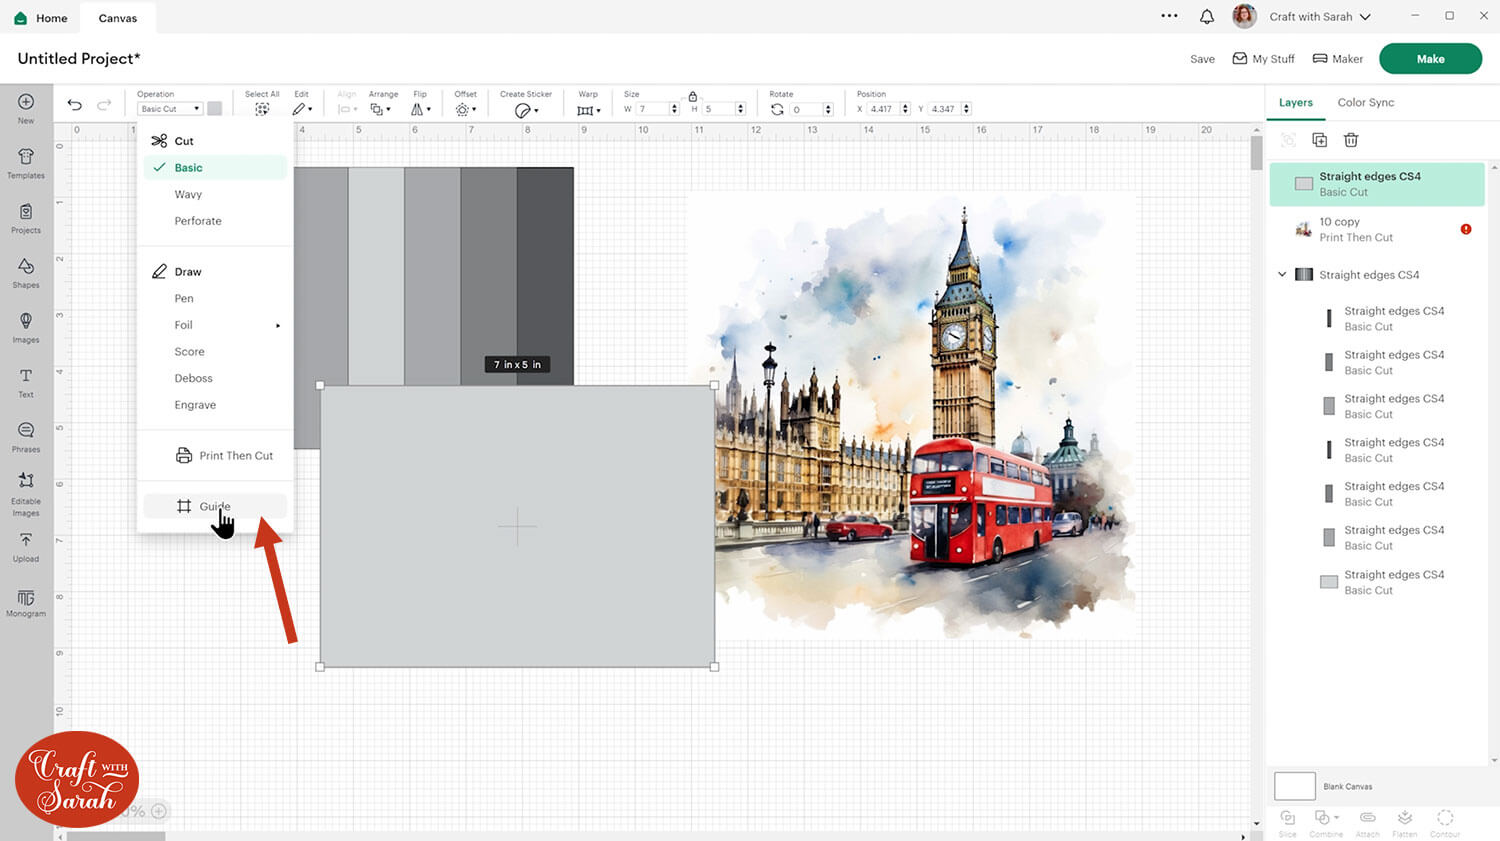
Position it over the image, so that the part you want to keep shows in the middle of the square or rectangle. Don’t resize the square/rectangle, but you can resize the image/photo.
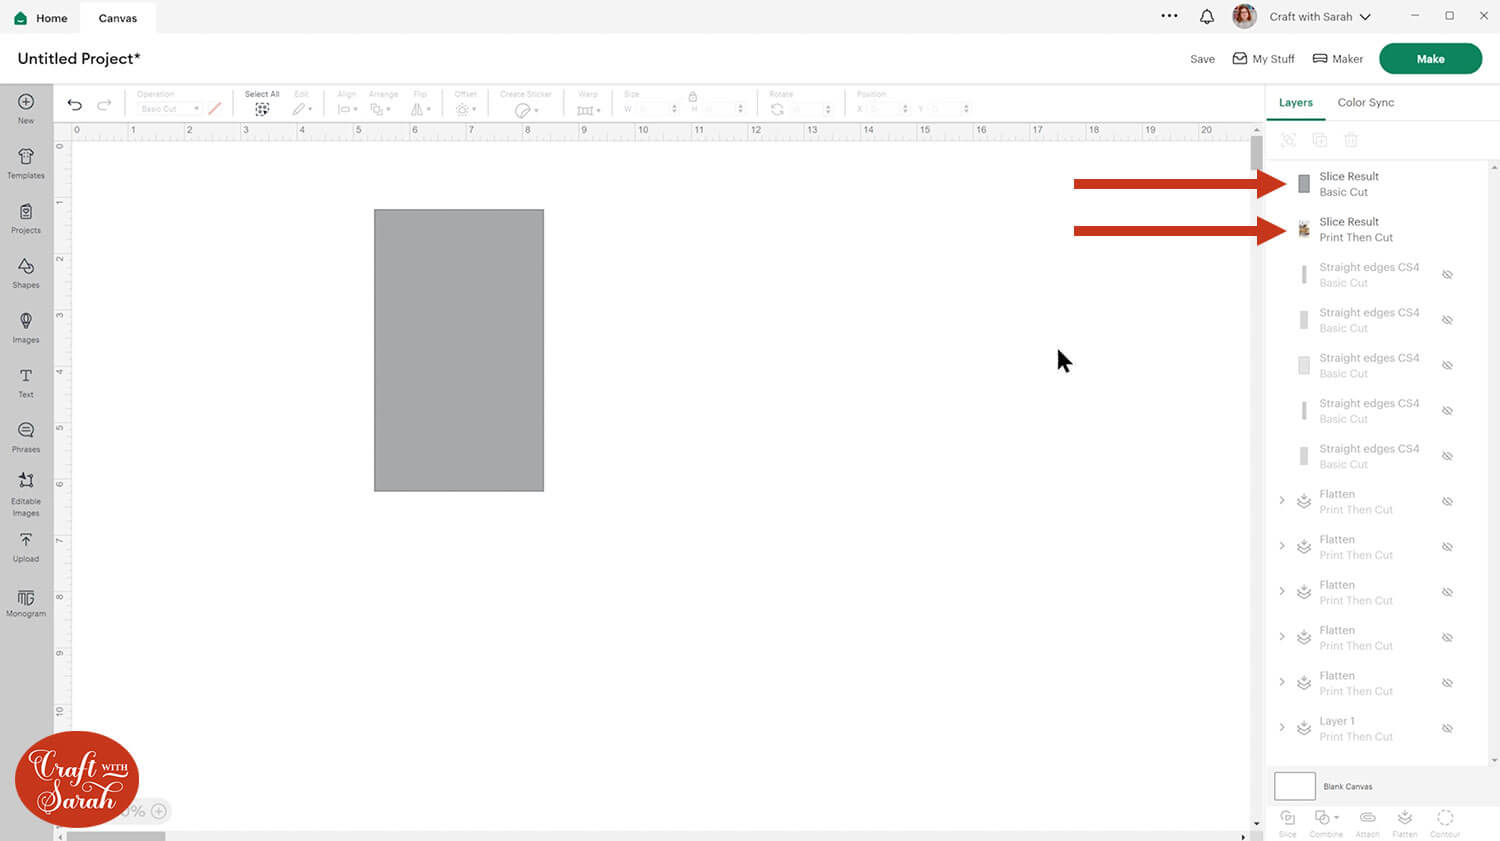
Select the guide shape and the image/photo and press “Slice”. This will cut the shape out of the image.
Delete the offcuts.

Step 3) Create the stacker layers
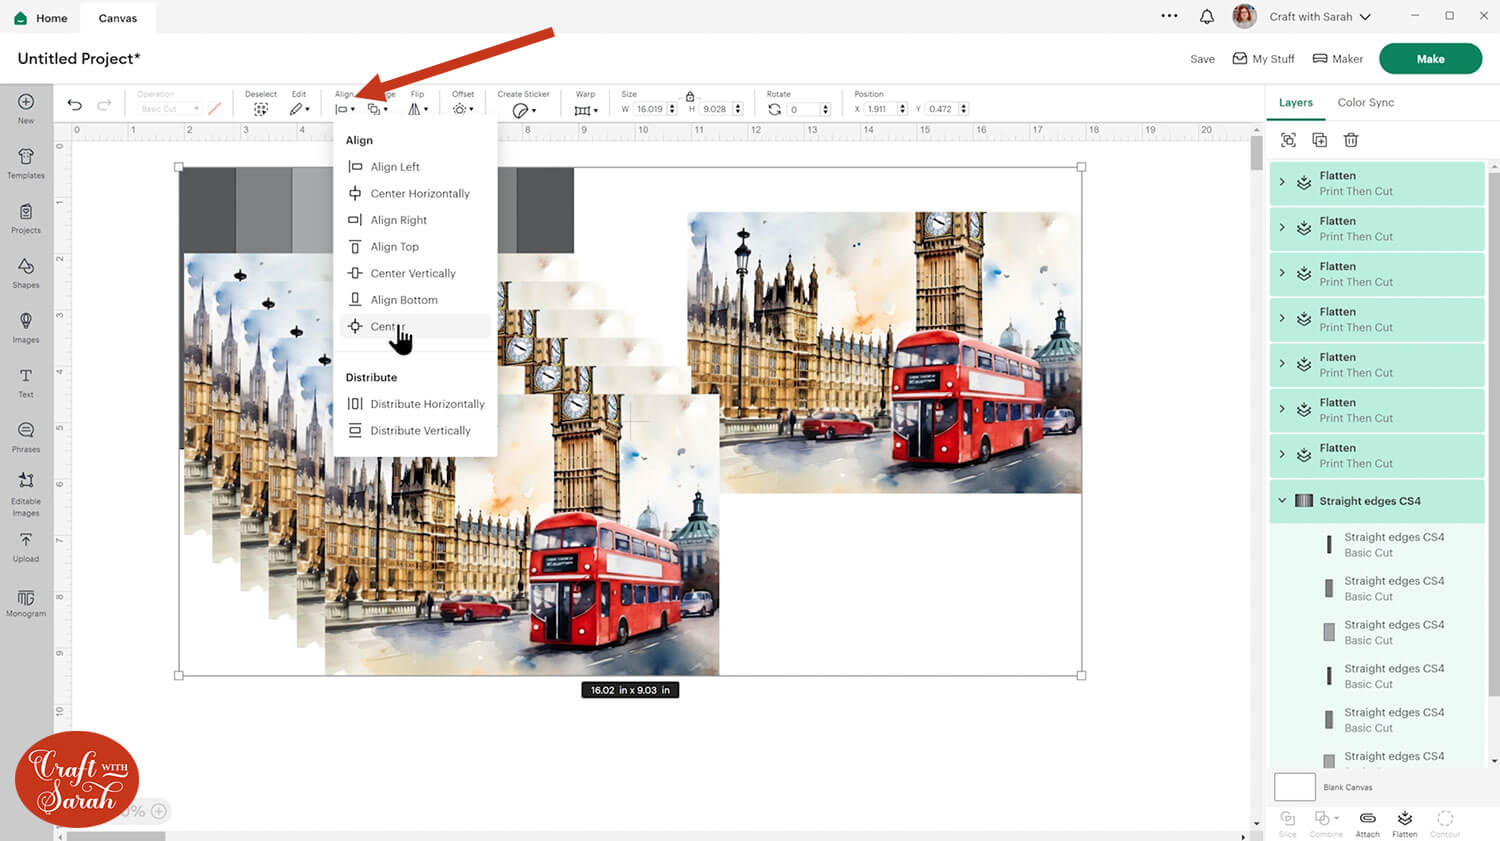
Duplicate the stacker image so that there are 7 in total.

Click “Select All” and then “Align > Center” to put everything on-top-of-each-other.
Move the side stacker template to the top of the layers panel and Ungroup the layers.
Delete the very bottom square/rectangle layer in the template, as that will be the full size of the image, which we have already made.
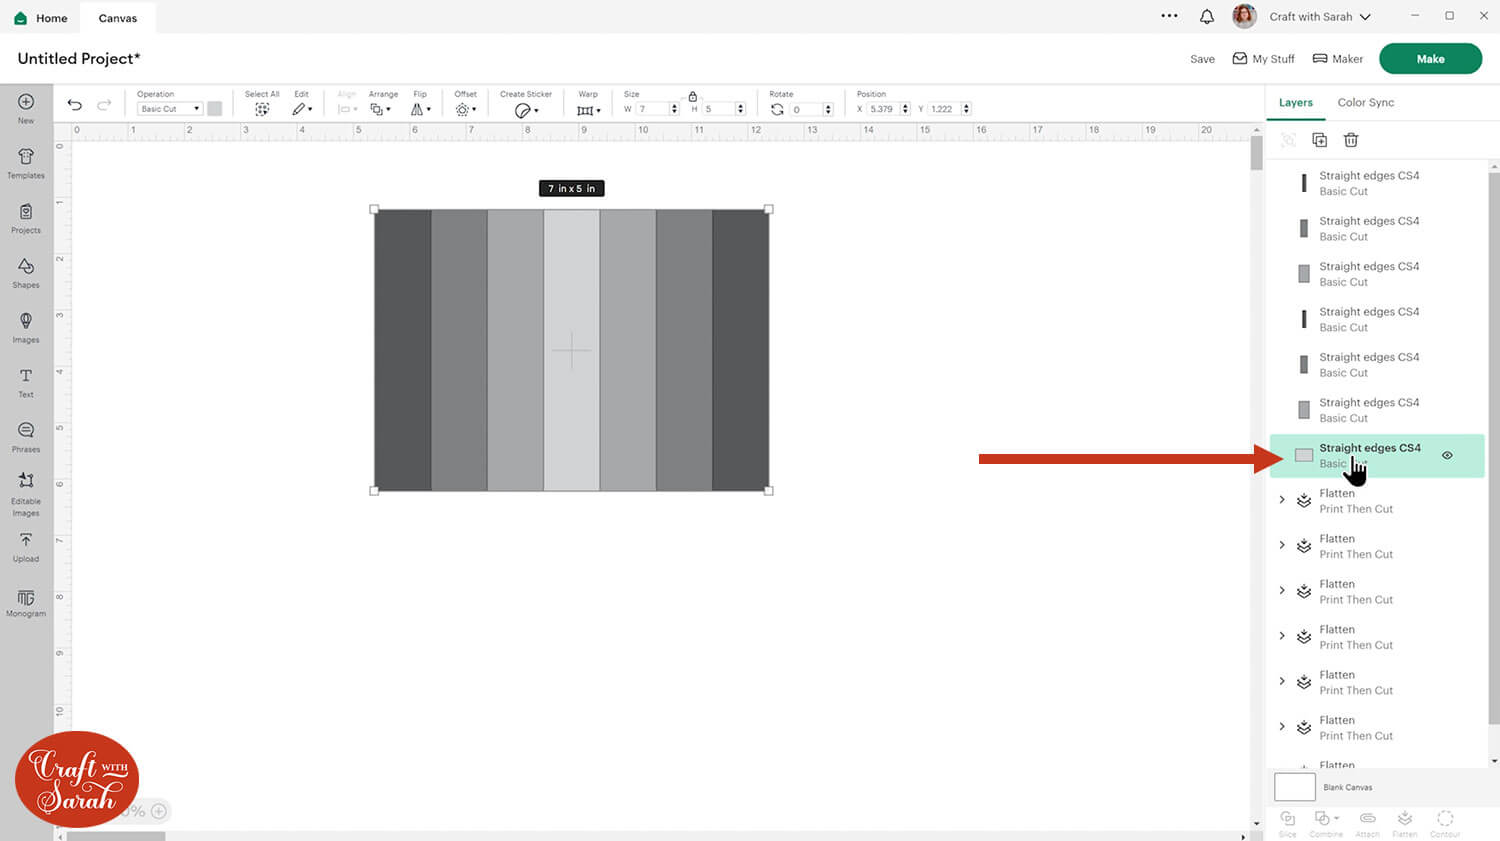
Hide all the picture layers, apart from one.
Hide all the pieces of the side stacker template, apart from one.
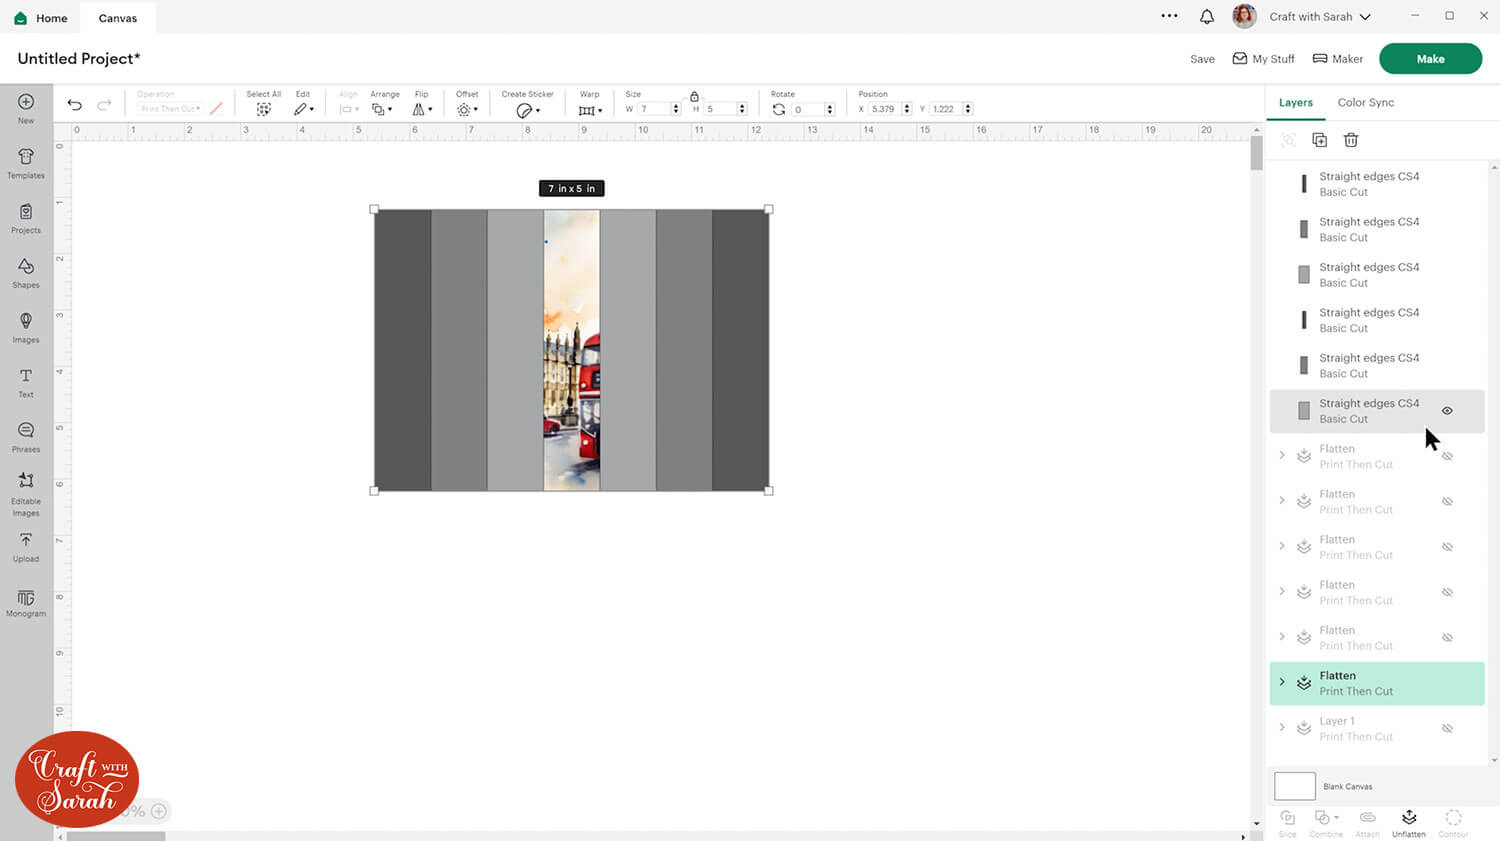
“Slice” the stacker shape out of the image.
Delete the offcuts, but keep the stacker shape.
Move the stacker shape layer under the image layer and change the stacker shape to white.
Select the stacker shape the the image layer and press “Flatten” to join them together. This ensures that there aren’t any hidden “gaps” in the image that the Cricut would try to cut out.
Name the “Flattened” layer if you want to.
Hide this “Flattened” layer, then repeat the same steps for all the side stacker shapes.
When you’re done, the image should look “complete” on the screen:
Save the project and press “Make” to see the pieces.
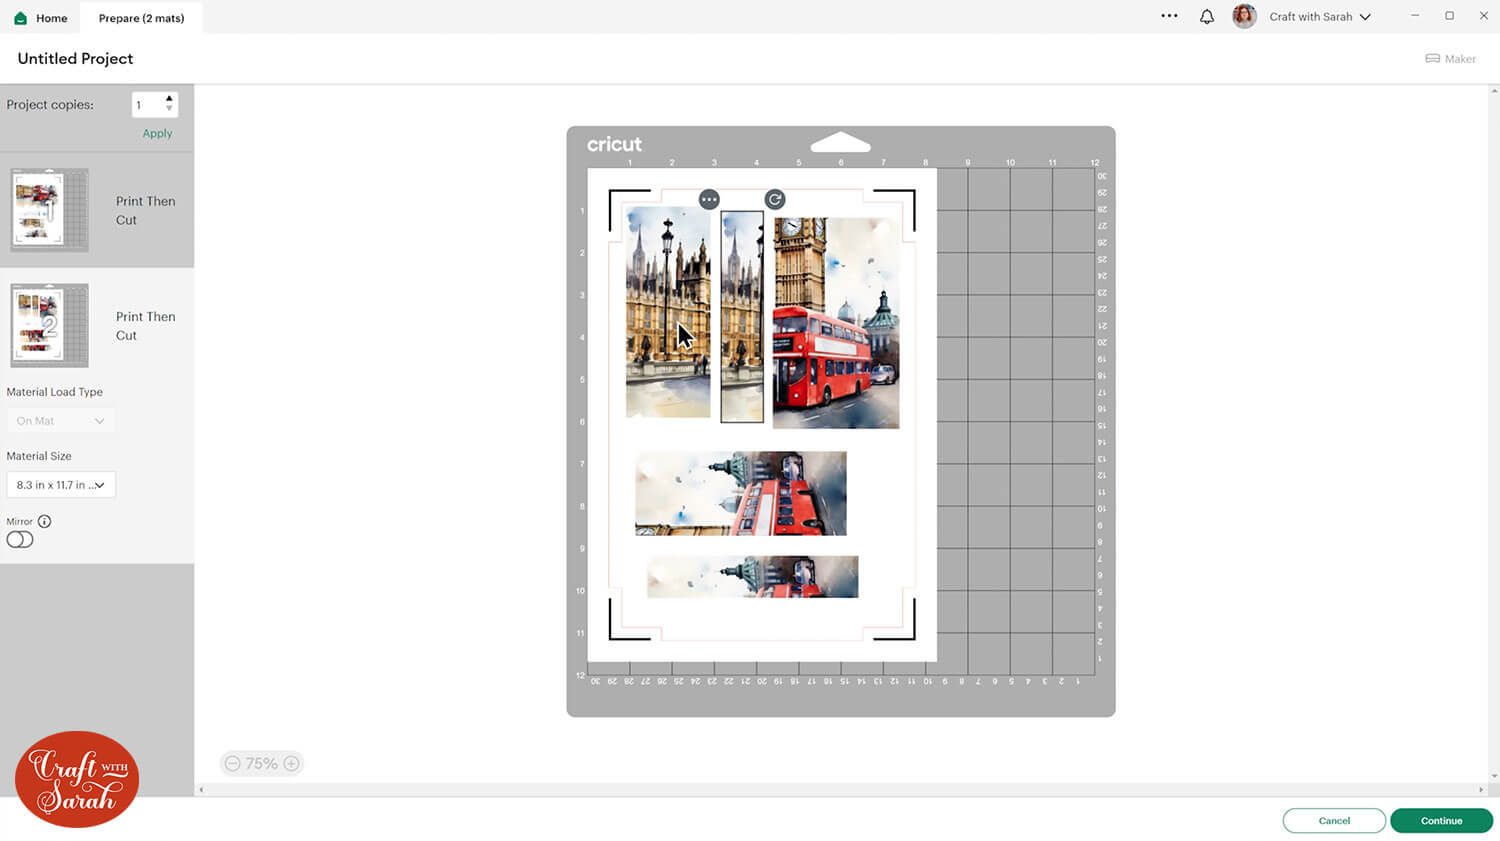
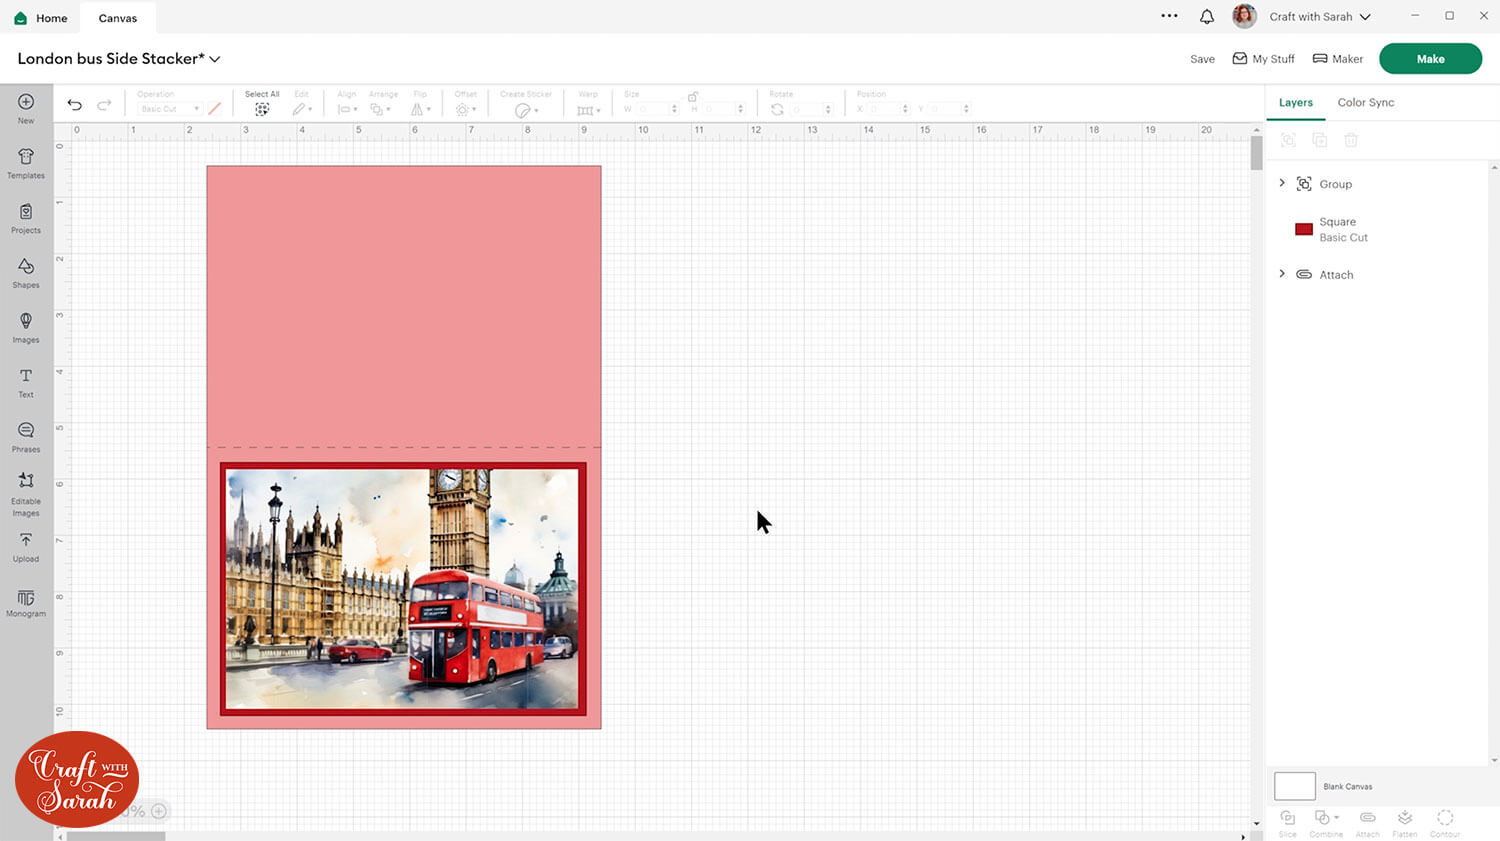
You can either print and cut the stacker as-is, or make it a little smaller and create a base card for it to go on.
To make a base card in Design Space, create a square and resize it to 10 inches wide and 7 inches tall (or whatever size you want your card to be)
Add a score line and make it 7 inches.
Select the score line and the base card and press “Align > Align Center” to put the score line in the middle of the card.
With both layers still selected, press “Attach” to join the score line to the base card.
Group all the layers of the side stacker and resize to fit.
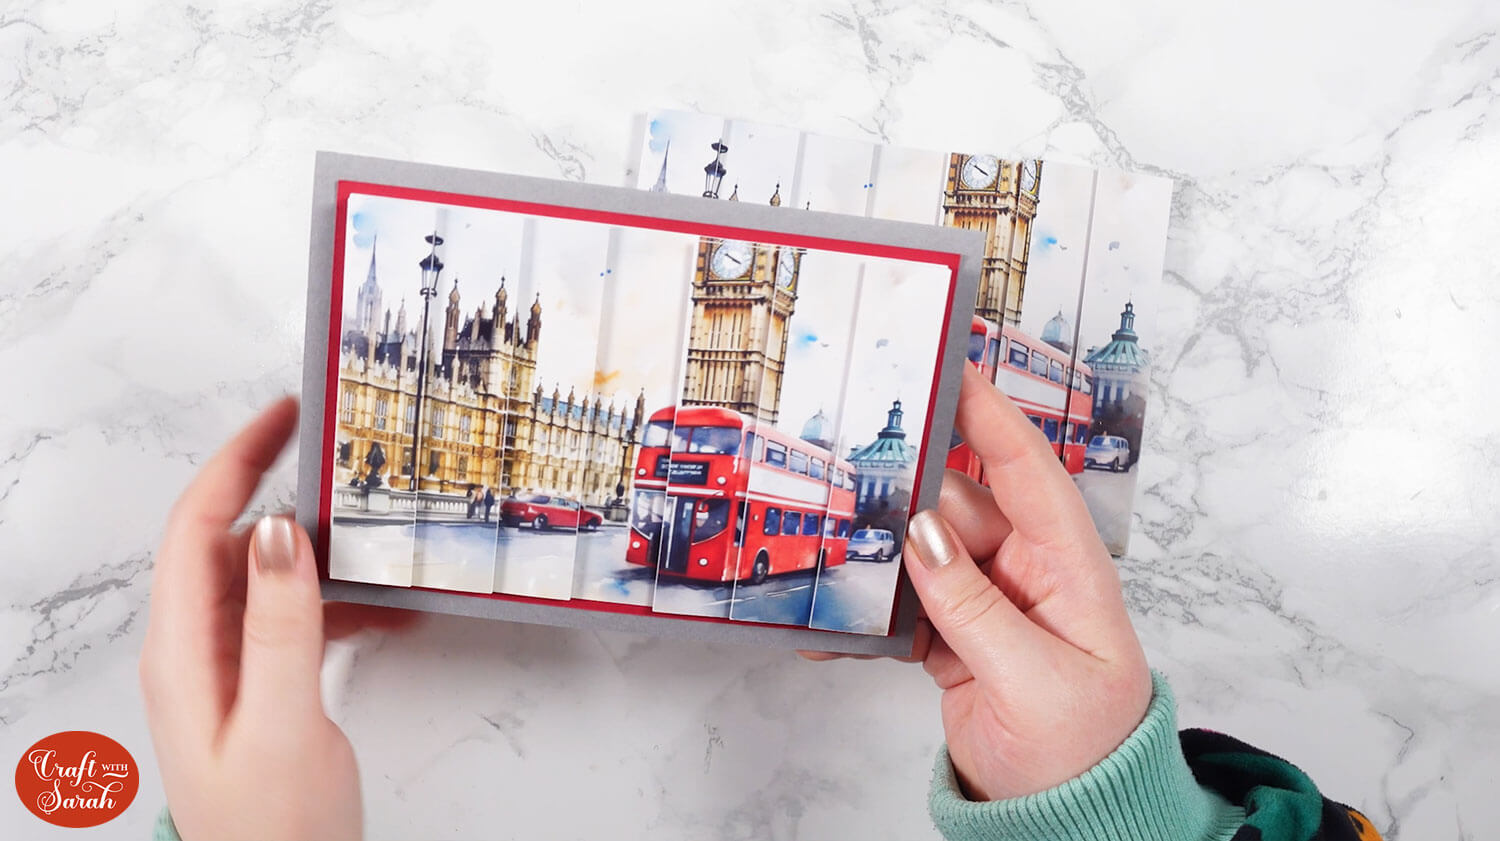
I added an extra rectangle too for a pop more colour.
Step 3) Cut the project & stick together
Save the project again, click “Make” and follow the on-screen instructions to get everything printed and cut with your Cricut.
Line up the pieces in order to make sure you stick them correctly.
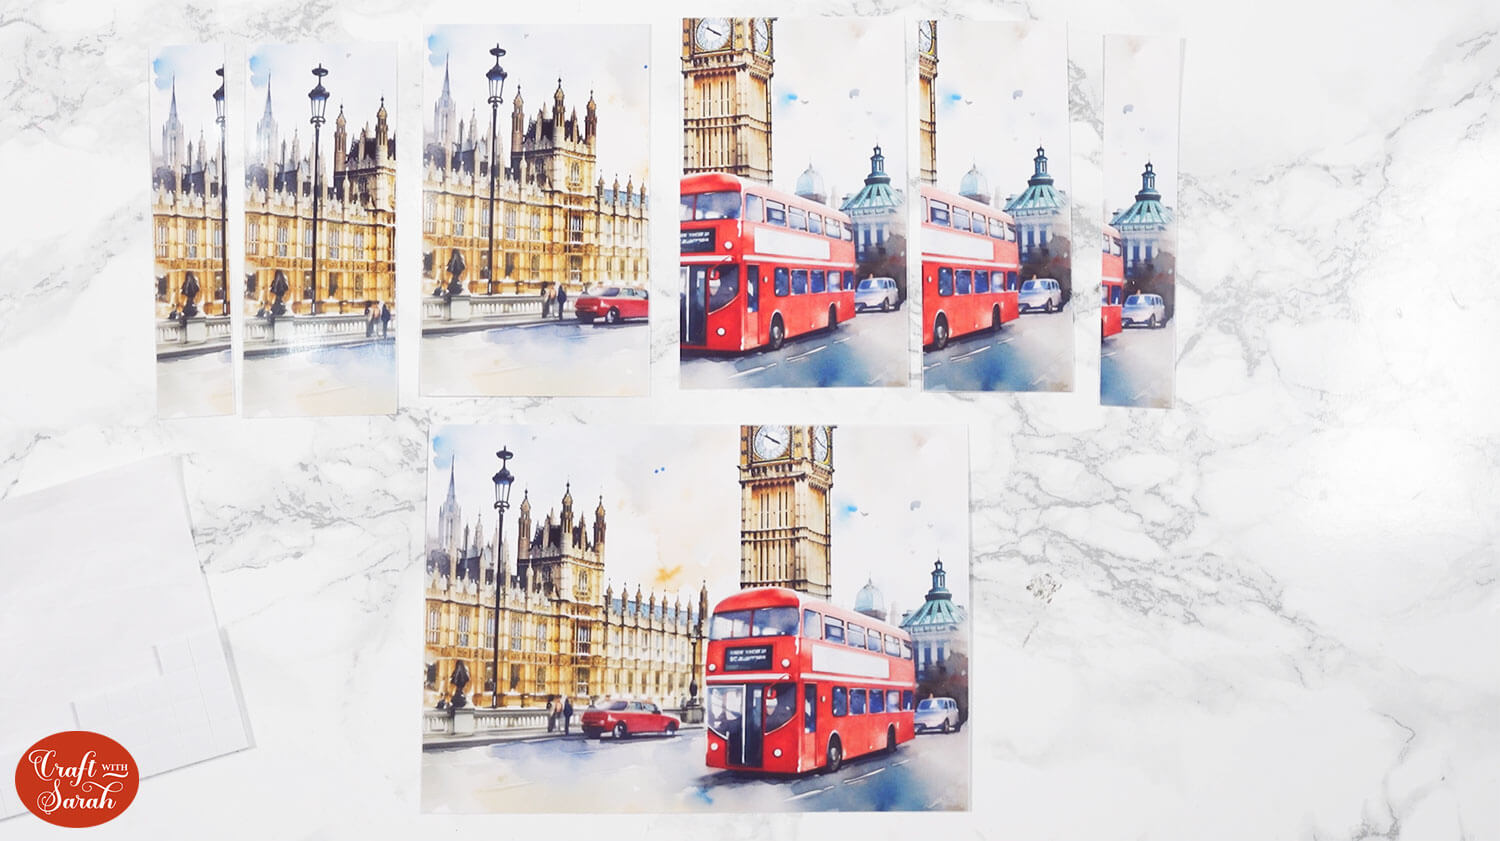
We will stick the biggest pieces first, then move down a size layer each time until the smallest pieces go on the very top.
You’ll need some foam pads/squares, similar to these:
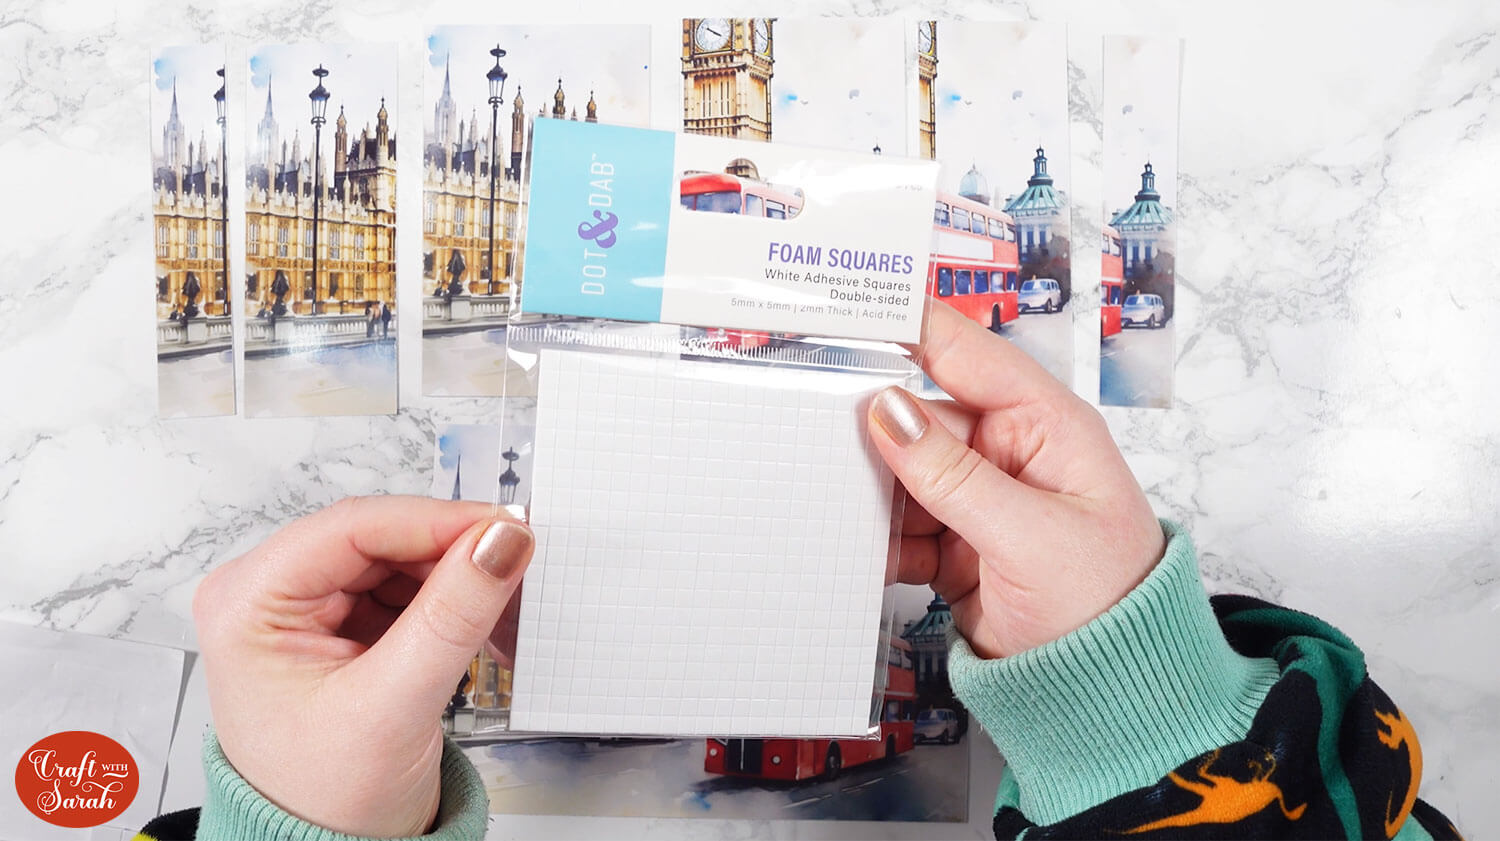
Take one of the largest stacker pieces and add foam squares to the back. Make sure you add some in the middle of the pieces as well as round the edge, to give them stability.
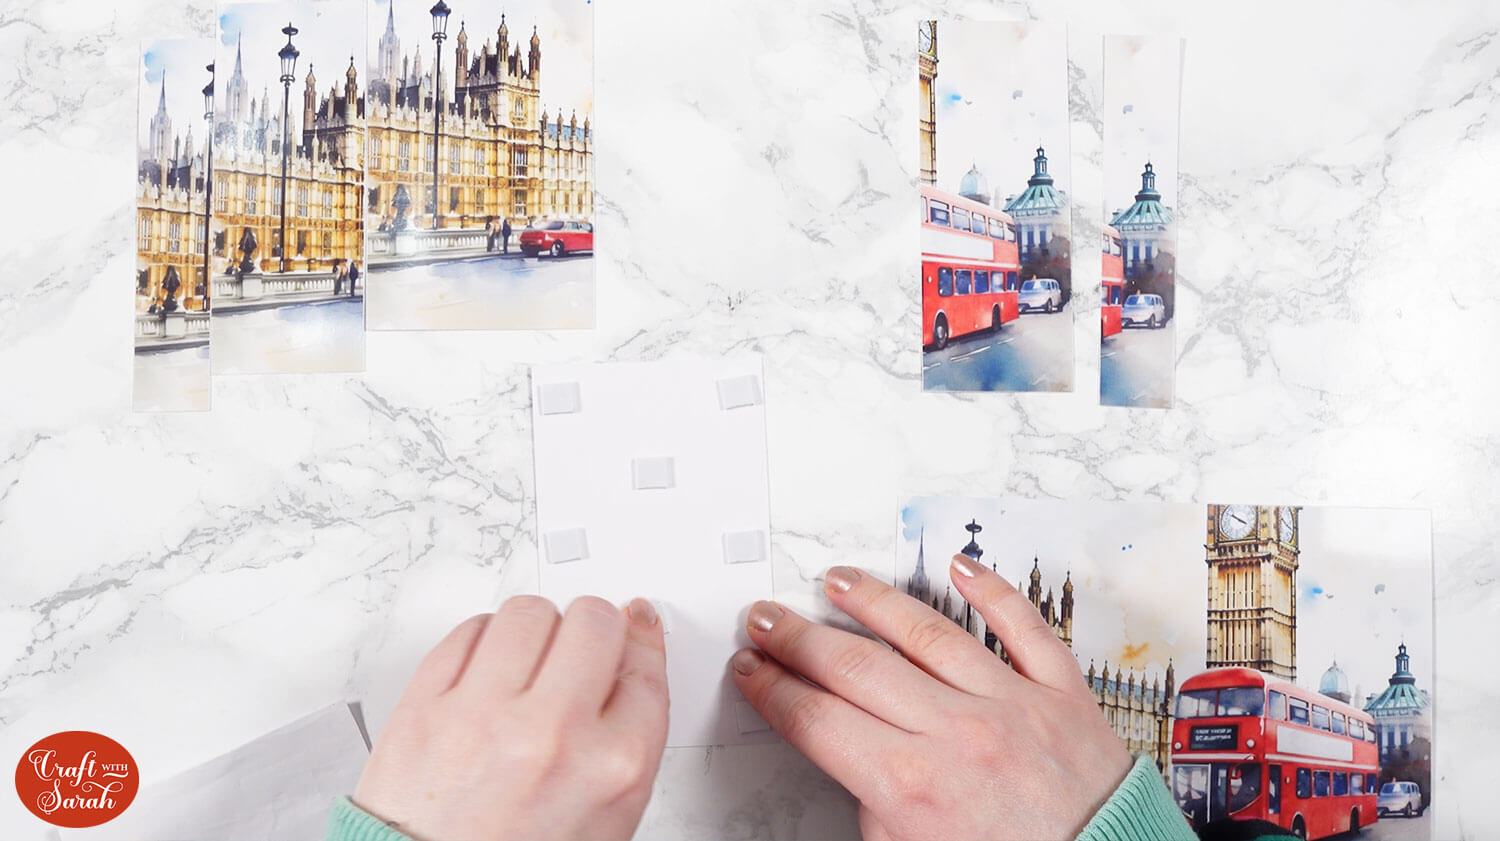
Stick it to the big rectangle/square image cutout, lining it up with either the far-left or the far-right of the printout.
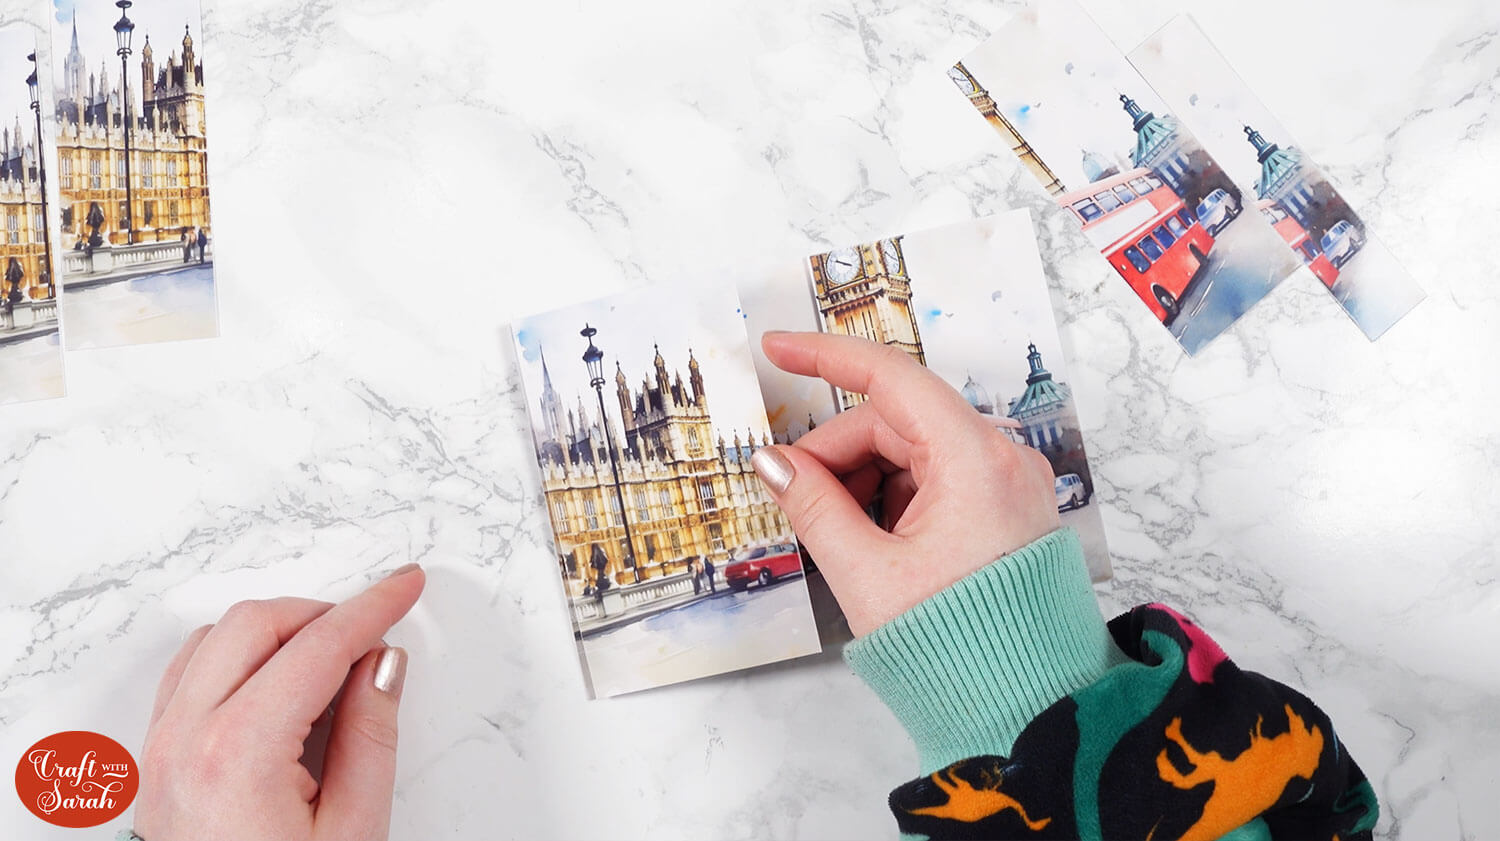
Repeat for the matching sized piece for the opposite side.
I found it easier to line up this side with the stacker turned upside down.
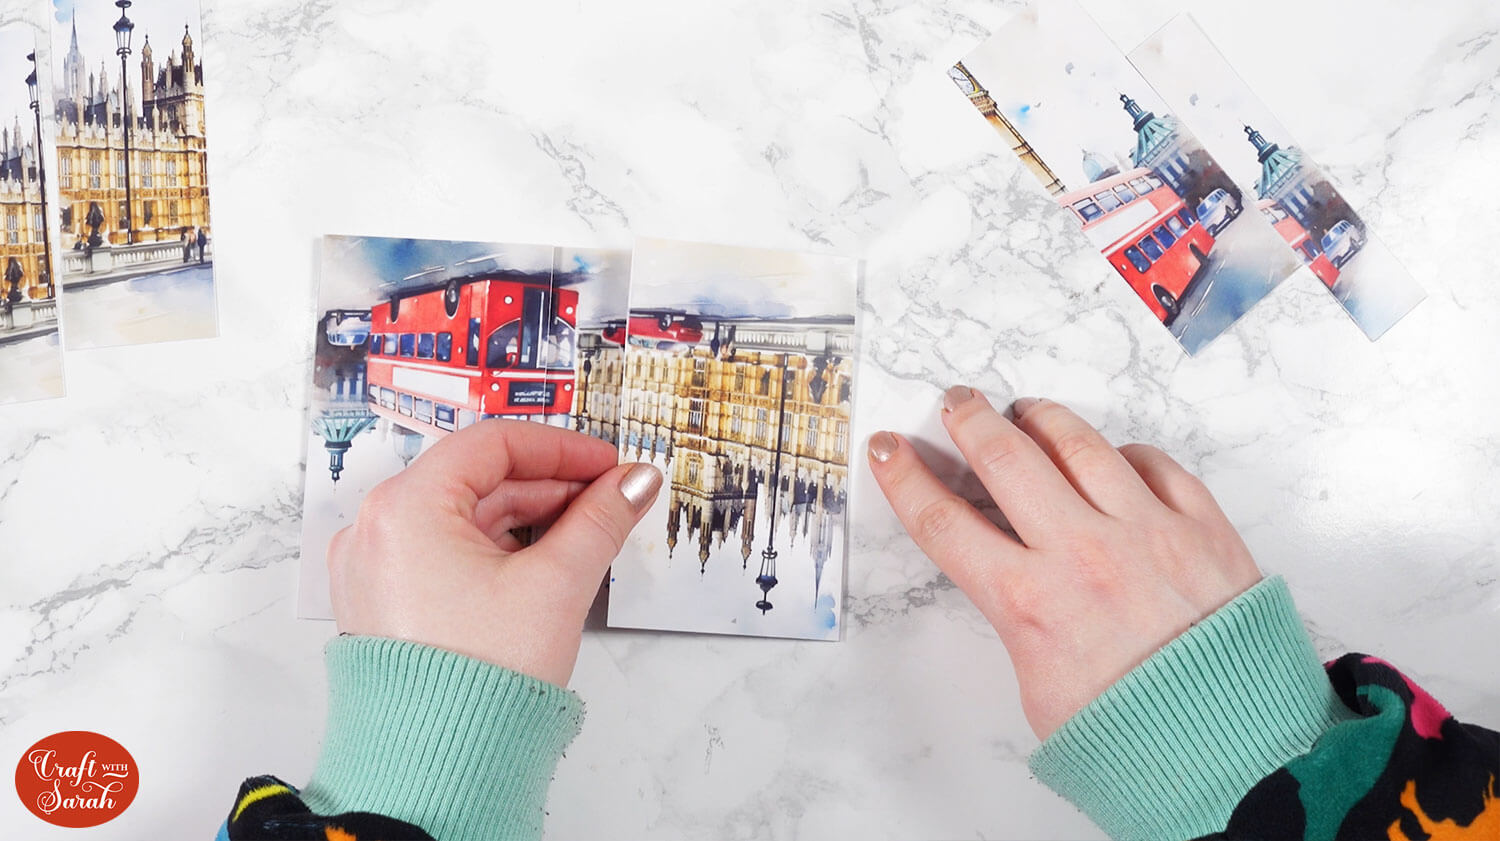
Continue sticking, in size order, until all the pieces are attached.

If you created a separate base card, glue the side stacker topper to it.
Want to combine multiple images?
Sometimes you might not be able to find the perfect image, but you have several different ones to combine together.
For example, in the screenshot below there are three images: the background, the dogs and the butterfly.
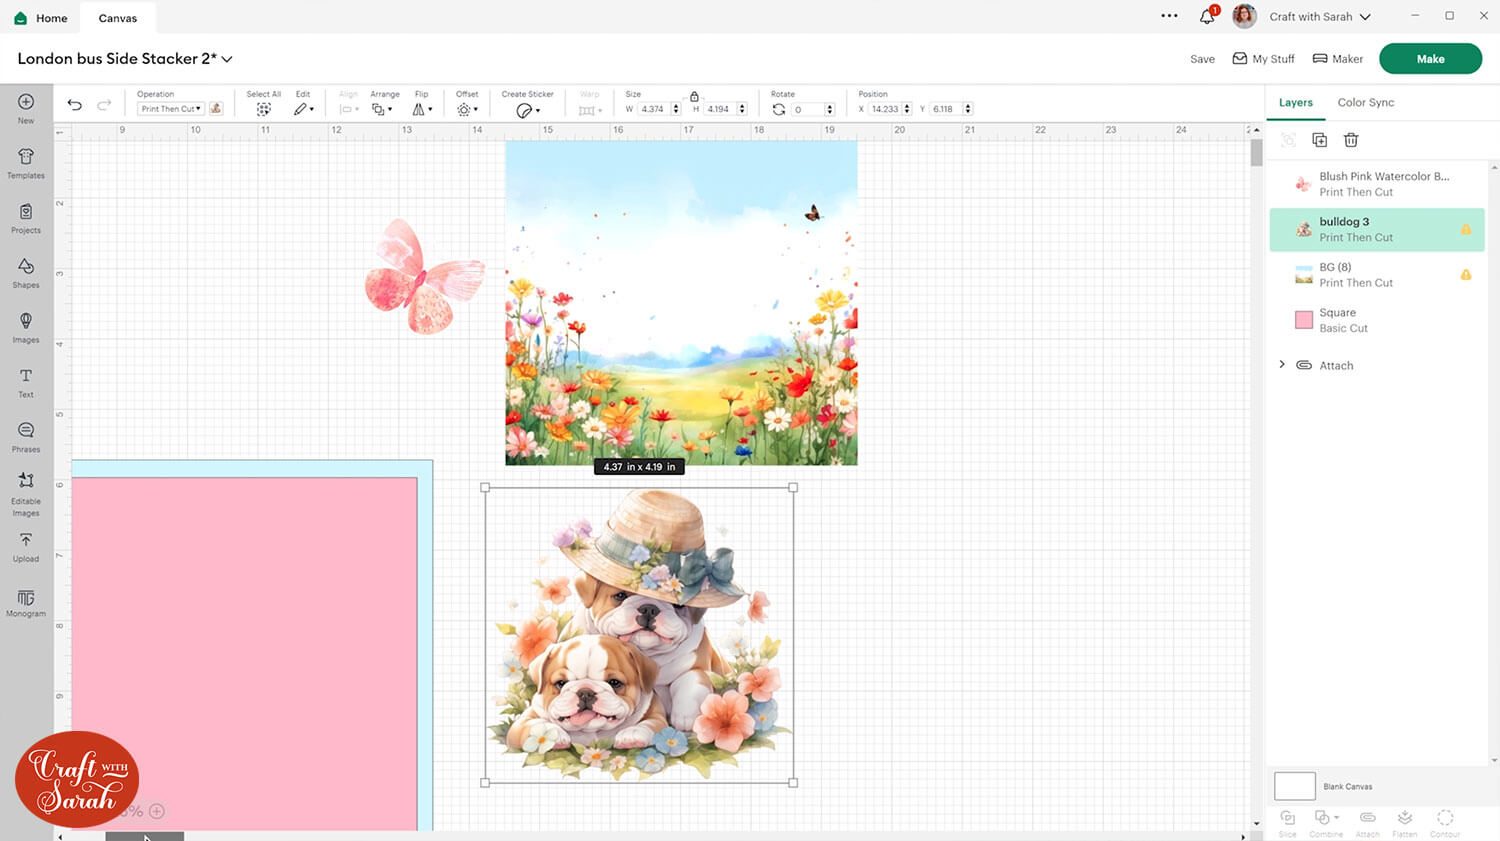
I could arrange these together to make a square-shaped graphic to use for a side stacker.
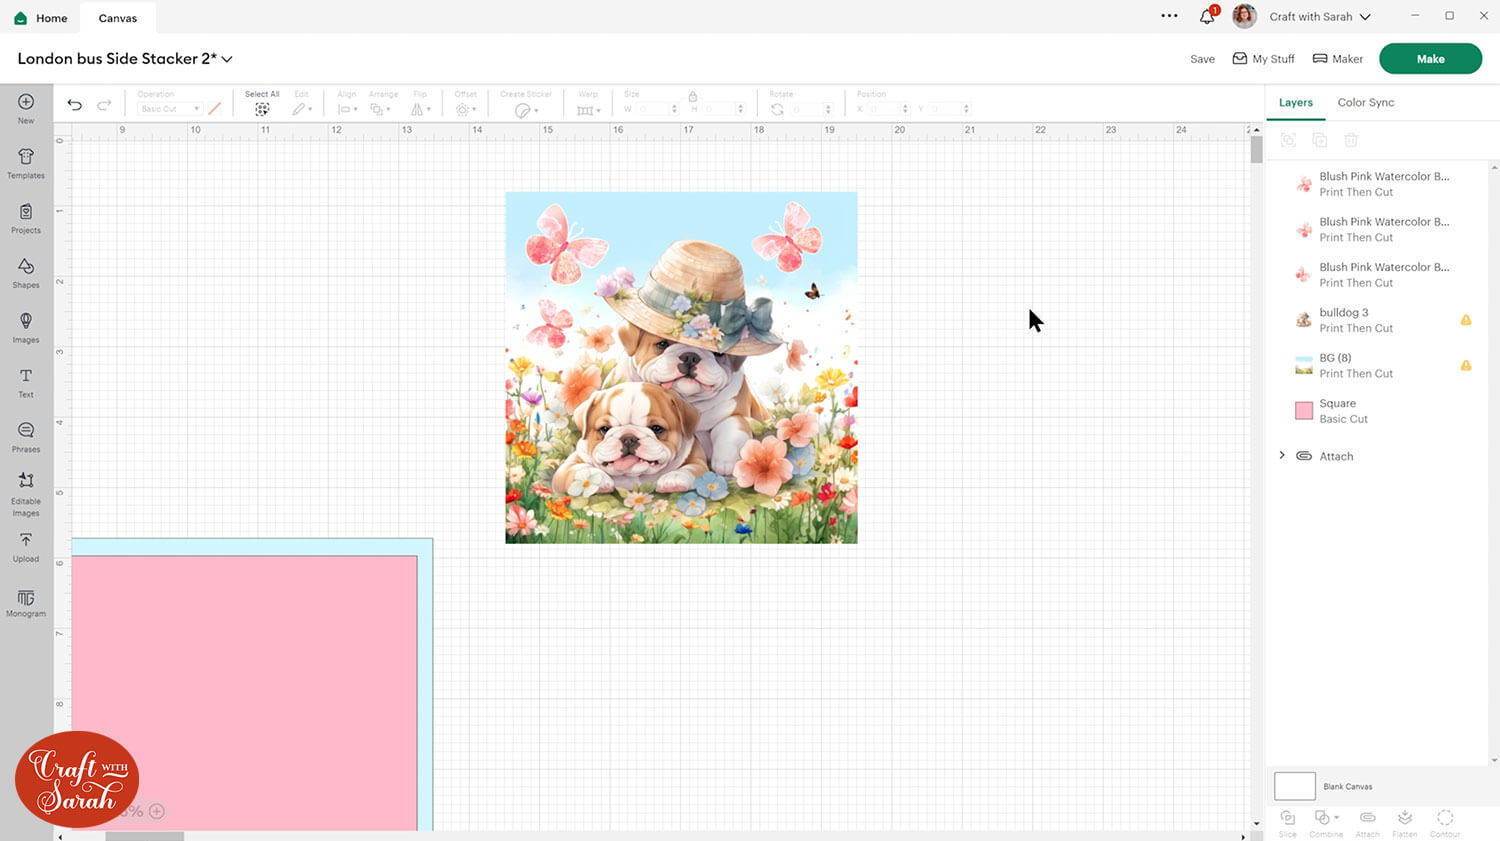
However, there is a slight problem with doing this. When all the images are “Flattened” together, Design Space is not allowing the “Slice” option.
This is due to a relatively new way of doing the “Flatten” process within Design Space. Now, it “remembers” all the different layers that you have flattened together, rather than joining them into one single layer.
Unfortunately, Slice only works with two layers selected, so this is no longer a suitable method to choose if you want to combine images for your stacker design.
BUT… there IS a way to overcome it!
In fact… there are TWO ways!
These are explained in much more detail in the video at the top of this page, but here is the general idea.
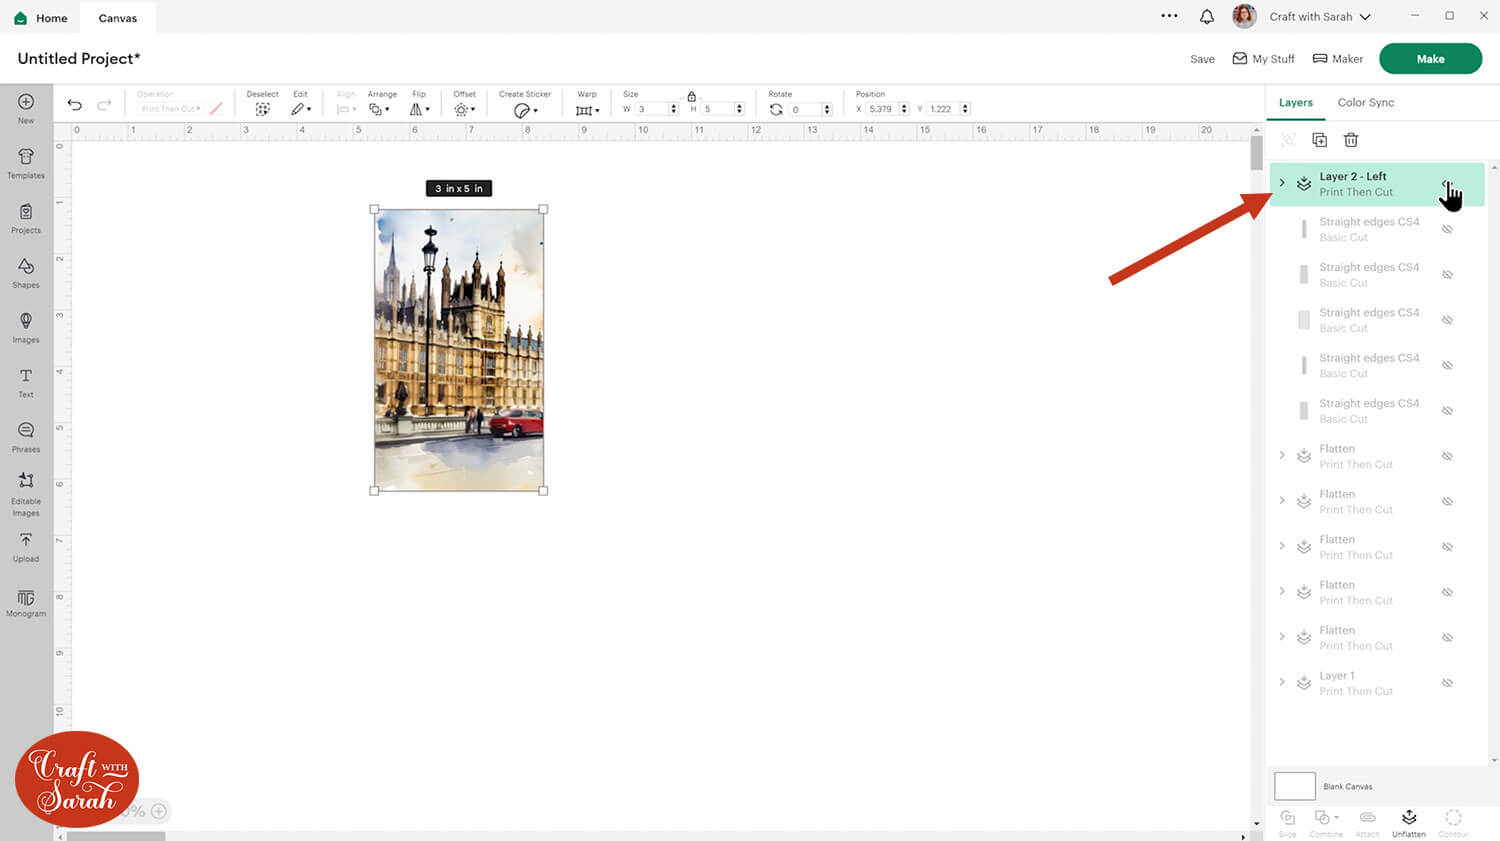
The first way is to duplicate your Flattened design for every colour that appears in the side stacker (four copies in total).
Align everything on top of each other, including the stacker template.
Hide all but one of the Flattened designs, and hide all but one of the colours of the stacker template. Leave the left and right shapes of the stacker visible.
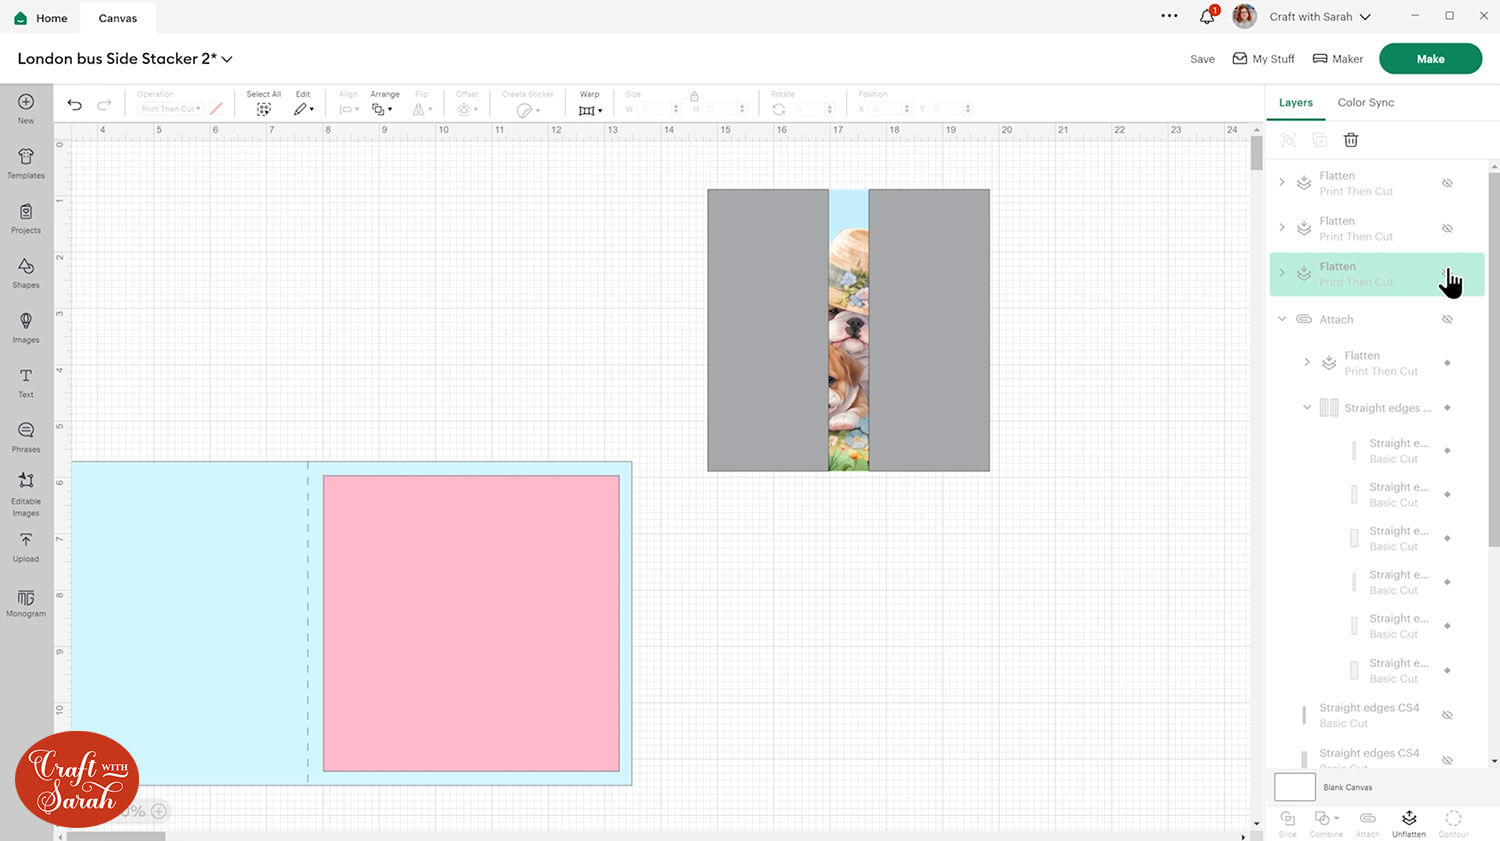
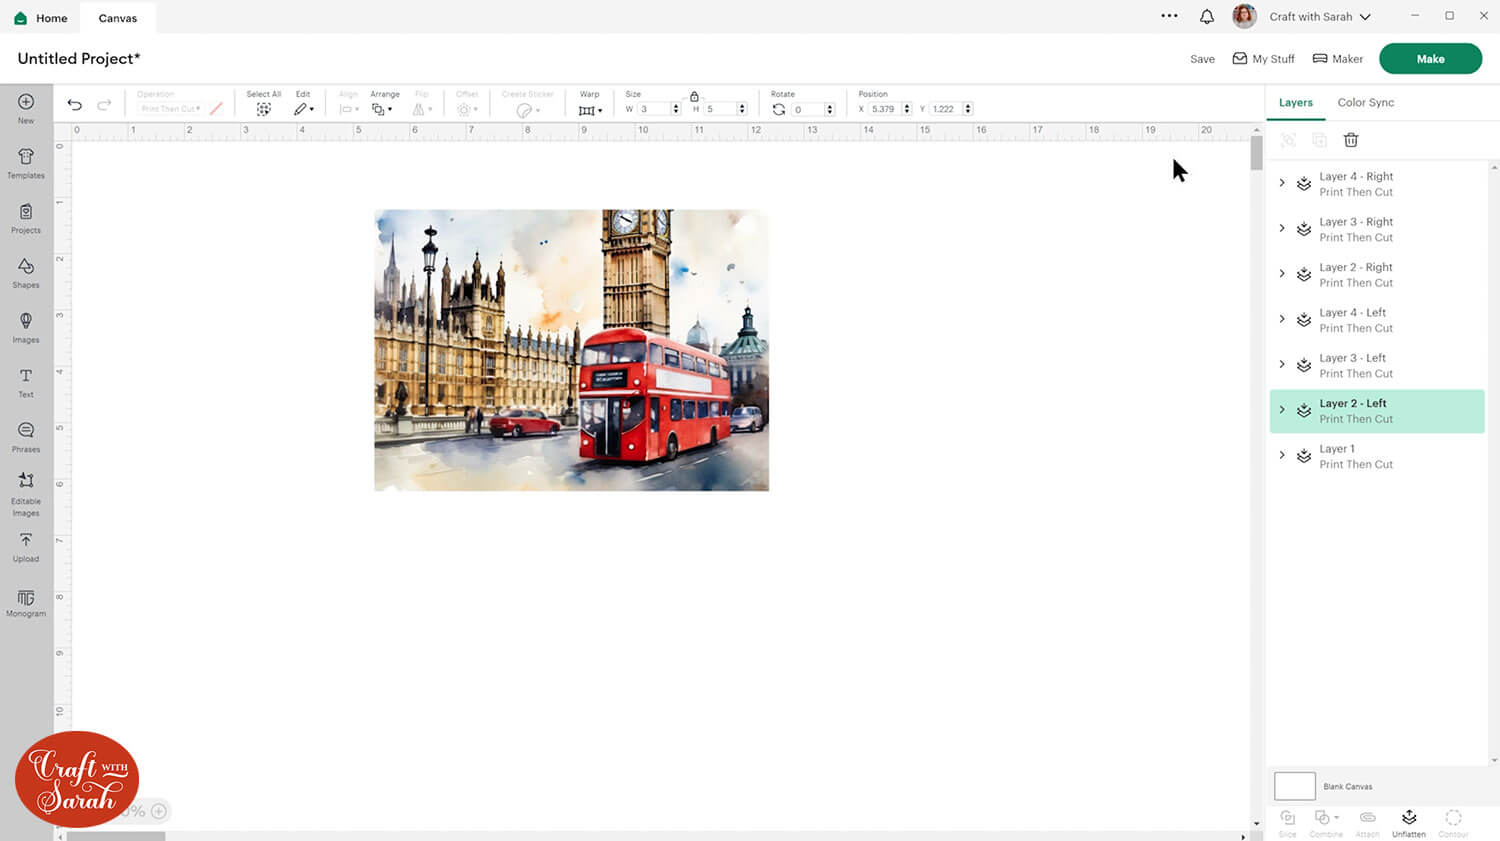
Move the stacker shapes BELOW the Flattened design, then select all three of them and “Attach” them together.
Now, the Cricut will print the whole square image and then cut the stacker shapes out of it, giving you the left and right pieces in one go.
Don’t worry that the stacker shapes are not visible after Attaching. They are still there, but being covered up by the Flattened design.
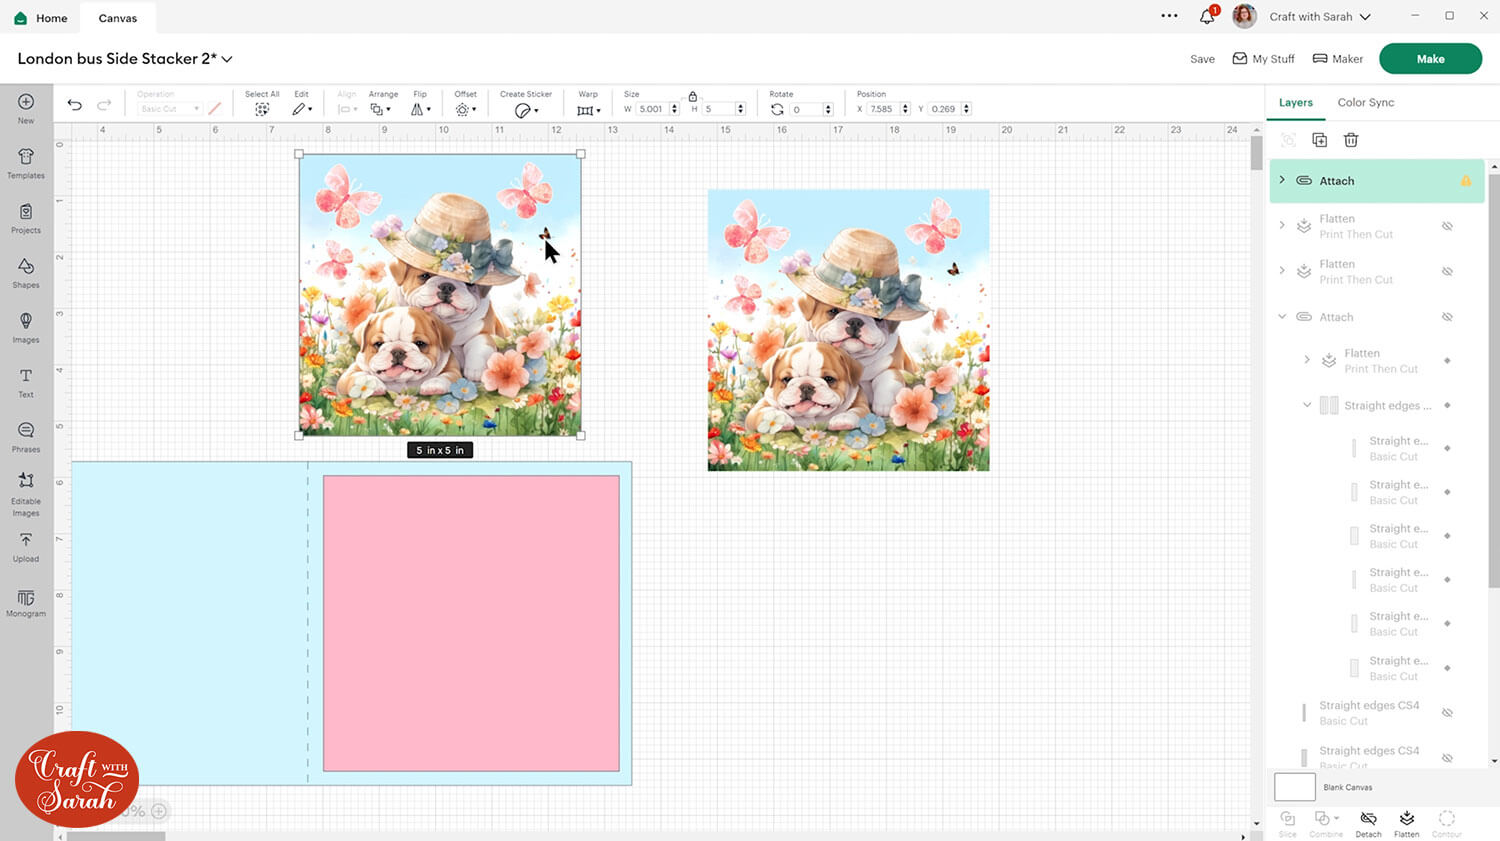
Repeat this for all of the side stacker colours.
You also will not be able to see the cut lines when you click “Make”, but they are still there. 🙂
In my opinion, this is the best way to make the stackers out of multiple images, however it does use a little bit more printer ink than it needs to, since we’re now printing the whole image each time rather than just the side edges.

Here’s how it looks when made:
The second method is to just print the image once, and cut ALL the stacker shapes out of that same image.
This means you only need to print the image one time, thus saving you printer ink and photo paper, BUT it makes the card much harder to stick together, and the final topper ends up looking a little messy.
To do it this way, size your topper to match the side stacker and place them on top of each other in Design Space, with the stacker template underneath.
Select the layers and Attach them.

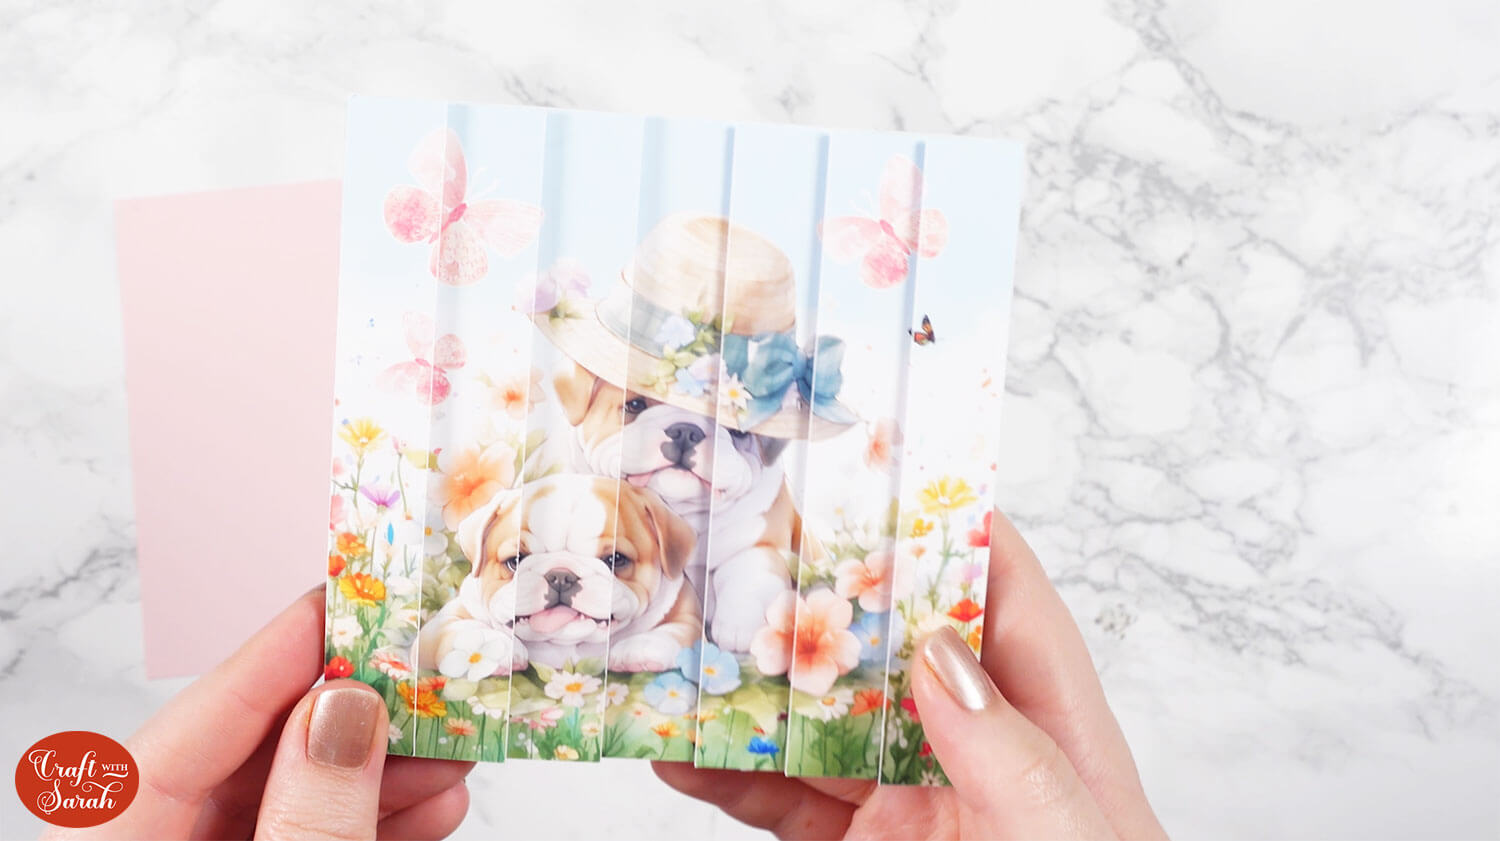
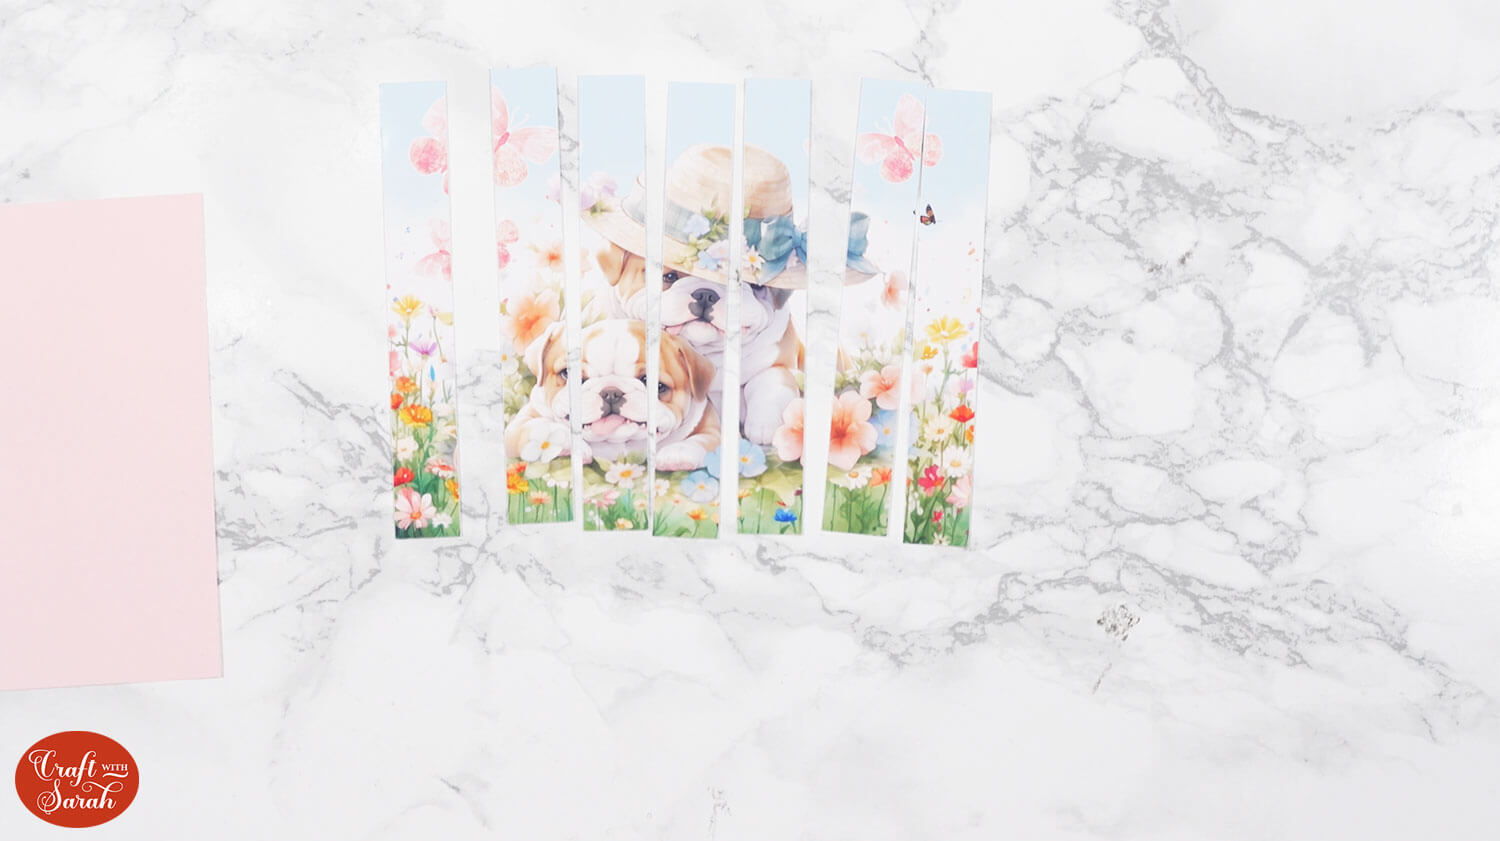
The Cricut will cut all the stacker lines on the same image, giving you “strips” of the final image.
It may damage your Cricut mat slightly, as it will cut around the edge of all the stacker shapes, meaning that the left and right sides of the image will be cut four times.
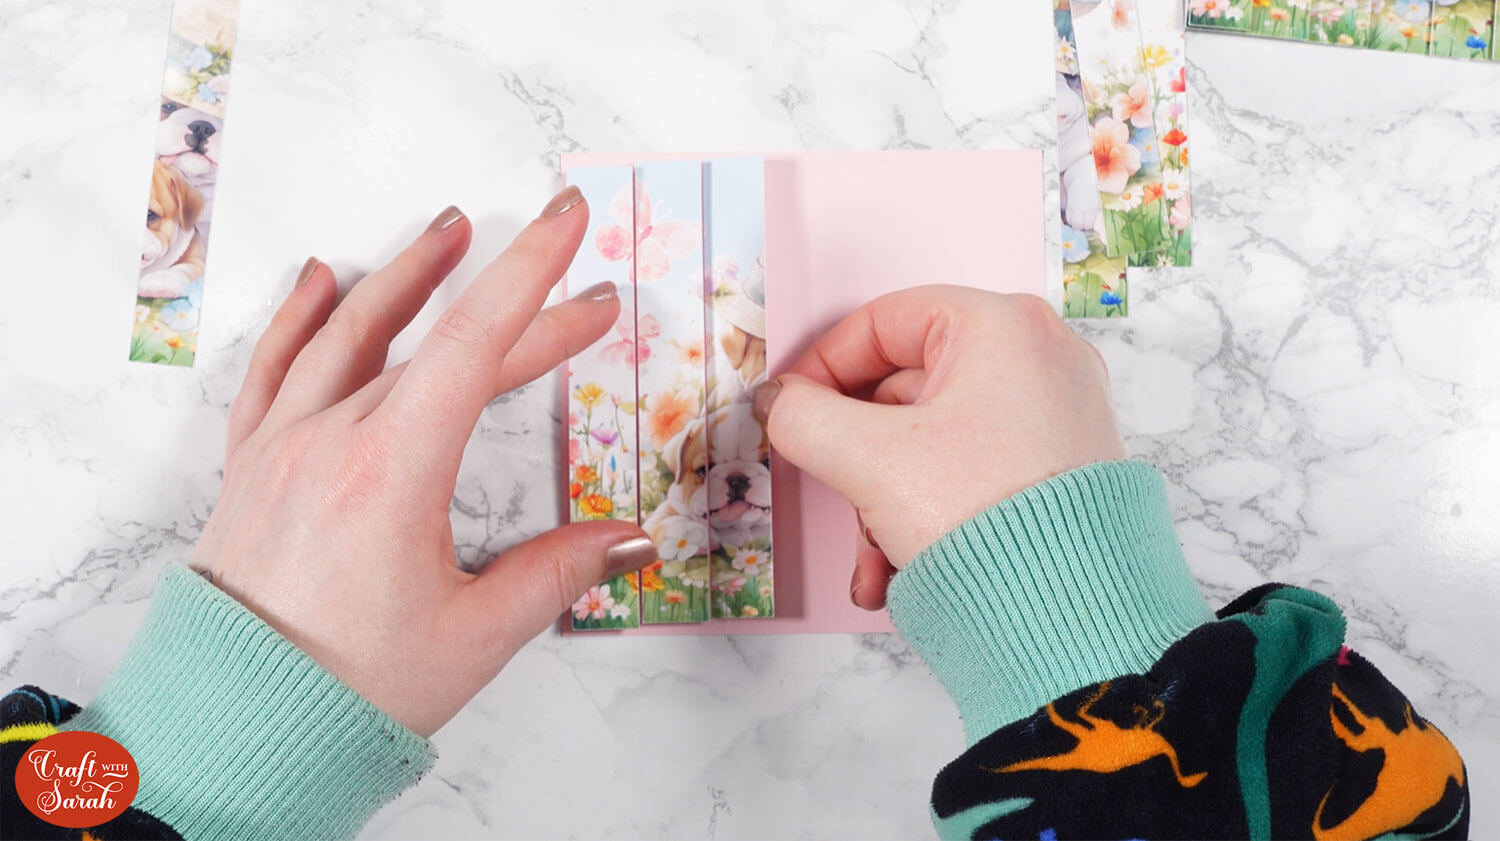
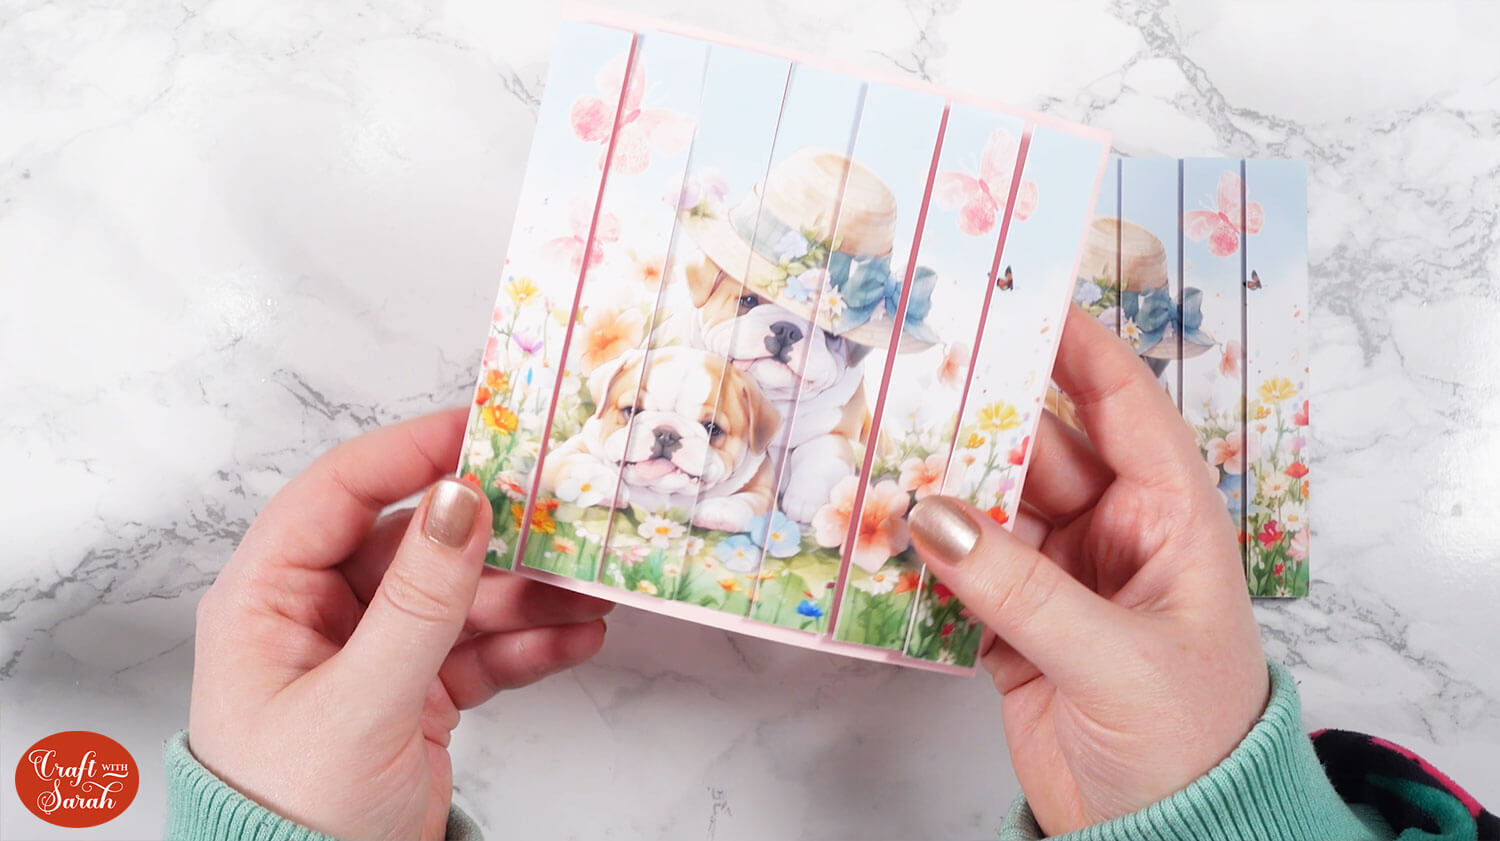
You can then piece the strips together, using varying amounts of foam squares. Stack three foam squares on top of each other for the outside pieces, then 2 on top of each other for the next pieces, one foam square for the third piece and glue on the very middle.
It is difficult to line the strips up accurately, and when it’s finished you can see the base card through the gaps.
Therefore, I prefer the first way of doing it, where the entire squares are cut multiple times, rather than this way.
Unusual stacked cards to make with a Cricut
I hope you enjoyed this tutorial on how to make side stacker cards!
I’d love to see what you make with them. These are so customizable as you can add any image or photo you want to the topper.
Don’t forget to check back tomorrow for the next Card Making Countdown project.
Happy crafting,
Sarah x

