ECC Day 09 🌼 Shaker Cards for Easter
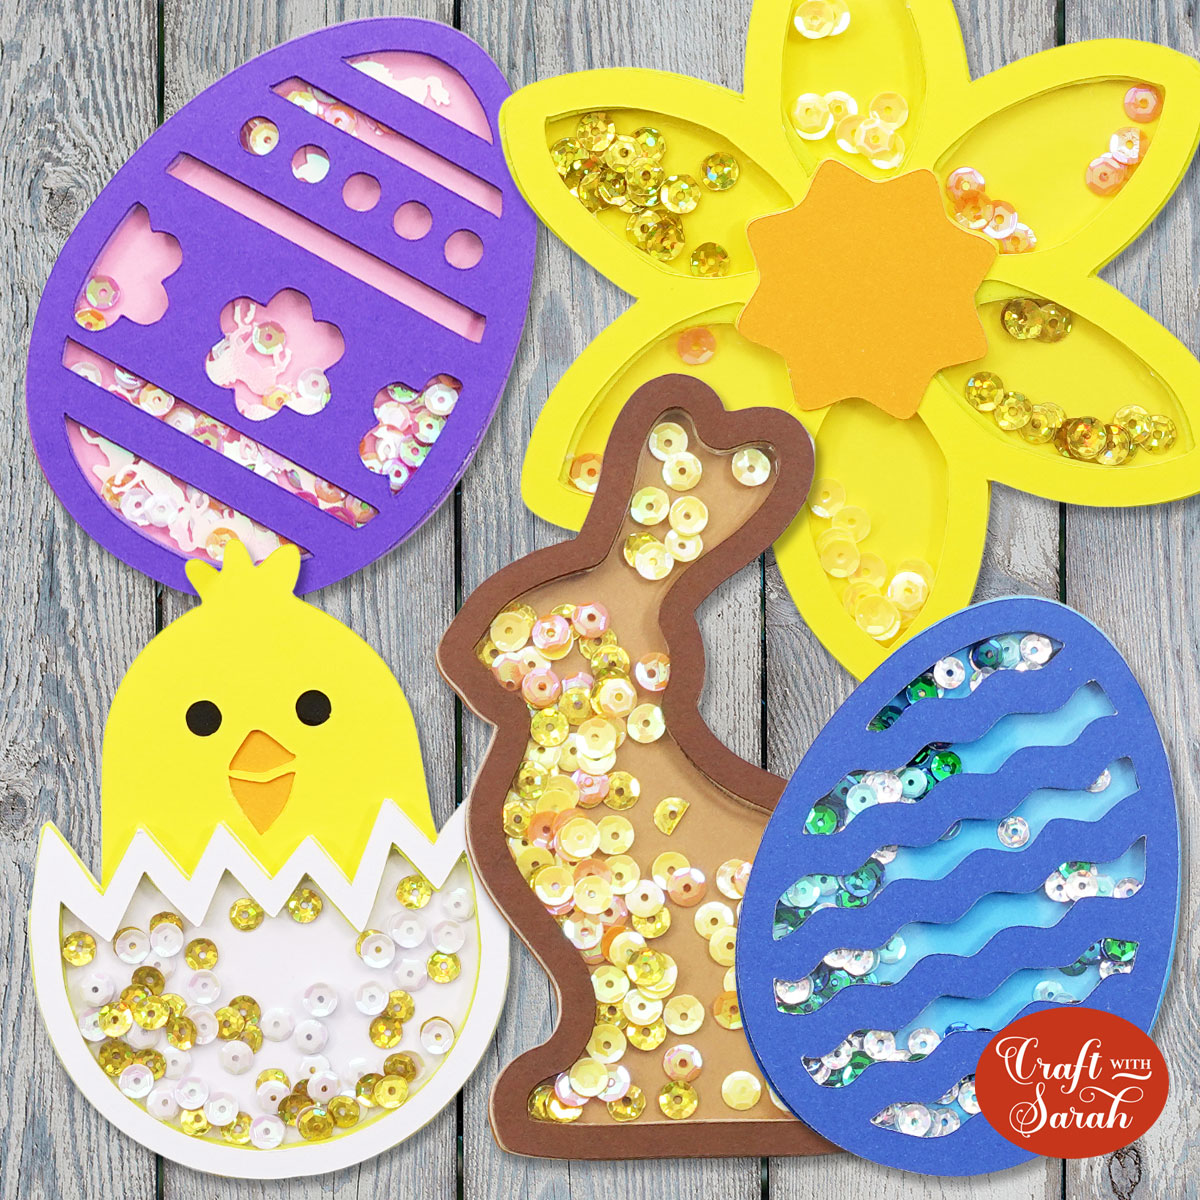
Shake, shake, shake… shake your TOPPERS!!
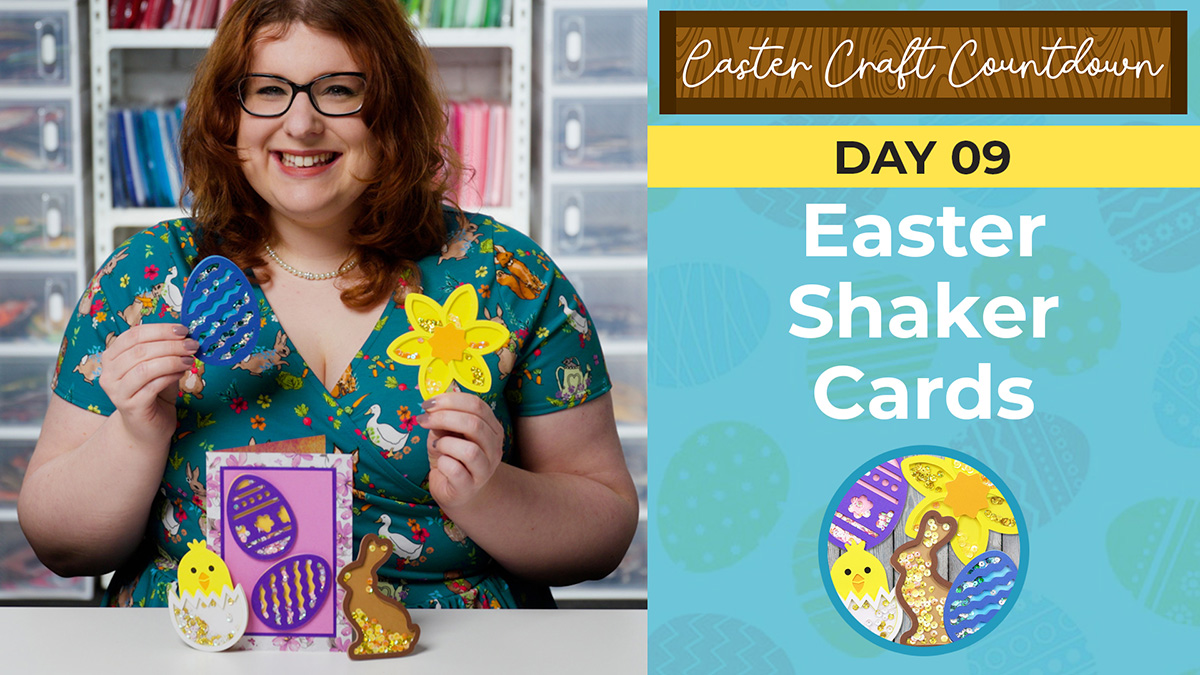
Hello and welcome to Day 9 of the Easter Craft Countdown, where I’m sharing a brand new free Easter craft project every day for 10 days!
I love these little shaker toppers for card making.
Cutting the middle parts from fun foam makes them SO easy to put together without any of the little shaker pieces escaping!
This Project was part of the ECC Day 09 🌼 Shaker Cards for Easter
Materials supply list
Here is a list of the materials that I used to make this project.
Please note that some of the links included in this article are affiliate links, which means that if you click through and make a purchase I may receive a commission (at no additional cost to you). You can read my full disclosure at the bottom of the page.
- Cricut machine
- Light blue Cricut cutting mat (for cardstock)
- Strong cutting mat (for fun foam)
- Cricut Knife blade (for fun foam)
- Cricut scoring wheel or stylus (optional)
- Coloured Card
- Collall All Purpose Glue
- Needle Tip Applicator Bottle
- Acetate
- Sequins, glitter, seed beads or similar
- Washi tape to securely attach the foam to the mat
Video tutorial
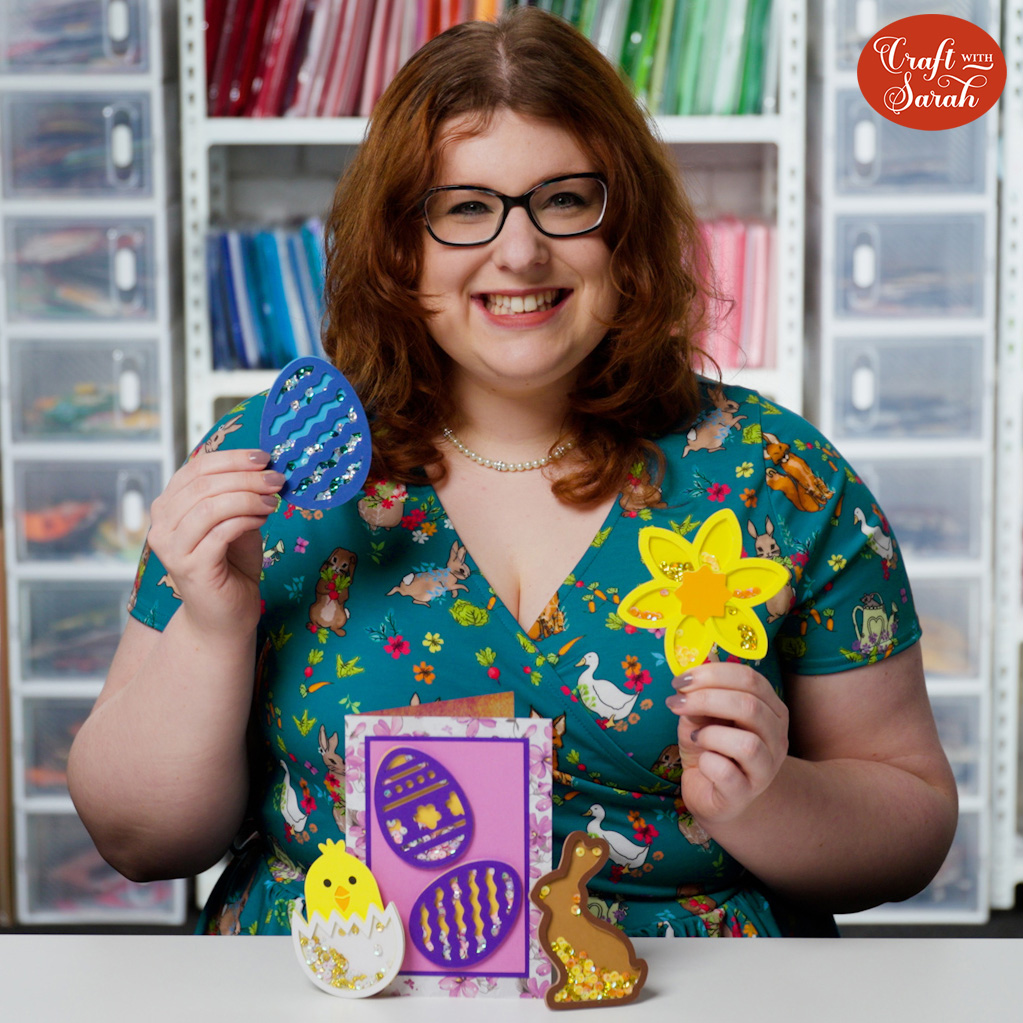
Watch the video below to see how to make this project. Keep scrolling for a written tutorial.
Written tutorial (with photos!)
Here’s how to make your very own Easter shaker toppers using a Cricut machine!
Step 1) Download the cutting file(s) & unzip the downloaded folder
Before you upload the SVG to Design Space, you need to unzip the download folder that it comes in.
- How to unzip a folder on Windows computer
- How to unzip a folder on a Mac
- How to unzip a folder on an iPad/iPhone
- How to unzip a folder on an Android device
Step 2) Upload the SVG file into Design Space
Open up Cricut Design Space and start a new Project.
Click “Upload” and then find your unzipped version of the downloaded files for this project.

Select the file called svg-easter-shakers-craftwithsarah.svg
Make sure you upload the file which starts svg- in the filename!!
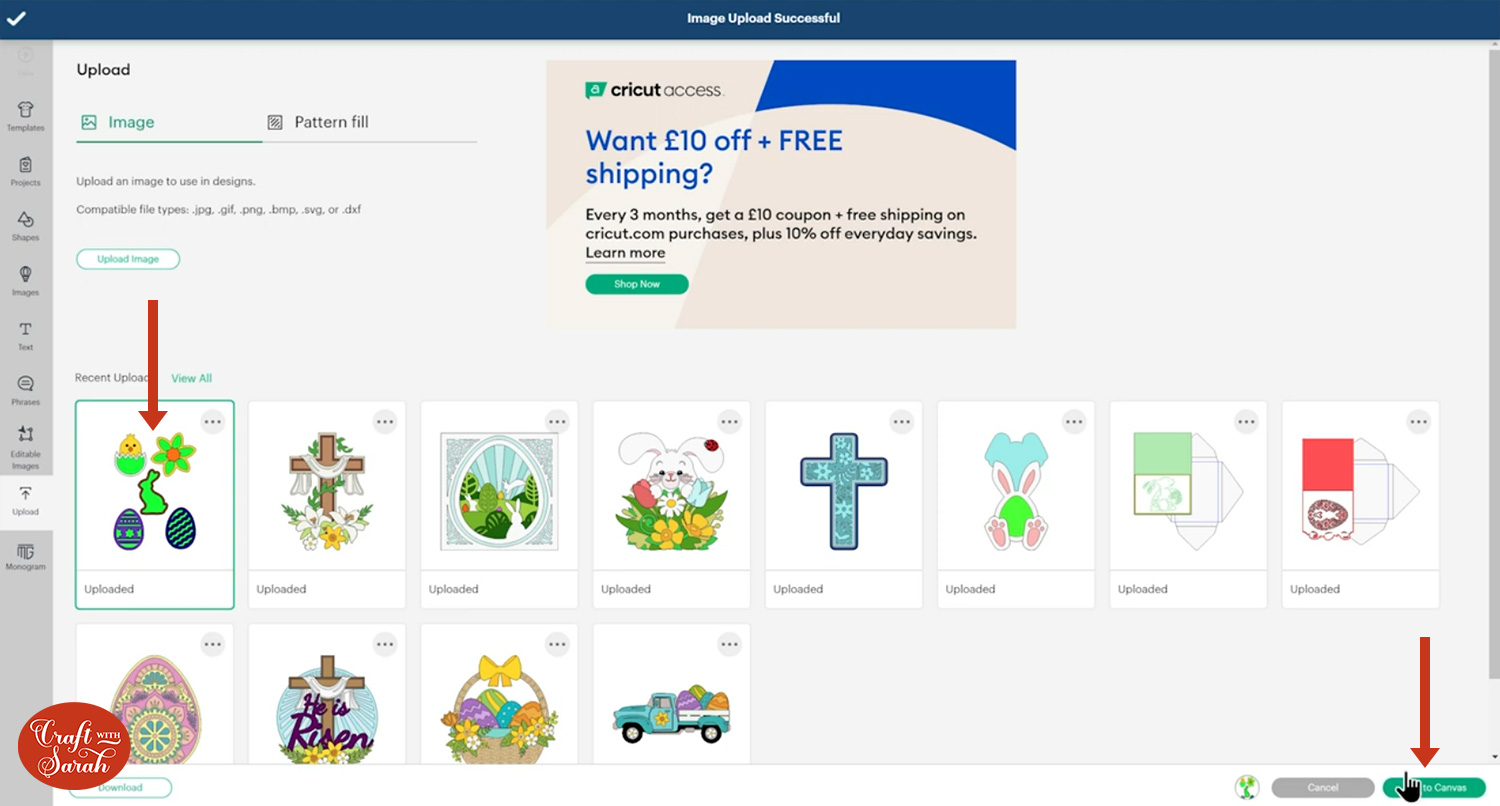
This is how it should look after you have uploaded the file:
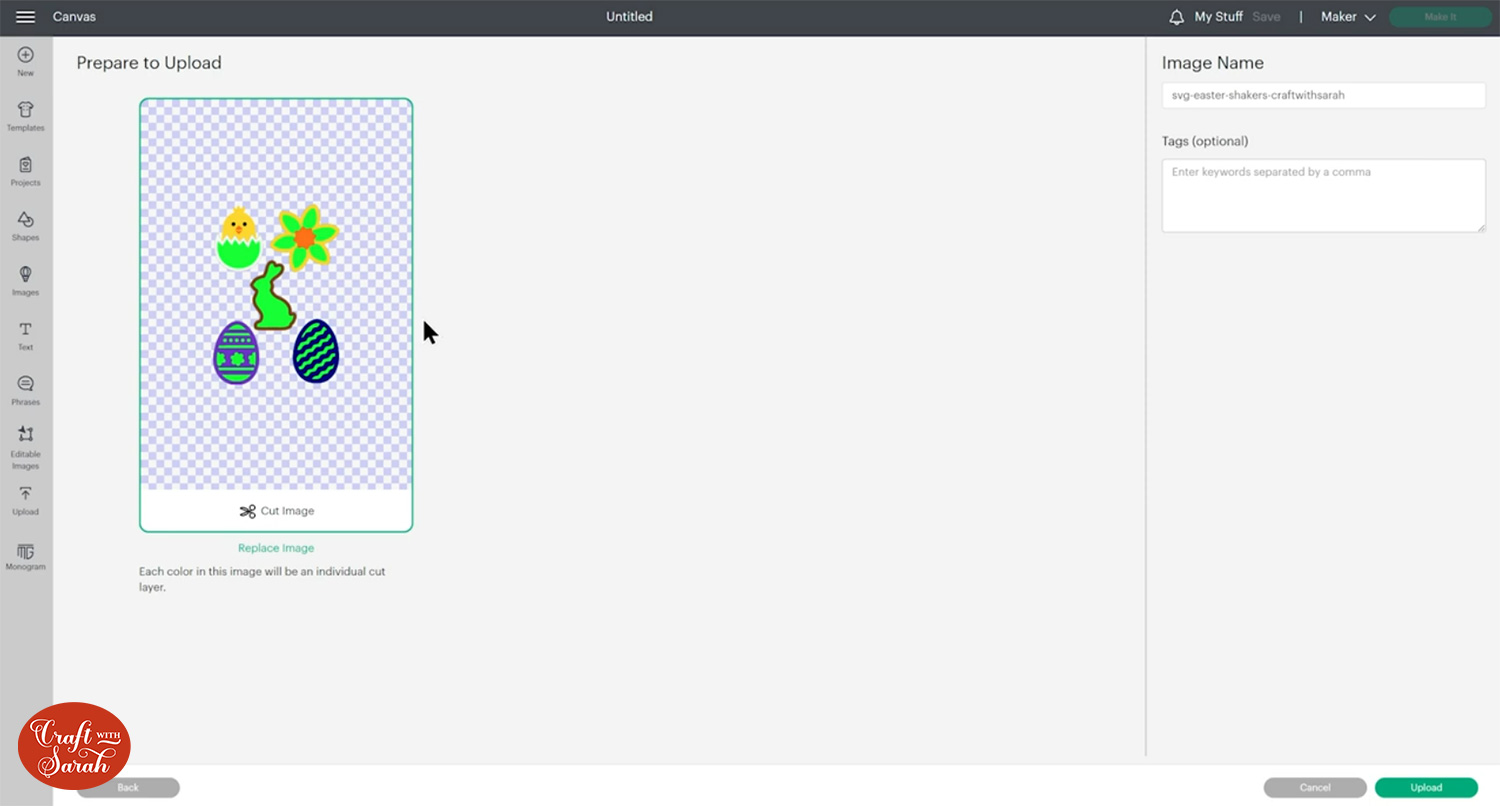
Don’t worry about the funky colours – I’ll explain that shortly!
After uploading, the design will show in your “Recently Uploaded Images”.
Click on it and then press “Add to Canvas” to put it onto your Project.
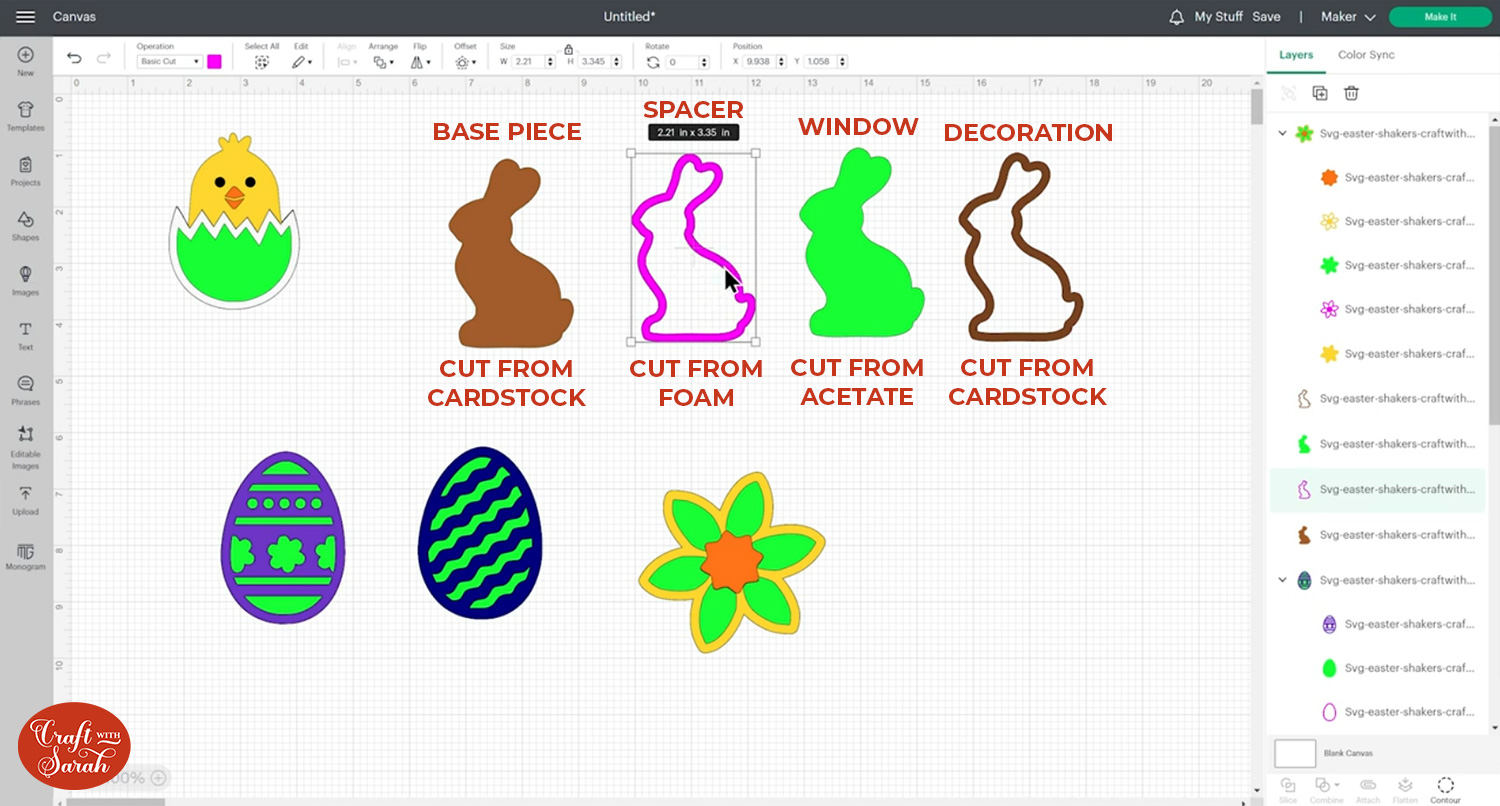
Each shaker topper has several parts to it: a solid base piece, bright pink layer to be cut from fun foam, a green layer to be cut from acetate and then additional decorative layers.
Step 3) Create a greetings card
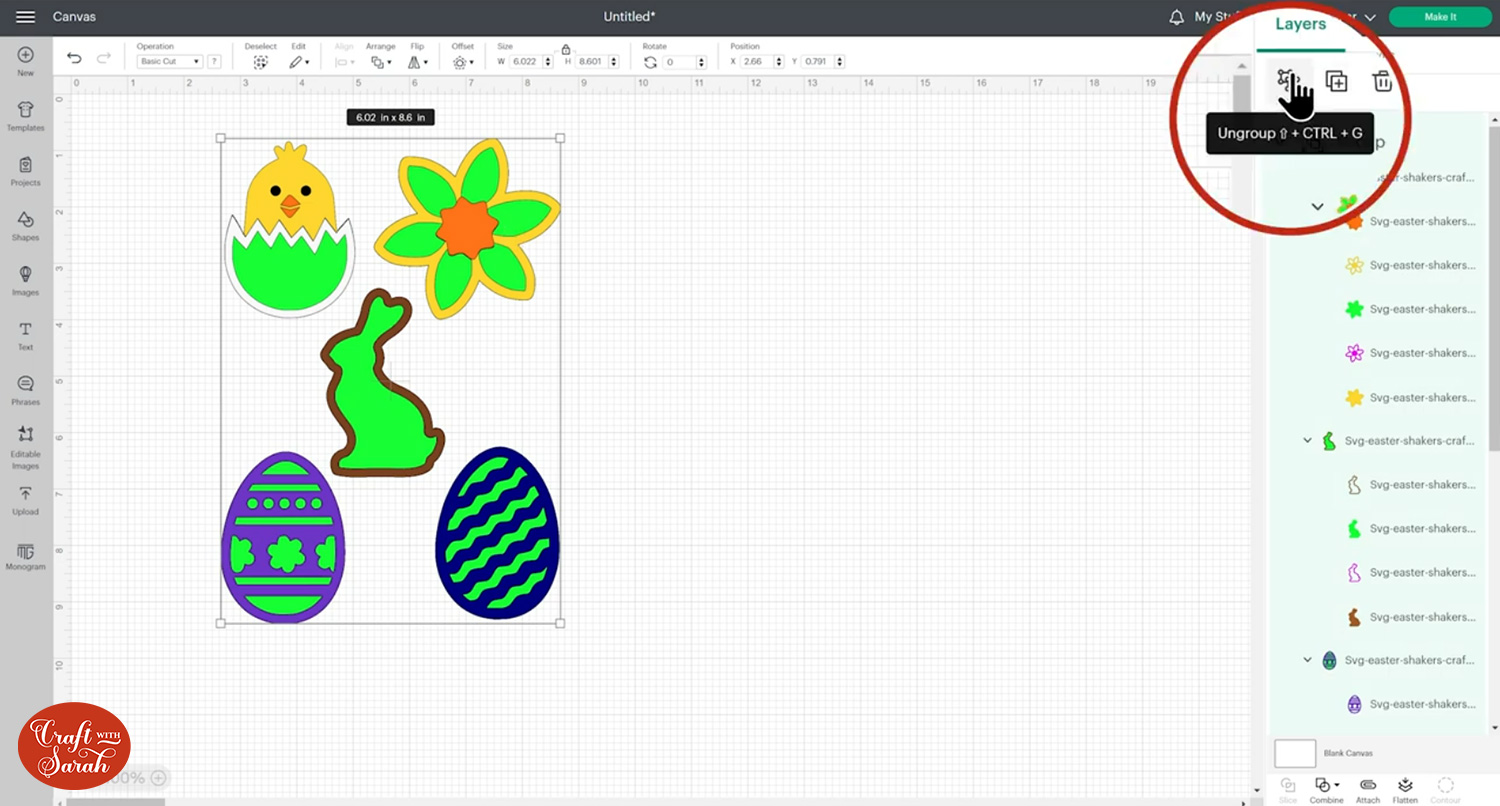
Click the shaker toppers and press “Ungroup” to separate out the different toppers.
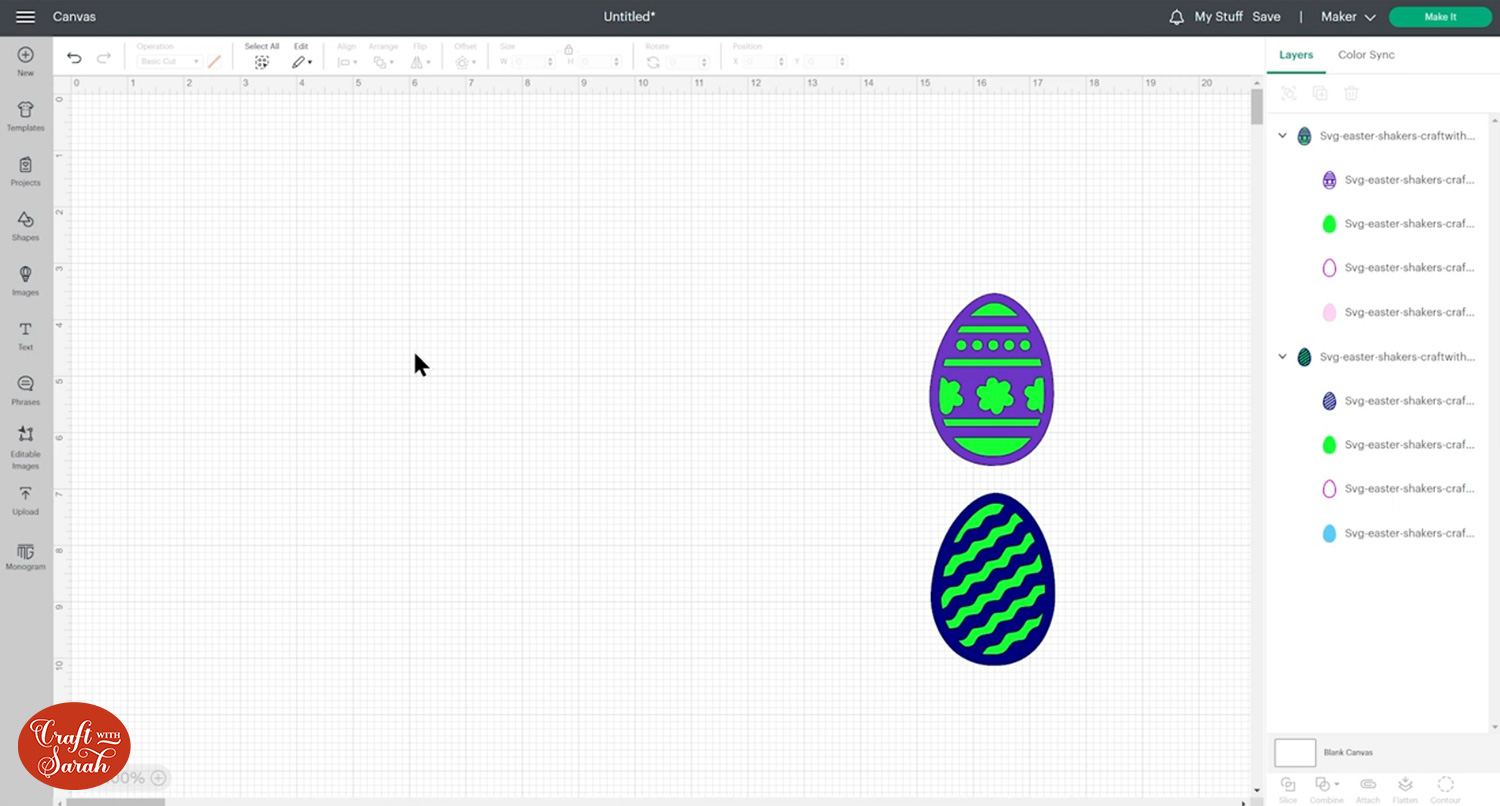
Delete any toppers that you are not planning to use for this project.
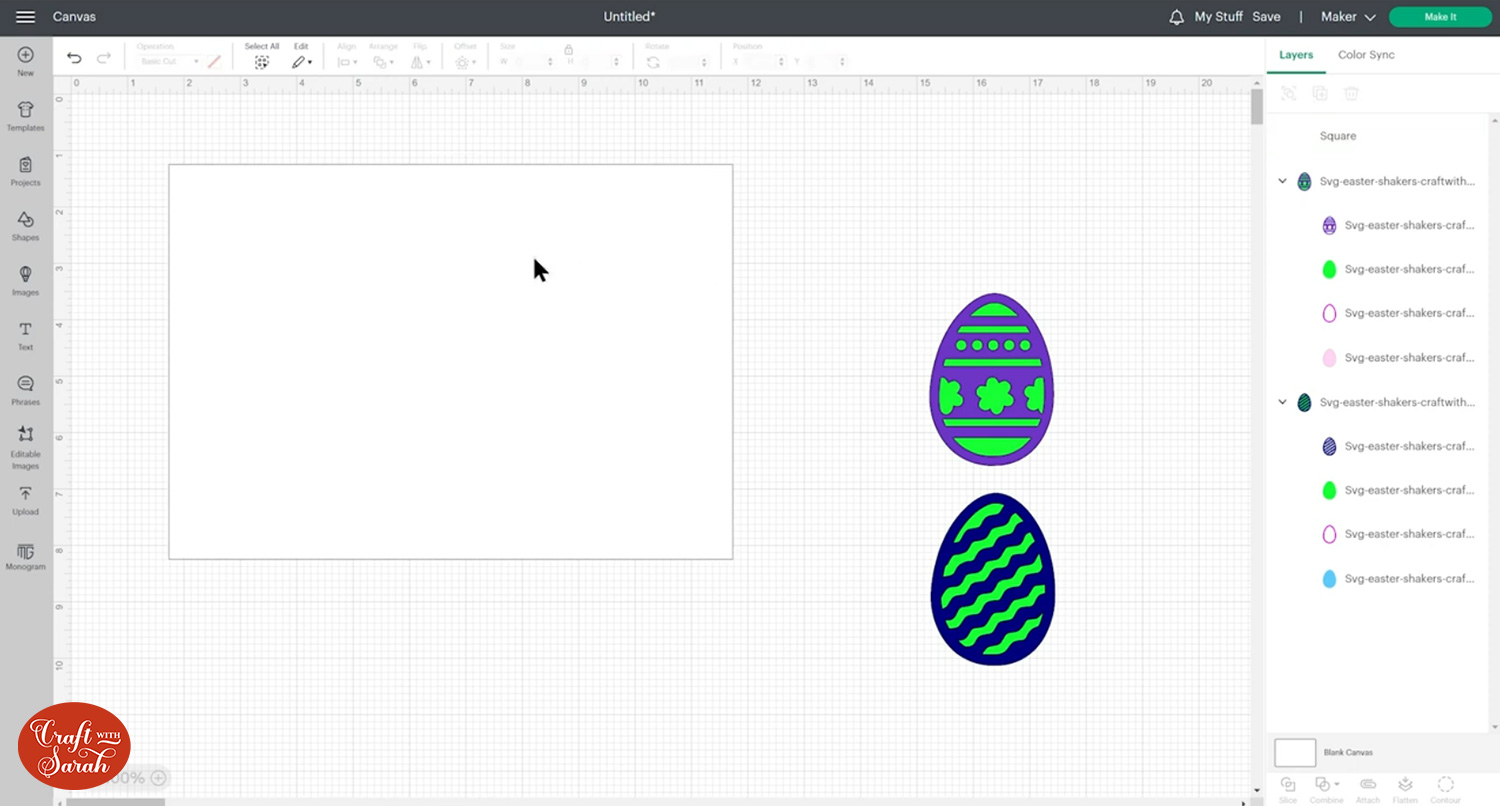
Click “Shapes” and choose a rectangle. Resize it to the size of your base card.
I want to make a 5×7 inch card front, so my card base is 10 inches wide and 7 inches tall.
Recolour it as desired.
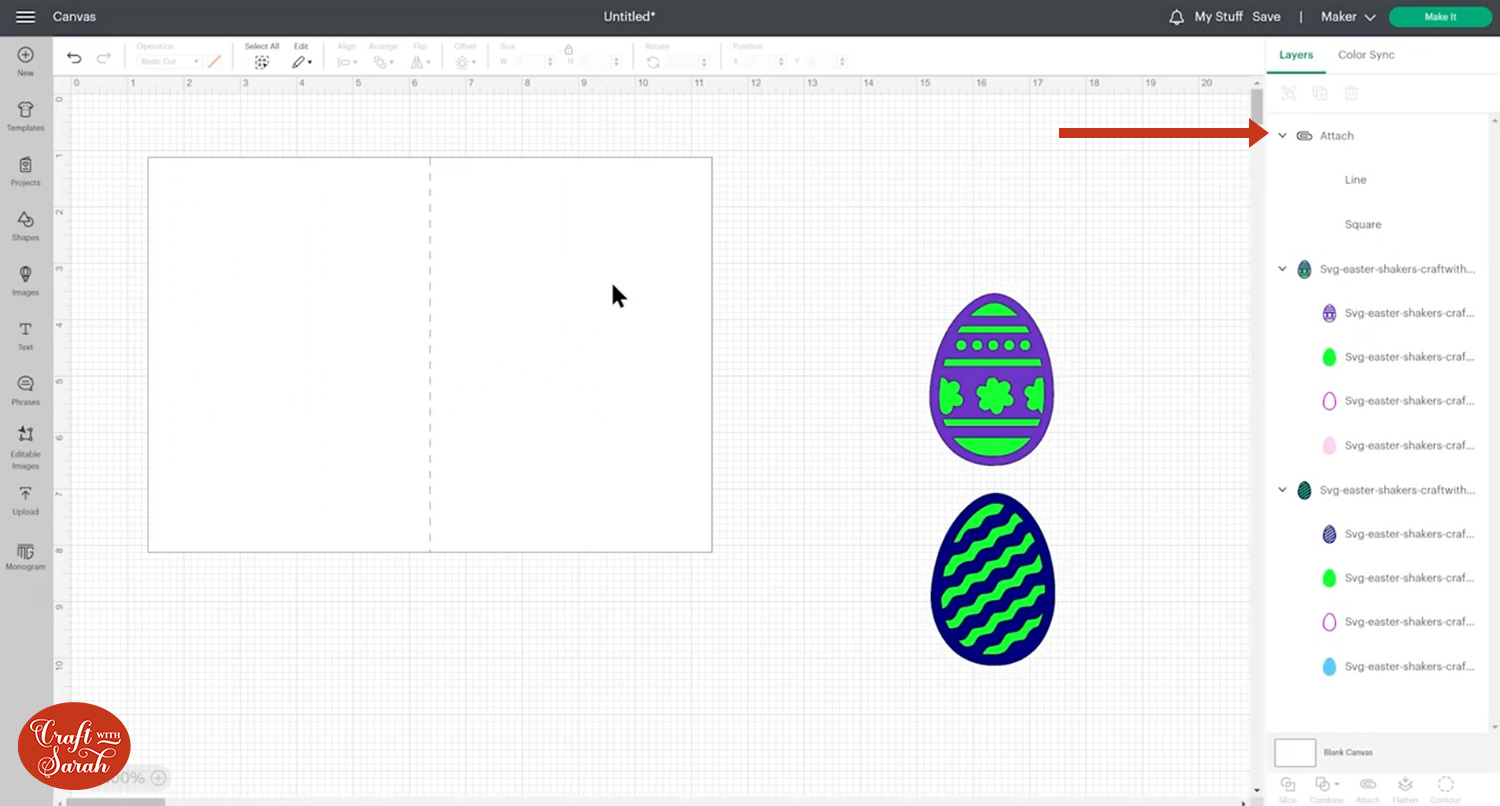
Go into “Shapes” and choose a score line. Make it the same height as your card.
Select the rectangle and the score line and click “Align” > “Center” to put the score line exactly in the middle of the card.
With both layers still selected, press “Attach” at the bottom of the layers panel to join the score line to the card.
Add some decorative rectangles to the front of the card.
Put the shaker toppers on top and resize/rotate them to fit.
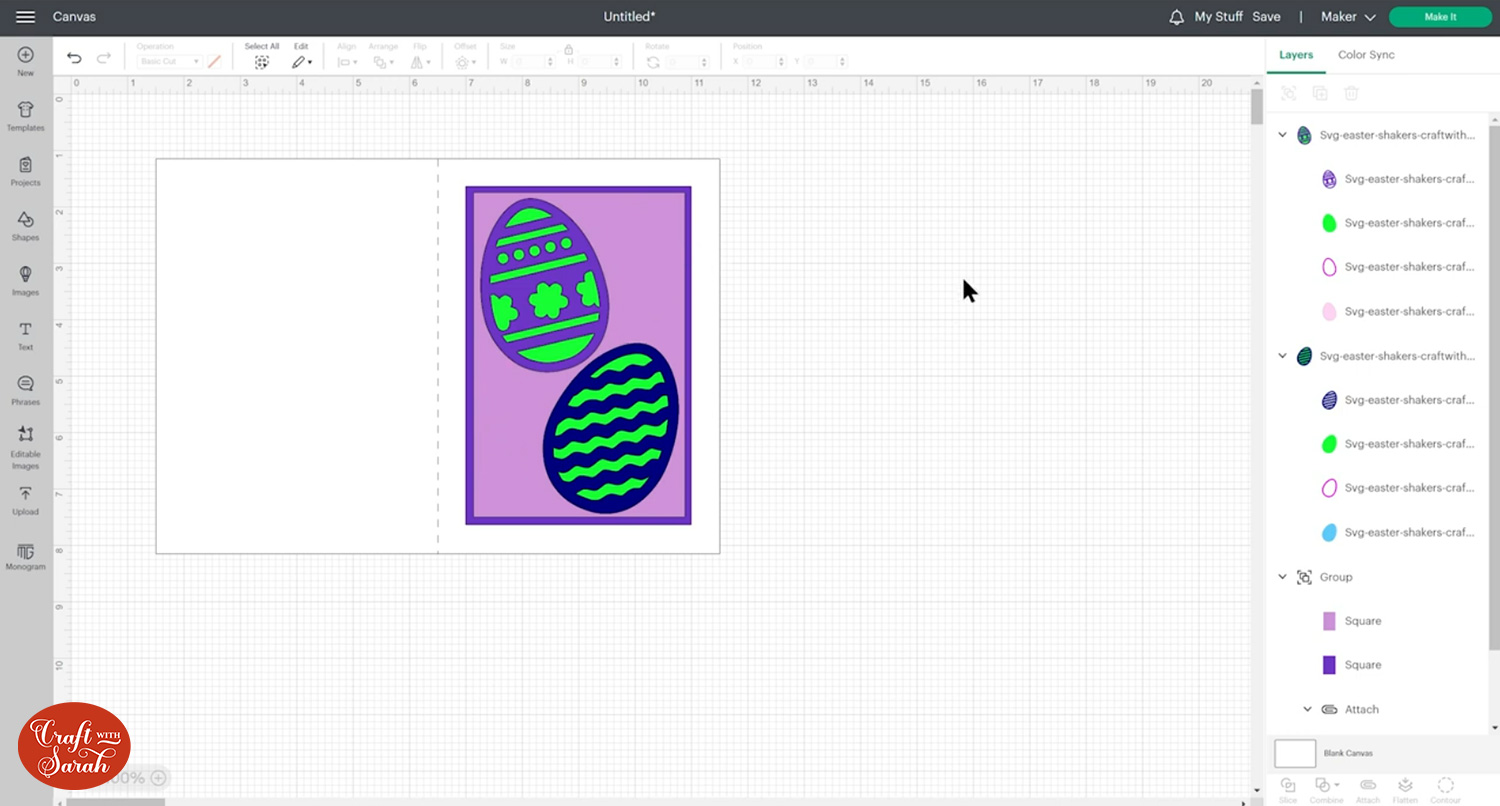
IMPORTANT – do not change the colour of the lime green and bright pink layers.
Step 4) Cut out the design
Save your design and then press “Make It” to go to the cut screen.
The lime green layers should be cut from acetate.
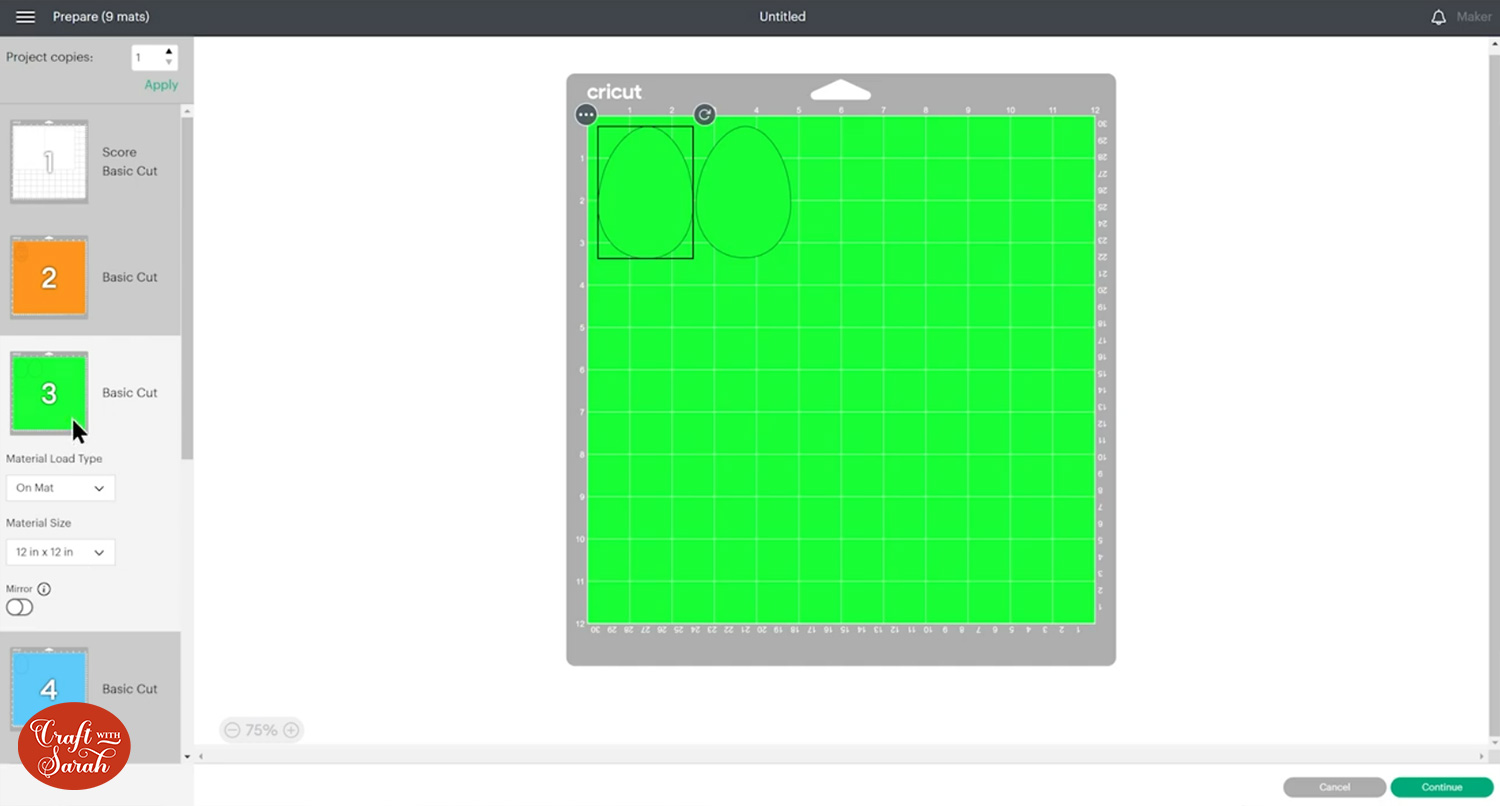
This is a transparent plastic material which will be used to make the “window” on the front of the shaker toppers.
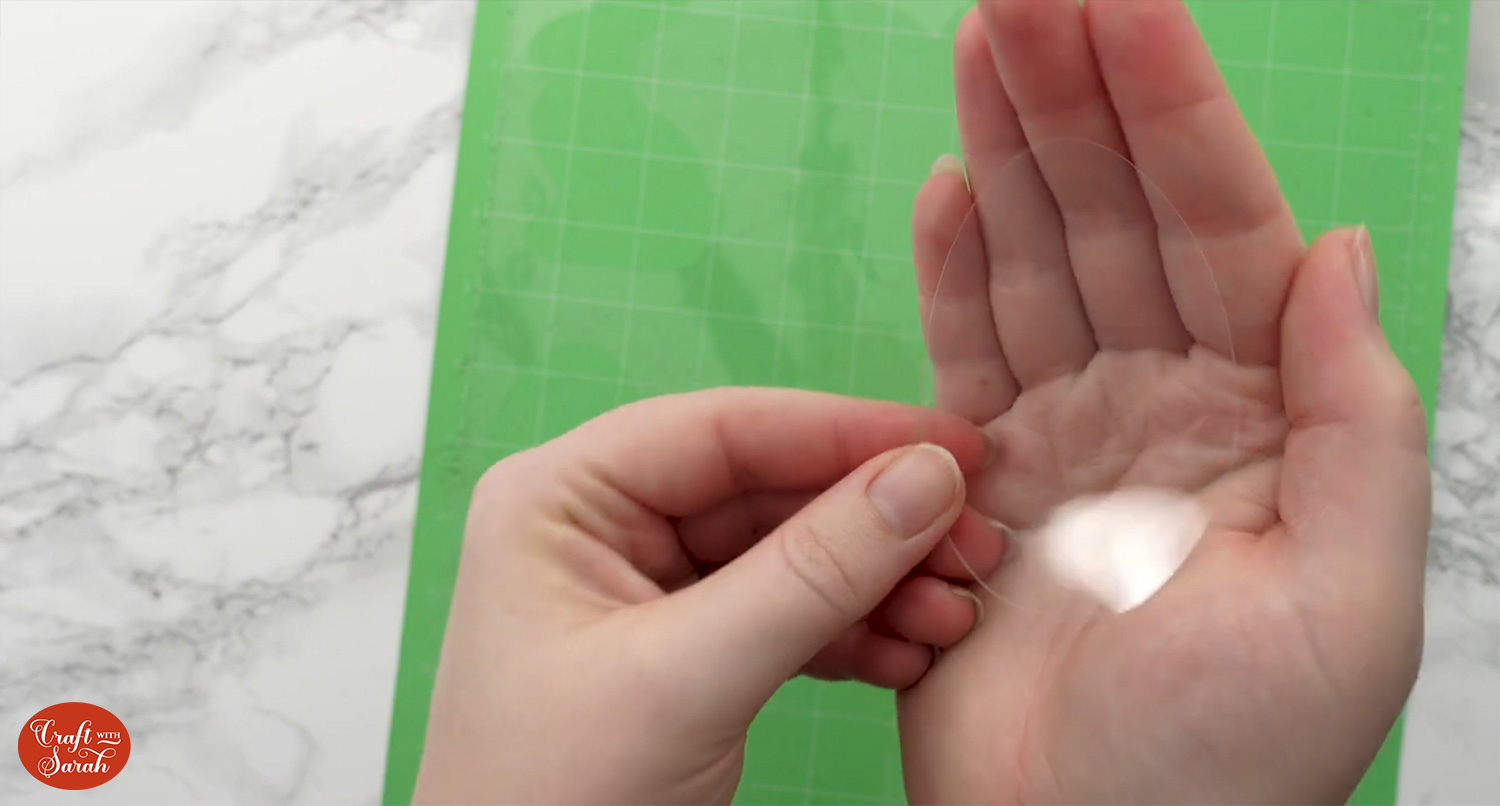
I cut my acetate with the normal blade on my Cricut Maker, but please check the size/thickness of your acetate to determine if you can do the same.
The bright pink layers are to be cut from fun foam / funky foam.
This will be used as the “spacer” in the toppers to give the sequins space to move about and shake effectively.
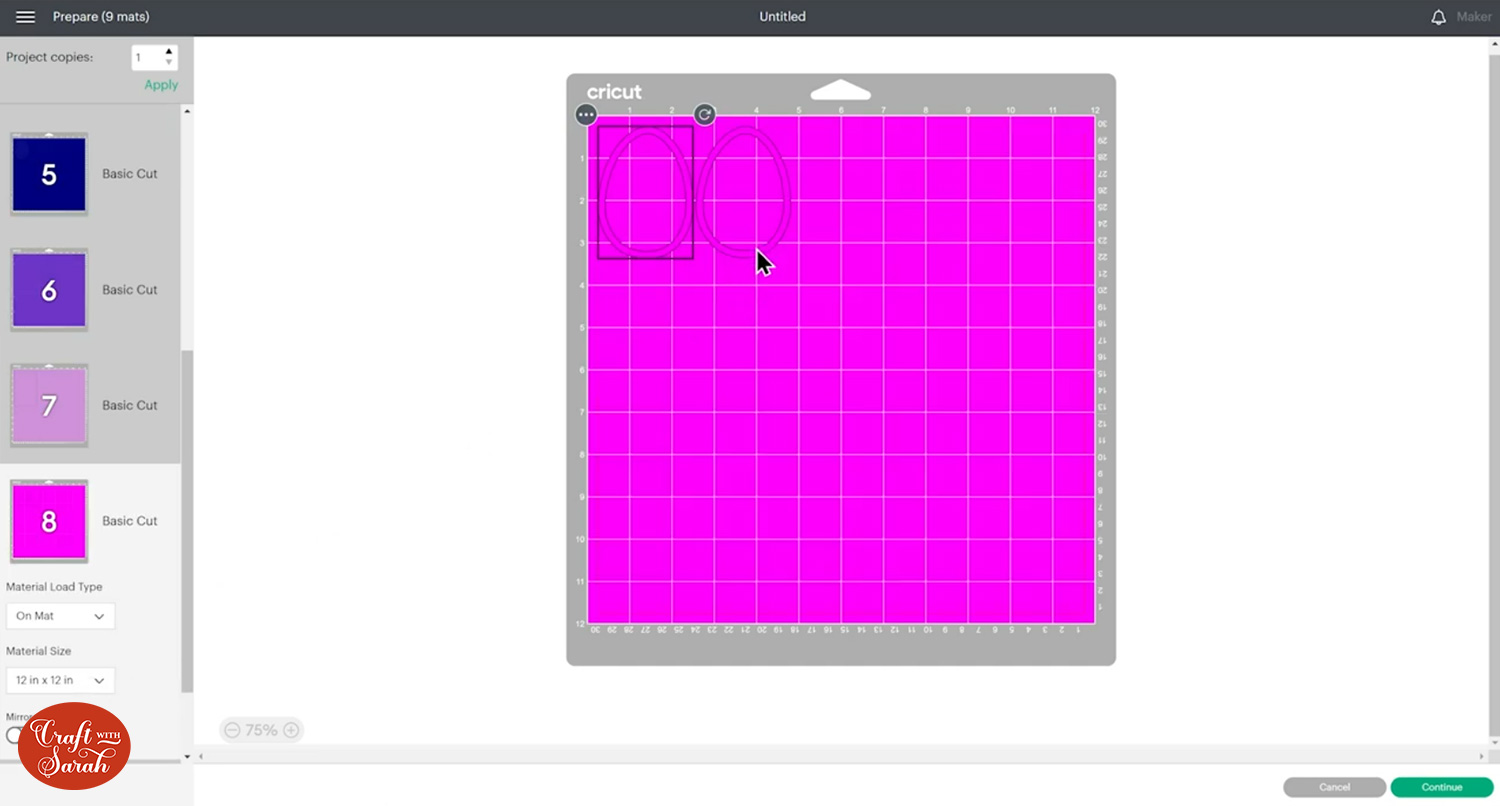
I used a knife blade on my Cricut Maker to cut the fun foam. Never cut it before? Here’s a tutorial on how to cut fun foam with a Cricut.
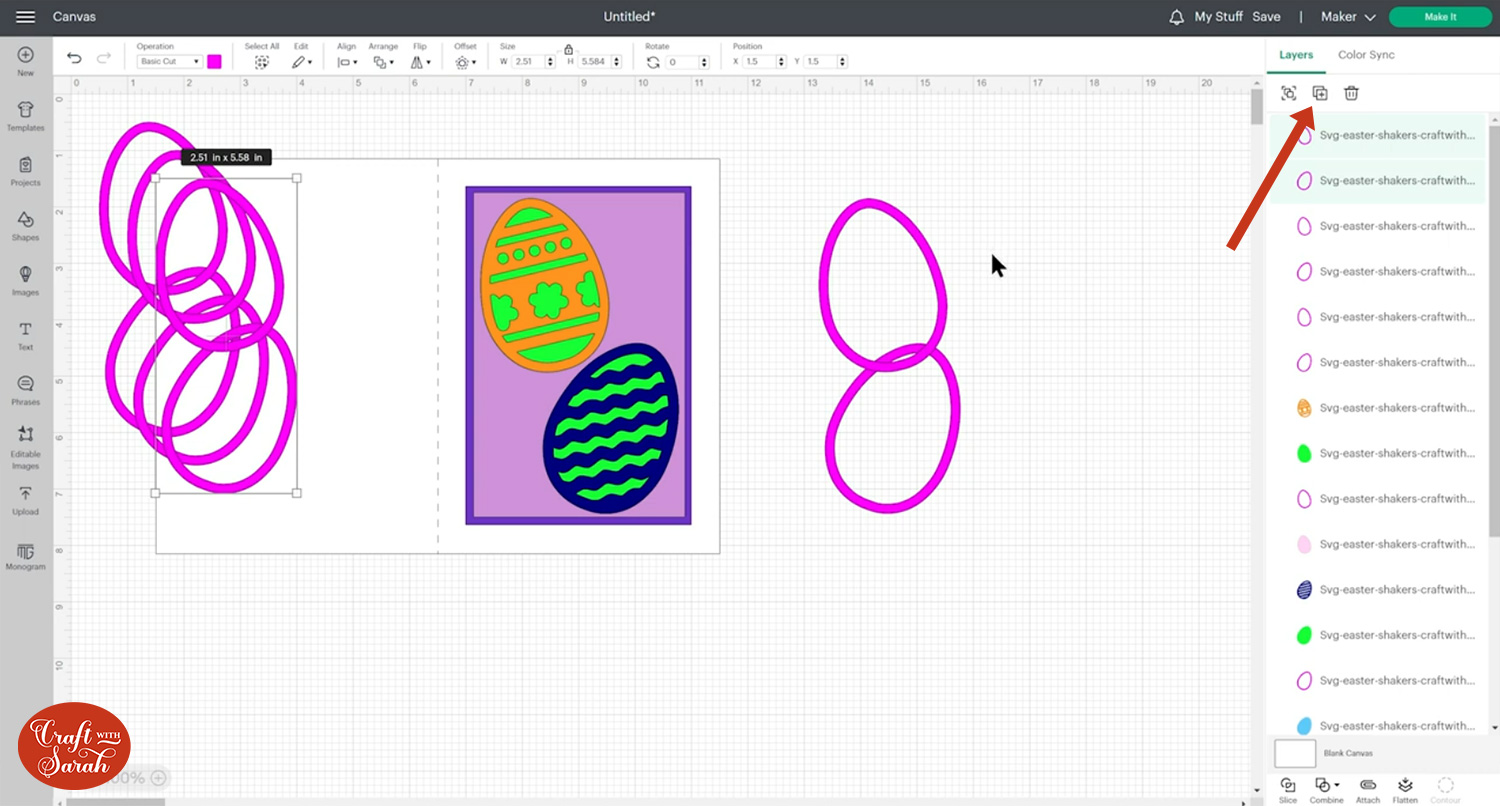
If you don’t have any fun foam, or if you don’t have a deep cut or knife blade, click “Cancel” to go back to the project screen.
Click the pink layers and “Duplicate” them around 4-6 times.
You can cut them from cardstock instead and then glue them together to make a spacer, instead of the foam.
Step 5) Make the greetings card
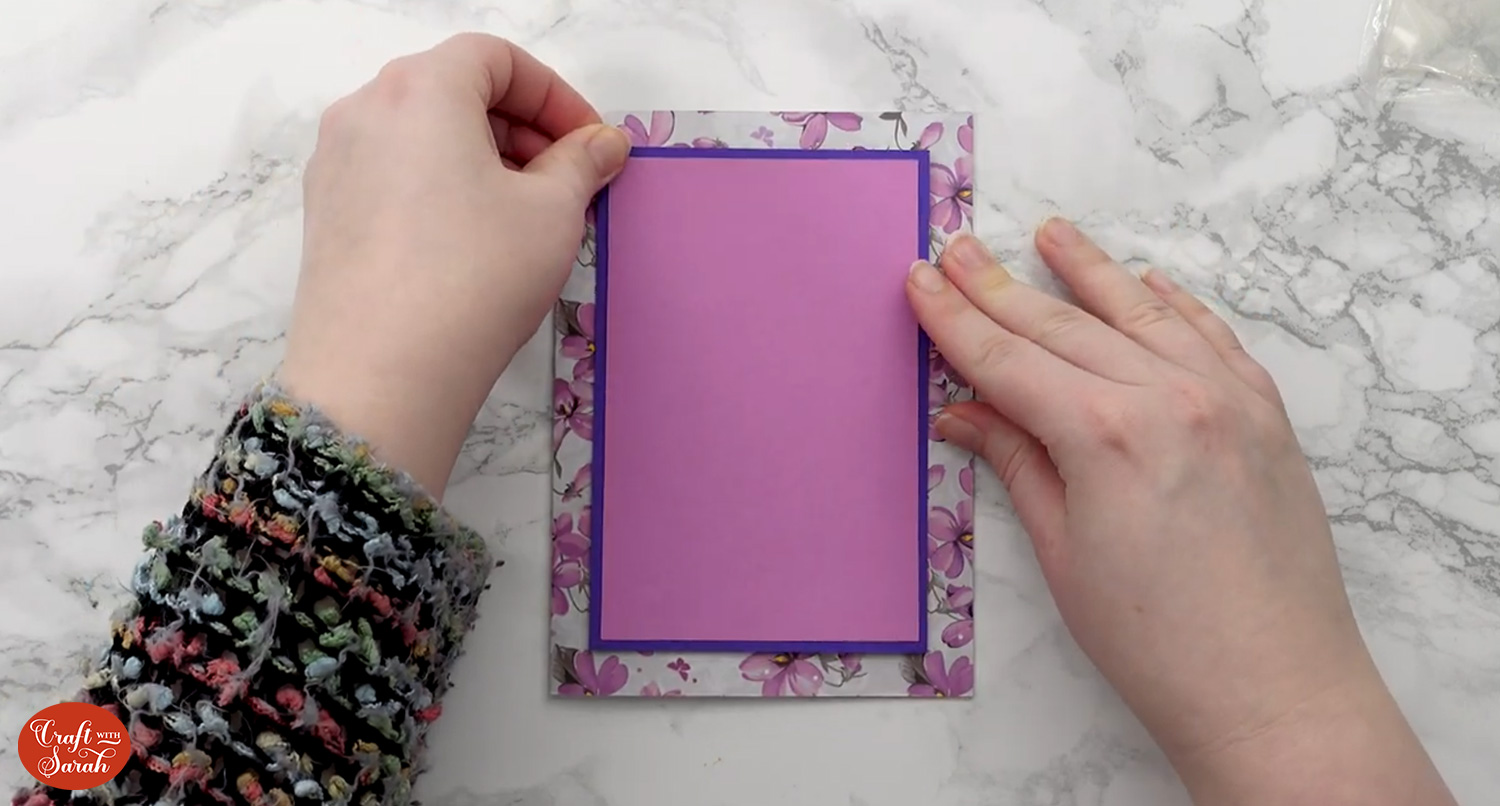
Fold your card in half along the score line.
Glue the rectangles to the front of the card.
Step 6) Make the shaker toppers
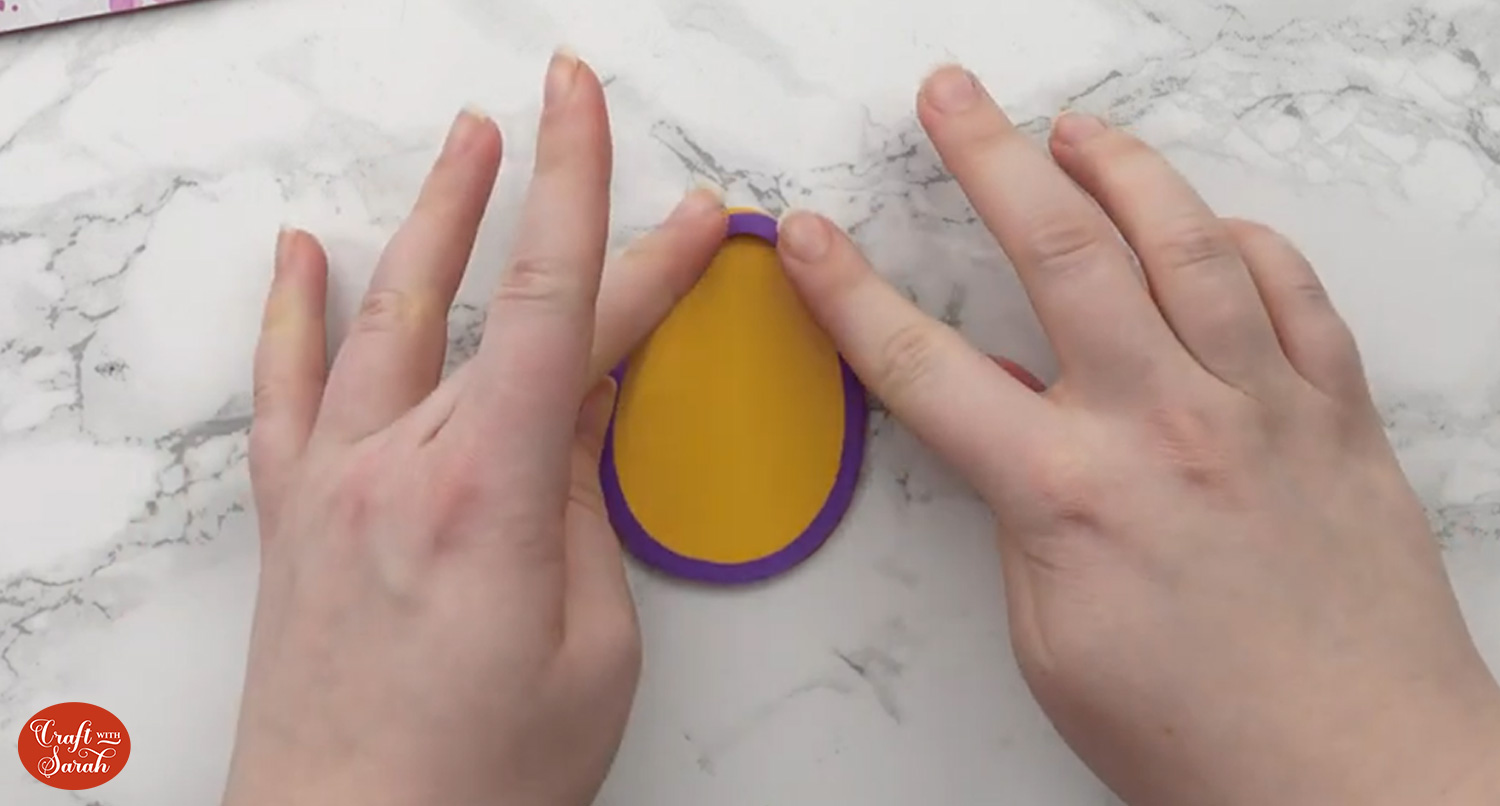
Glue the fun foam piece onto the base cardstock piece.
IMPORTANT – make sure you glue ALL the way around the edge with NO gaps. If there are any gaps, your shaker pieces may escape!
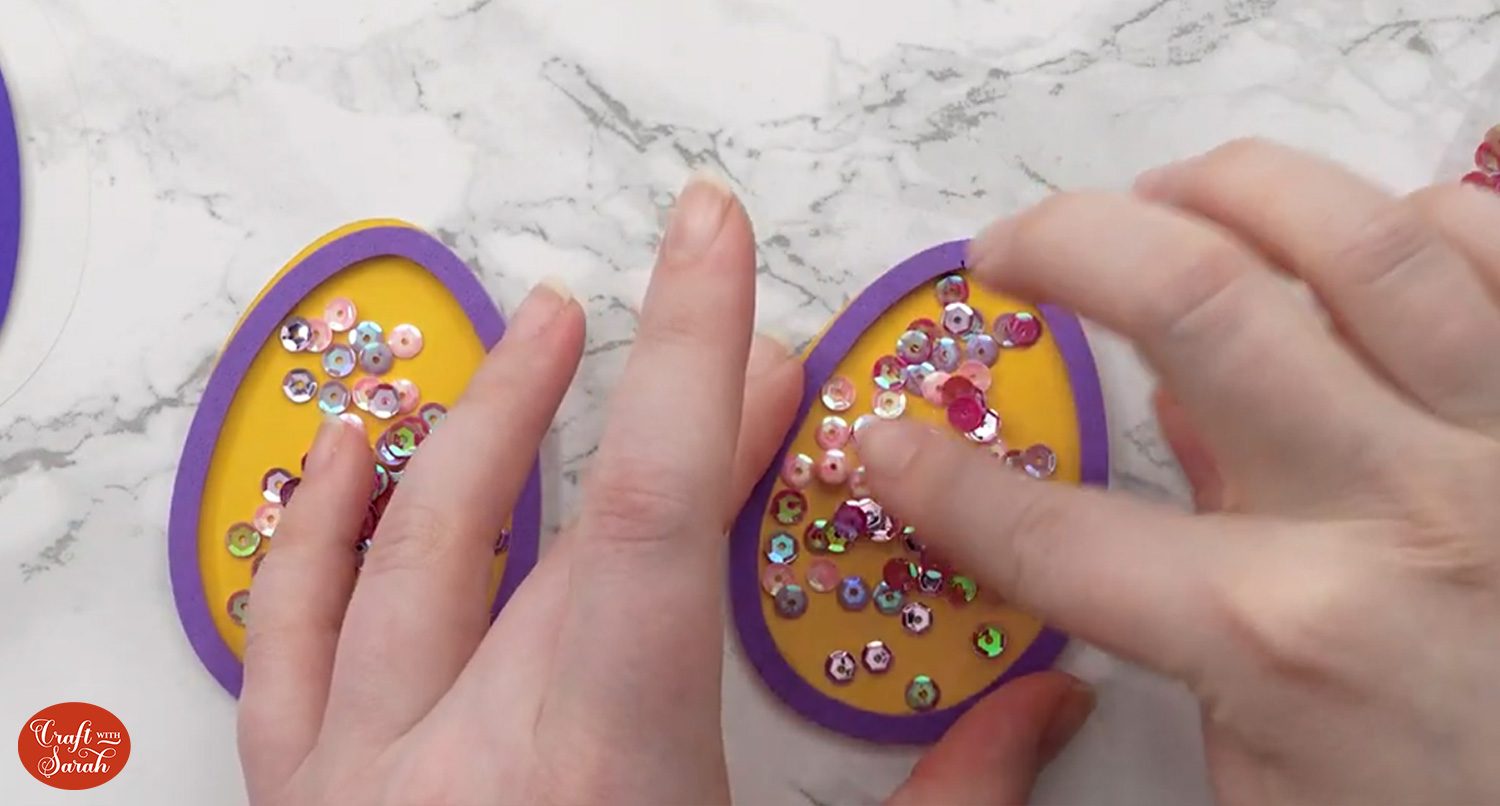
Add sequins, seed beads, glitter or similar into the topper.
I’m making two of the eggs in the photo which is why there are two egg shapes.
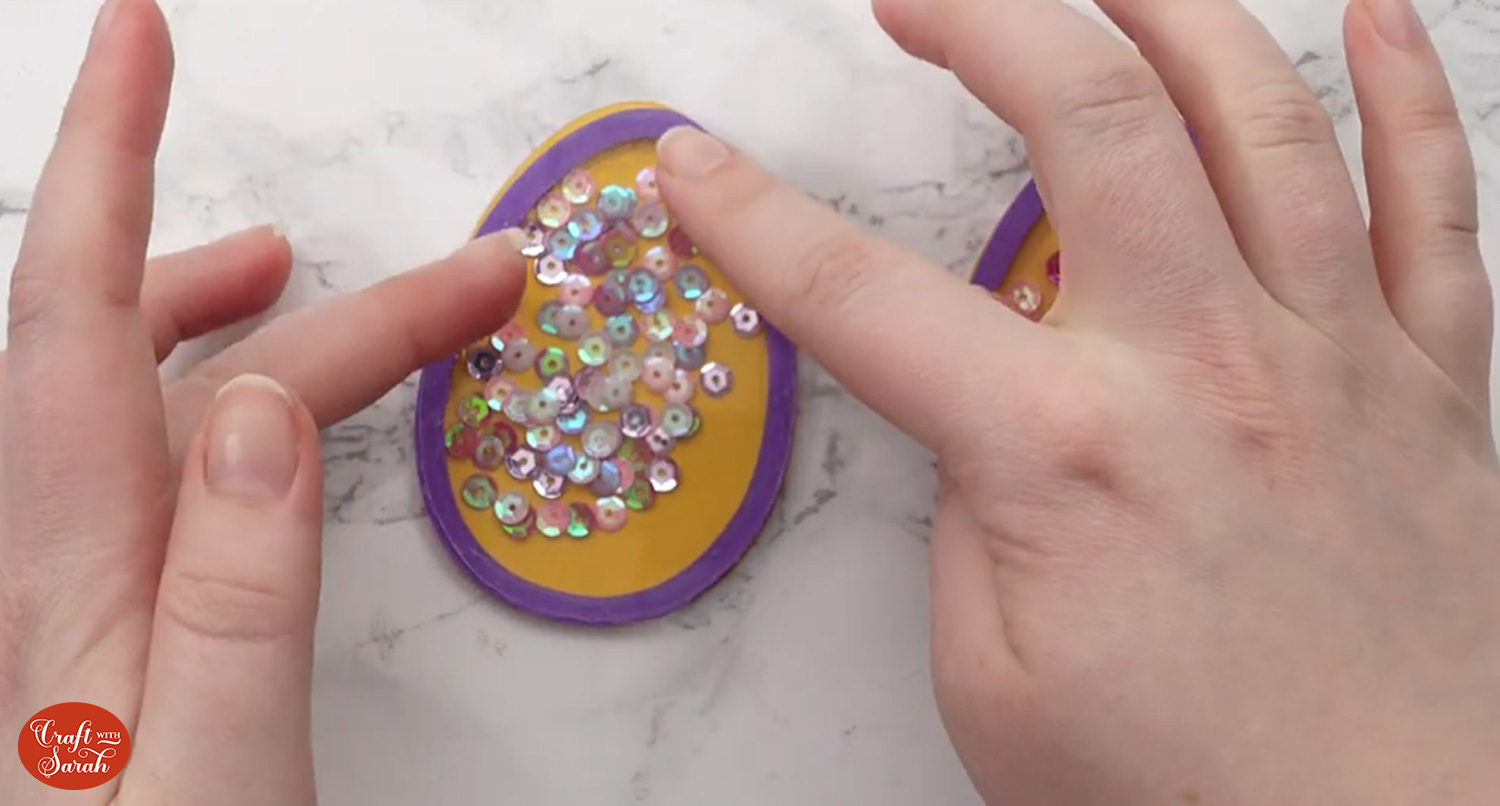
Glue the acetate on top.
IMPORTANT – once gain, make sure you glue ALL the way around the edge with NO gaps so that you shaker pieces cannot escape!
Glue any extra cardstock layers to the top.
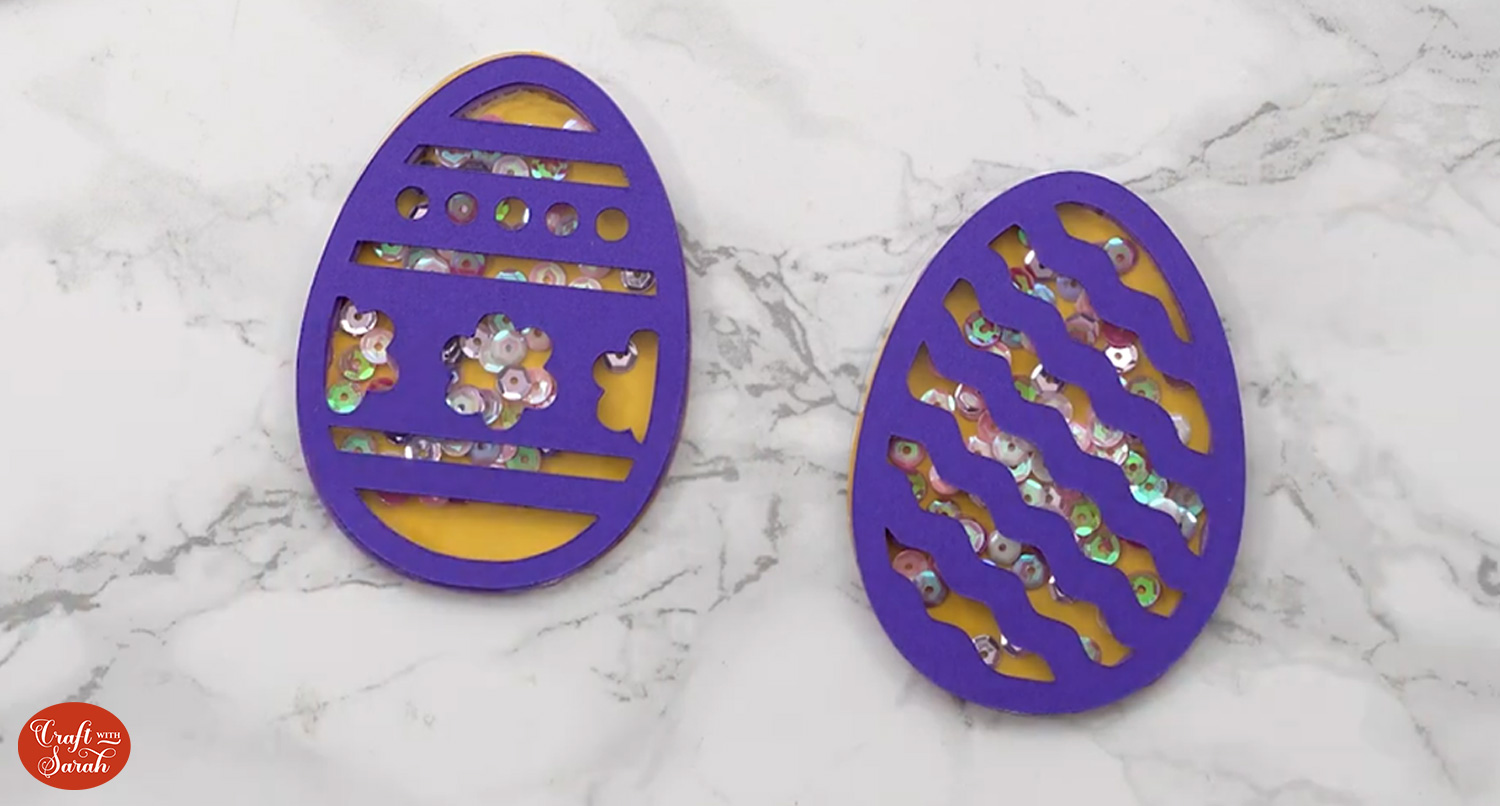
Step 7) Glue the shaker toppers to your card
Finally, glue the shaker toppers to the front of your greetings card.
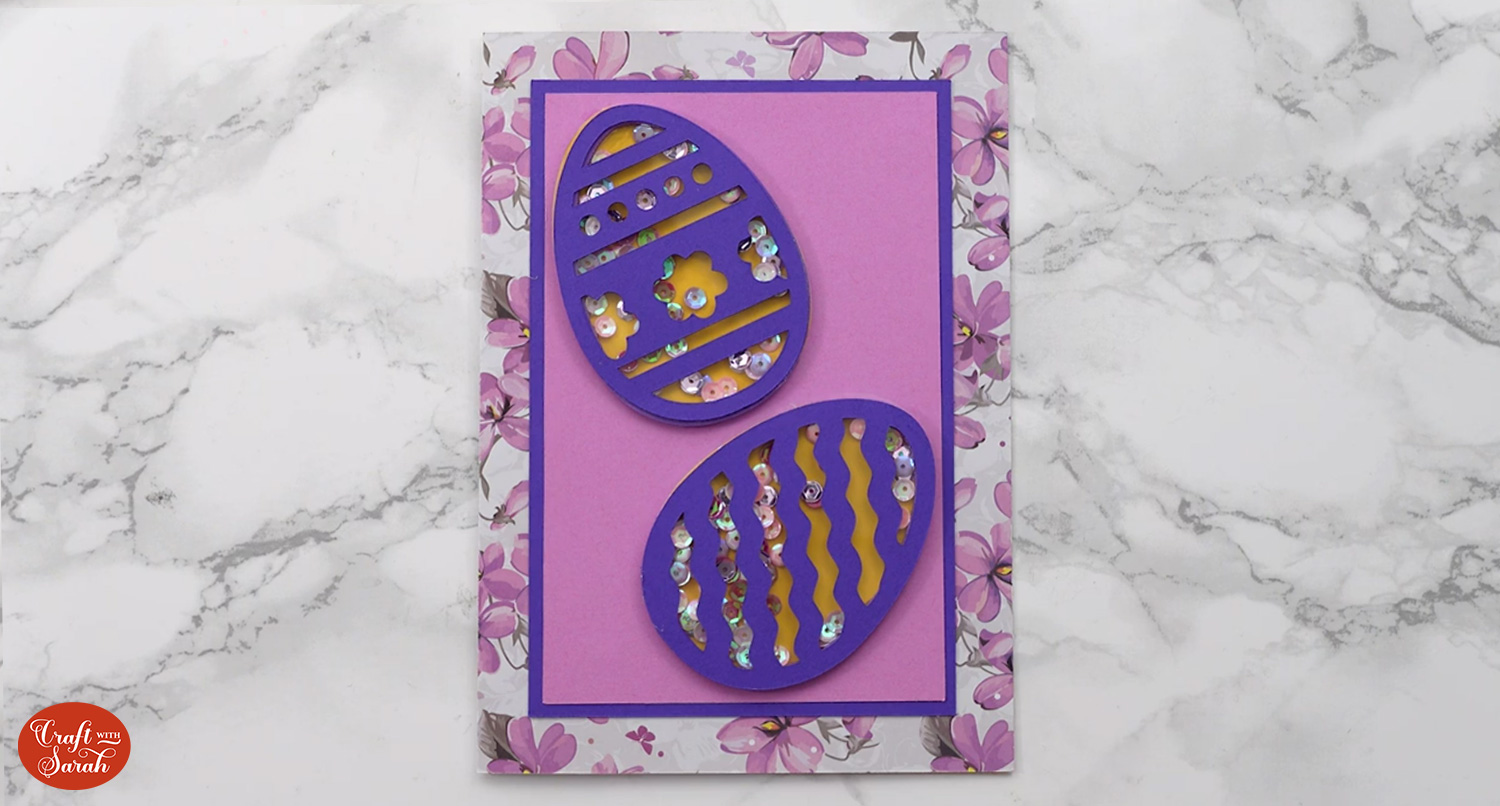
I hope that you enjoy making these Easter shaker cards!
Happy crafting,
Sarah x
