CCC 2024 Day 03: Penguin Lanterns
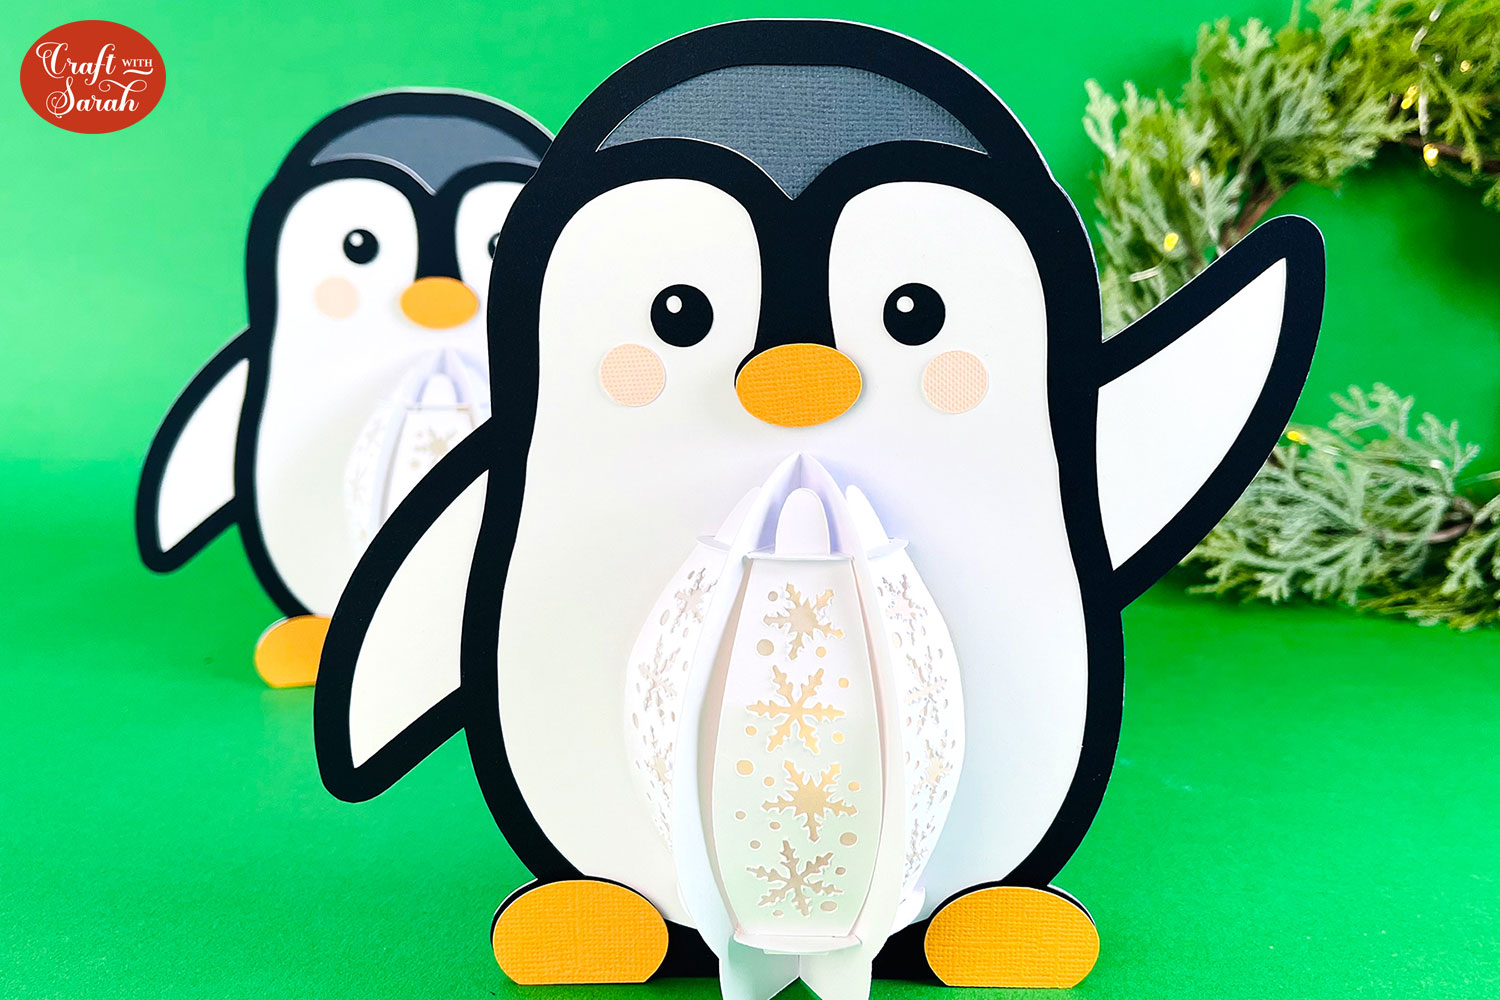
Welcome to day three of the 2024 Christmas Craft Countdown, where I’m sharing 20 festive themed Cricut papercraft projects in 20 days.
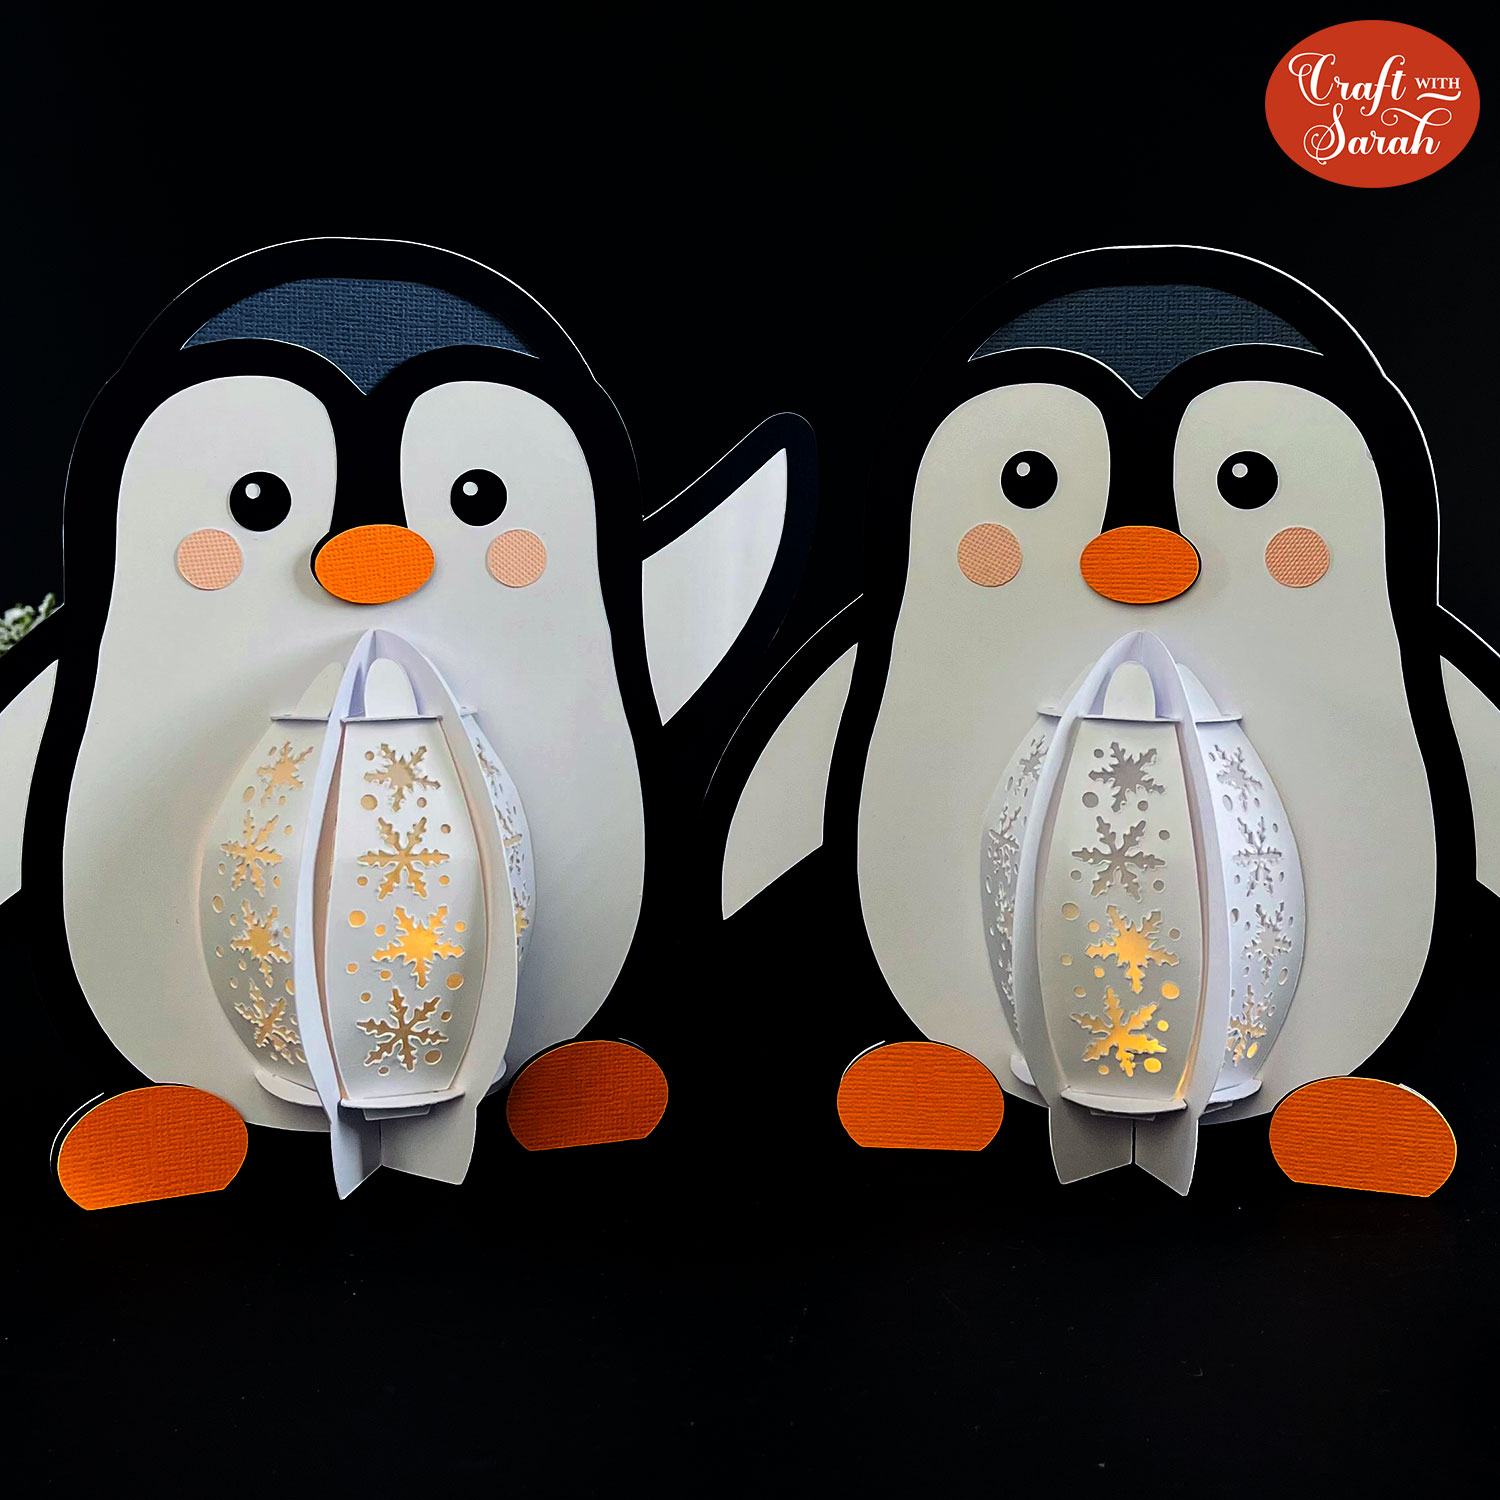
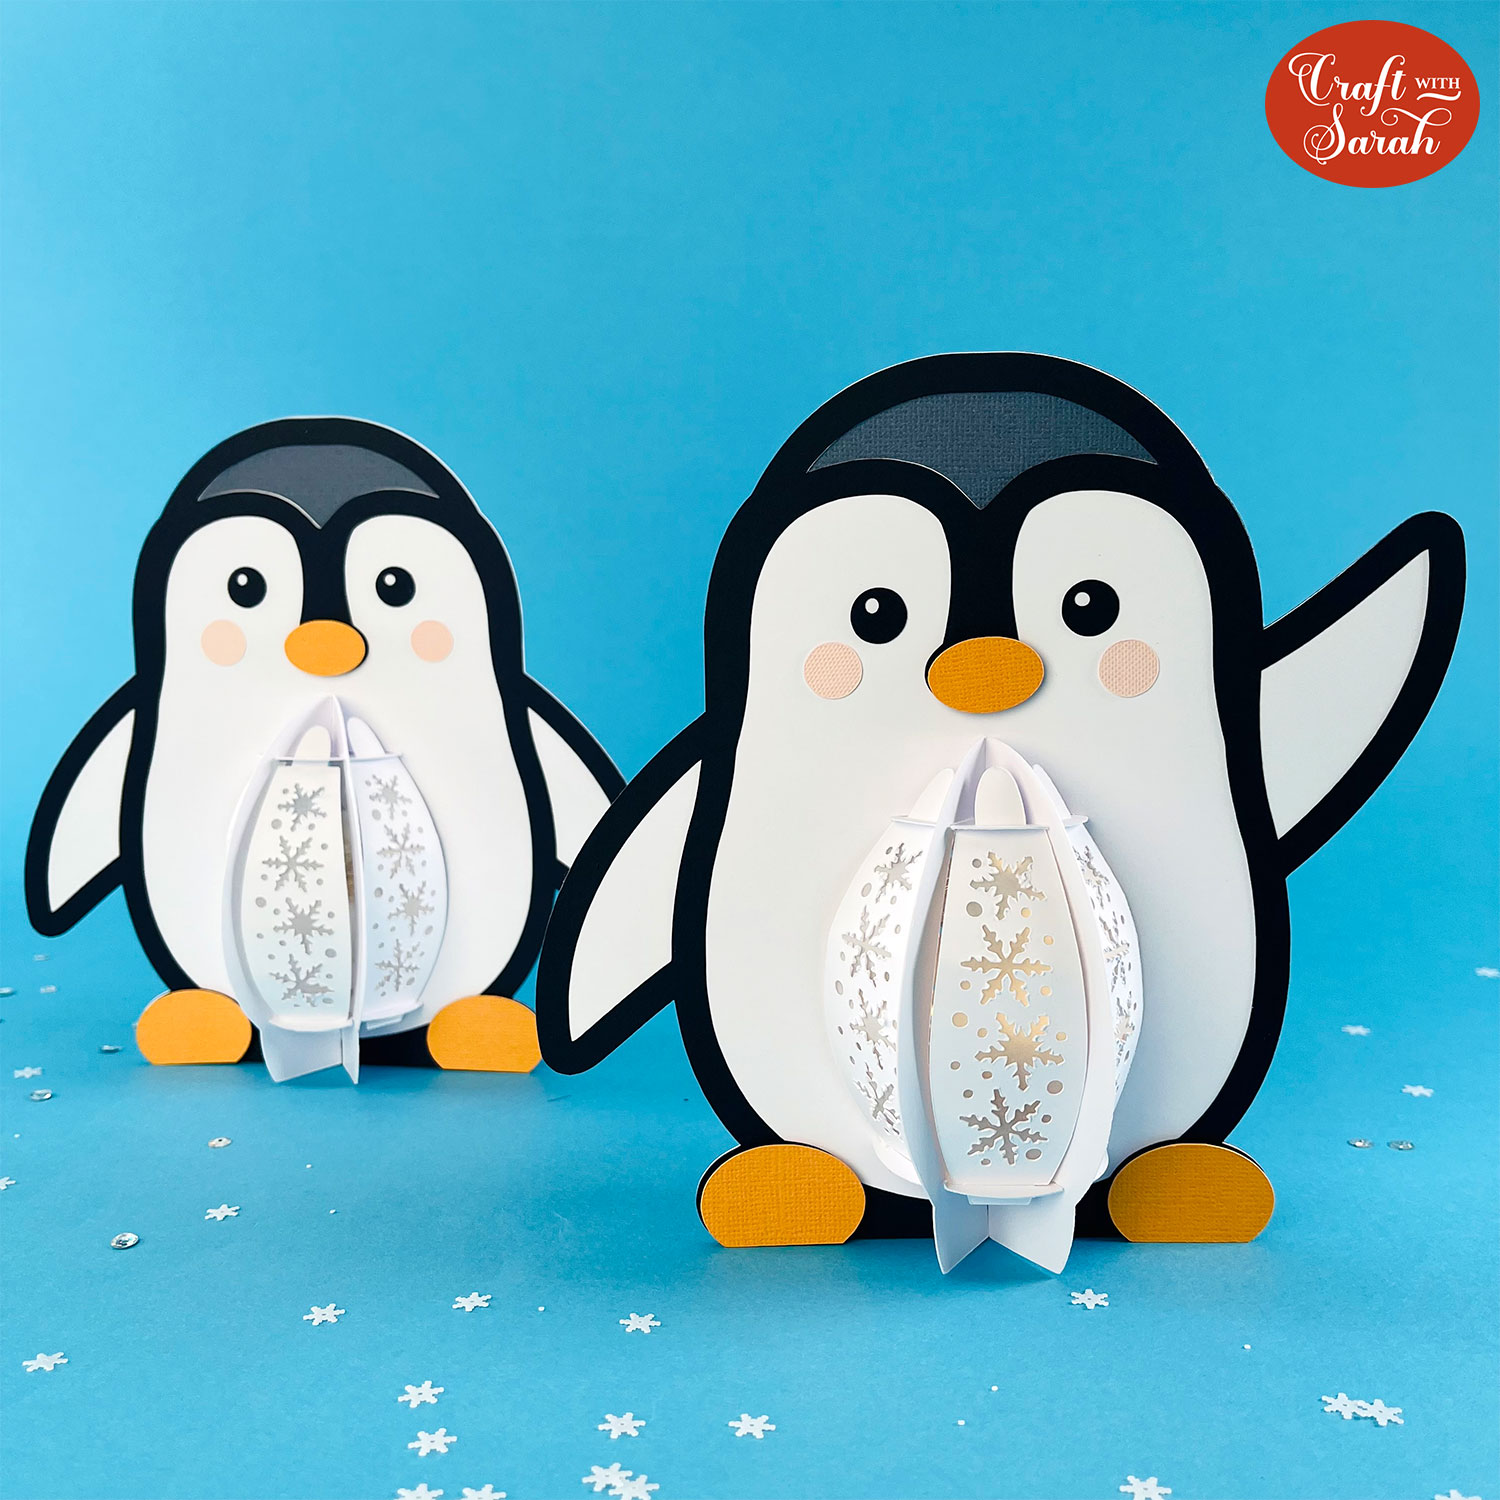
Today’s project is a pair of adorable penguin lanterns which have lights inside to give a beautiful glow from the inside.
Two versions of the penguin are included: one with both his arms by his side and the other where he is giving a little wave.
You could even place a few Christmas treats like chocolate coins inside for an extra special surprise.
This Project was part of the Christmas Craft Countdown 2024
Materials supply list
Here is a list of the materials that I used to make this project.
Please note that some of the links included in this article are affiliate links, which means that if you click through and make a purchase I may receive a commission (at no additional cost to you). You can read my full disclosure at the bottom of the page.
- Cricut machine
- Light blue Cricut cutting mat
- Coloured Card
- Glue (I like Bearly Art Glue and Collall)
- 3D foam pads
- Translucent vellum, tracing paper or similar
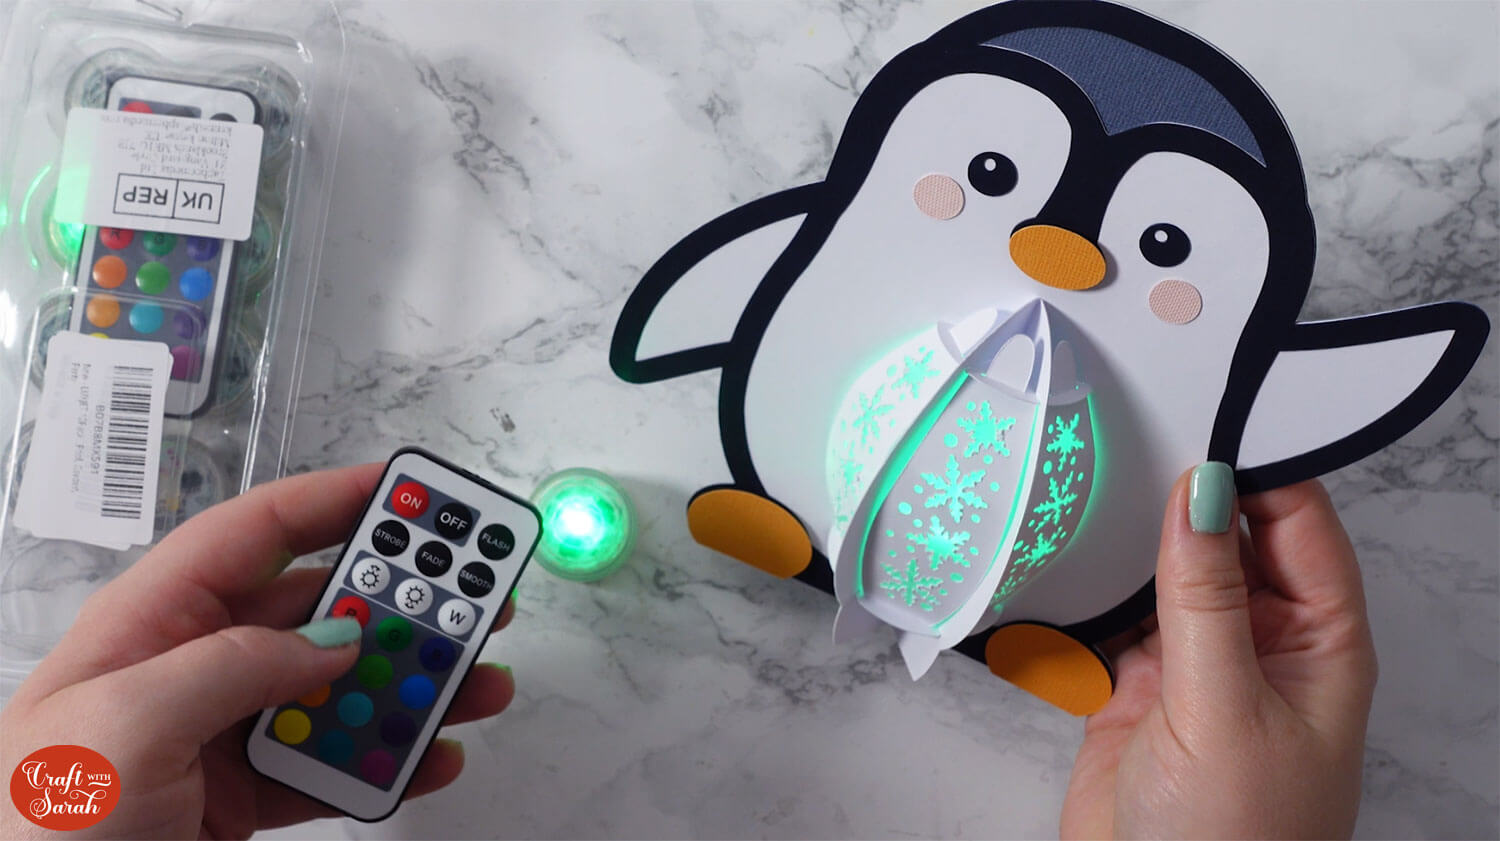
- Lights to go inside the lantern such as submersible lights, battery powered tea lights or fairy lights with small battery packs
This project is suitable for the following types of Cricut machine: Explore Air 2, Explore Air 3, Maker, Maker 3, Venture, Joy Xtra and Joy. You will need to make the design smaller to cut on the original Joy.
Foundation learning
If you're new to crafting with your Cricut, you may find the below links helpful.
They teach some of the skills mentioned throughout this tutorial.
- How to upload SVG files into Design Space
- How to make 3D layered Cricut projects
- The BEST way to frame papercraft projects
- How to mount multiple designs in the same frame with magic guides
- How to score with a Cricut (even without scoring tools)
- Print then cut tutorial
- Design Space tools (Combine, Attach, Slice, Weld, Flatten, etc.)
- Pattern fill tutorial (for making backgrounds & cutting images to a specific shape/size)
- Free envelope SVGs that can be sized to fit any card
- How to write inside cards with Cricut pens
- How to cut layered designs at a small size
- Design Space tips & tricks
- Cricut pens tutorial
Video tutorial
Watch the video below to see how to make this project. Keep scrolling for a written tutorial.
What lights work best inside the lanterns?
Never use a real flame/candle as your lantern will catch fire!!
Instead, choose battery powered lights.
As you are putting the light in an enclosed space with the walls made from cardstock, it is essential that you choose lights that do NOT get warm during use.
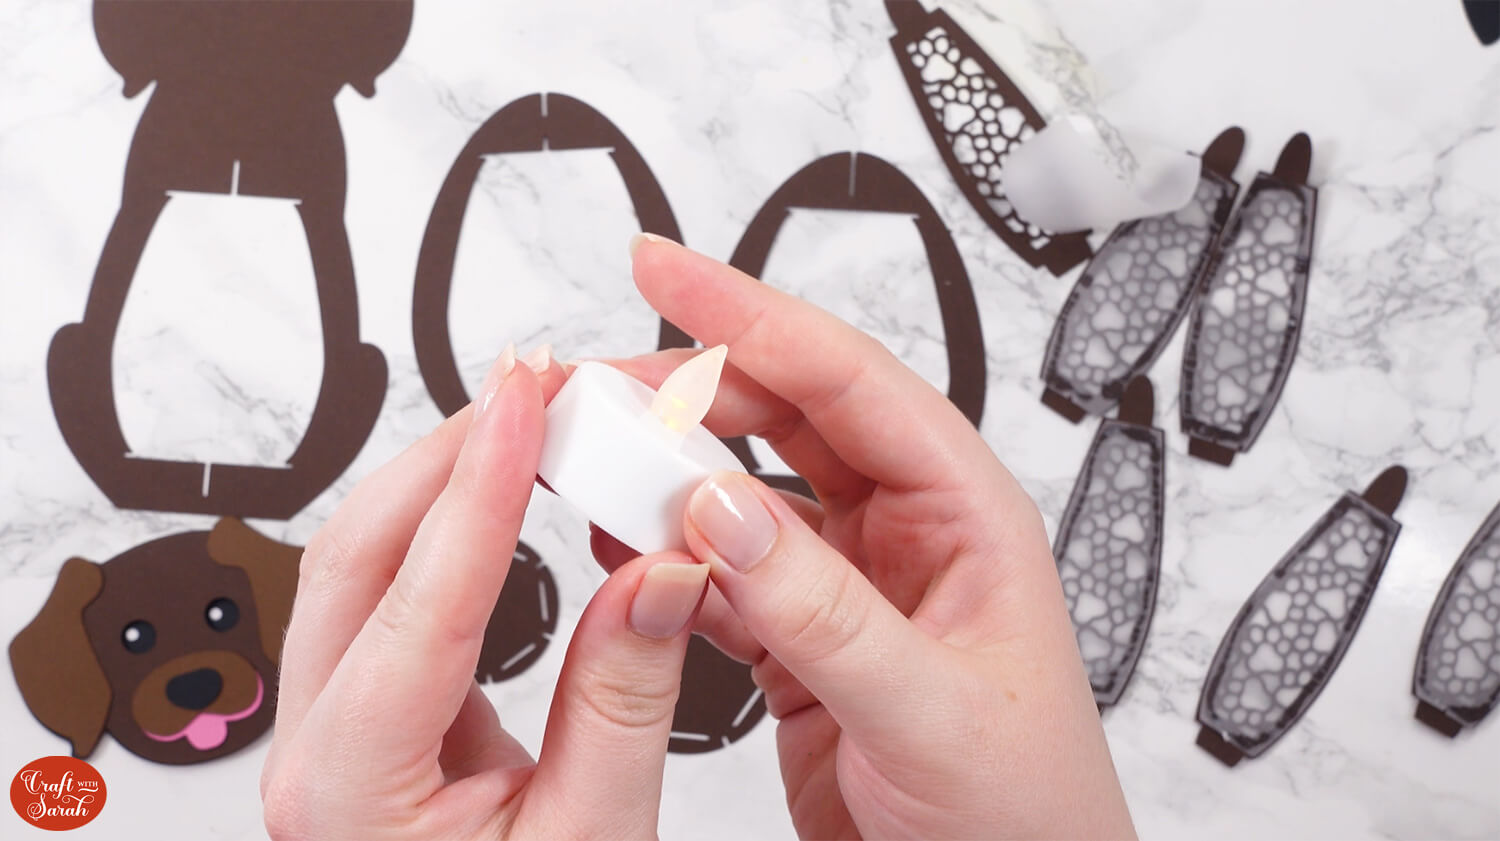
Option 1: Battery powered tea lights
The lanterns have been designed to perfectly fit a battery powered tealight inside. This is a nice option to add, especially if you choose one with a flickering effect.
However, they do not give off much light, so the other lighting options below may be more effective.
Find battery powered tea lights on Amazon
Option 2: Submersible LED lights
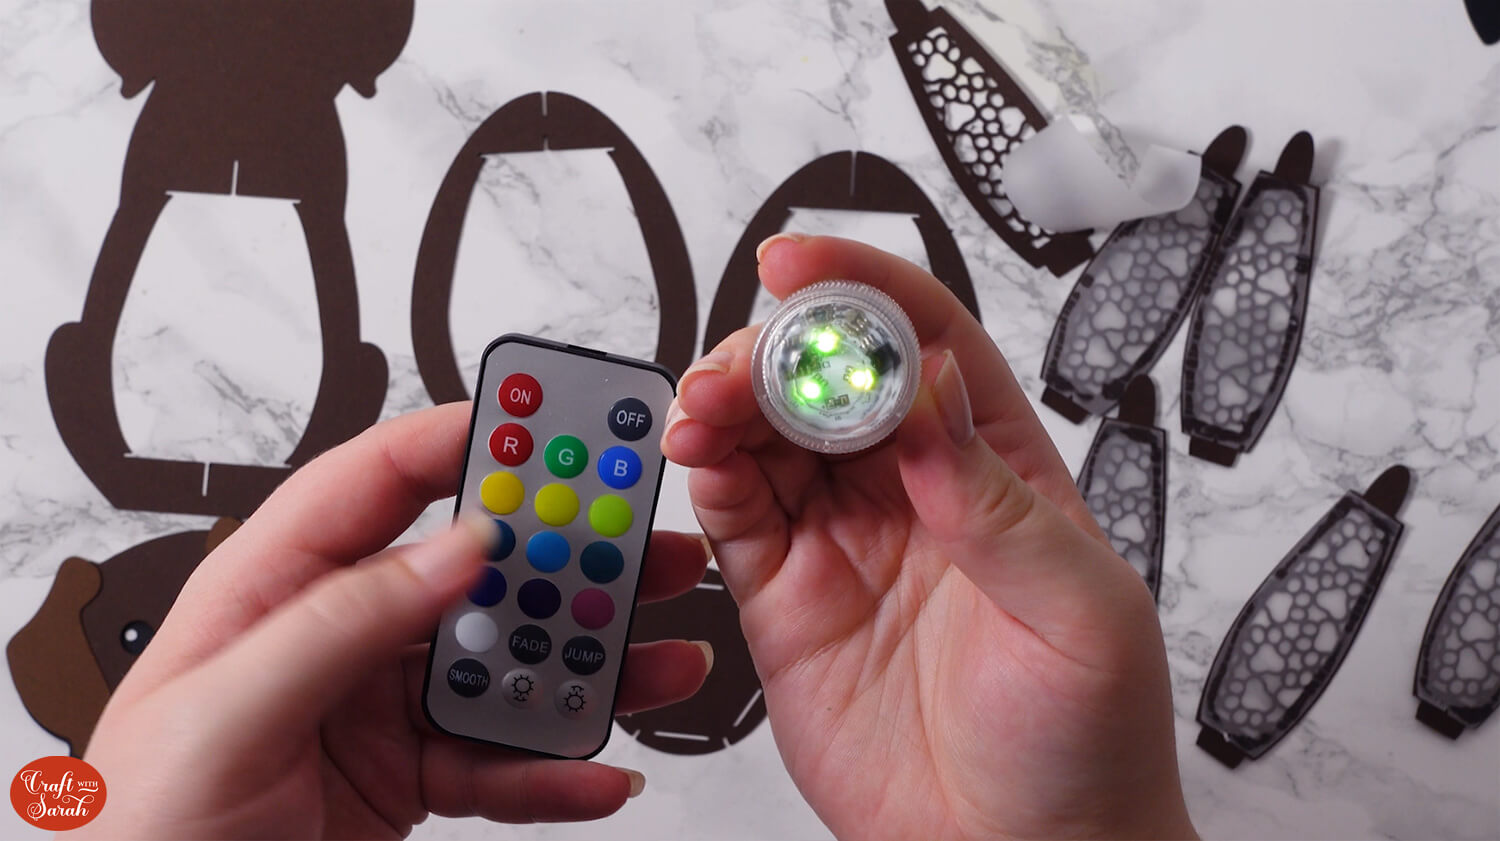
This is my favourite lighting option. These tiny little lights come with a remote control to change the colour. You can even make your own disco light show by having them flash or fade through all the different colours!
Find submersible lights on Amazon
Option 3: Fairy lights
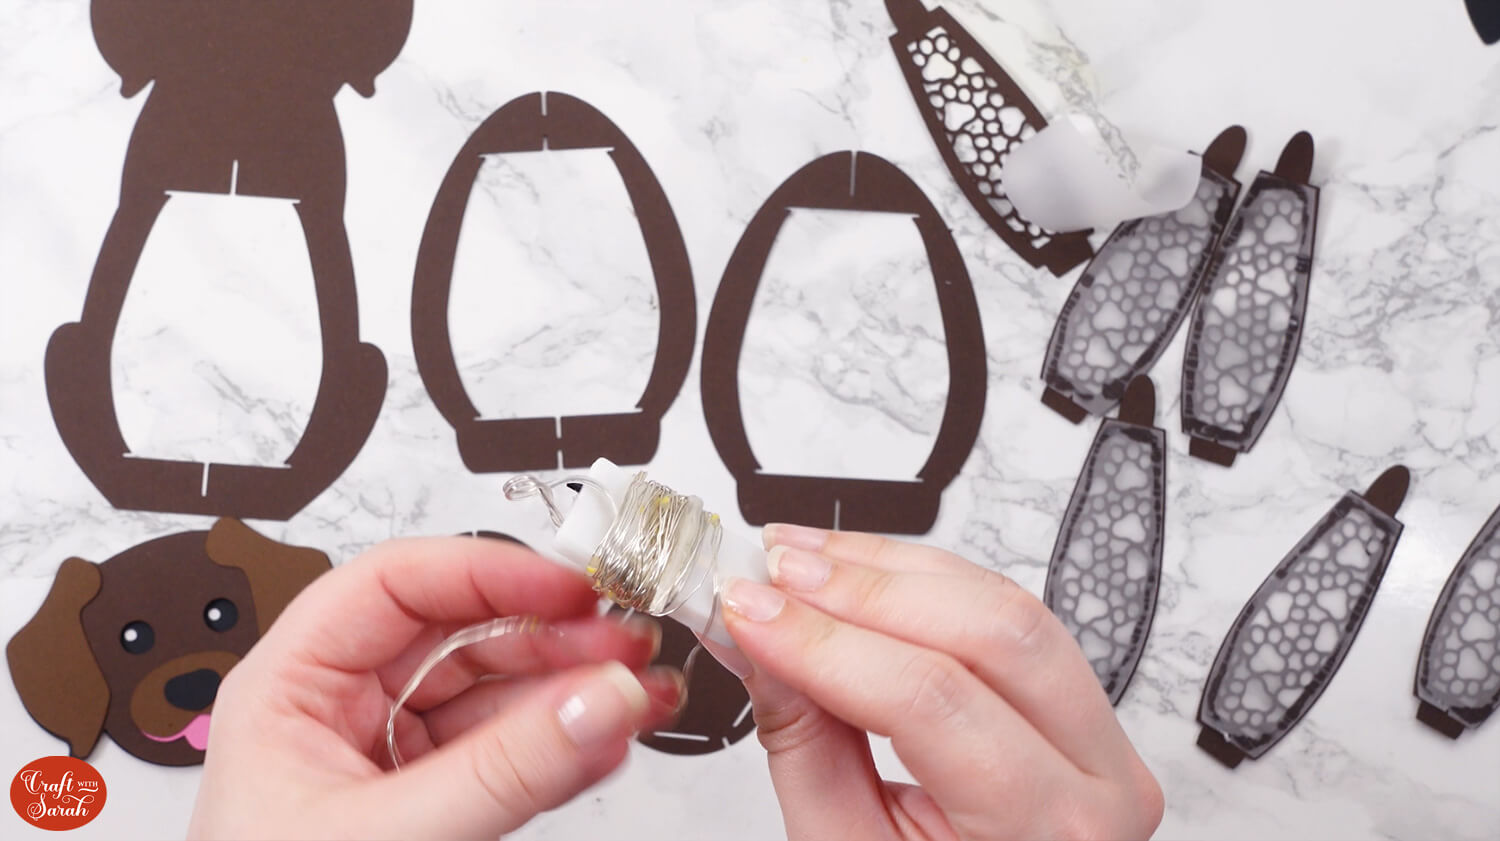
Putting a string of fairy lights inside the lanterns gives the brightest overall effect.
However, as they are quite large and take up lots of room, you can see the edges of the strings of lights when you look at the lanterns from certain angles, so it is perhaps not the neatest of options.
Choose lights with small battery packs and make sure you unravel/unwrap the lights from the battery pack before using them, for safety reasons.
Written tutorial (with photos!)
Here’s how to make two adorable little penguin lanterns using a Cricut machine.
Step 1) Download the cutting file & upload to Design Space
Download the files using the box below.
Purchase the File(s)
This cut file is available as part of the Instant Access Bundle.
Or, purchase this design individually here
Before you upload the SVG to Design Space, you need to unzip the download folder that it comes in.
- How to unzip a folder on Windows computer
- How to unzip a folder on a Mac
- How to unzip a folder on an iPad/iPhone
- How to unzip a folder on an Android device
After unzipping, upload the SVG files into Cricut Design Space. These are the files that start svg- in the filename.
Not sure how to do this? Here’s how to upload SVGs to Cricut Design Space. Make sure you upload the file which starts svg- in the filename!
Each penguin lantern comes as a separate SVG file, so you will need to upload two files if you want to make both penguins.
Note: When you upload the SVGs, it might appear as if some of the pieces are missing but don’t worry, they aren’t! They are just the same colour as the grey box underneath them, which is why it looks like the design hasn’t loaded properly. Once the SVG is uploaded, you should be able to see all the pieces on your canvas.
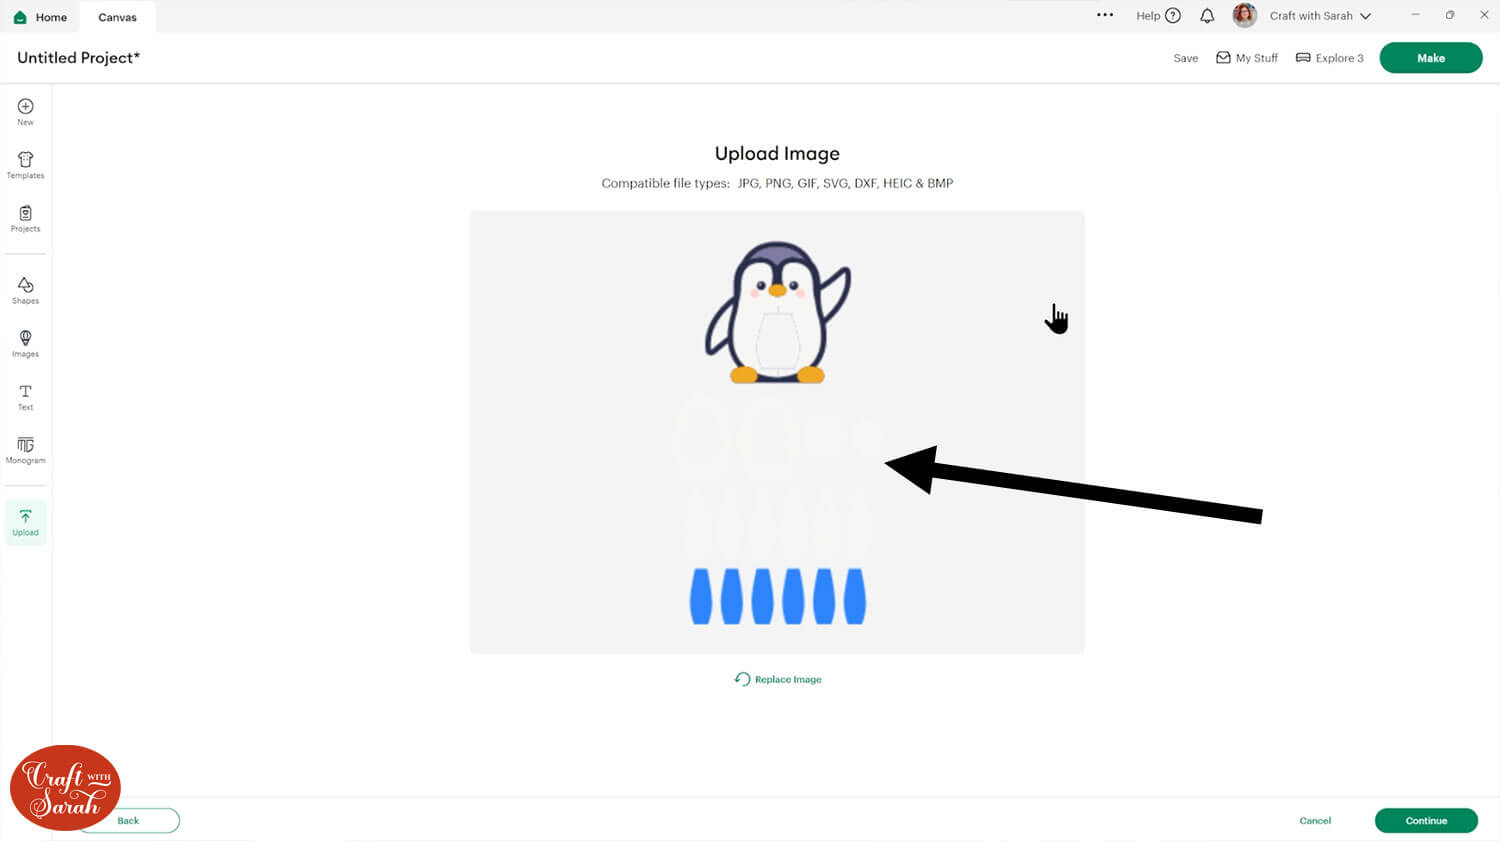
Here’s how they look when loaded onto your Canvas:
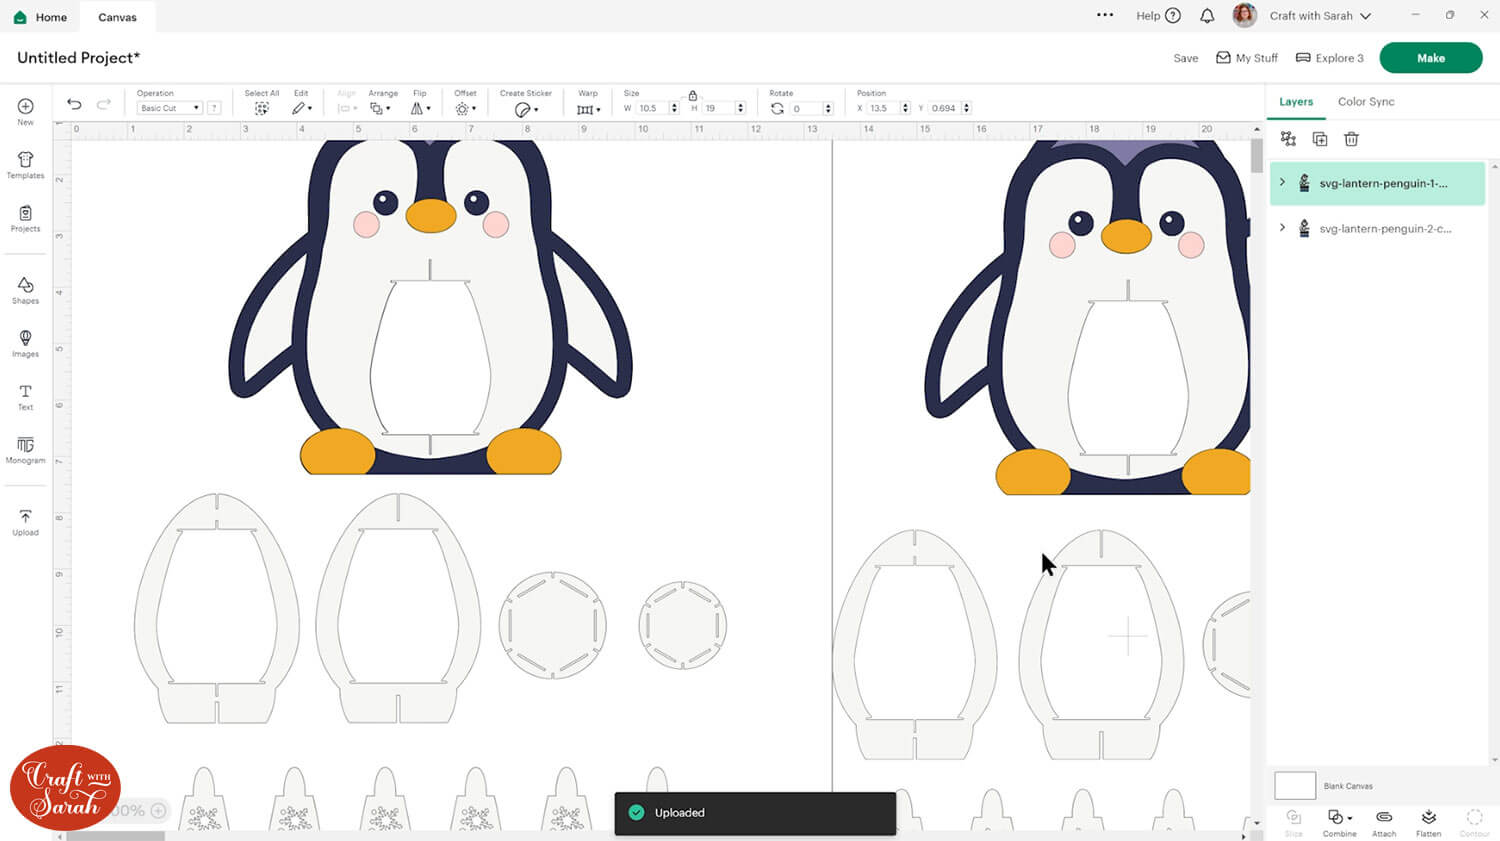
IMPORTANT!! Check the whole design has loaded in at 10.5 inches wide and 19 inches tall. If not, resize it to those measurements.
Most of the design will be cut from cardstock, but there are some exceptions.
The bright blue shapes that appear at the bottom of the file should be cut from a translucent material such as vellum, tracing paper or butcher paper.
If you don’t have anything semi-transparent then a full transparent material such as acetate or the cover of an old Cricut mat would work too, but it won’t be quite as effective as you will see the light mechanisms inside the lantern.
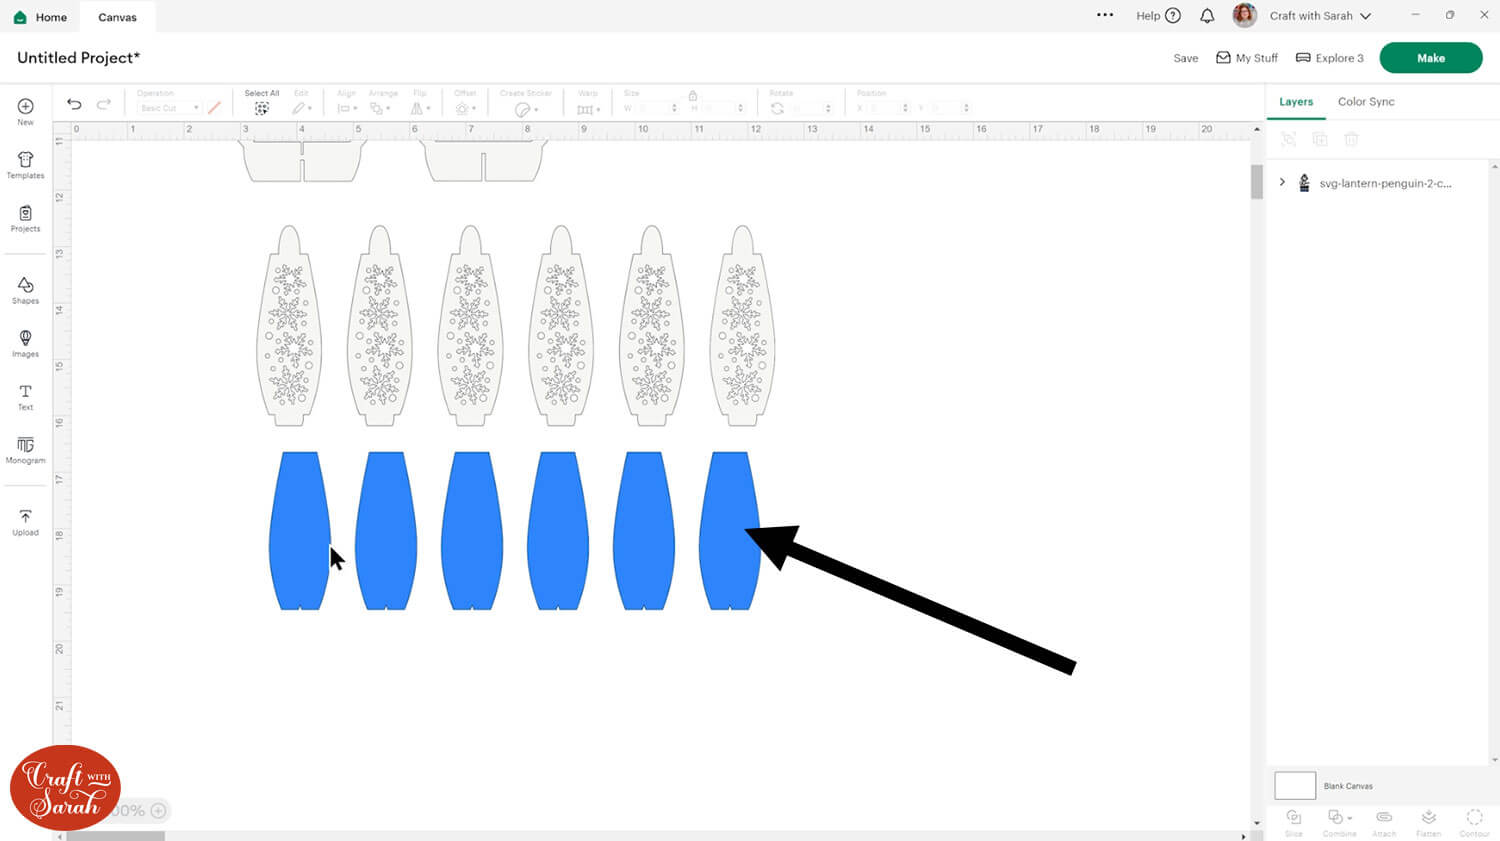
I used the “Light cardstock” setting to cut my tracing paper. Be careful when taking it off your Cricut mat as the tiny triangle cutouts along the bottoms can cause them to tear. It’s easier to remove them from the top side that doesn’t have the triangle cutouts.
Step 2) Stick the window panels together
Take your snowflake window panel pieces and turn them upside down so you are looking at the bottom side. You’ll know they’re upside down when you’ve got the little circle on the top-right.
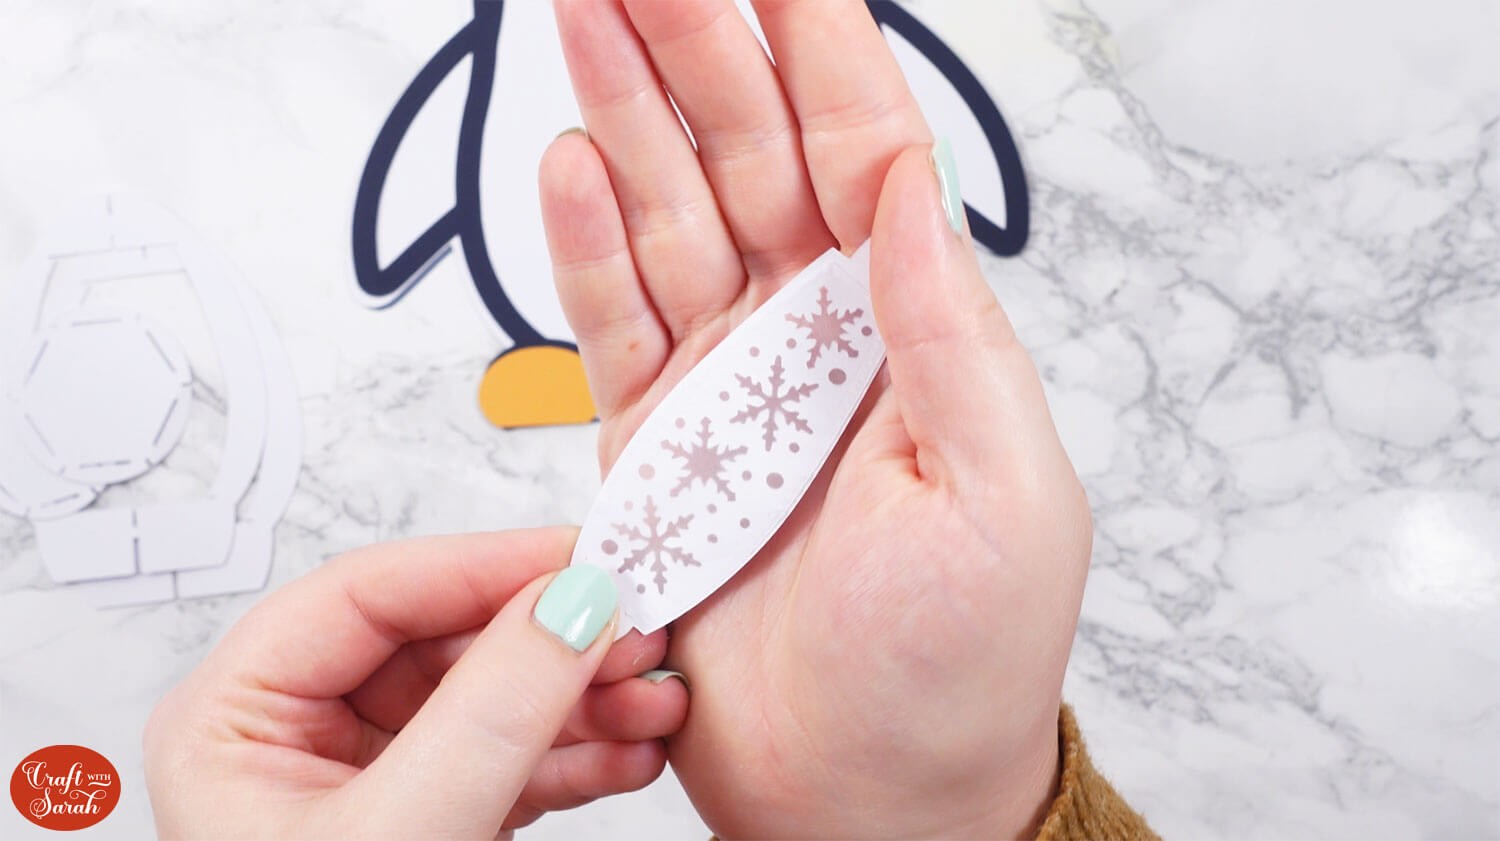
Carefully add a small amount of glue around the edges and glue the vellum pieces to the backs. The side of the vellum with a tiny triangle cutout is the side to put along the bottom of the window panel (it’s slightly wider than the top).
Step 3) Stick the layers of the penguin together
Take the layers that make up the pieces of the penguin and use a combination of glue and foam squares to stick the pieces together.
Start with the bottom blue/grey piece and glue the white layer on top.
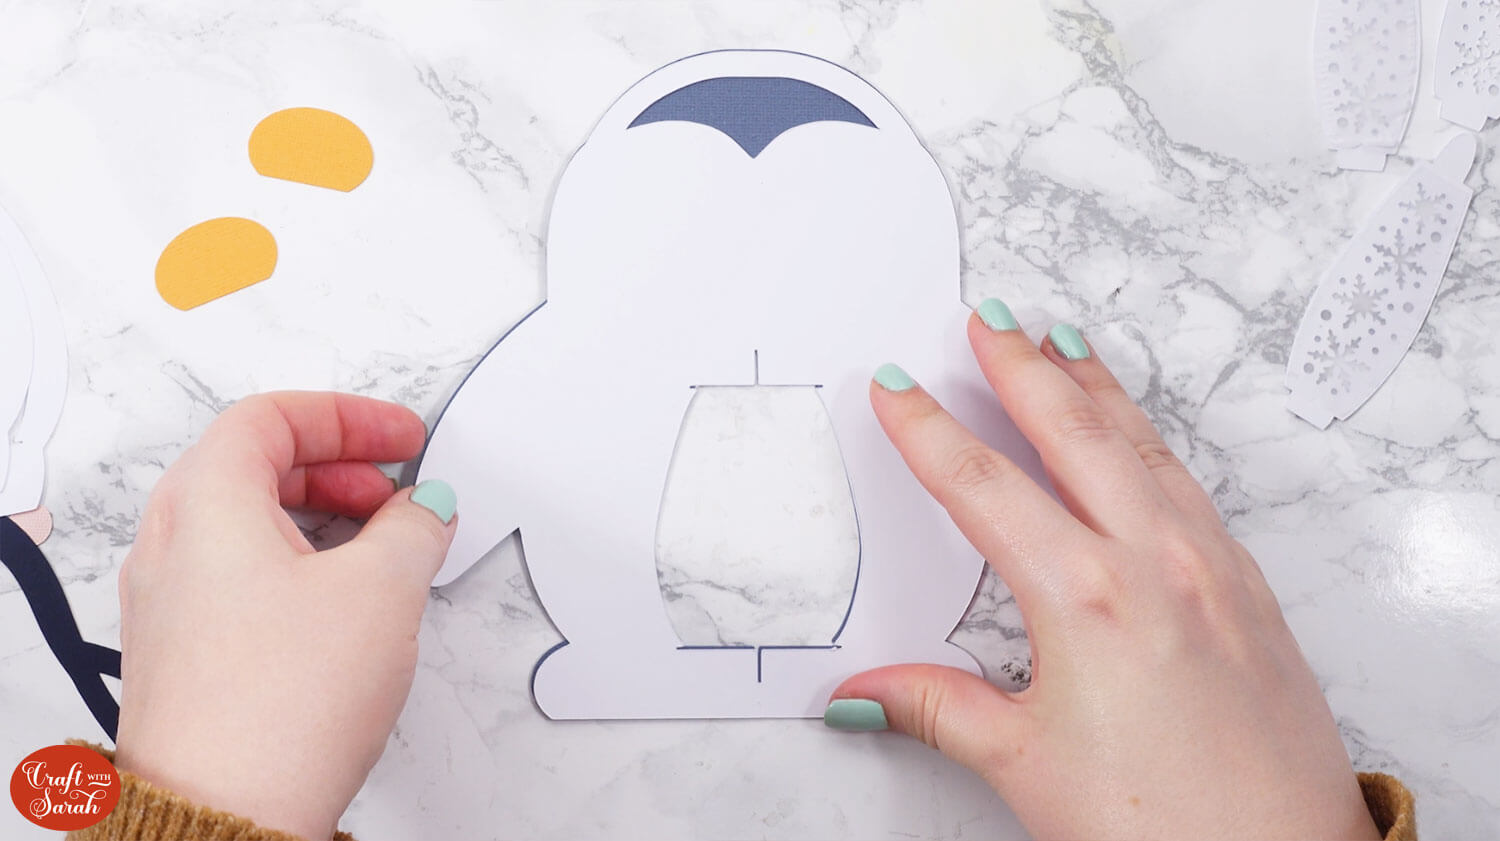
Glue the dark blue outline layer on top.
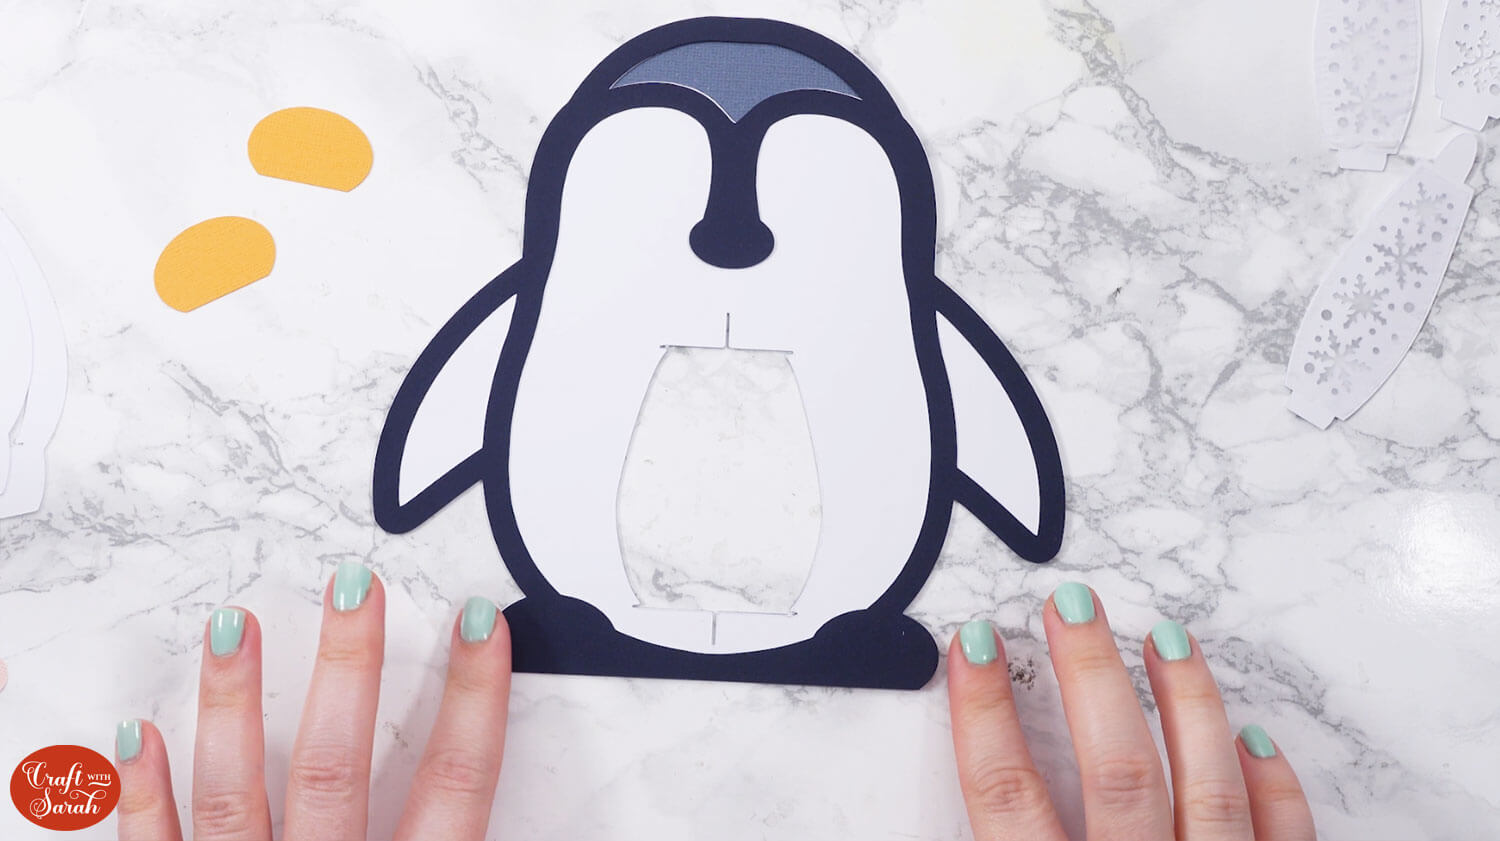
Use foam squares to stick the penguin’s beak and feet on.
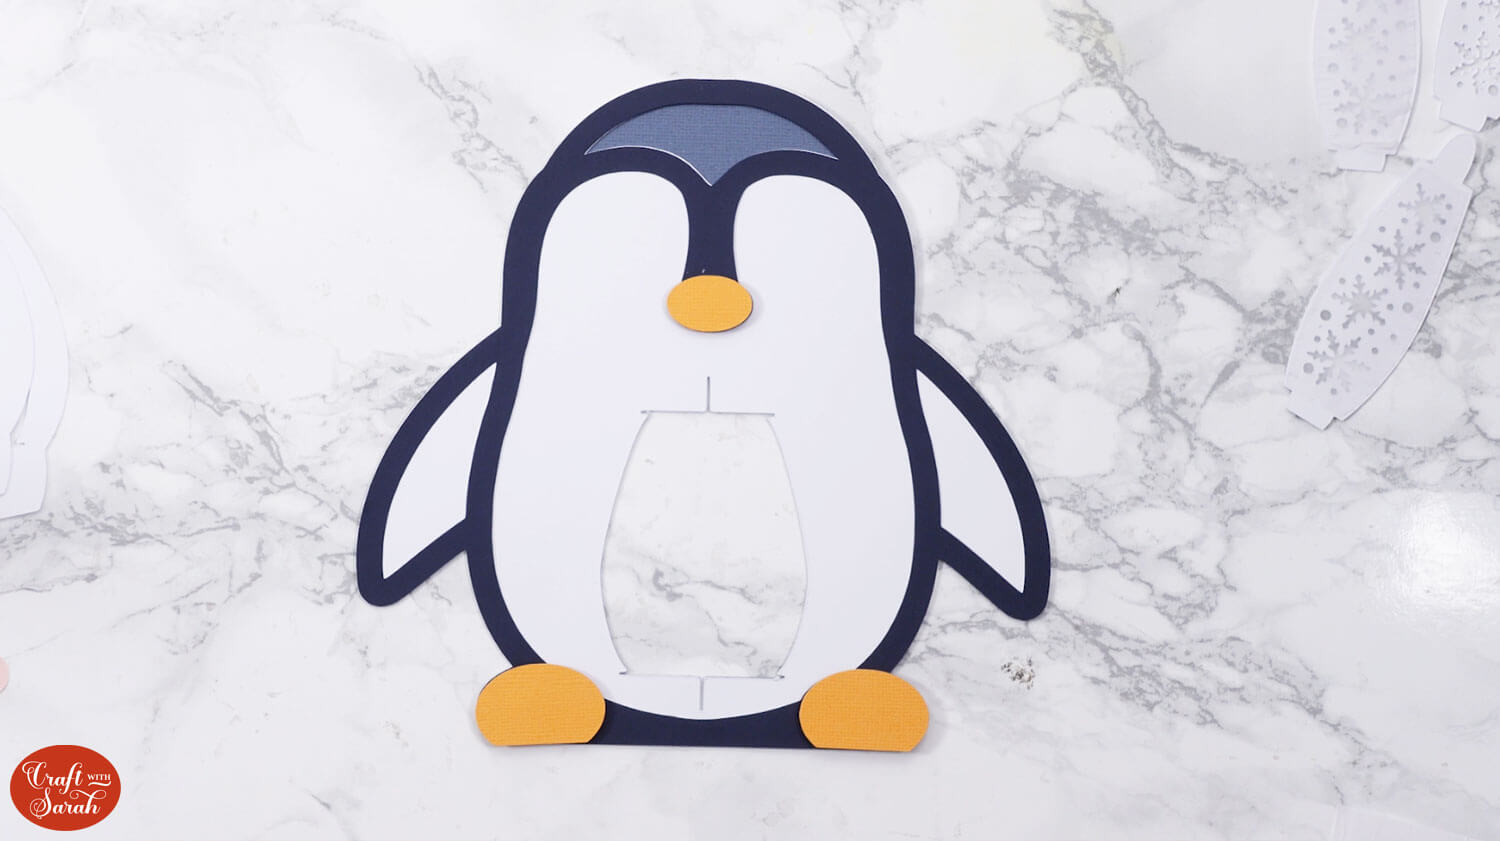
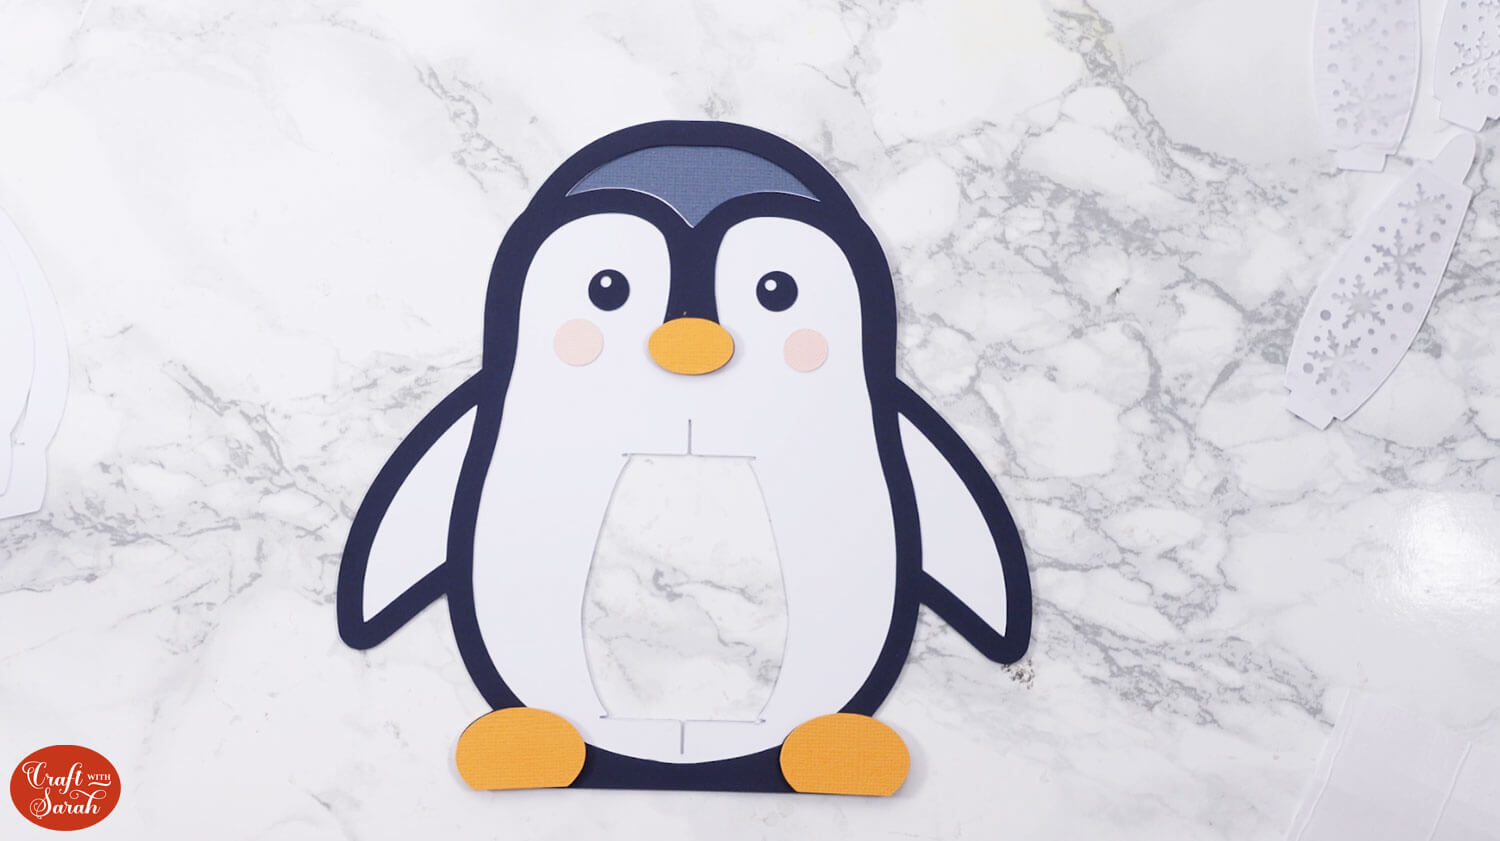
Use glue to stick the eyes and rosy cheeks on to the penguin. The eyes look best when the little circle cutouts in the middle are both pointing in the same direction.
Step 4) Assemble the lantern frame
Take the piece which has two slits in the top and bottom.
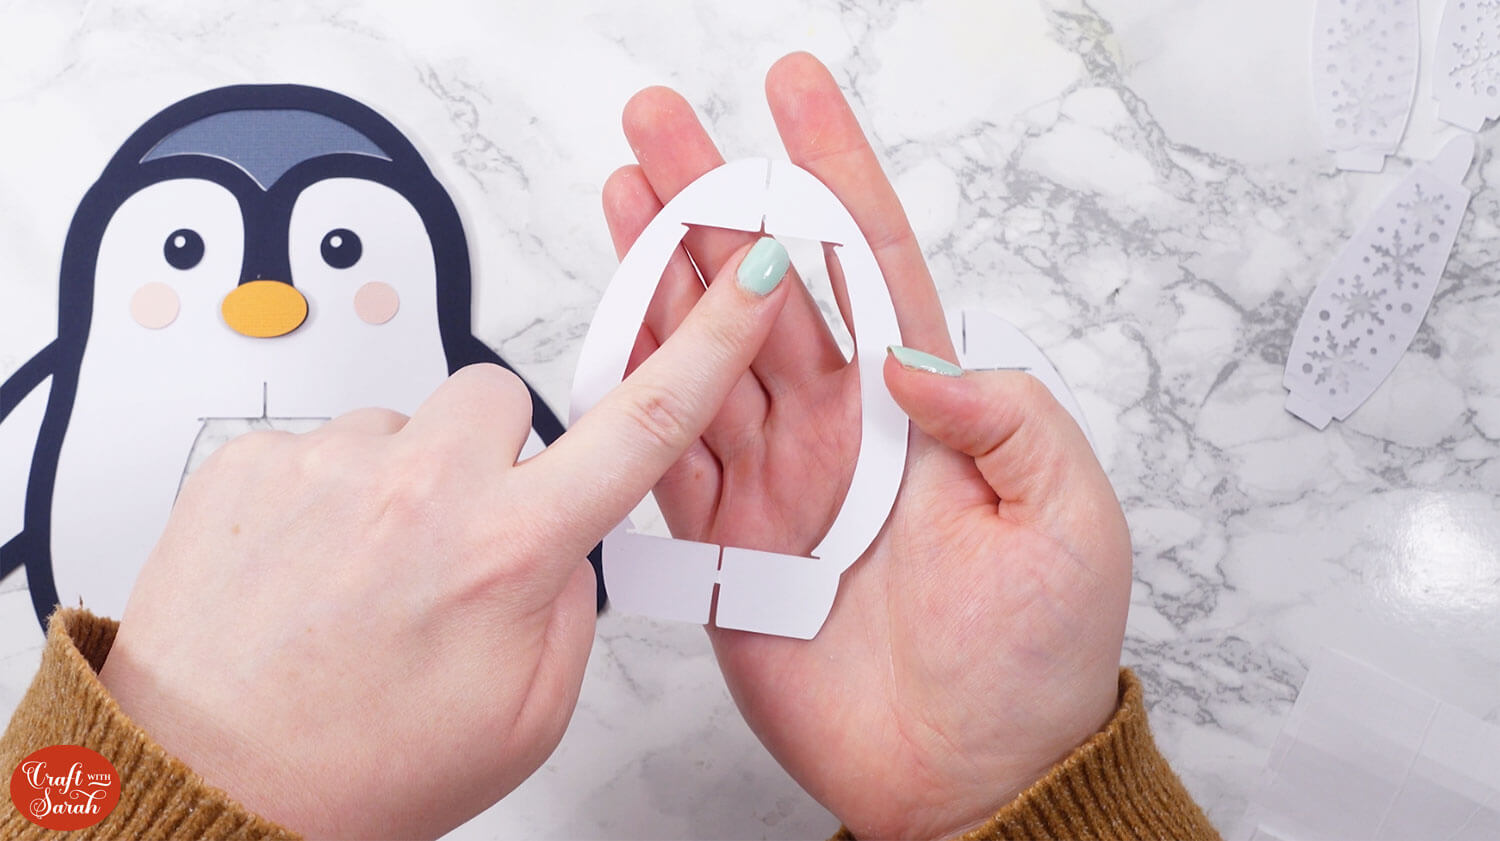
Slot this piece into the penguin body.
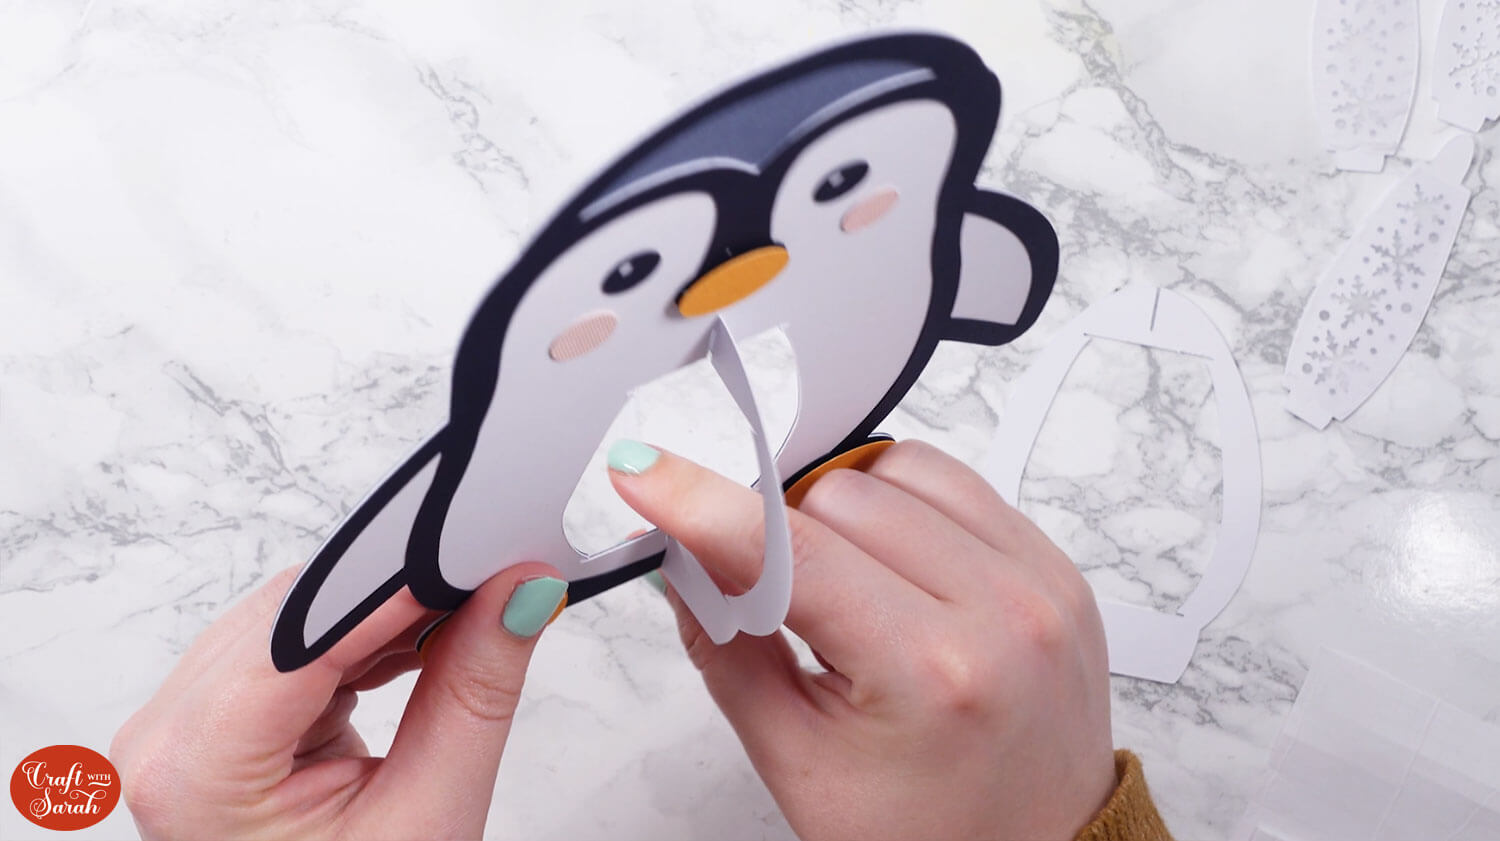
Hold the two pieces flat against each other and slide the remaining structure piece into the middle.
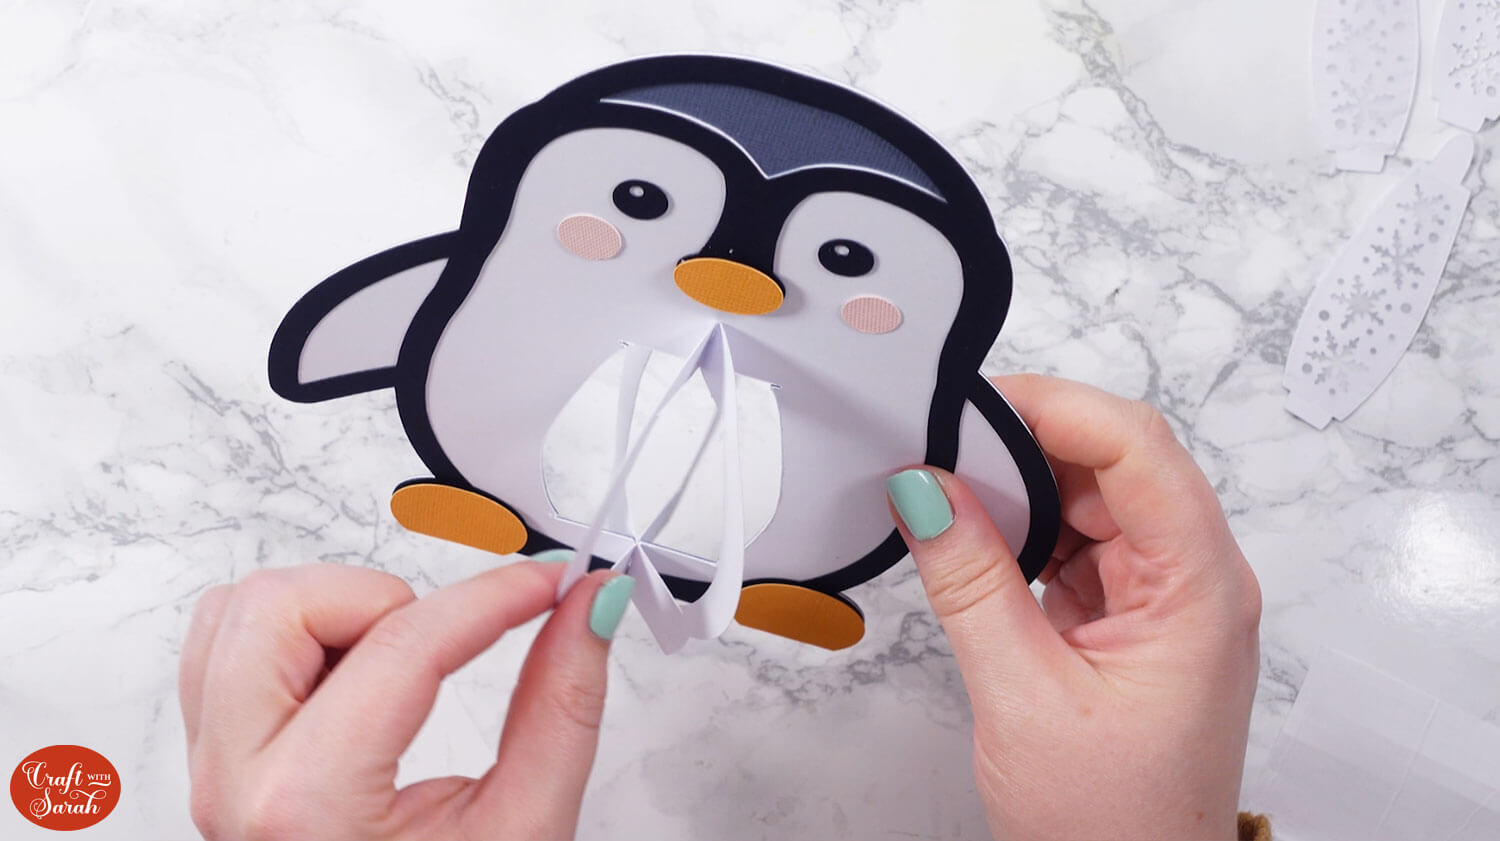
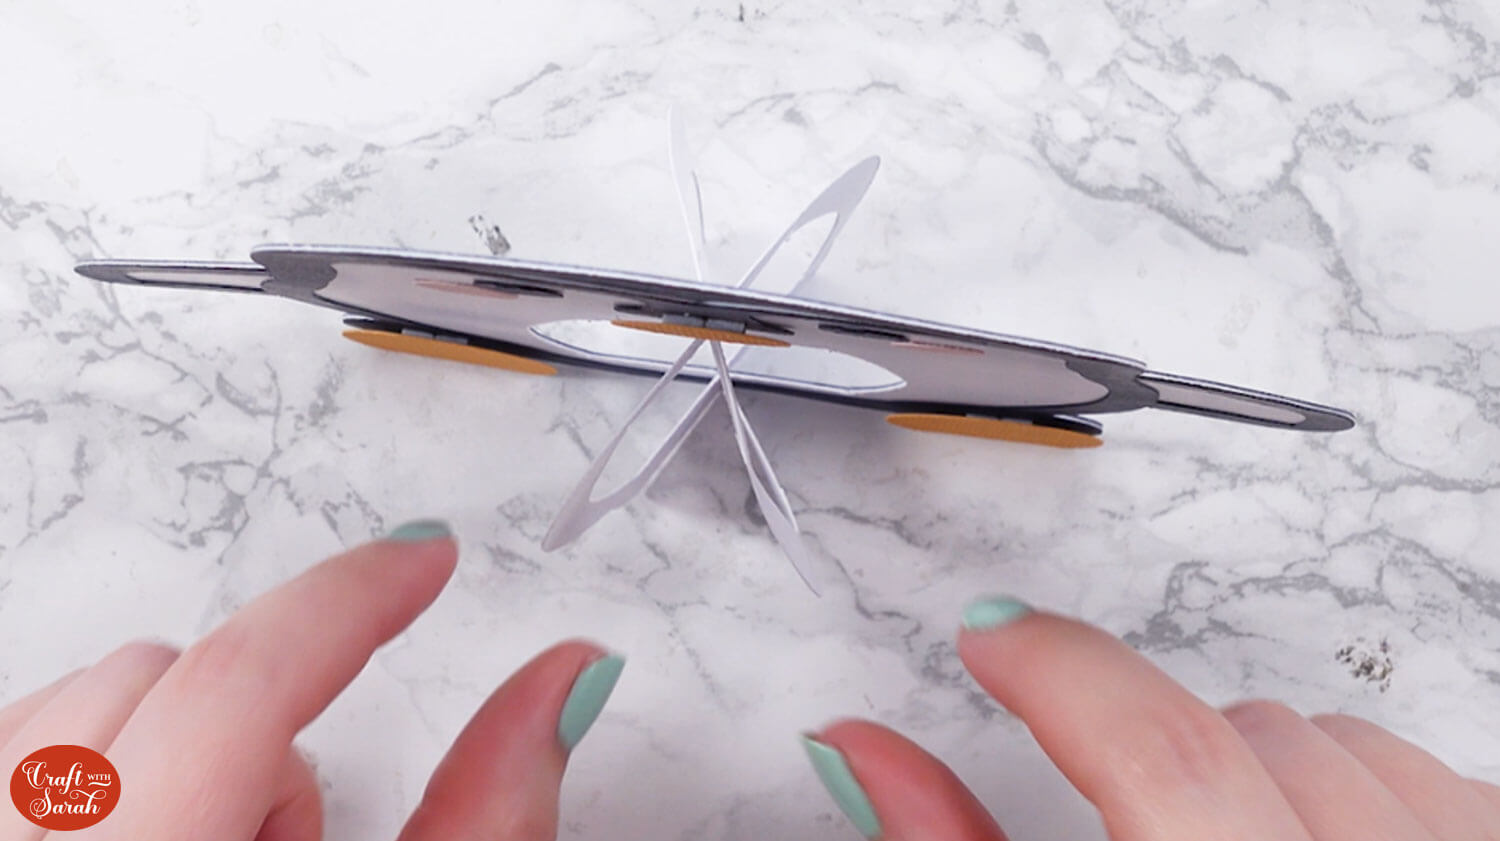
You will now have a six-sided structure that can stand up by itself.
Take the smallest of the two circles and slot it into the top of the lantern structure.
The small slits in the sides of the circle will go into the slots in the top of the lantern.
This part can be a bit fiddly, so go slowly and be careful not to tear the cardstock.
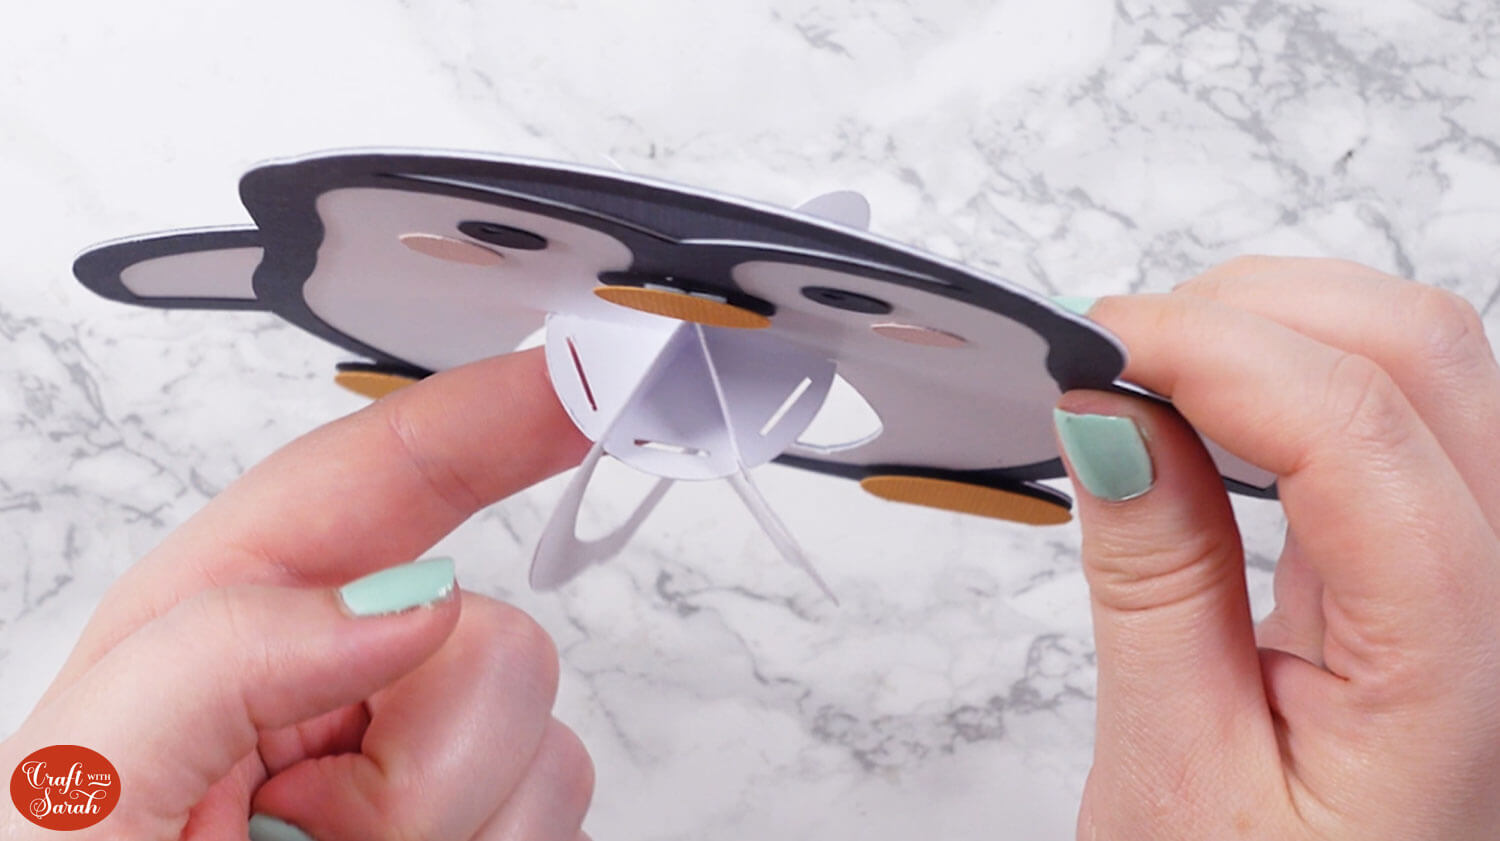
Repeat this for the larger circle and put it into the bottom of the lantern.
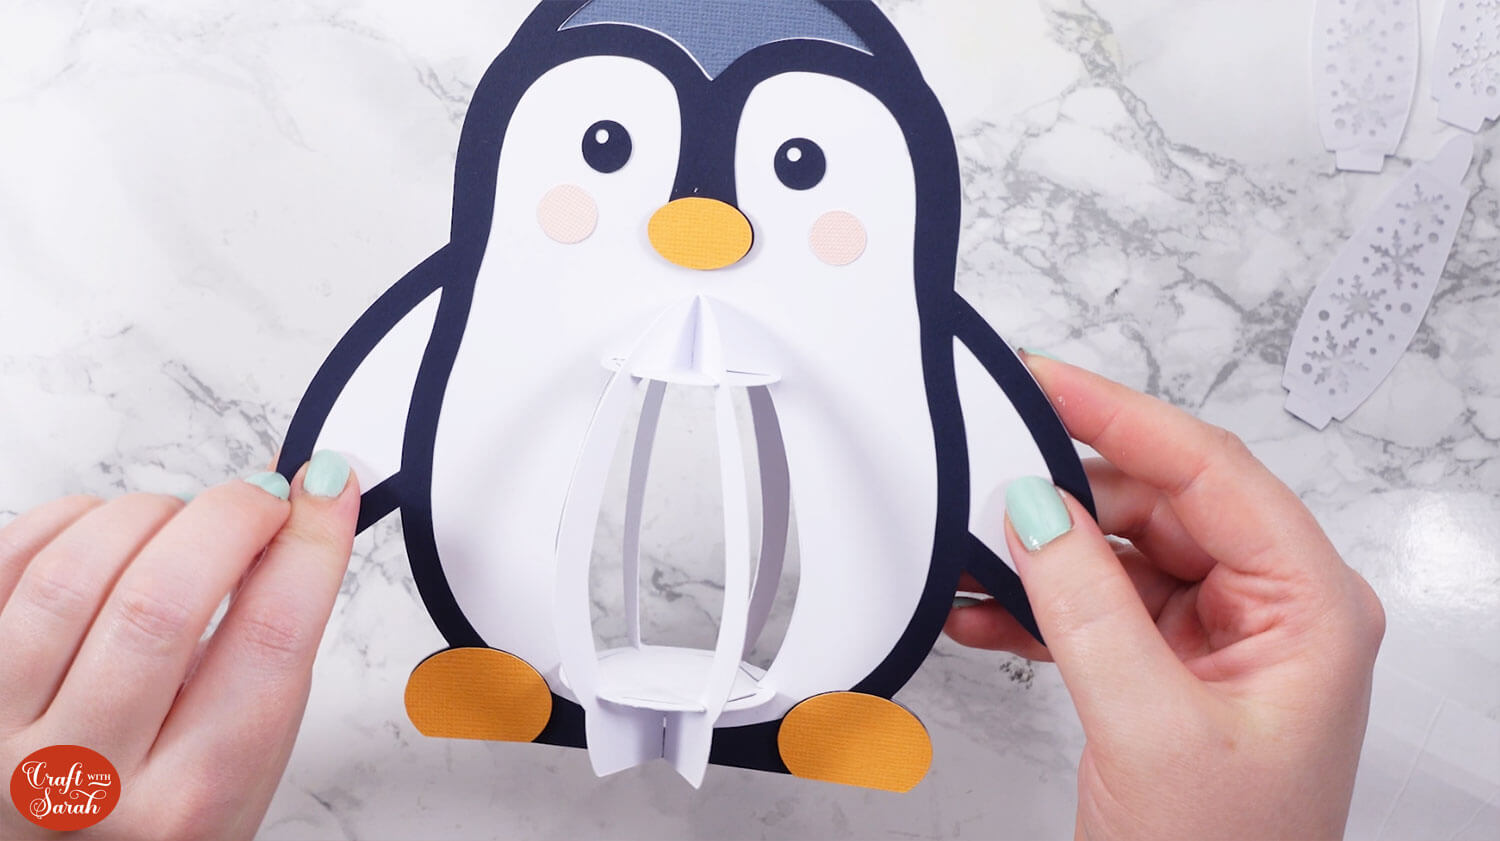
Step 5) Add the lantern sides
Slot five of the six panels into the lantern.
The rounded tabs go into the top of the lantern and the flat-edge tabs go into the bottom.
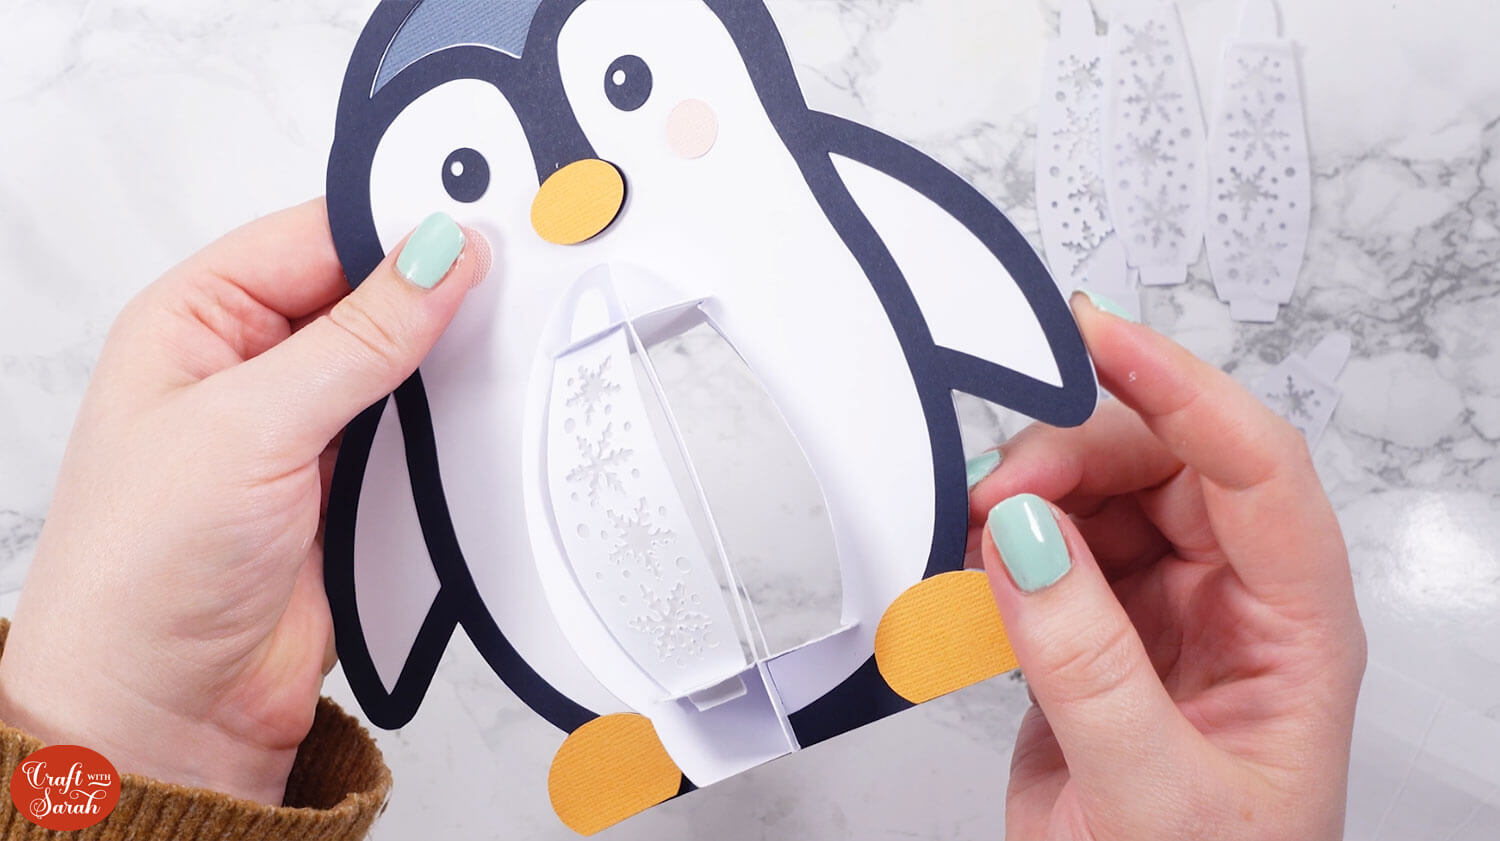
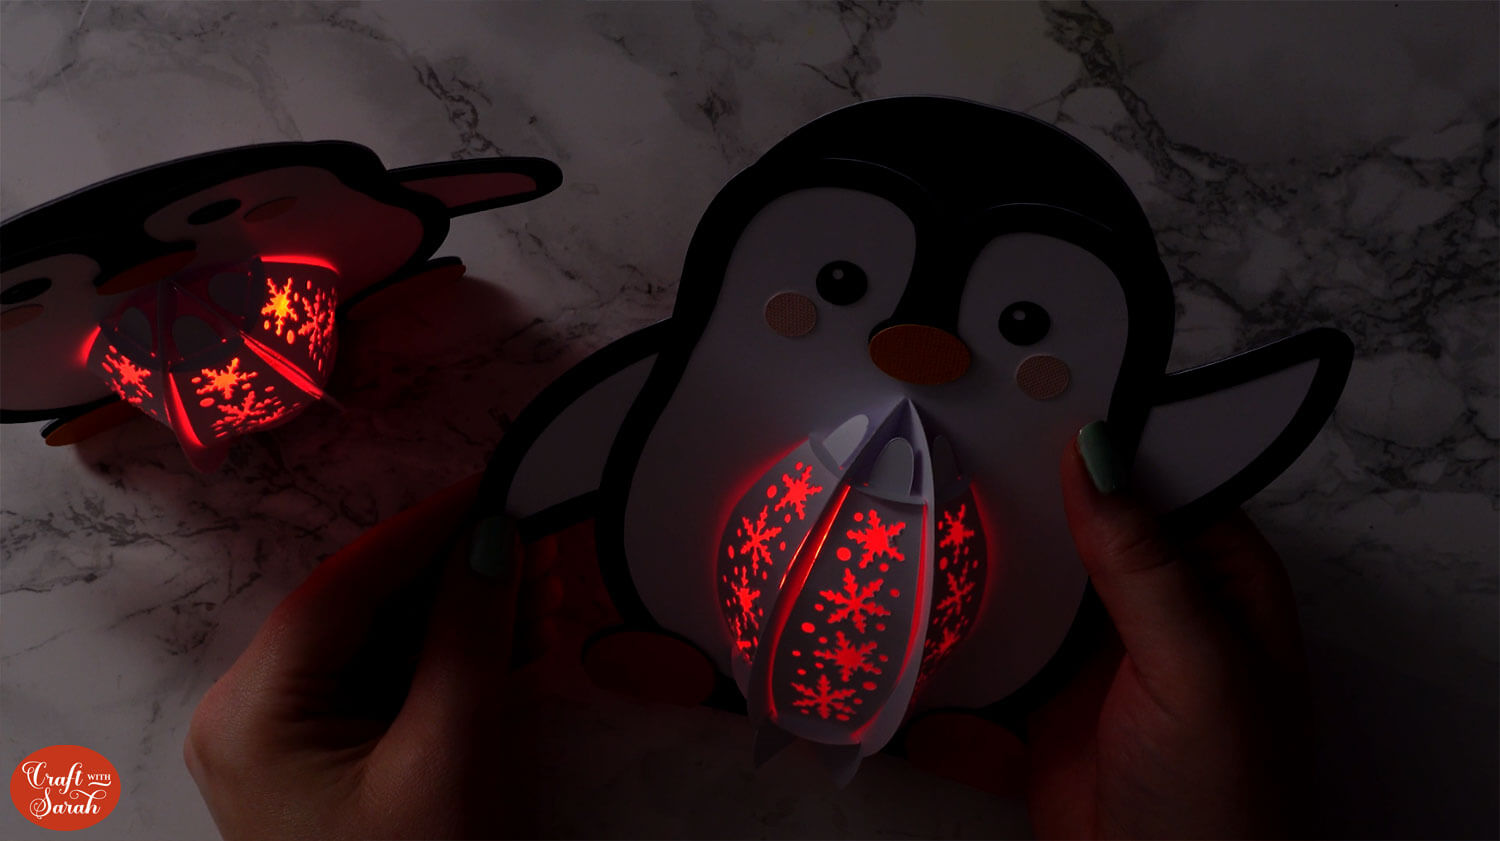
With one space remaining in the lantern, place your lights inside and then slot the final panel in.
Now your penguin is finished. Just look at him glow!
Penguin lantern papercrafts
I hope you enjoy making these happy little penguins.
These would make adorable gifts for friends and family this Christmas, especially as they come together nice and quickly!

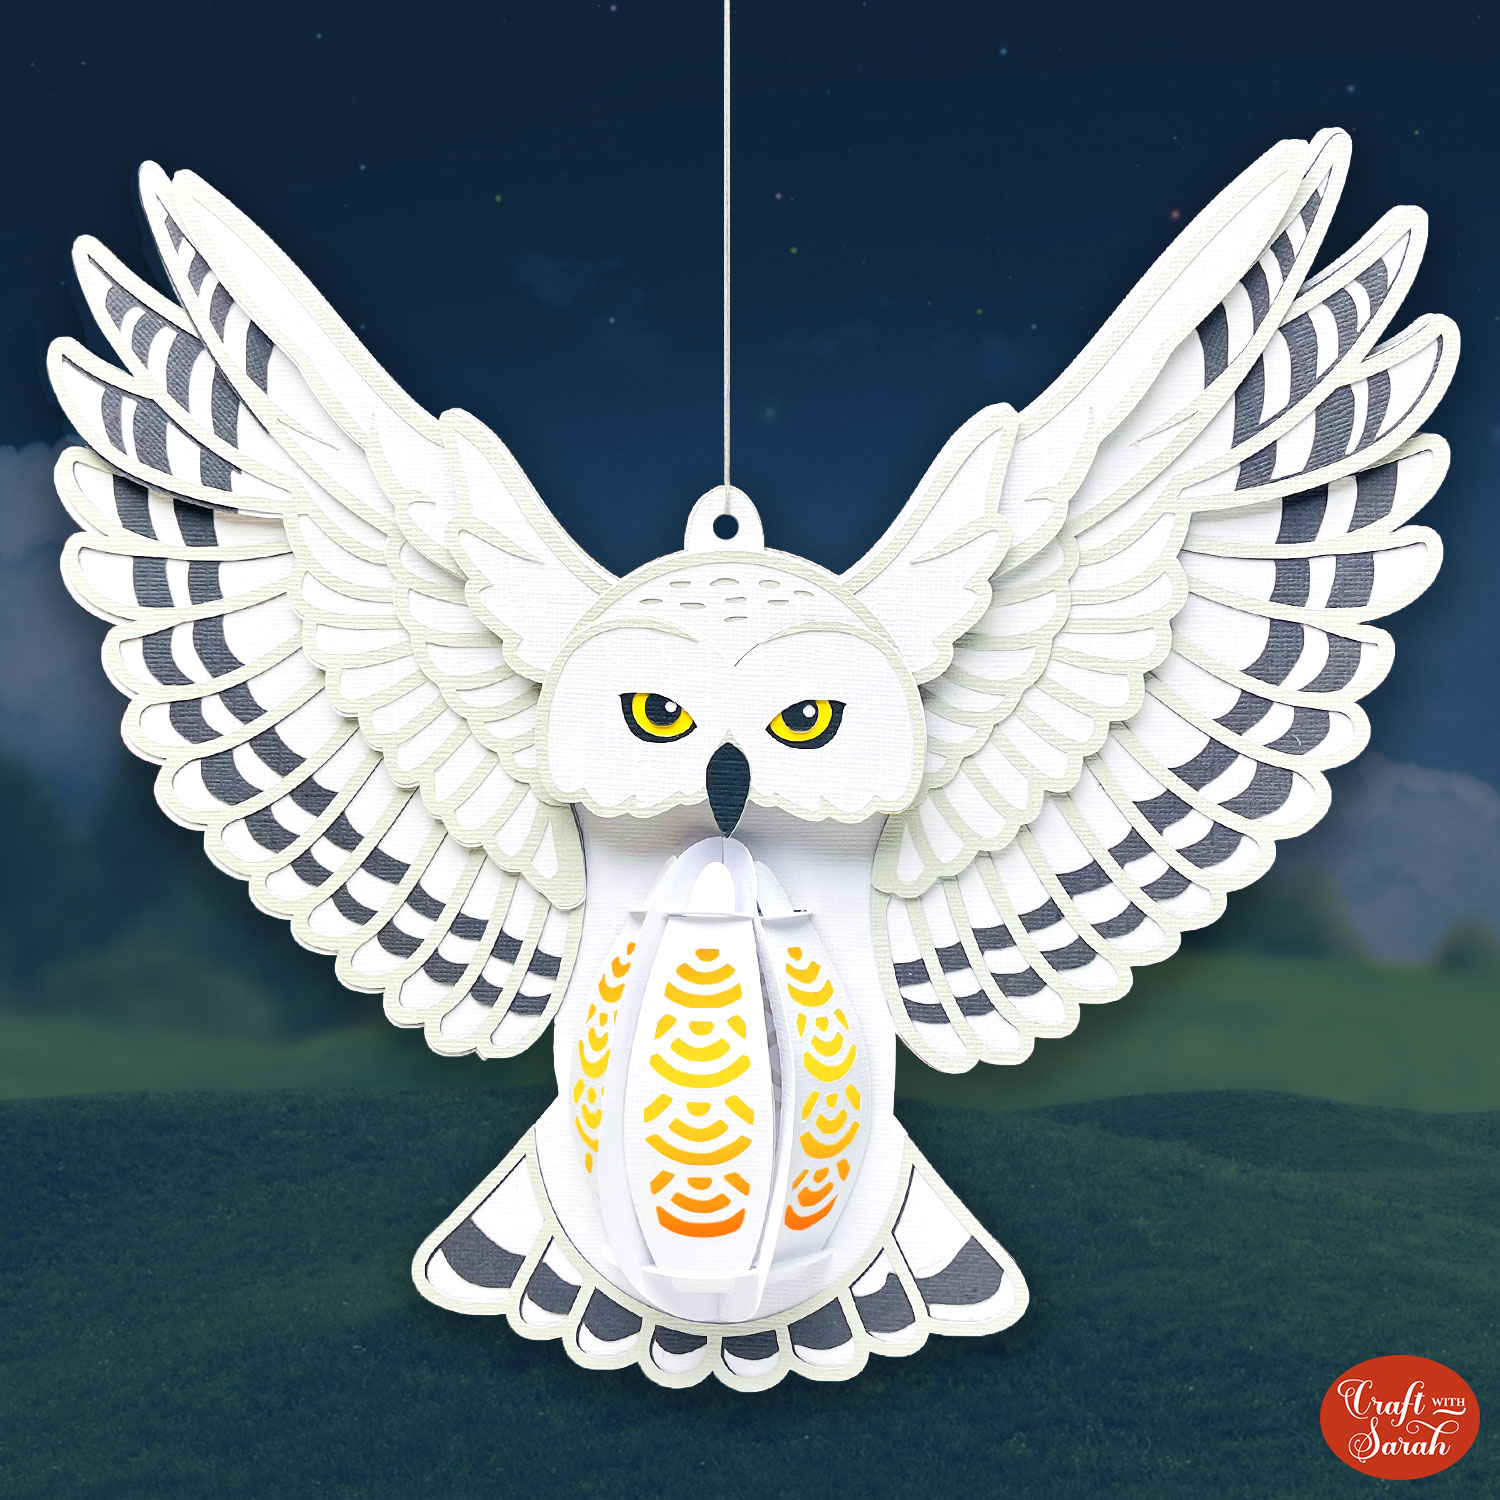
For even more free lantern projects, check out these cat and dog lanterns and a flying snowy owl lantern.
There are also loads more lantern projects in my SVG shop. Click here to view them all.
If you enjoyed this project, you may want to check out these other FREE slot-together designs:
- Christmas ornaments/baubles
- Easter bunny
- Easter chicks
- Easter egg decorations
- Snowman
- Thanksgiving turkey
- Winter village lantern
Happy crafting,
Sarah x

