CMC 2024 Day 06 ✂️ Mini Album Card
It’s Day 06 of the 2024 Card Making Countdown!
Hello and welcome to Day 6 of the Card Making Countdown, where I’m showing you how to make 10 different types of card with your Cricut machine in 10 days.
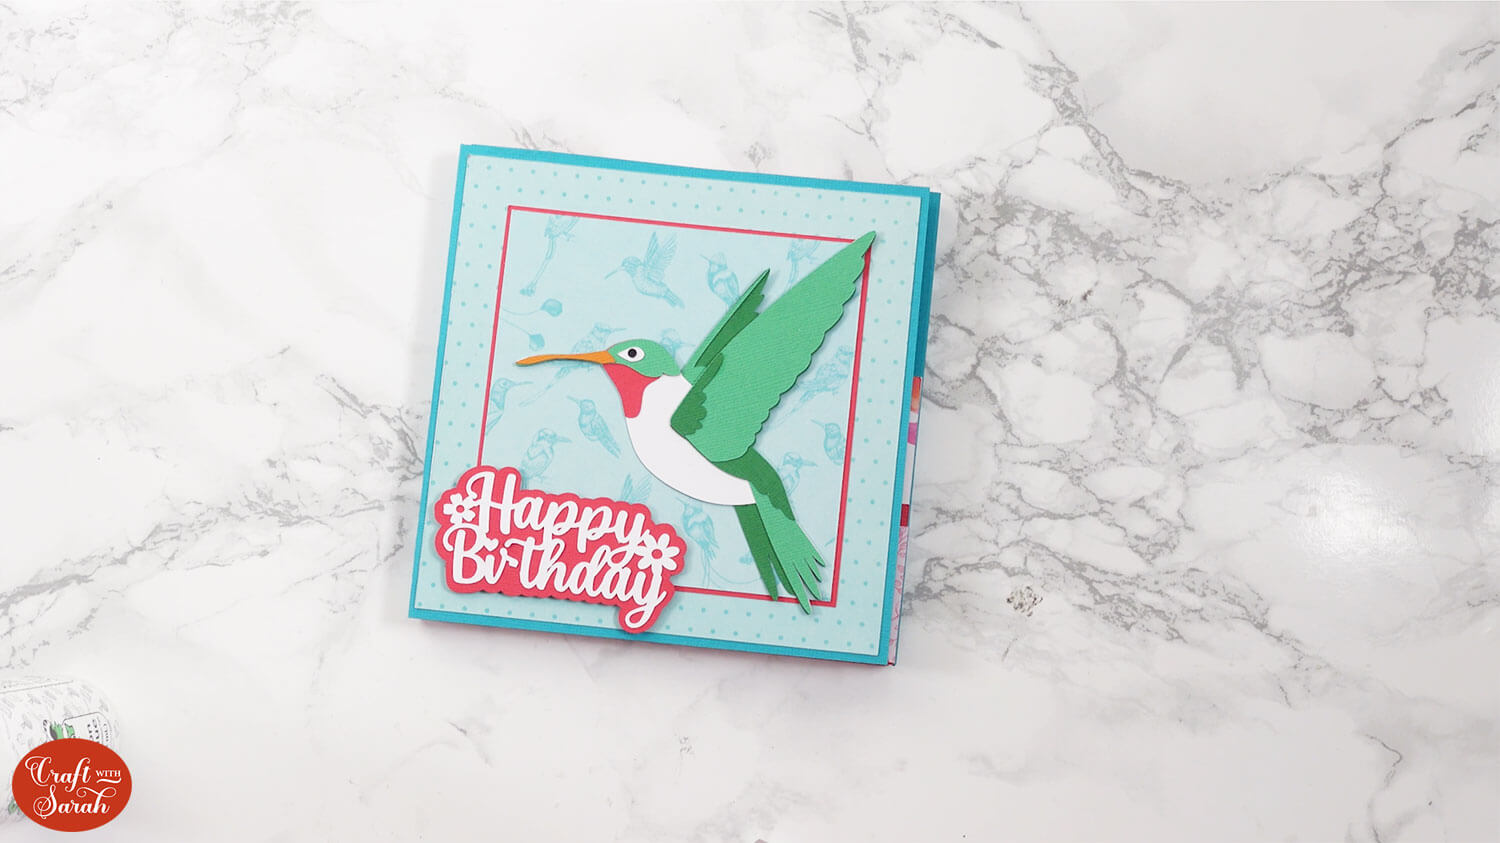
This mini scrapbook album card looks REALLY impressive! It has lots of space for photos and messages, plus pockets for items such as lottery tickets or scratchcards.
But remember, the cut file to make it is only available for free for 24 hours, starting at 9am EDT on 6th June 2024.
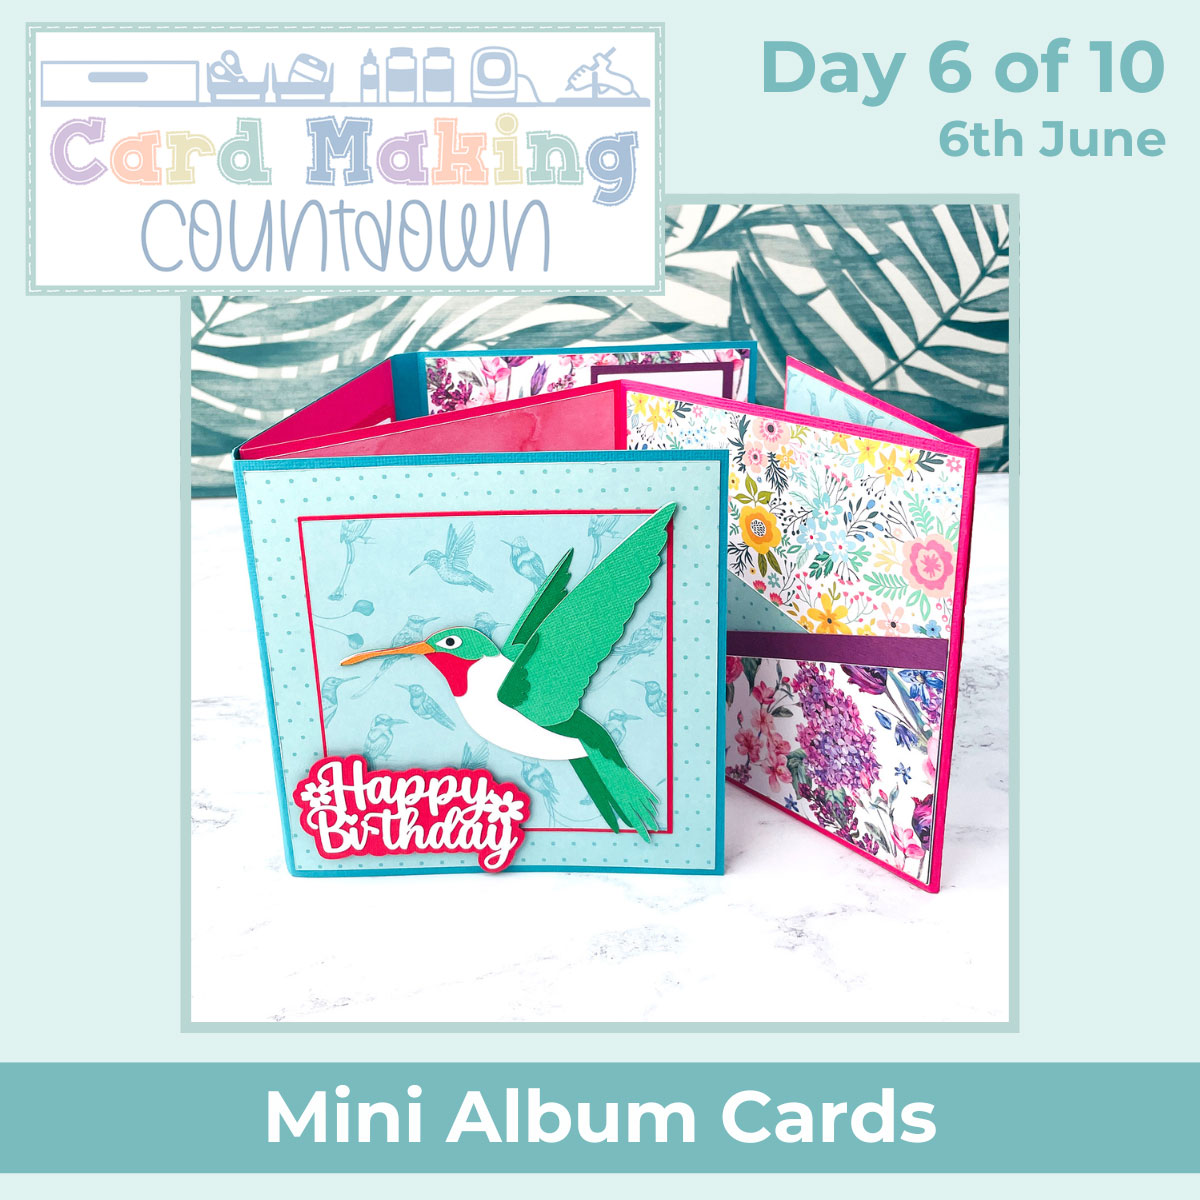
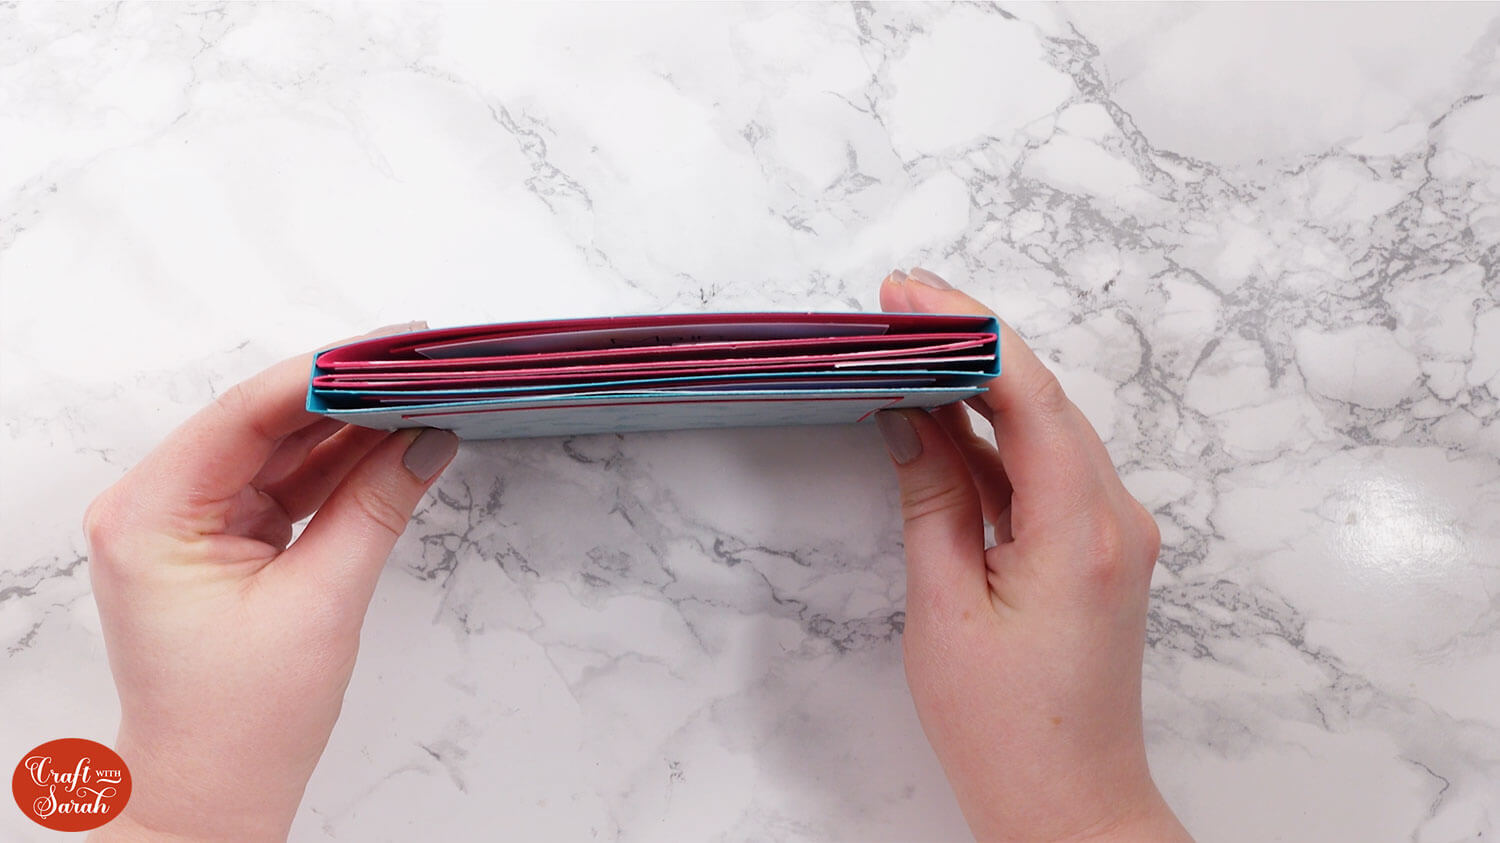
It comes with a presentation box to hold it in, as it’s too thick for a regular envelope.
There are quite a few steps to making this card because there are so many different parts to it, but it’s actually really simple to put together!
This Project was part of the Card Making Countdown 2024
Materials supply list
Here is a list of the materials that are required to make this project.
Please note that some of the links included in this article are affiliate links, which means that if you click through and make a purchase I may receive a commission (at no additional cost to you). You can read my full disclosure at the bottom of the page.
- Cricut machine
- Light blue Cricut cutting mat
- Cricut scoring wheel or scoring stylus
- Cardstock in a range of colours
- Different types of patterned paper
- Glue or double-side sticky tape (I like Bearly Art Glue and Collall brands of glue)
- Foam pads/squares
- Photo paper and a colour printer (or pre-printed photos you can manually cut to size)
- Items to fill the pockets, such as lottery tickets, scratchcards, puzzles, written messages, etc
- Toppers or embellishments (optional)
This project is suitable for the following types of Cricut machine: Explore Air 2, Explore Air 3, Maker and Maker 3. It is too large to be made on the Cricut Joy and Cricut Joy Xtra. You could resize the design smaller to cut on the Joy Xtra.
Foundation learning
If you’re new to crafting with your Cricut, you may find the below links helpful.
They teach some of the skills mentioned throughout this tutorial.
- How to upload SVG files into Design Space
- How to score with a Cricut (even without scoring tools)
- Print then cut tutorial
- Design Space tools (Combine, Attach, Slice, Weld, Flatten, etc.)
- Pattern fill tutorial (for making backgrounds & cutting images to a specific shape/size)
- Free envelope SVGs that can be sized to fit any card
- How to write inside cards with Cricut pens
- How to cut layered designs at a small size
- Design Space tips & tricks
- Cricut pens tutorial
Video tutorial for mini scrapbook album cards
Watch the video below to see how to make a mini album card with a Cricut machine.
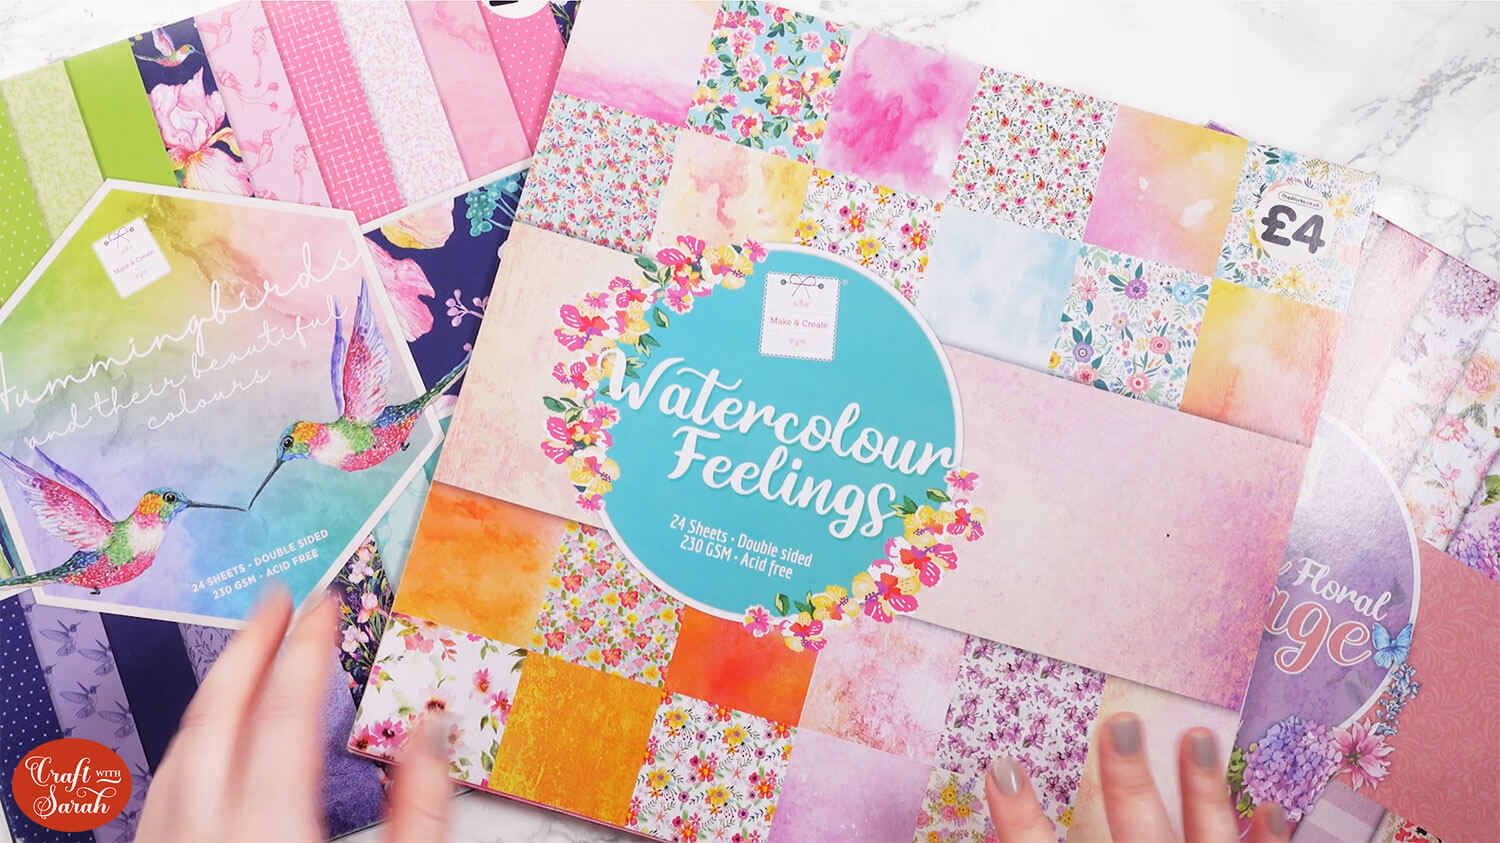
These cards are perfect for using up your patterned paper stash! Or, you can print your own patterns by using the pattern fill feature in Design Space.
If you prefer to read rather than watch, keep scrolling!
How to make mini album cards
Here’s how to make your mini album cards with a Cricut machine, using the template from today’s Countdown project.
Step 1) Download the file & upload to Design Space
Download the file using the box below.
Purchase the File(s)
This cut file is available as part of the Instant Access Bundle.
Or, purchase this design individually here

Before you upload the file to Design Space, you need to unzip the download folder that it comes in.
- How to unzip a folder on Windows computer
- How to unzip a folder on a Mac
- How to unzip a folder on an iPad/iPhone
- How to unzip a folder on an Android device
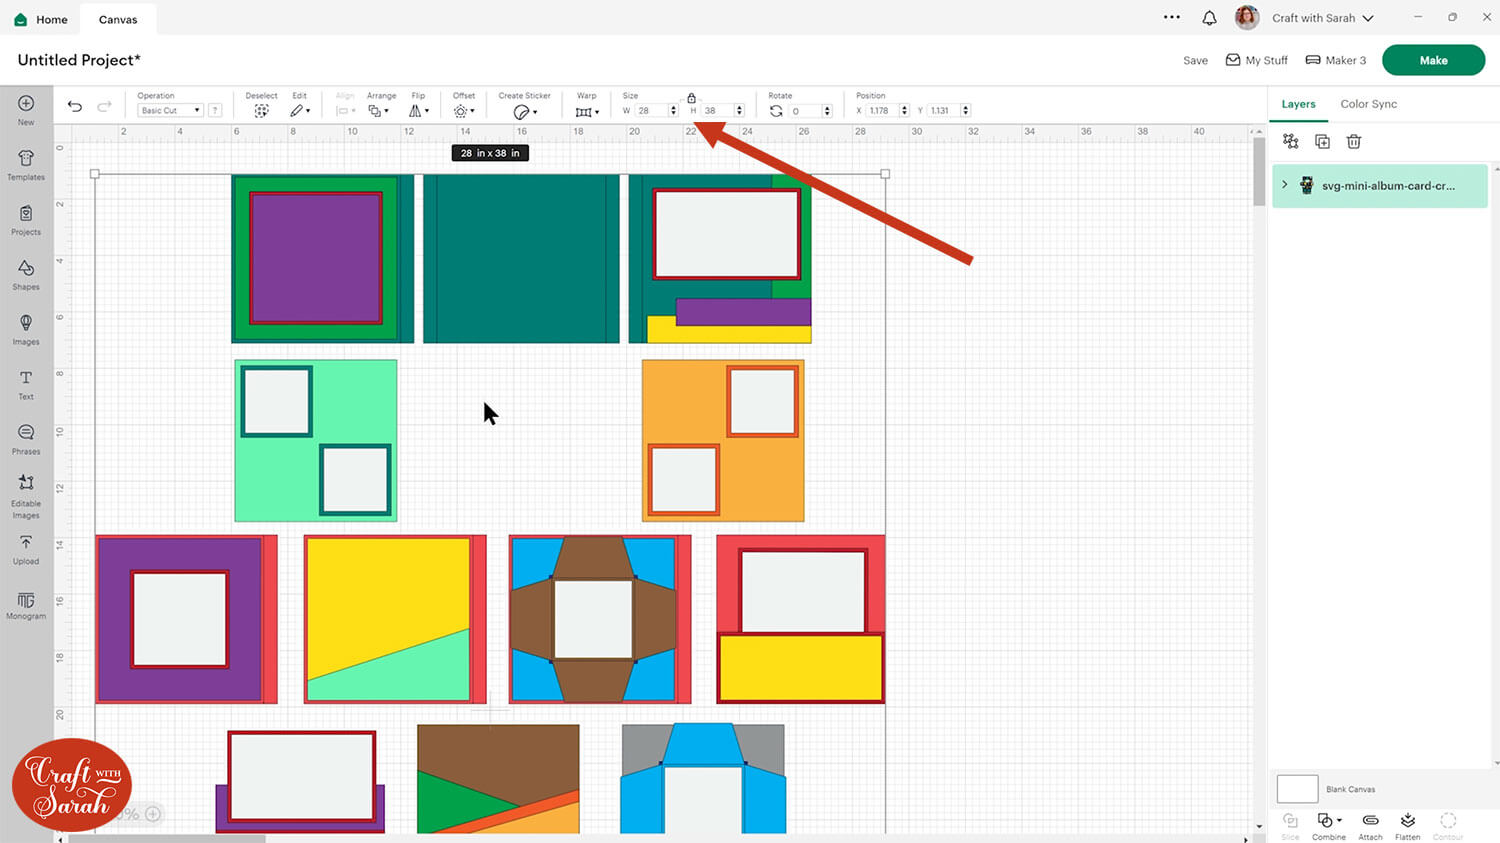
Upload the SVG file for the mini album card template into Cricut Design Space.
TIP: Make sure you upload the file which starts svg- in the filename. Not sure how? Here’s how to upload SVG files into Cricut Design Space.
The file should load in at 28 inches wide and 38 inches tall. If yours is different, resize it to match those measurements.
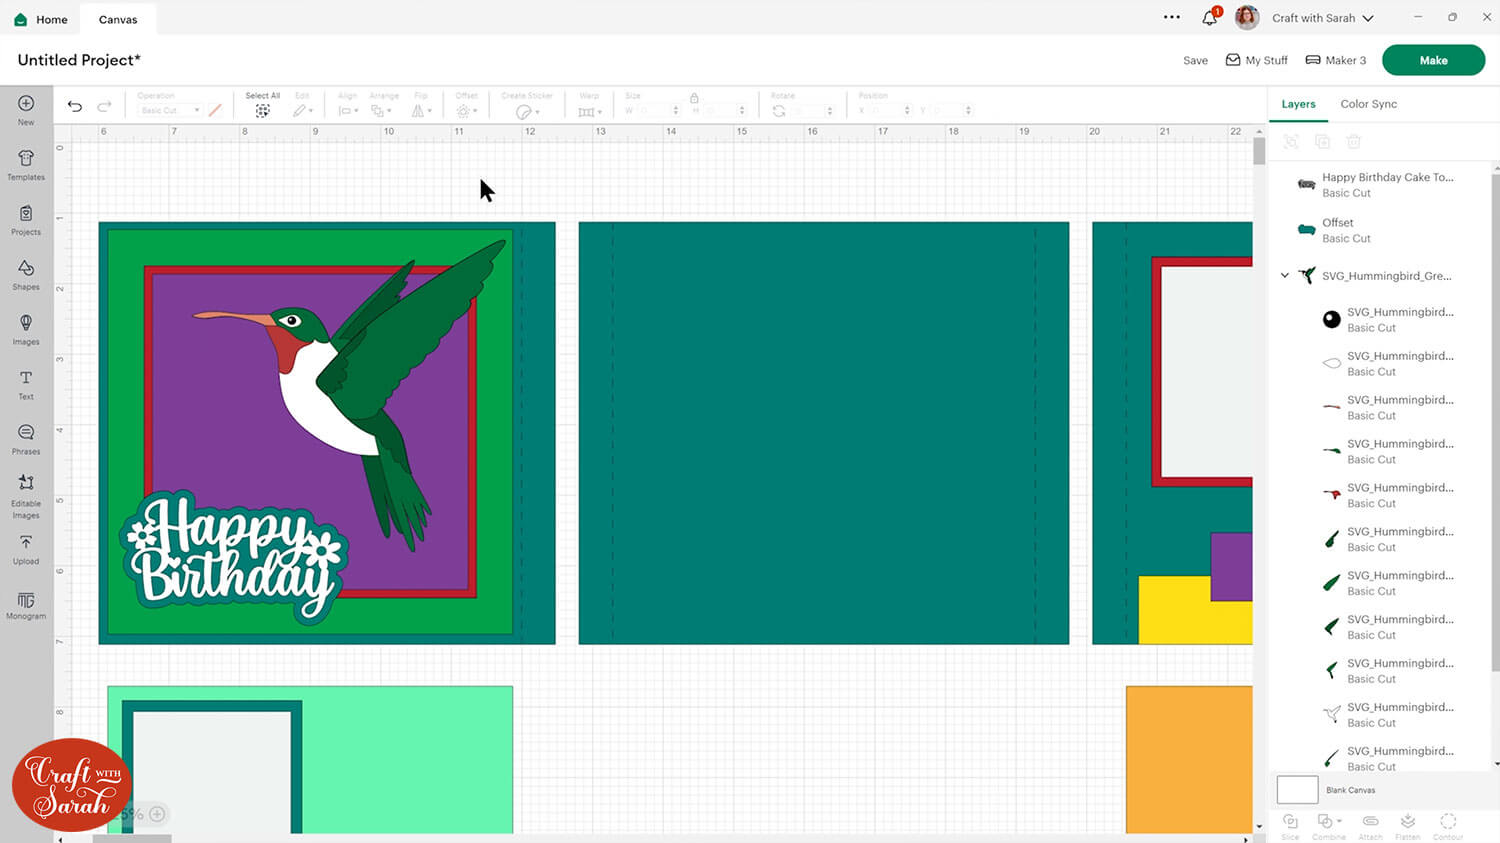
Step 2) Format the score lines
There are a few different things to change before you can start adding your pictures into the panels.
We need to format all the score lines, by changing them manually in Design Space.
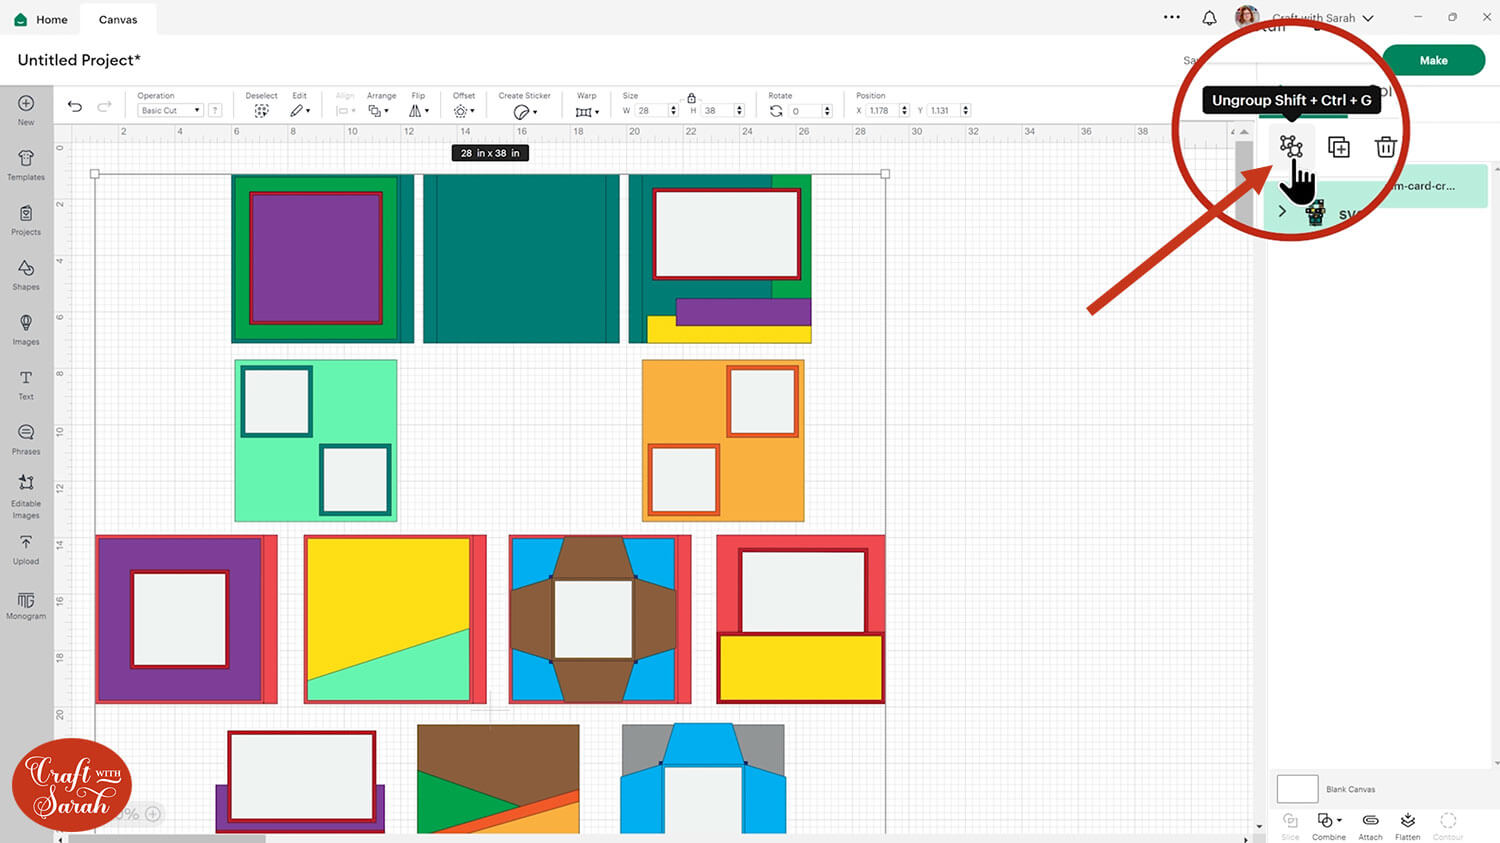
To start, click on everything and press the “Ungroup” button at the top of the layers panel to separate out the pieces.
Look in the layers panel for one of the separate groups that still exists.
There are several different ones throughout the file.
Open one of them up to see the layers inside.
They will have a solid coloured shape, and then a layer on top which looks like vertical or horizontal lines.
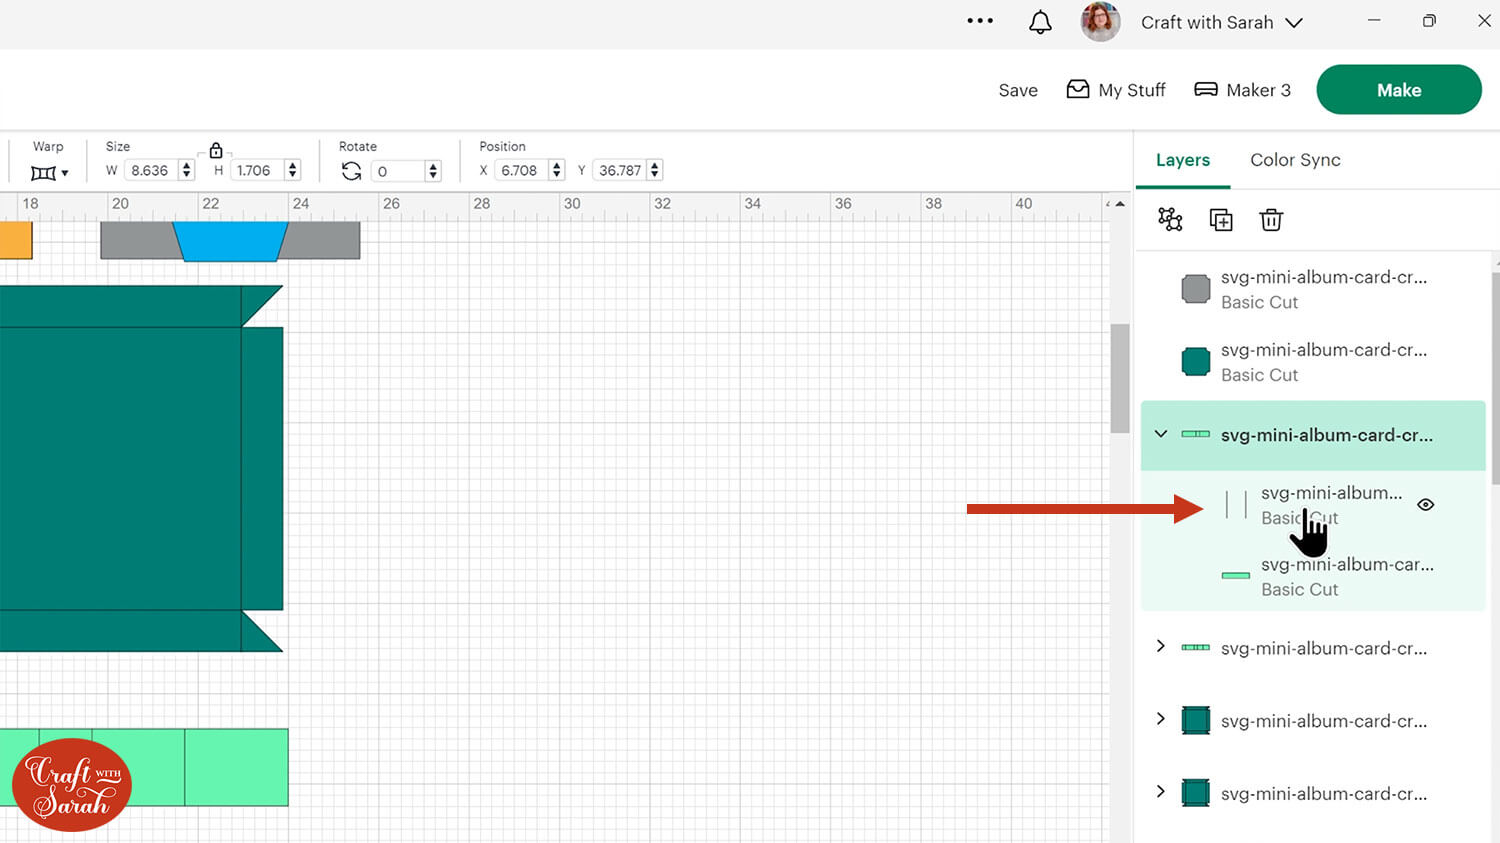
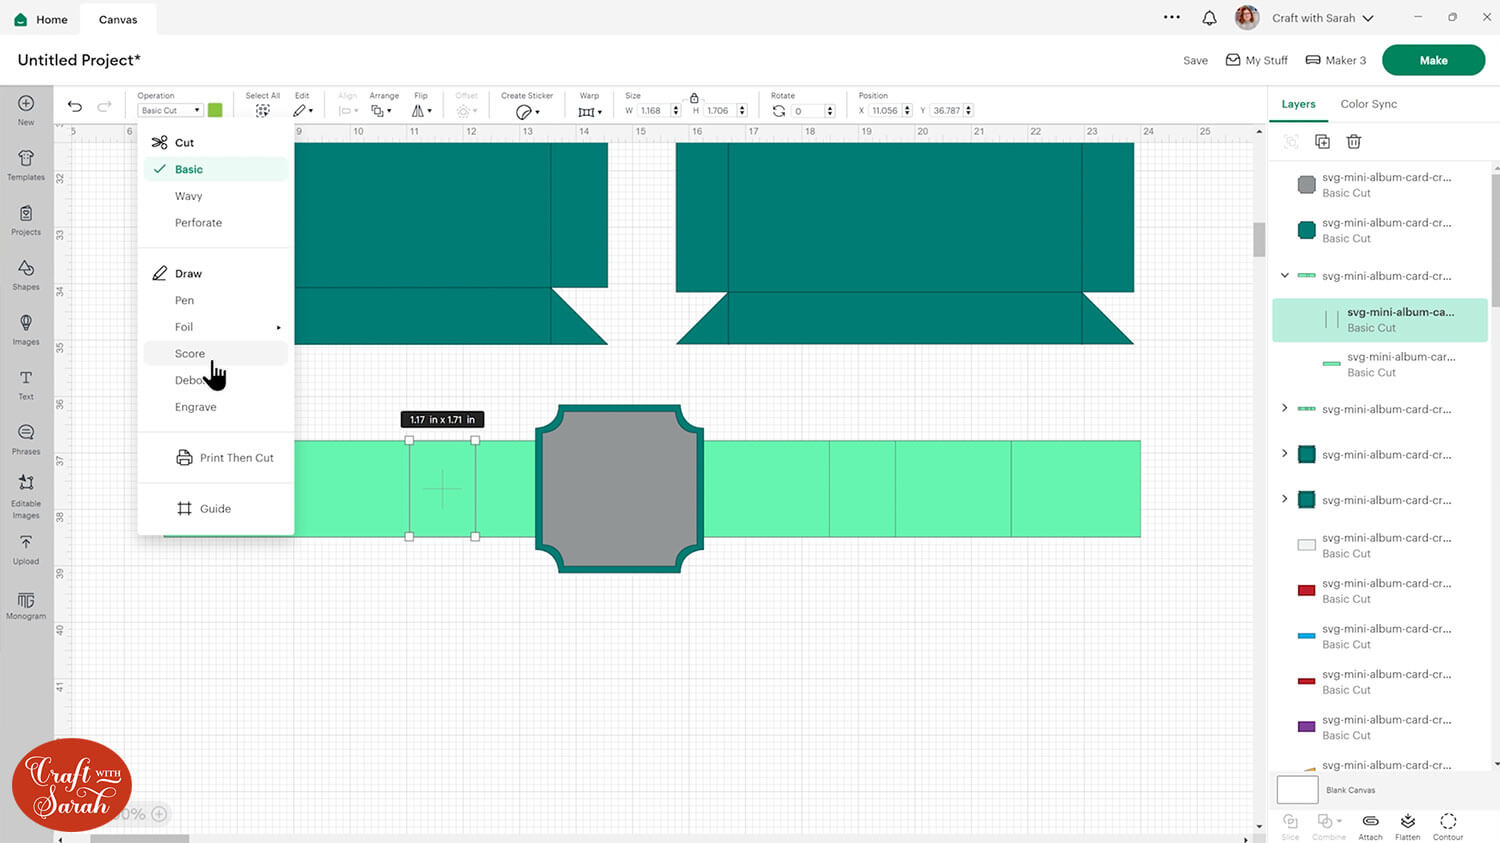
Click the layer that looks like single line(s) and change it to “Score” in the Operations dropdown.
Select the group that contains these layers and click “Attach” at the bottom of the layers panel.
Attach is what tells the Cricut to do the score lines on the shape underneath.
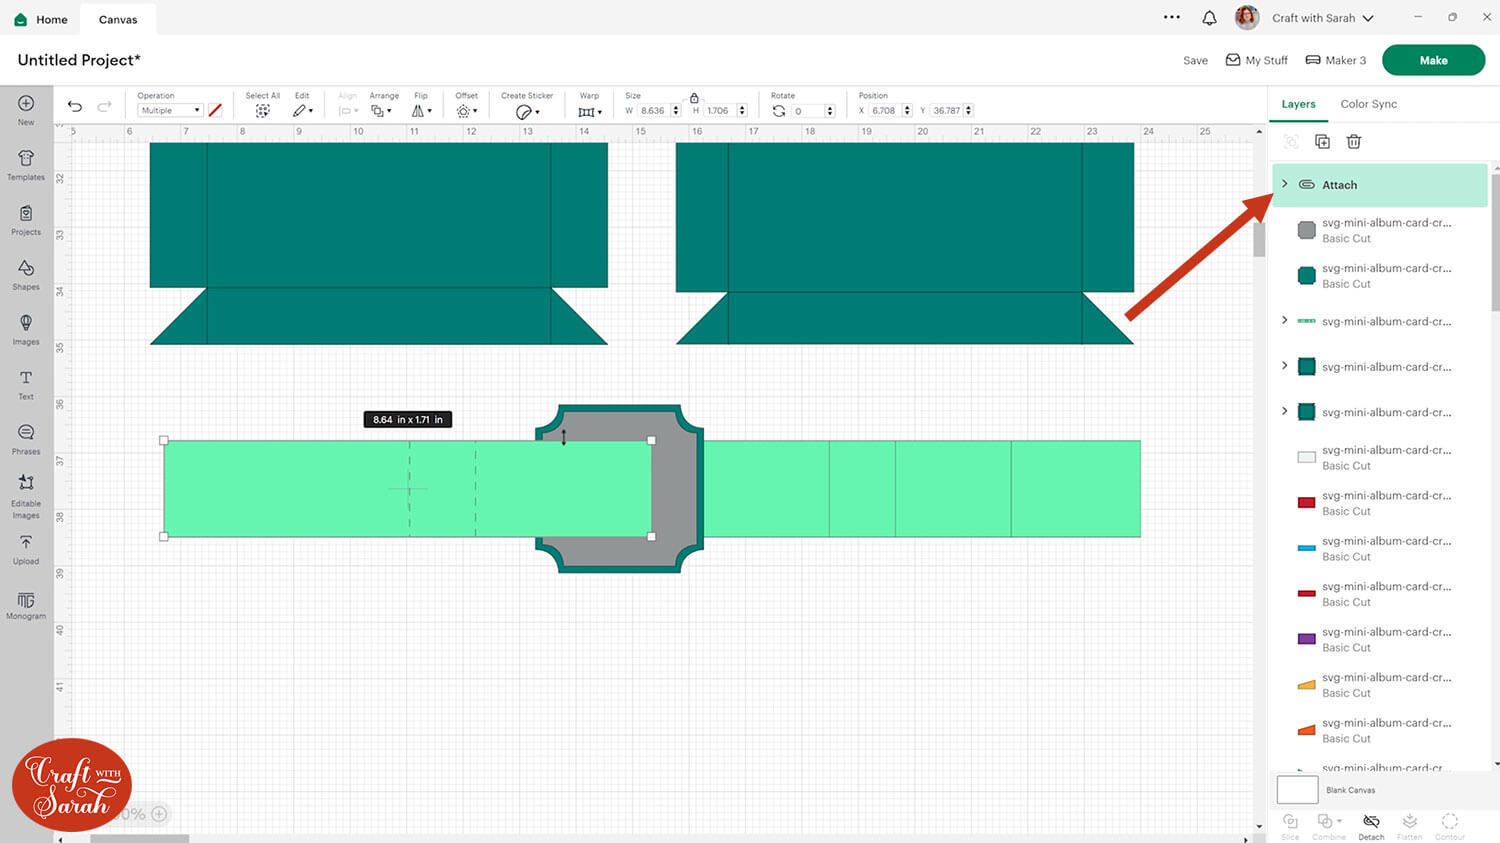
Attaching the layers will move them to the top of the layers panel. Click the Attached layers and press “Arrange > Send to Back” to move them to the bottom.
Repeat this step for all of the groups that contain lines that need to be scored.
There are 12 different groups to do in total. Make sure you get them all!
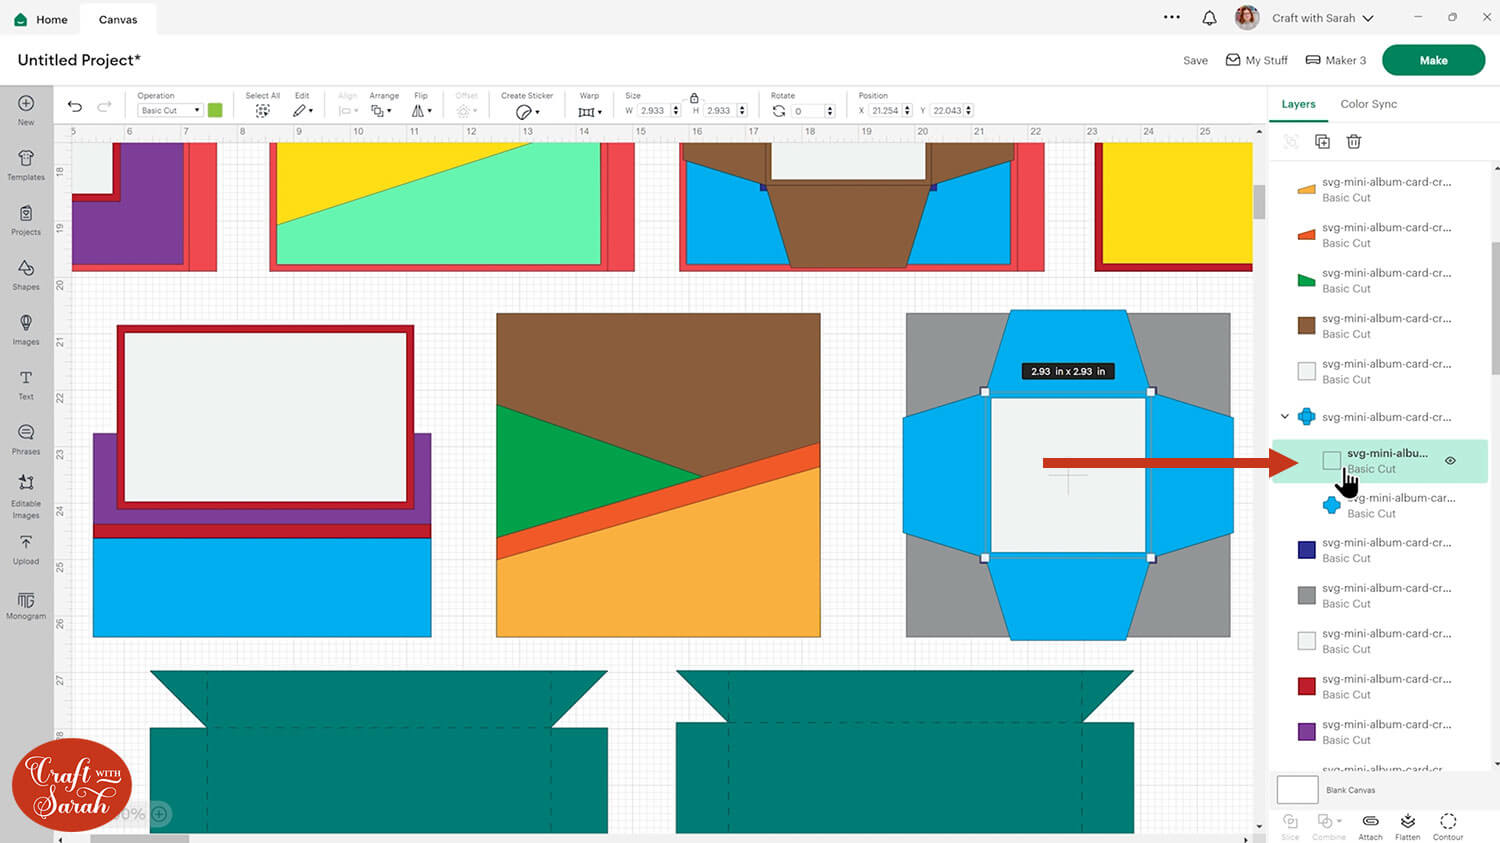
Some of the lines to change to “Score” look like a square shape, for example this one:
Step 3) Add your photos, images and patterns
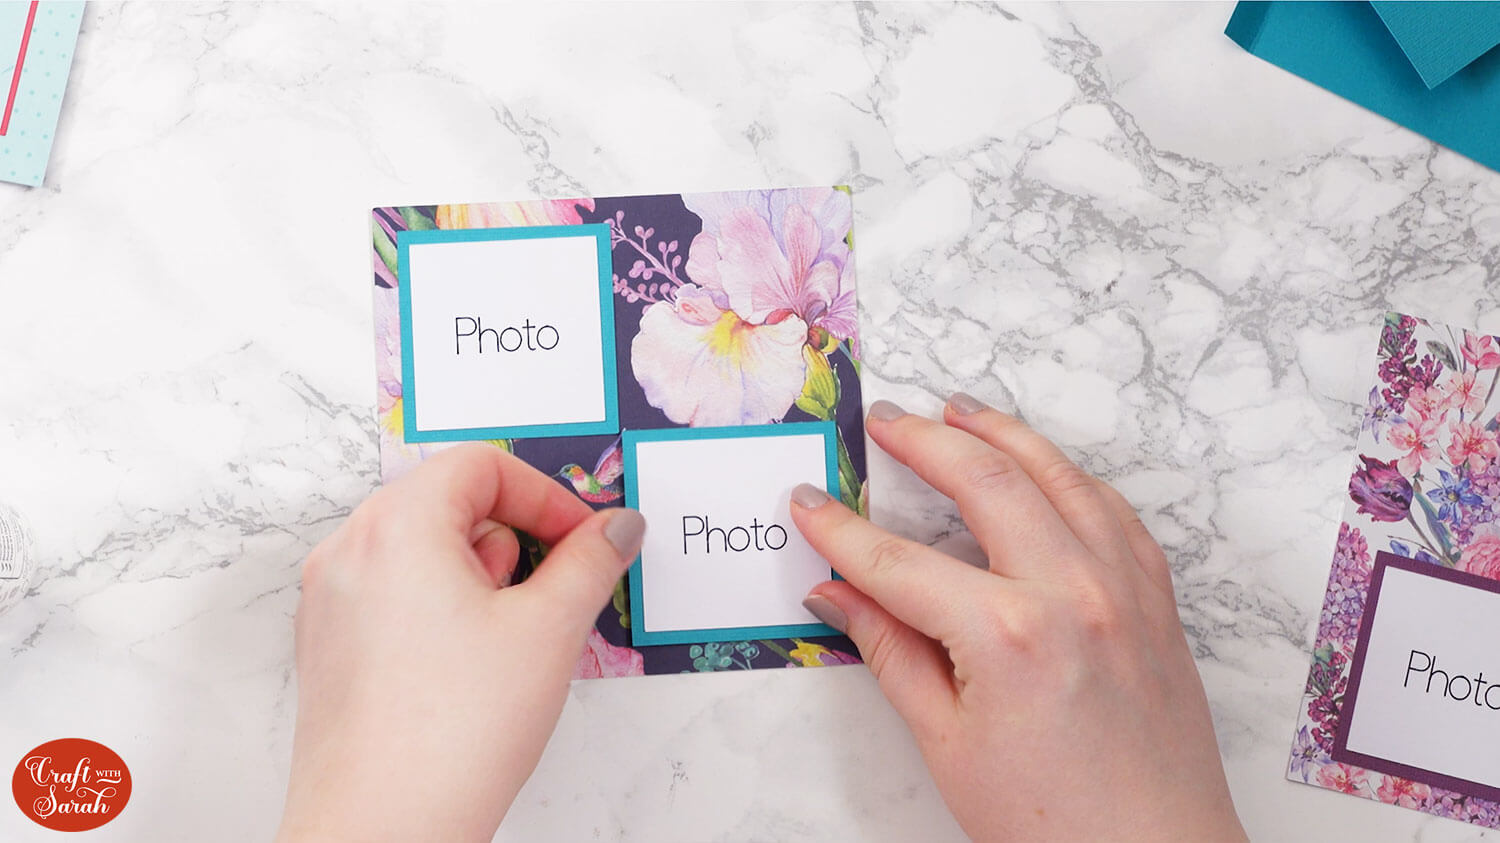
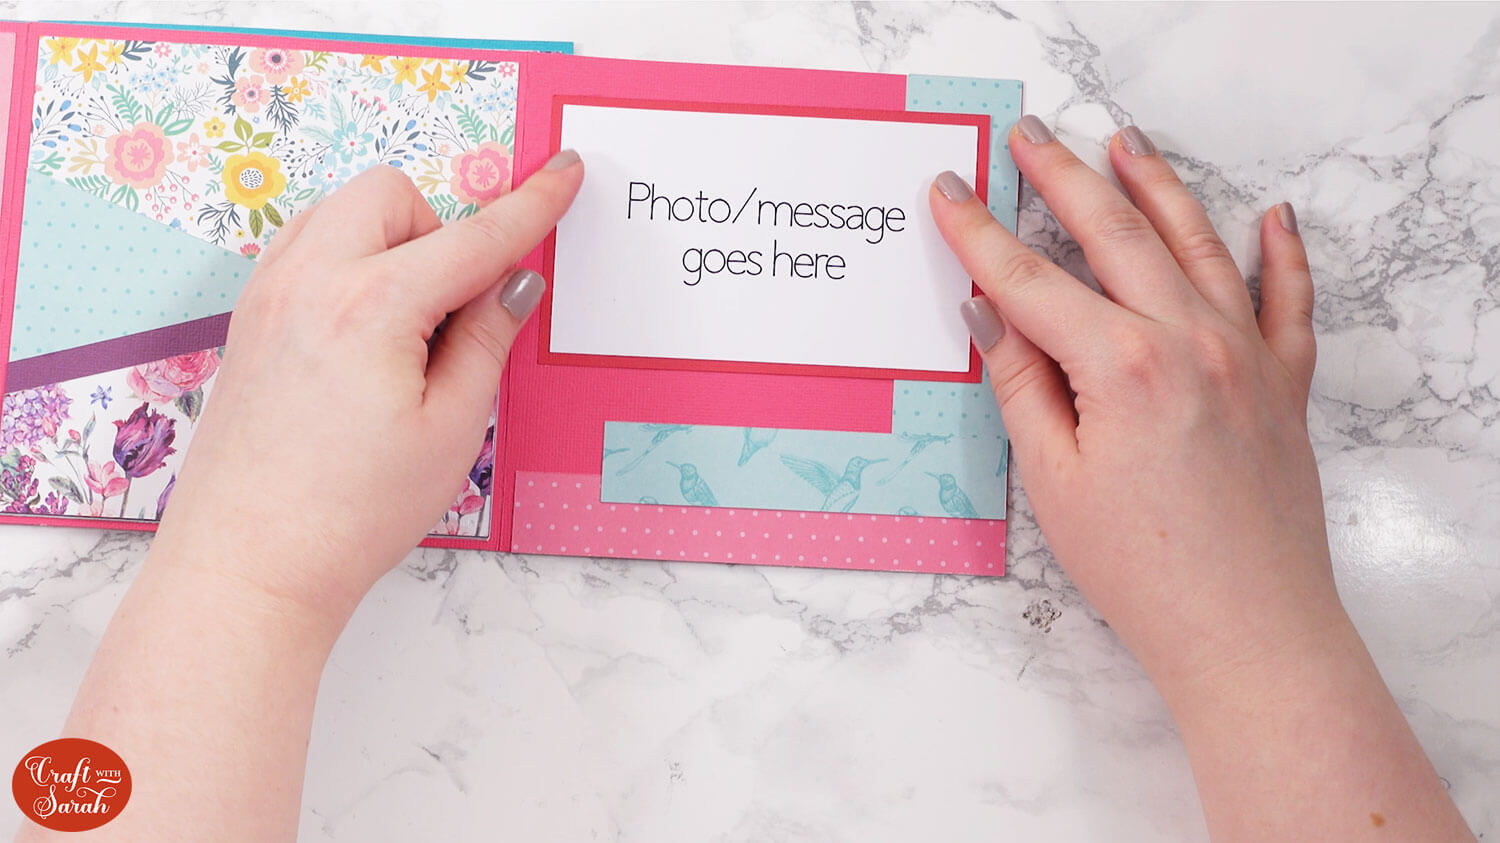
The white squares and rectangles on the cut file are designed to either be message panels that you can write on, or turned into photos/graphics/images to decorate the pages with.
You can crop photos into the correct sizes using the Slice tool.
I have a separate video on that here, although it uses a slightly older version of Design Space.
This tutorial is more up-to-date. The part about slicing images into specific sizes comes near the end.
If you don’t have any patterned papers that match the theme of your card, you can upload printable patterns into Design Space to fill the shapes.
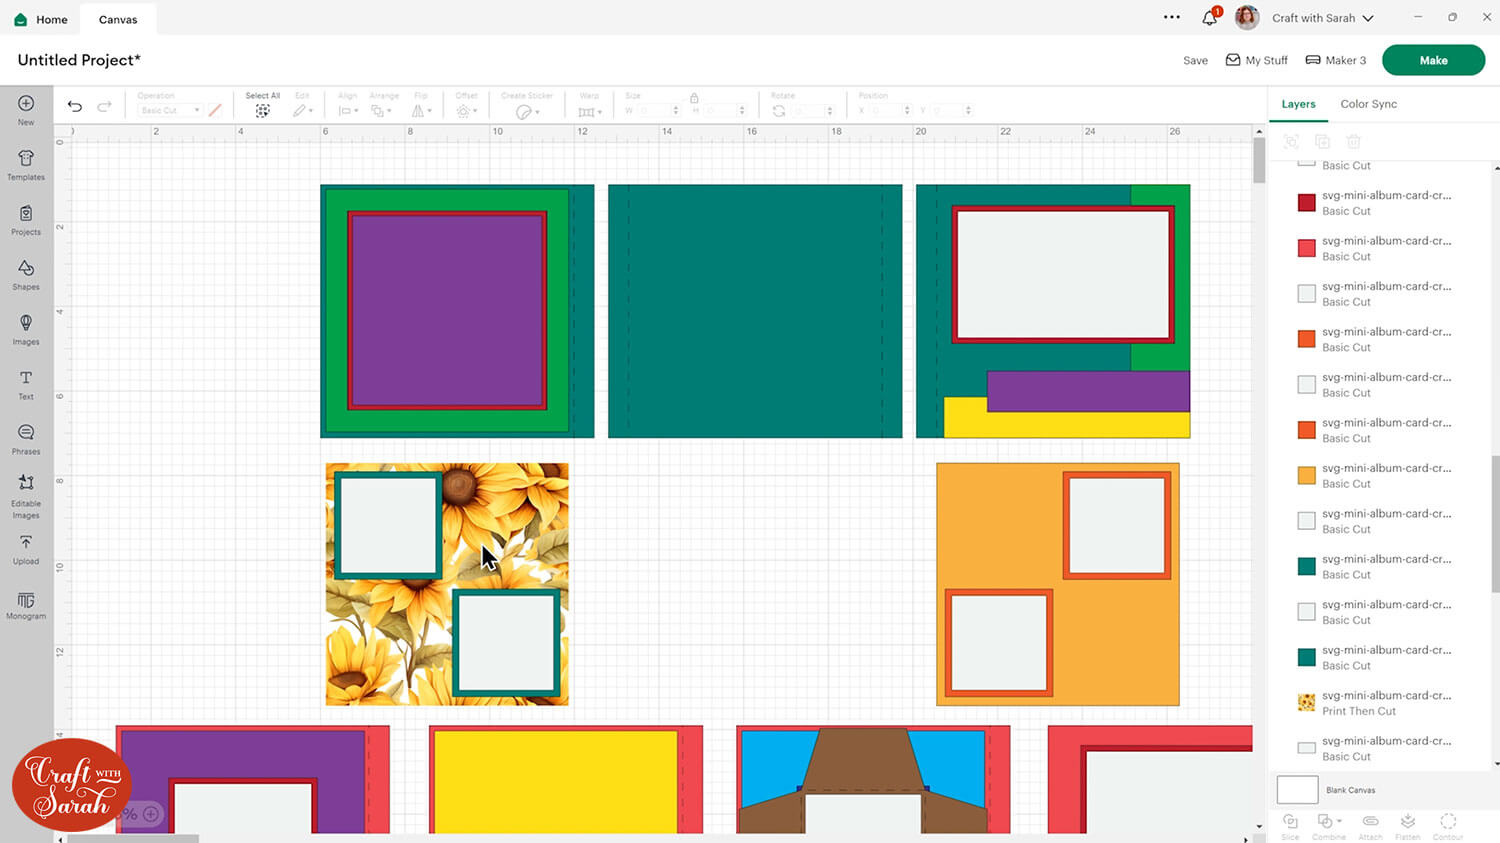
Step 4) Choose your patterned papers and put into order
If you’re using scrapbook papers or patterned card to fill the sides of the mini album card, now is the time to choose them!
The different colours on the screen represent different patterns of paper to choose.
Cut the box base (dark teal), card bases (dark teal & red) and any dark “border” layers (dark red, dark orange) from solid-colour cardstock.
The decorations on all the sides will be patterned paper.
Leave the front of the card blank for now. It’s easier to add decorations to it once the rest of the card is complete, so that you can match the decorations to the style and colours of the card.
I found it easier to select my papers with the computer screen in front of me, to see which patterns will go where. This is helpful to check that the patterns match each other nicely.
Once you’ve decided on a patterned paper to use, write a note – either on a separate piece of paper or on the patterned paper itself – to remind yourself which on-screen colour you want to cut that paper into.
For example, green = roses paper, purple = lilies paper, grey = gardening tools paper.
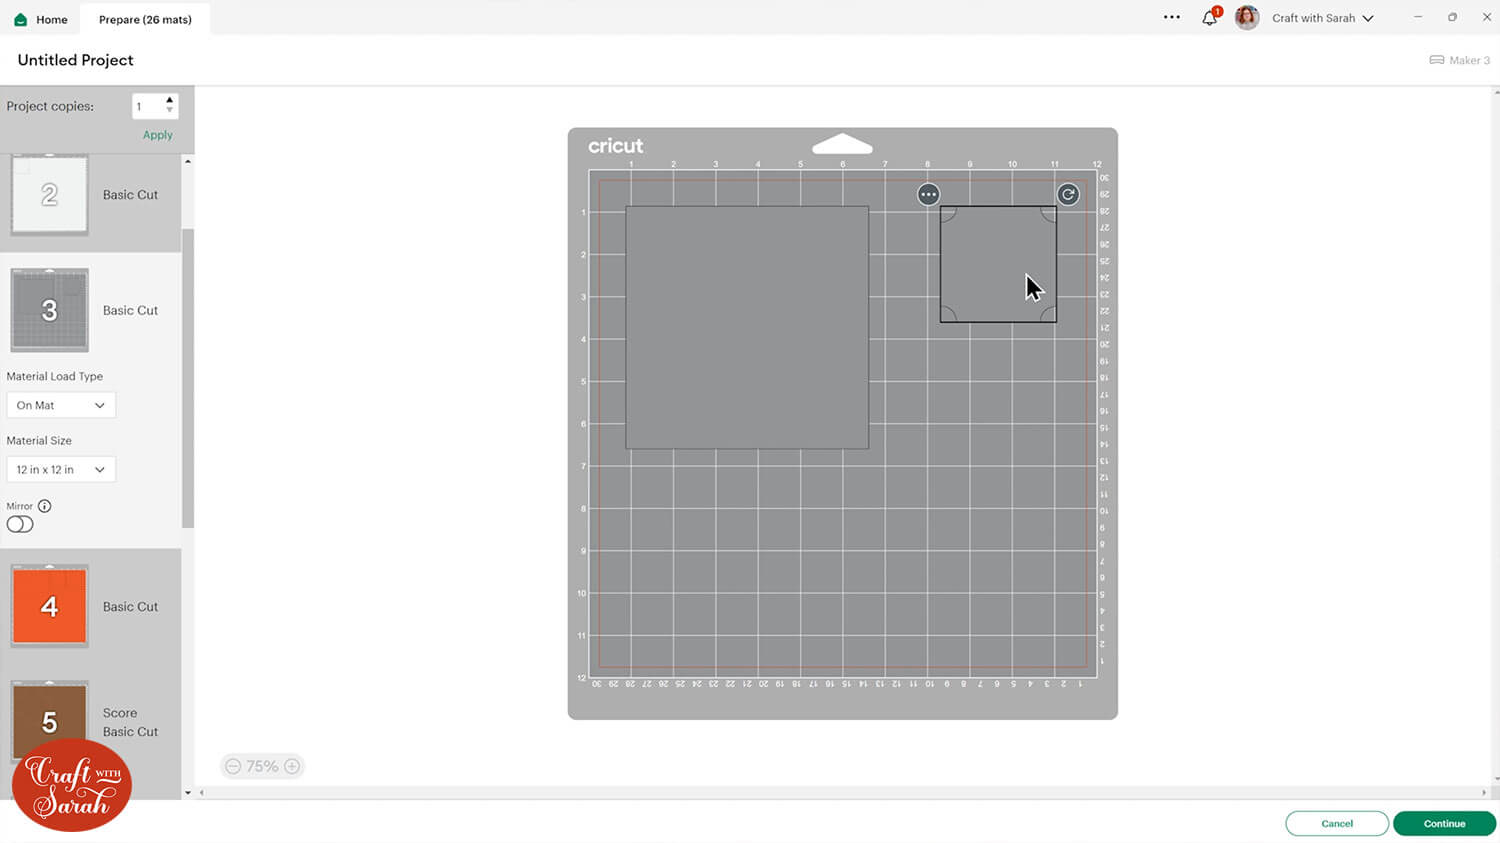
Click “Make” to begin the cut process.
Look carefully at the list of mats/colours down the left-side of the screen.
Put your cardstock and patterned paper into the order that matches the screen, to make it easier to ensure you are cutting the correct papers at the correct time.
You may wish to move some of the shapes around on the screen to cut a particular part of the patterned paper.
Step 5) Cut the mini album card
Follow the on-screen instructions to get everything cut and scored with your Cricut.
After cutting each piece, write the on-screen colour that the piece corresponds to on the back. Use a pencil to make sure it doesn’t show through.
The only pieces to be careful on are the ones that make up the two “hidden message” panels, as you’ll see BOTH sides of the paper for those.
Write the colour name small and in the middle of one of the sides.
Step 6) Stick the side decorations together
Glue all the photos and messages to their corresponding borders.
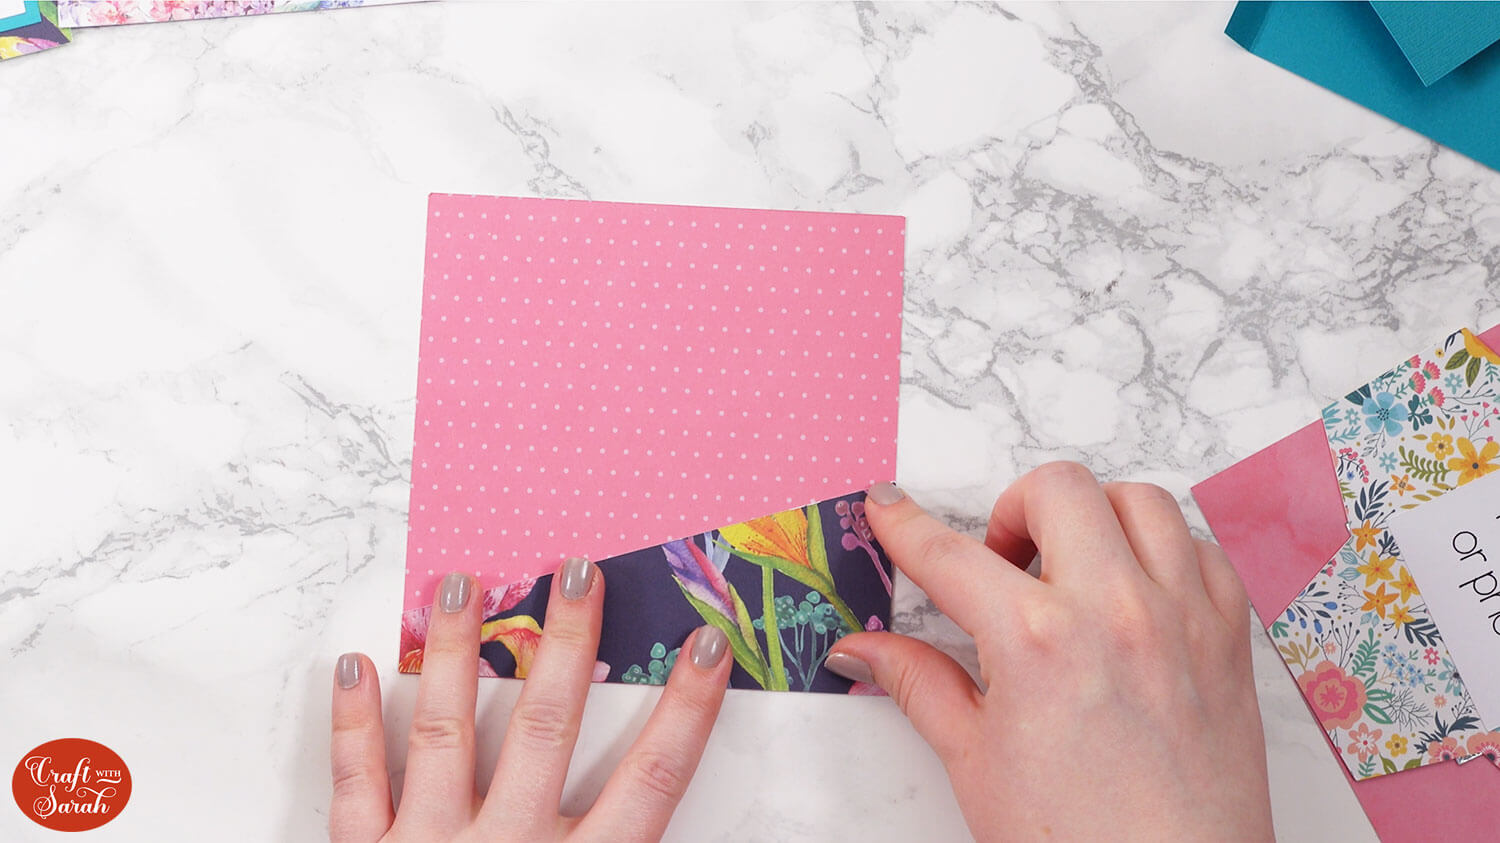
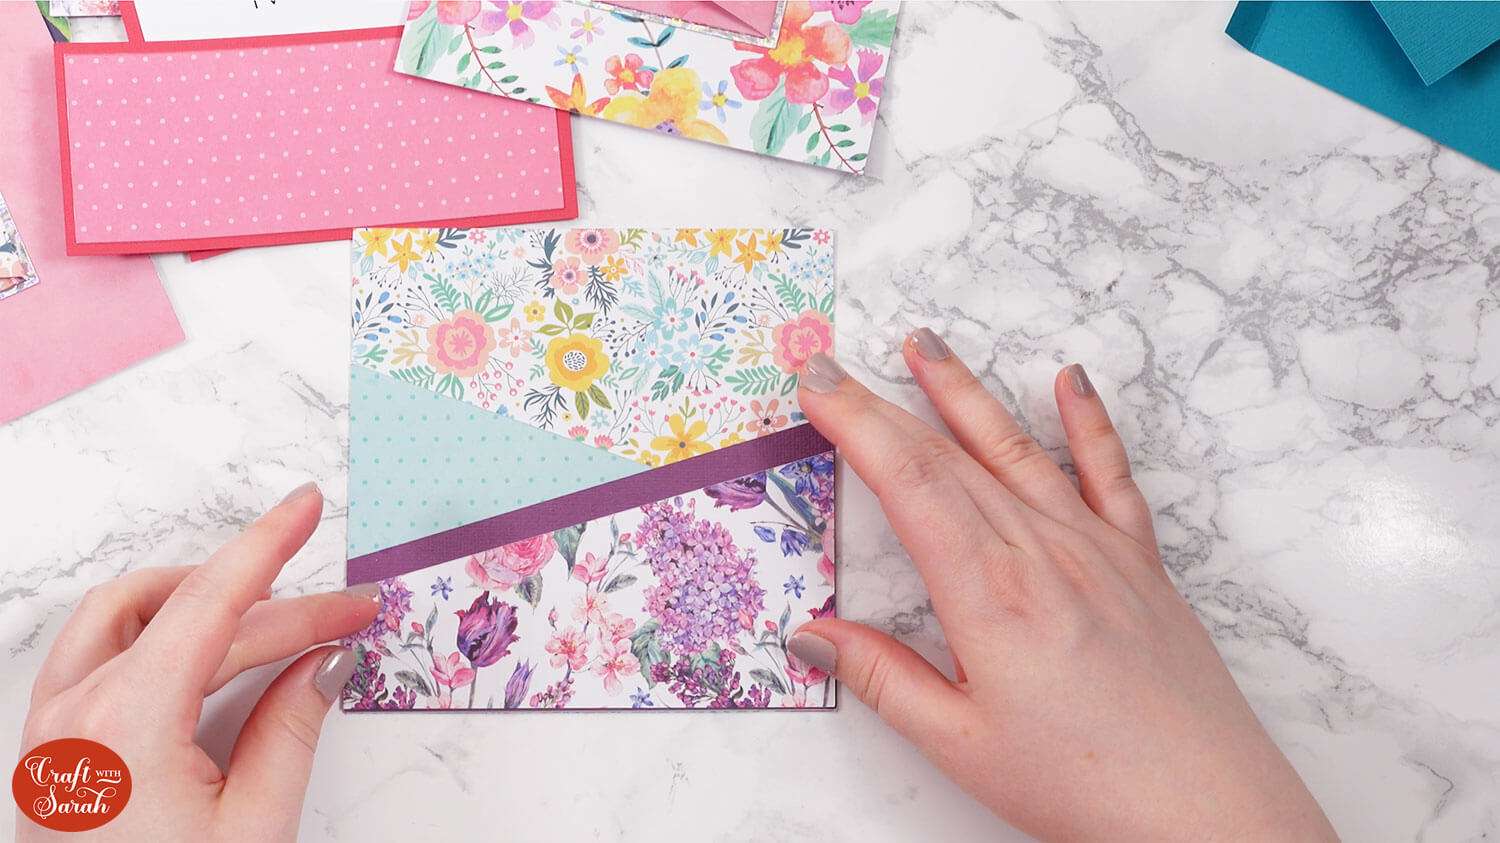
Working one at a time, glue all the side decorations together.
Keep checking the screen in Design Space to make sure you are putting the correct pieces on the correct sides.
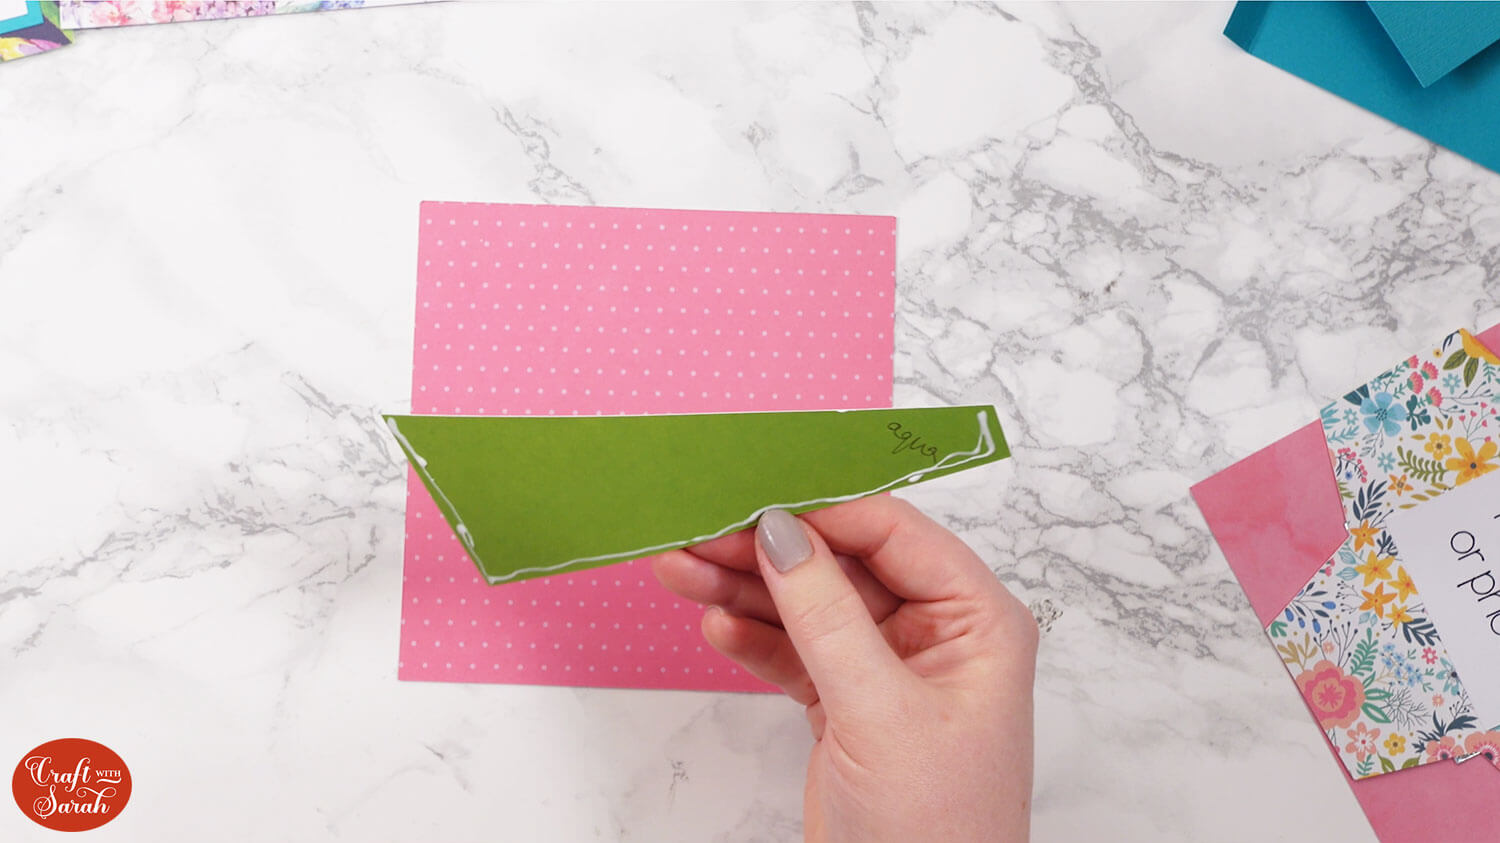
When gluing the pockets, do NOT put glue along the top (slanted) edges, otherwise you won’t be able to slide anything into them.
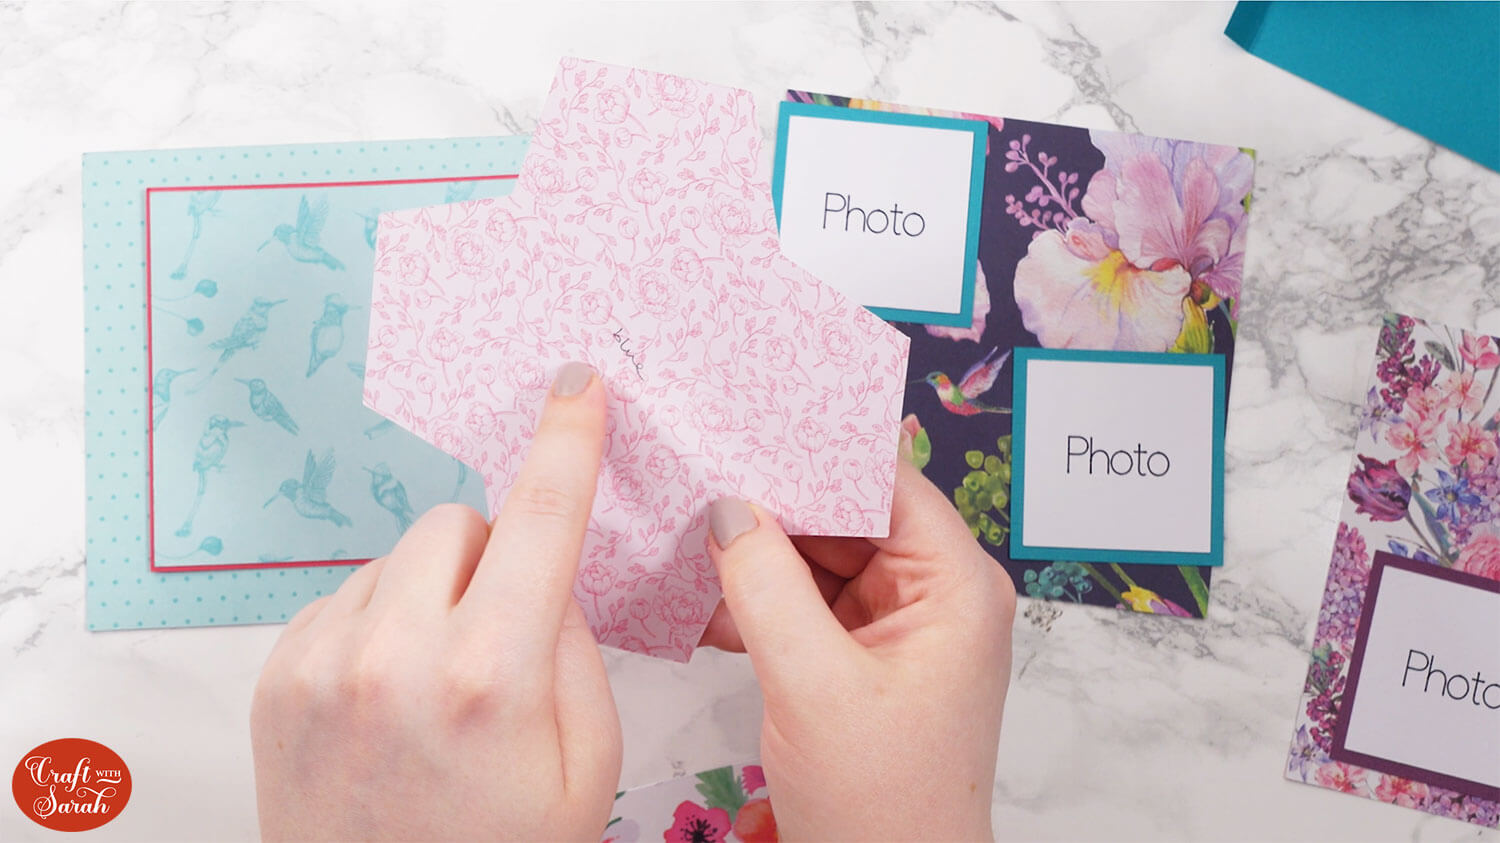
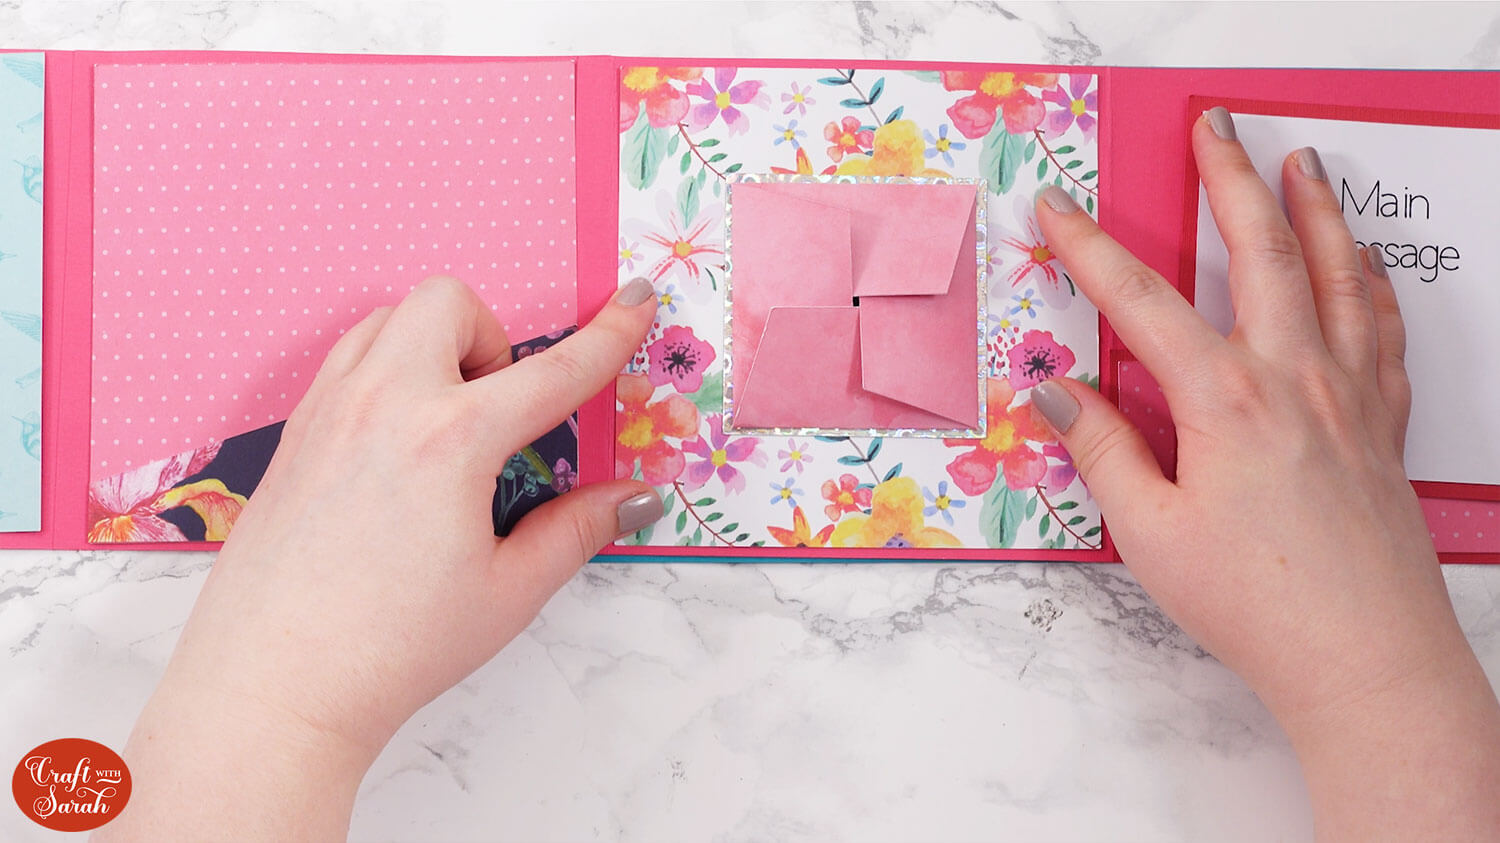
For the hidden message panels, fold all the edges up towards you along the score line.
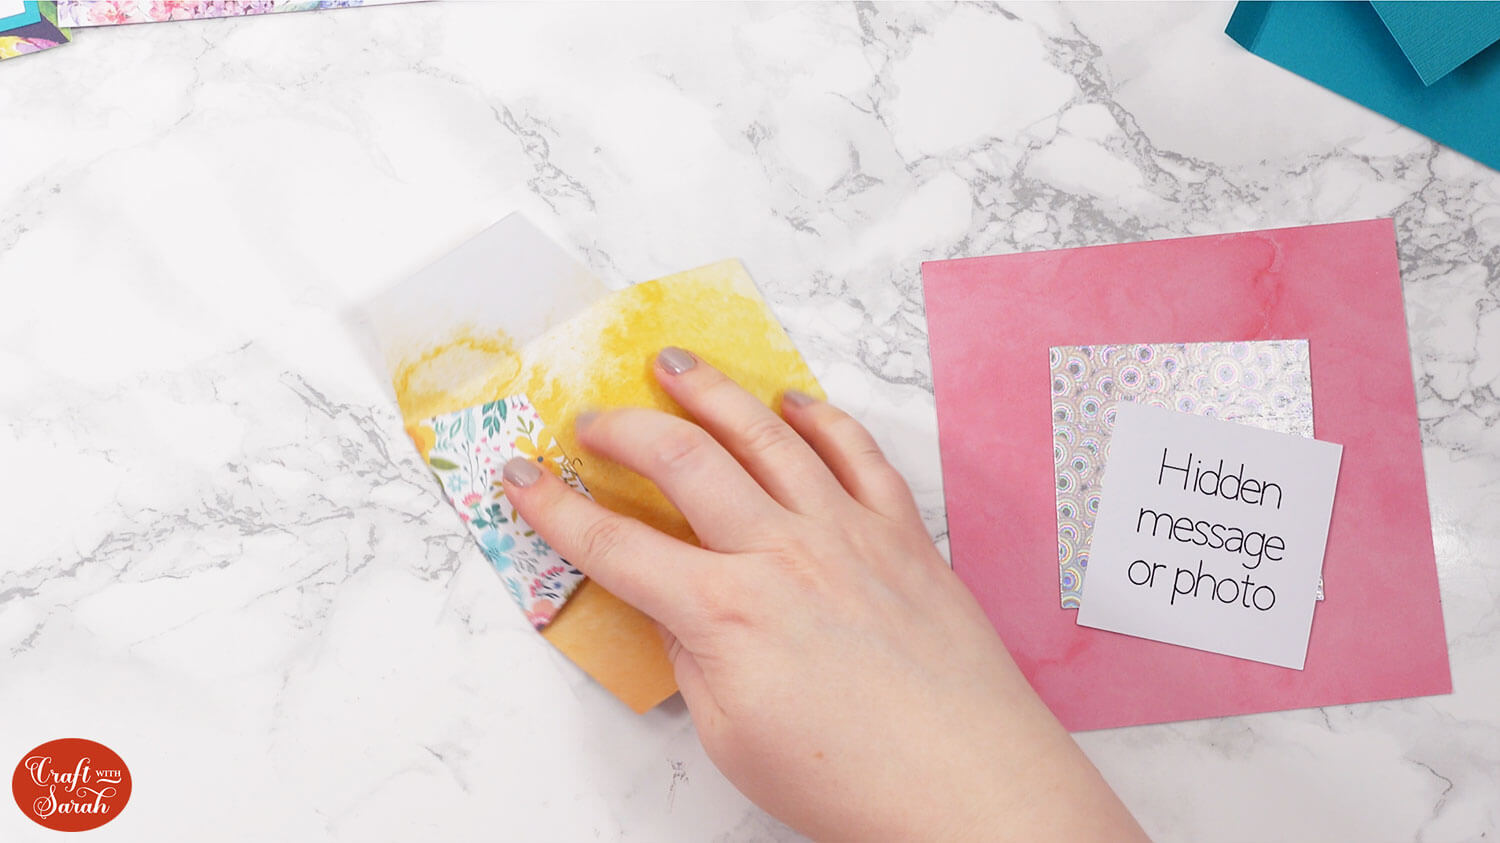
Glue the hidden message to the inside.
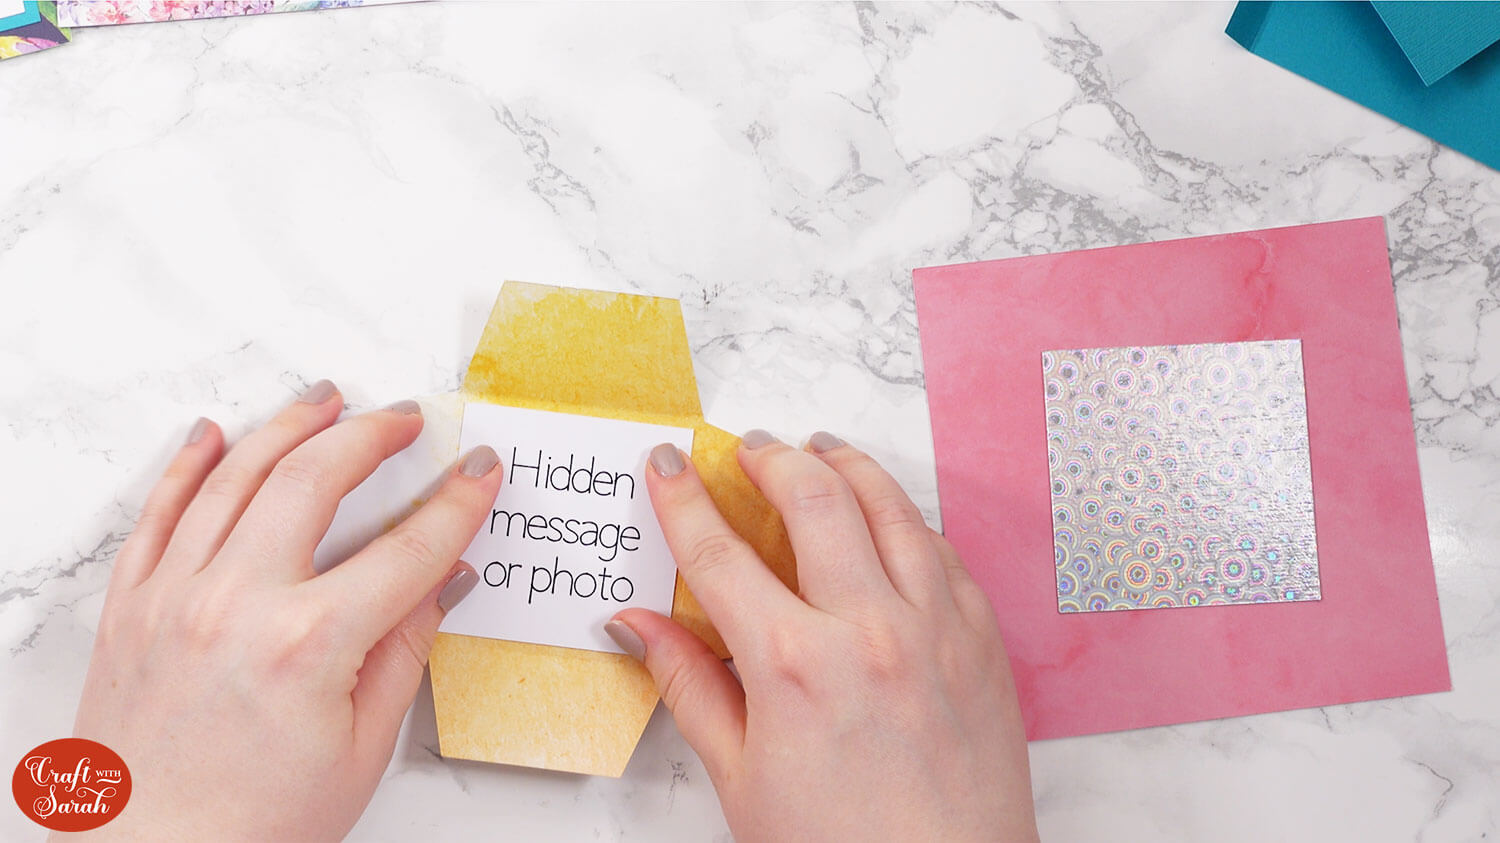
Fold the edges up, one at a time, sliding one side of each edge underneath the next one along.
It’s a little tricky until you get the knack, so be patient with it! The video near the top of this page shows this in more detail.

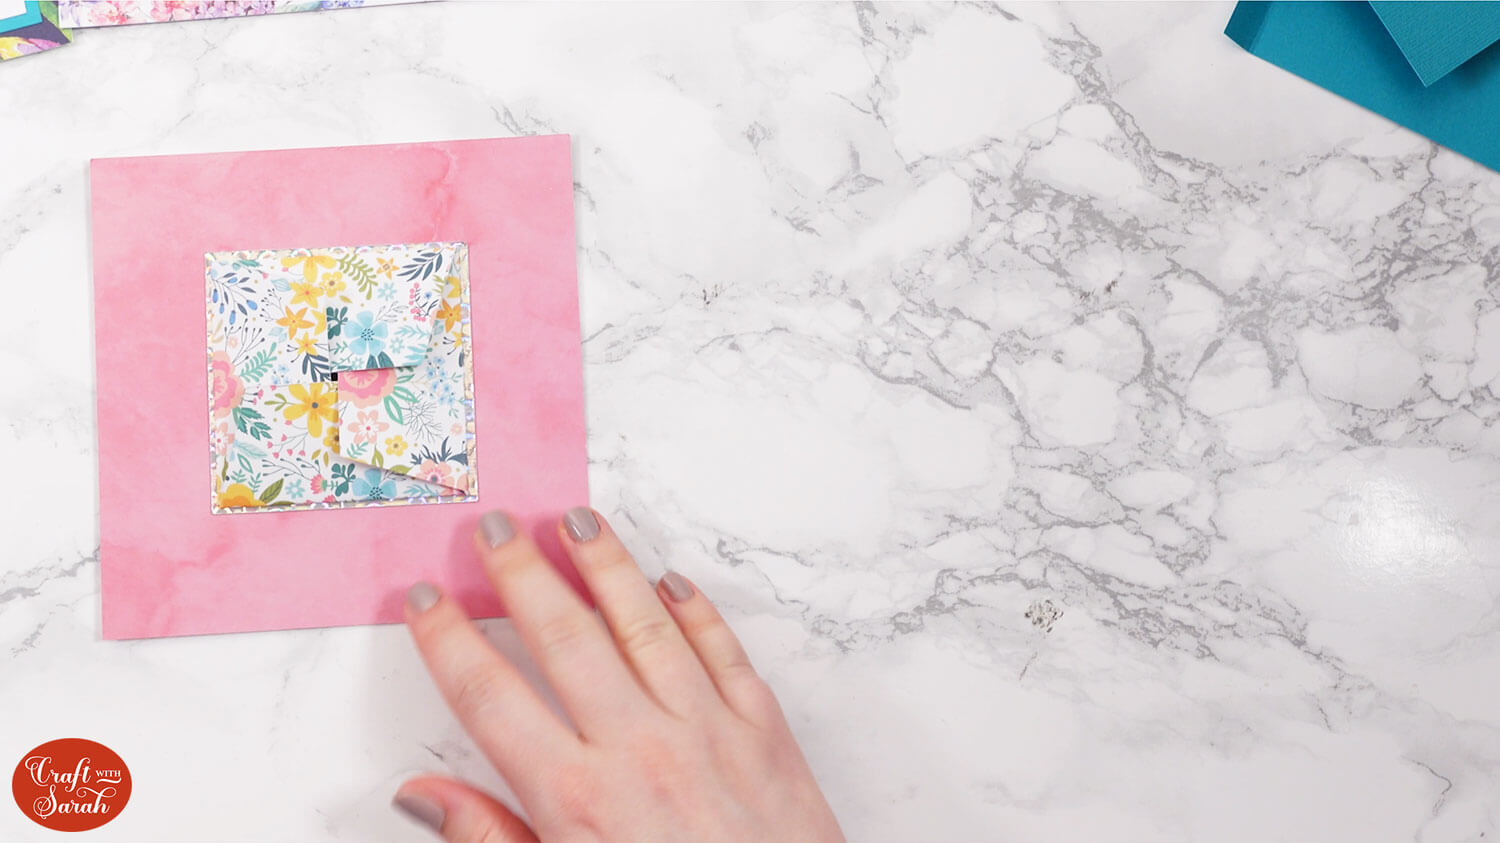
Once they are all tucked into each other, gently press down until the gap closes.
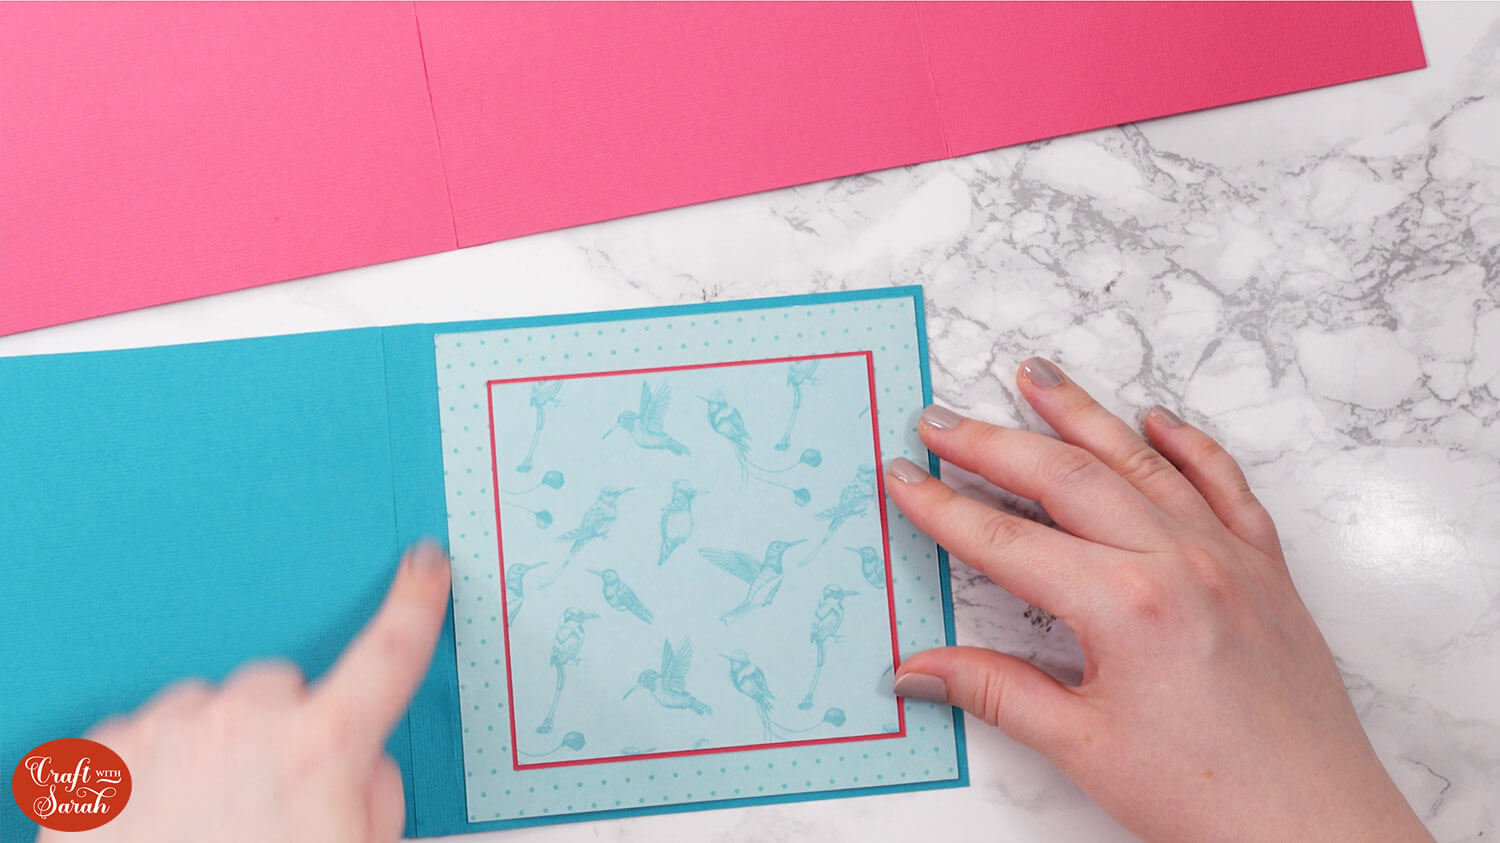
Glue the back of it to the square border piece and then glue onto the big square to finish off that side of the mini album.
This side has three separate pockets to put items into:
Step 7) Make the card structure
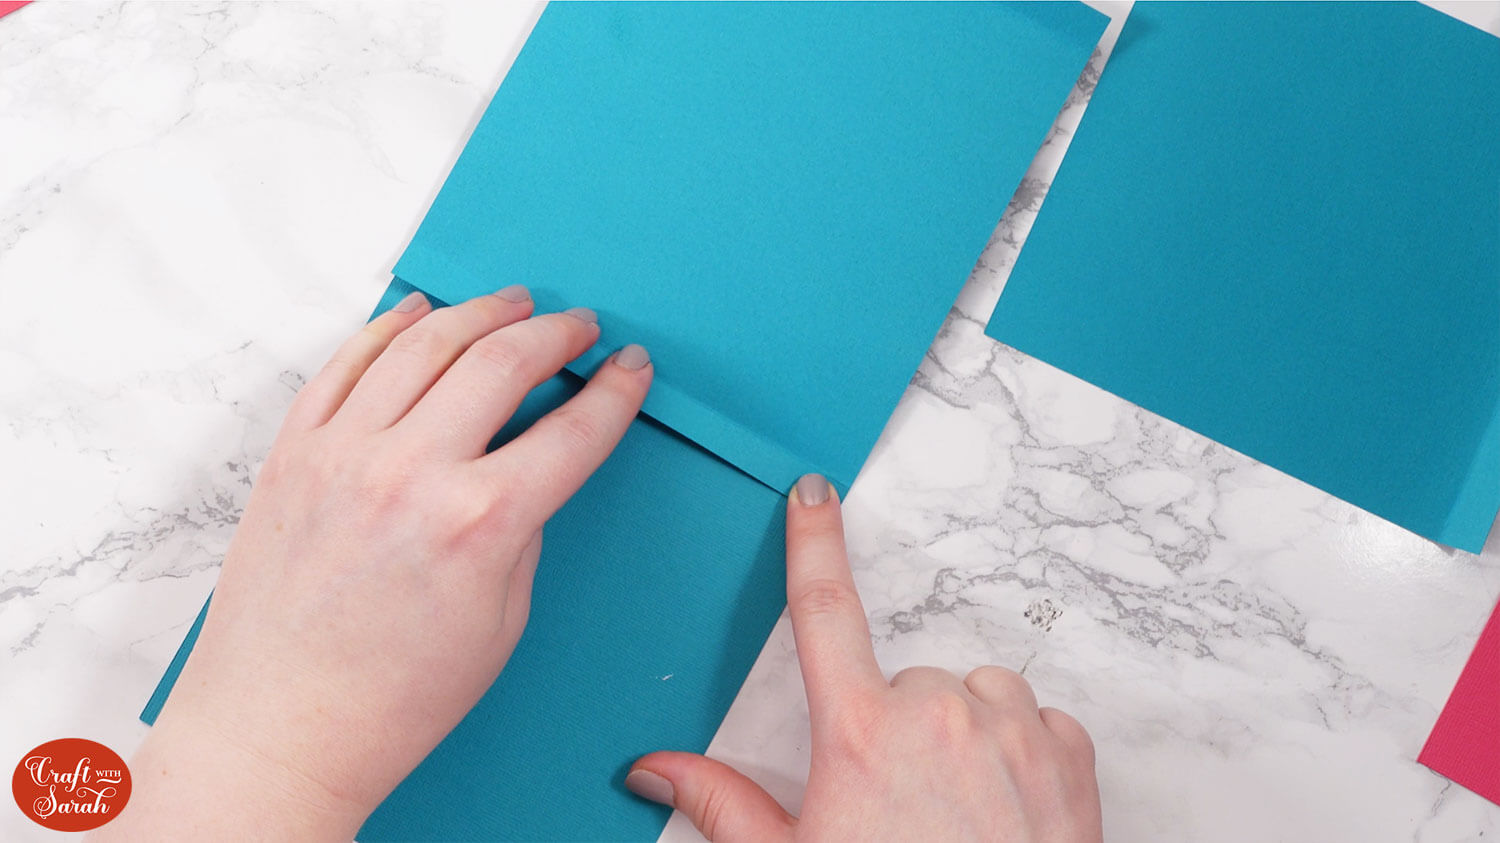
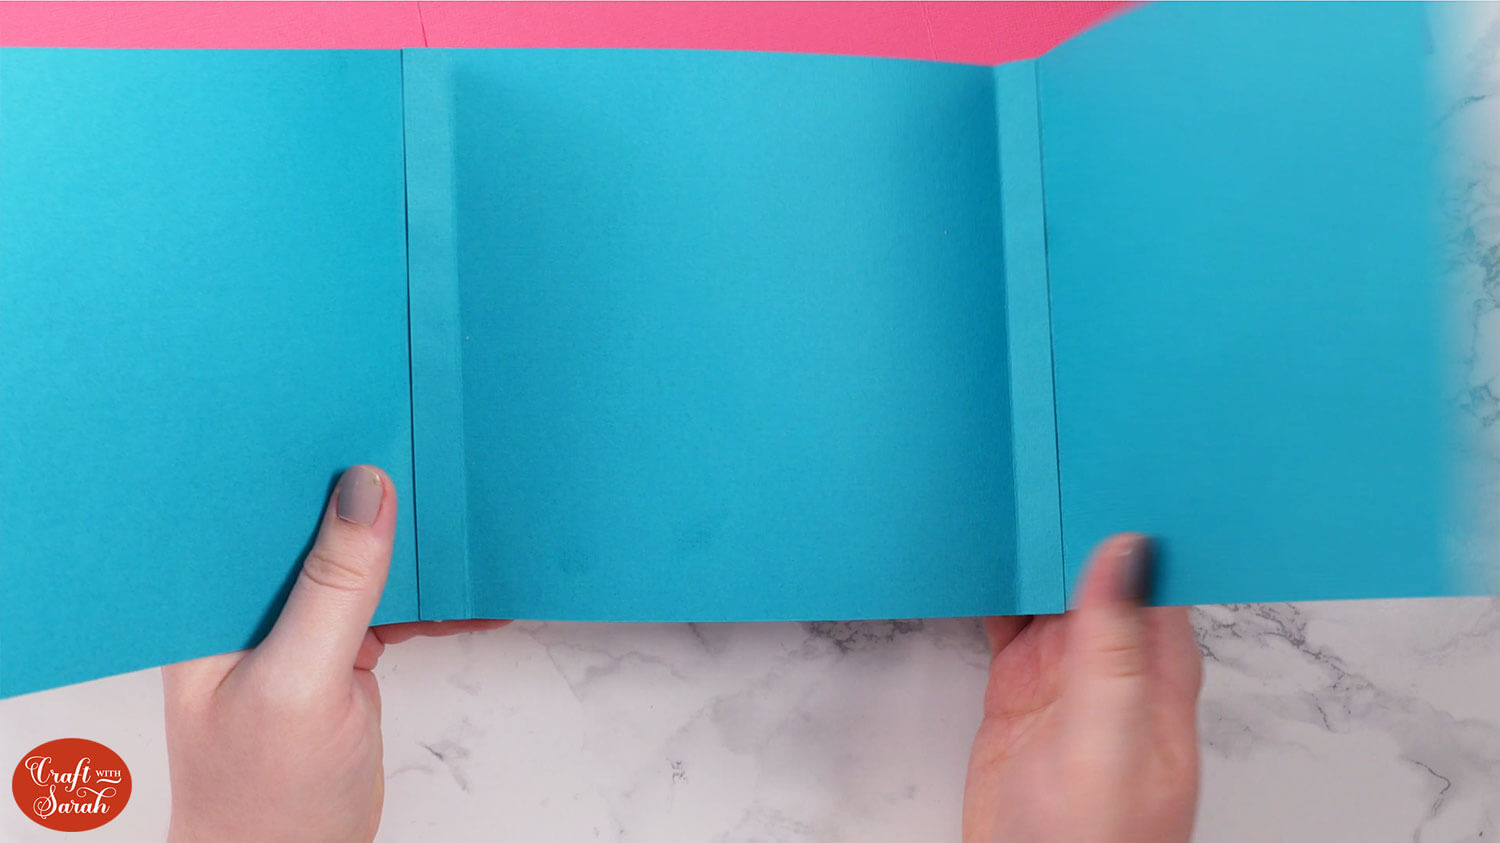
Take the pieces of card that show as the dark teal colour in Design Space.
Fold all the tabs up towards you along the score lines.
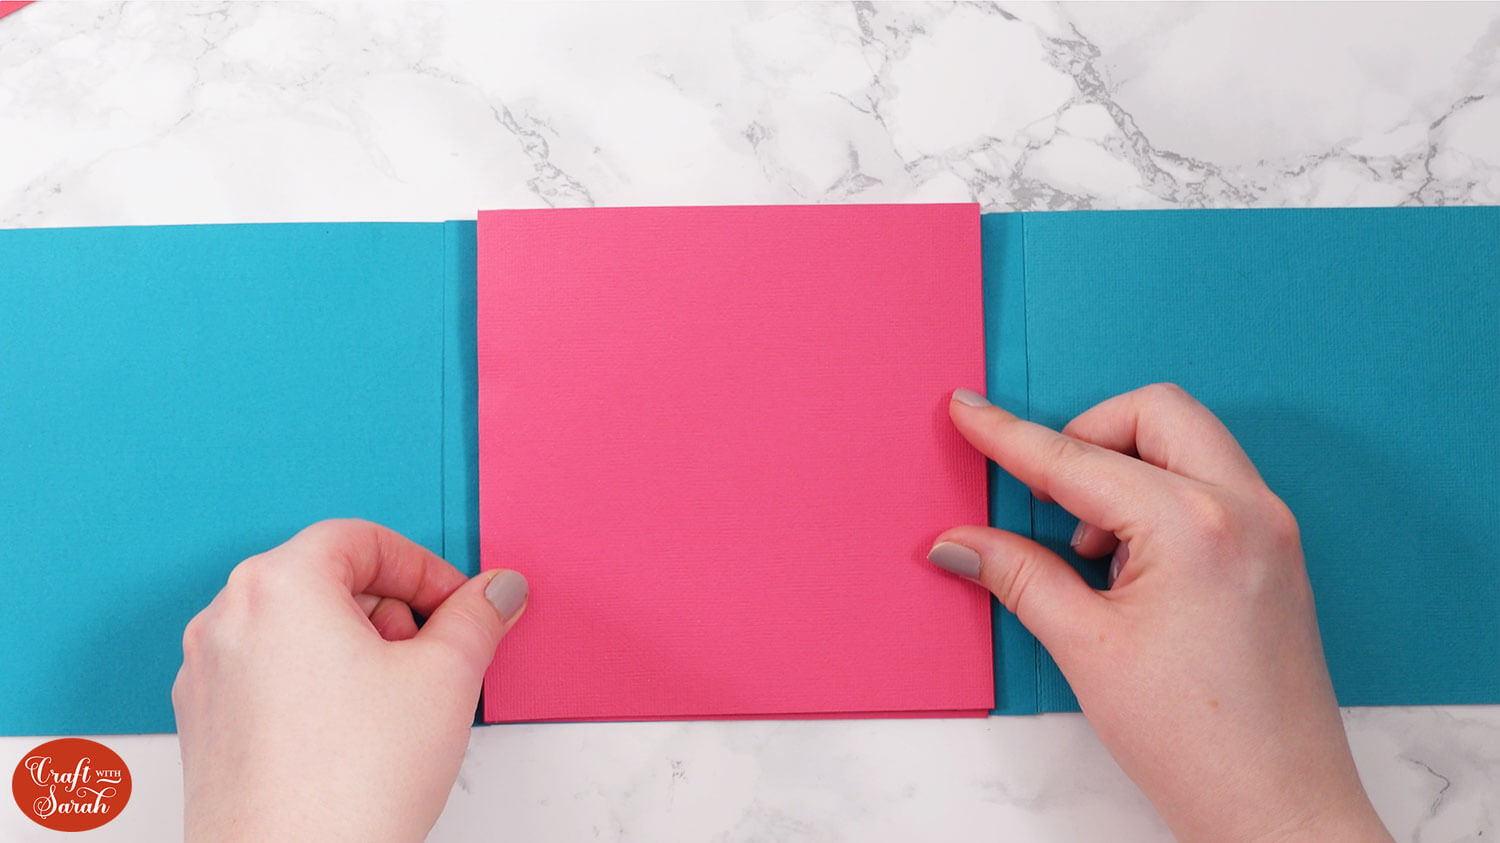
Take one of the sides with ONE tab on it, and position it so that the tab is on the right.
Put glue down the tab, then glue it to the tab of the piece that has TWO tabs – one on either side.
Add glue to the tab of the third matching coloured piece, then stick that to the middle piece.
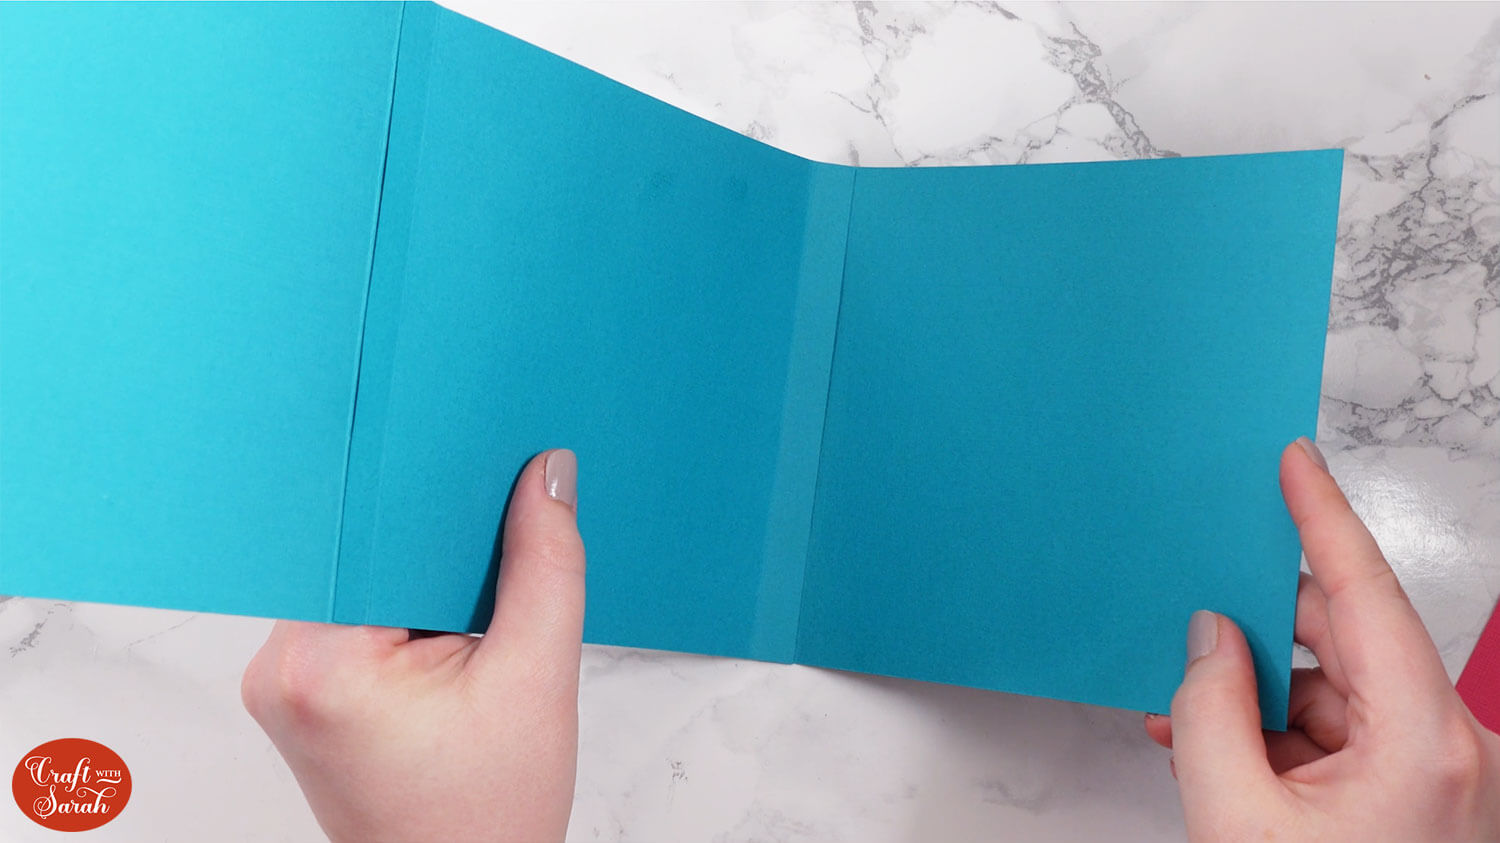
This is what you end up with:
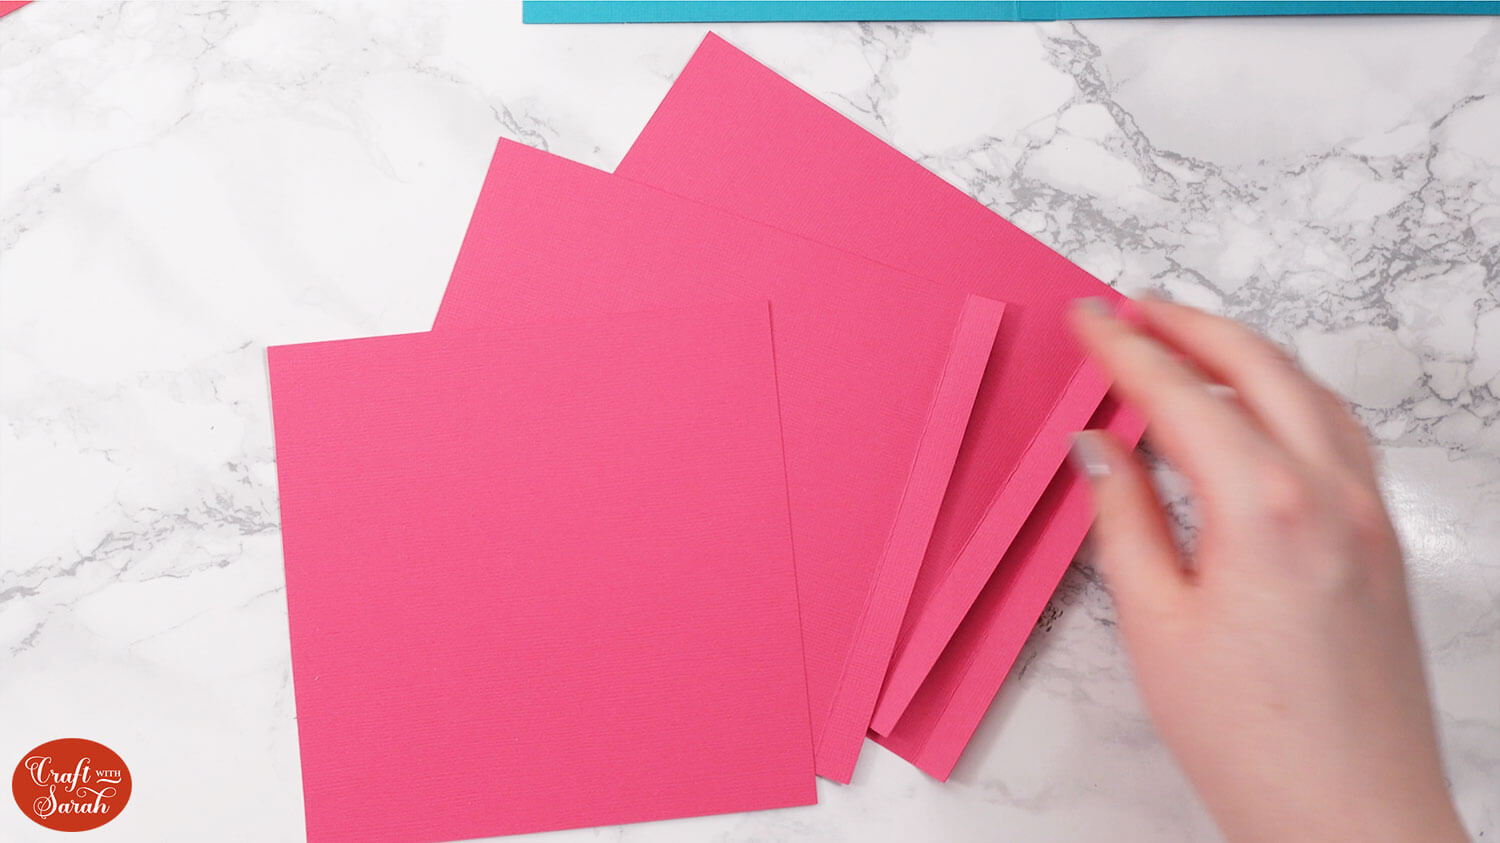
Next, select the four pieces that show as red in the Design Space project.
There are four in total. Three of them have score lines and tabs, and one is just a square.
Fold all the tabs upwards towards you along the score lines.
Take one of the pieces with a tab and put glue all down the tab section.

Stick another piece with a tab to it. Stick it to the STRAIGHT side of the next piece, NOT the side that has the next tab on it.

Repeat for the next square with a tab, then finally the square without a tab.
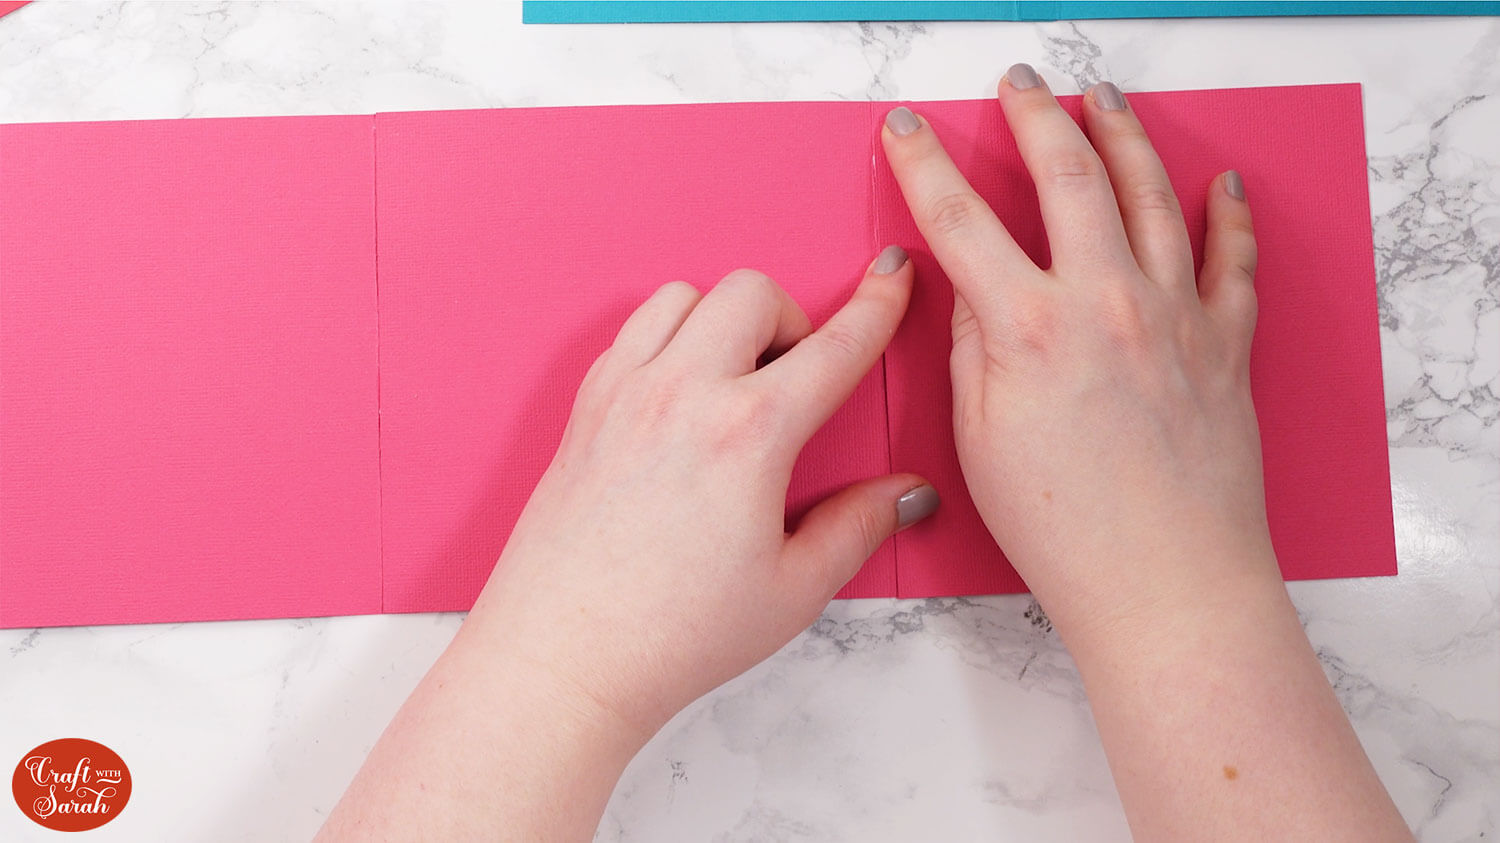
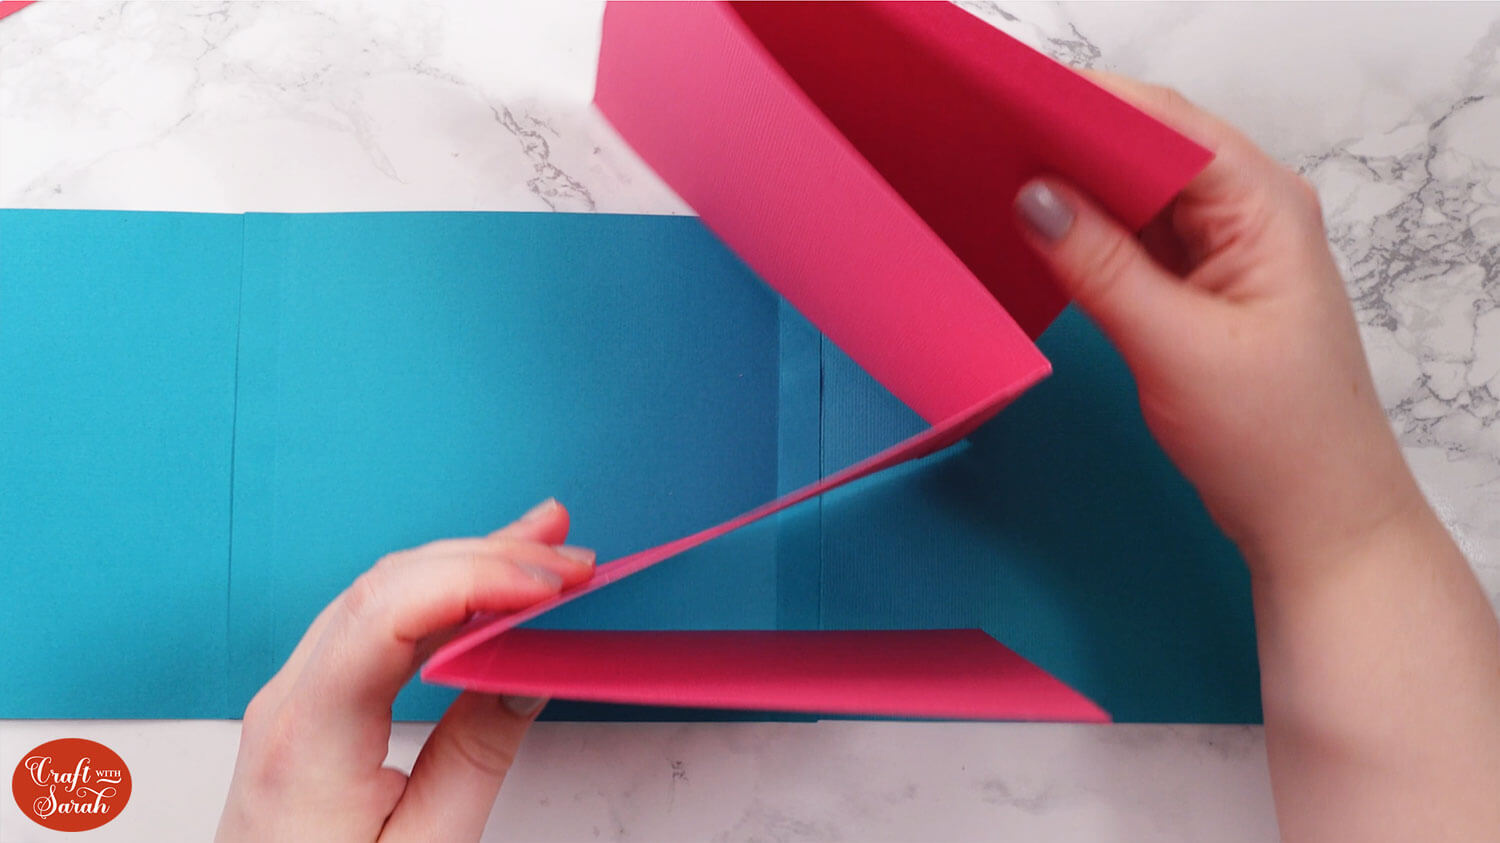
When the glue is dry, fold it into a concertina shape.
Step 8) Glue the decorations to the base card
Open up the main card base (teal colour in Design Space) so that the front is facing upwards, and glue the front panel to it.
Fold the inner piece into a concertina shape so that it opens out as per the photo below.
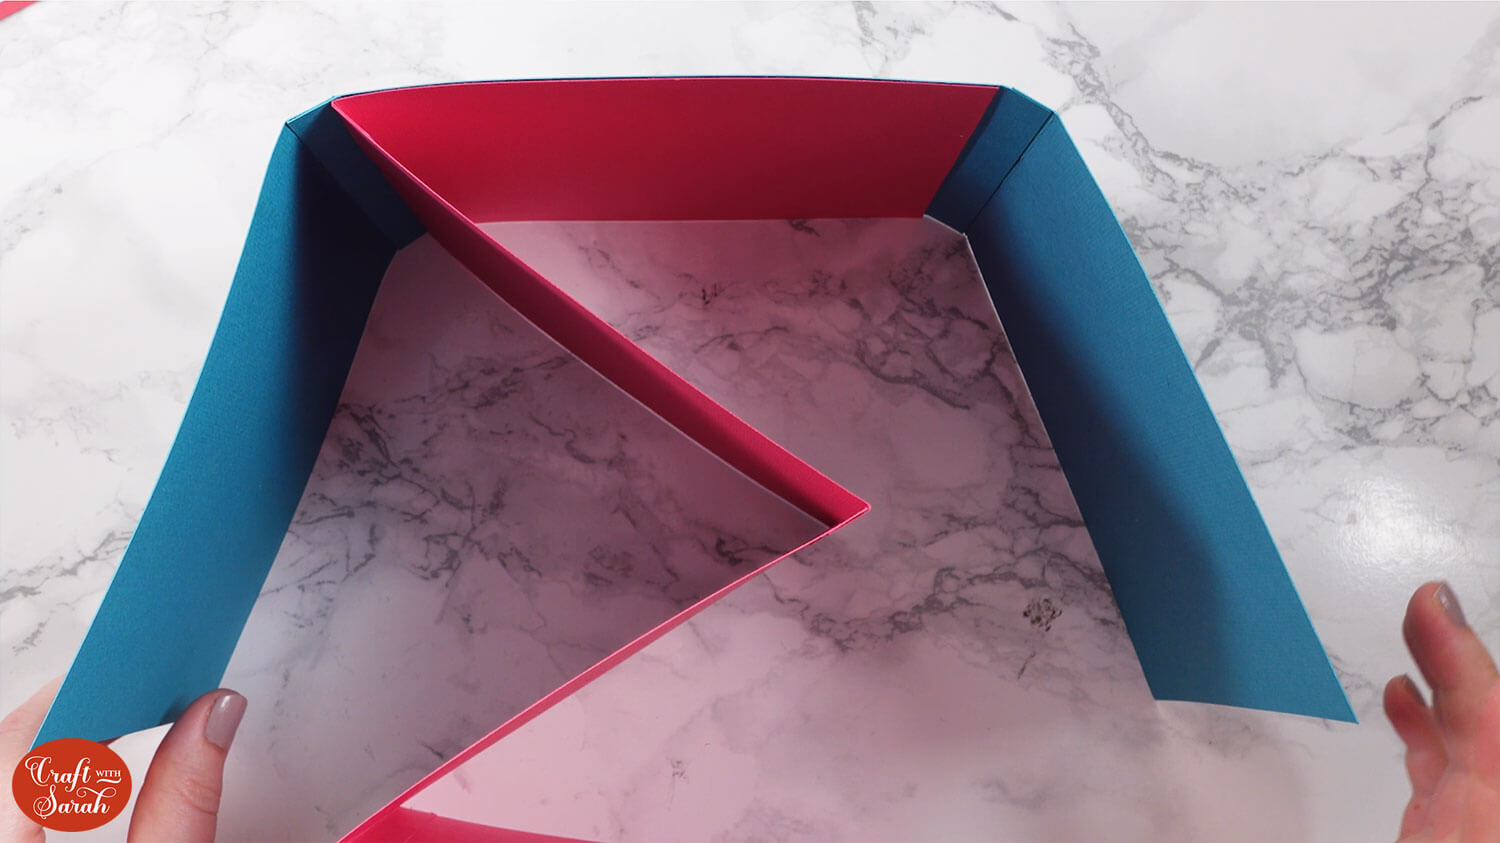
Glue the back of it to the inside of the main card base.
This is how the card looks when it’s stood up:
Glue all the side panels onto the card. You can put these in whatever order you want.
Fold up the card to check it goes together correctly.
Step 9) Decorate the front of the card
Now is the time to add some decorations to the front of the mini album card, as it’s looking a little plain at the moment.
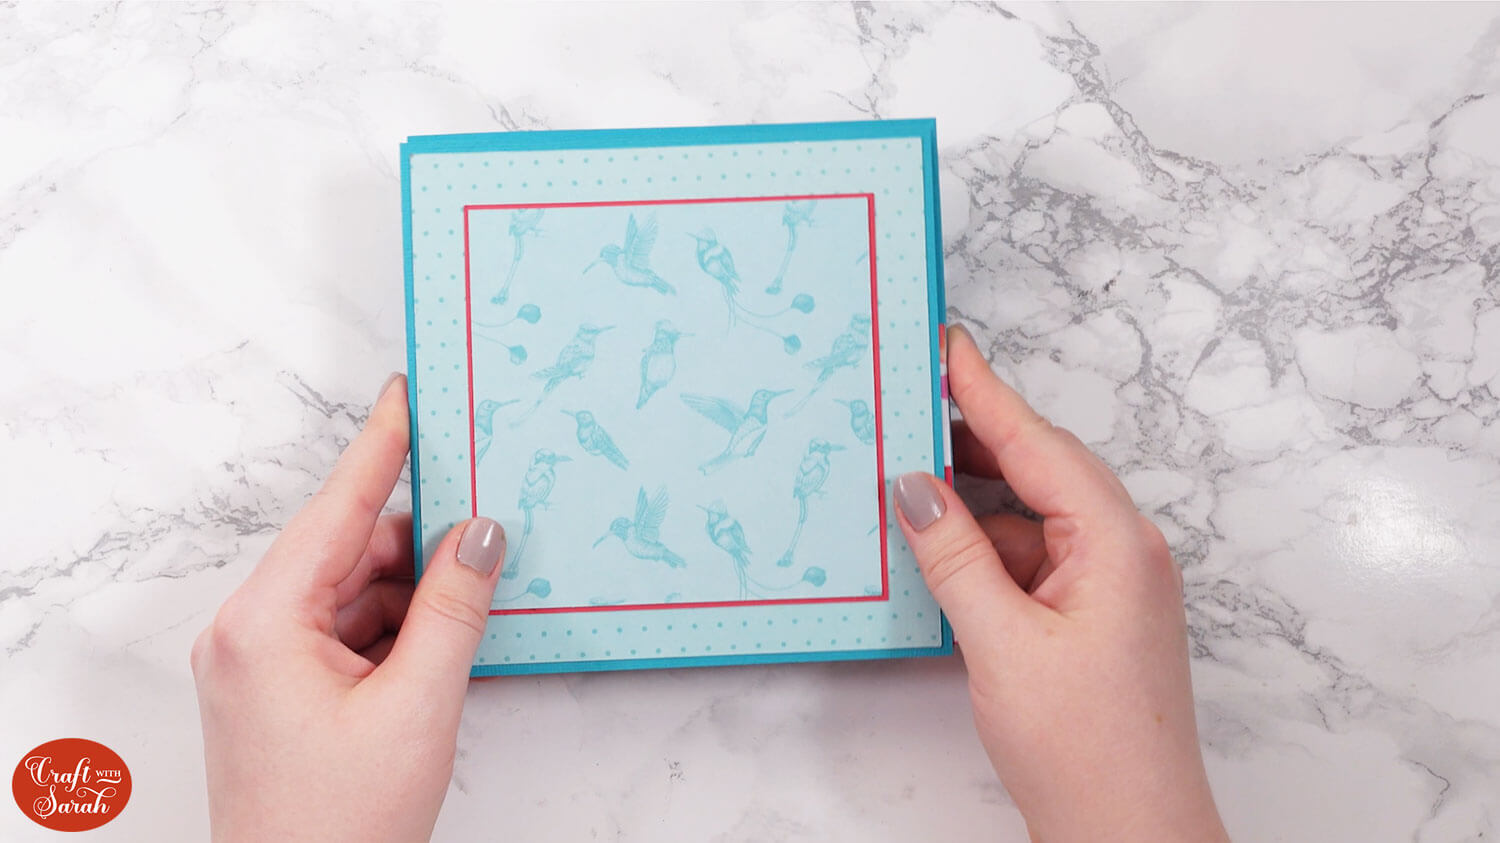
Go back into Design Space and choose some images or sentiments to cut, or use pre-made toppers/embellishments from your craft stash.
As several of my patterned papers had hummingbirds on them, I used my hummingbird layered design.
TIP: If you are using a layered design, here’s some guidance for cutting them small enough to fit on a card.
Get the front of the card cut out and stuck on.
Step 10) Create the presentation box
The card is finished, so now it’s time to make the presentation box for it to go in.
I used a thick textured card for my box shapes which made it very hard to see the score lines, and they also didn’t score quite deep enough to make good folds, so I went over them again with a rule and manual scoring tool.
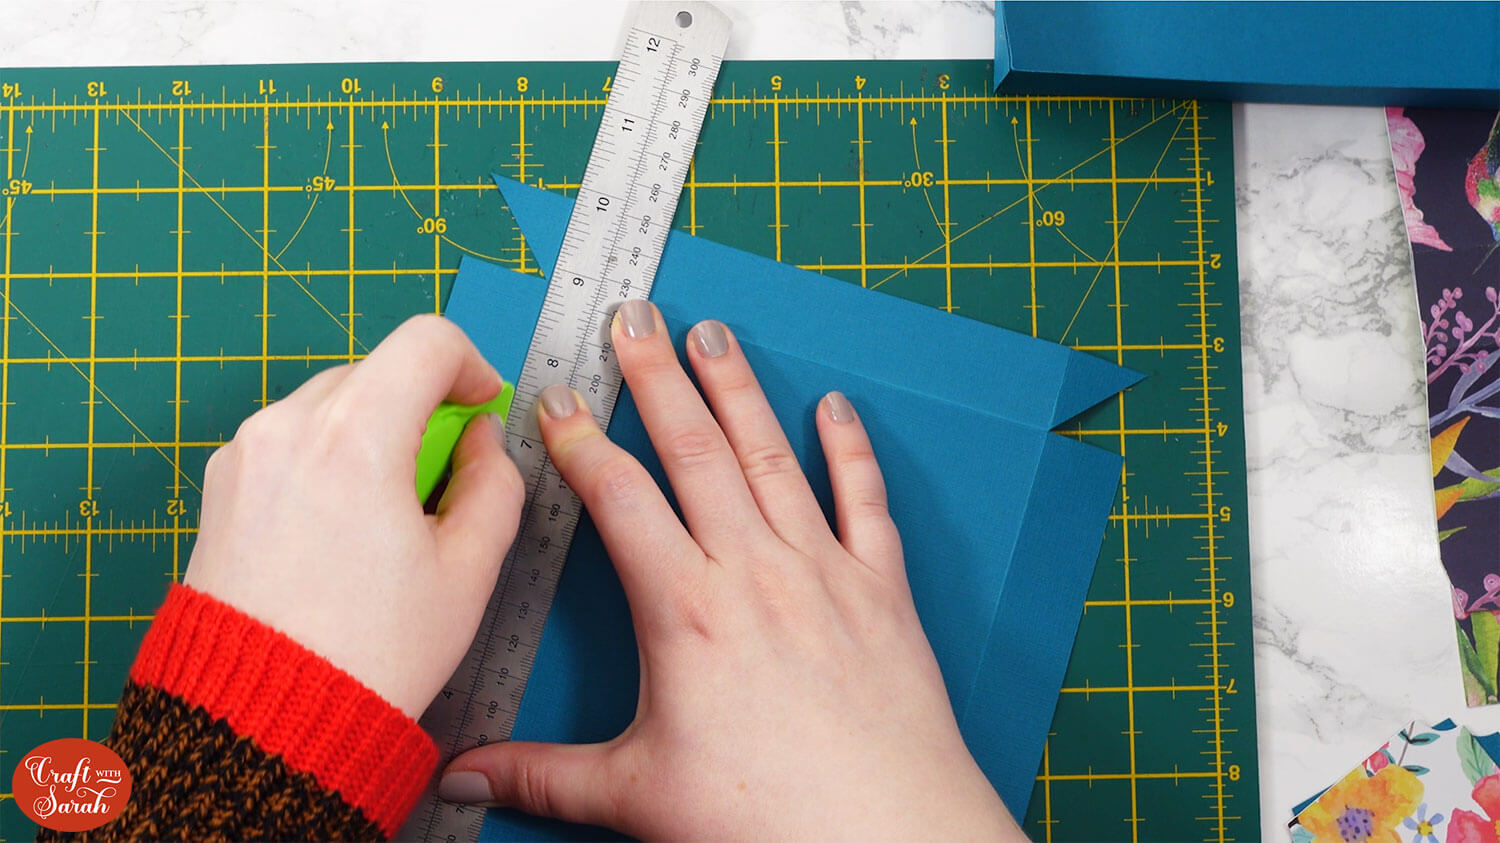
Fold all the score lines up towards you. Go down each fold line with a brayer tool, scraper tool or similar to get a really crisp fold.
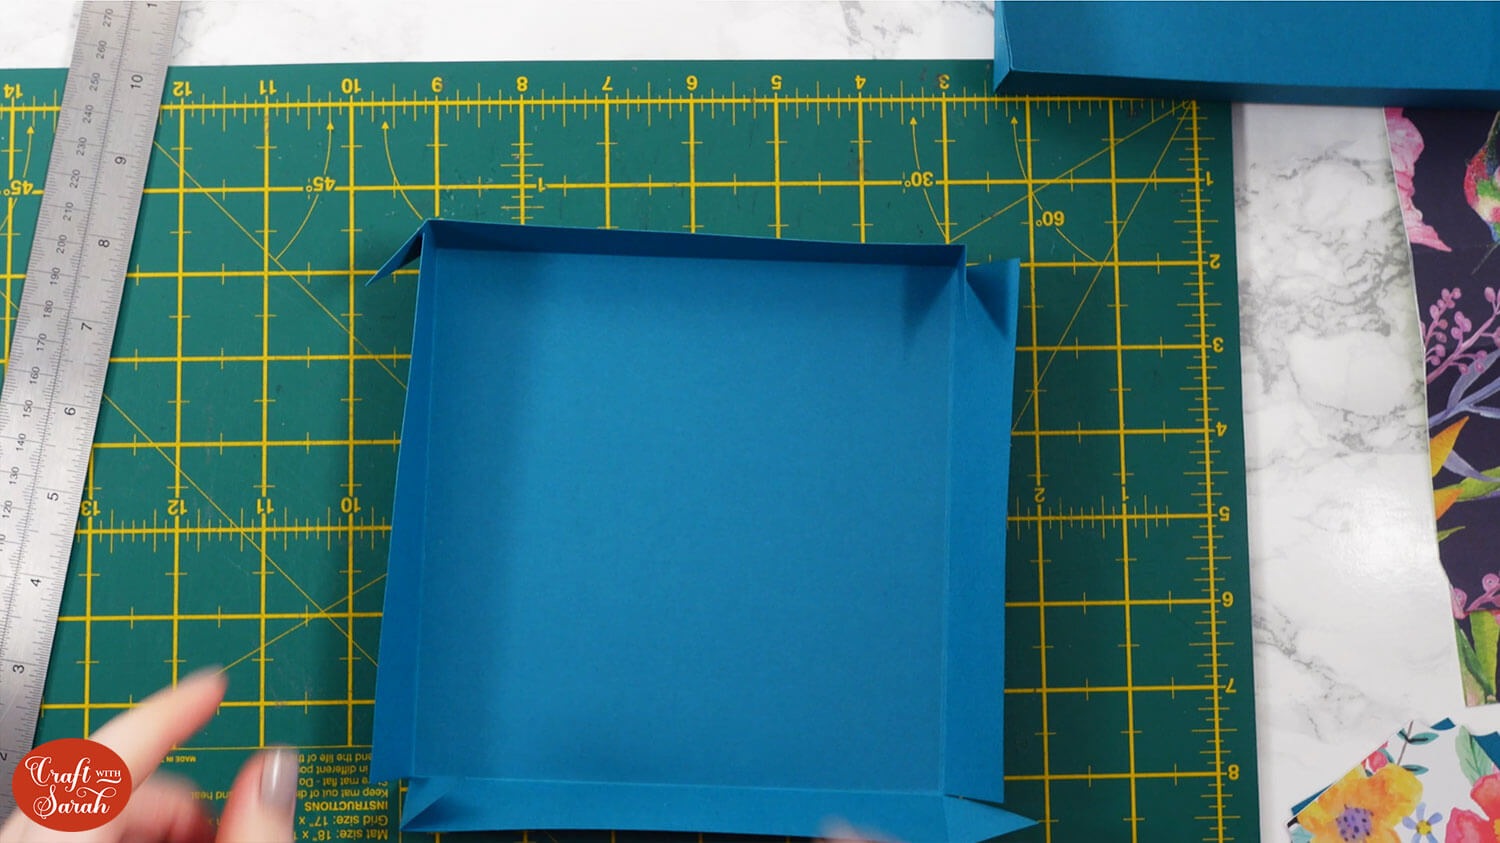
Add glue to the triangle tabs and stick them to the next edge to form the sides of the box.
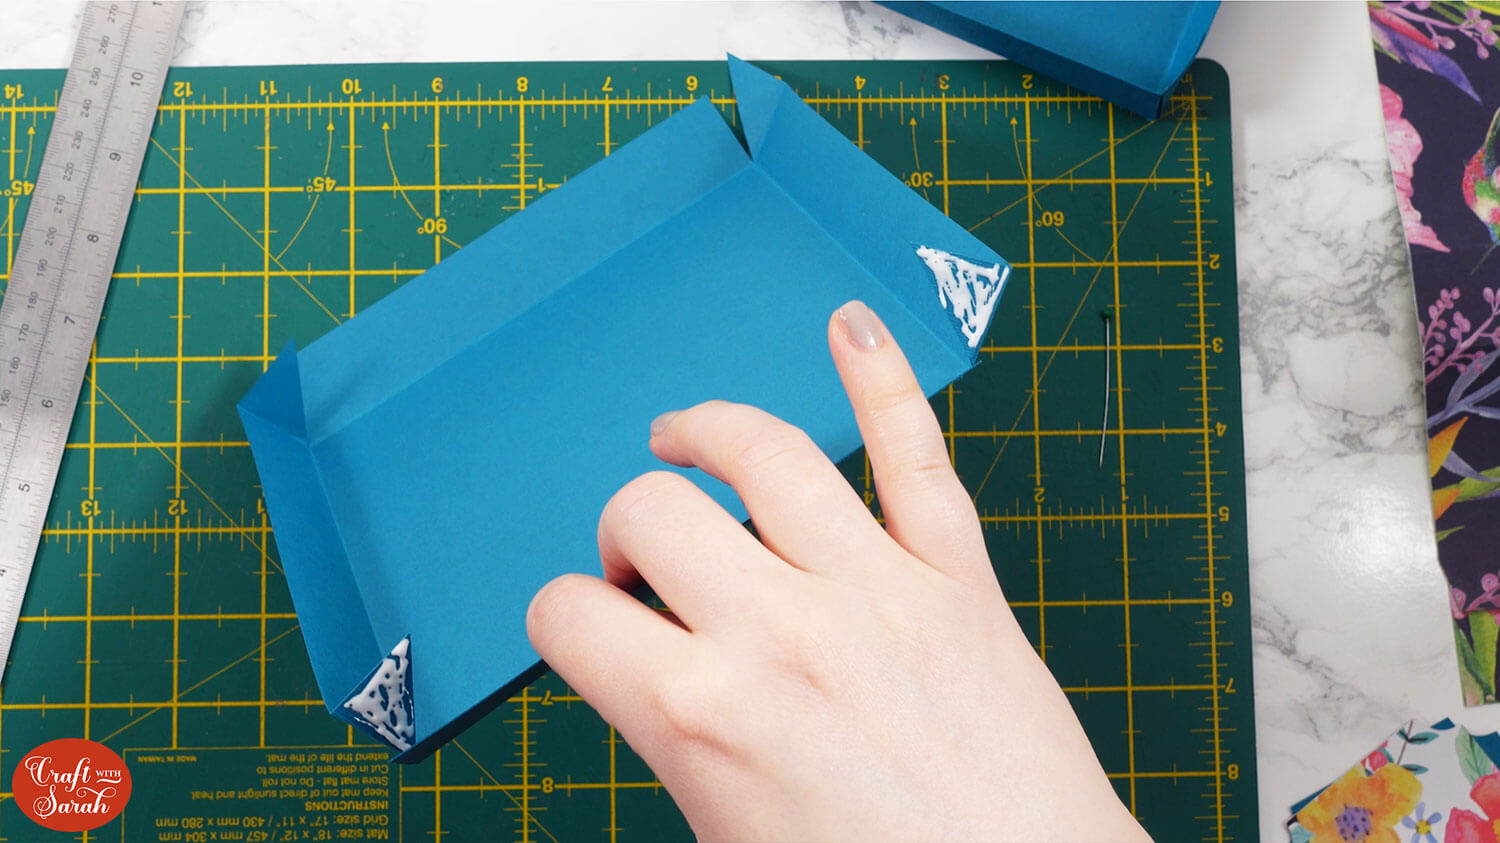
You may need to hold this in place while the glue dries. Paperclips work great to keep them in place.
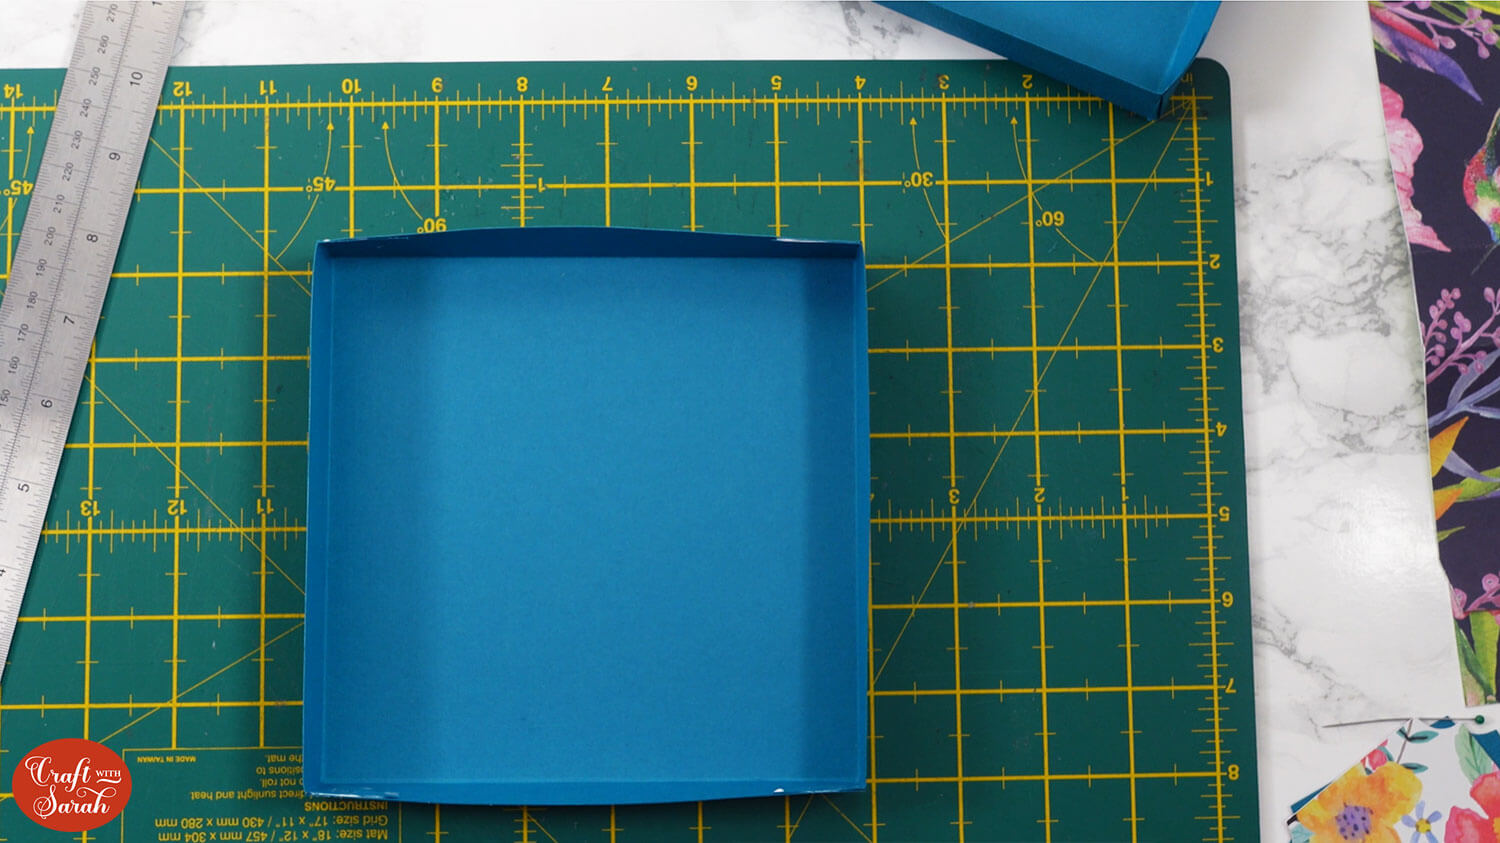
Repeat this for the other part of the box.
One will be slightly larger than the other. The larger one is the lid of the presentation box.
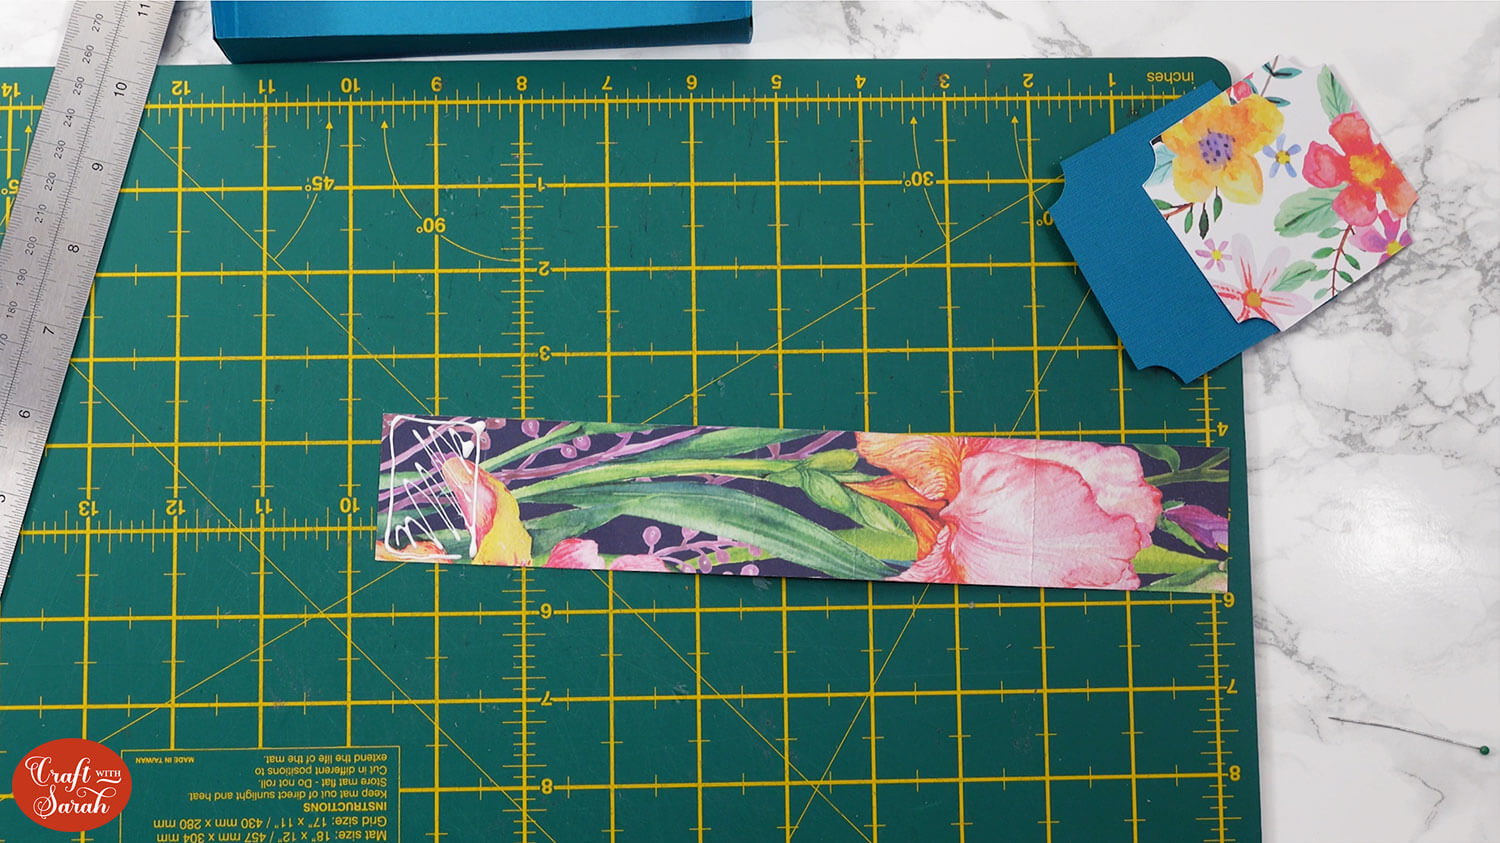
Create the belly band to wrap around the box to keep the lid on.
Take the long strip that has four score lines on it. Place it in the position shown below and add glue up to the first score line.
Glue the shorter piece to it, up to the score line on the first piece where the glue stops.
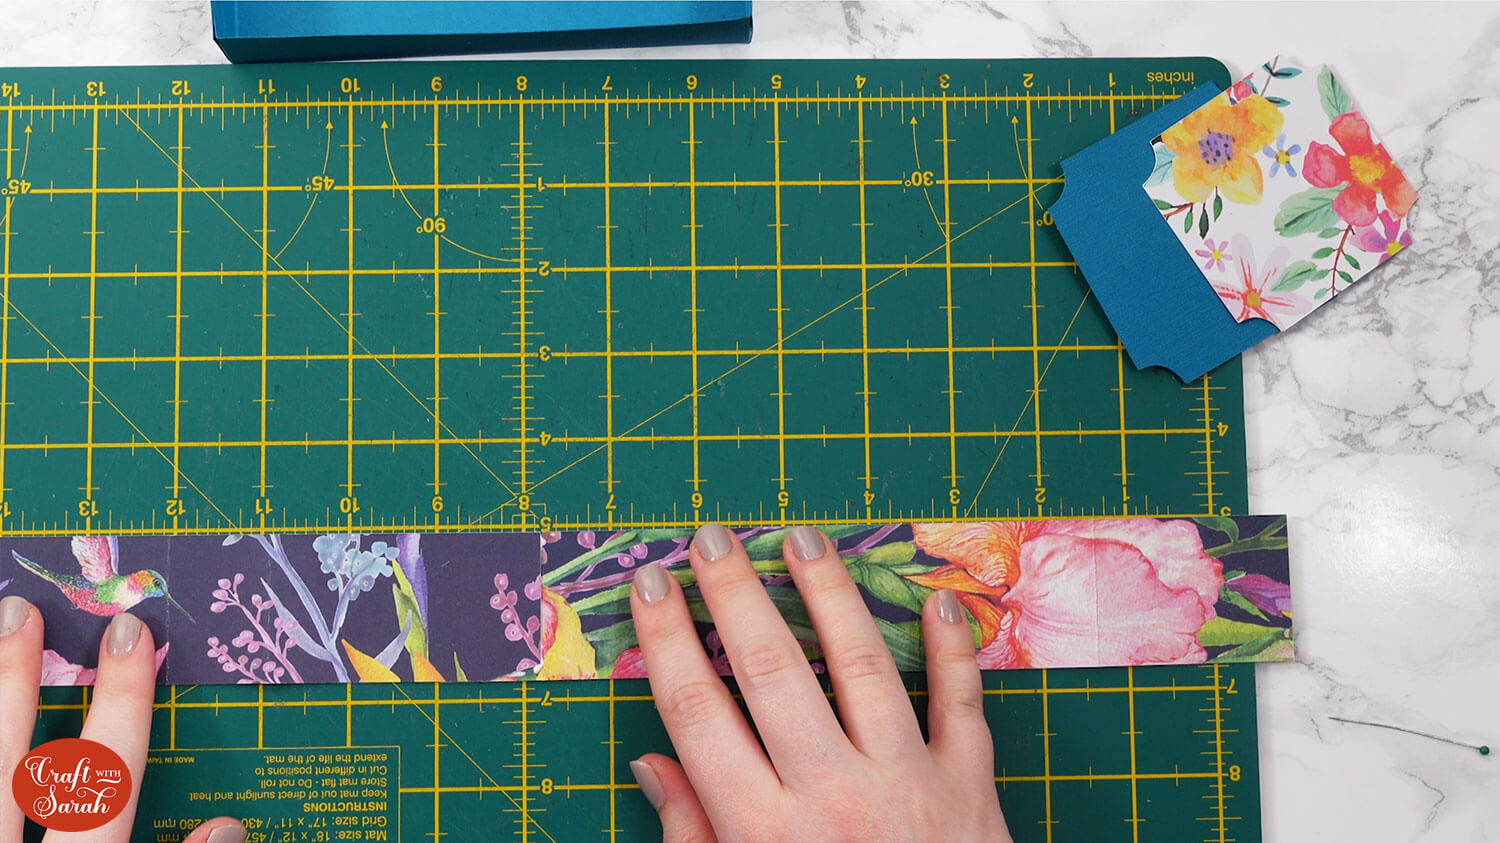
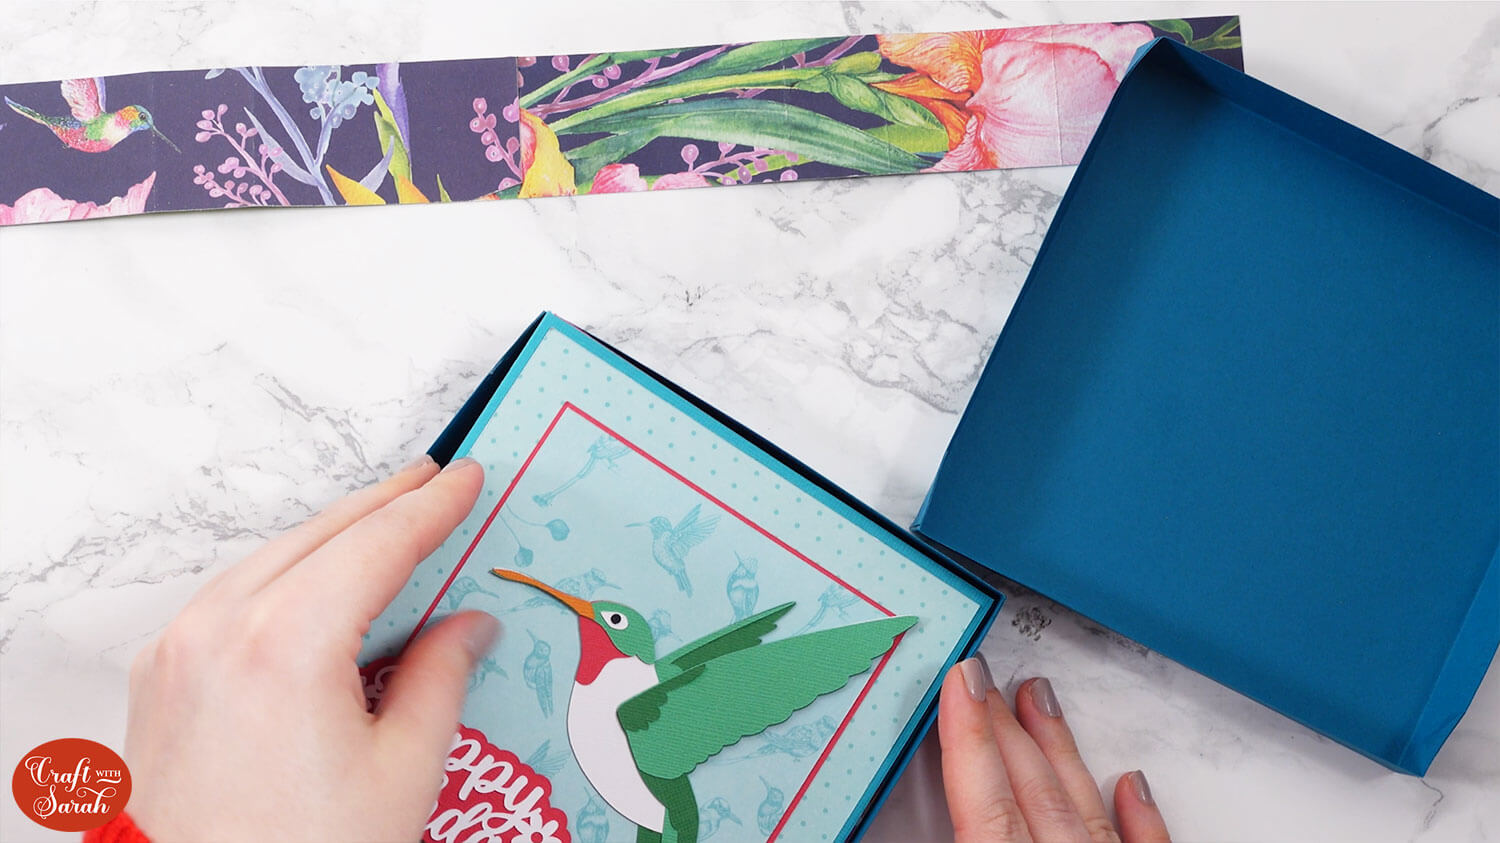
Glue the patterned paper shape onto the border shape.

Place the mini album card into the box and put the lid on.
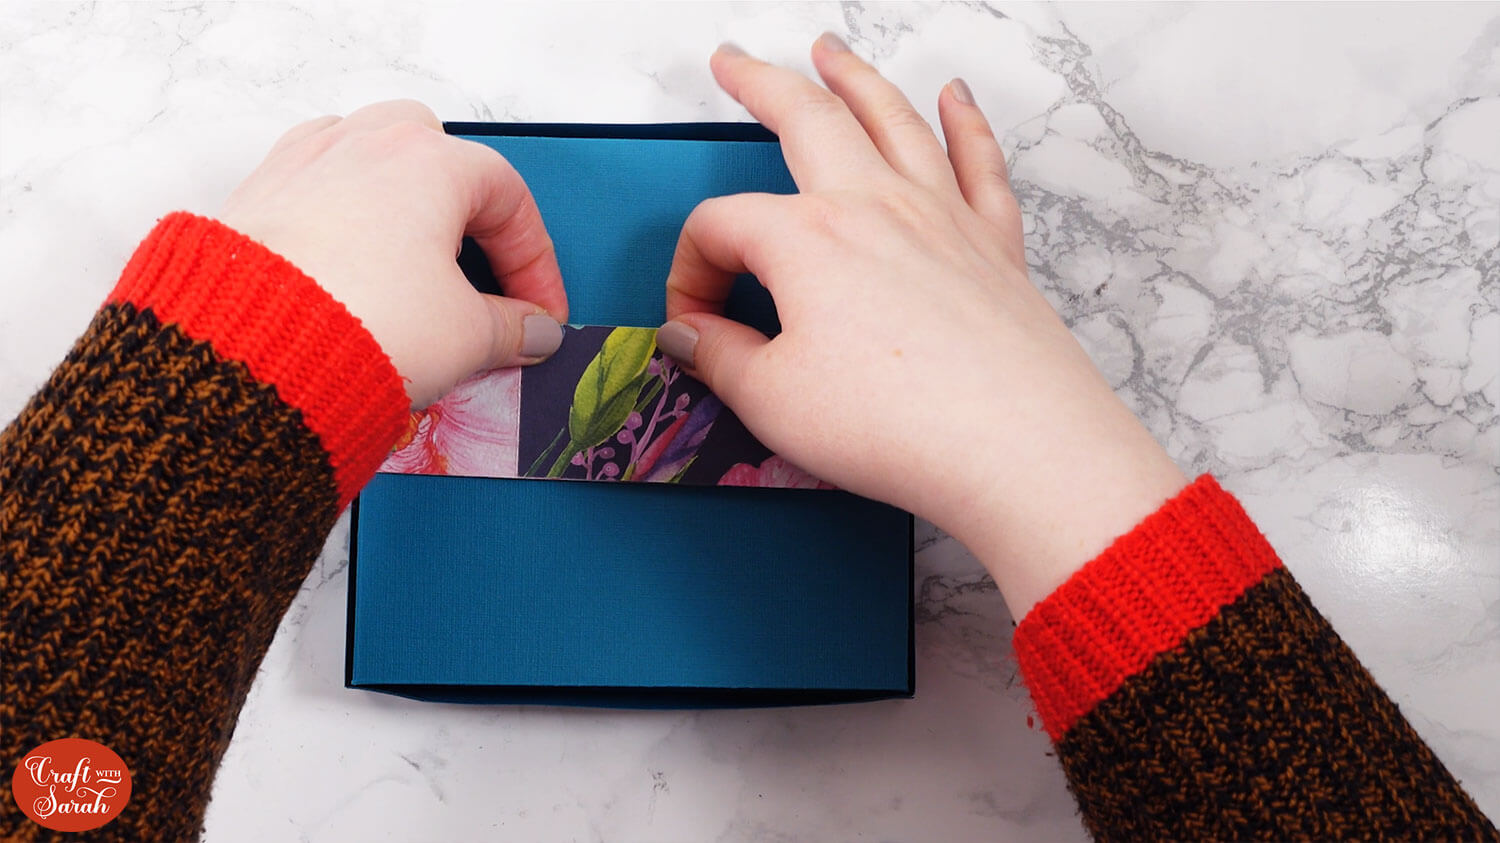
Wrap the belly band around the outside. Line the score lines up with the sides of the box. It will wrap around perfectly.
Glue the back together so that it’s tight enough to hold the lid in place, but still loose enough to slide off when you want to open the box.
Glue the shaped panel to the front of the belly band.
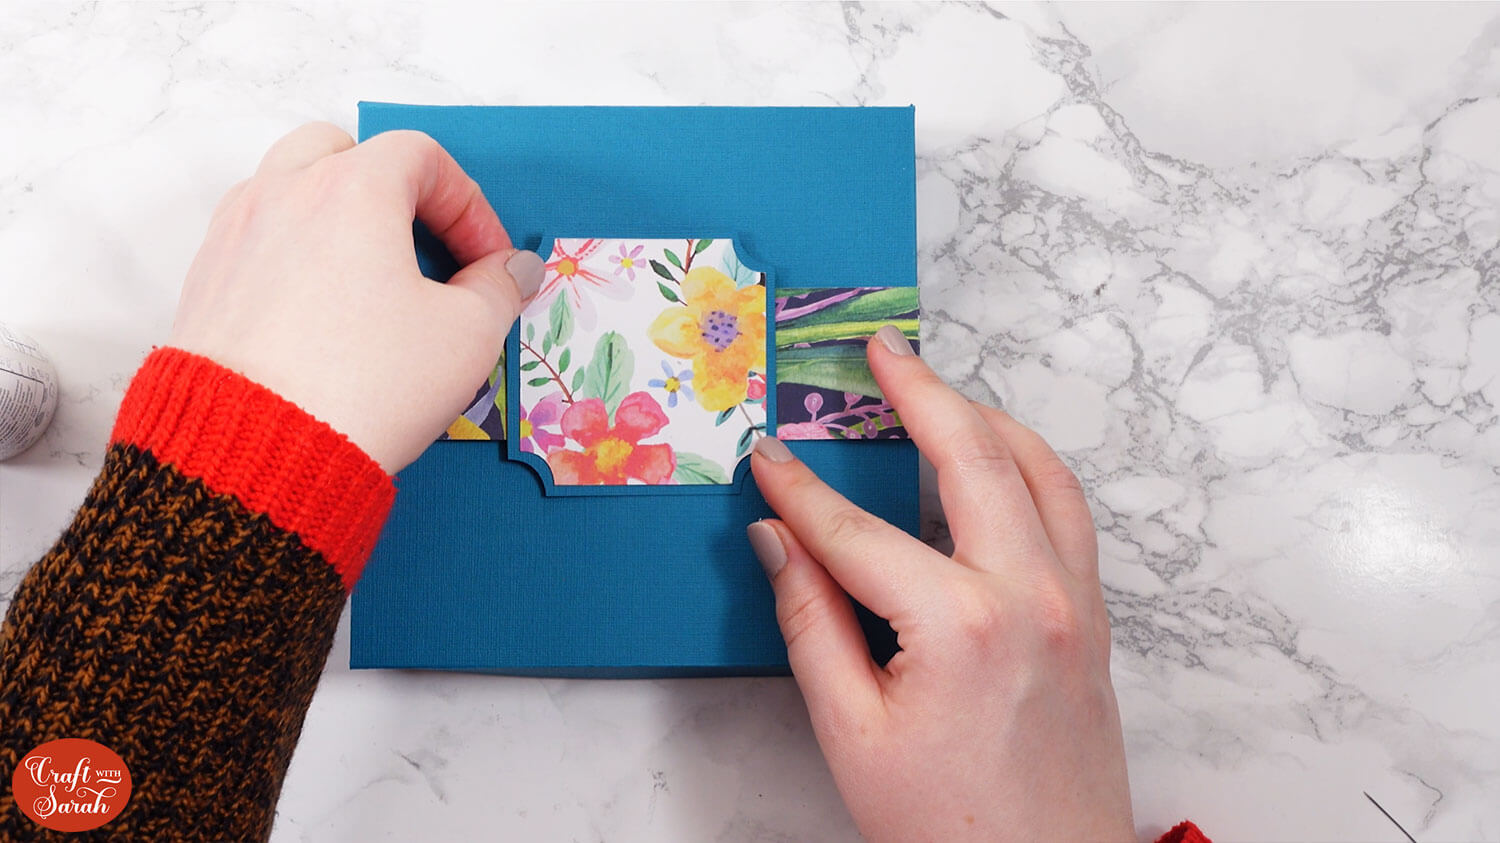
Add any extra decorations/embellishments you want to the box.
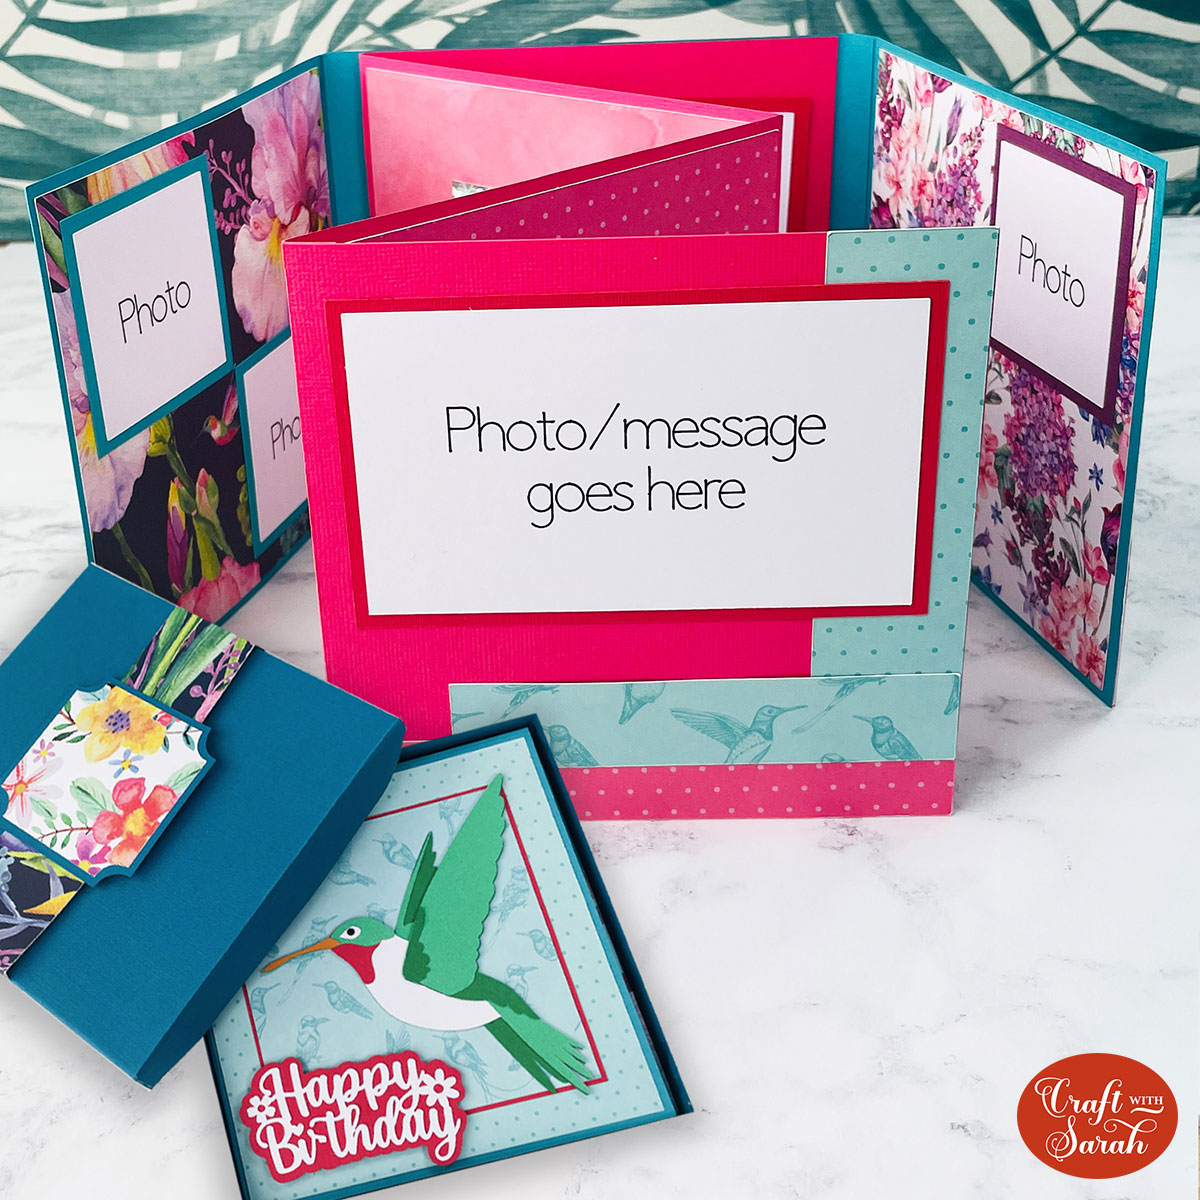
Your mini scrapbook album greetings card and matching presentation box are all done!
How to make mini scrapbook albums with a Cricut
I hope you enjoyed this tutorial on how to make mini album cards using the template from today’s Card Making Countdown project.
These are so impressive when opened up, and I love that they can be filled with so many wonderful memories, photos and messages.
Don’t forget to check back tomorrow for the next Card Making Countdown project.
Happy crafting,
Sarah x

