HCC 2022 Day 08 🎃 Giant Happy Halloween Sign
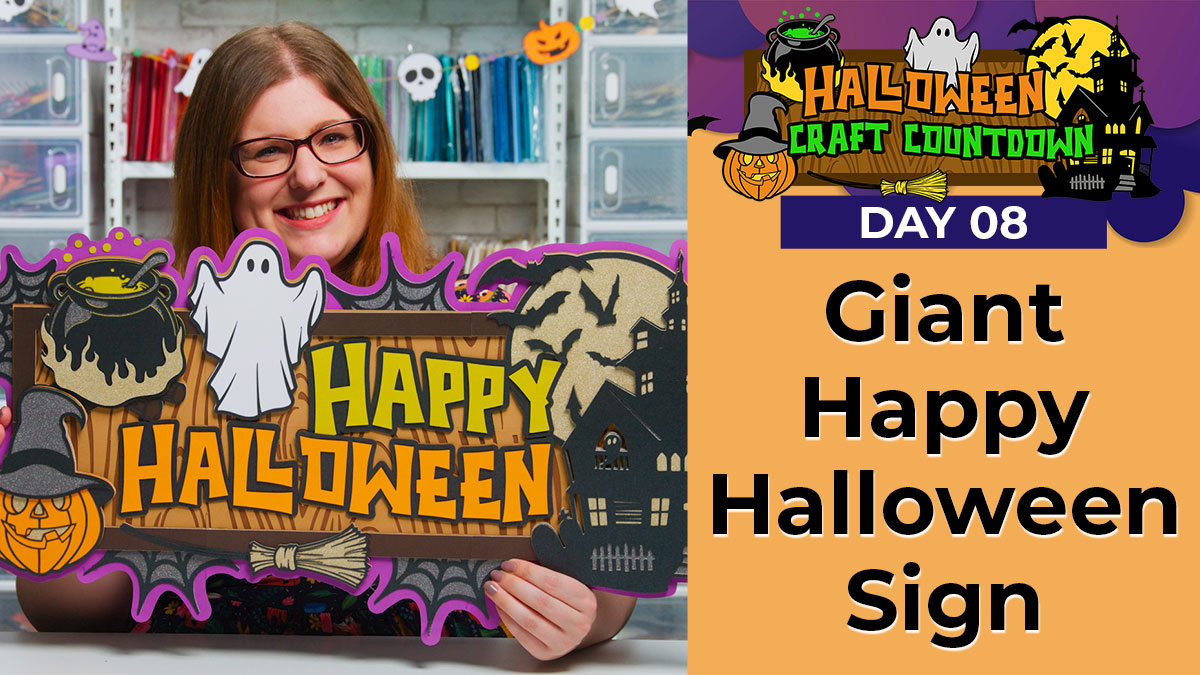
Make a Halloween project that REALLY stands out with this gigantic “Happy Halloween” sign.
This massive “Happy Halloween” sign measures a whopping 28.5 inches wide, but it can be cut on a normal Cricut mat from 12×12, US letter or A4 paper.
It’s got holes in the back so that you can hang it up.
This Project was part of the Halloween Craft Countdown 2022
Advance warning – this takes a long time to make and LOTS of cardstock. But… it’s definitely worth it!
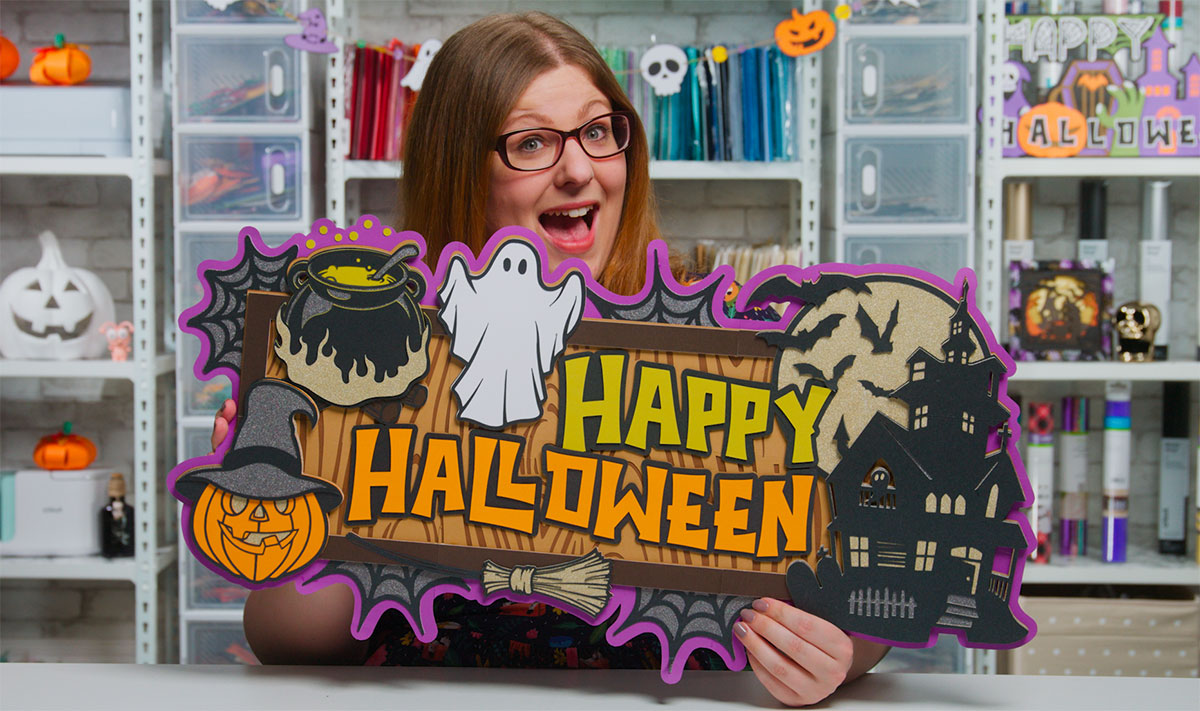
I used 46 sheets of A4 card and it took me 2 hours to cut out and about 2.5 hours to stick together.
However, it took longer for me than it should have because most of the card I chose was really thick and had to be cut on the “Kraft Board” setting which does a double-cut and therefore takes much longer for each cut.
Also, when I was sticking it together I was recording for the video tutorial, which again takes longer as I was talking through every step along the way. Don’t worry – the video is much shorter as I’ve sped it up in places!
Materials supply list
Here is a list of the materials that I used to make this project.
Please note that some of the links included in this article are affiliate links, which means that if you click through and make a purchase I may receive a commission (at no additional cost to you). You can read my full disclosure at the bottom of the page.
- Cricut machine
- Light blue Cricut cutting mat
- Coloured Card (I use 160-240gsm weight of card)
- Collall All Purpose Glue
- Needle Tip Applicator Bottle
- 3D foam pads
- Twine or strong ribbon to hang the sign with
- Sticky tape / celloptape
- Washi tape / masking tape / painters tape (optional)
Video tutorial
Watch the video below to see how to make this project. Keep scrolling for a written tutorial.
Written tutorial (with photos!)
Here’s how to make your very own Halloween giant sign using a Cricut machine!
Step 1) Download the cutting file(s) & unzip the downloaded folder
Error: No countdown timestamp set.
Before you upload the SVG to Design Space, you need to unzip the download folder that it comes in.
- How to unzip a folder on Windows computer
- How to unzip a folder on a Mac
- How to unzip a folder on an iPad/iPhone
- How to unzip a folder on an Android device
Step 2) Upload the SVG file into Design Space
Open up Cricut Design Space and start a new Project.
Click “Upload” and then find your unzipped version of the downloaded files for this project.

Go into the “Cut Files” subfolder and then select the file called SVG_Halloween_Sign_CraftWithSarah.svg
This is how it should look after you have uploaded the file:
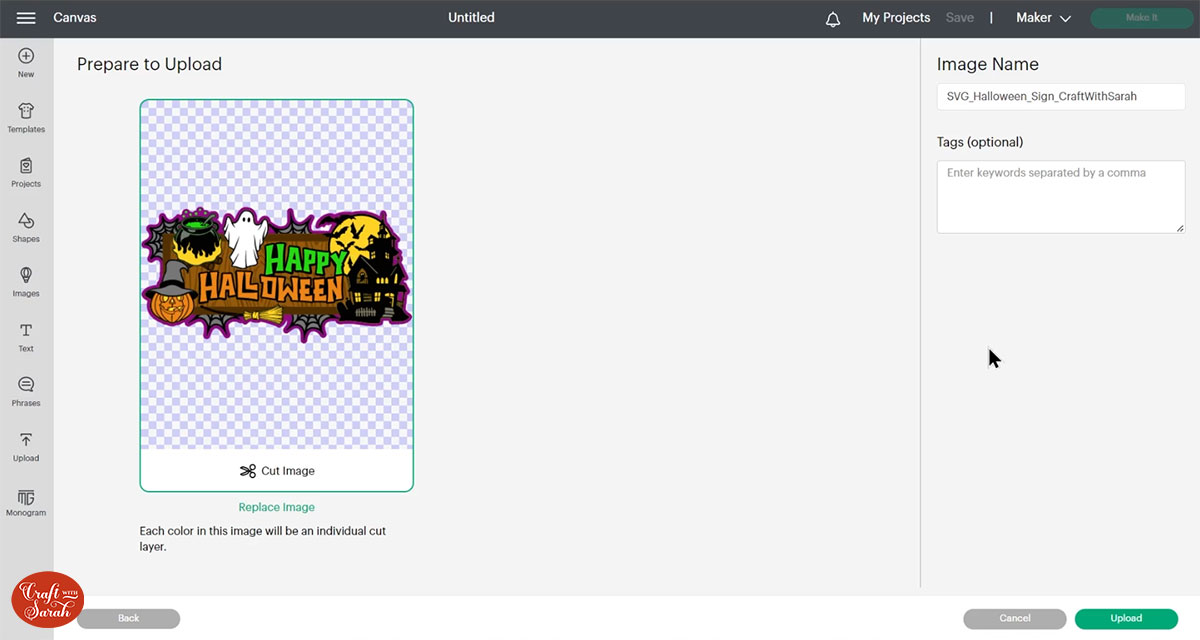
Make sure you upload the file which starts SVG_ in the filename!!
After uploading, the design will show in your “Recently Uploaded Images”.
Click on it and then press “Add to Canvas” to put it onto your Project.
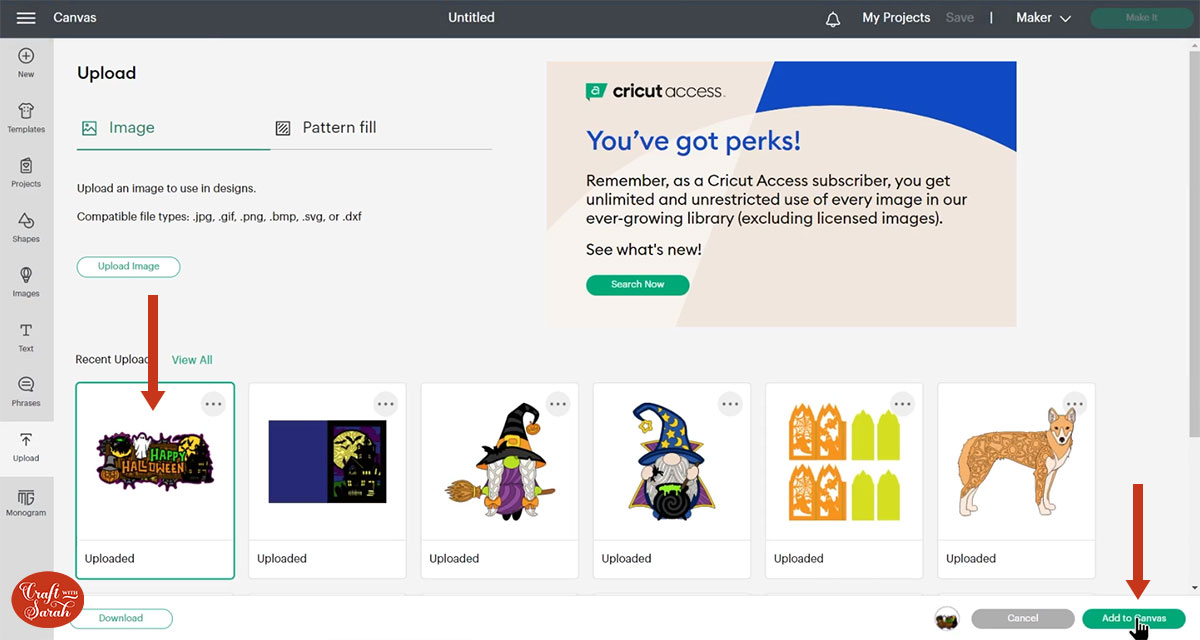
The design will load in really big, but that’s what we want! 😁
The largest pieces, for example the purple layer at the bottom, are split up into sections so that the design can be cut from your regular cardstock on a normal 12×12 inch Cricut mat.
However, sometimes Design Space does change the size of SVGs when you upload them, so it’s a good idea to make sure your design is correctly sized.
It should be 28.406 inches wide and 14.308 inches tall.
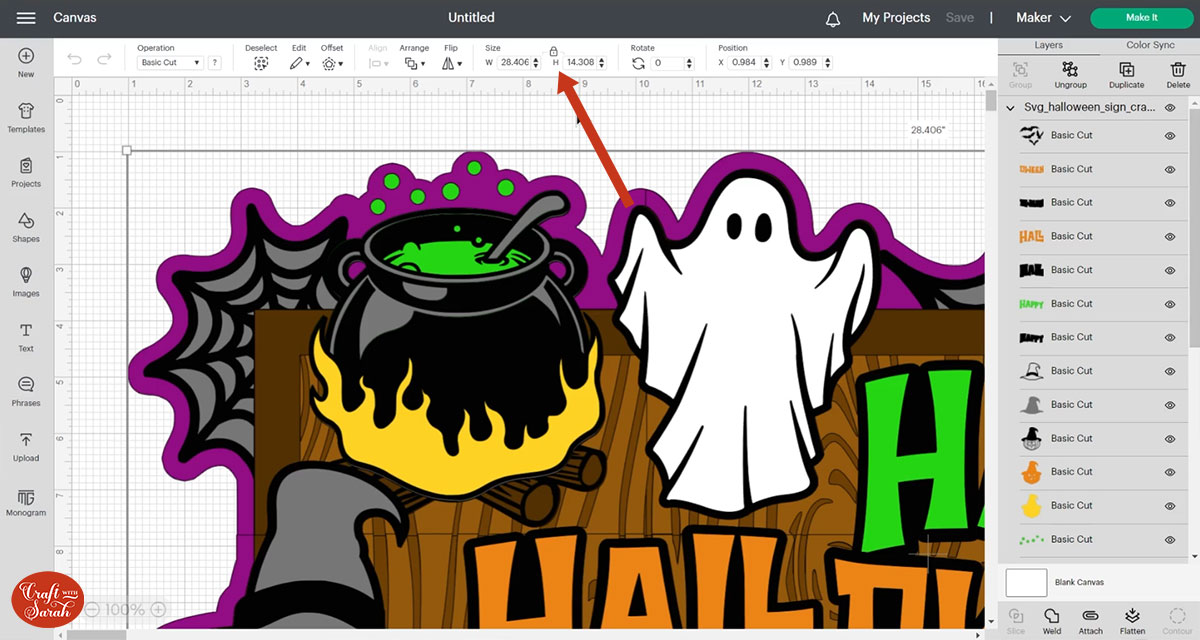
That sizes means that all layers can be cut on 12×12, US Letter or A4 cardstock.
If you are using 12×12 card for all of the layers then you can make it a little bit bigger if you want to.
TIP: If you don’t have three different shades of brown card, watch the video at the top of this page for how to combine them into two shades instead.
Step 3) Cut out all the layers
When you’re happy with how the project looking in Design Space, click “Make It” and follow the instructions on-screen to cut out all the layers.
To change the paper size, go into the dropdowns over on the left side of the screen and choose the paper size that you want to use. You need to change it for every single colour.
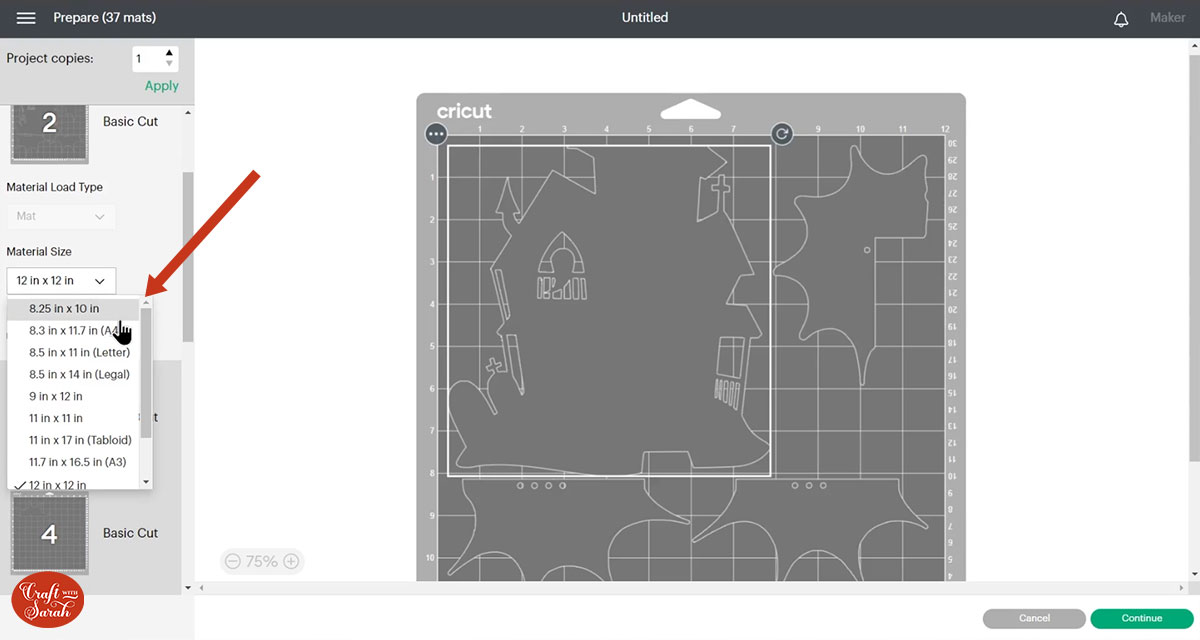
To save space on your cardstock, you can move things around by clicking and dragging. Make sure when you’re moving things about that nothing overlaps because otherwise, it won’t cut out properly.
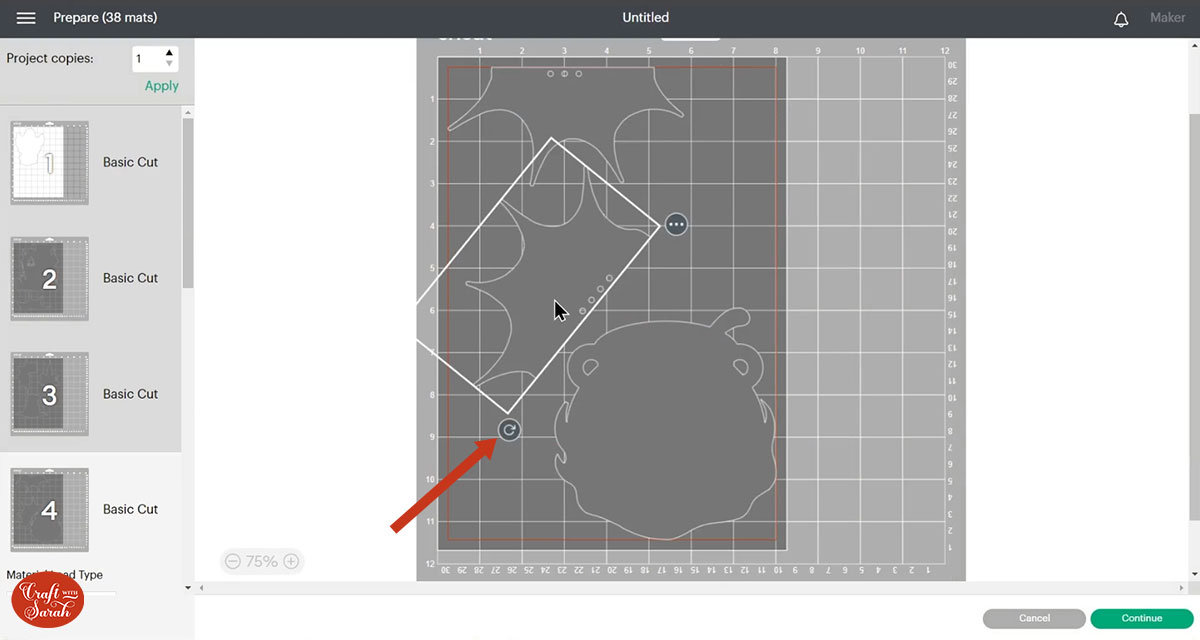
TIP: New to cutting cardstock with a Cricut? Check out this in-depth tutorial which goes through every step of the process, including tips for getting the best quality cuts from your Cricut.
I cut the yellow pieces from gold glitter cardstock, the grey pieces from silver glitter cardstock and I used a shimmer card for the black pieces to give a little bit of extra Halloween extravagance to my giant sign.
Make sure you have enough sheets of cardstock before you start cutting. There’s nothing worse than getting half way through a colour and realising you’ve run out before the end!
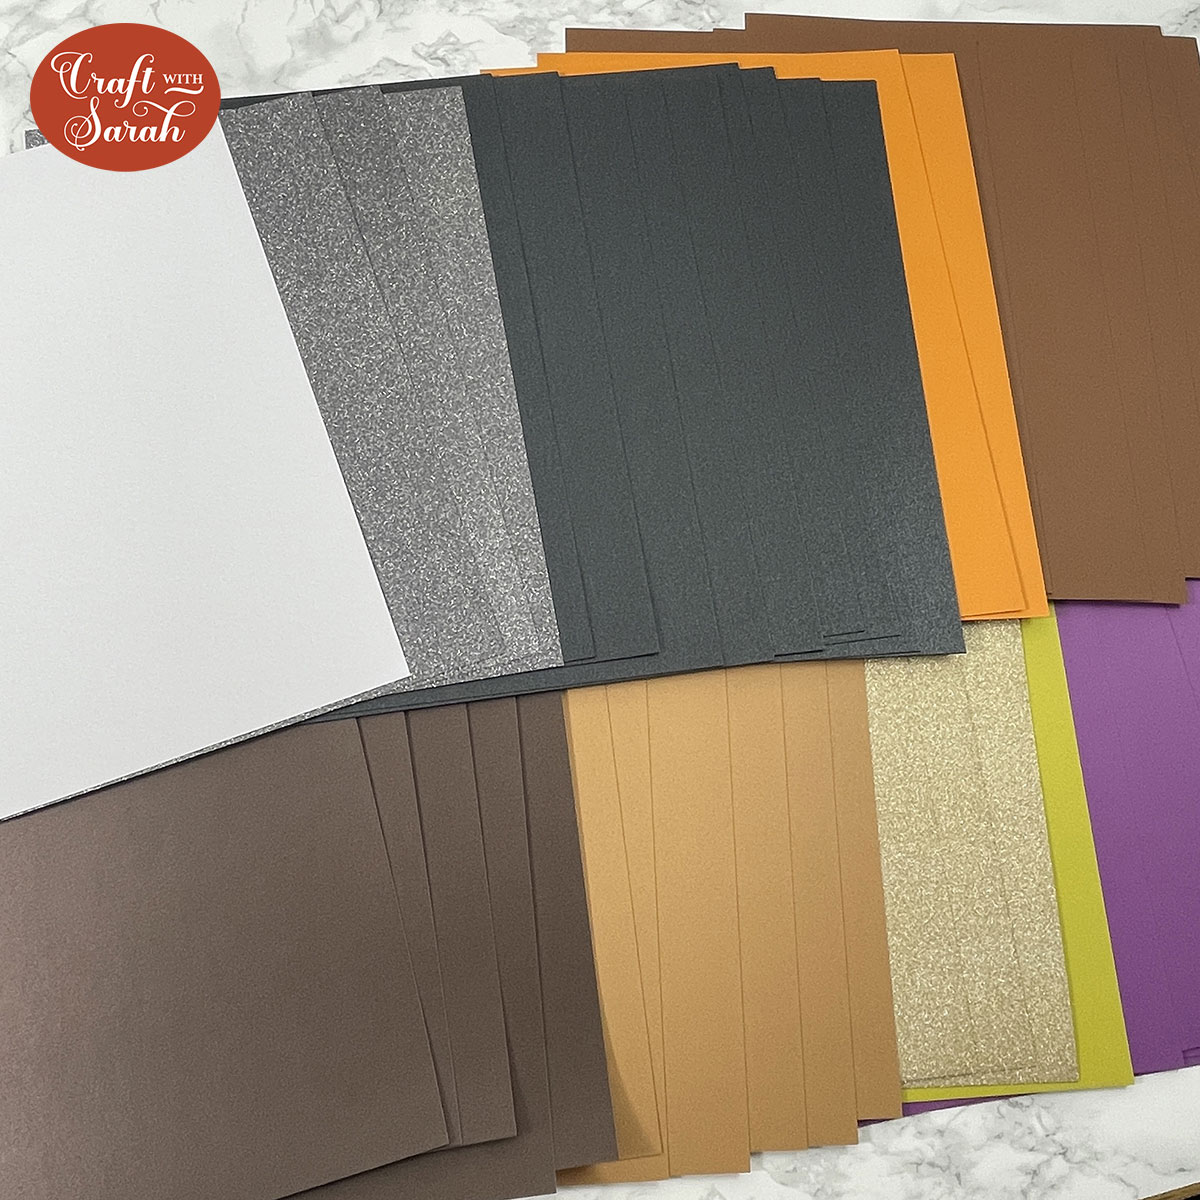
I recommend getting all your cardstock in a pile and order it the same way as it appears in Design Space. That way you know which sheets to cut, in which order.
TIP: Is Design Space hiding some of your mats so you can’t change the paper size? This is a known bug at the moment. For how to fix it, watch the video at the top of this page.
Step 4) Stick the project together
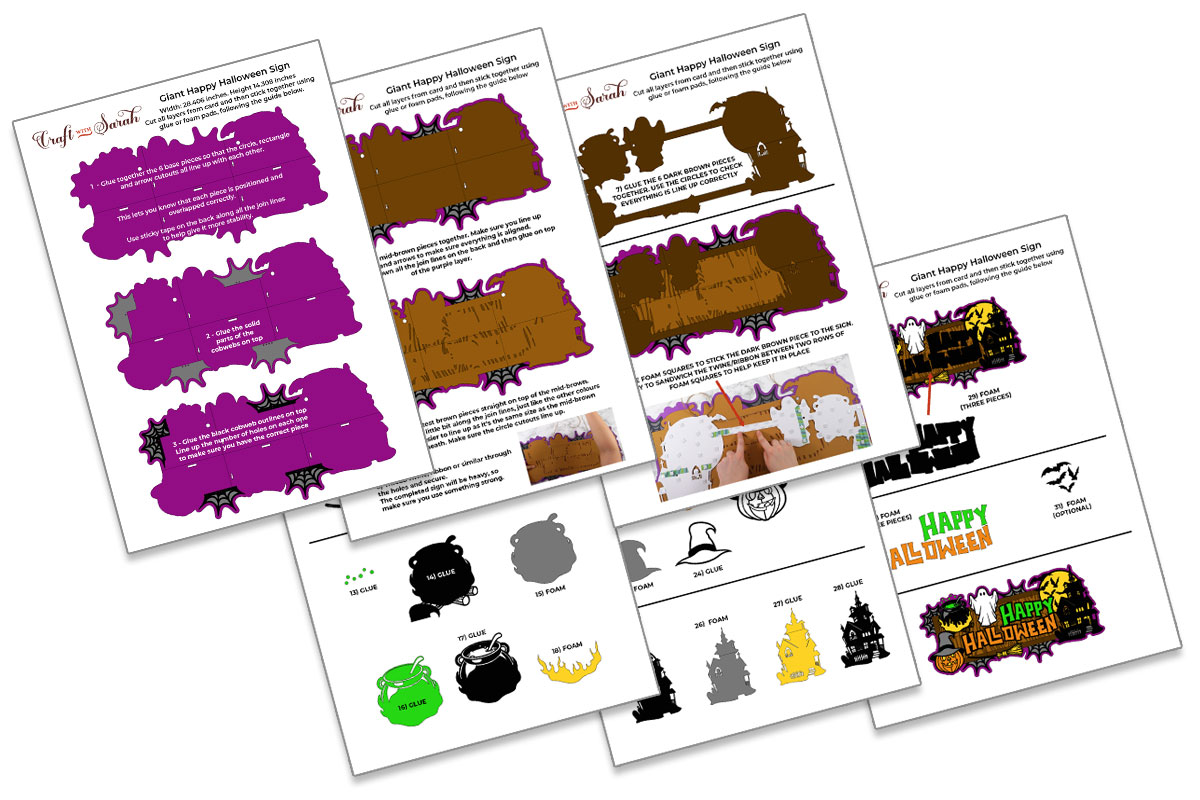
A detailed assembly guide PDF is included in the folder when you download the cut file (HCC 2022 08 – Assembly Guide.pdf).
I recommend printing that out and having it next to you while you are crafting.
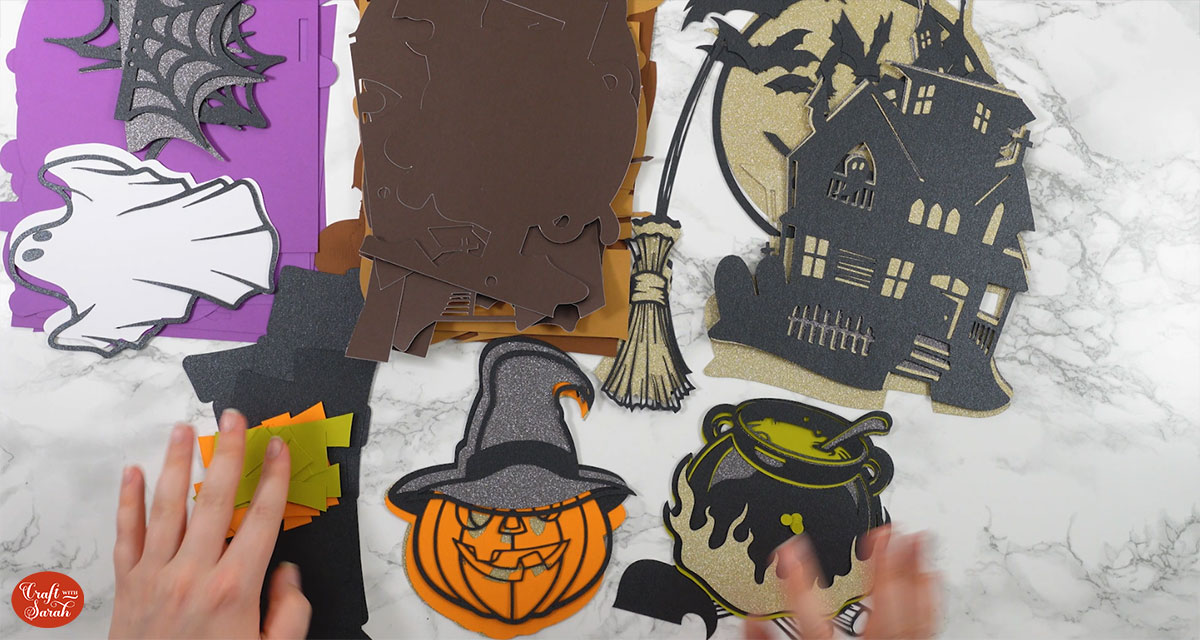
Before you start sticking anything, get your cutouts in order!
Put the colours/sections for each piece together to help make sure you stick them all in the correct order. It also speeds up the sticking process to have the layers in a little bit of order at the beginning.
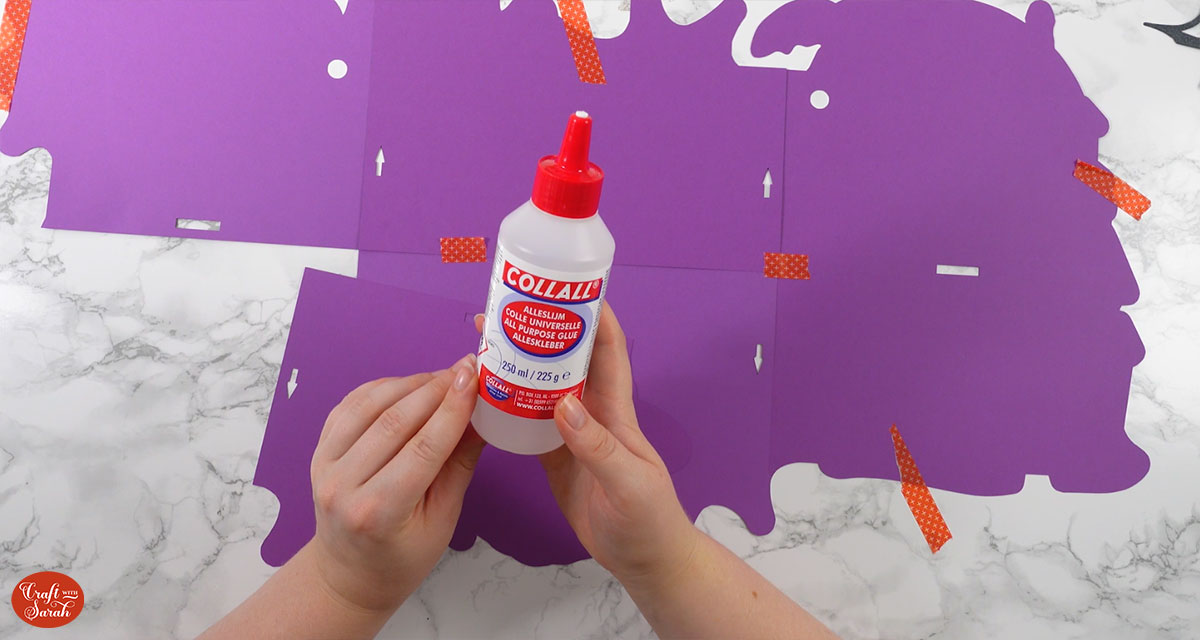
Use 3D foam pads and glue to stick the layers together.
My favourite glue to use on papercraft projects is Collall All Purpose Glue.
It’s SO good because it doesn’t “warp” or bend the cardstock like some glues do. You can use as much of it as you want and the card stays perfect – and it dries perfectly clear too!
To make it even easier to apply glue to layered card projects, I highly recommend getting some of these needle tip applicator bottles to put the glue into.
The nozzles are REALLY tiny which makes them perfect for putting glue in the pieces of cardstock that make up this design.
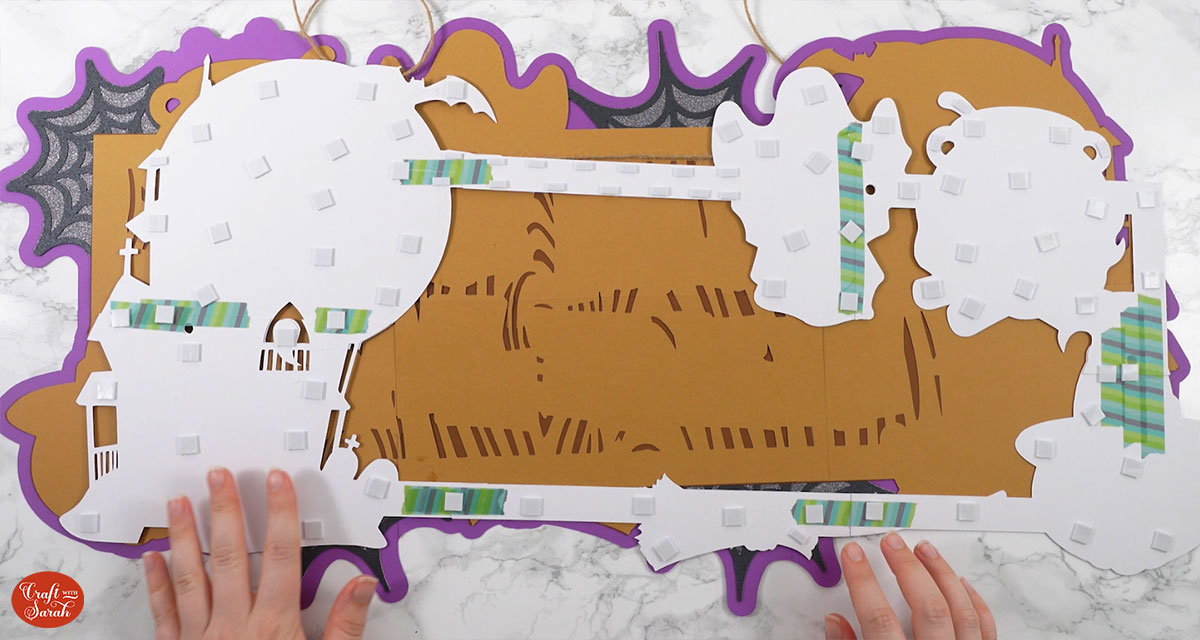
The foam pads that I use are from “Dot & Dab”, but any foam squares will work. If yours are big then you may need to cut them smaller with scissors to fit inside the edges of the layers.
When adding the foam pads to the relevant layers, make sure you add some in the middle of the pieces of card so it give stability to the middles. If you don’t add any foam pads in the middles then it can “sag” under the weight of the other layers which doesn’t look as good.
Tips for assembling the giant Halloween sign
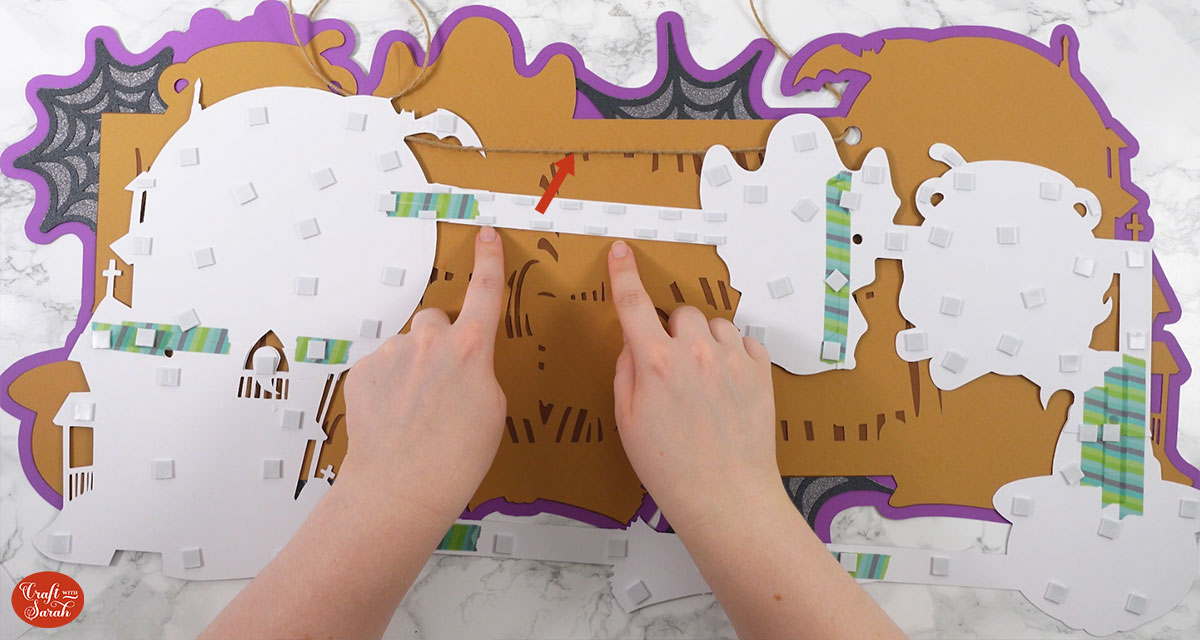
When sticking the large layers together, it can be helpful to use washi tape / masking tape / painters tape to hold the layers in-place to make sure they don’t move around when you’re gluing them.
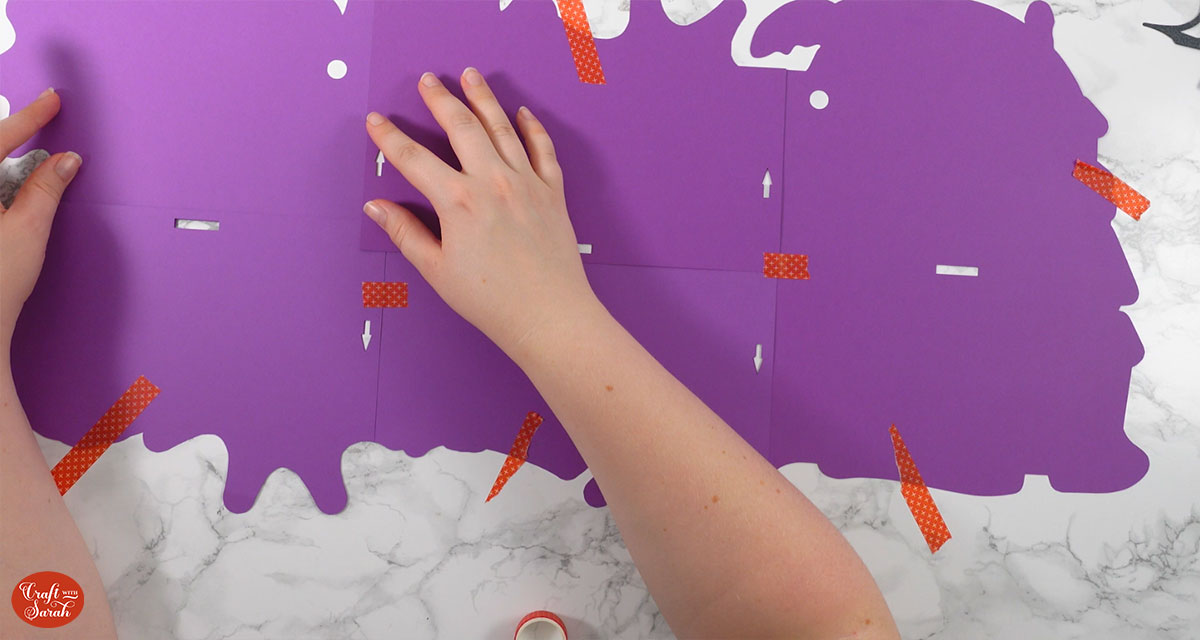
Turn the larger layers upside down after glueing and add sticky tape down all the join lines to add stability.
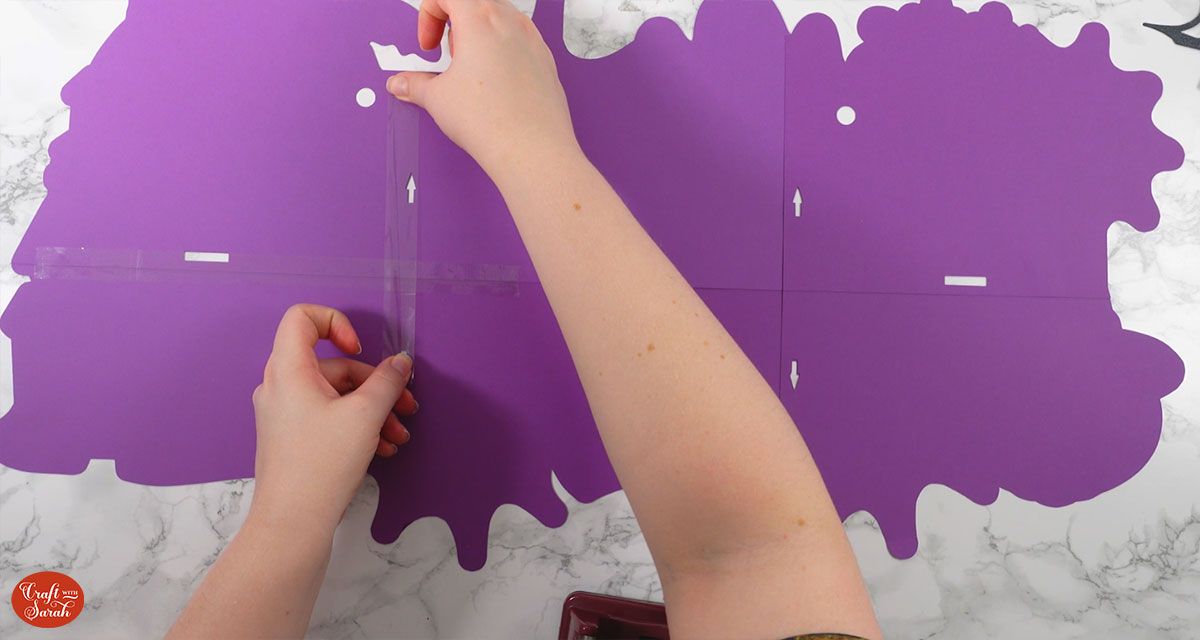
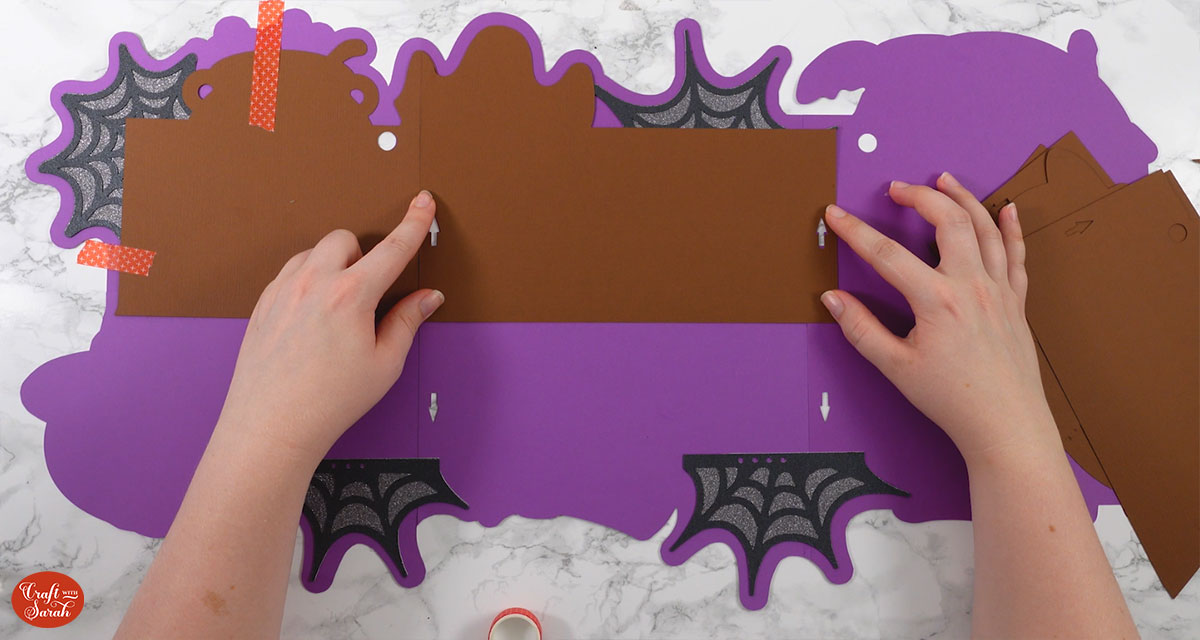
The larger layers have little shapes cut out of them to help you line them up in the correct place. For example, circles, arrows and rectangles.
For hanging the design, twine or thick ribbon works best. The sign ends up quite heavy so you need something that’s going to be able to hold the weight without breaking or snapping.
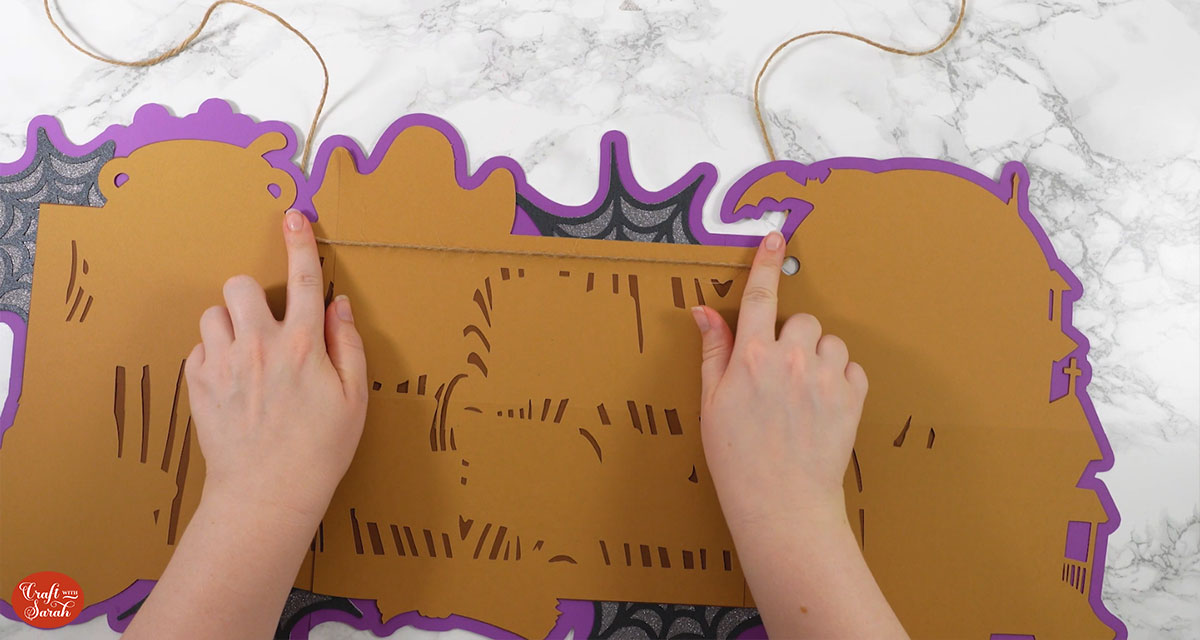
When adding the darkest brown layer, try to make two little lines of foam squares that you can “sandwich” the twine/ribbon between when you stick it on top. This helps keep the twine in place.
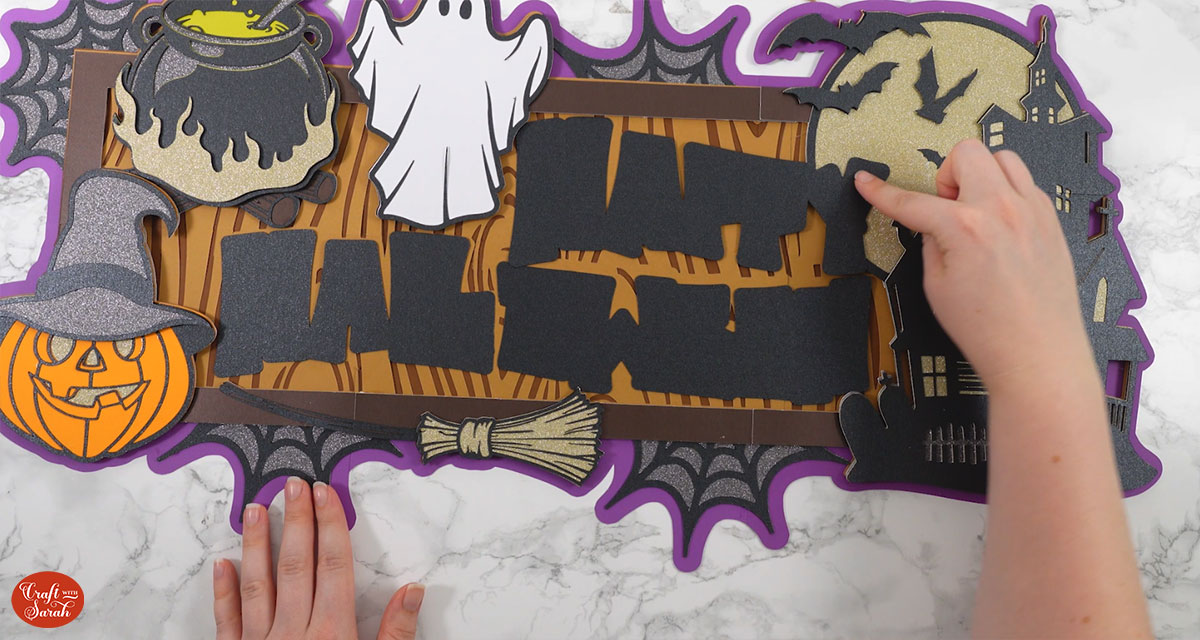
Some of the layers towards the end of the assembly overlap each other a little bit, for example the “Y” on “HAPPY” goes over the top of the moon from the haunted house.
Be careful when sticking the layers that you keep everything flat and don’t add “extra” levels of foam squares on the overlapping parts.
Phew, that was a lot of tips! 😅
Here’s how the sign looks when it’s all finished:
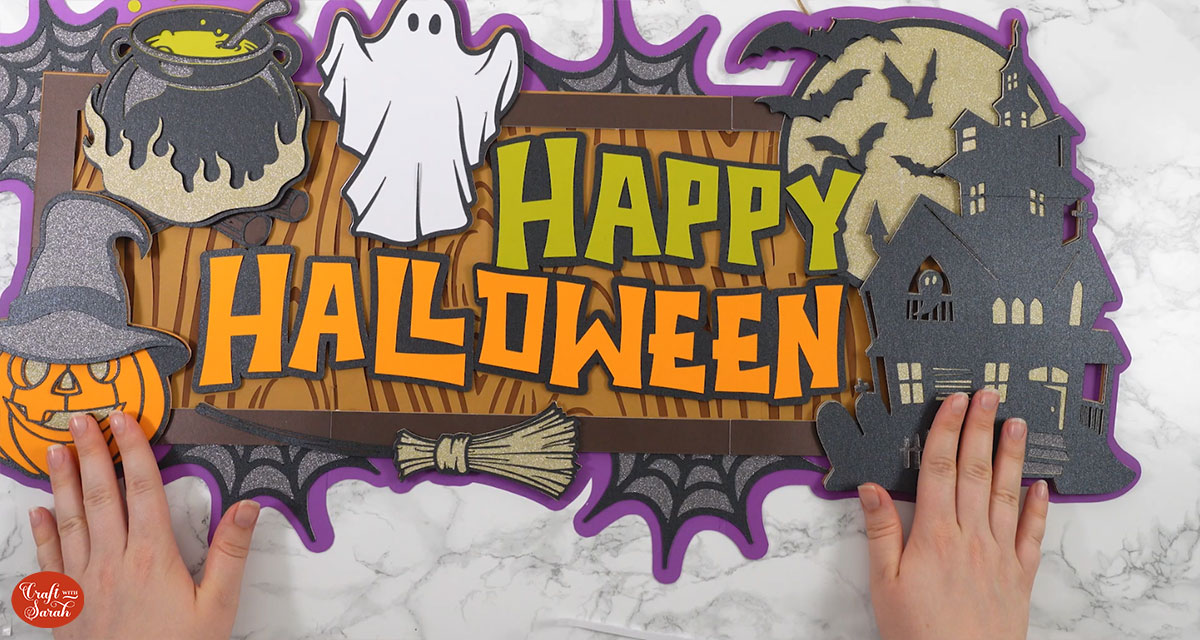
Happy Halloween giant sign papercraft
After sticking all the pieces of card together, you’ll have a wonderful layered Halloween sign ready to be hung on the wall.
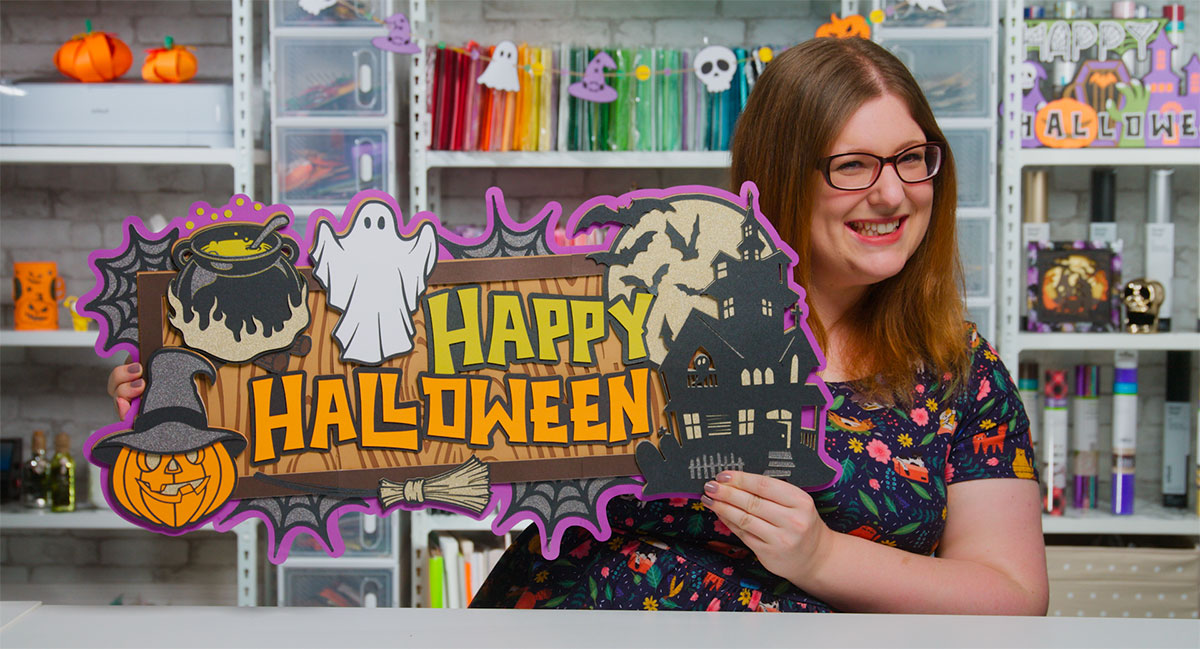
I don’t recommend hanging it outside as it may get weather damaged, but you could perhaps put it on the inside of a window so that it can be seen by any trick-or-treaters visiting your home on October 31st!
Happy crafting,
Sarah x

