CMC 2024 Day 09 ✂️ Fold-Out Flower Cards
It’s Day 09 of the 2024 Card Making Countdown!
Hello and welcome to Day 9 of the Card Making Countdown, where I’m showing you how to make 10 different types of card with your Cricut machine in 10 days.
Today we are making cards using fold out flowers. The petals are cut with a single line so that you can gently bend them outwards to make an effective 3D look.
Each flower has a tiny border of holographic card behind it which adds a beautiful shine.
I’ve included two pre-made templates for you as part of today’s download, as well as over 20 different flower designs for you to make your own card designs. But remember, they’re only available for free for 24 hours, starting at 9am EDT on 9th June 2024.
I hope you enjoy these fold-out flower cards, as well as the segment on how to make your own custom card designs in Cricut Design Space.
This Project was part of the Card Making Countdown 2024
Materials supply list
Here is a list of the materials that are required to make this project.
Please note that some of the links included in this article are affiliate links, which means that if you click through and make a purchase I may receive a commission (at no additional cost to you). You can read my full disclosure at the bottom of the page.
- Cricut machine
- Light blue Cricut cutting mat
- Cricut scoring wheel or scoring stylus (optional)
- Cardstock in a range of colours
- Holographic, glitter or metallic card
- Glue or double-side sticky tape (I like Bearly Art Glue and Collall brands of glue)
- Foam squares/pads
This project is suitable for the following types of Cricut machine: Explore Air 2, Explore Air 3, Maker, Maker 3, Joy Xtra and Joy.
Foundation learning
If you’re new to crafting with your Cricut, you may find the below links helpful.
They teach some of the skills mentioned throughout this tutorial.
- How to upload SVG files into Design Space
- How to score with a Cricut (even without scoring tools)
- Print then cut tutorial
- Design Space tools (Combine, Attach, Slice, Weld, Flatten, etc.)
- Pattern fill tutorial (for making backgrounds & cutting images to a specific shape/size)
- Free envelope SVGs that can be sized to fit any card
- How to write inside cards with Cricut pens
- How to cut layered designs at a small size
- Design Space tips & tricks
- Cricut pens tutorial
Video tutorial for fold-out flower cards cards
Watch the video below to see how to make fold-out flower cards with a Cricut machine.
The first part of the video shows how to use the pre-made card templates that are included as part of today’s project.
The second part of the video shows how to create your own floral cards using the single flower designs from today’s download.
If you prefer to read rather than watch, keep scrolling!
PART ONE: Fold-out flower cards using pre-made templates
Here’s how to make your very own flower cards with a Cricut machine, using the two templates from today’s Countdown project.
Scroll further down this page for how to design your own fold-out flower cards.
Step 1) Download the file(s) & upload to Design Space
Download the files using the box below.
Purchase the File(s)
This cut file is available as part of the Instant Access Bundle.
Or, purchase this design individually here
Before you upload the files to Design Space, you need to unzip the download folder that they come in.
- How to unzip a folder on Windows computer
- How to unzip a folder on a Mac
- How to unzip a folder on an iPad/iPhone
- How to unzip a folder on an Android device
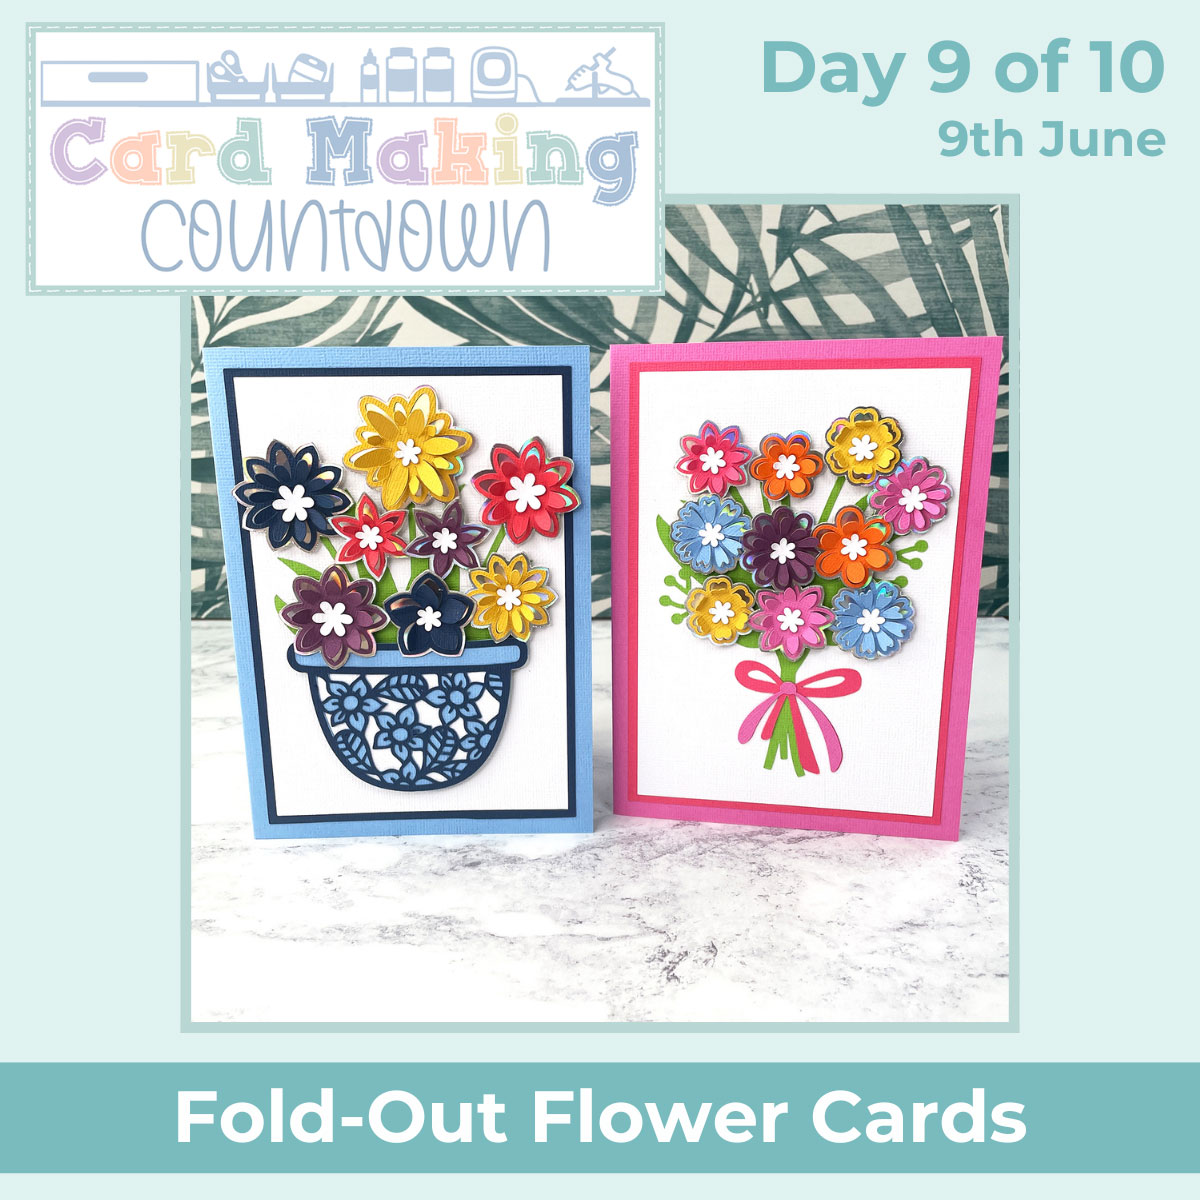
The download folder contains seven two pre-made card templates: a flower vase and a bouquet.
Choose your preferred template and upload the SVG file into Cricut Design Space.
TIP: Make sure you upload the files which start svg- in the filename. Not sure how? Here’s how to upload SVG files into Cricut Design Space.
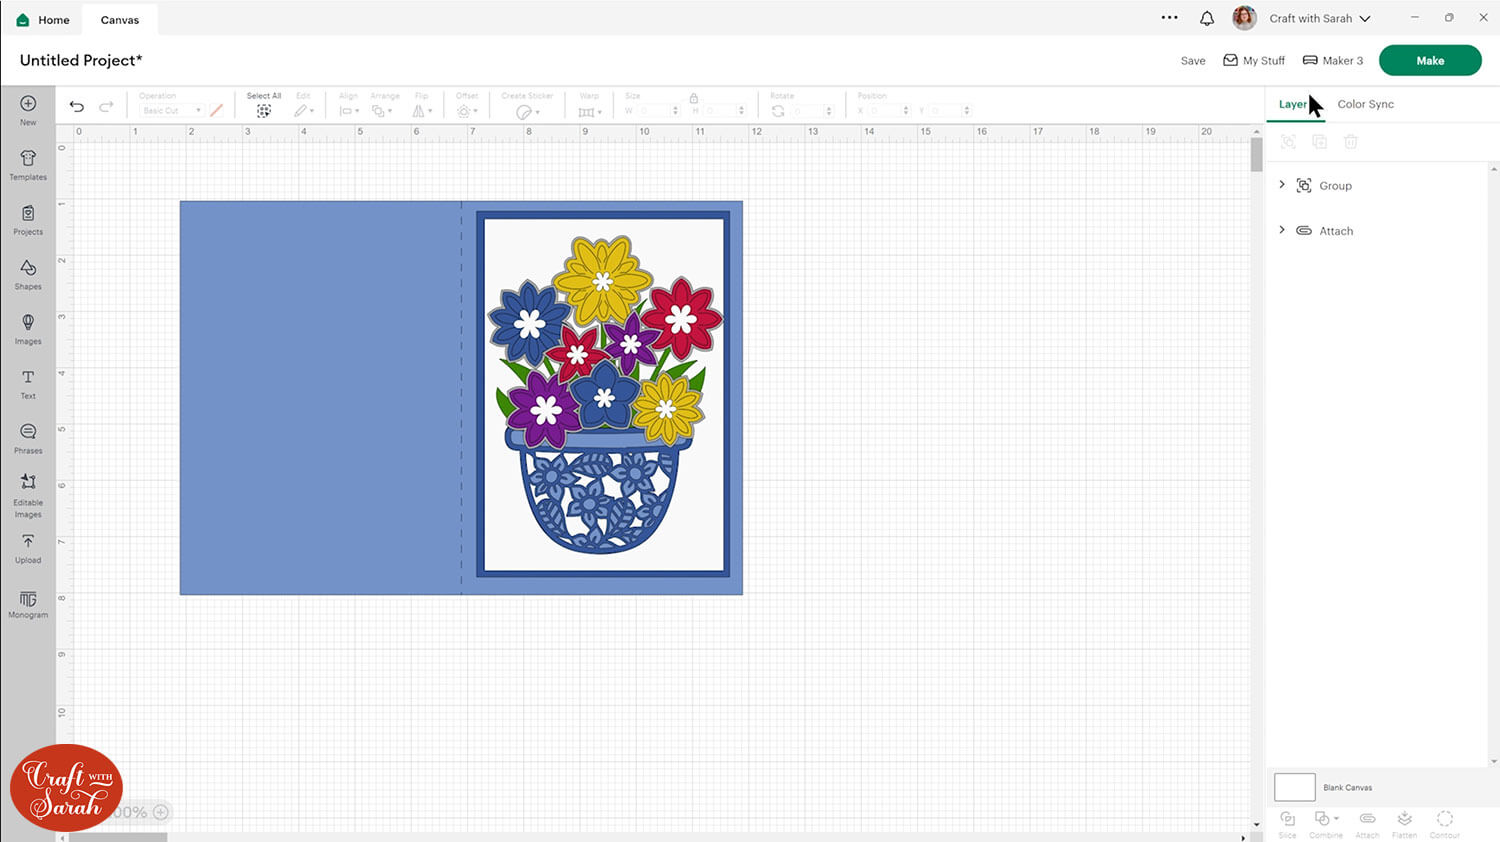
I’m using the vase card for this tutorial, but the steps are the same for both of them.

Step 2) Add a score line (optional)
For these two pre-made designs, there is very little that you actually need to do in Cricut Design Space, yay!
The only thing we’re going to do is to add a score line down the middle of the card. You can leave this out if you prefer to do it manually.
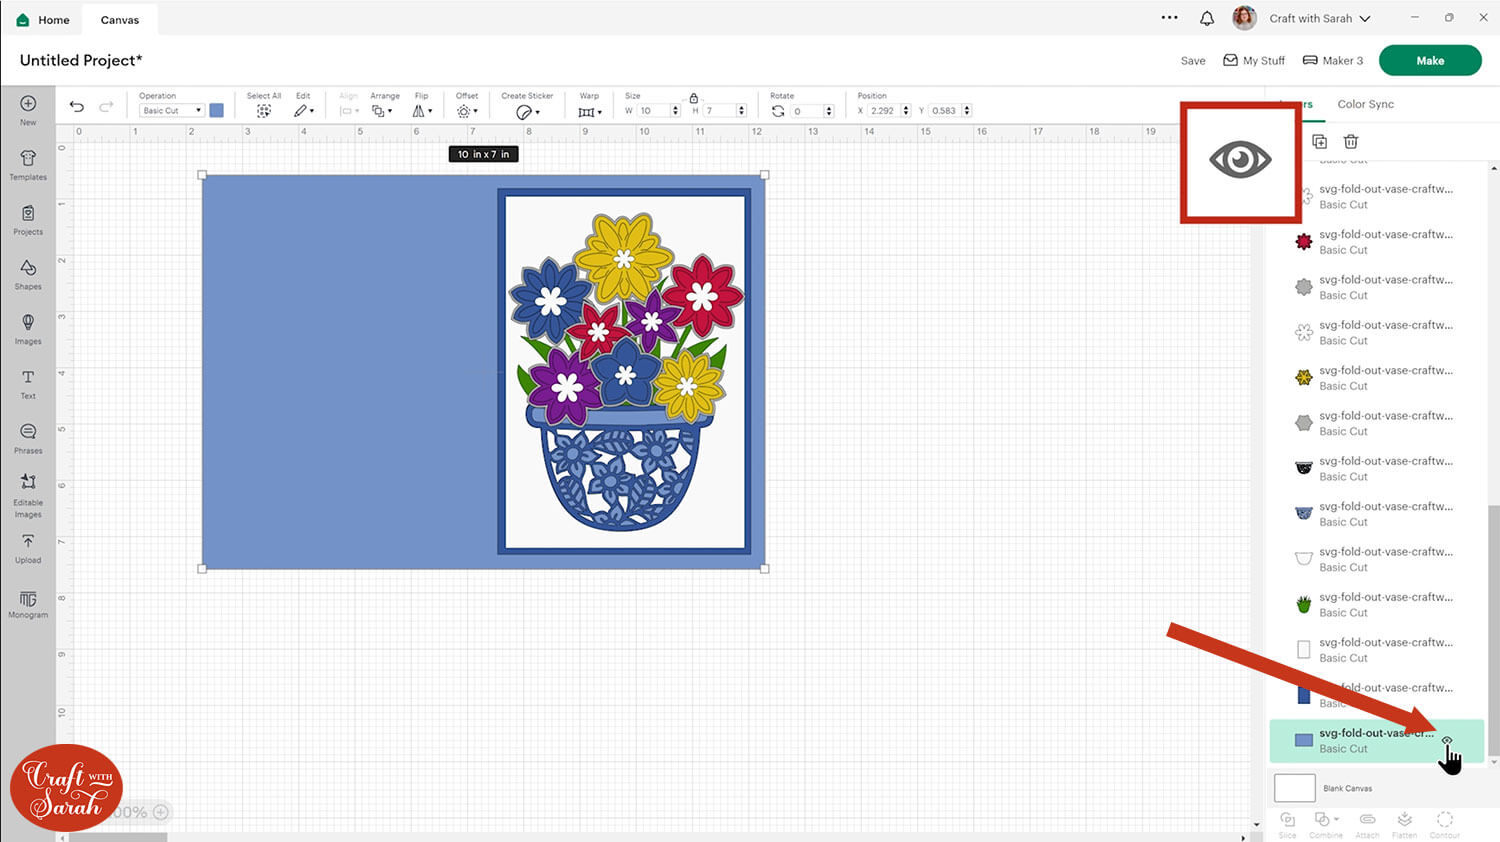
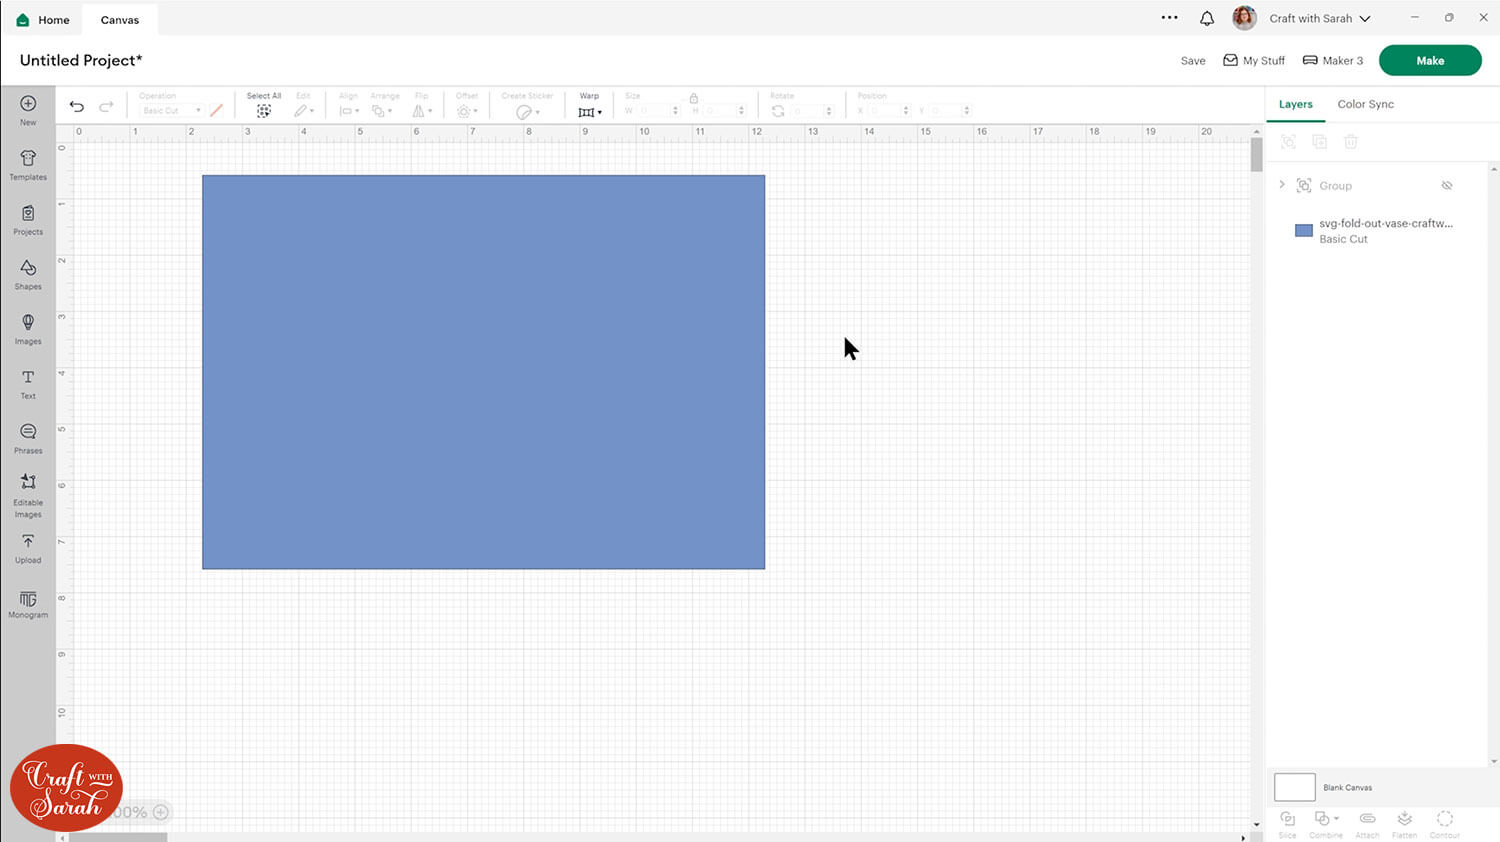
Click the design and press “Ungroup” to separate out all the layers.
Scroll down to the very bottom and click the bottom layer which is the base card. Press the eye icon that appears in the layers panel when you hover over it to hide it.
Drag a box around everything else and regroup it.

Hide the new group, then turn the base card layer back on.
That’s just a nice quick and easy way to make sure that we can only see the base card now.
Go into “Shapes” and choose a score line. Set it to the height of the card, which is 7 inches.
Select the score line and then base card and then press “Align > Center” to put it in the middle.

We need to tell the Cricut to do the score line on this base card, so with those layers still selected, click “Attach”.
Attach moves it to the top of the layers. To put it back down to the bottom again, press “Arrange > Send to Back”.
Now we can turn on the rest of the card so that it’s ready to cut.
Step 3) Cut the project
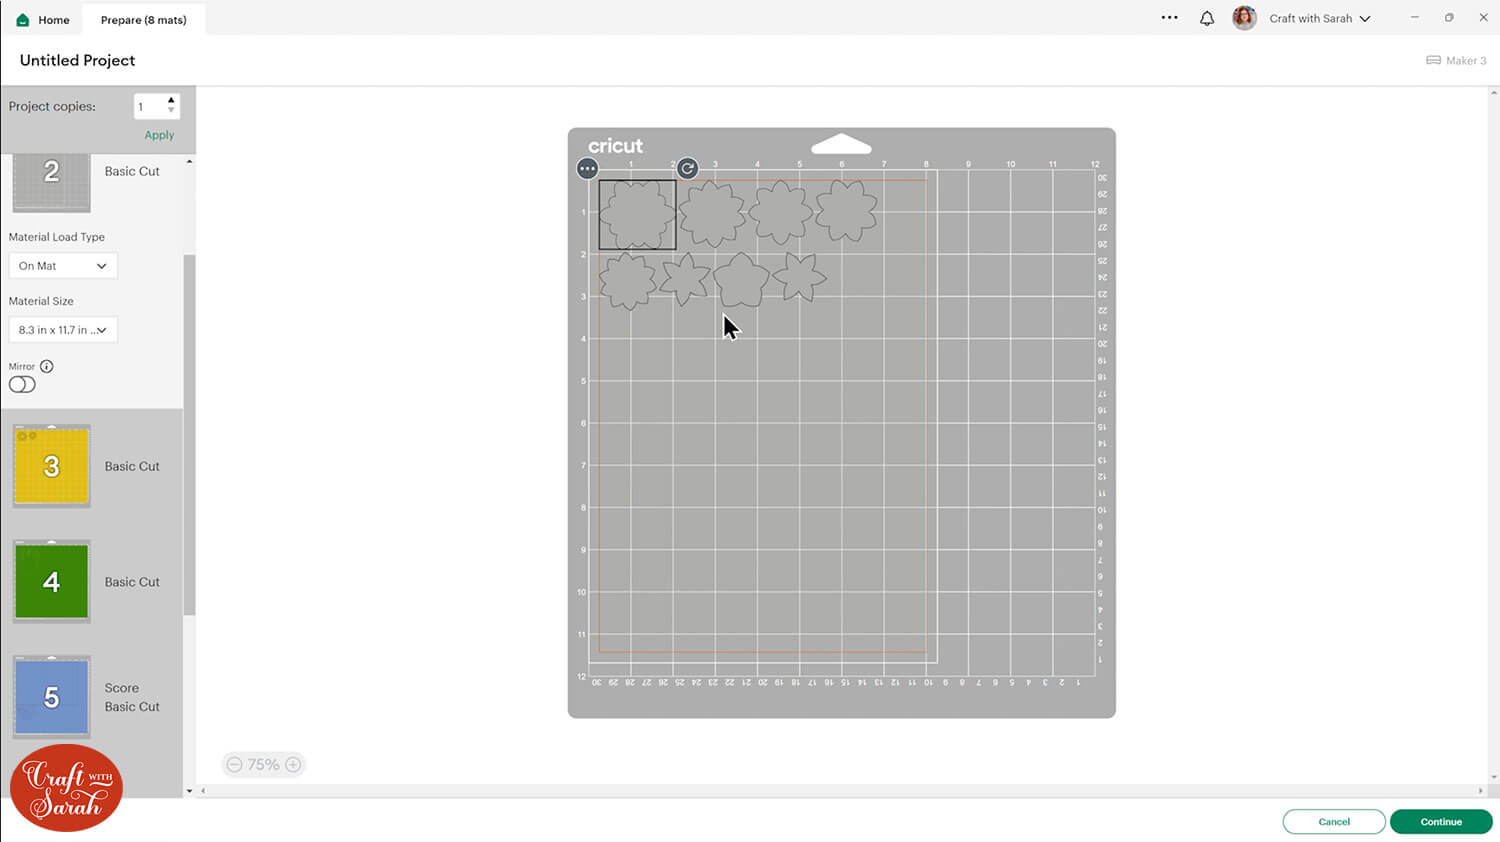
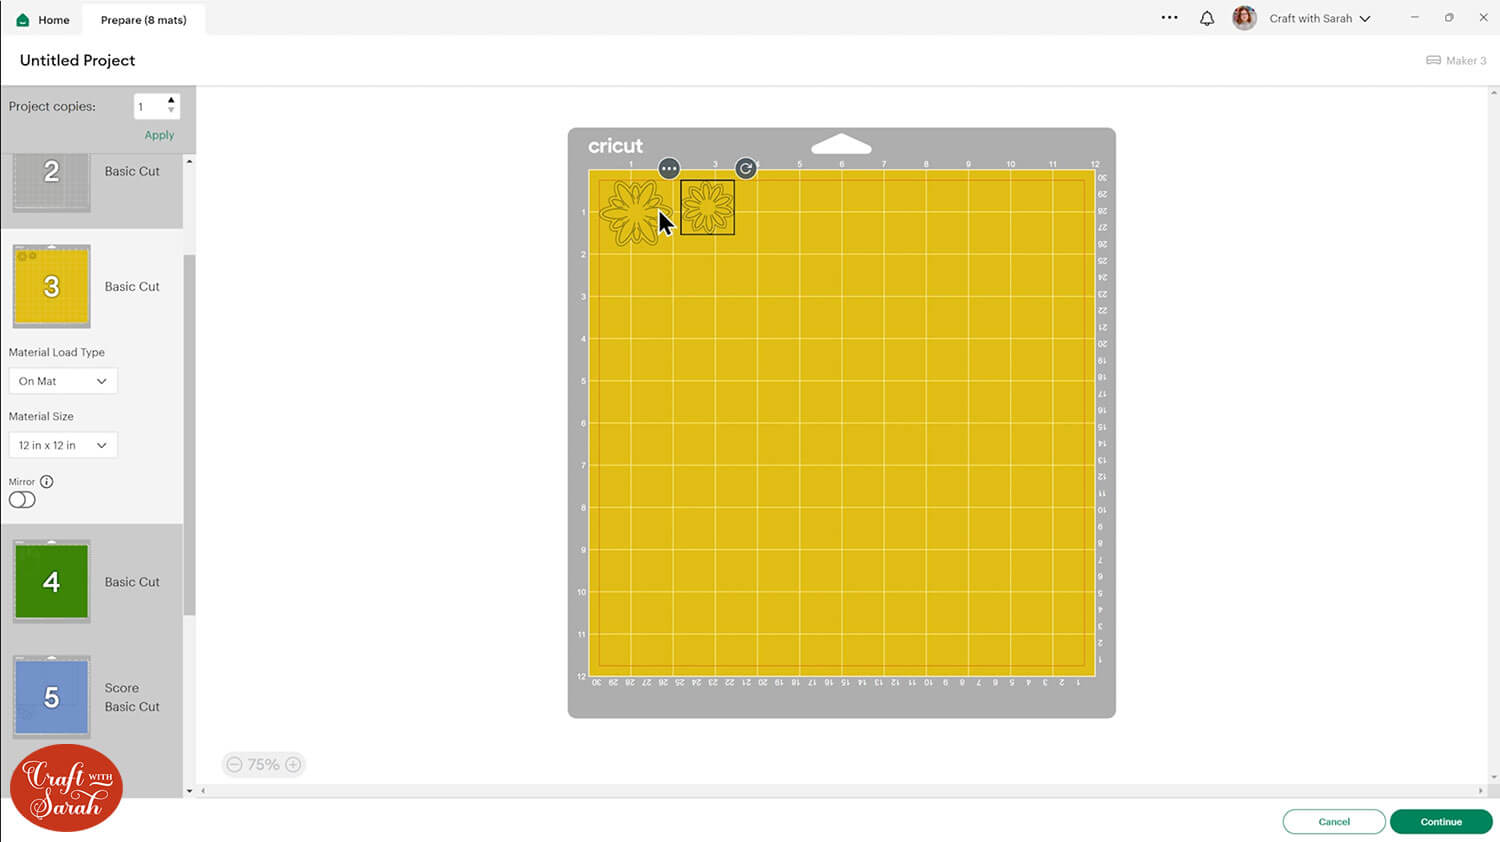
Click Make!
The pieces that show in grey are the ones that are intended to be cut from either holographic, glitter or metallic card.
Choose something that’s really going to stand out underneath all of the flowers and give it a bit of sparkle.
This is a great card for using up card scraps leftover from other projects, as it only needs a small amount of most of the colours.
Go ahead get everything cut out and then we’ll see how to stick it all together.
Step 4) Stick the fold-out flower card together
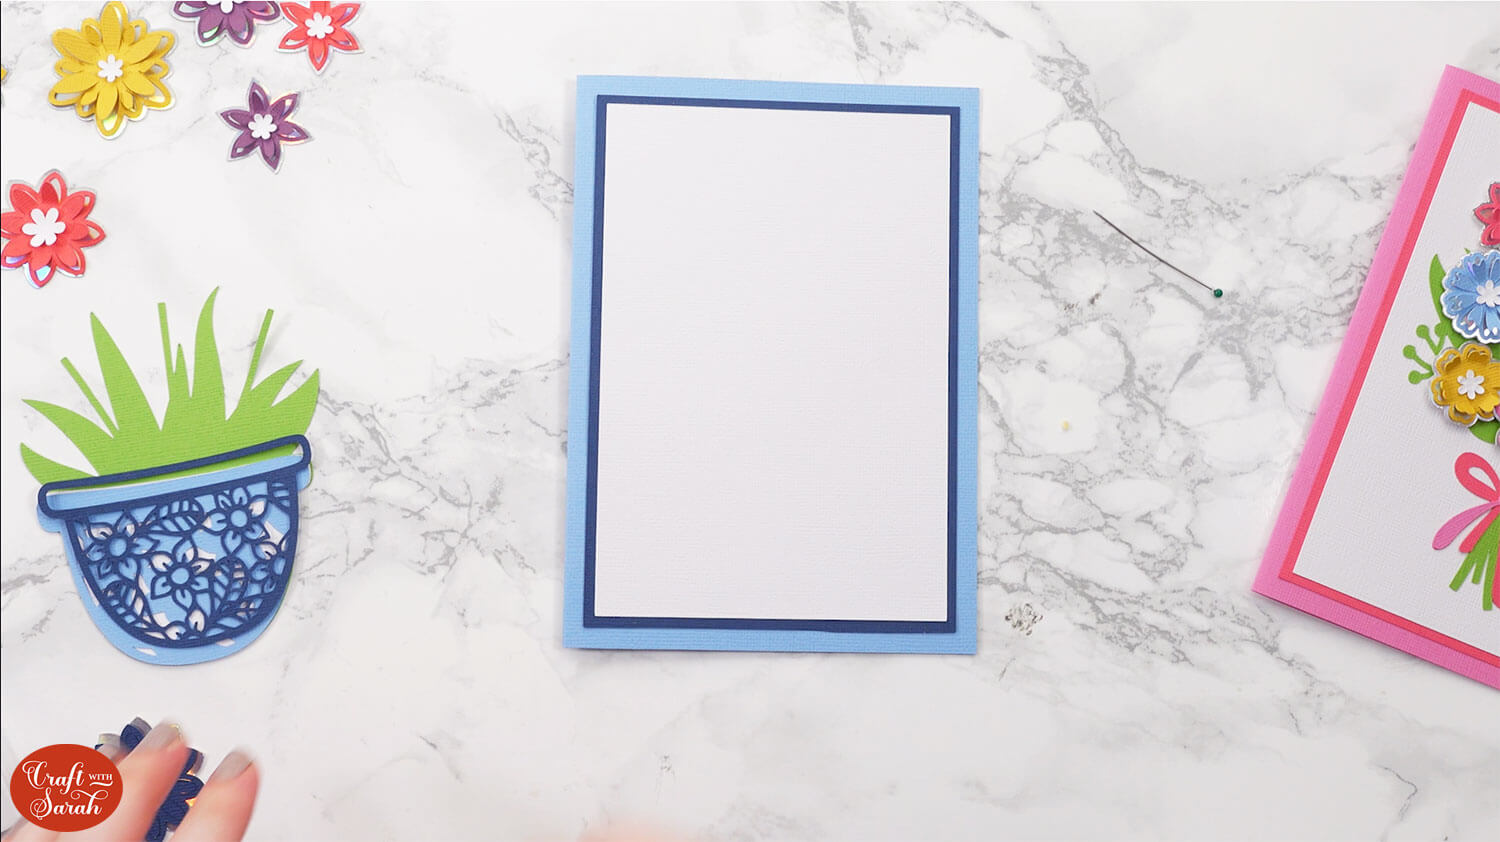
Start by gluing the two rectangles onto the base card, and folding the base card in half down the score line.
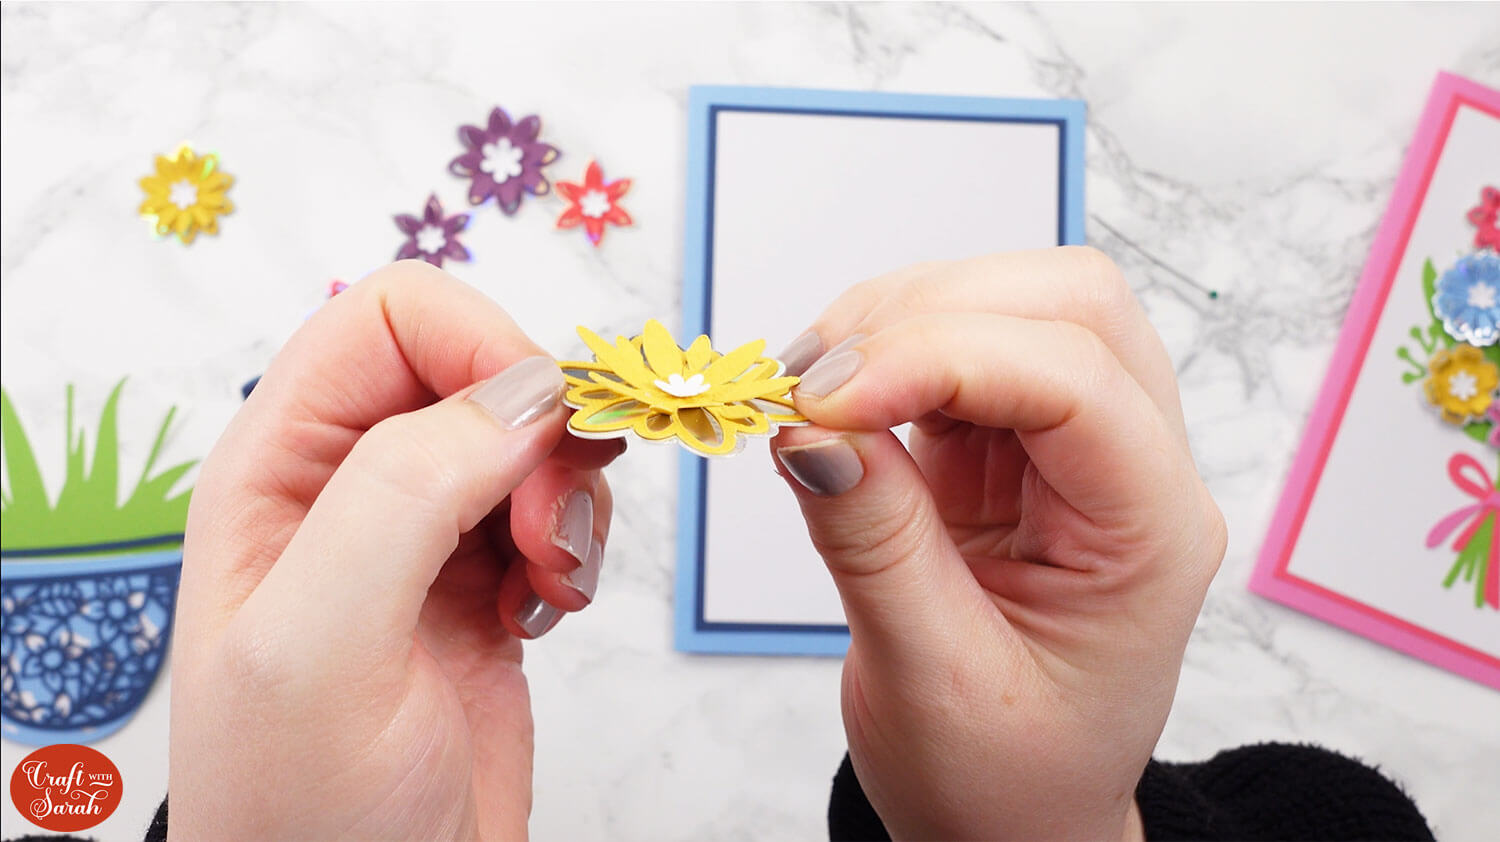
Next, prepare the flowers.
Take the flower shapes with all the little petal cutouts in and go down each petal and gently fold it upwards towards you.
Turn it upside down so that you can see where to glue. Don’t add glue to anything that you have bent upwards, just in the middle and a little bit on the edges.
Glue each flower to its corresponding base piece.
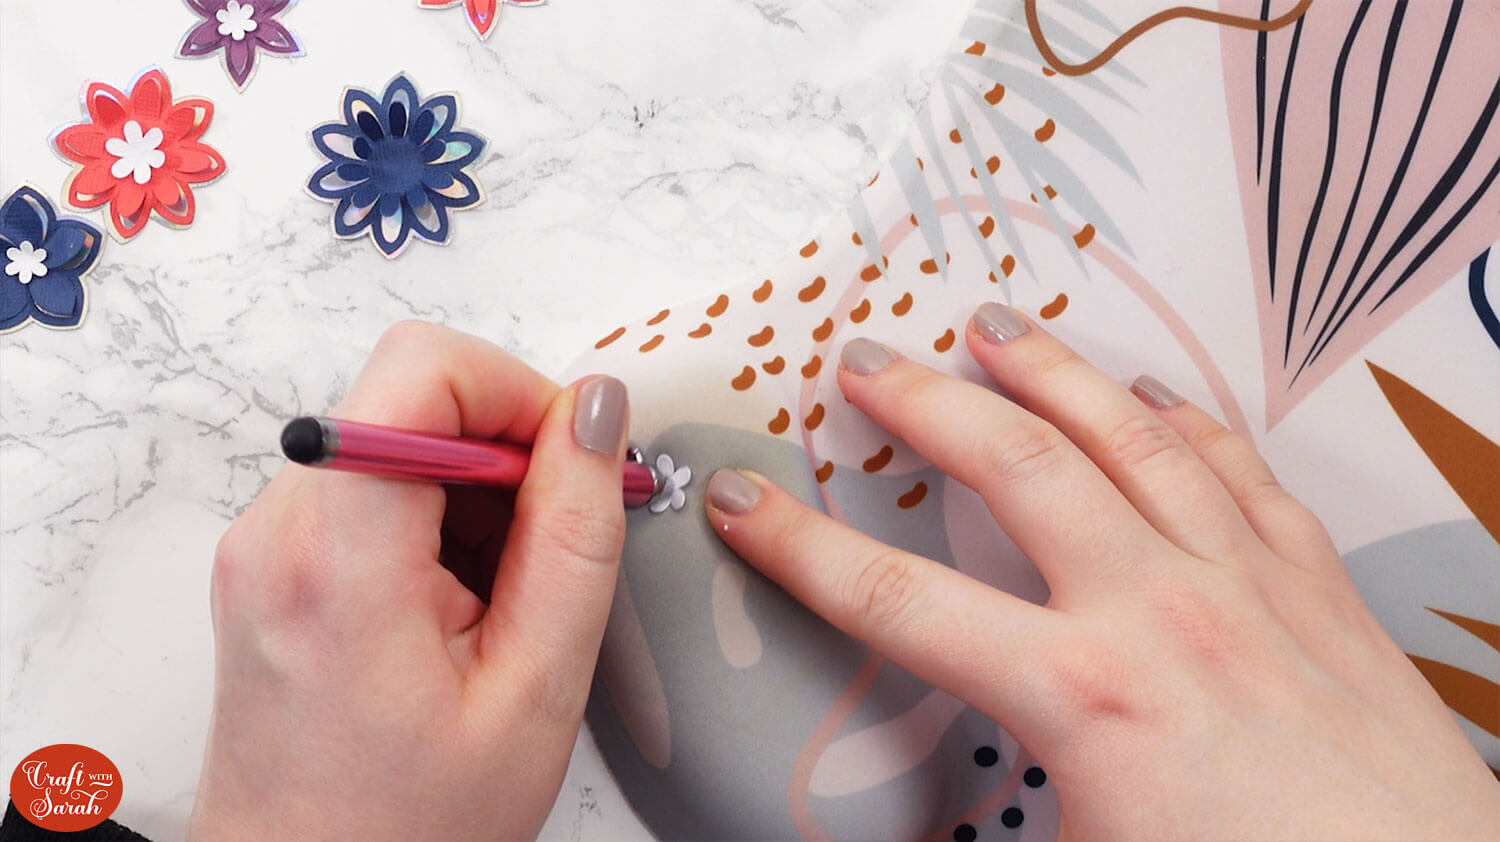
Take the small white piece and place it on something soft (I used the wrist support from my mouse mat) so that you can shape it.
Use a ball tool or anything with a rounded edge to gently push and roll which will shape the flower and bend the petals up.
Stick a white flower into the middle of each coloured flower. Check Design Space to see which ones should have a larger middle than others.
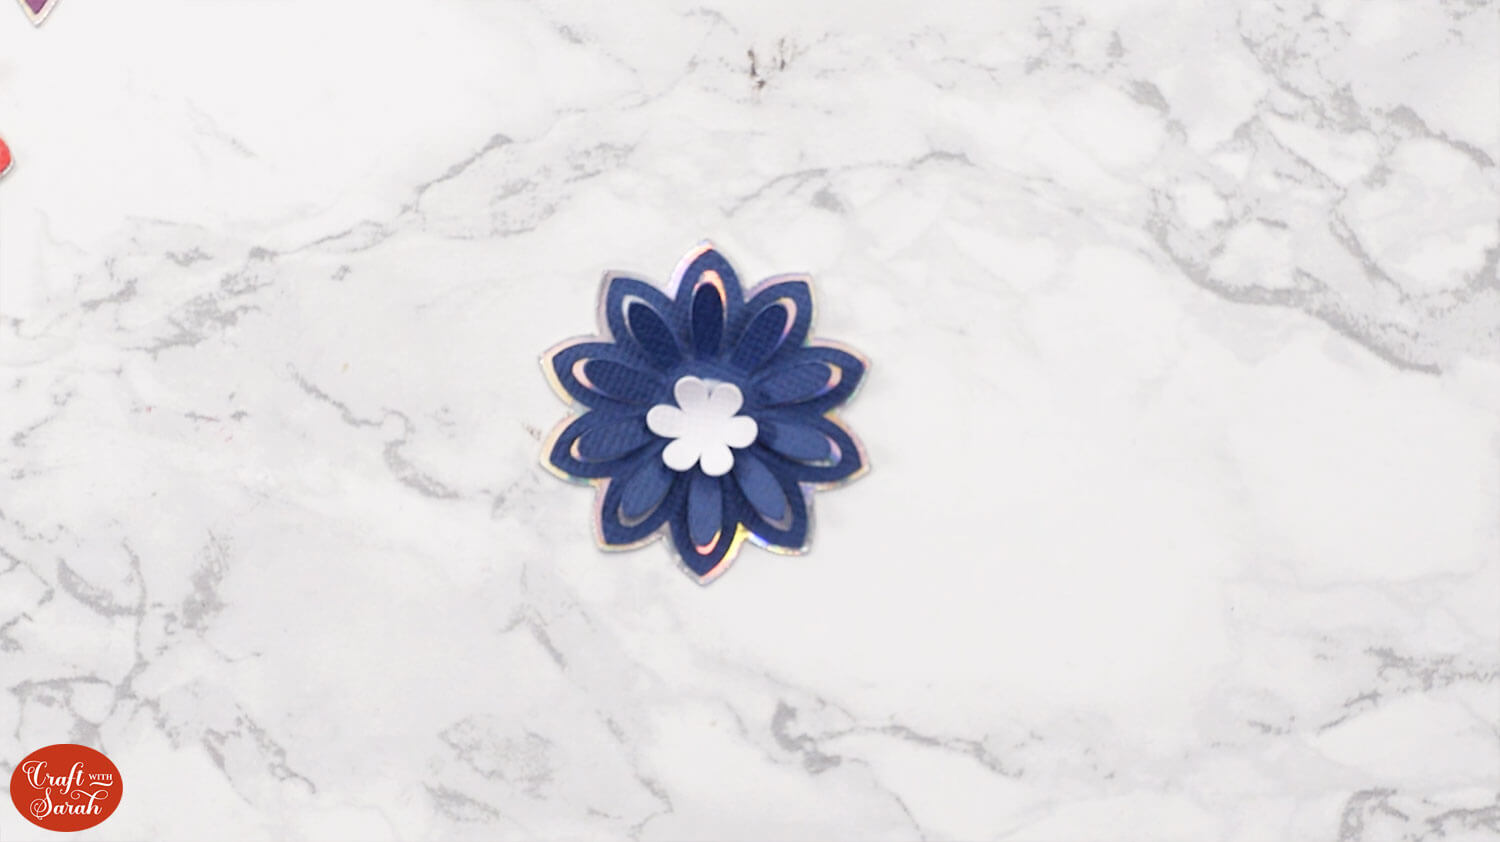
Do this for all of the flowers.
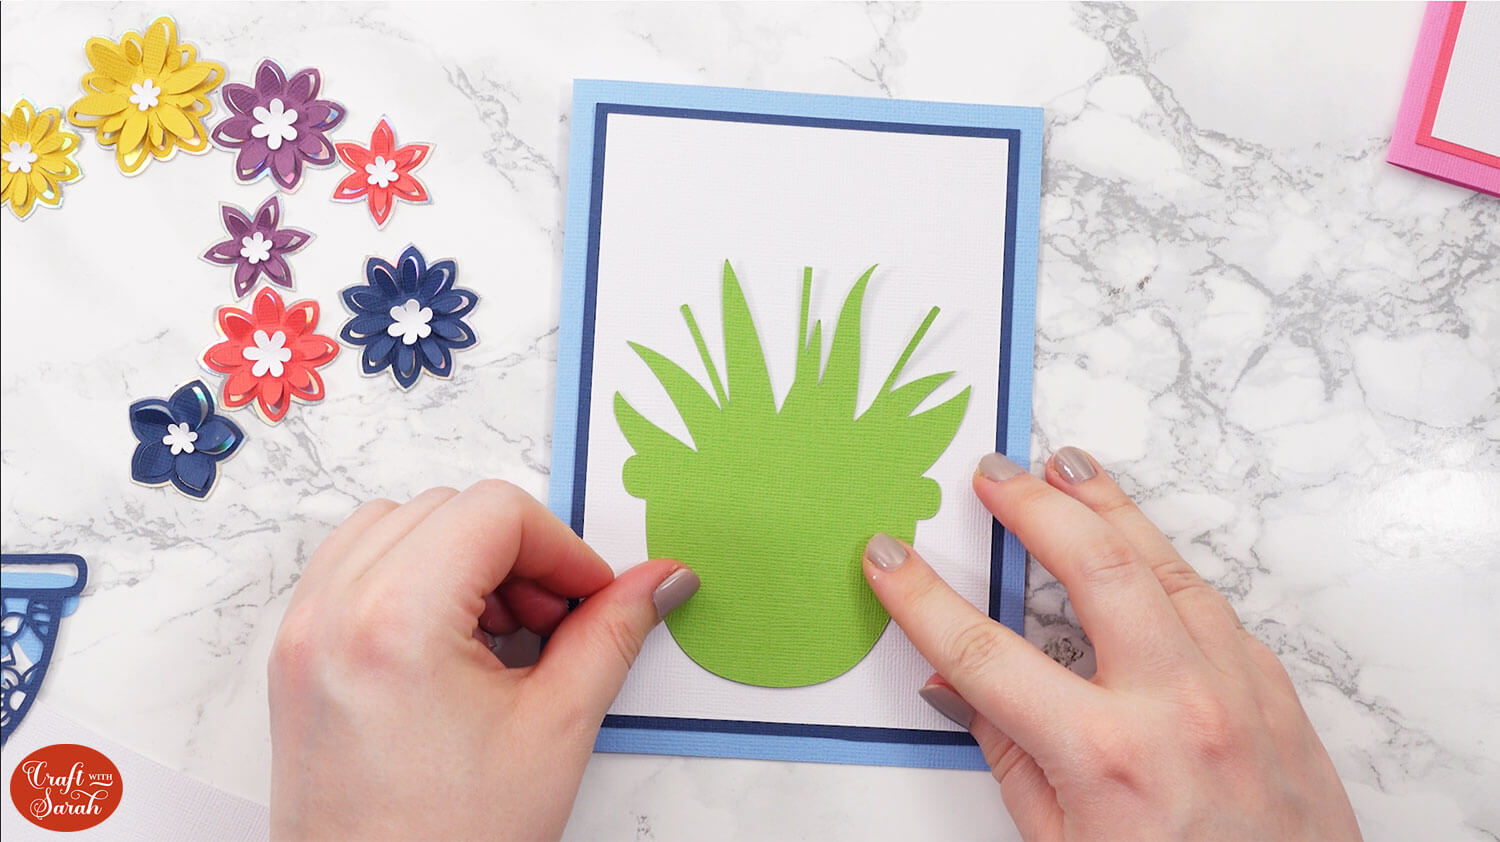
Once you have finished sticking all the flowers, take the green cutout and glue it onto the card.
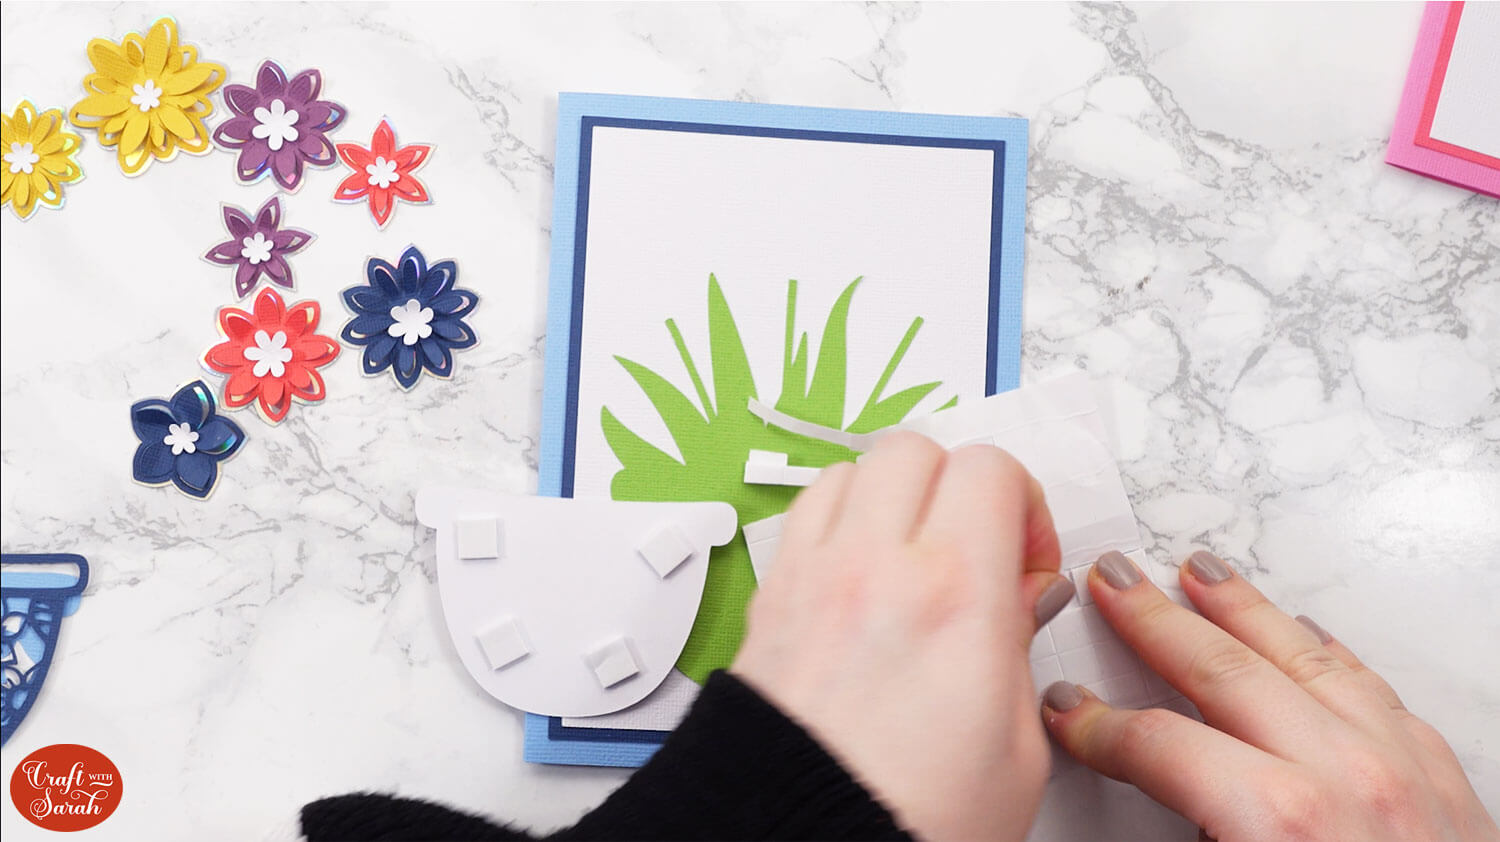
Use foam squares for the solid white layer of the vase.
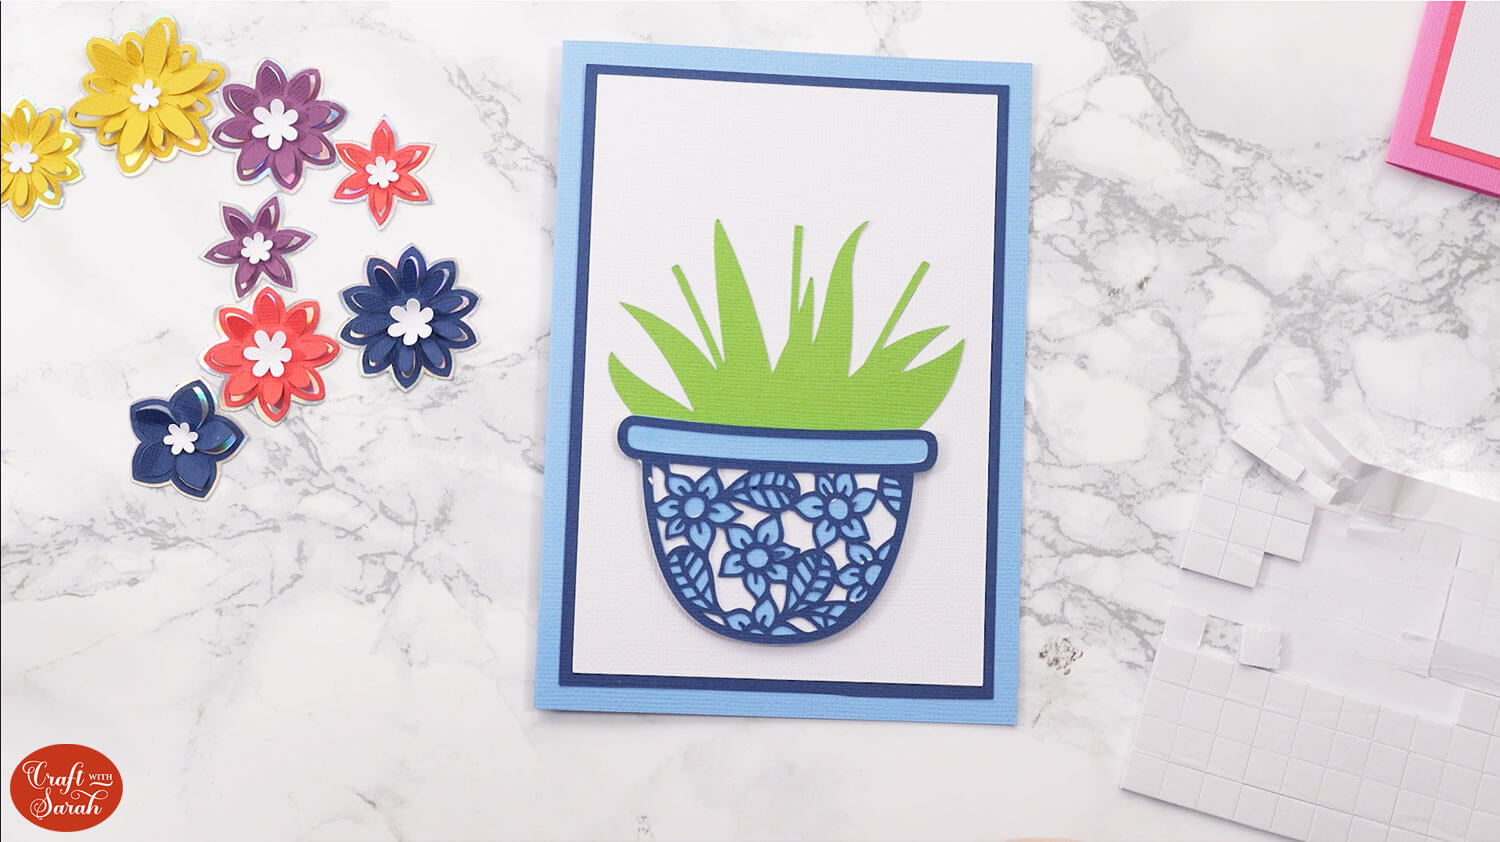
Glue the two detail layers for the vase on top. Start with the lighter blue piece and glue the detailed dark blue piece on top.
Position the flowers on top of the green card. You can use the design in Cricut Design Space as a guide or play around and position them where you wish.
Don’t start sticking them until you have placed them all on, to make sure you are happy with how they look together and that you can fit them all on.
I used foam squares to give the flowers an extra pop.

If you need to, you can take the ball tool again to re-shape the middle of the flowers.
TIP: The flower petals will fold flat if placed in an envelope. You can keep them facing outwards by using one of these free presentation boxes instead.
PART TWO: How to design custom flower card designs
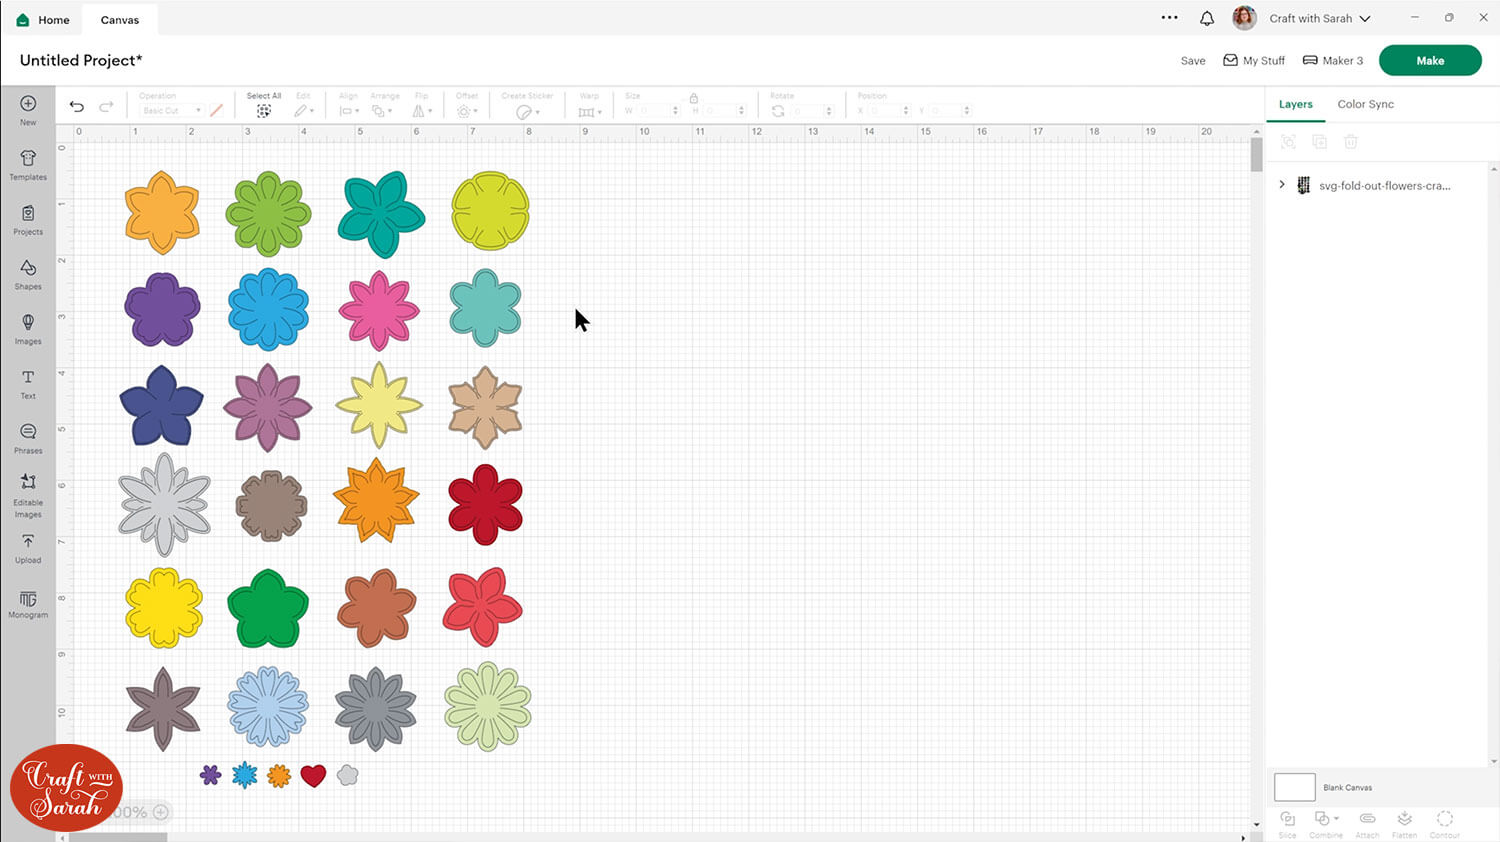
This next section is on how to design your own custom fold-out flower in Cricut Design Space, using the individual flowers from today’s download.
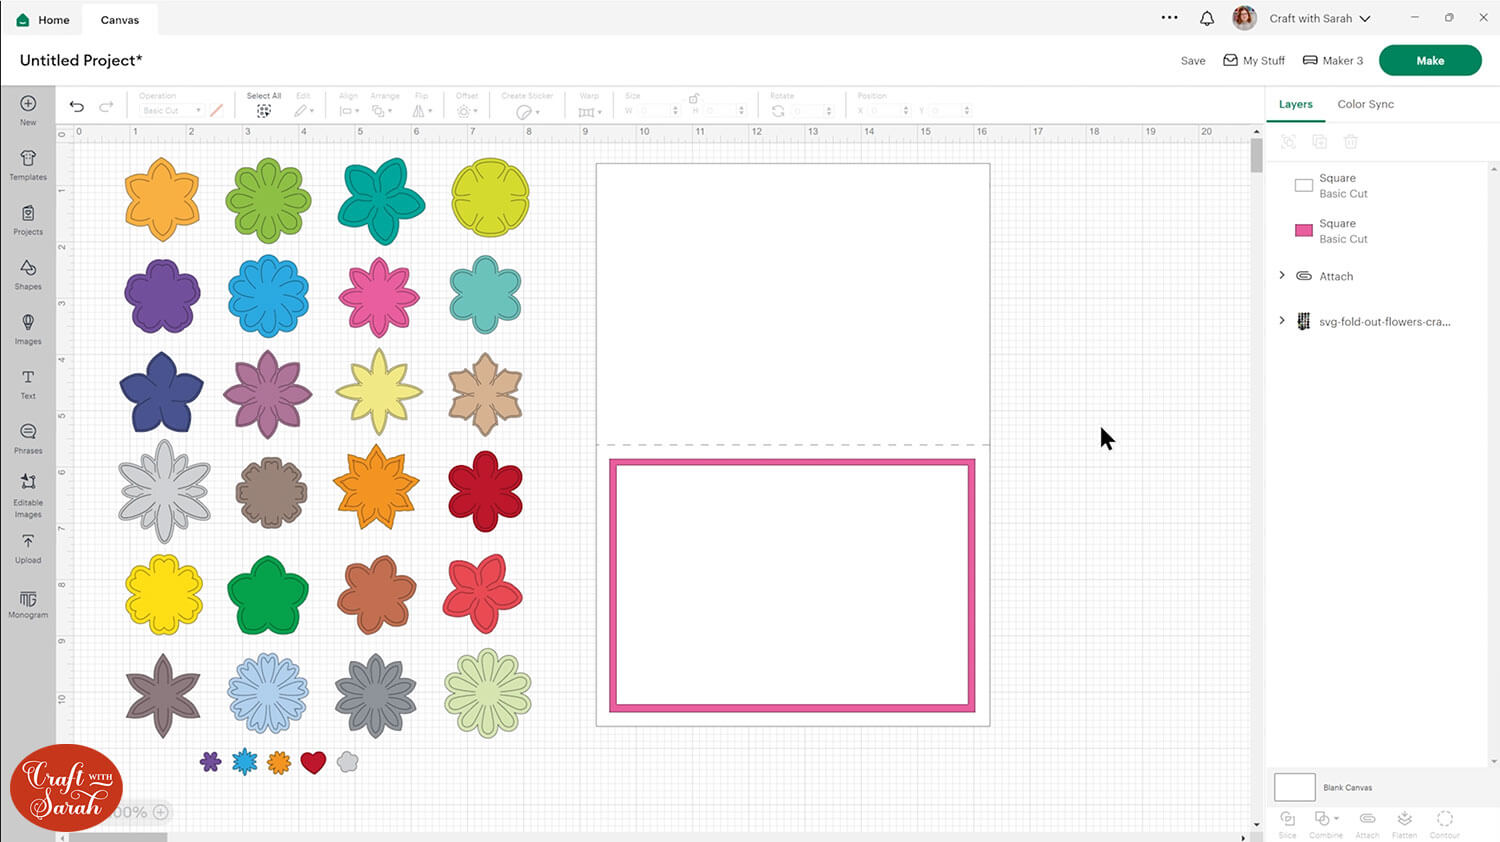
Upload the flowers and add them to your Canvas.
Step 1) Create the base card
For 5×7 inch cards you can re-use the base card and score line from one of the pre-made cards.
Or, make a new one if you’d prefer the card to be in a different size.
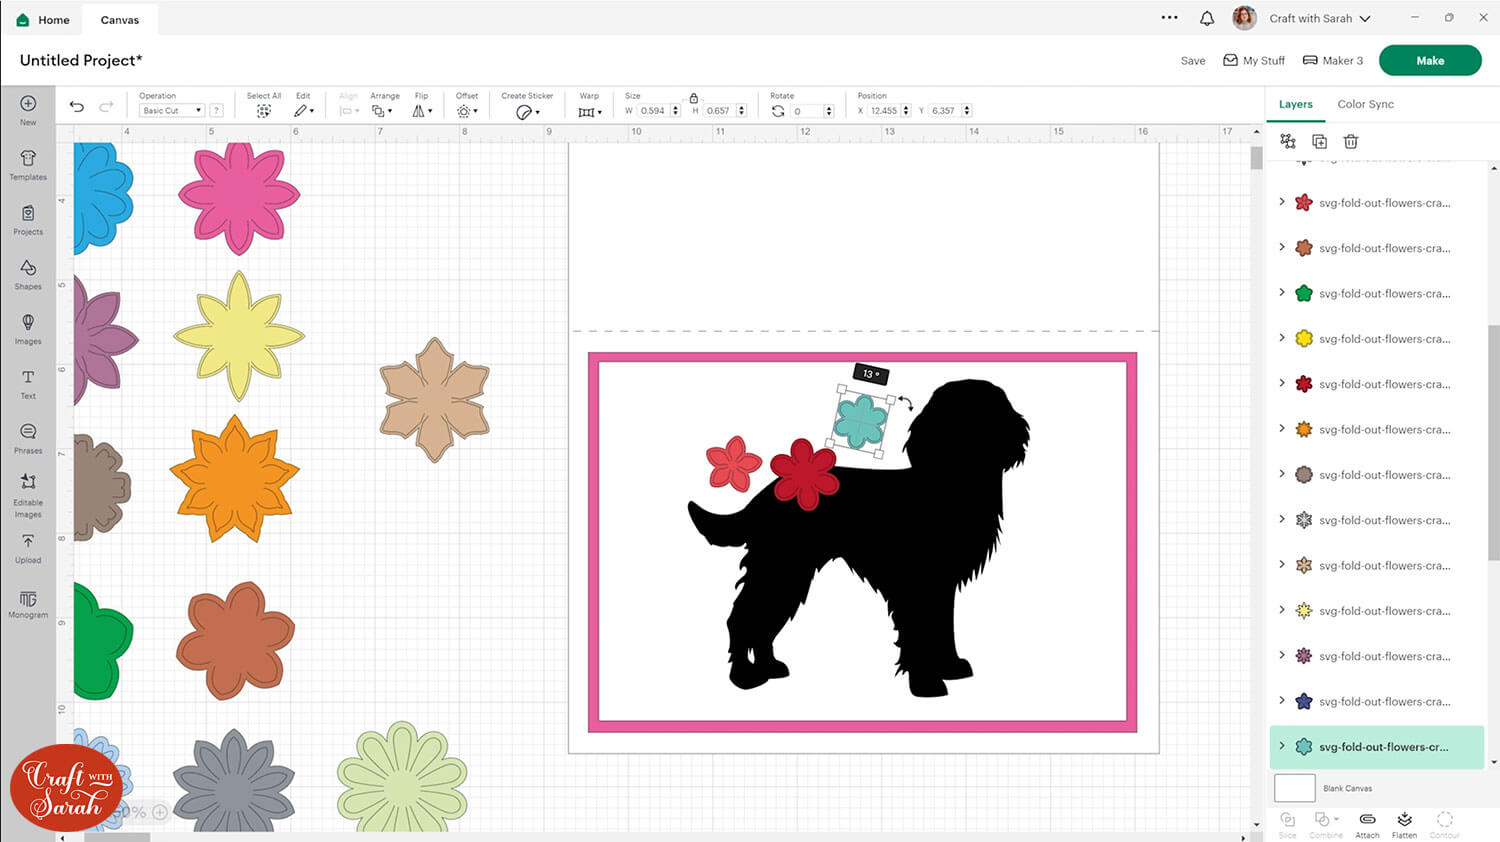
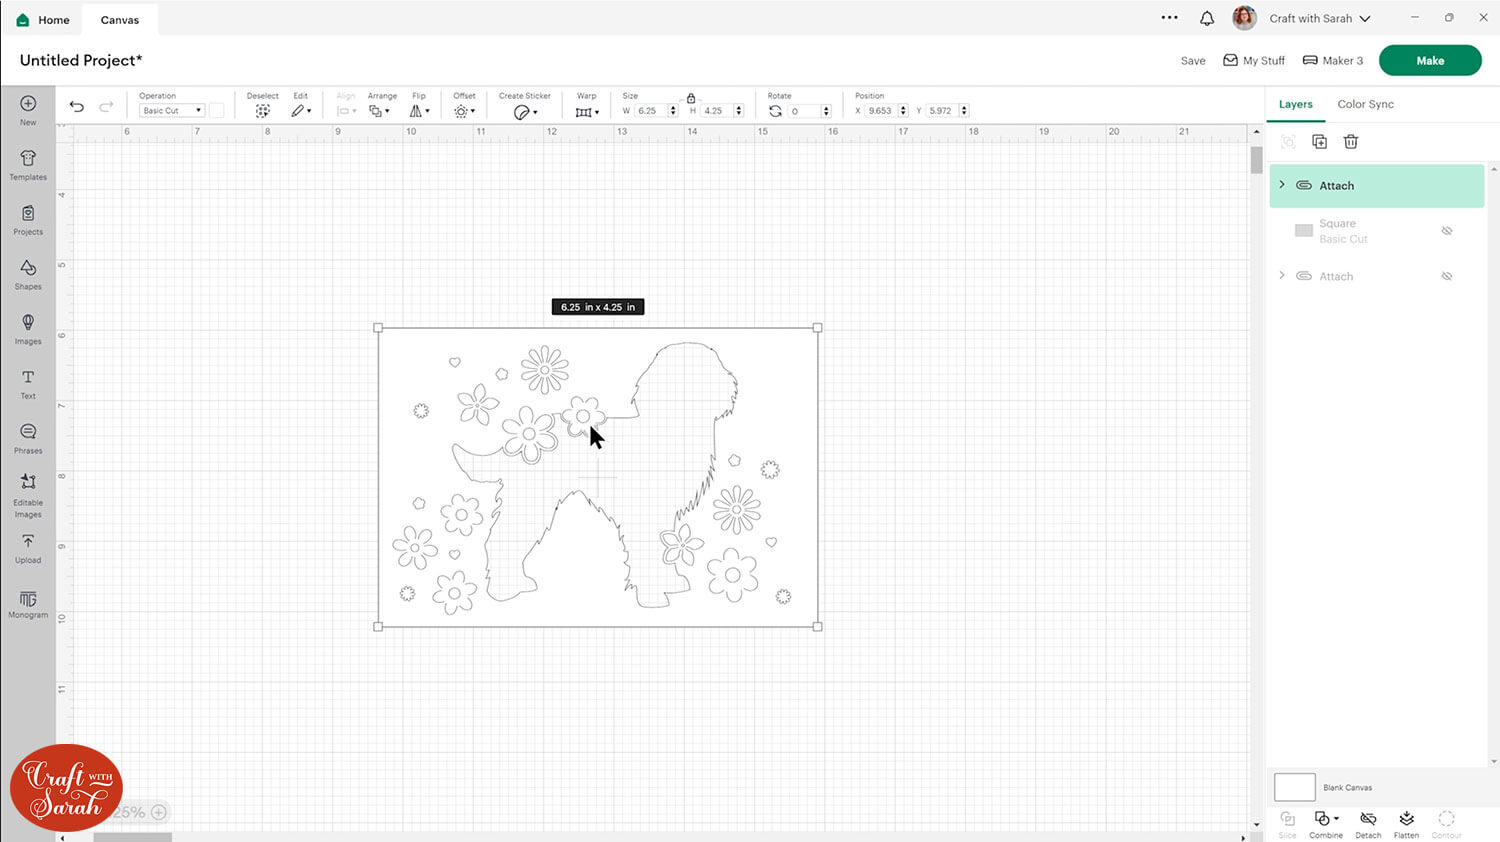
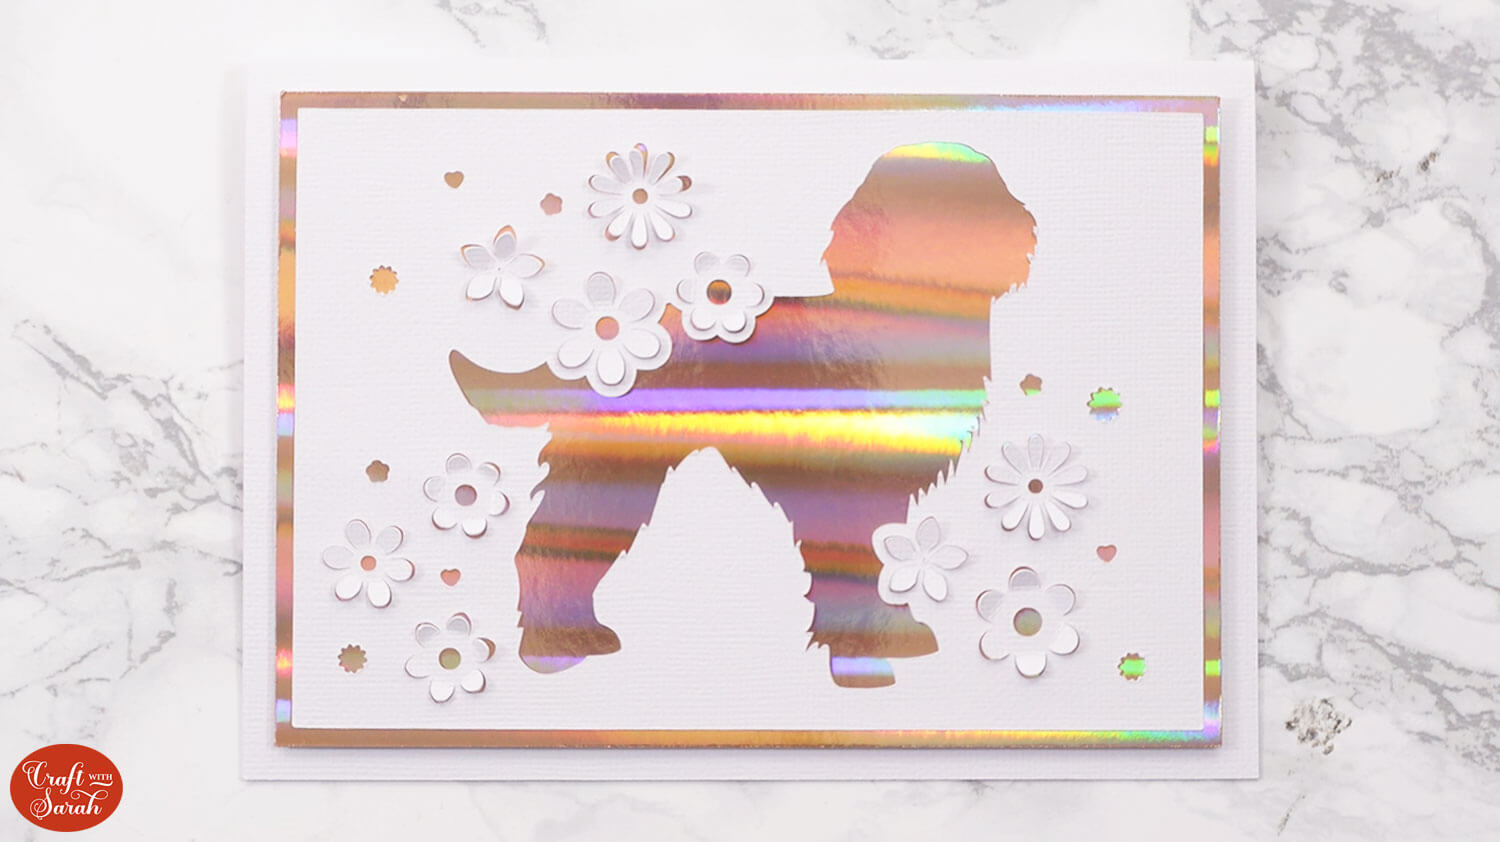
Step 2) Choose a silhouette image
Find a silhouette to combine with the flowers. I searched Cricut Access for “spaniel”.
NOTE: There are over 150 different dog breeds on my Cricut Access profile.
I chose the Springer Spaniel silhouette. The image ID for Cricut Access is #M505996BC.
Size your image so it fits nicely on the your card.

Step 3) Add the flowers
Click the flowers and go Arrange > Bring to Front. Ungroup them to separate them out into the individual flowers.
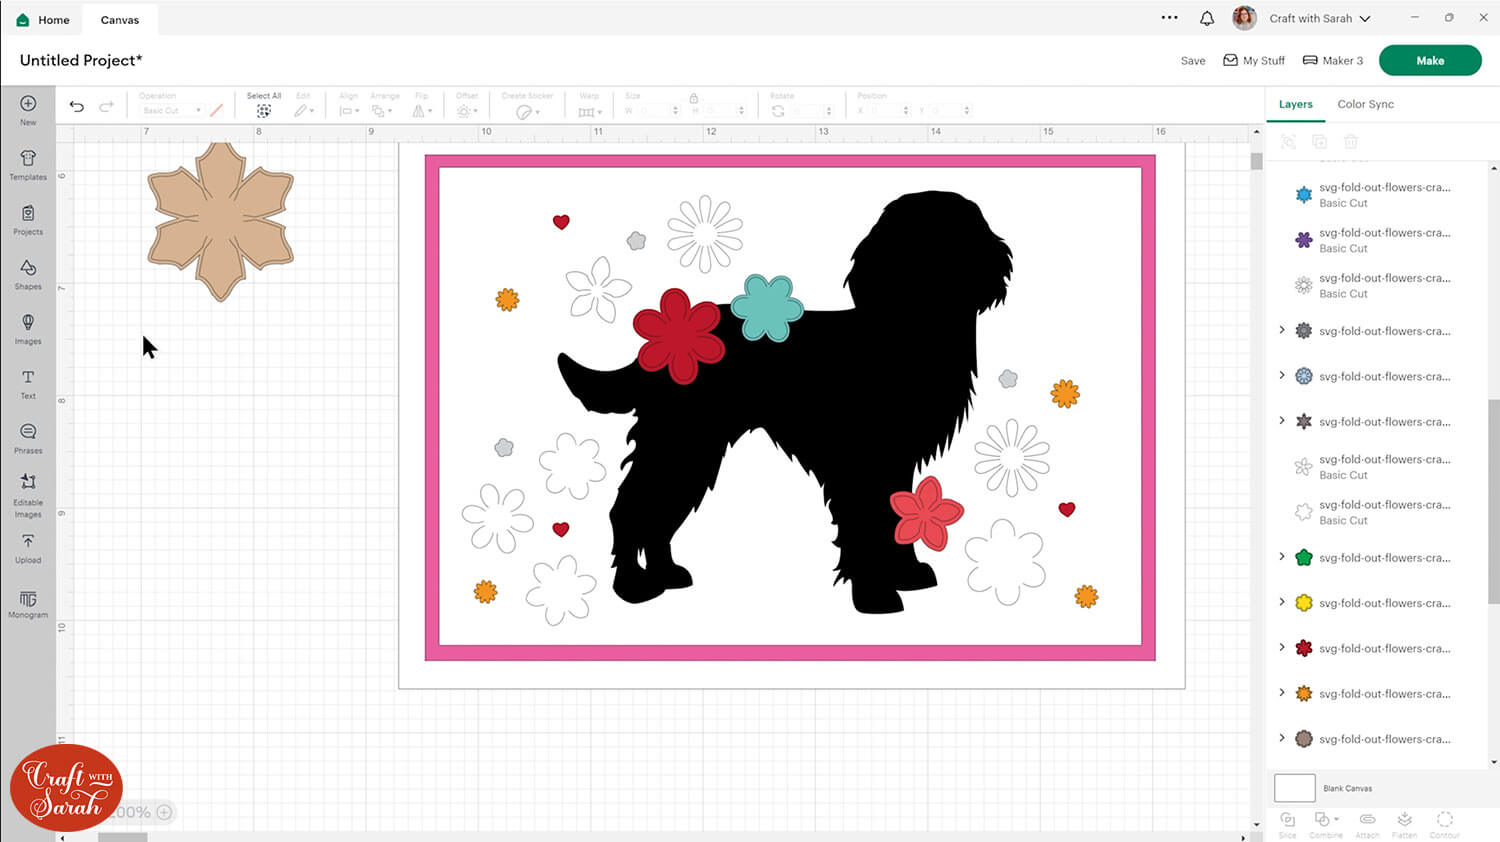
I kept the backing colour on the flowers at this point to help me with spacing, but this will be removed later.
As you place the flowers on your design, make sure you don’t put the flowers too close to one another or the Cricut might struggle to cut them properly.
It’s ok to put the flowers into the silhouette image so that they overlap. In fact, it looks nicer if you do put a few flowers into the silhouette!
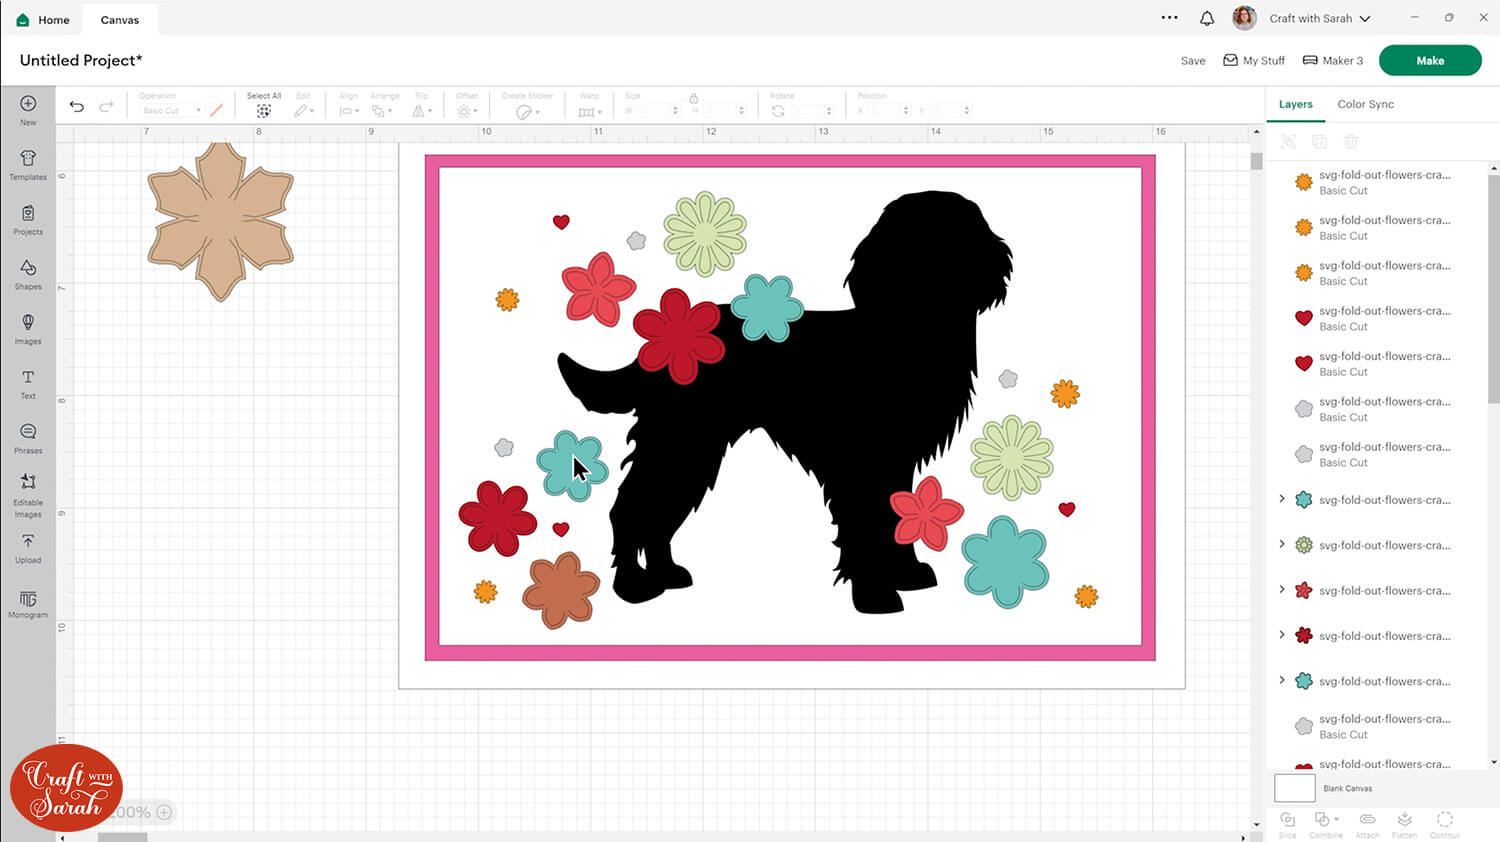
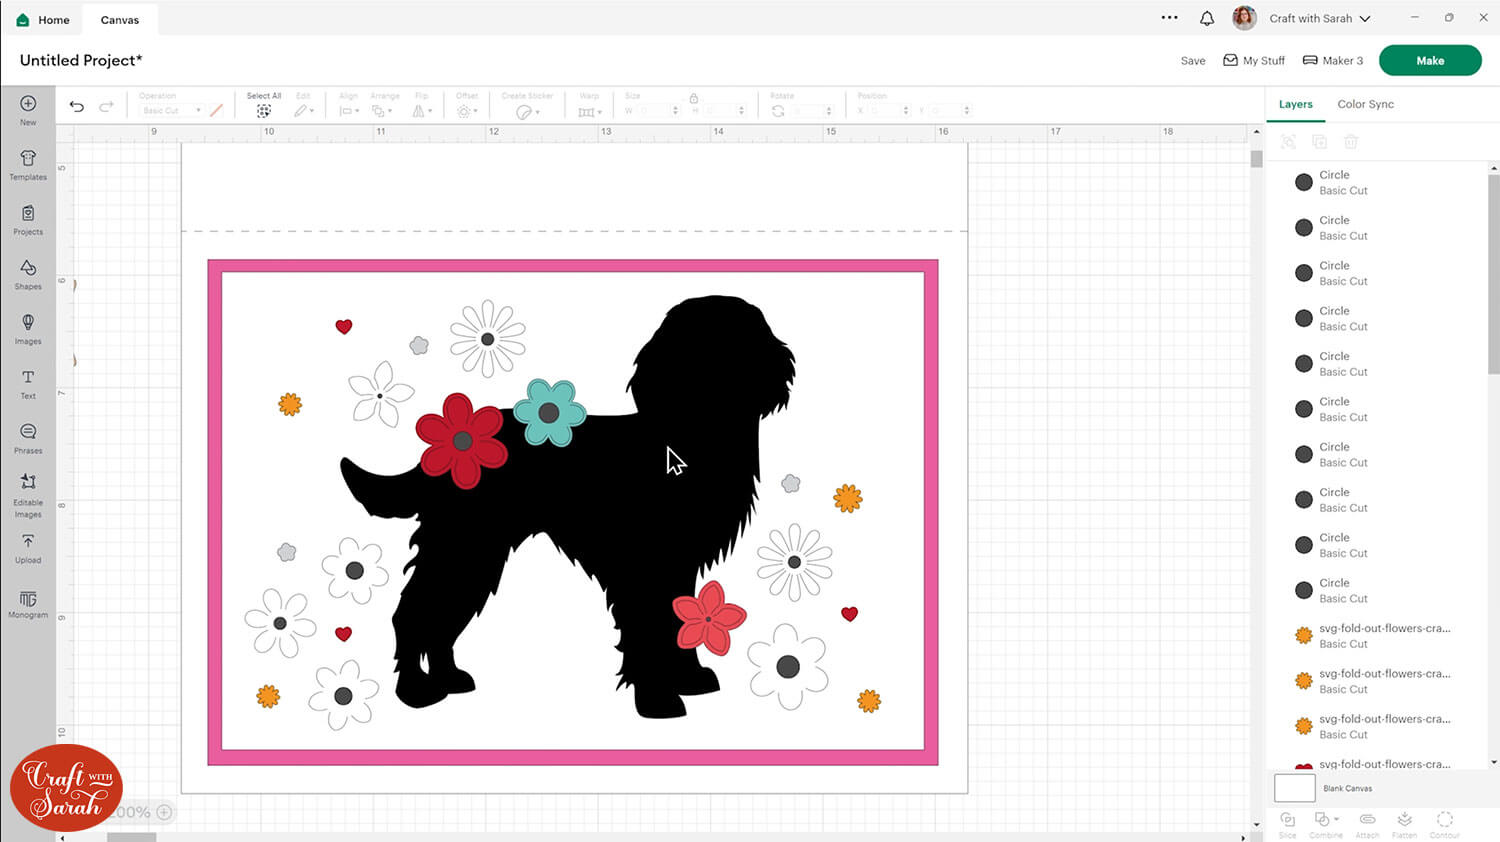
I duplicated some of the flowers and added more around the design. Here’s what it looked like at this point:
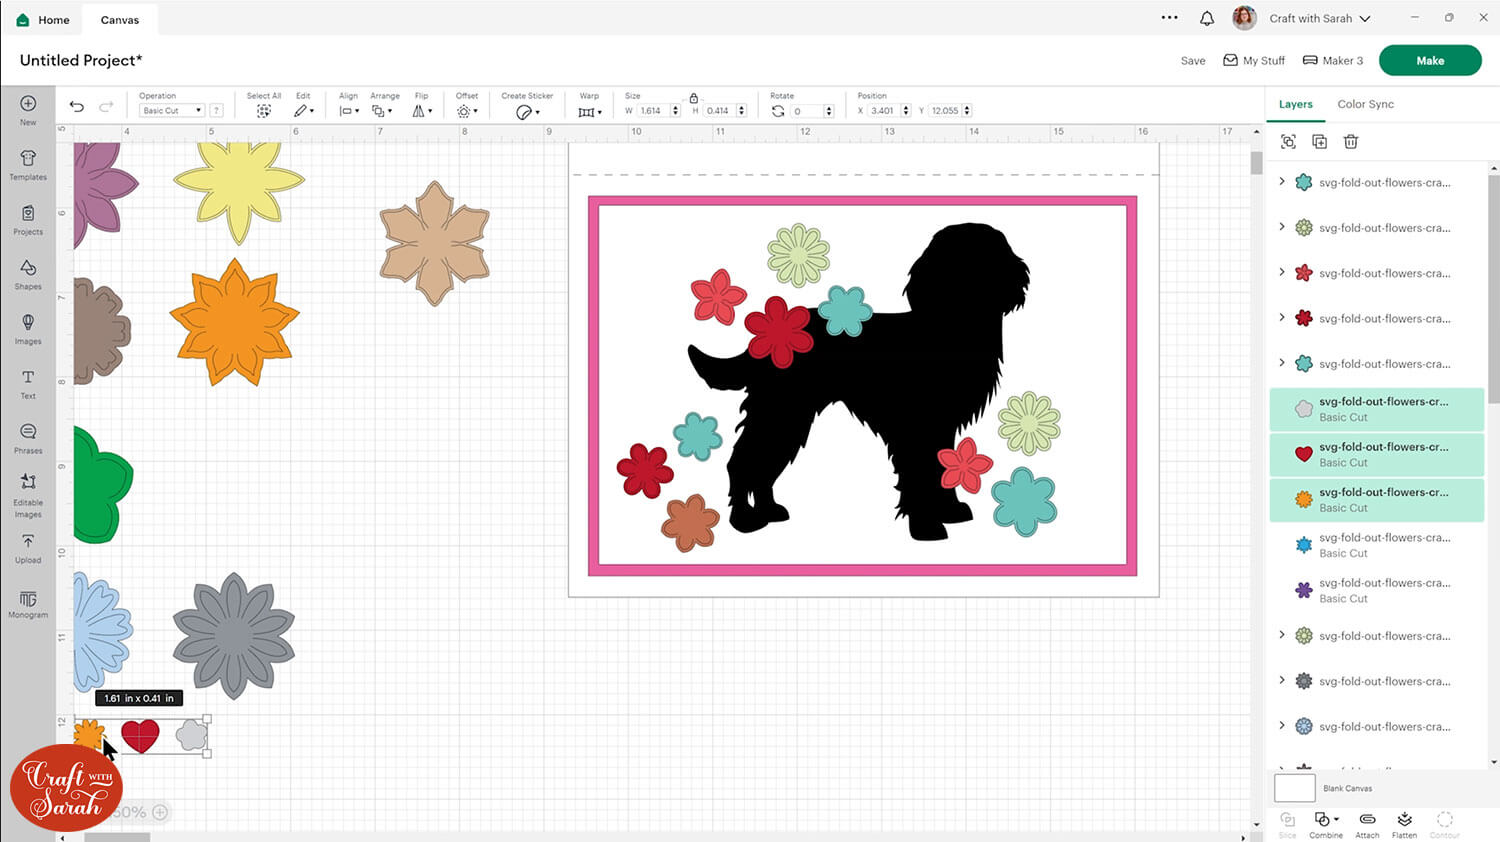
I also added a few of the little images included in the flower download. These can be made small as they are just cutouts.
Step 4) Join everything together
Once you’re happy with your design, it’s time to start joining everything together.
First, save a copy of the card with all the flowers separate, as they look now. Then, save ANOTHER copy of the file. We’ll use this copy to join the flowers together. Having a copy of the original design with all the elements still separate means that we can go back to this point in the future, for example if the card didn’t cut very well in places and we needed to make adjustments to the design.
Start with the flowers that are not touching the silhouette. Click the coloured backing layers and delete them.
You can add middles to the flowers by using the “Shapes” menu to create small circles.
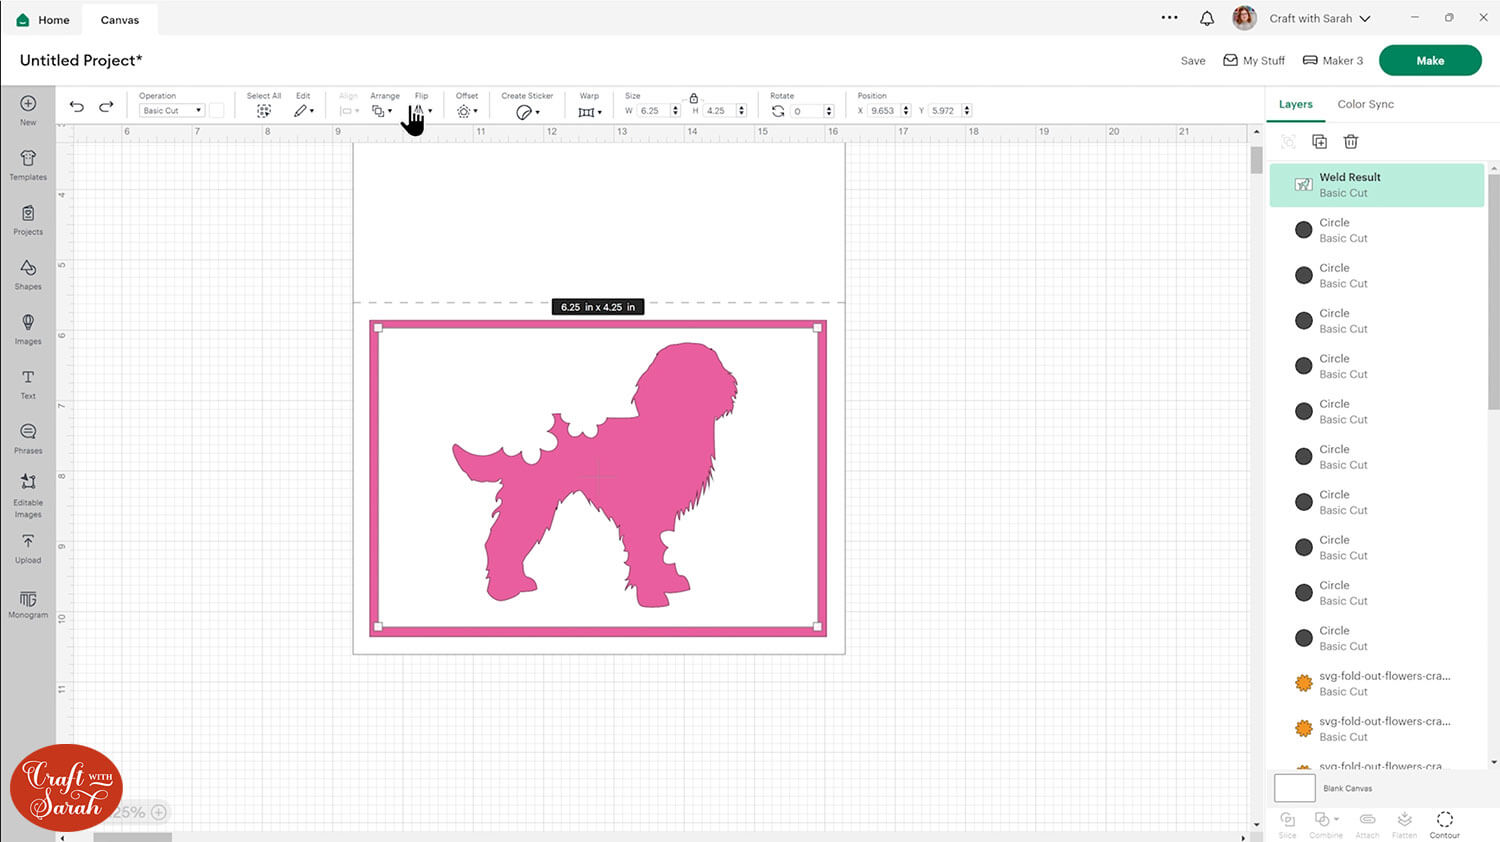
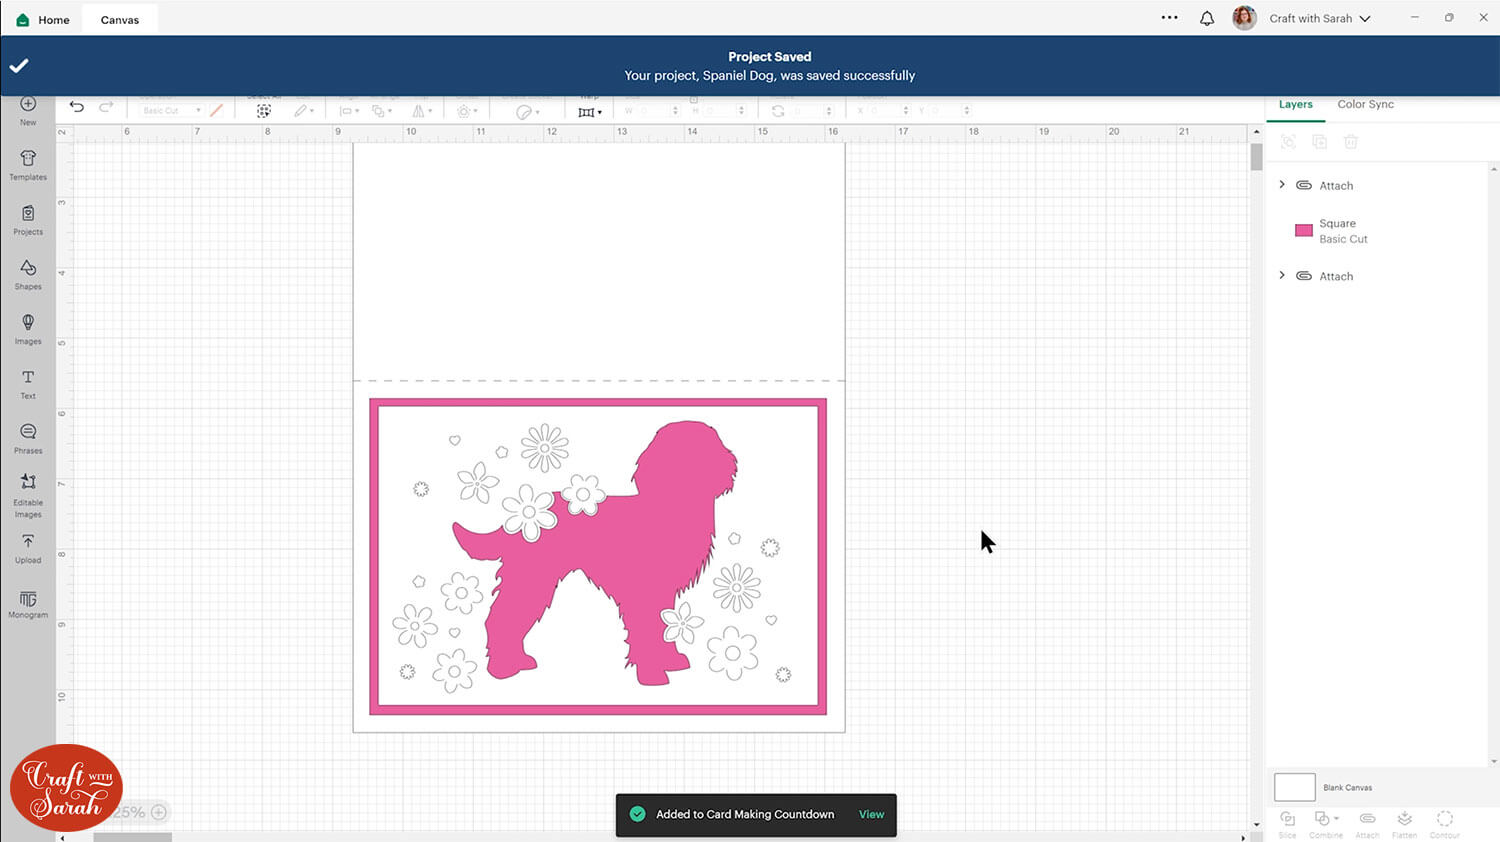
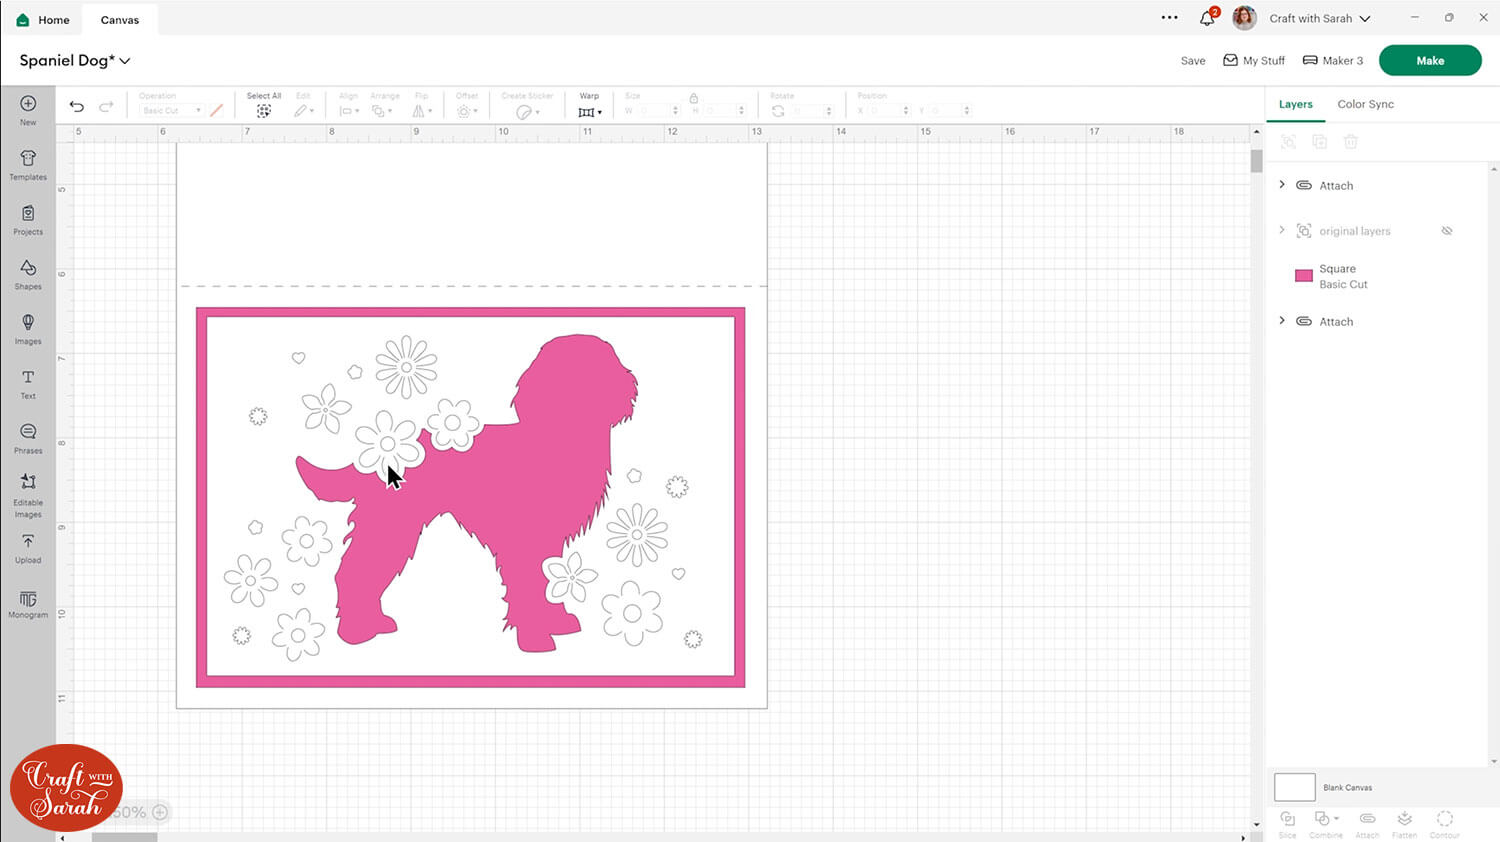
The next thing to do is to cut the silhouette out of the white rectangle. Select the silhouette and the white rectangle and press “Slice”.
Delete the middle shapes so you are just left with the white rectangle with the shaped hole in the middle.
Send that layer to the back and drag it above the card base layers in the layers panel.
You’ll now see any colours you have underneath coming through the hole, for example you can see my pink rectangle layer in the outline of the dog.

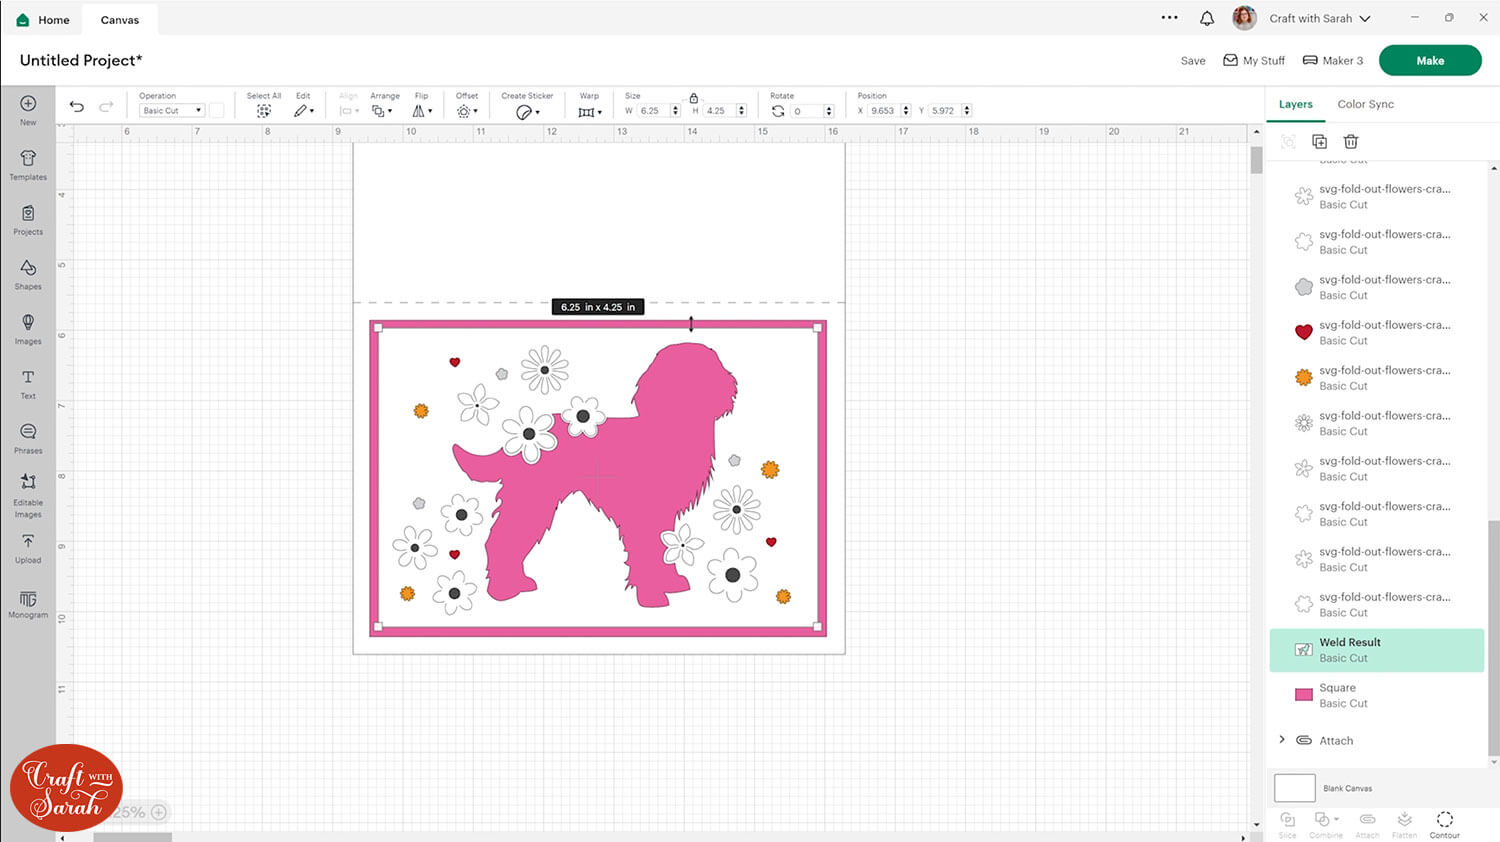
Next, join any flowers that are touching the silhouette shape.
Ungroup each of the flowers and select the coloured layer of each one, along with the dog layer, and press “Combine > Weld” to merge them into one single layer.
Welding moves the layer to the top. Drag it back down to its proper position in the layers panel.
Hide both the coloured rectangle and the main base card.
Select everything else and press “Attach”.
This will remove all the colours from the card front and turn it all white, but you’ll be able to see black outlines showing where all the cut lines are placed.
Turn your other layers back on, and then you’re done!
Don’t forget to save your project before cutting.
Once I’d cut my design, I found that the Cricut was struggling to cut out all the flowers because the outlines were too close and some were too small. I went back to the original saved version with the flowers separate and made some of them larger.
To fix the flower outlines that weren’t cutting properly as the cut lines were too close to the edges, I clicked the coloured outline layer of each of the flowers and gave it a tiny offset of 0.04.
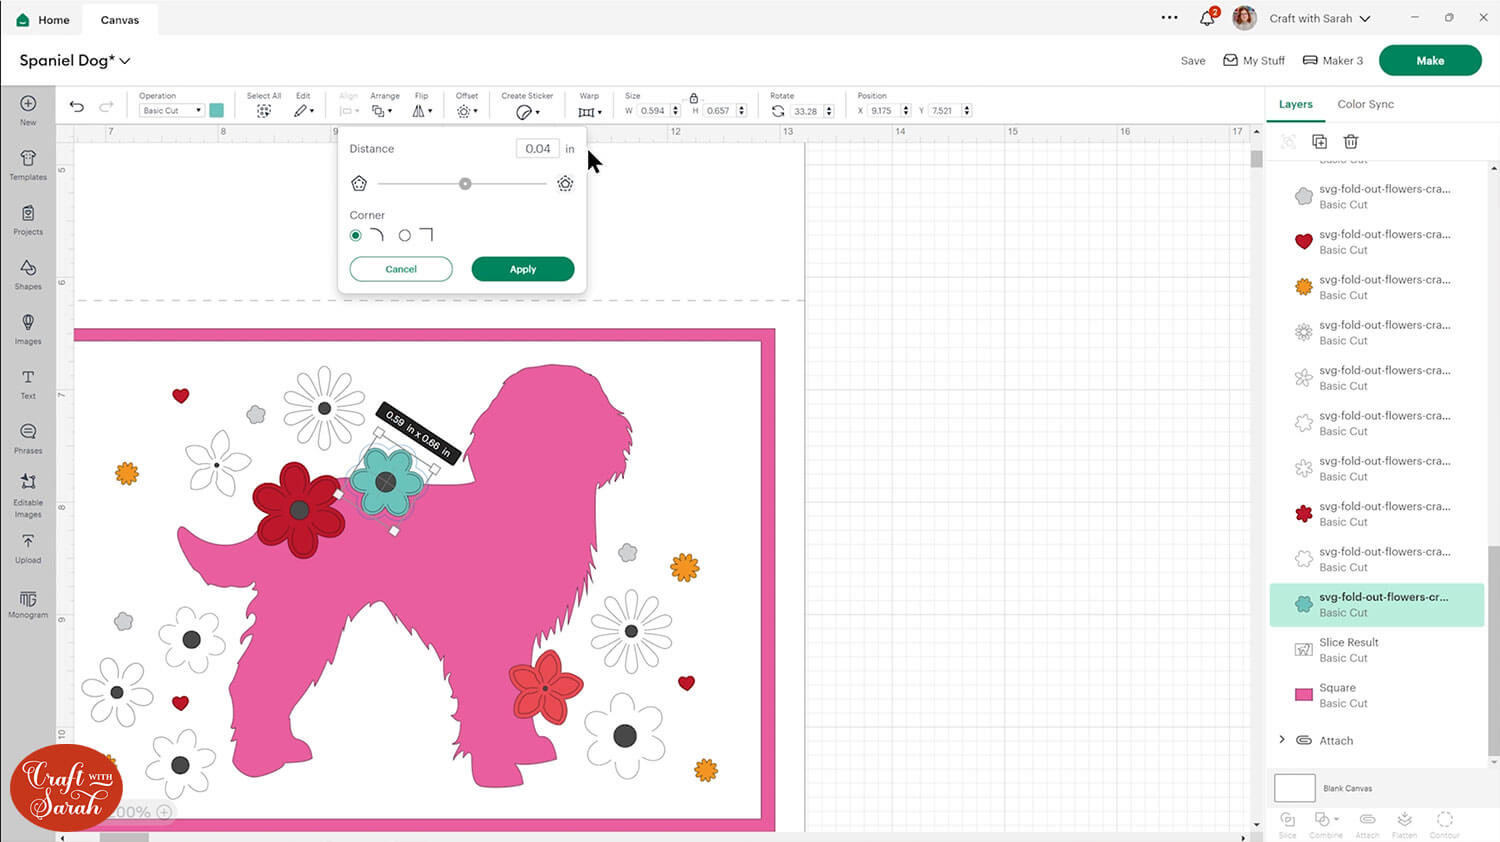
Then, I re-joined everything together and re-cut the project. This time, it all cut beautifully.
Step 5) Stick the card together
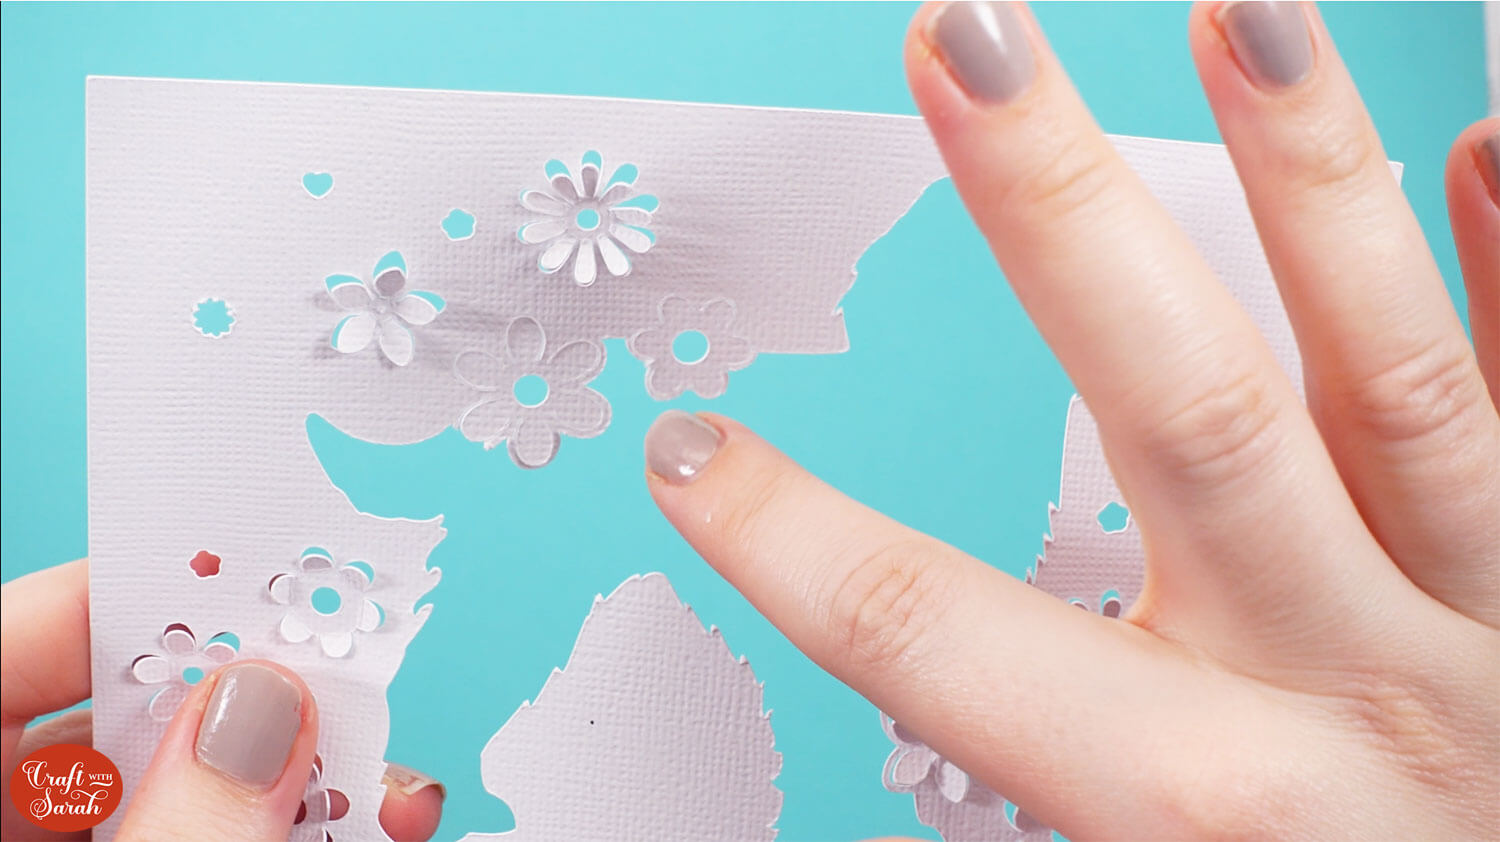
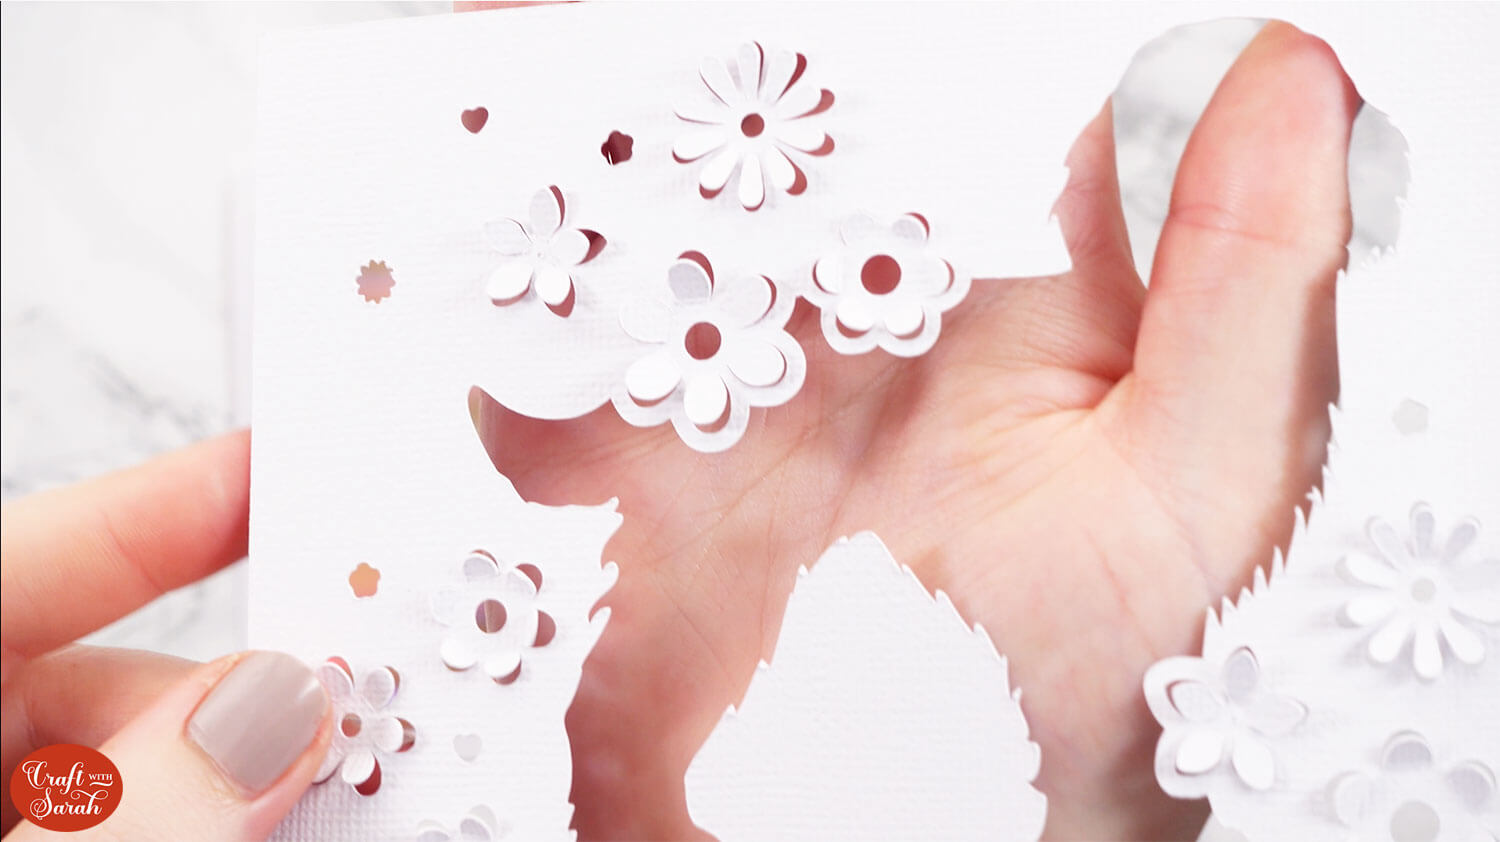
Fold out all the flowers on the card front.
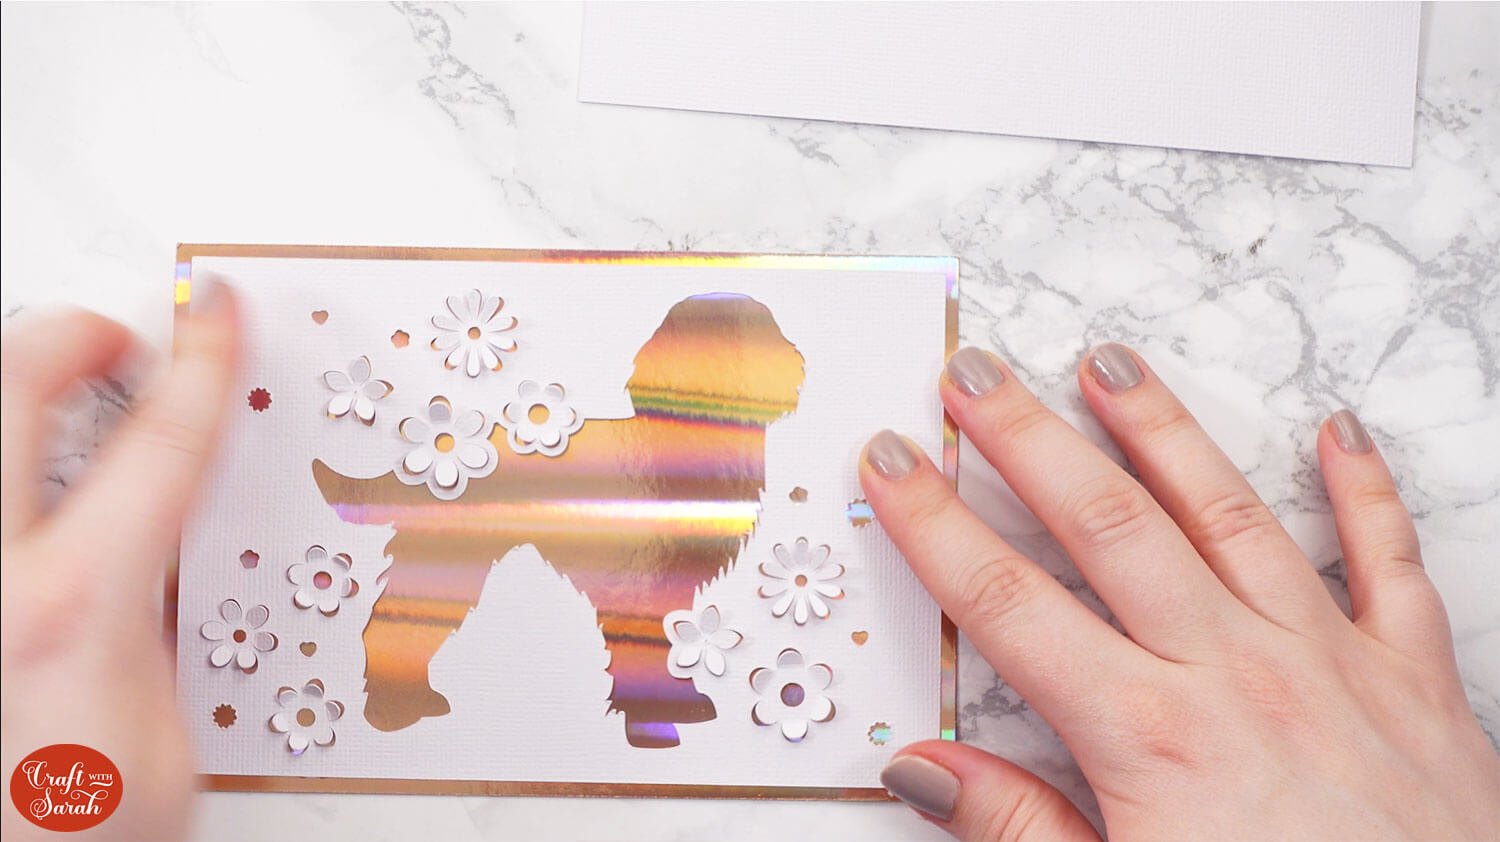
Glue the flower piece to the coloured card rectangle underneath.
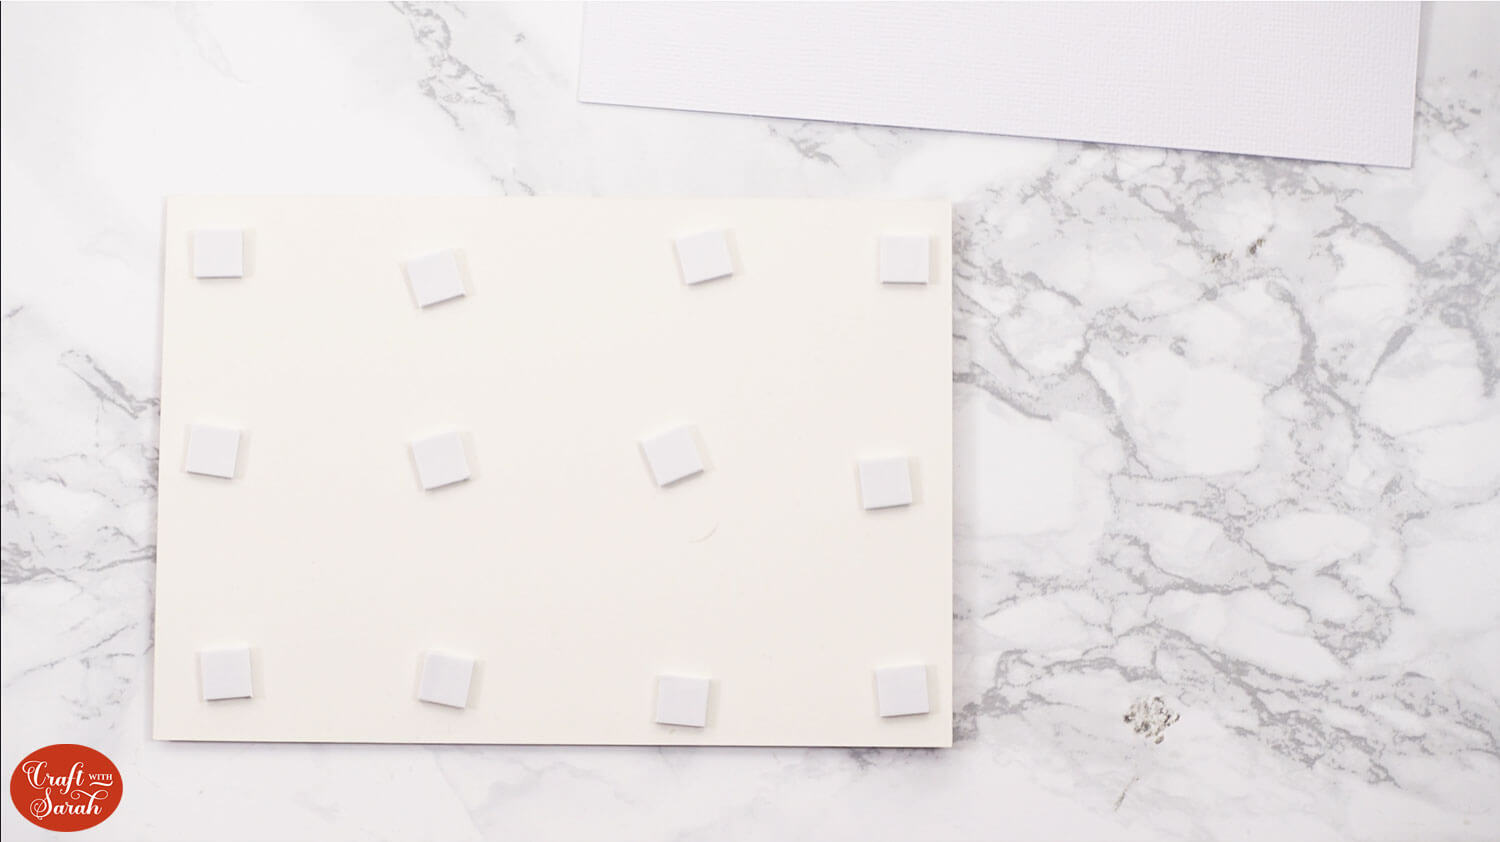
Use glue or foam pads/squares to stick the front panel to the card.
If you are using foam pads, make sure you put some in the middle of the card as well as around the edges.
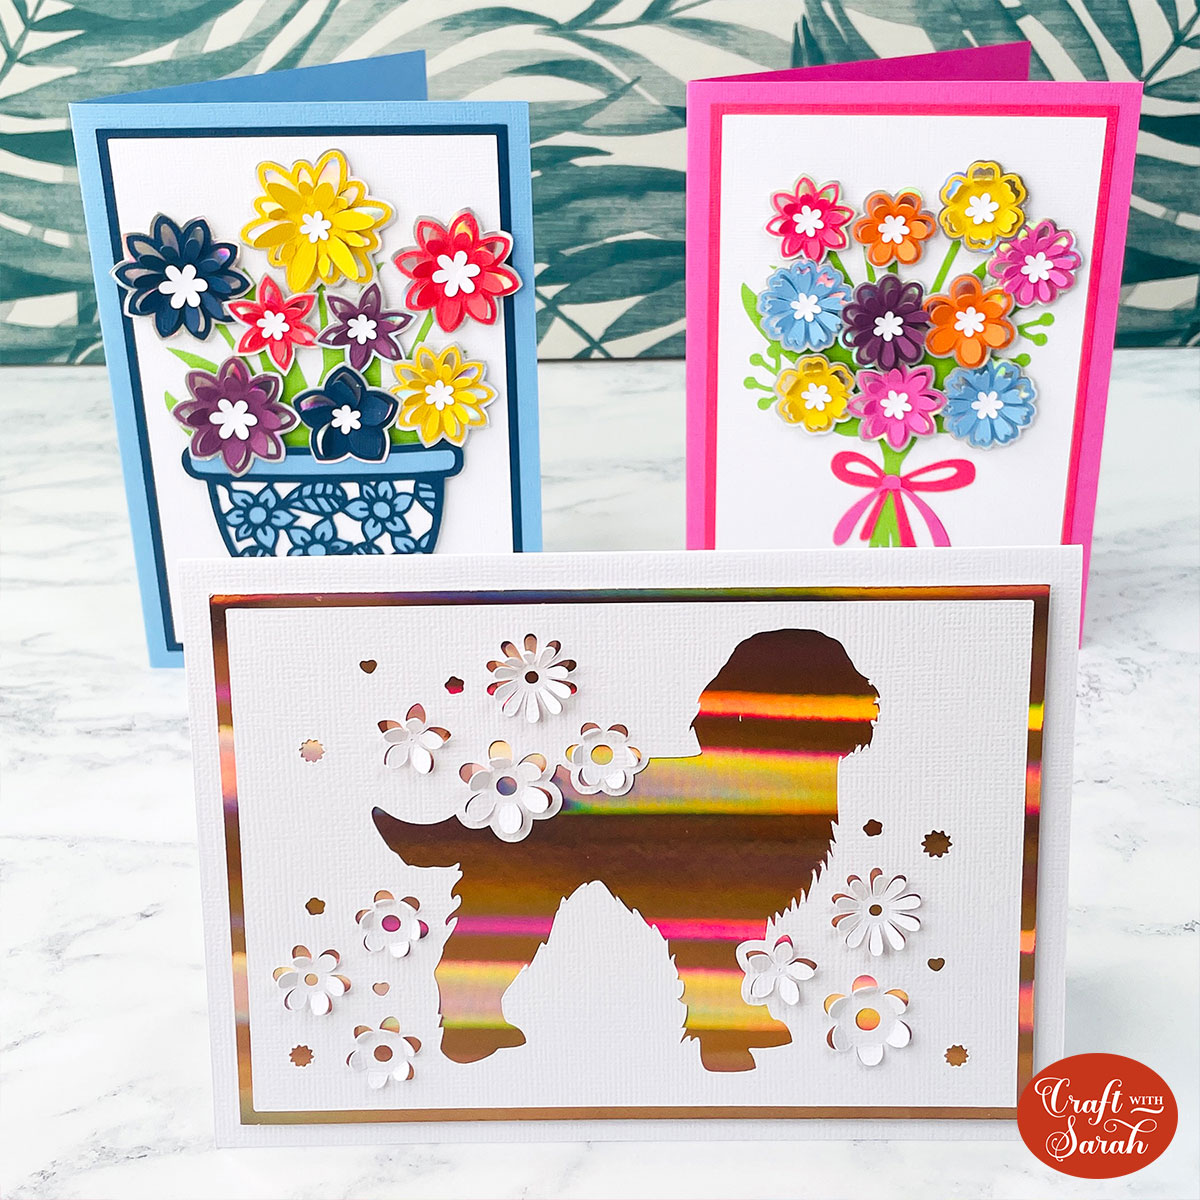
Beautiful fold-out flower cards to make with a Cricut
I hope you enjoyed this tutorial on how to make beautiful fold-out flower cards.
The pre-made cards look lovely with all the colours. You could change them up by cutting all the flowers in the same colour, or perhaps by using different shades of the same colour instead of different colours.

Don’t forget to check back tomorrow for the final Card Making Countdown project.
Happy crafting,
Sarah x

