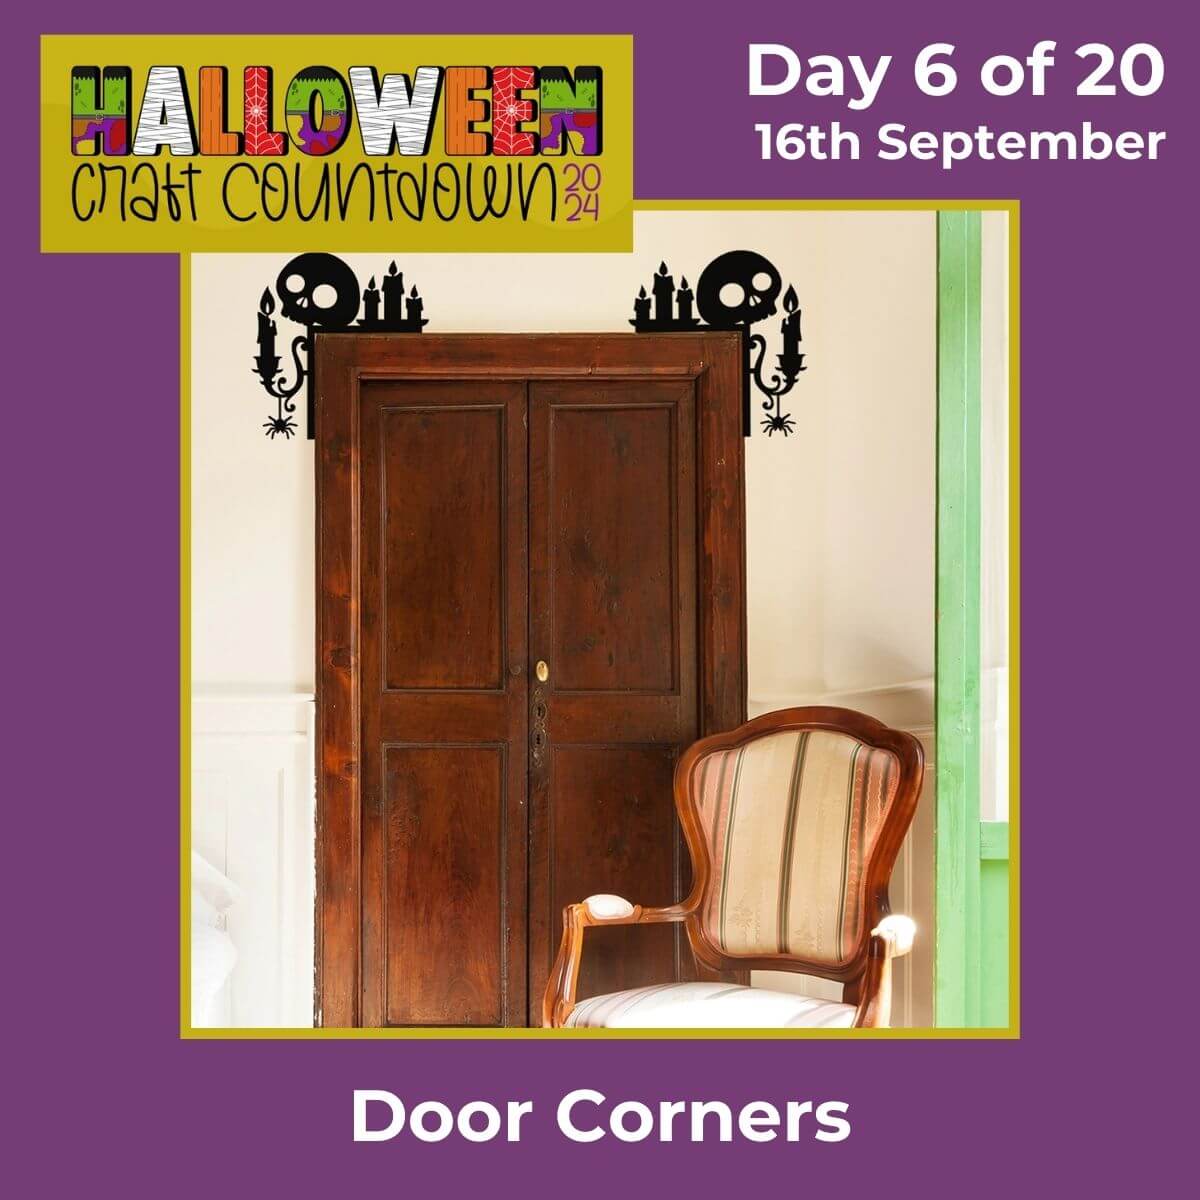
HCC 2024 Day 06: Halloween Door Corners
Welcome to day six of the 2024 Halloween Craft Countdown, where I’m sharing 20 spooky themed Cricut papercraft projects in 20 days.
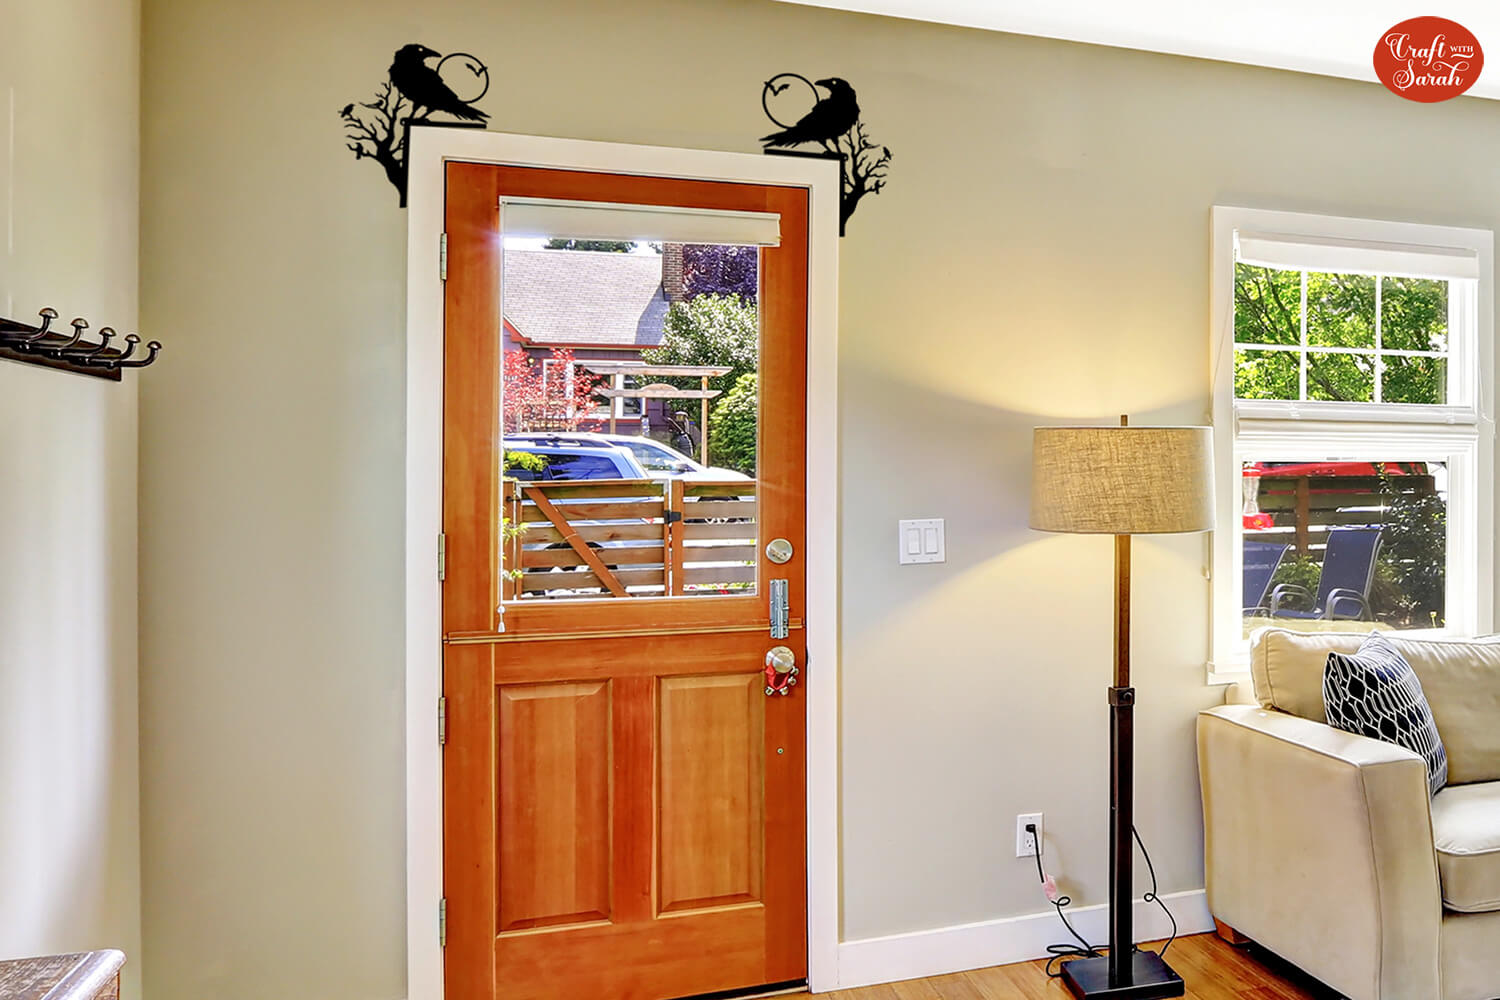
Today I’m sharing a quick and a cost effective project for adding Halloween decor to your home… door corners!
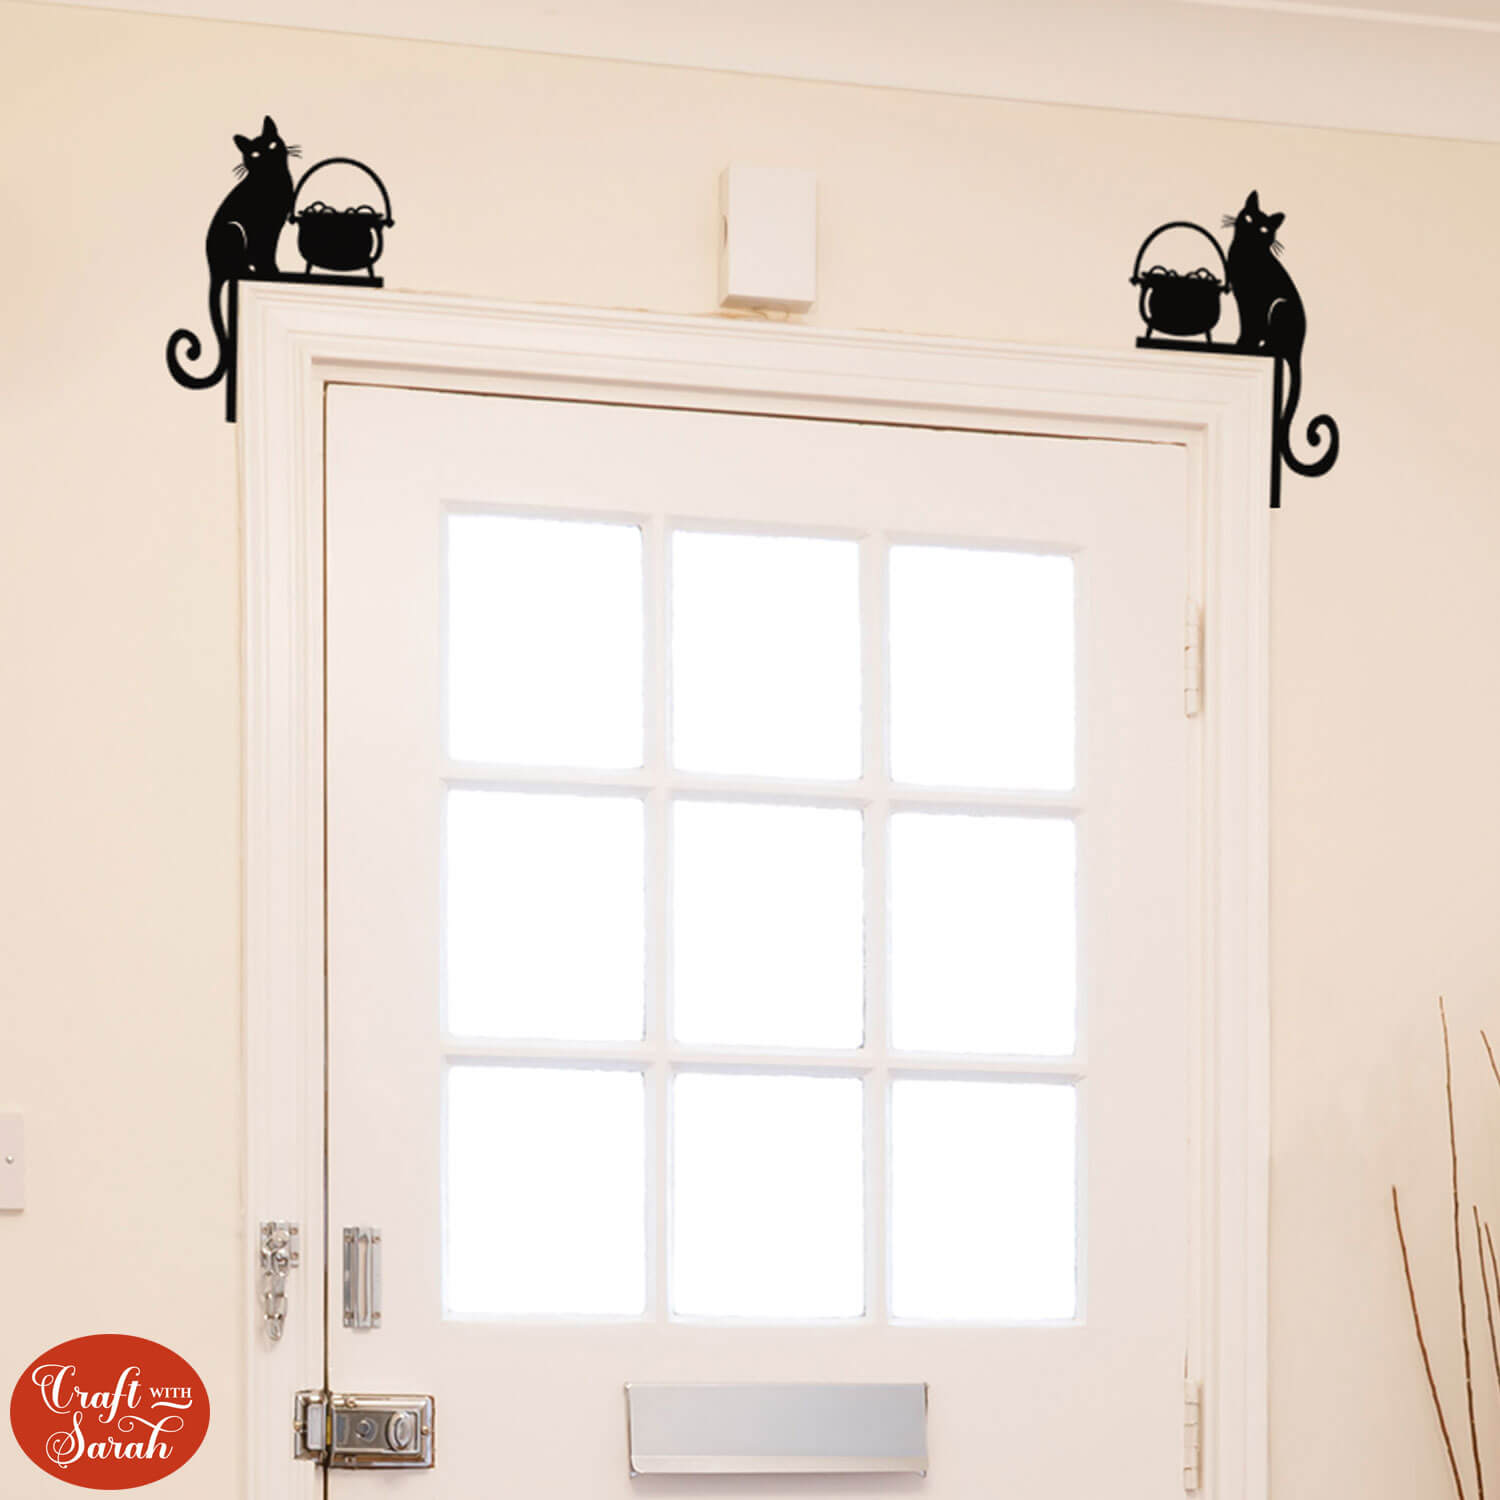
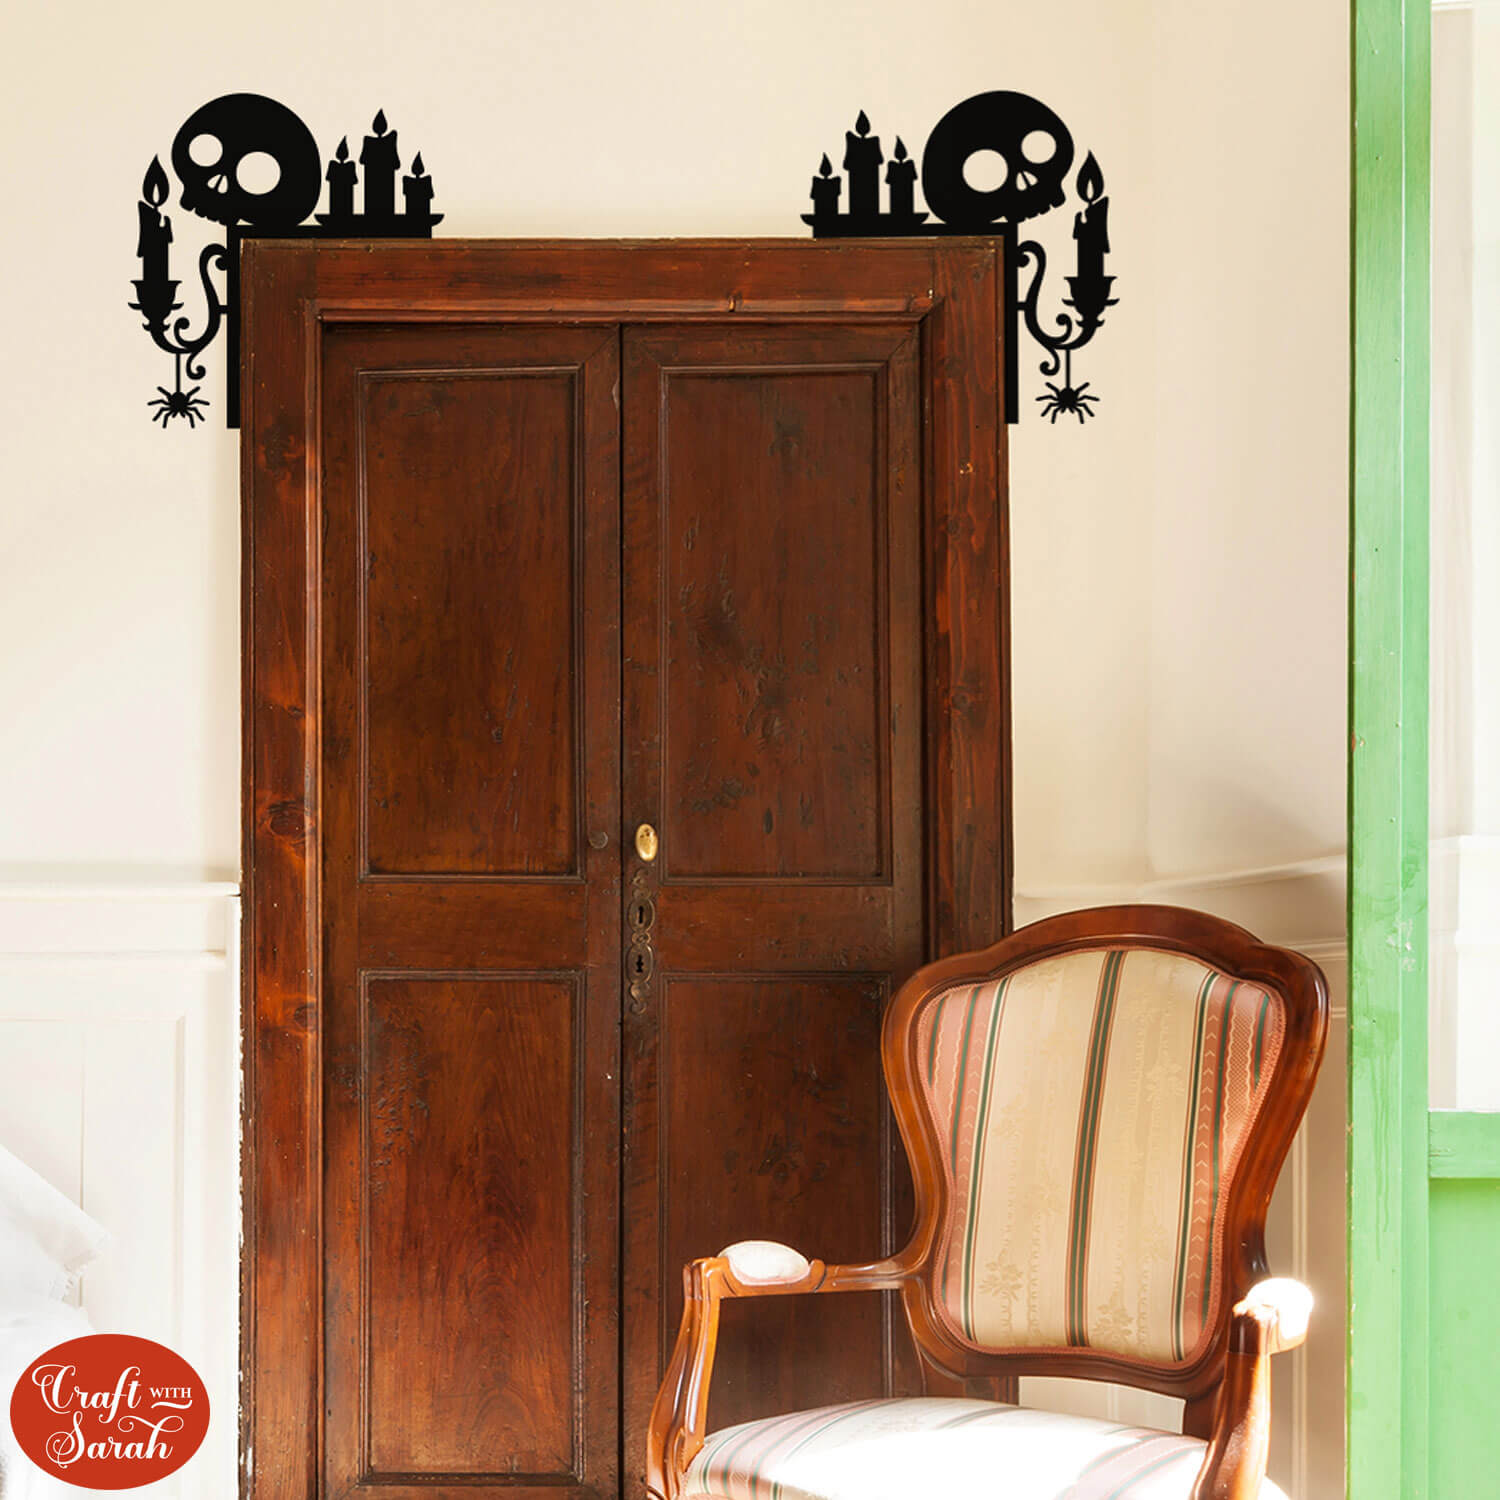
Cut these spooky Halloween door corners from cardstock or removable vinyl for quick and easy Halloween decorations.
There are three different designs included with today’s project: a skull, raven and cat.
I will also show how you can design your own door corners in Cricut Design Space for any occasion.
This Project was part of the Halloween Craft Countdown 2024
Materials supply list
Here is a list of the materials that I used to make this project.
Please note that some of the links included in this article are affiliate links, which means that if you click through and make a purchase I may receive a commission (at no additional cost to you). You can read my full disclosure at the bottom of the page.
- Cricut machine
- Light blue Cricut cutting mat
- Black card OR black removable vinyl/window cling
This project is suitable for the following types of Cricut machine: Explore Air 2, Explore Air 3, Maker, Maker 3, Venture and Joy Xtra (if you make them smaller). They are too large to make on the original Cricut Joy.
Foundation learning
If you're new to crafting with your Cricut, you may find the below links helpful.
They teach some of the skills mentioned throughout this tutorial.
- How to upload SVG files into Design Space
- How to make 3D layered Cricut projects
- The BEST way to frame papercraft projects
- How to mount multiple designs in the same frame with magic guides
- How to score with a Cricut (even without scoring tools)
- Print then cut tutorial
- Design Space tools (Combine, Attach, Slice, Weld, Flatten, etc.)
- Pattern fill tutorial (for making backgrounds & cutting images to a specific shape/size)
- Free envelope SVGs that can be sized to fit any card
- How to write inside cards with Cricut pens
- How to cut layered designs at a small size
- Design Space tips & tricks
- Cricut pens tutorial
Video tutorial
Watch the video below to see how to make this project. Keep scrolling for a written tutorial.
PART ONE: Using the premade door corners
Here’s how to make Halloween door corners using a Cricut machine and the premade designs from today’s download.
Scroll further down for Part 2 where I show how to design your own door corners in Cricut Design Space.
Step 1) Download the cutting files & upload to Design Space
Download the files using the box below.
Purchase the File(s)
This cut file is available as part of the Instant Access Bundle.
Or, purchase this design individually here
Before you upload the SVGs to Design Space, you need to unzip the download folder that they come in.
- How to unzip a folder on Windows computer
- How to unzip a folder on a Mac
- How to unzip a folder on an iPad/iPhone
- How to unzip a folder on an Android device
After unzipping, upload the SVG files into Cricut Design Space. These are the files that start svg- in the filename.
Not sure how to do this? Here’s how to upload SVGs to Cricut Design Space. Make sure you upload the file which starts svg- in the filename!
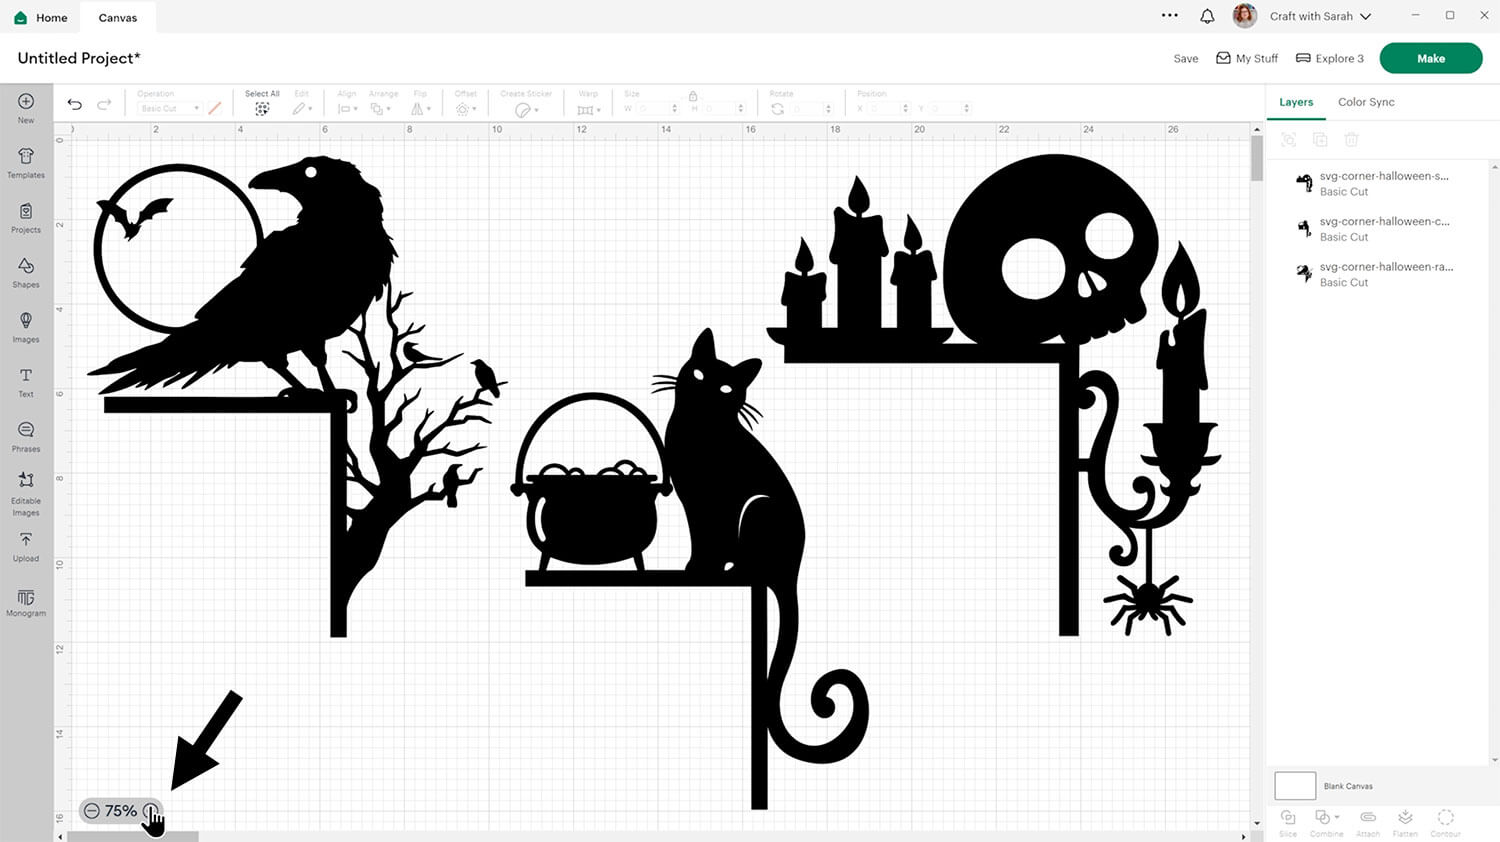
Each door corner is saved as a separate SVG file, so you’ll need to repeat the upload if you want to cut all three designs.
They will load in fairly large to Design Space. I have zoomed out on my screen using the “zoom” feature on the bottom-left so that you can see them all.
Step 2) Size and cut the door corners
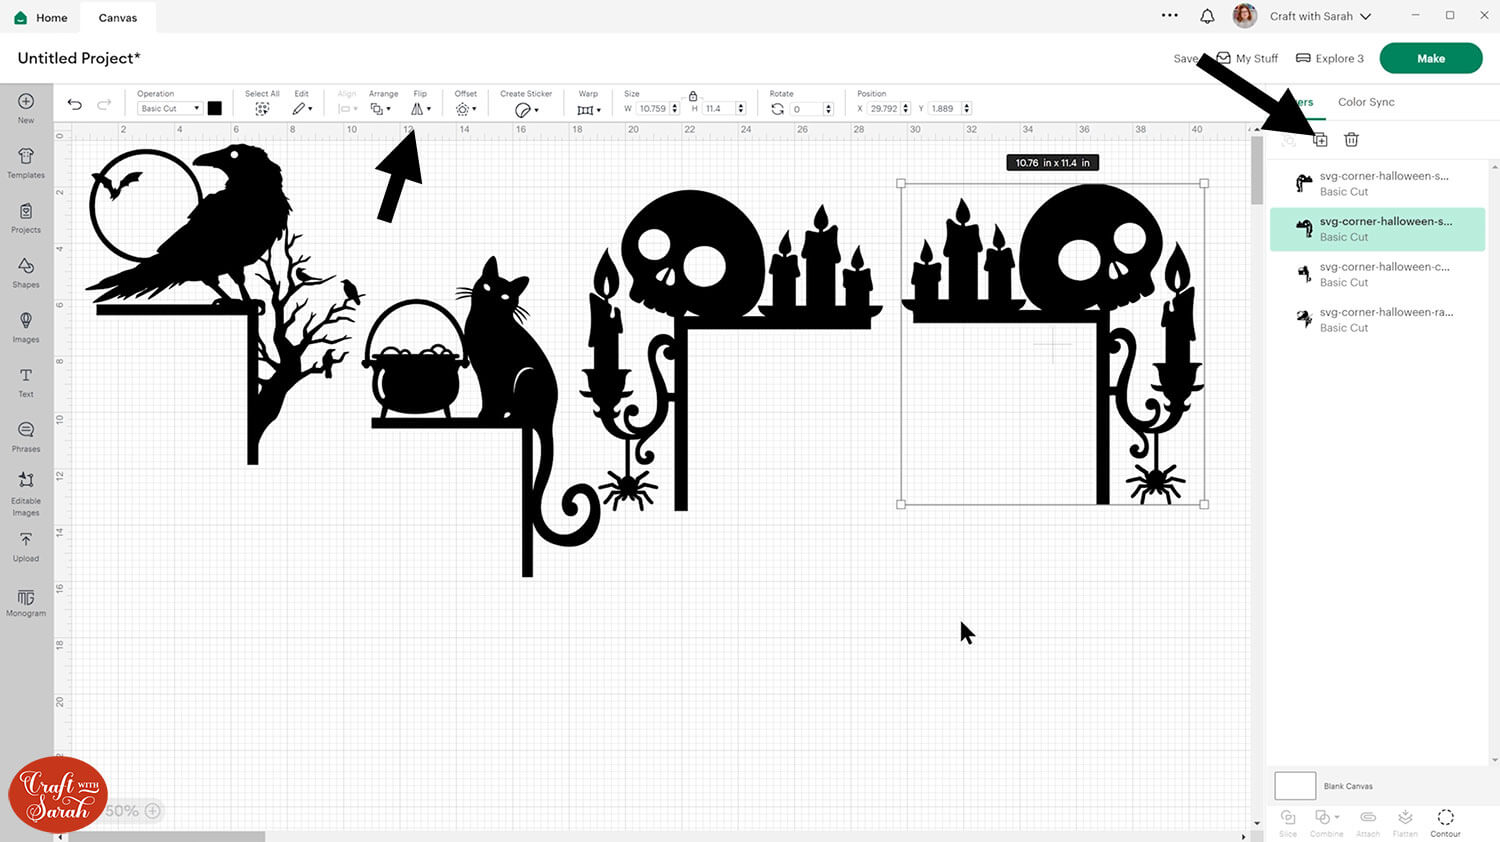
I like having the same design on both corners of the door so that they match.
To do this, click the design you want to use and press the “Duplicate” button at the top of the layers panel to make a copy.
Select one of the copies and press “Flip > Flip Horizontal” to make a mirrored version.
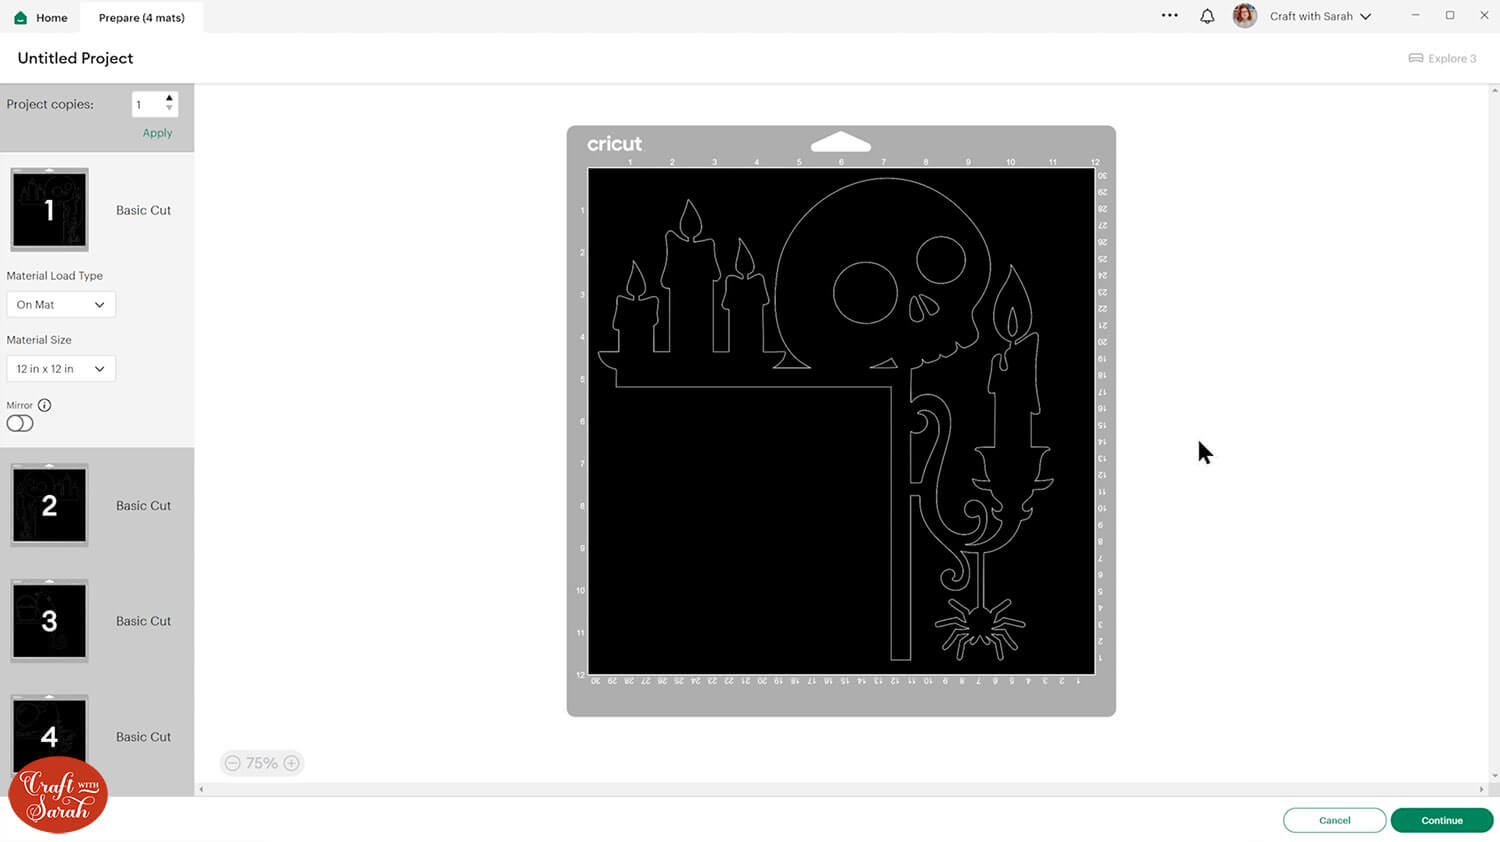
The door corners will look most impressive cut as large as your machine will let you. For a Cricut Maker, Maker 3, Explore Air 2 or Explore Air 3 that is 11.5 inches on the longest size if you are using a standard 12×12 inch cutting mat, or 11.5 inches on the shortest side if you have the larger 12×24 inch cutting mats and material long enough to fit on that.
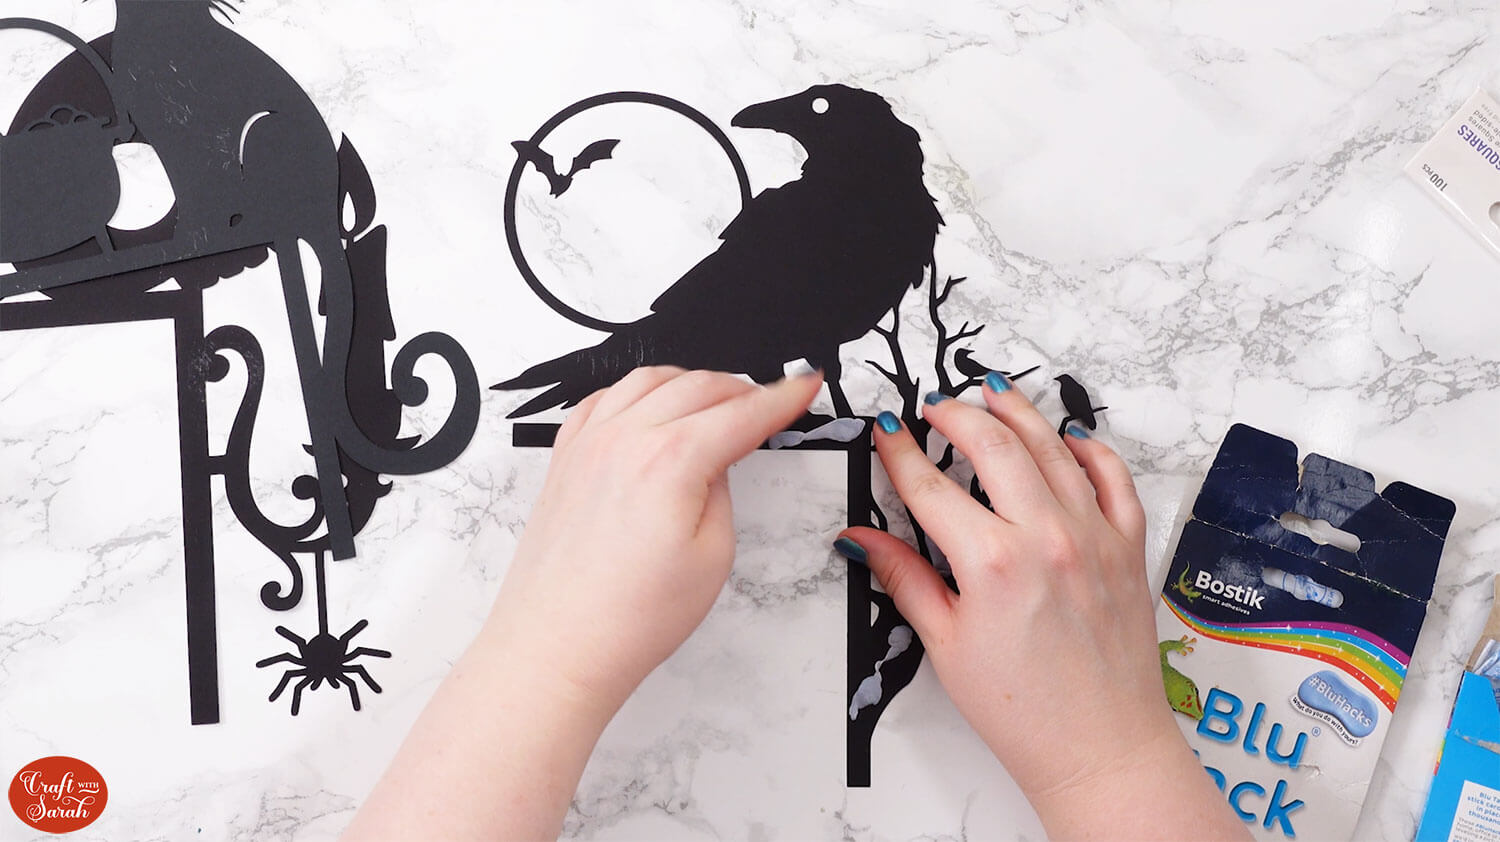
You can cut the door corners from cardstock or removable vinyl.
I prefer to use cardstock and then stick them with Blu-Tack so that it does not mark the walls.
PART TWO: How to design your own door corners
Here’s how to design your own door corners for any occasion!
Step 1) Create the corner shape
First, we need to make the guides to go along the edge of the frame which we’ll do with two rectangles.
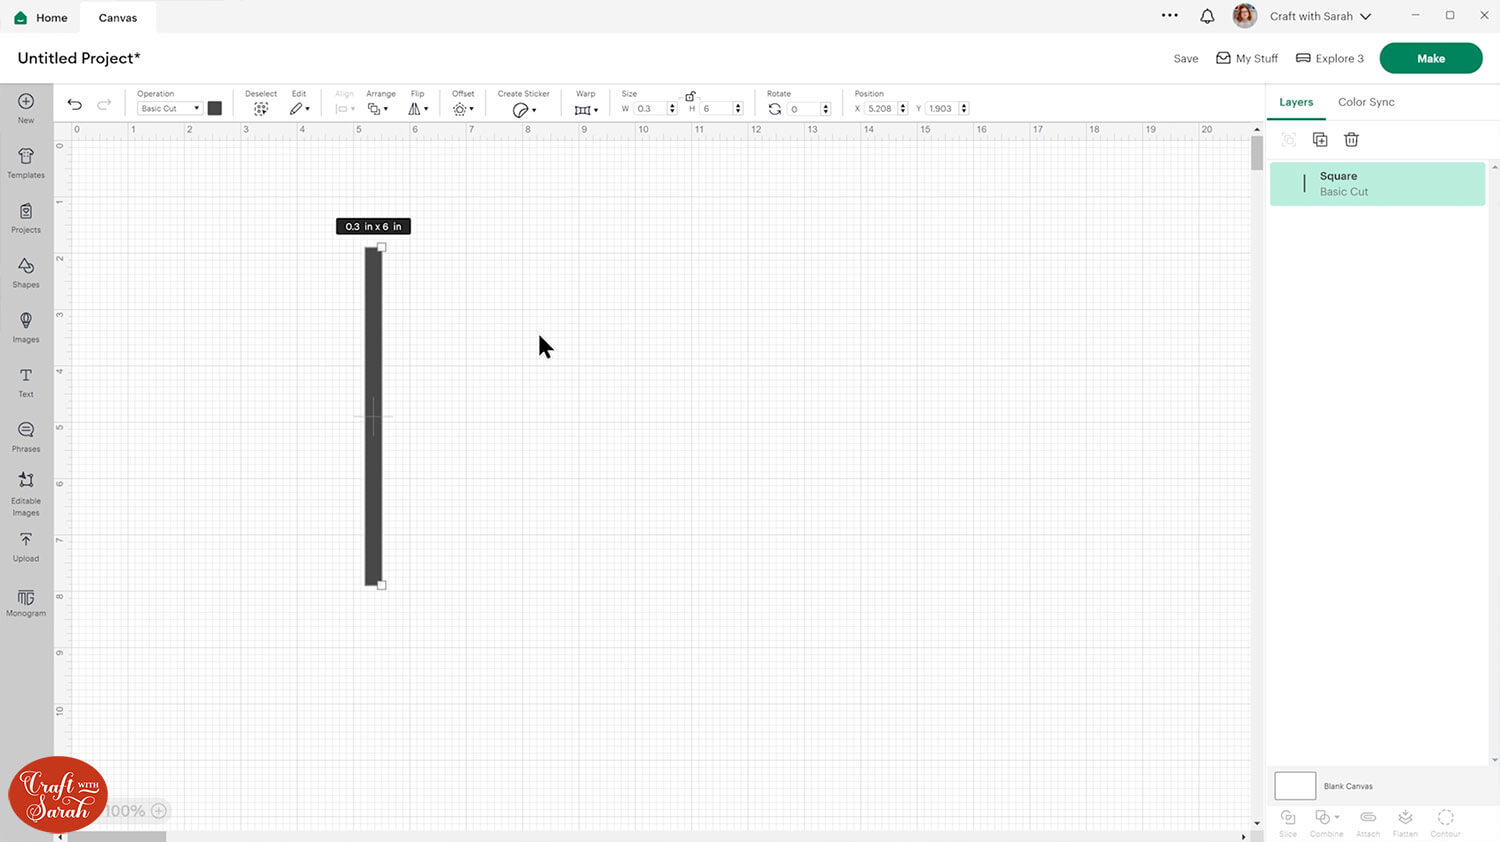
Go into “Shapes” and choose a square or rectangle with sharp corners.
Resize to 0.3 inches wide and 6 inches tall. You can change the whole size at the end of the project, but that’s a good size to work with at this point.
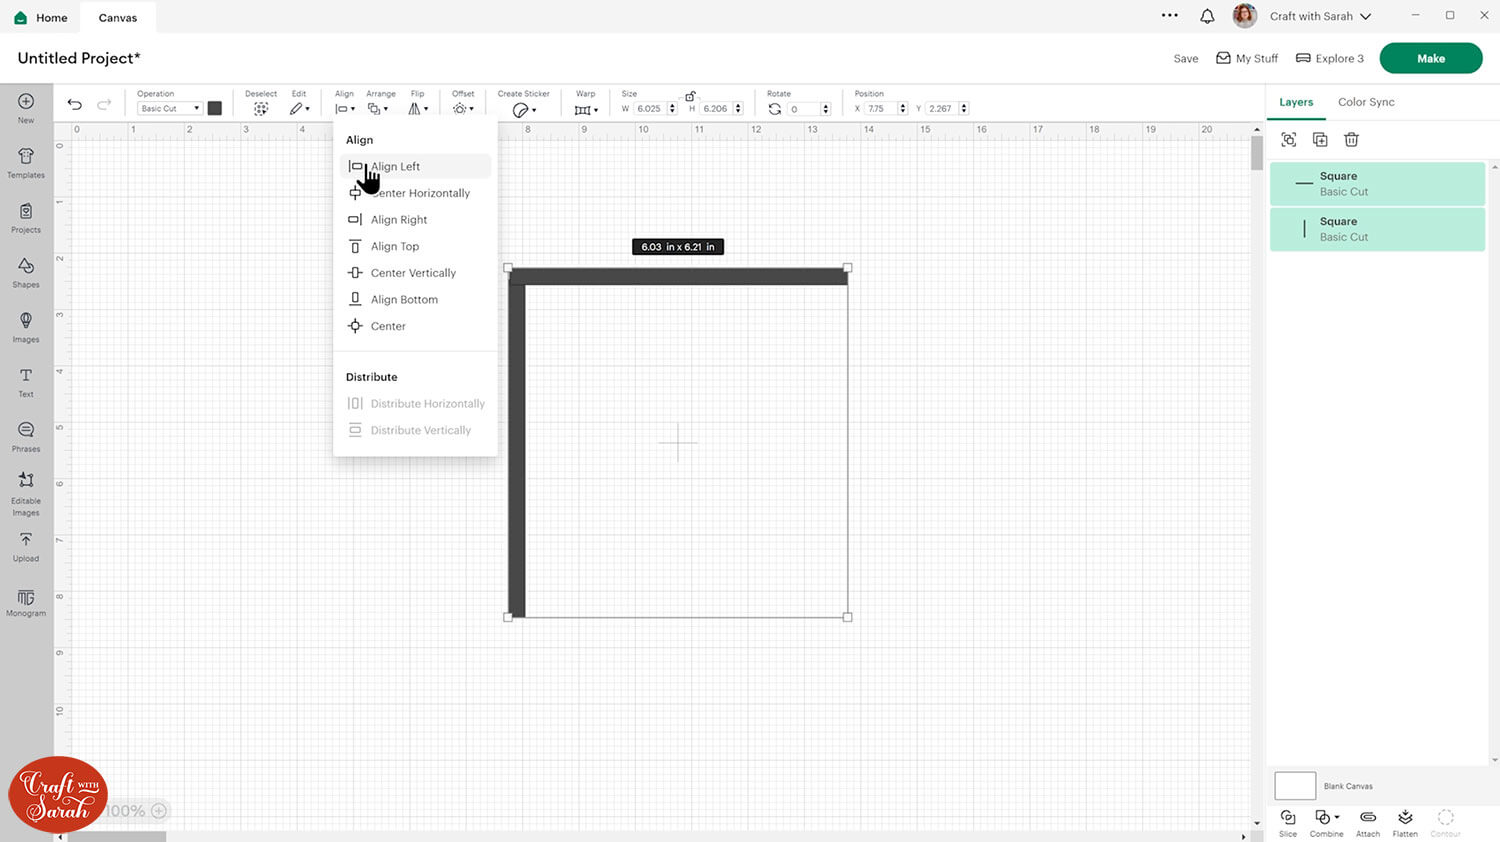
Duplicate the rectangle and rotate it 90 degrees. Place it roughly over the other rectangle so that they touch and form a corner.
Select both rectangles and press “Align > Align Left” to line them up perfectly.
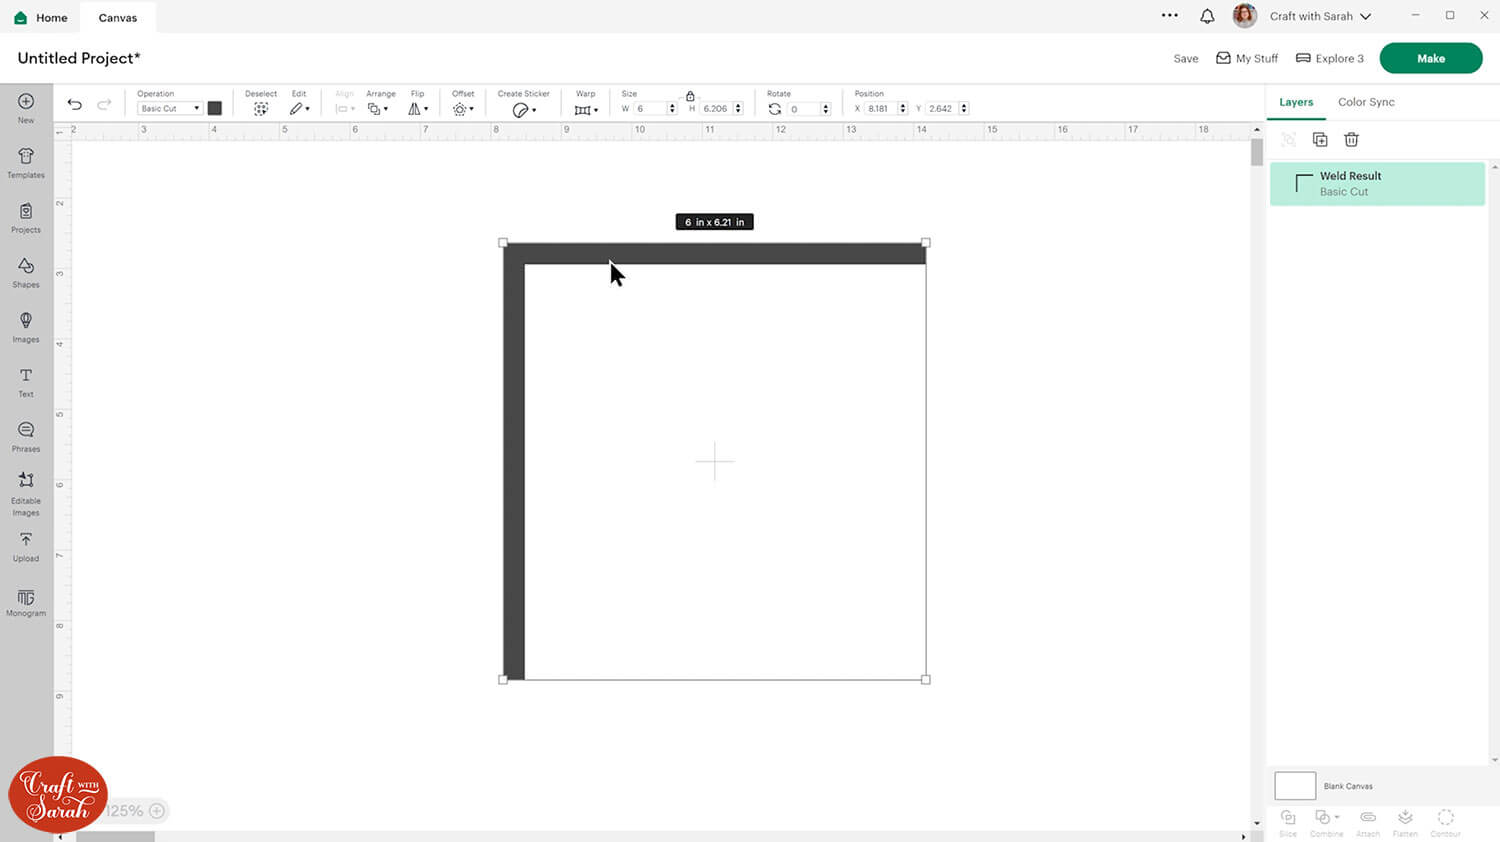
Press “Combine > Weld” at the bottom of the layers panel to join the two rectangles into one single layer.
Step 2) Choose your images
I am using Cricut Access images for my door corner, but you can use any SVGs that you have uploaded to Design Space.
If you are using Cricut Access, it can help to narrow down the suitable images by choosing “Cut” in the “Operation Type” filter and “Single” in the “Image Layers” filter.
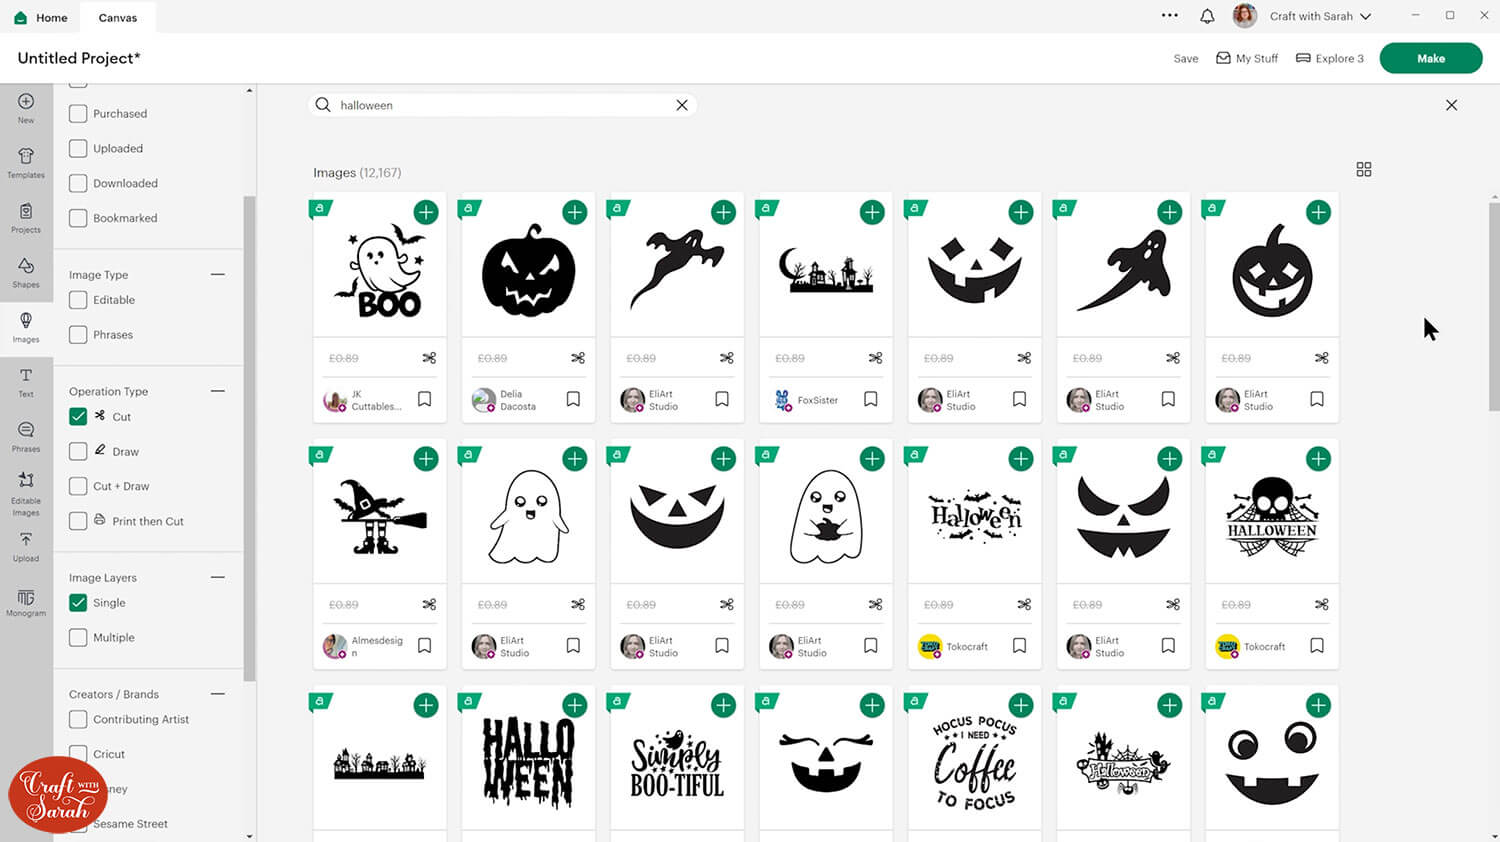
You want to choose images which are bold or have thick lines to make it easier to cut from cardstock.
It is important to choose images where everything is touching so that it can be connected to the door corner.
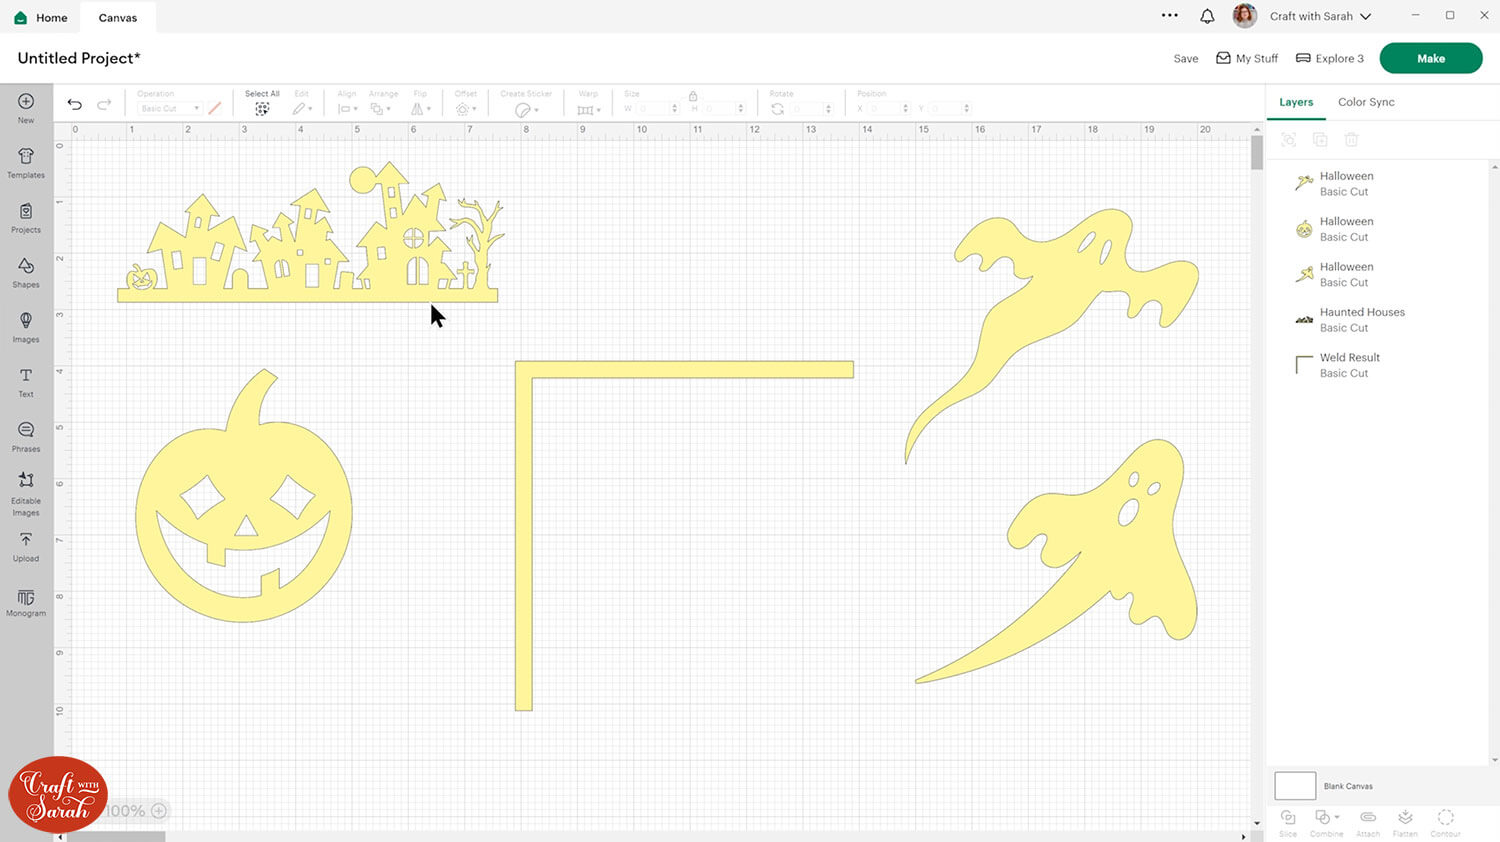
Here are the images I’ll be using. I have coloured everything a pale yellow to make it easier to see where the images touch on the next step, as I can see the black outlines that go around each image.
Step 3) Create your door corner
Position the images around the corner shape. It’s ok if some parts of the images go “inside” the corner at this point, as we can trim off those parts later.
Make sure all the images are touching either the corner shape, or other images, so that everything will be “connected” once we join them together.

To get a better idea of how it will look when cut, change everything to black.

At the moment, my door corner won’t fit well against a real door because parts of the two ghosts go “inside” the corner shape.
To fix this, create a square and position it over any parts of an image that are going into the corner shape.

Select the square and the image you want to cut, then press “Slice”.
Delete the offcuts.
Repeat for any other images that are going into the corner shape.

To join all the images together so that it cuts as one piece, select everything and press “Combine > Unite” at the bottom of the layers panel.
Unite is preferable to Weld because you can still move separate images about inside the Unite, including rotating and resizing them, so if you weren’t completely happy with the design you cold still tweak it, whereas Weld is permanent and prevents any further changes.

Change the colour to black and size as required.
Don’t forget to duplicate and flip if you want to make one for each side of the doors!

How to make door corners with a Cricut
I love how my Halloween door corners turned out!

They are a great way to decorate your home whatever the season – or in fact, for ANY occasion now that you know how to design your own!
I can’t wait to see the different designs you create!
Happy crafting,
Sarah x

