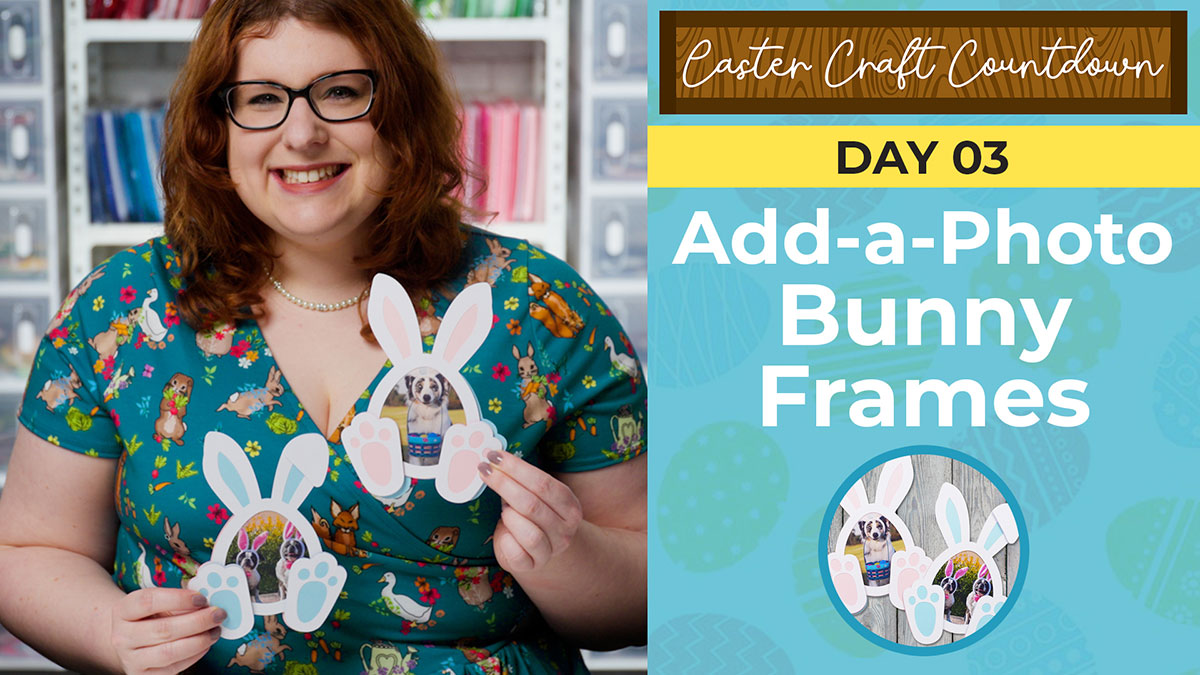
ECC Day 03 🌼 Add-a-Photo Bunny Frames
Welcome to Day 3 of the Easter Craft Countdown!
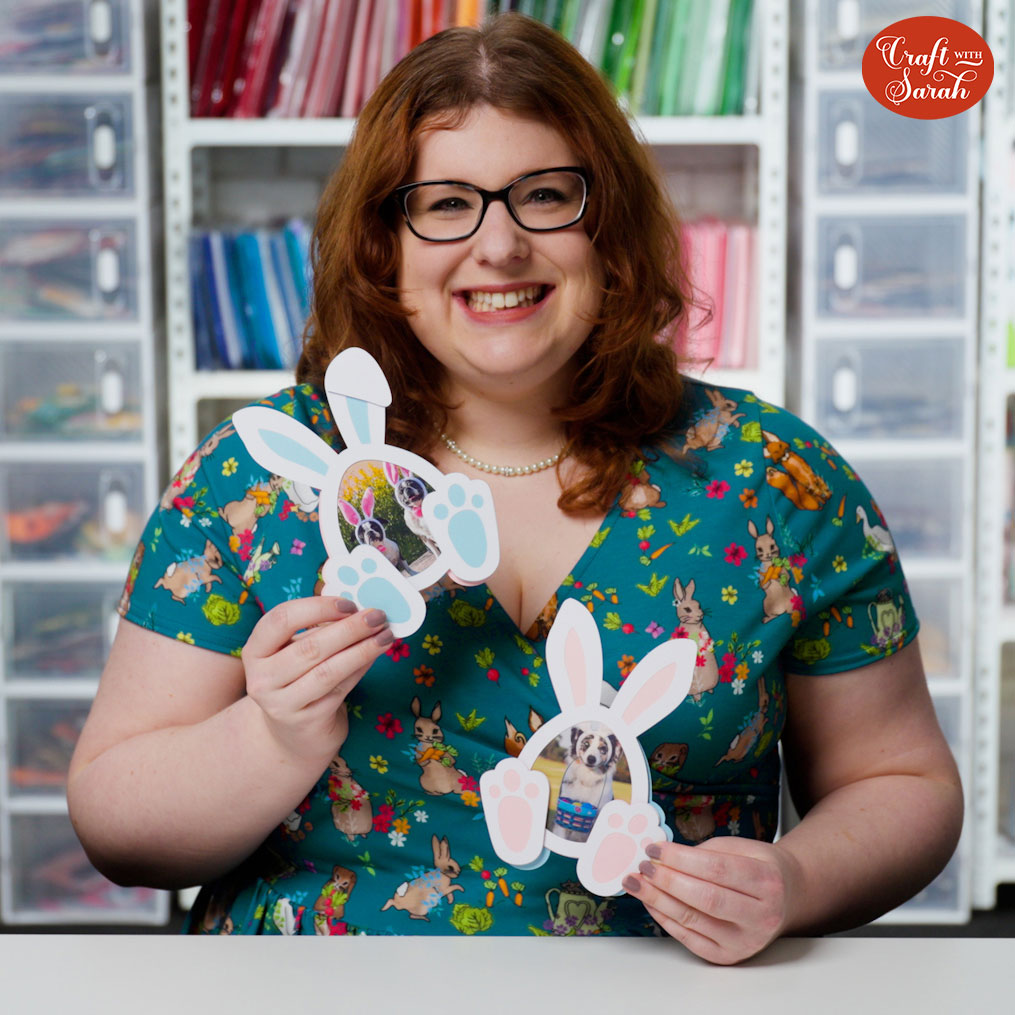
Today we’re making these adorable little Easter bunny shaped photo holders.
I’ll show you how to cut your photo so that it fits exactly into the middle of these little bunnies, and then we’ll use Cricut’s Print then Cut feature to add them in!
This Project was part of the ECC Day 03 🌼 Add-a-Photo Bunny Frames

Materials supply list
Here is a list of the materials that I used to make this project.
Please note that some of the links included in this article are affiliate links, which means that if you click through and make a purchase I may receive a commission (at no additional cost to you). You can read my full disclosure at the bottom of the page.
- Cricut machine
- Light blue Cricut cutting mat
- Coloured Card (white, pale blue and pale pink)
- Glossy photo paper
- A colour printer
- Collall All Purpose Glue
- Needle Tip Applicator Bottle
- 3D foam pads
Video tutorial
Watch the video below to see how to make this project. Keep scrolling for a written tutorial.
Written tutorial (with photos!)
Here’s how to make your very own bunny photo holders using a Cricut machine!
Step 1) Download the cutting file(s) & unzip the downloaded folder
Before you upload the SVGs to Design Space, you need to unzip the download folder that they come in.
- How to unzip a folder on Windows computer
- How to unzip a folder on a Mac
- How to unzip a folder on an iPad/iPhone
- How to unzip a folder on an Android device
Step 2) Upload the SVG files into Design Space
Open up Cricut Design Space and start a new Project.
Click “Upload” and then find your unzipped version of the downloaded files for this project.

Double-click into the “SVG Files” subfolder and then upload your chosen bunny design.
The steps in this tutorial work the same for both bunny designs.
Make sure you upload the files which start svg- in the filename!!
This is how it should look after you have uploaded the file:
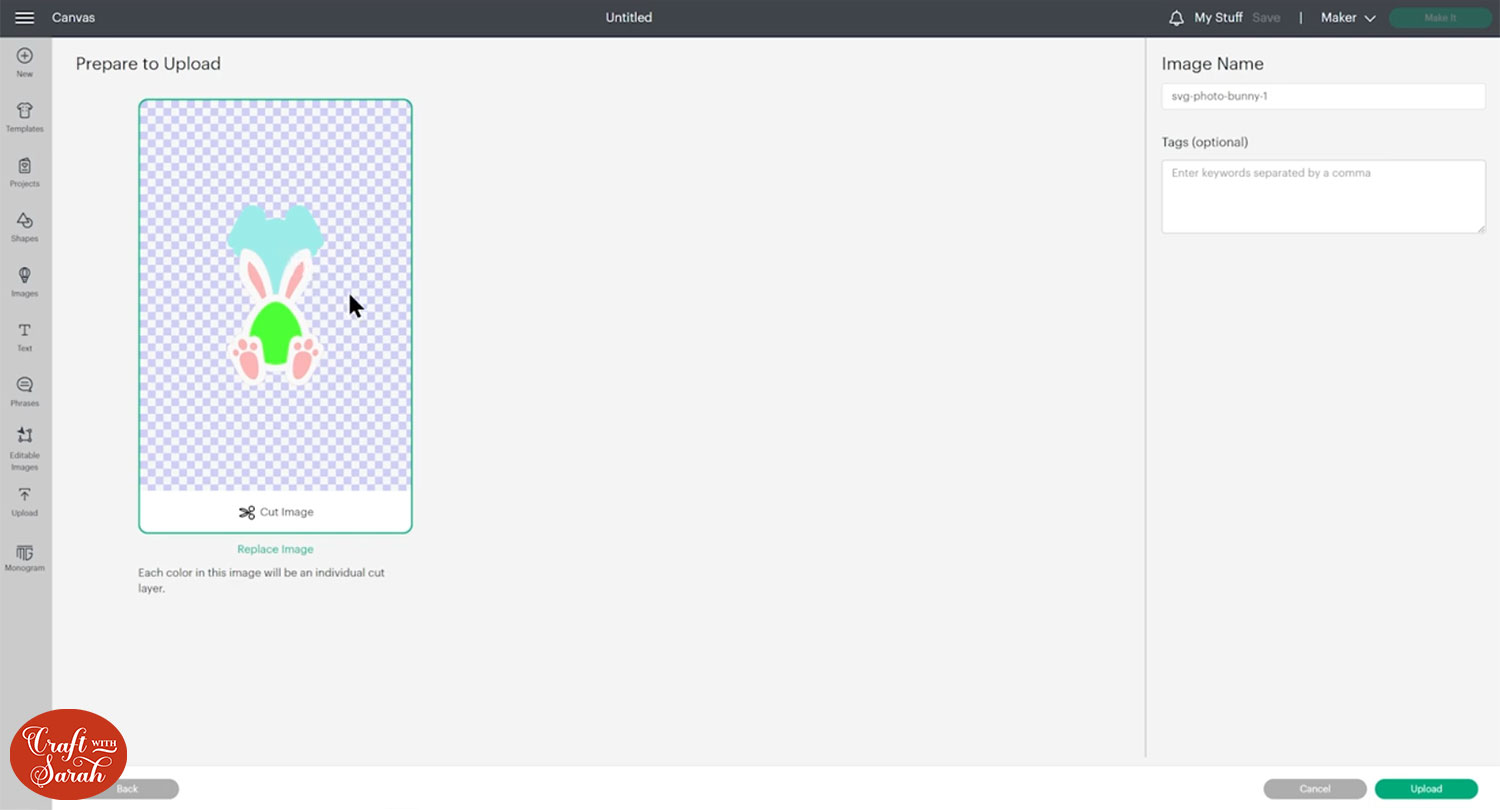
The bright green shape in the middle of the frame is where we will be adding a photograph.
After uploading, the design will show in your “Recently Uploaded Images”.
Click on it and then press “Add to Canvas” to put it onto your Project.

Step 3) Resize the photo frame
Click the design on your canvas and use the width/height boxes near the top of the screen to make it the size that you want to cut it.
TIP: Make sure the padlock icon above the width/height boxes is CLOSED before you resize. If it appears “open”, click it with your mouse to close it.
I made mine 5 inches wide.
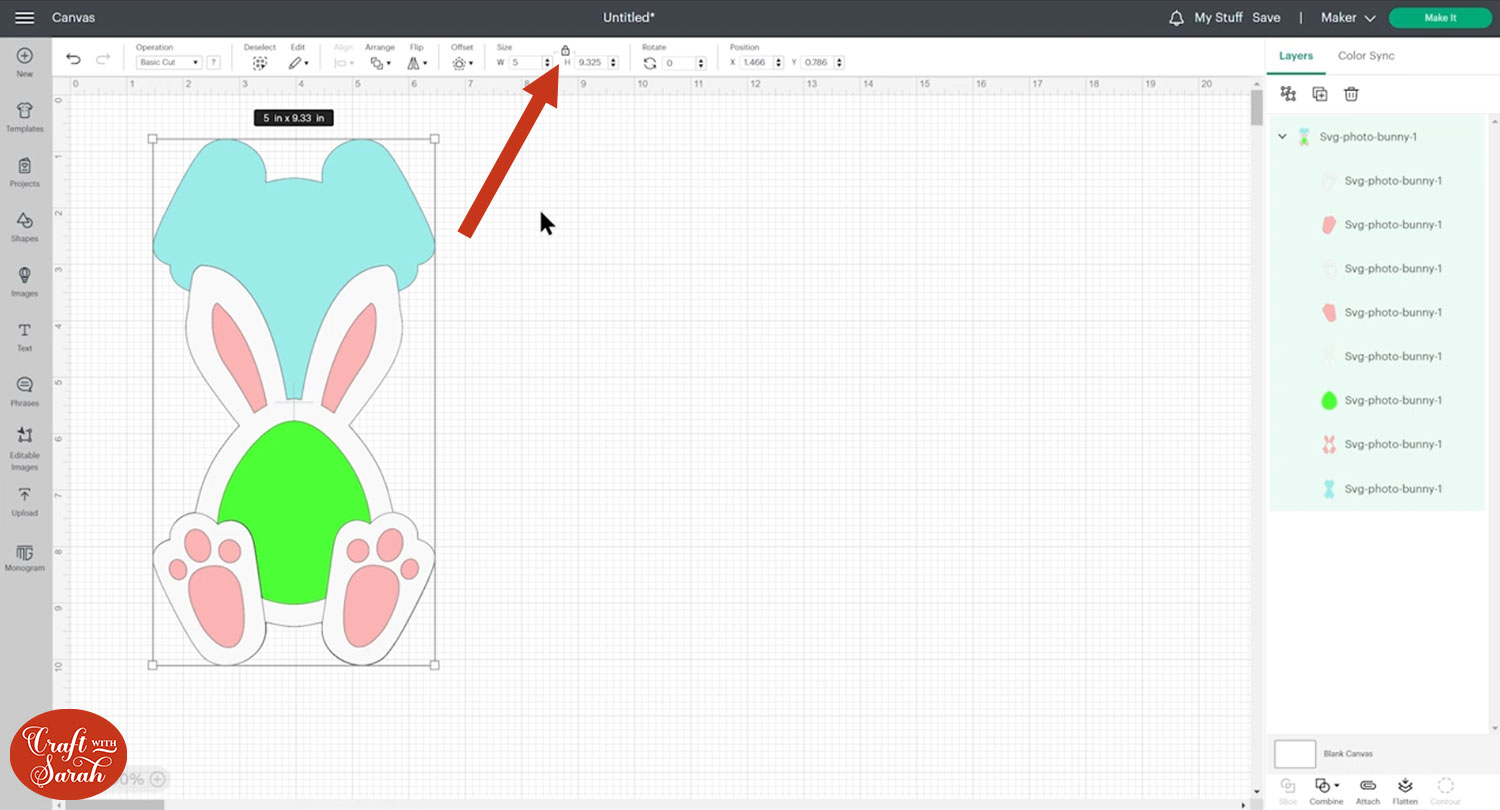
When you are done resizing, Ungroup the layers by clicking the design and then pressing “Ungroup” at the top of the layers panel.

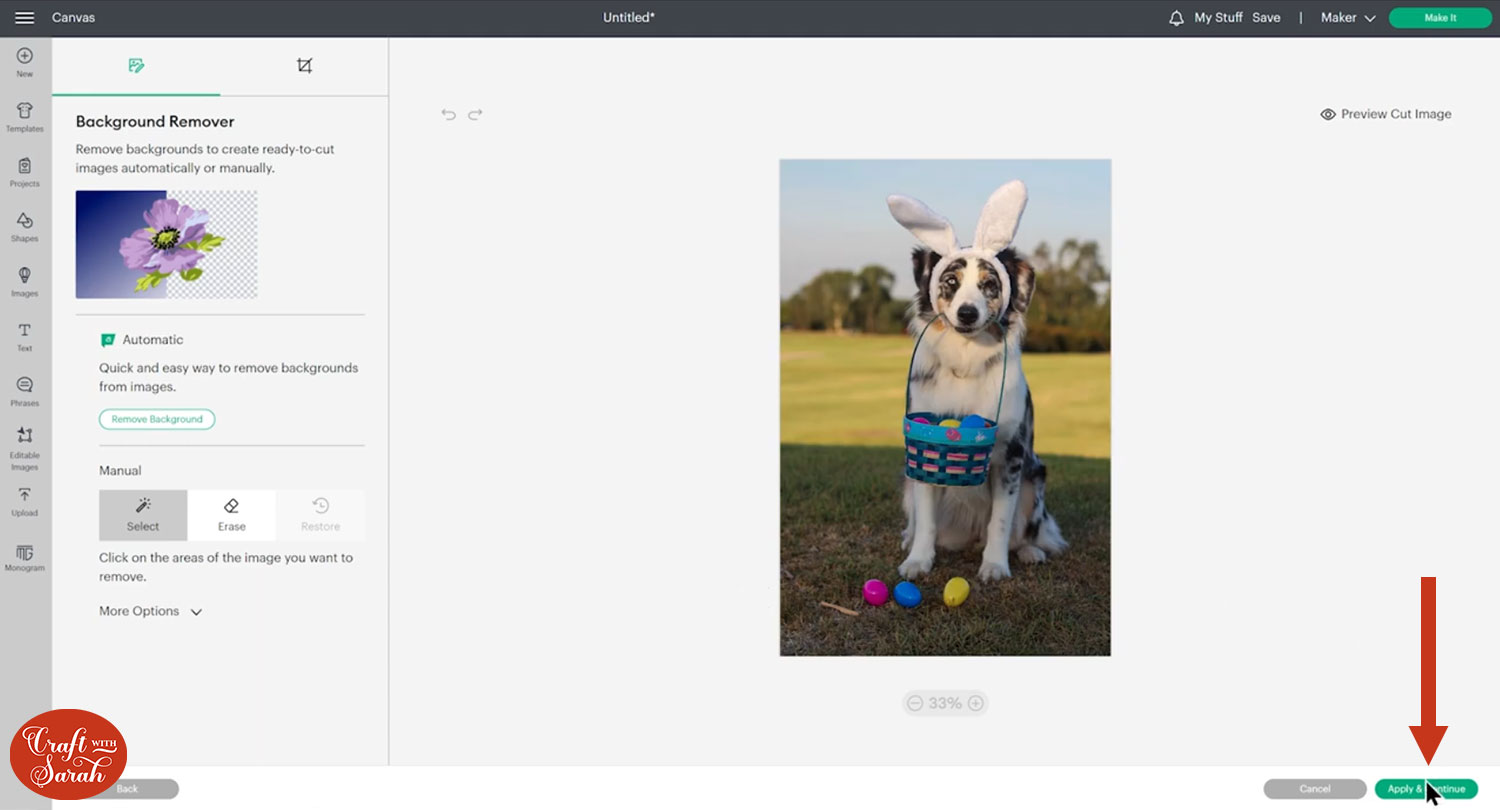
Step 3) Add the photo
Go to”Upload” and add your photo. Choose “Complex” as the image type.

You don’t need to change anything on the next screen, just click “Apply & Continue”.
Choose “Print Then Cut Image” and then add the photo to your project.
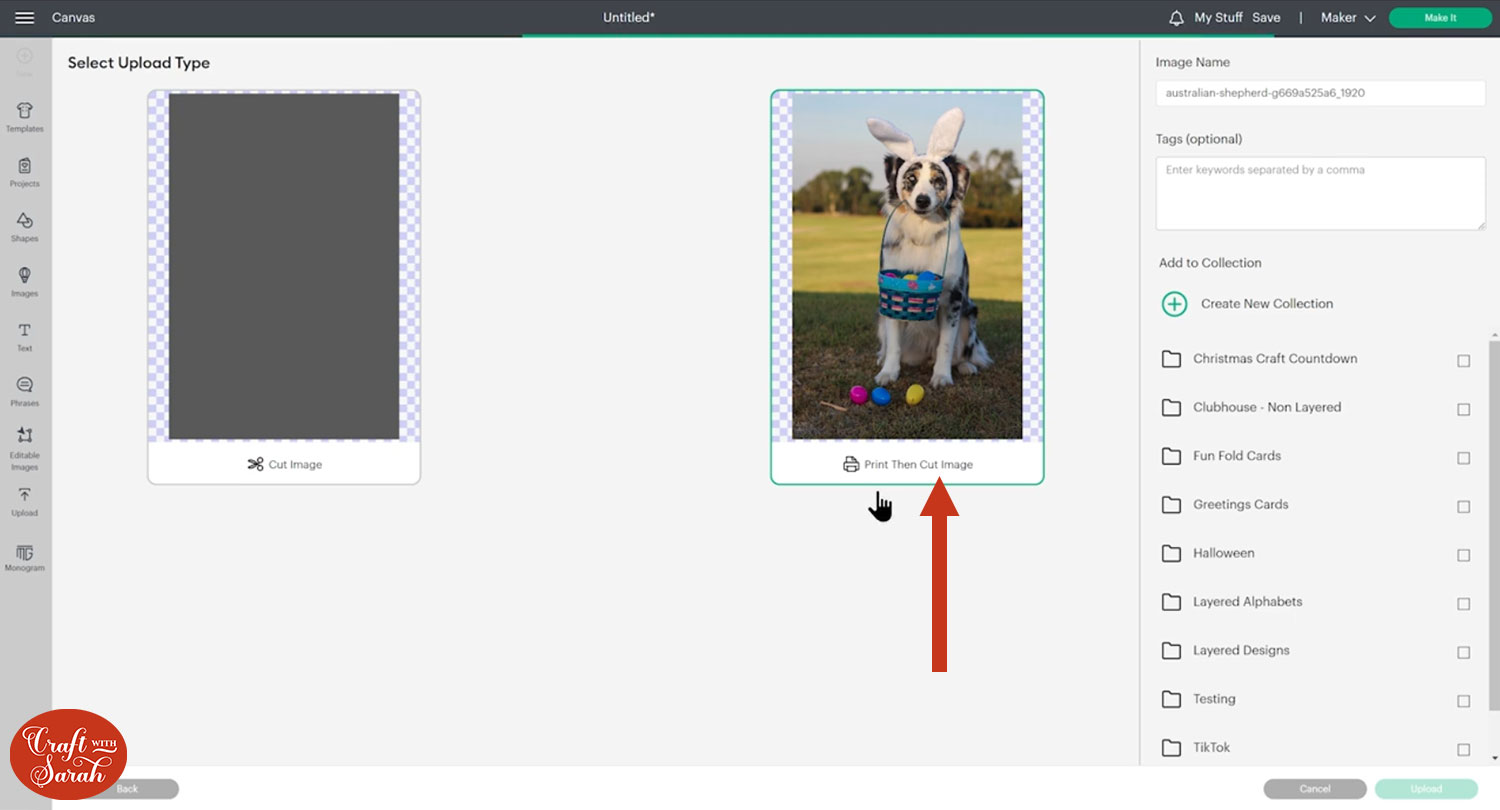
If your photo loads in really big, resize it a bit smaller to make it easier to work with.
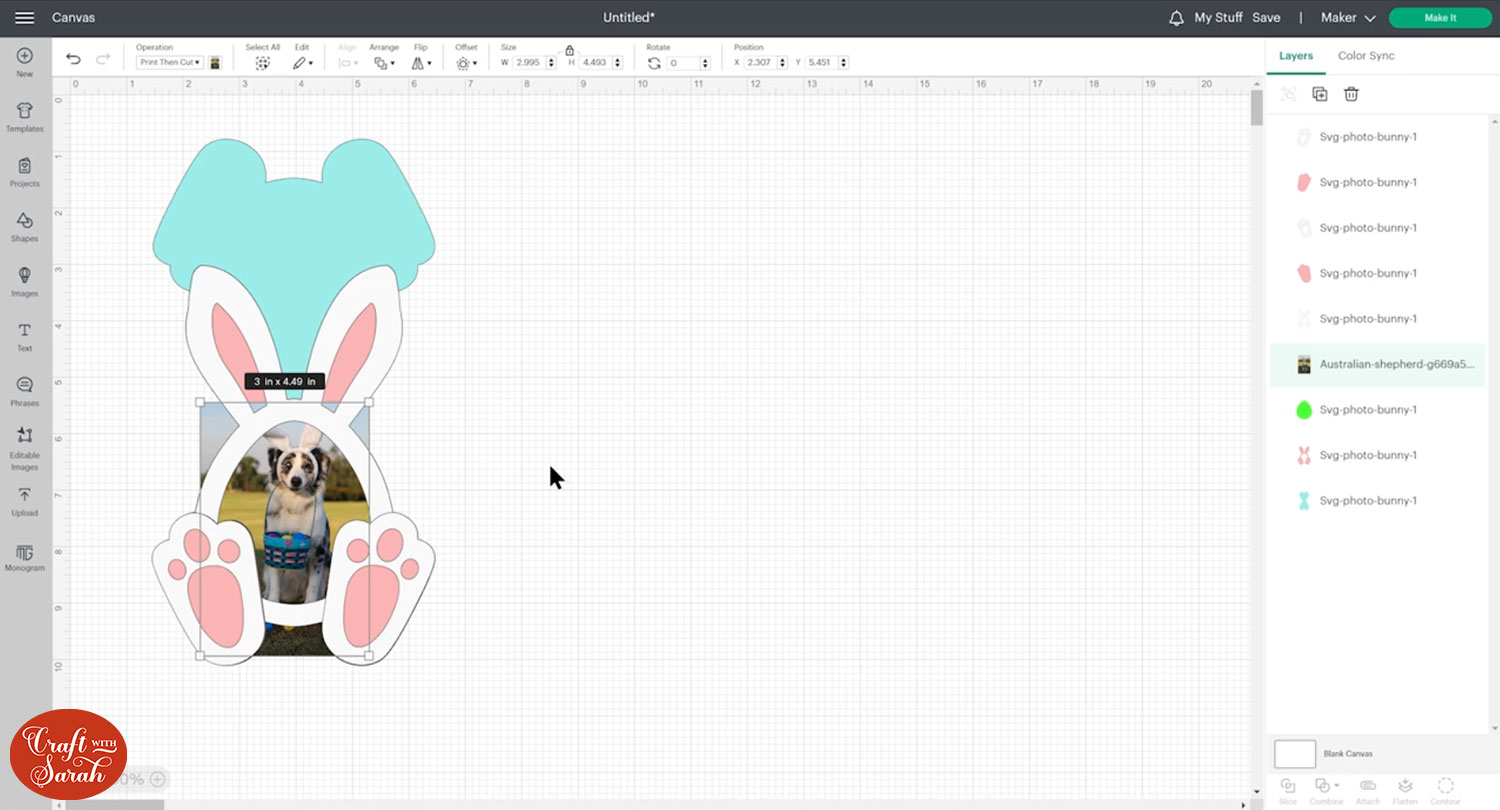
Drag the photo down in the layers panel so that it’s appearing on top of the green shape in the middle of the frame.

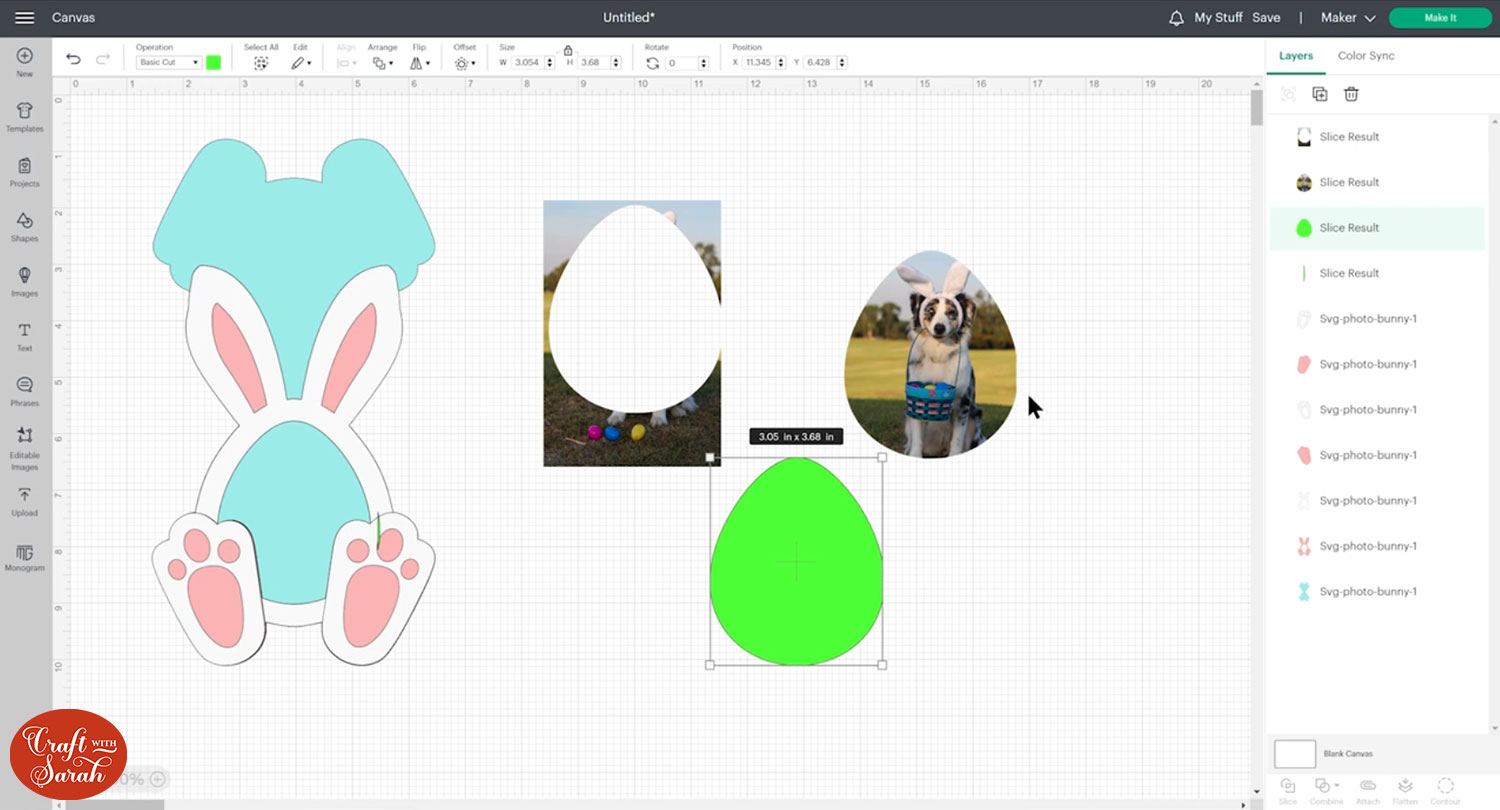
Move the photo over to the bunny and resize it until you are happy with how it looks in the shape.
Select your photo layer AND the green shape (press “Shift” on your keyboard to select multiple layers) and then press the “Slice” button at the bottom of the layers panel.
This will cut the green shape out of the photo.
You’ll be left with pieces which look like this:
Delete the green pieces and the “outside” part of the photo.
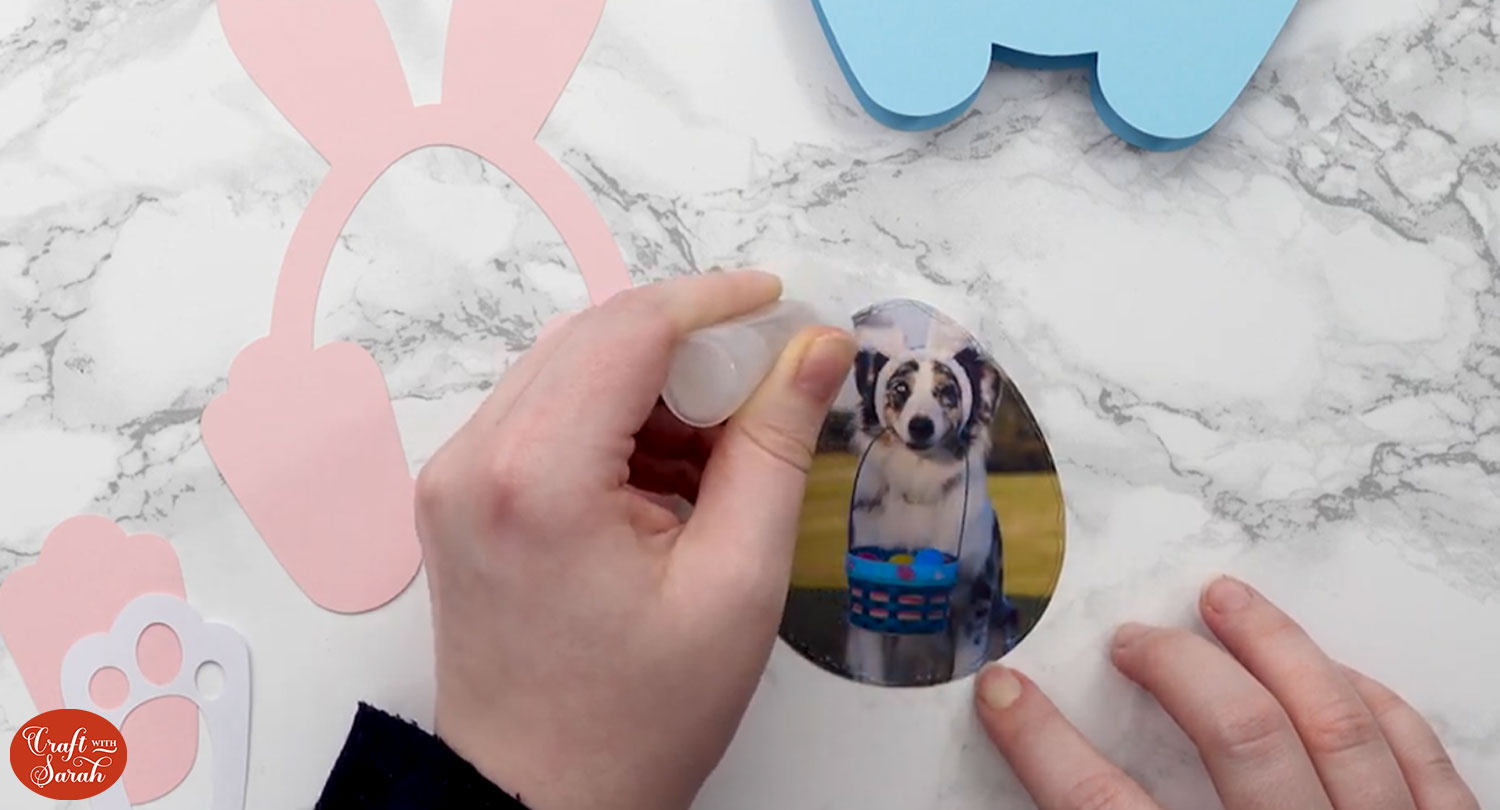
Drag the photo layer back down to above the base layer in the layers panel, then drag it back over to the bunny frame to double-check you are happy with how it’s looking.
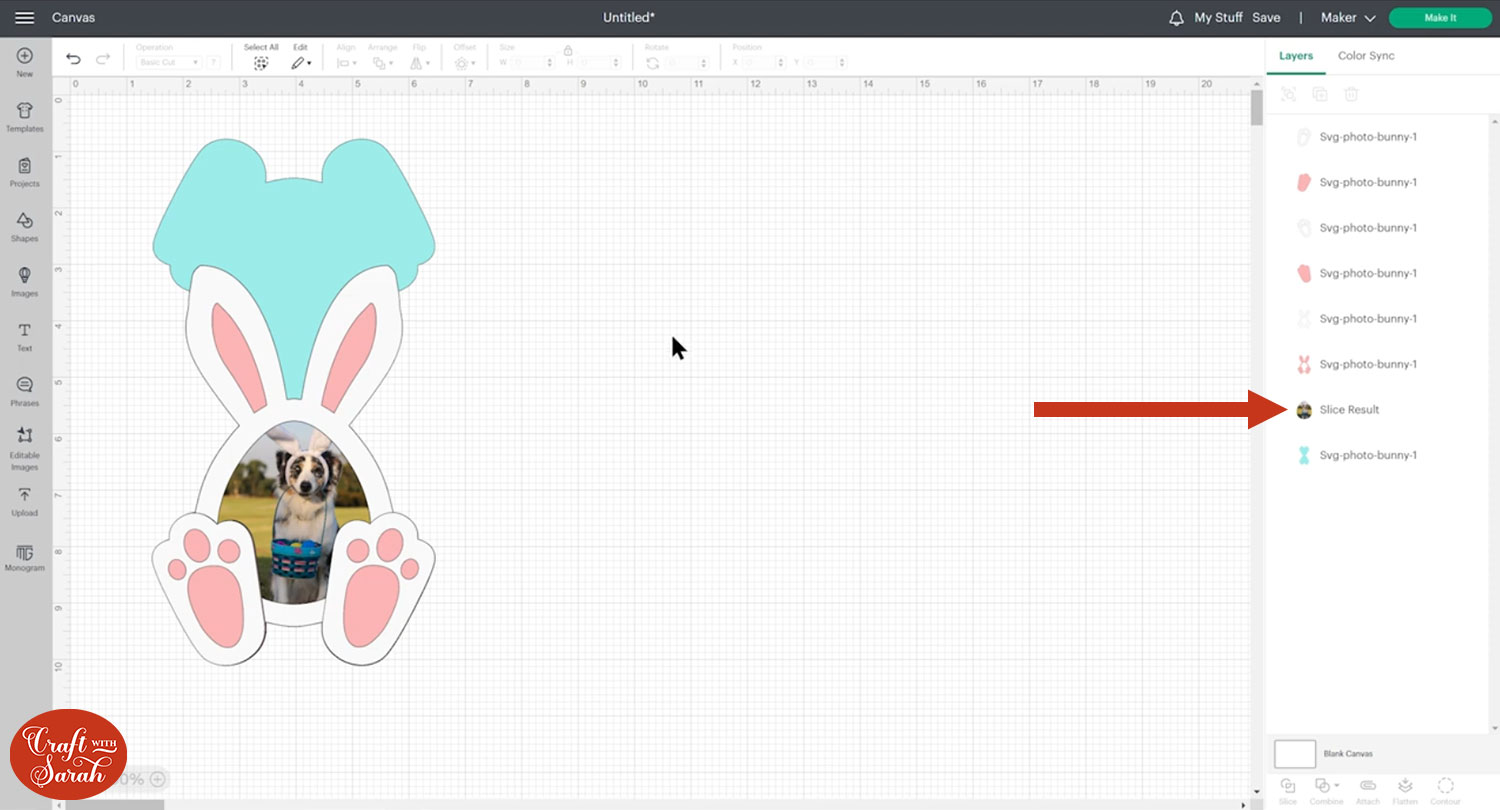
The photo cuts out a little bit larger than the “gap” in the bunny shape, so that we have somewhere to put the glue when it comes to sticking it together.
Step 4) Cut out the layers
Save your project, then click “Make It” and follow the instructions on-screen to get everything cut out with your Cricut.
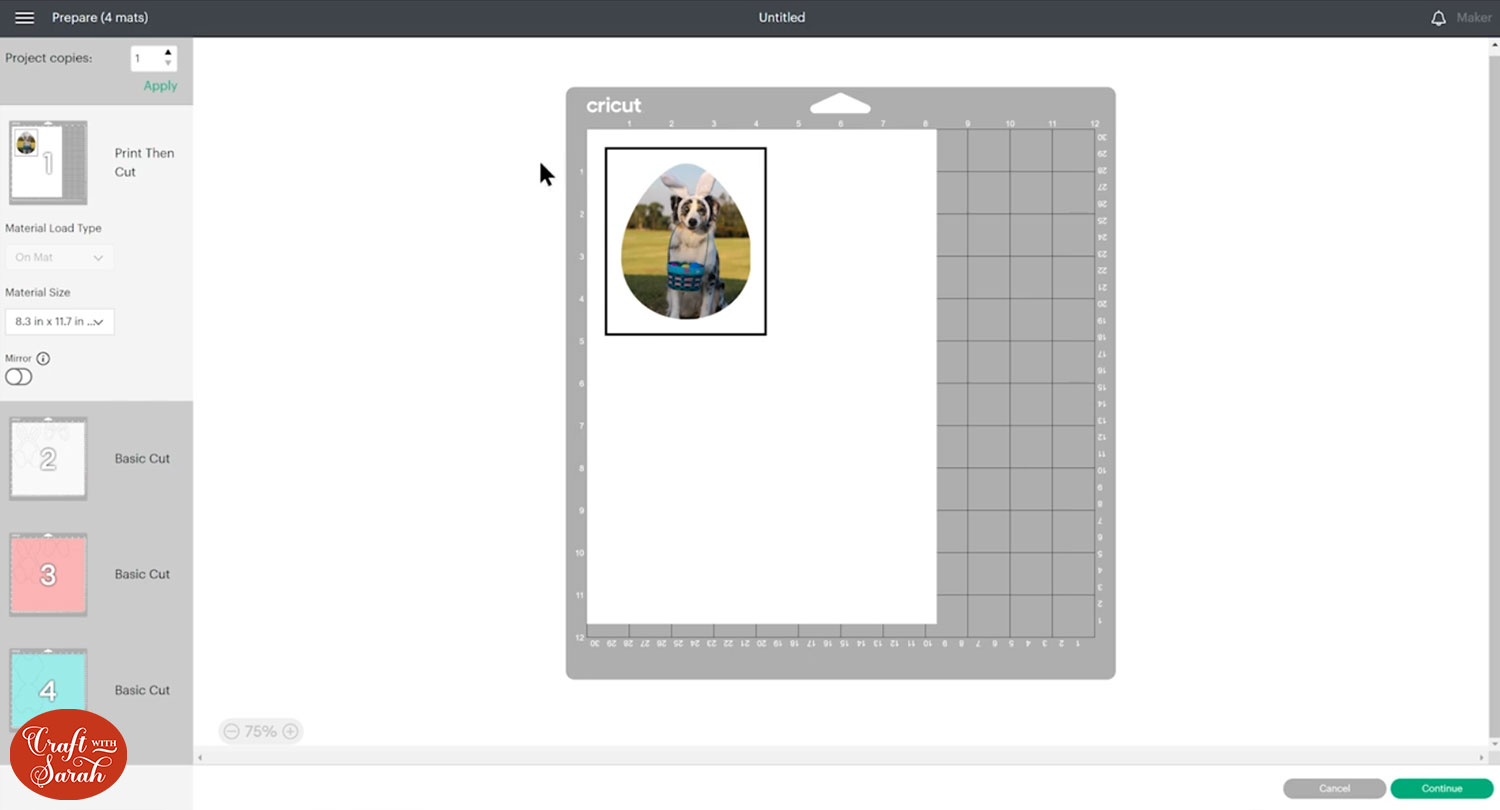
If you’re new to print then cut with a Cricut, check out this print then cut tutorial or watch the below video.
Note: Cricut are currently working on some changes to the print then cut feature, so your screen might look a little bit different to mine. The steps to print-then-cut remain the same, but instead of the black border around the photo, you might just see “corners”. These marks are how the Cricut sensors “read” the paper to know where to cut.
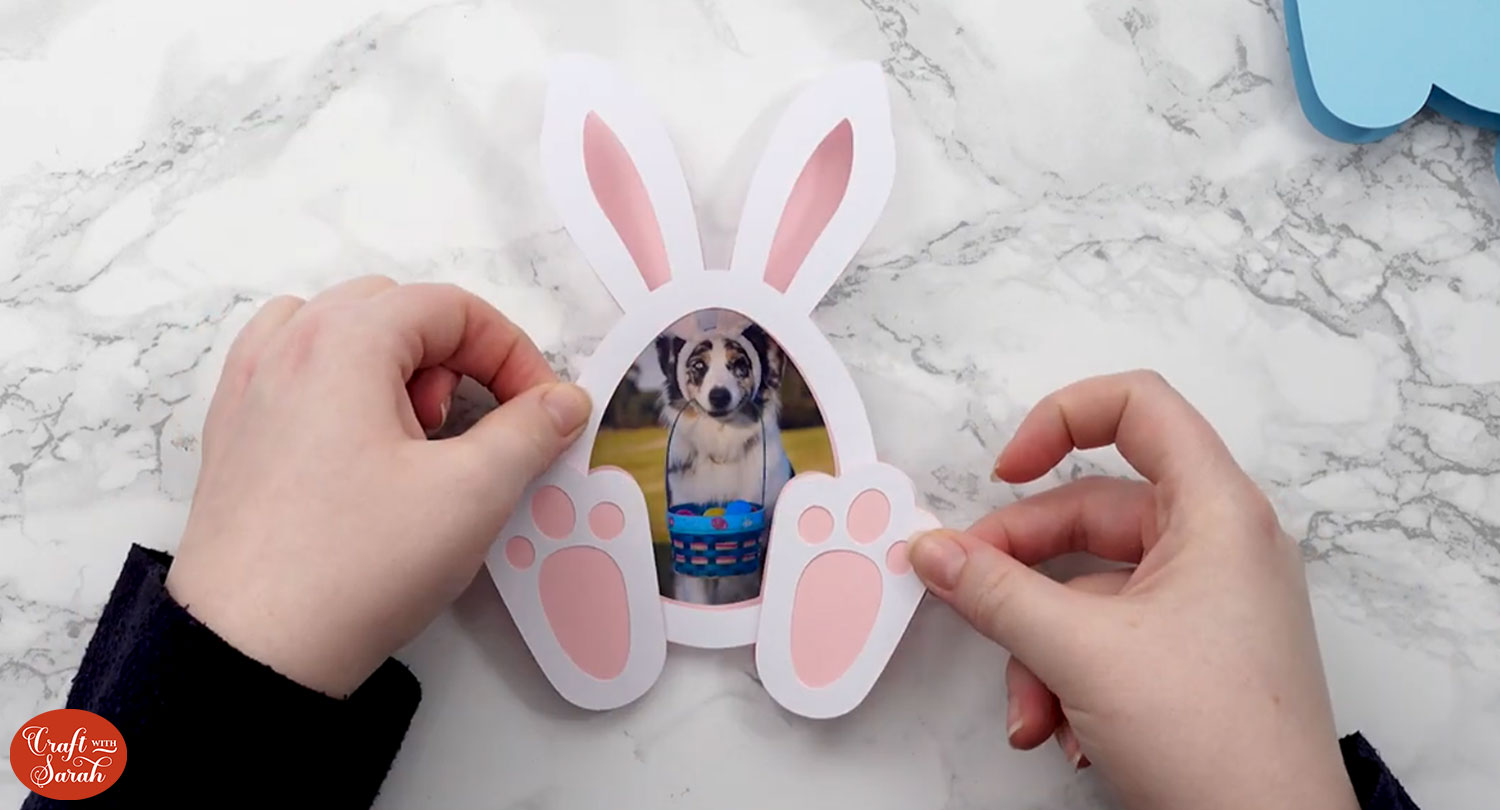
Step 5) Stick the photo holder together
Fold the base piece in half. This is how the frame ends up being free-standing.
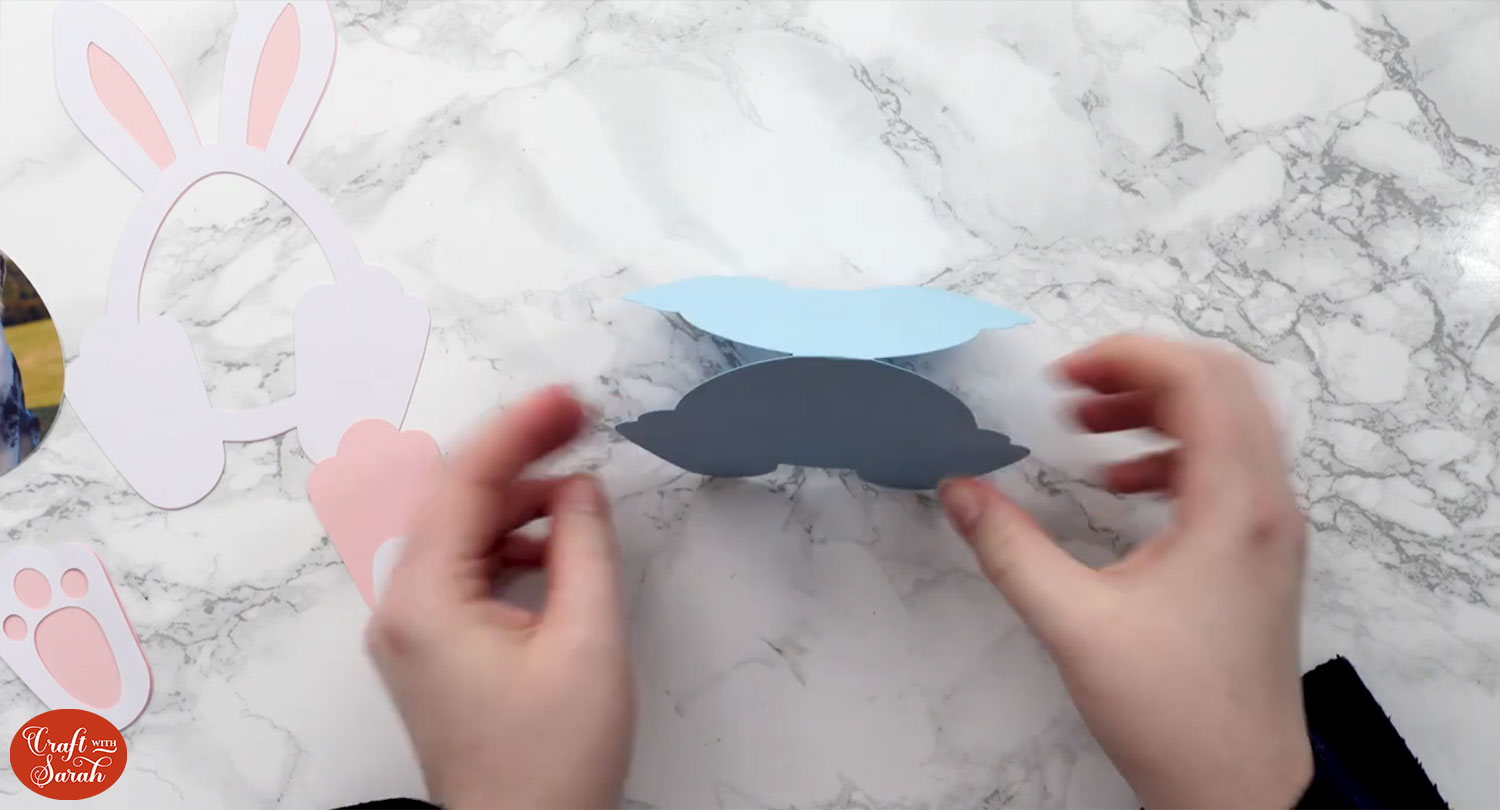
Add a thin border of glue around the edge of the photo.
Stick the frame on top. This is either blue or pink depending on the design you chose.

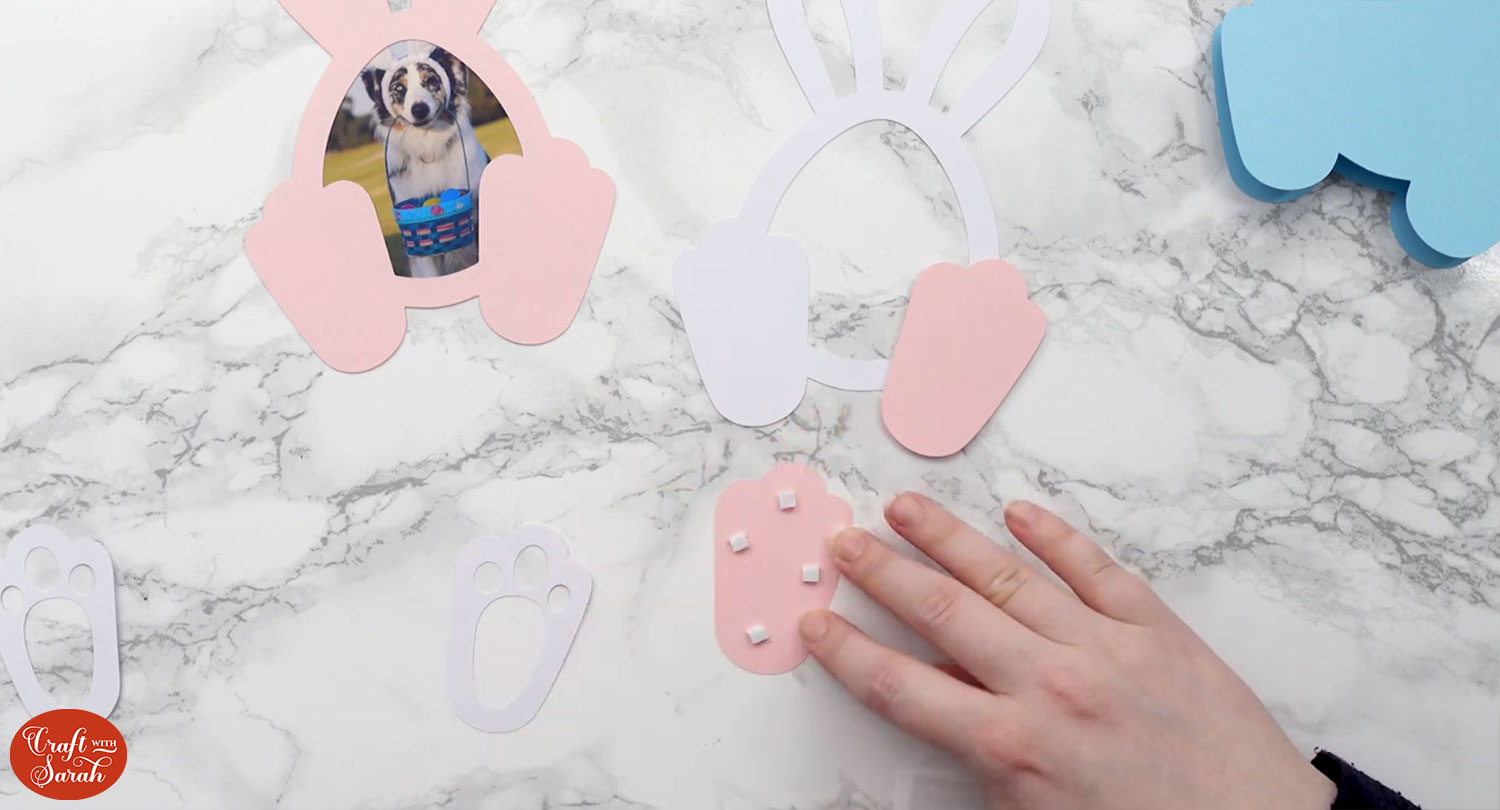
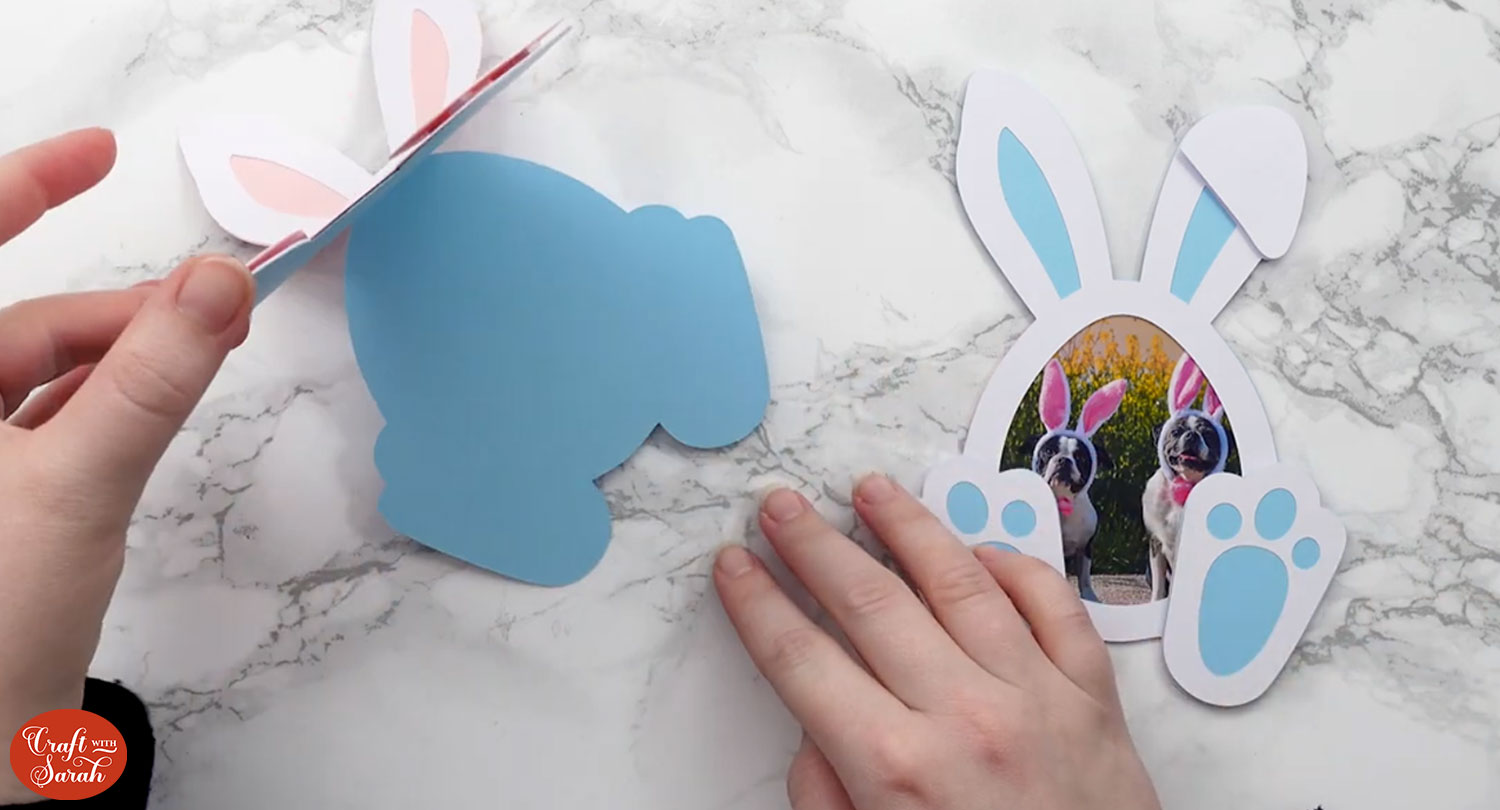
Attach the bottom layer of the feet to the white frame layer using foam squares.
Glue the tops of the feet.
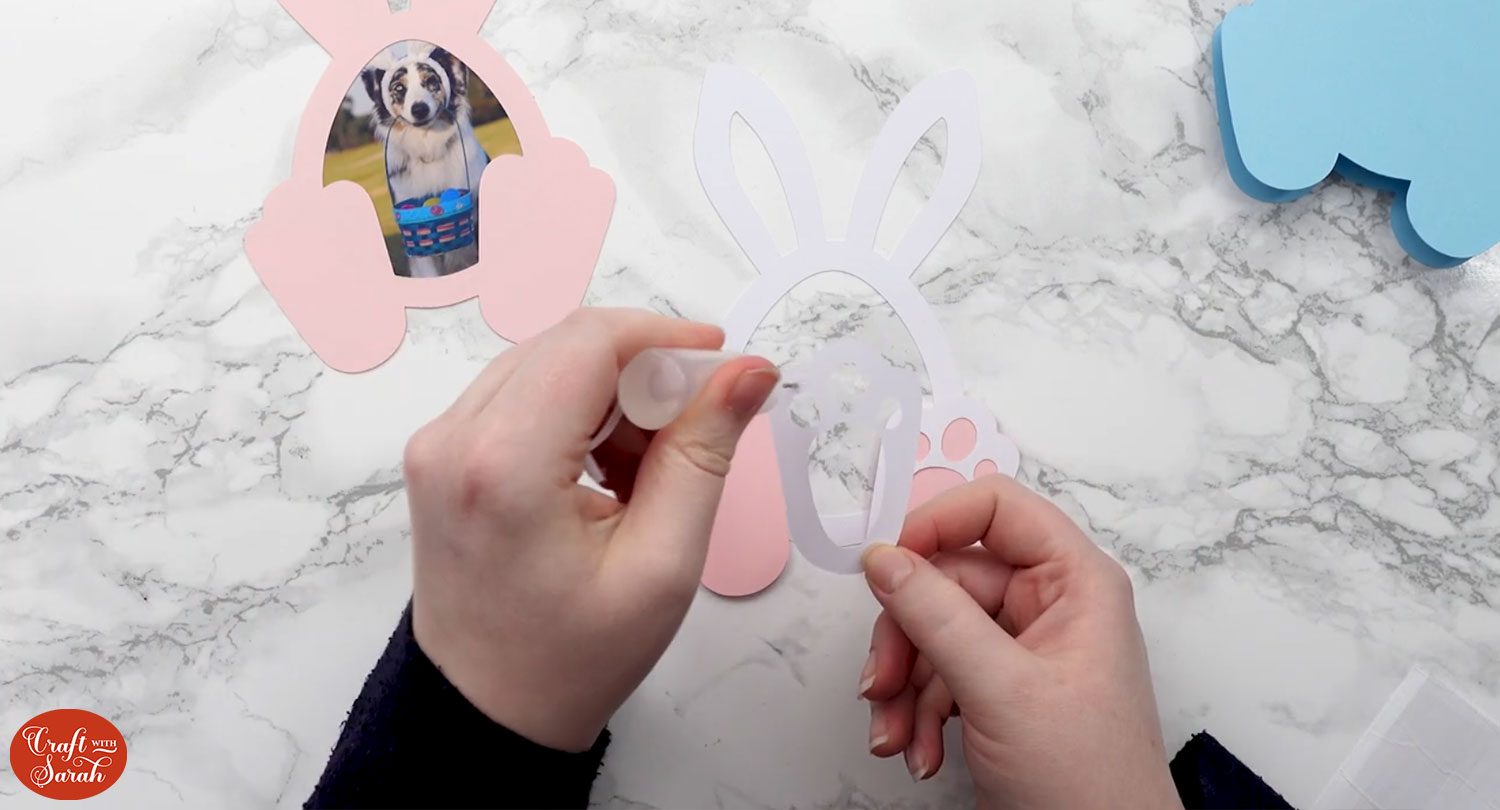
Glue the white frame layer to the coloured frame layer.
Glue the bunny to the folded card.
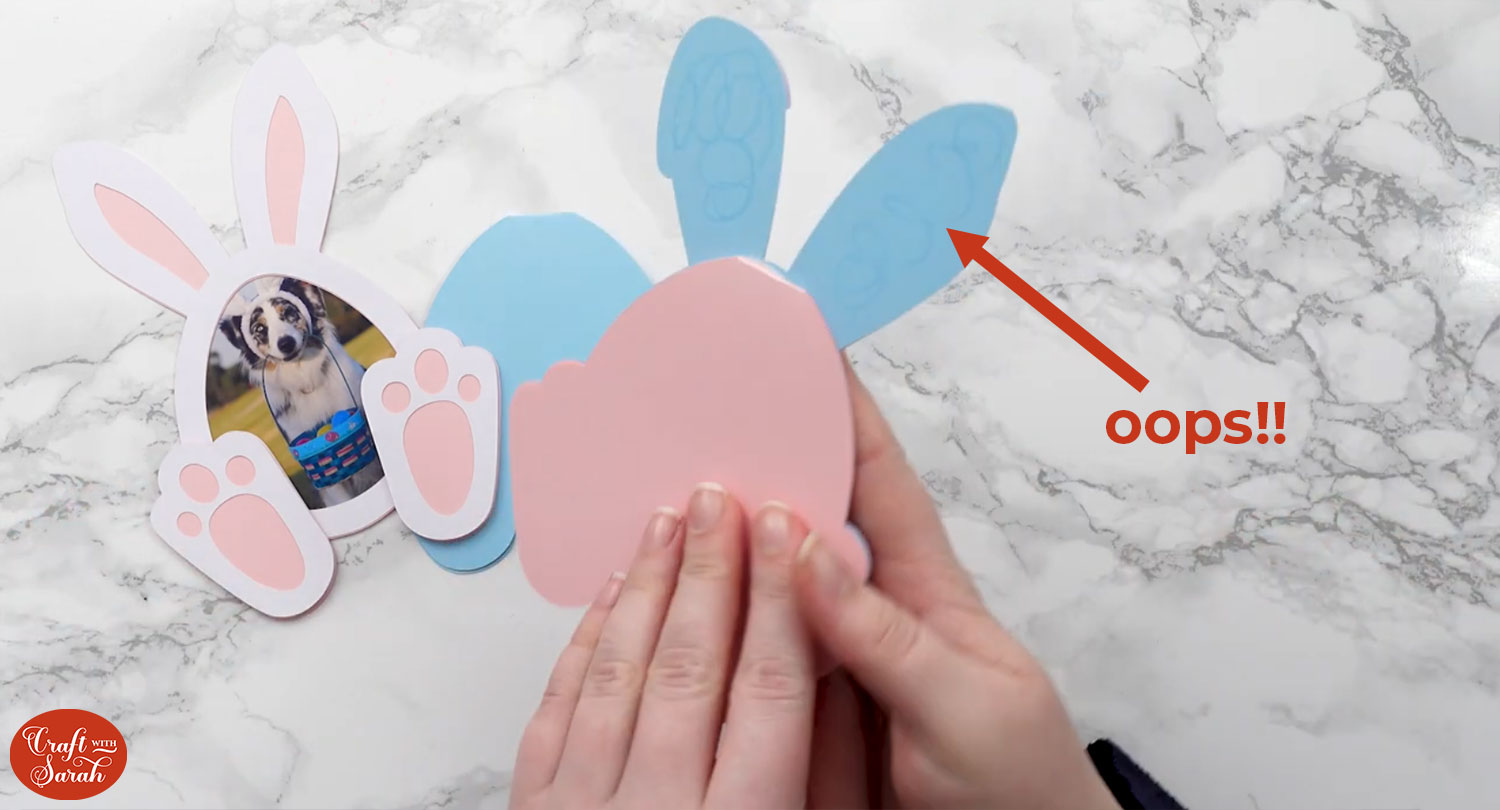
Don’t make the same mistake I did!! You don’t need to put glue on the “ear” shapes because they aren’t going to be stuck to anything… whoops!!
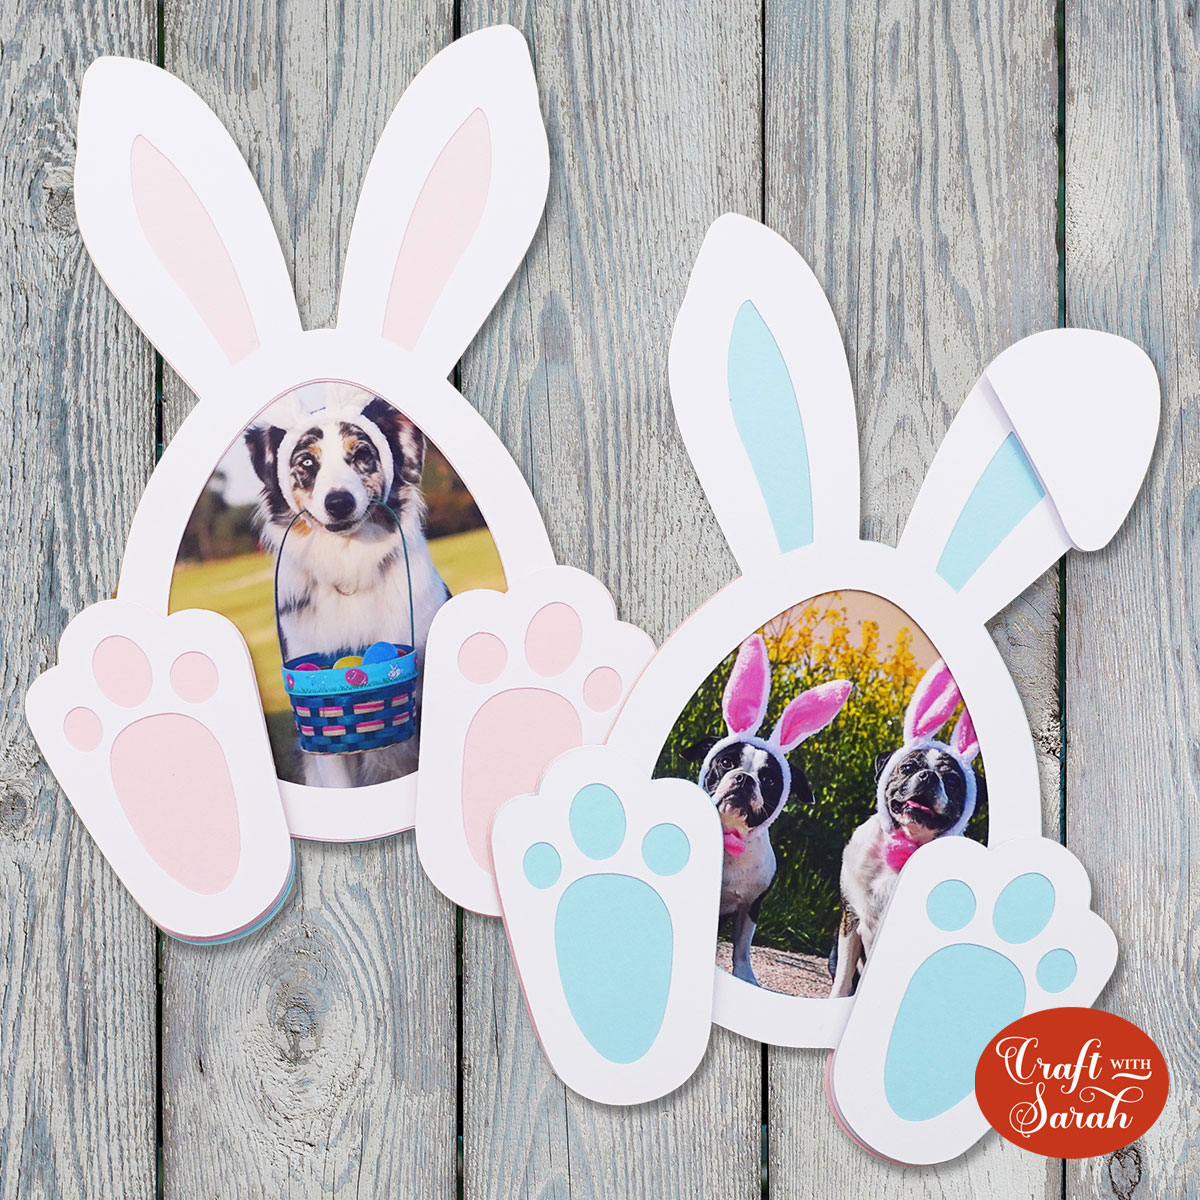
Your add-a-photo Easter bunny frames are now finished!
You could use them as greetings cards and write a message inside.
I hope you enjoyed this tutorial on how to make the cute little bunny photo holders!
For more print-then-cut projects, check out these tutorials:
- Spring gnome popout card
- Eclipse cards
- Family portrait wall art
- How to use digital stamps
- Rainbow bridge memory frame
Happy crafting,
Sarah x

