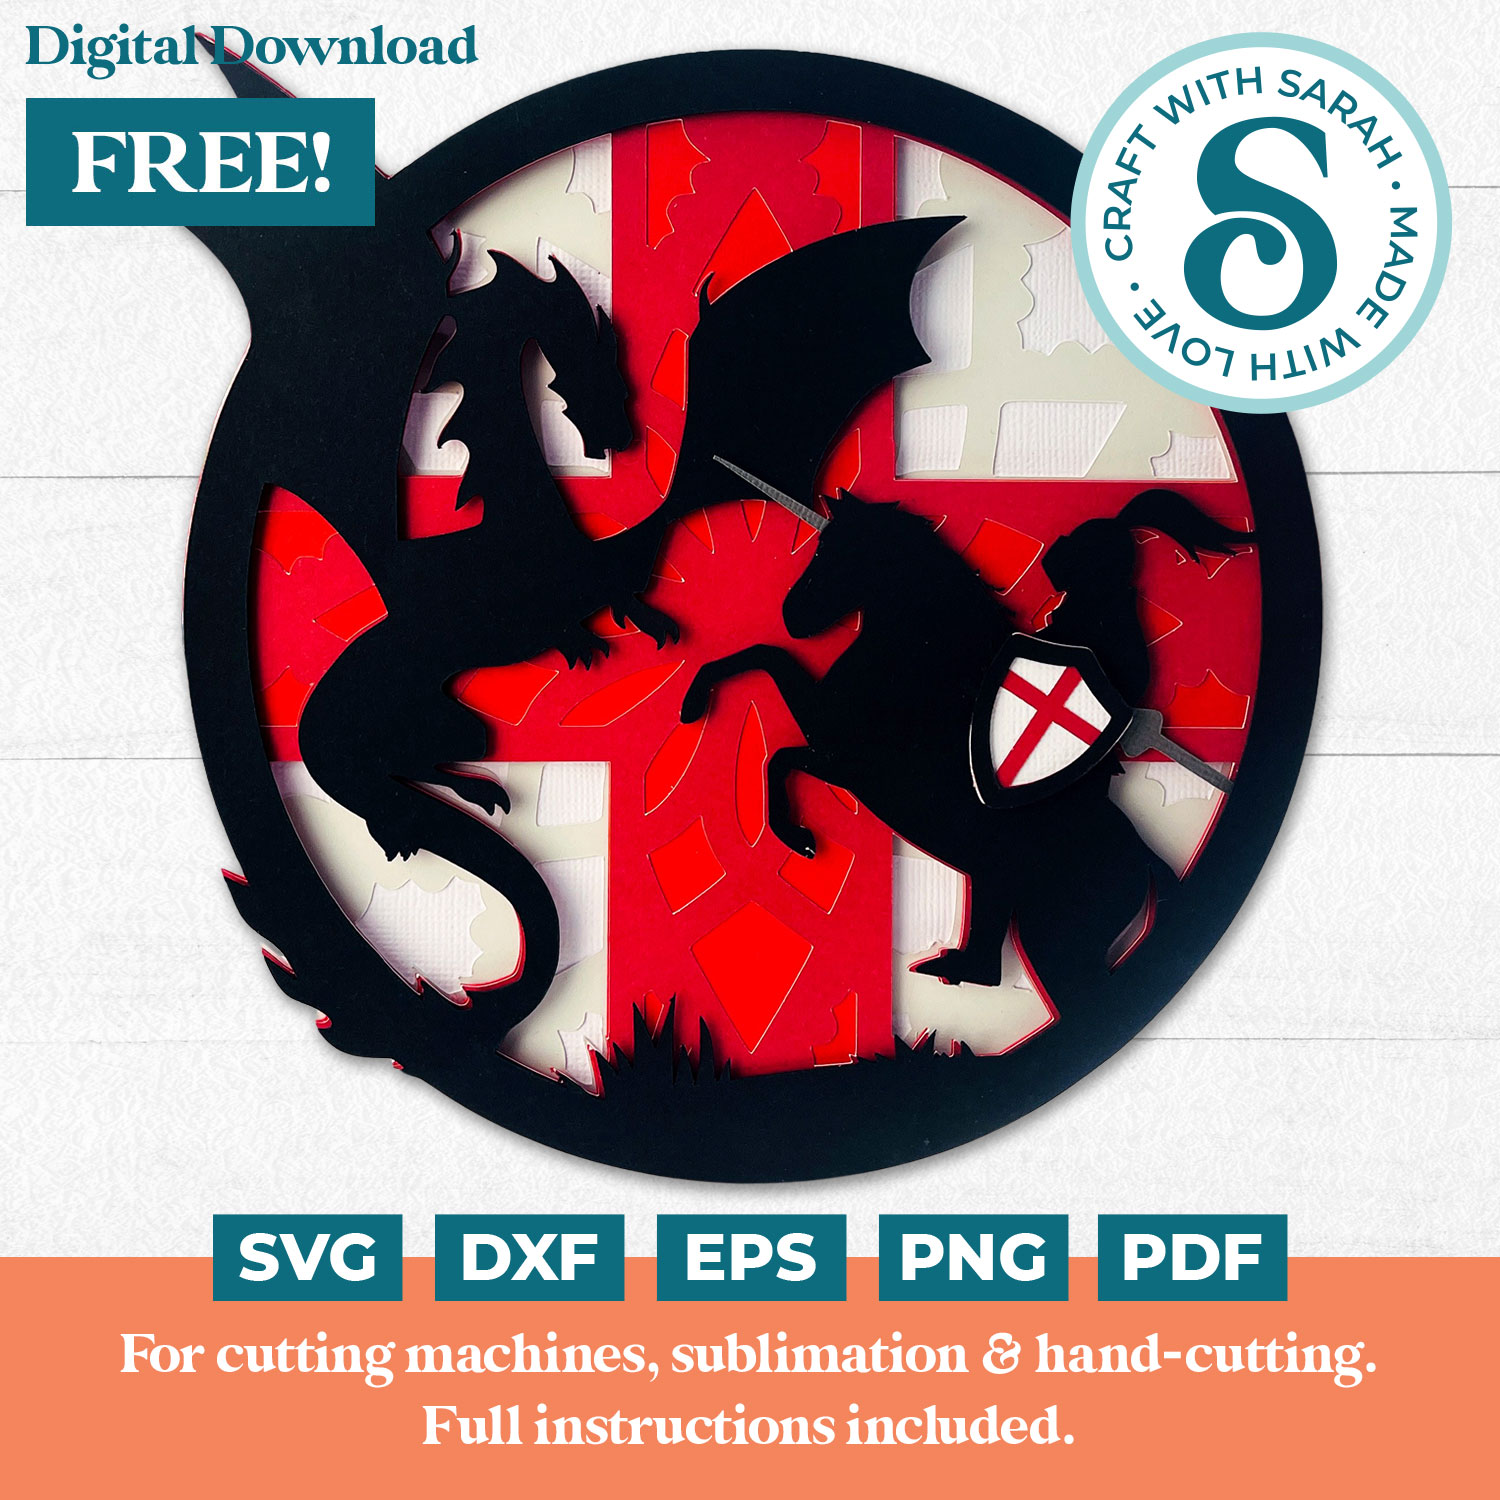
FREE St George’s Day SVG 🐲 St George & the Dragon
Celebrate St George’s Day in style with this free patriotic SVG.
St George’s Day is nearly here and it’s the perfect excuse to get crafting this bold, patriotic design.
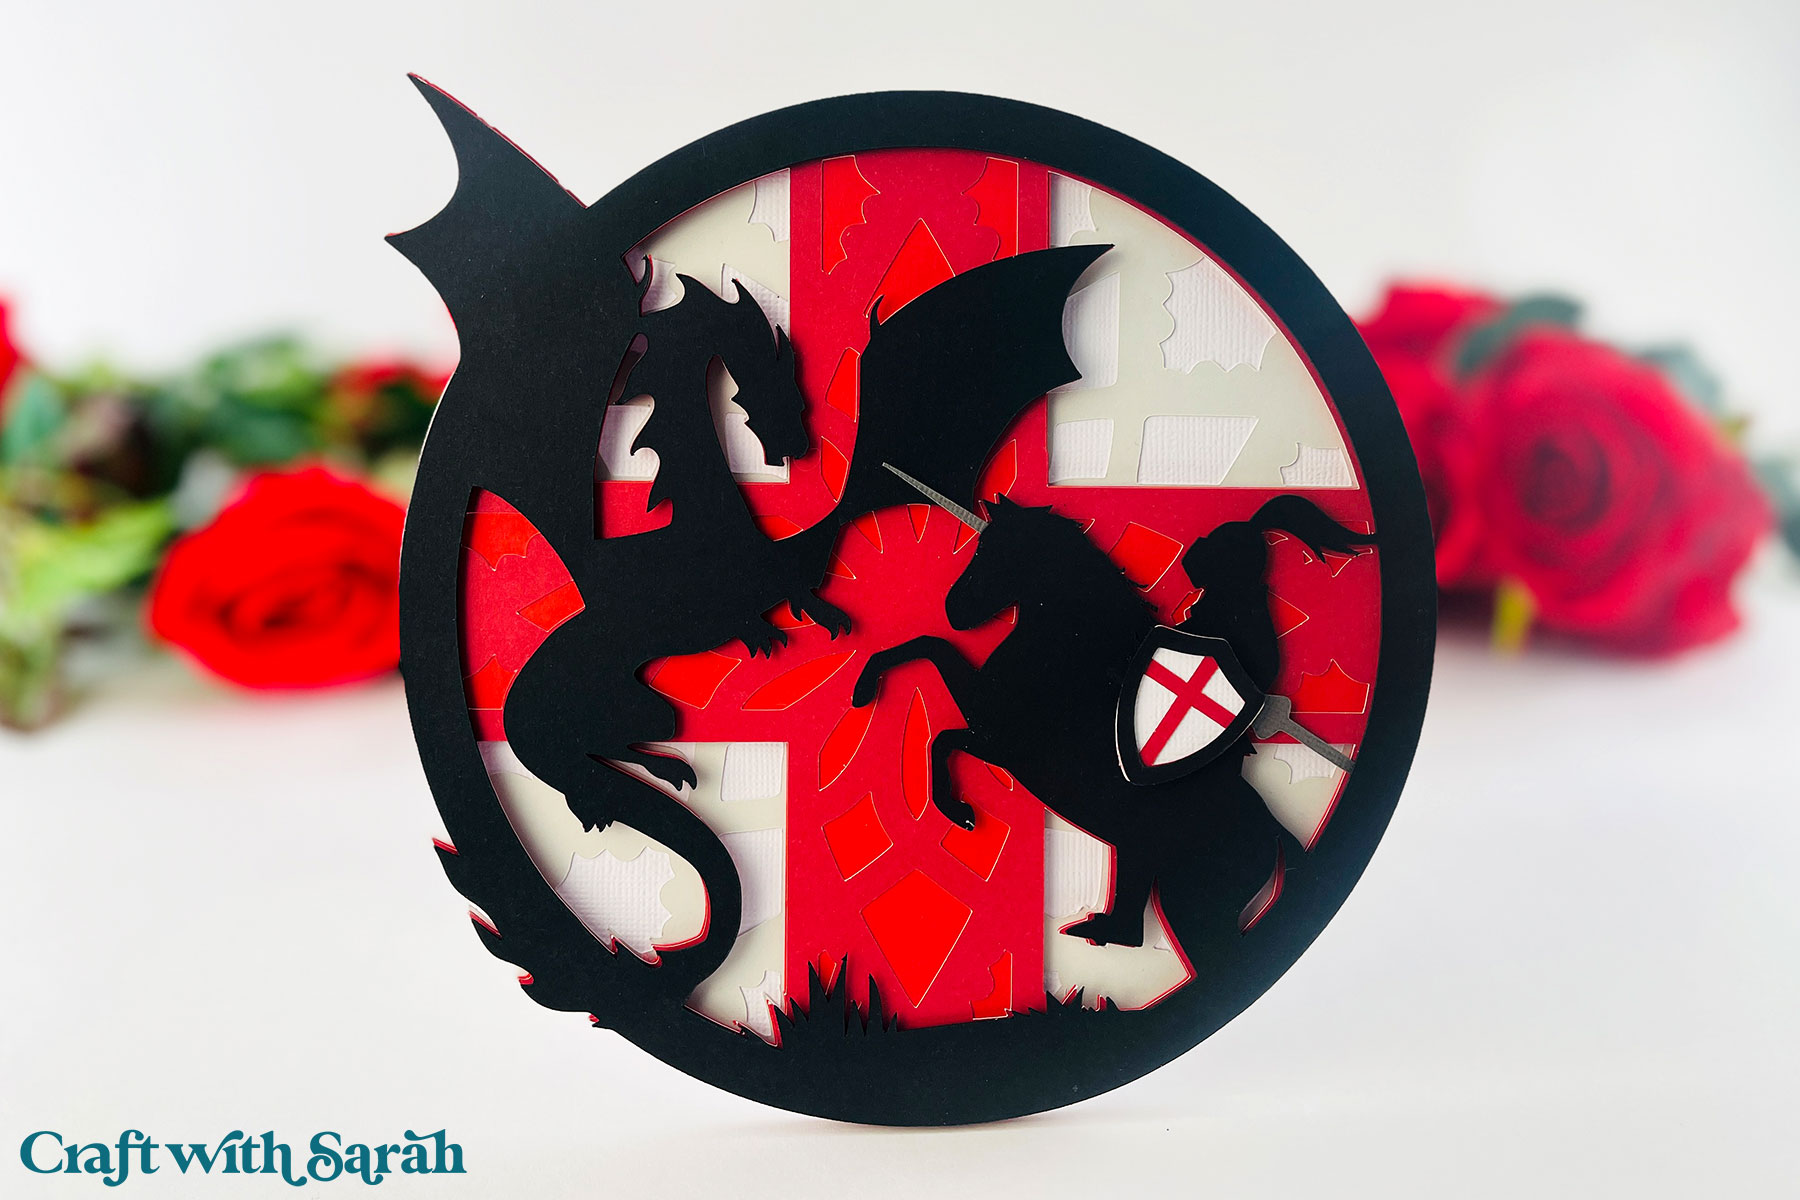
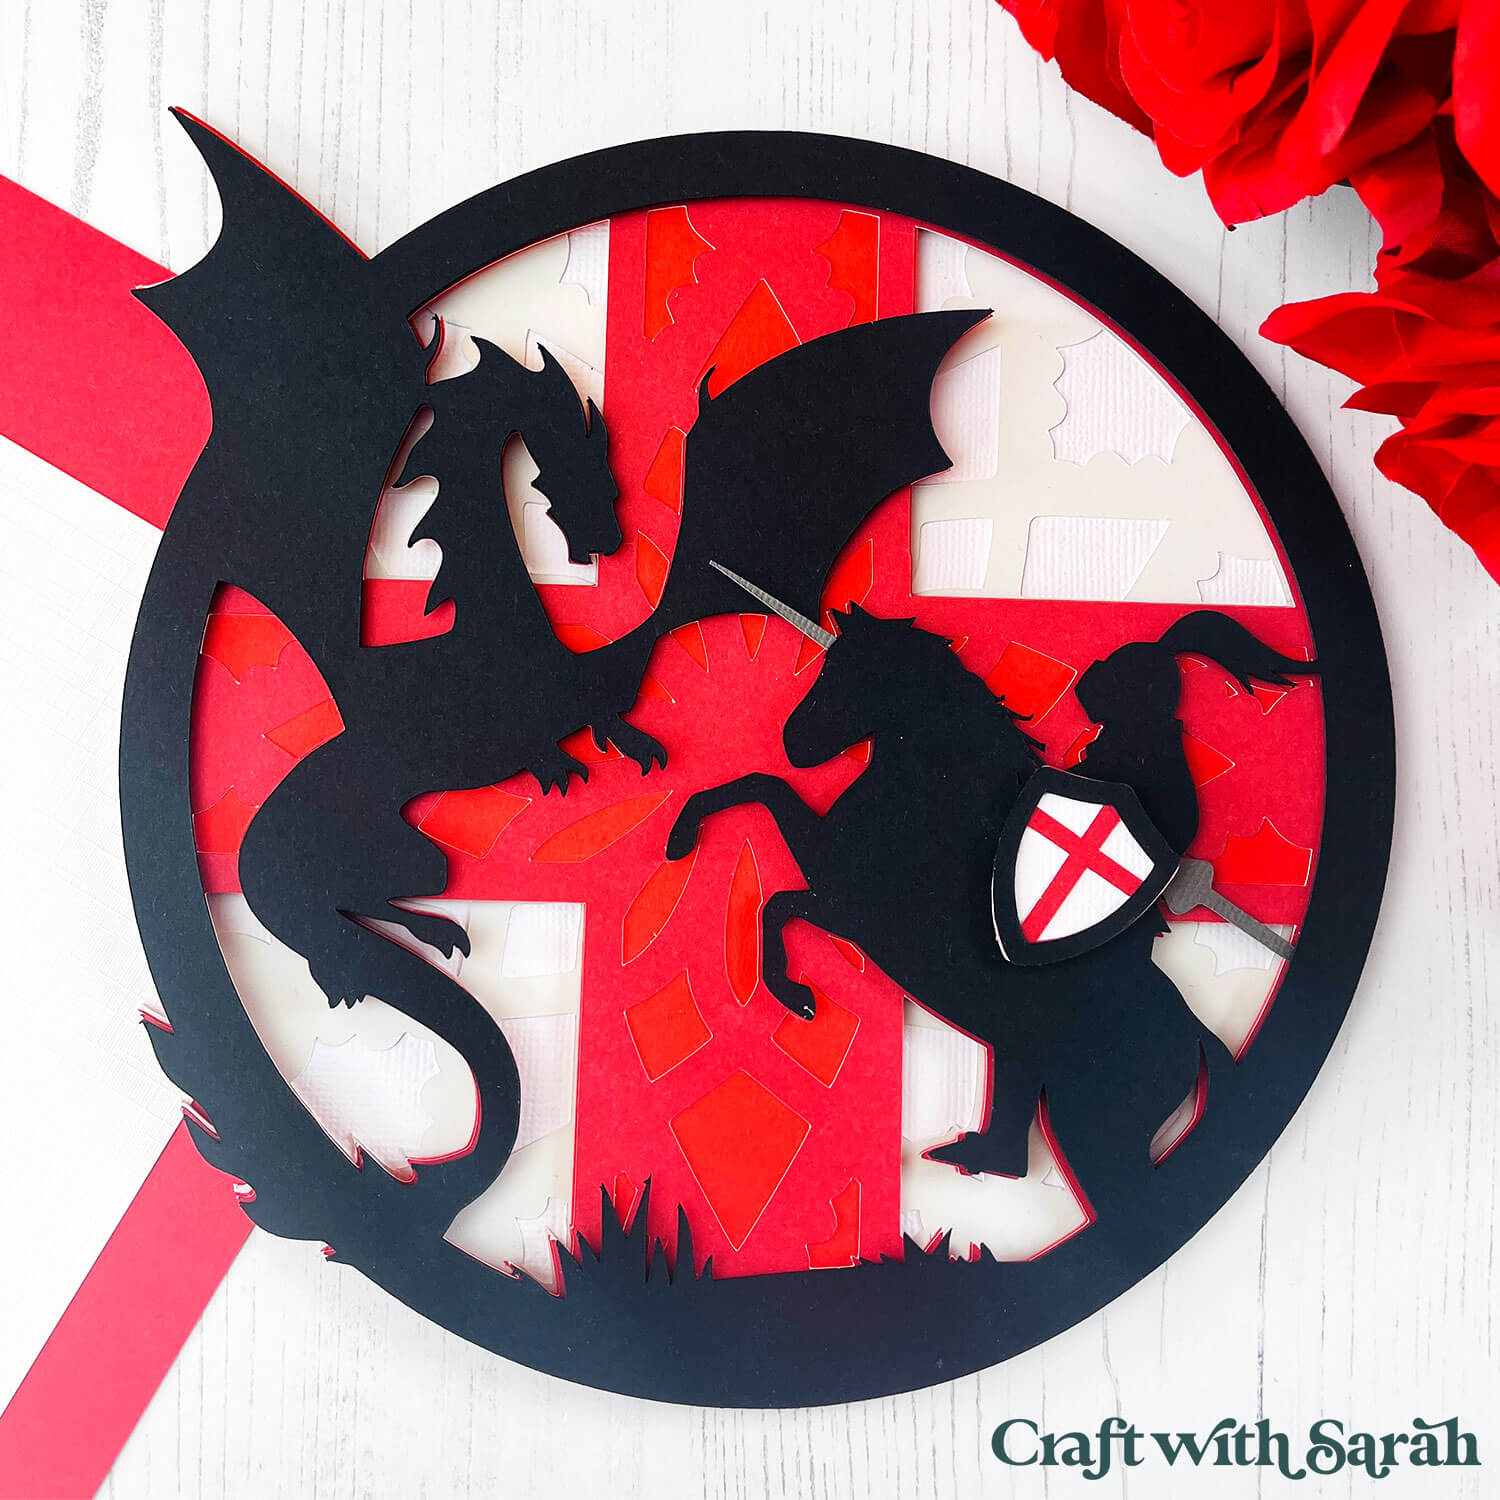
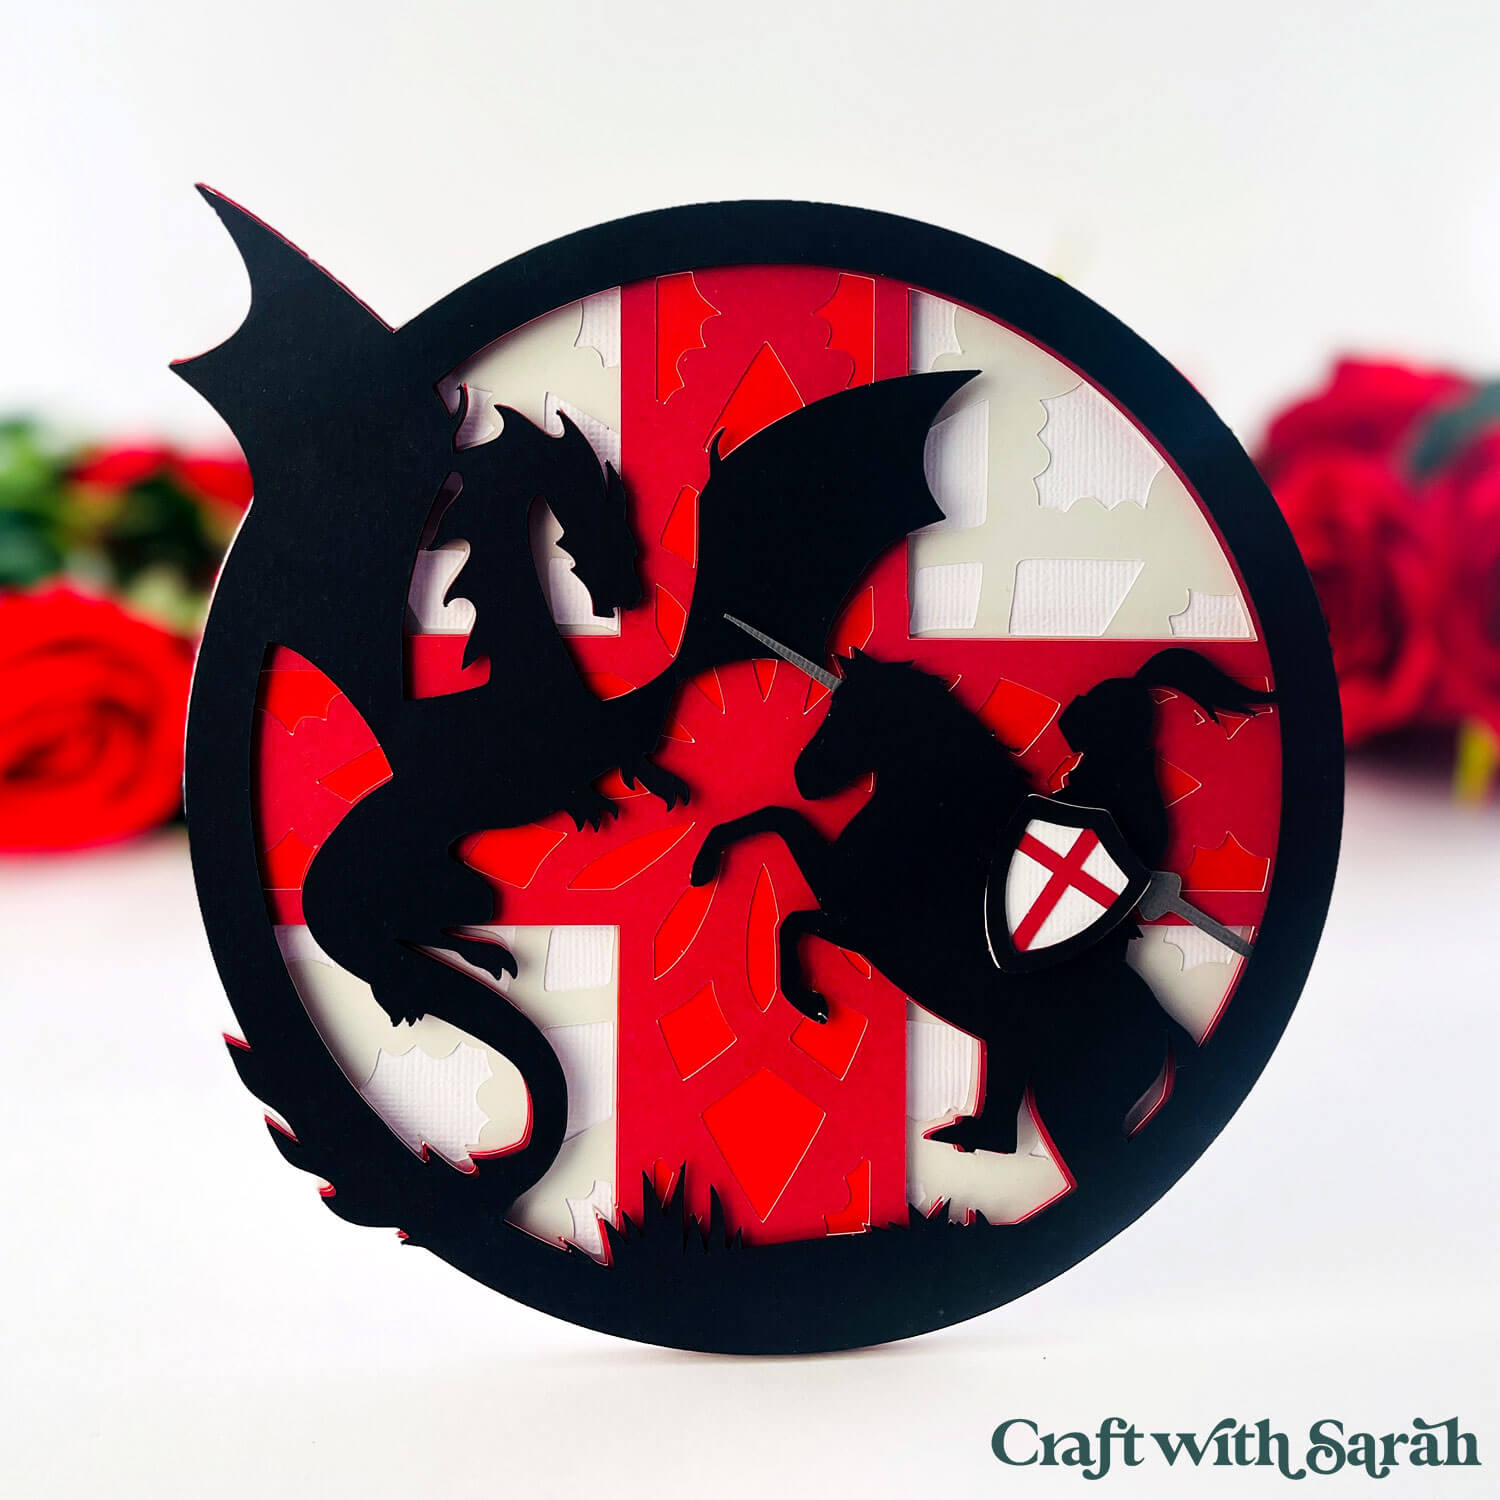
In this tutorial, we’re making a striking silhouette-style papercraft featuring St George (the Patron Saint of England) on horseback battling a dragon, set against the red and white English flag. It’s a powerful, iconic image and you can download the SVG for free to make your own version at home.
Not familiar with the story? The legend of St George is one of bravery, strength, and triumph over evil. According to the tale, St George saved a town (and a princess!) from a fearsome dragon, armed with nothing but his courage and his sword.
It’s a story that’s been passed down for centuries and has become a proud symbol of heroism and honour in English tradition.
The layered cardstock design is easy to cut on your Cricut or other type of cutting machine. Keep it classic or add a little sparkle with glitter or foil cardstock.
Follow along with the tutorial below to bring this legendary scene to life! 🐉⚔️
Video tutorial for St George’s Day craft
Watch the video below to see how to make this craft project. Keep scrolling for a written tutorial.
Materials list for knight on horseback project
Here is a list of the materials that I used to make this project.
Please note that some of the links included in this article are affiliate links, which means that if you click through and make a purchase I may receive a commission (at no additional cost to you). You can read my full disclosure at the bottom of the page.
- Cricut Machine
- Light blue Cricut cutting mat
- Coloured Card
- Collall All Purpose Glue, Bearly Art Glue or similar
- 3D foam pads
Layered English Patron Saint SVG assembly instructions
Here’s how to make the St George’s Day SVG design using a Cricut machine.
Step 1) Download the free file & unzip the downloaded folder
Download the Free Cutting File
Please login to your account to download this file.
TERMS OF USE:
You may sell finished, handmade physical craft items that you have made using this product but must not sell or share the digital files. Read full terms of use
Before you upload the SVG to Design Space, you need to unzip the download folder that it comes in.
- How to unzip a folder on Windows computer
- How to unzip a folder on a Mac
- How to unzip a folder on an iPad/iPhone
- How to unzip a folder on an Android device
Step 2) Upload the SVG file into Design Space
Open up Cricut Design Space and choose one of the files in the “01 Cricut Version” subfolder.
The file is called svg-01-st-georges-day-craftwithsarah.svg
Make sure you upload the file which starts svg- in the filename!!
This is how it should look after you have selected the file:

Don’t worry if the image preview appears blurry – it’s a bug/glitch in Design Space at the moment.
Press “Upload” on the next screen.

After uploading, the design should be automatically inserted onto your Canvas.

If not, it will show under “Uploads” in your “Recently Uploaded Images”. Click on it and then press “Add to Canvas” to put it onto your Project.
Click the design on your canvas and use the width/height boxes near the top of the screen to make it the size that you want to cut it.

If you would like to make a simpler design then click the arrow next to the design name in the layers panel on the right-side of the screen.
Hover your mouse over the second layer from the bottom and then click the eye icon that appears to hide that layer.
Do the same for the fourth layer from the bottom.
That will hide the mandala details on the cross background.

The below video has some tips on how to frame your craft project, including my Number One hack for making sure that your design will fit perfectly every time without wasting any of your craft materials.
Step 3) Cut the design
When you’re happy how the dragon SVG is looking in Design Space, click “Make” and follow the instructions on-screen to cut out all the layers.
Change the paper size with the dropdowns on the left of the screen. You need to change it for every colour.

You can drag-and-drop the pieces on the screen to move them about to take up less space on your cardstock.

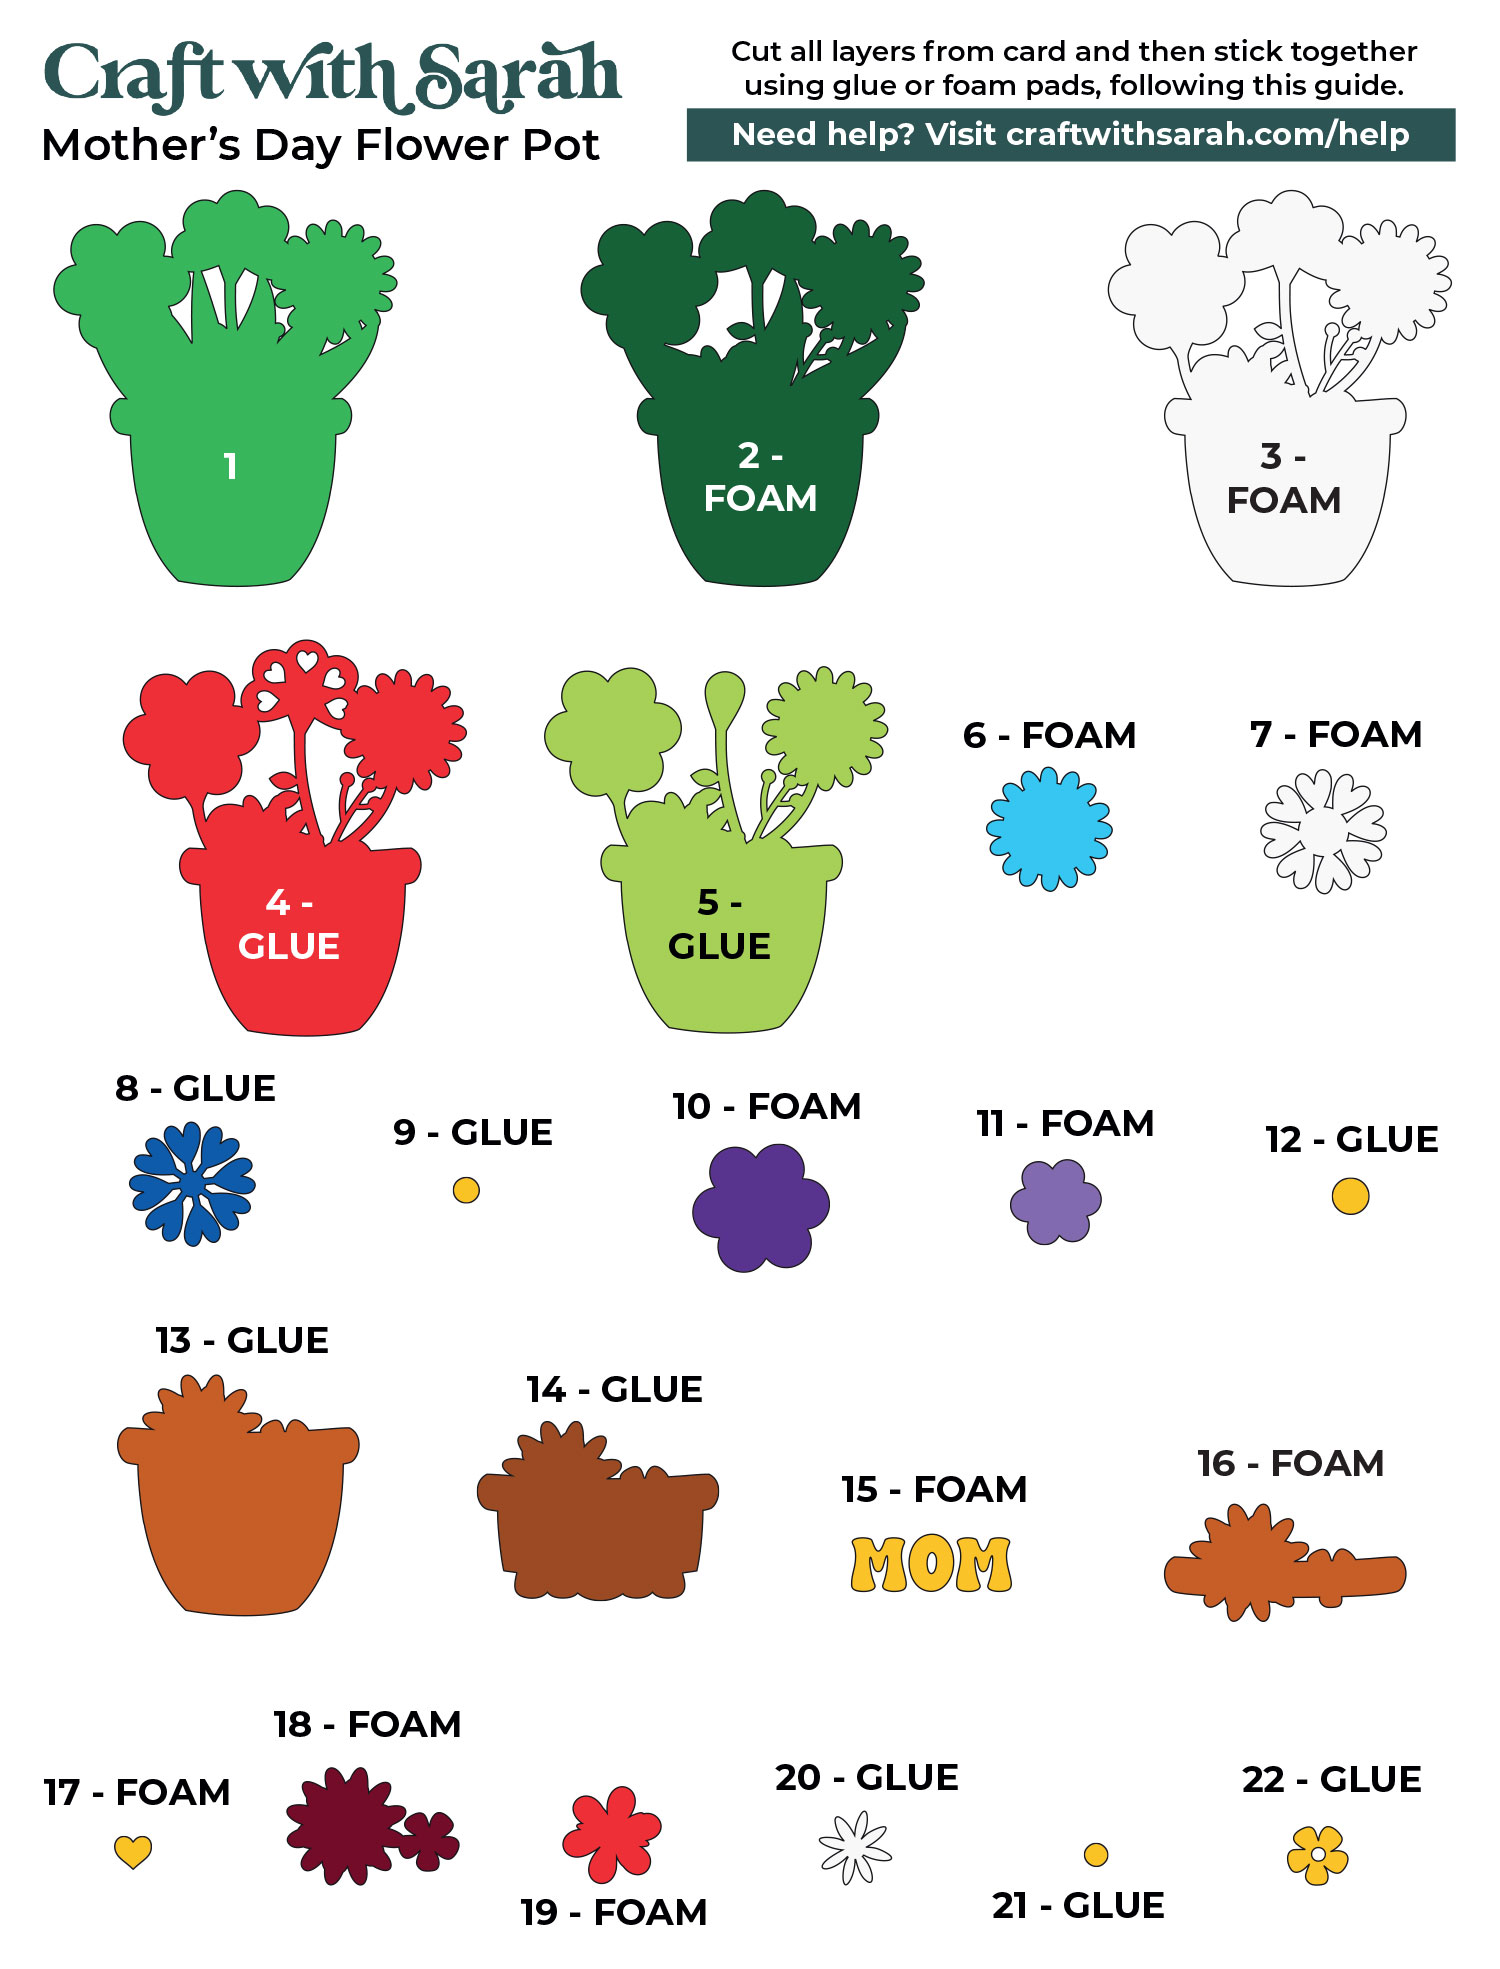
Step 4) Stick the layered design together
Use 3D foam pads and glue to stick the layers together.
Use this guide to see the order to stick the layers together in. A high quality printable version of this assembly guide is included in the folder when you download this SVG.
I used Bearly Art Glue to stick the project together.
It’s SO good because it doesn’t “warp” or bend the cardstock like some glues do. You can use as much of it as you want and the card stays perfect – and it dries perfectly clear too!
Collall All-Purpose Glue is another great one to use for cardstock, which is more readily available in the UK.

I like these foam pads from “Dot & Dab”, but any will do. If yours are large then you might need to cut them smaller with a pair of scissors.

When adding the foam pads to larger pieces, make sure you add some in the middle of the pieces of card so it gives some stability to the middles. If you don’t add any foam pads in the middles then it can dip/sag down under the weight of the other layers which doesn’t look as good.

Once you have finished sticking all the pieces together, your patriotic craft project is ready to be framed, added to a greetings card or scrapbook page – or, however else you are planning on displaying it!
St George’s Day craft for a very English craft project!
And there you have it — a simple but striking layered papercraft that’s perfect for St George’s Day celebrations.
If you enjoyed this project, I’d love to see your creation! Why not submit your project to our Community page? Seeing what you make always brightens my day! 🌸
Love layered SVGs? Check out my other free layered SVG files
Happy crafting,
Sarah x

