How to Make Simple Shaker Cards with Cricut (Card 1 of 4)
Welcome to this craft tutorial on how to make simple shaker cards with a Cricut machine.
This is a special post today, because it’s Part 1 of a 4-part series into how to make shaker cards.
As each episode in the series is released, the shaker cards will get more complex and exciting – but for today, we’re starting off with the basics.
Contents:
Please note that some of the links included in this article are affiliate links, which means that if you click through and make a purchase I may receive a commission (at no additional cost to you). You can read my full disclosure at the bottom of the page.
What is a shaker card?
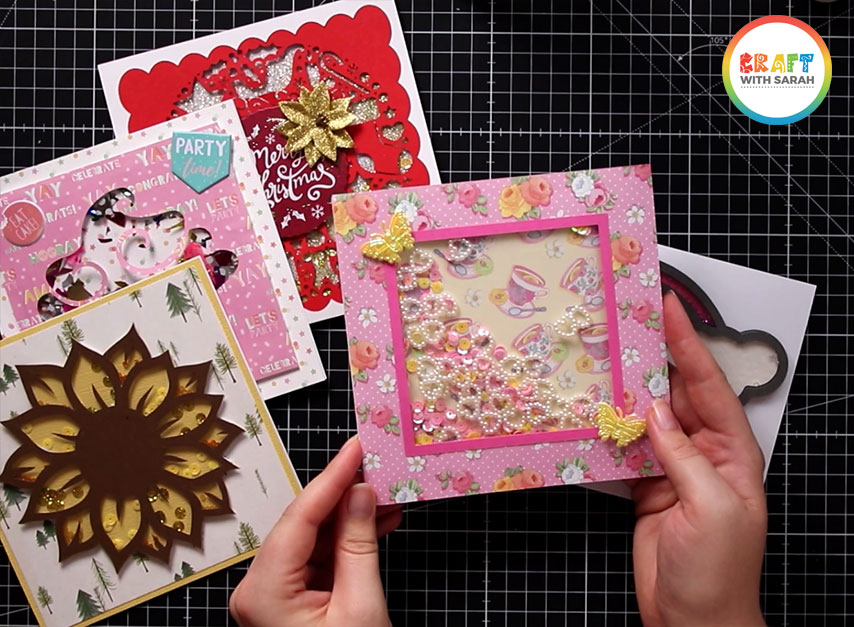
A shaker card is one where a shape has been cut out of the card front and covered with acetate. This is then layered on to the main card using 3D foam tape and sequins/beads/glitter/etc are added into the “gap” to create a ‘shaker’ effect when the card is moved about.
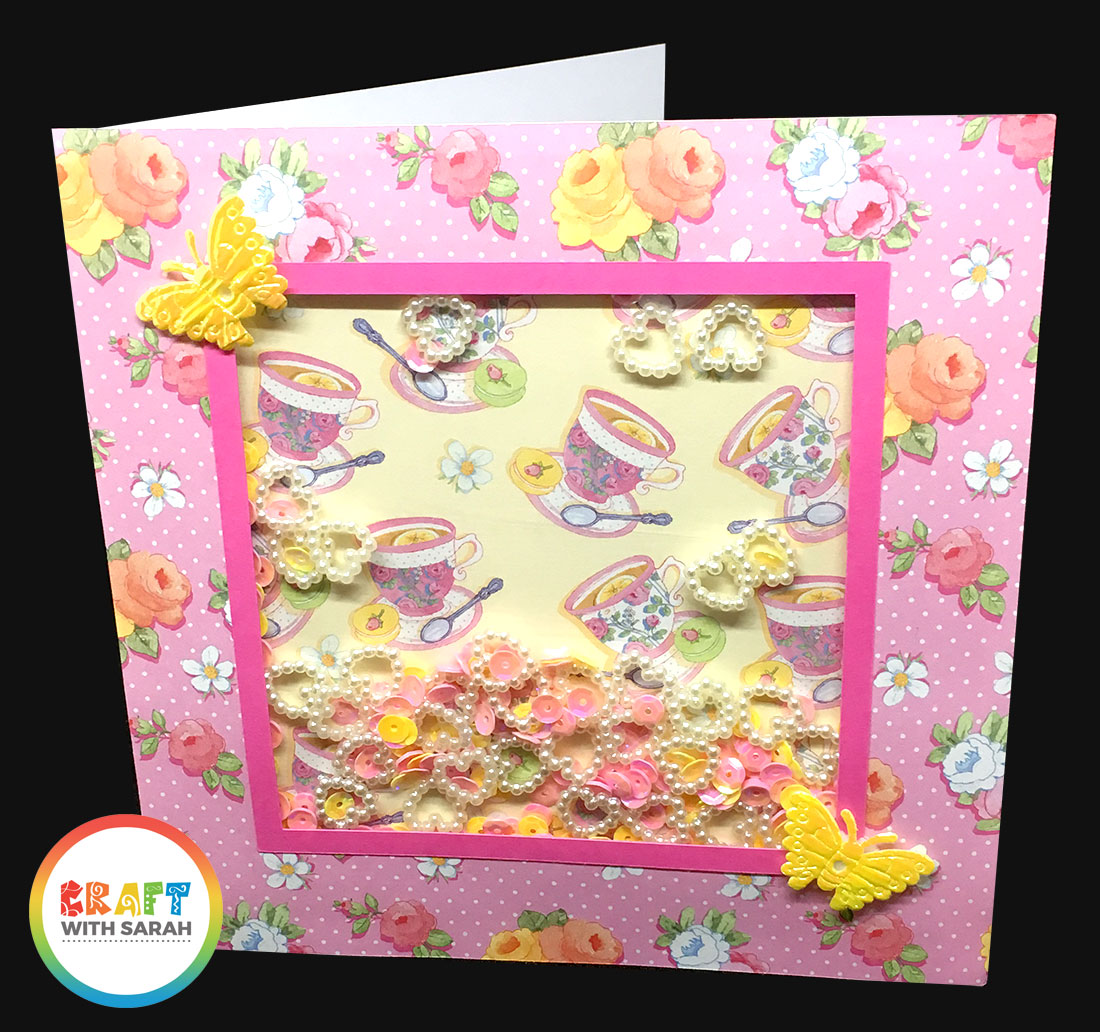
Shaker cards are really fun to make and you can be so creative with them as you can completely change the look of a card based on the type of embellishments you put inside the shaker section, or the shape that you cut out from your card.
The easiest type of shaker card to make is one with a square cutout, so that’s what we will be doing today.
The instructions include how to design a shaker card with a Cricut machine, but for this tutorial if you don’t have a Cricut, you can just skip those sections and cut the square out from your card using a ruler and craft knife instead.
Video tutorial: How to make a shaker card
Watch the video below to find out how to make a simple shaker card with your Cricut.
This is the perfect shaker card for beginners!
This is part 1 in a 4-part series on Shaker Cards. Watch the other videos on YouTube now!
Shaker Card Materials list
Here is a list of materials of what I used to create this shaker card.
- Cricut Maker
- 3D foam tape
- Tape runner
- 6×6 inch card base
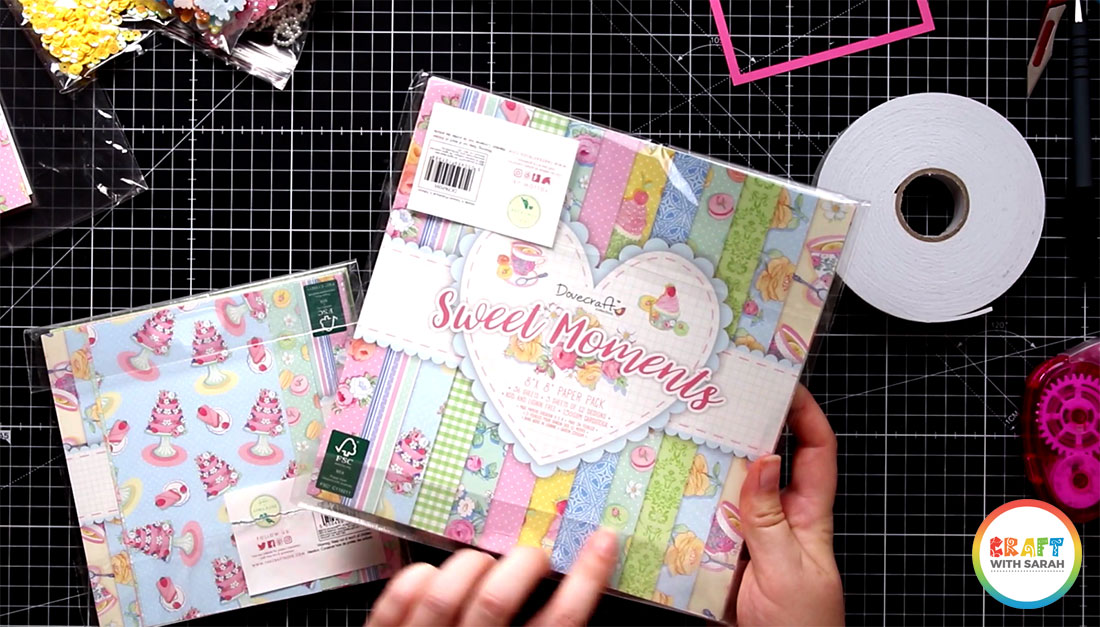
- Coloured card or scrapbook paper (I used Dovecraft’s Sweet Moments collection)
- Acetate
- Sequins
- Heart shaped table scatter
Design Space Project Link
Simple Shaker Card

Please note that you need an active Cricut Access subscription to be able to cut this Project for free.
Part 1: Cricut Design Space tutorial
If you’re using a Cricut machine then follow these instructions to cut the window of your shaker card using your Cricut.
If you aren’t using a Cricut then you can skip to the next section! Just be sure to cut out the square from your card using a craft knife and metal ruler to get nice straight edges.
1) In Design Space, go into “Shapes” and choose a square
Resize the square using the size options at the top of the screen.
This should be the same size as the card you want to make, so in my case it’s 6×6 inches.

2) Create another, smaller square
Create a smaller square which will sit inside the big square. This will be the square that is cut out, so this square is the size of the acetate window.
Position this square inside the larger one.
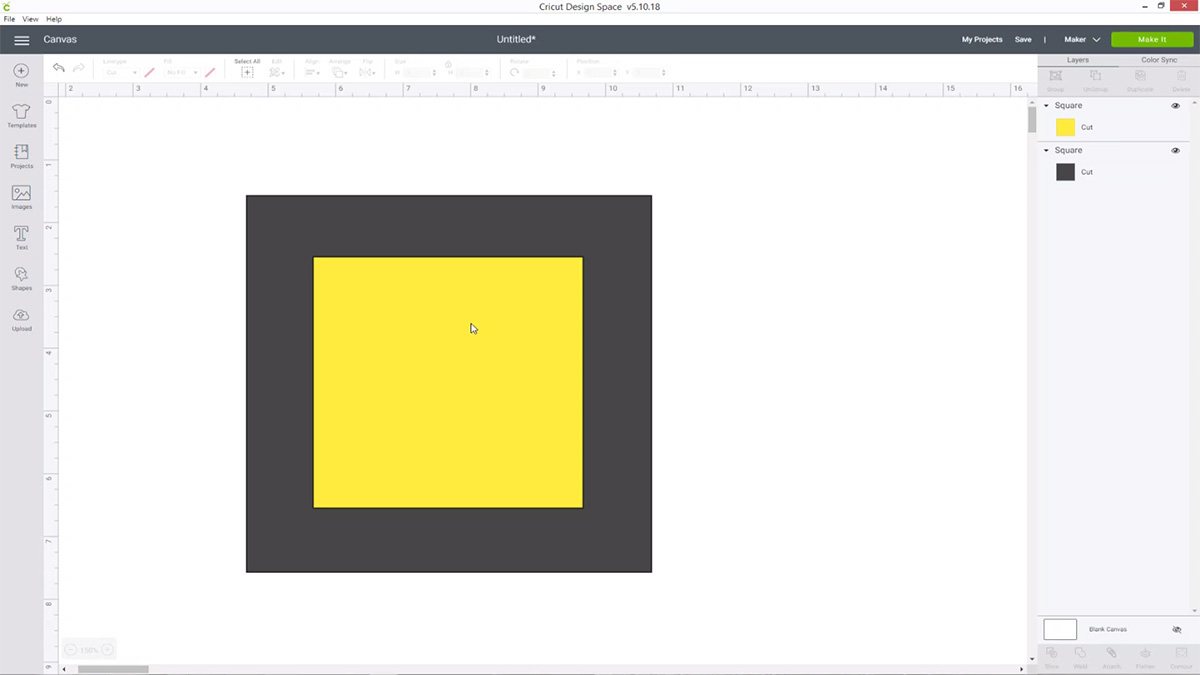
To get it perfectly aligned, click the “Align” button on the top menu bar and then press “Center”.
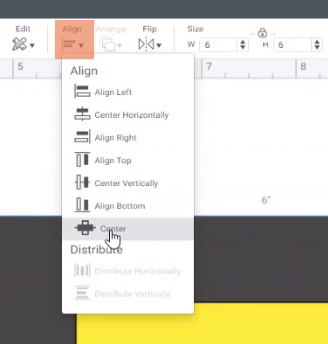
3) Slice the squares
Select both squares and then press the “Slice” button down the bottom right of your screen.
This will “cut” the smaller square out of the larger one to create our window.
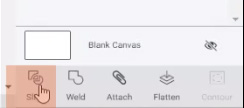
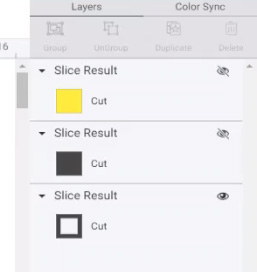
After ‘slicing’, your Layers Panel will change to have three layers named “Slice Result”. The only one we need is the one that looks like a window.
Hide the other two layers by clicking the little “eye” icon in the layers panel. Hiding the layers means that they won’t be cut when you click “Make It”.
4) Cut the window with your Cricut
Click the green “Make It” button on the top right of your screen and follow the instructions to cut out the window shape using your machine.
And… that’s it for Design Space! We can now move on to assembling the card.
Part 2: How to assemble a shaker card
Now that you have cut the window with your Cricut machine, it’s time to start making the card.
5) Cover your base card with pretty paper
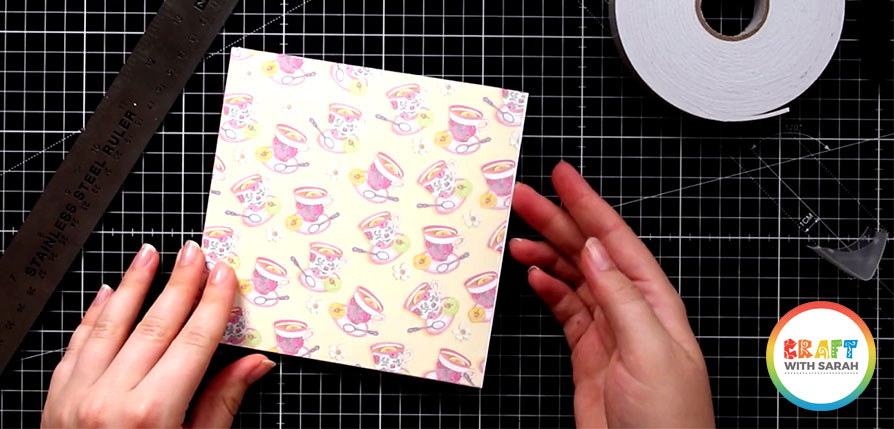
Cut a piece of scrapbook paper or patterned card the same size as your base card. Mine is 6×6 inches.
I am using Dovecraft’s Sweet Moments collection for my card. It’s such a pretty paper back with lovely pastel colours and cake illustrations, polka dot and other baking goodness on the patterns!
Use double-sided tape to attach this to your card base.
6) Stick acetate to the back of the window card
Cut a piece of acetate to slightly larger than the gap in the middle of your window piece of card.
You don’t need to worry about cutting straight edges – just make sure it’s bigger than your window.
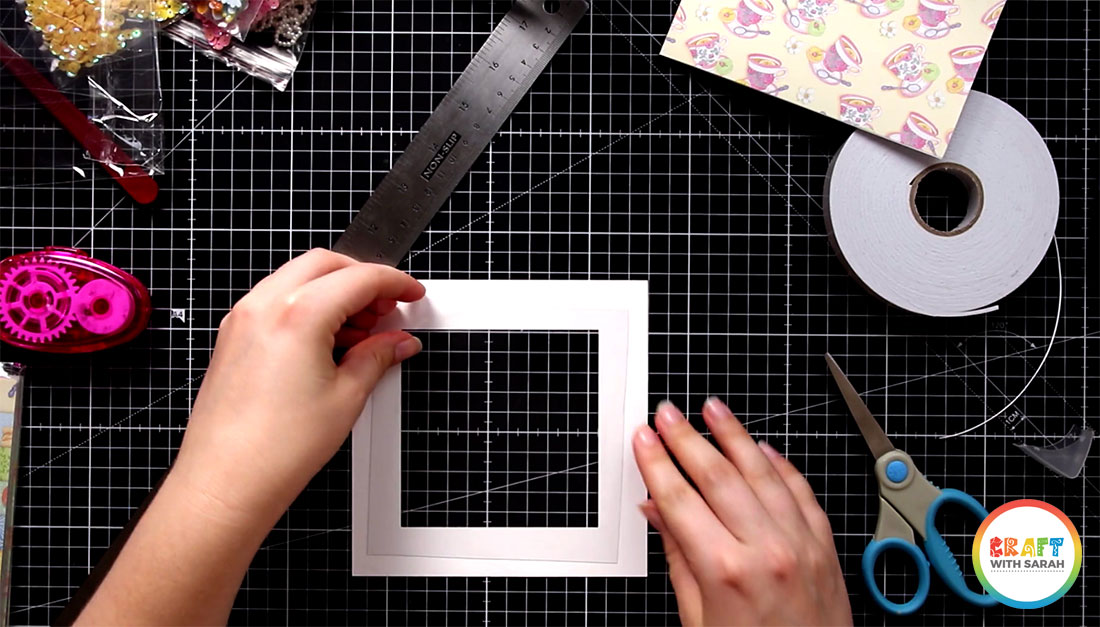
Use glue to stick the acetate to the back of your window card. Try to make sure there aren’t any gaps in the glue because if there are, then your embellishments may be able to escape through the holes!
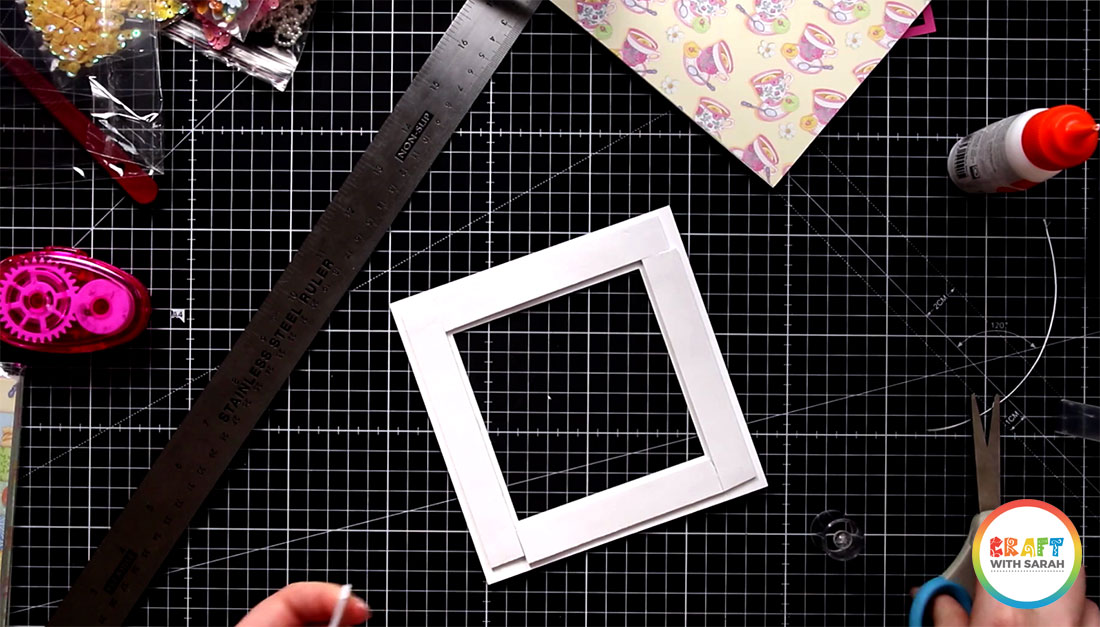
7) Add foam tape to the window card
Cut strips of foam tape and stick them to the back of your window piece of card.
Top Tip: Make sure there are NO gaps in the tape. If you have even a tiny little space between the pieces of foam tape then your shaker embellishments will fall out!
8) Add shaker embellishments to your card
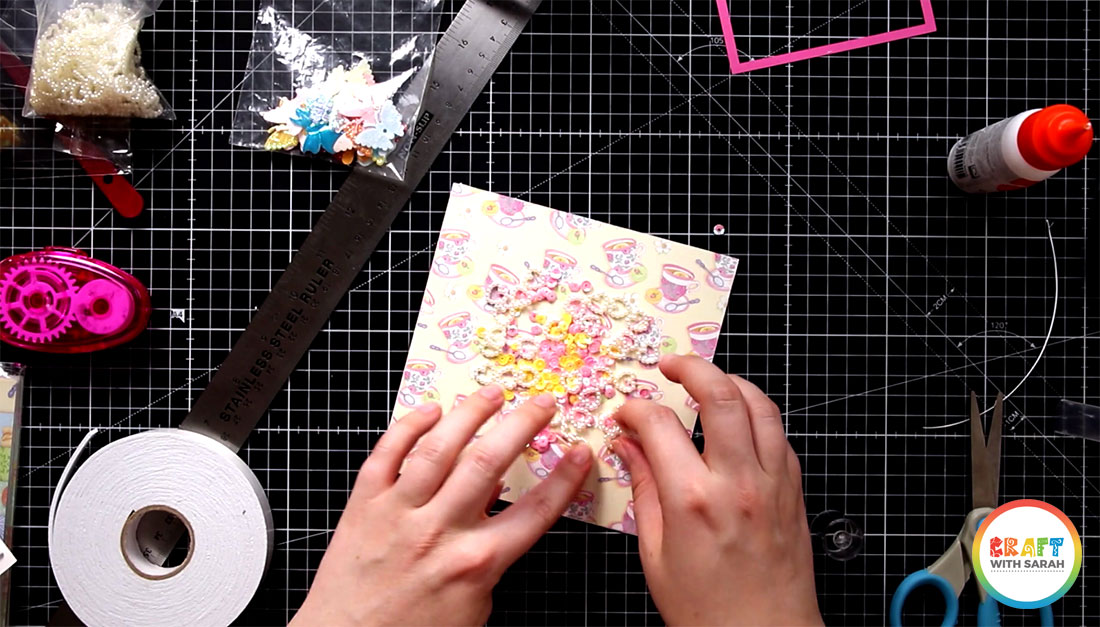
Choose your shaker embellishments and add them to the middle of your base card.
Spread them out so that the pile doesn’t get too tall, otherwise the shaker window won’t fit in top.
I’m using sequins and heart scatter crystals in my card.
You *can* use glitter, but I don’t recommend it as it becomes very “static” inside the card and can stick to the acetate rather than producing the nice shaker effect that we’re aiming for.
9) Stick on the acetate window
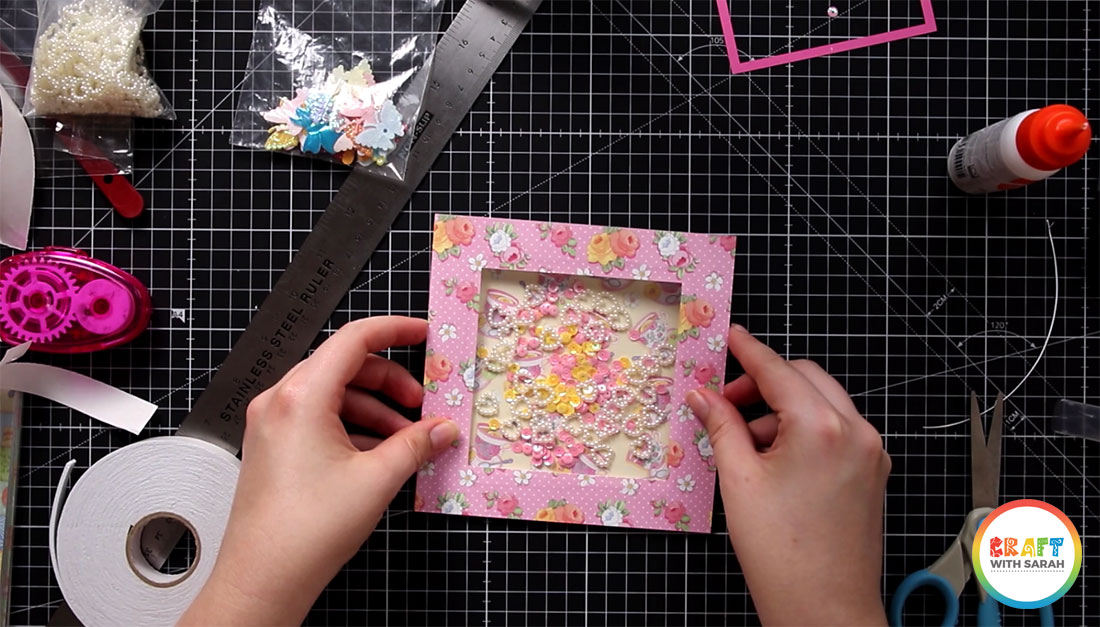
Peel the top layer of paper off of the foam tape to reveal the sticky top.
Stick the window piece of card on top of your main card.
10) Decorate your card!
Now comes my favourite part – decorating the card!
The “shaker” part of your card is complete, so it’s time to add some decorations!
I cut a small square of pink card using my Cricut machine and glued this to the front of the card.
I also added two silk butterflies using 3D foam pads to raise them up from the surface and give a 3D effect.
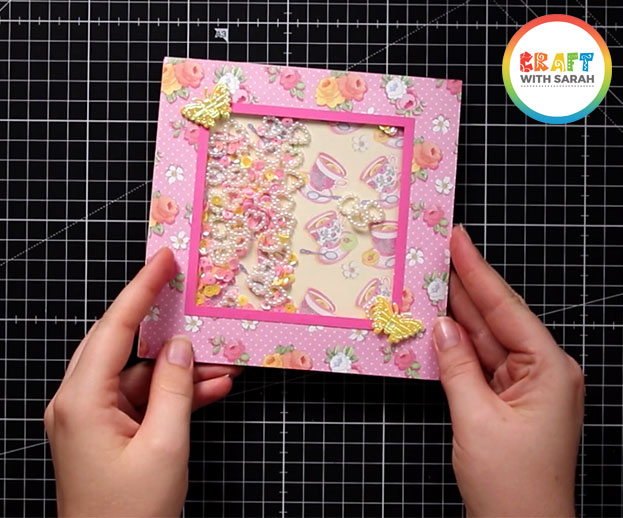
And that’s it… my simple shaker card is all finished!
I hope that you enjoyed this tutorial on how to make a shaker card.
Don’t forget, this is only Part 1 in a 4-part series on shaker cards. Check out the other tutorials below:
- Part 1: Simple shaker cards
- Part 2: Shaped shaker cards
- Part 3: Complex shaker cards
- Part 4: Rainbow Shaker Card
Happy crafting,
Sarah x
