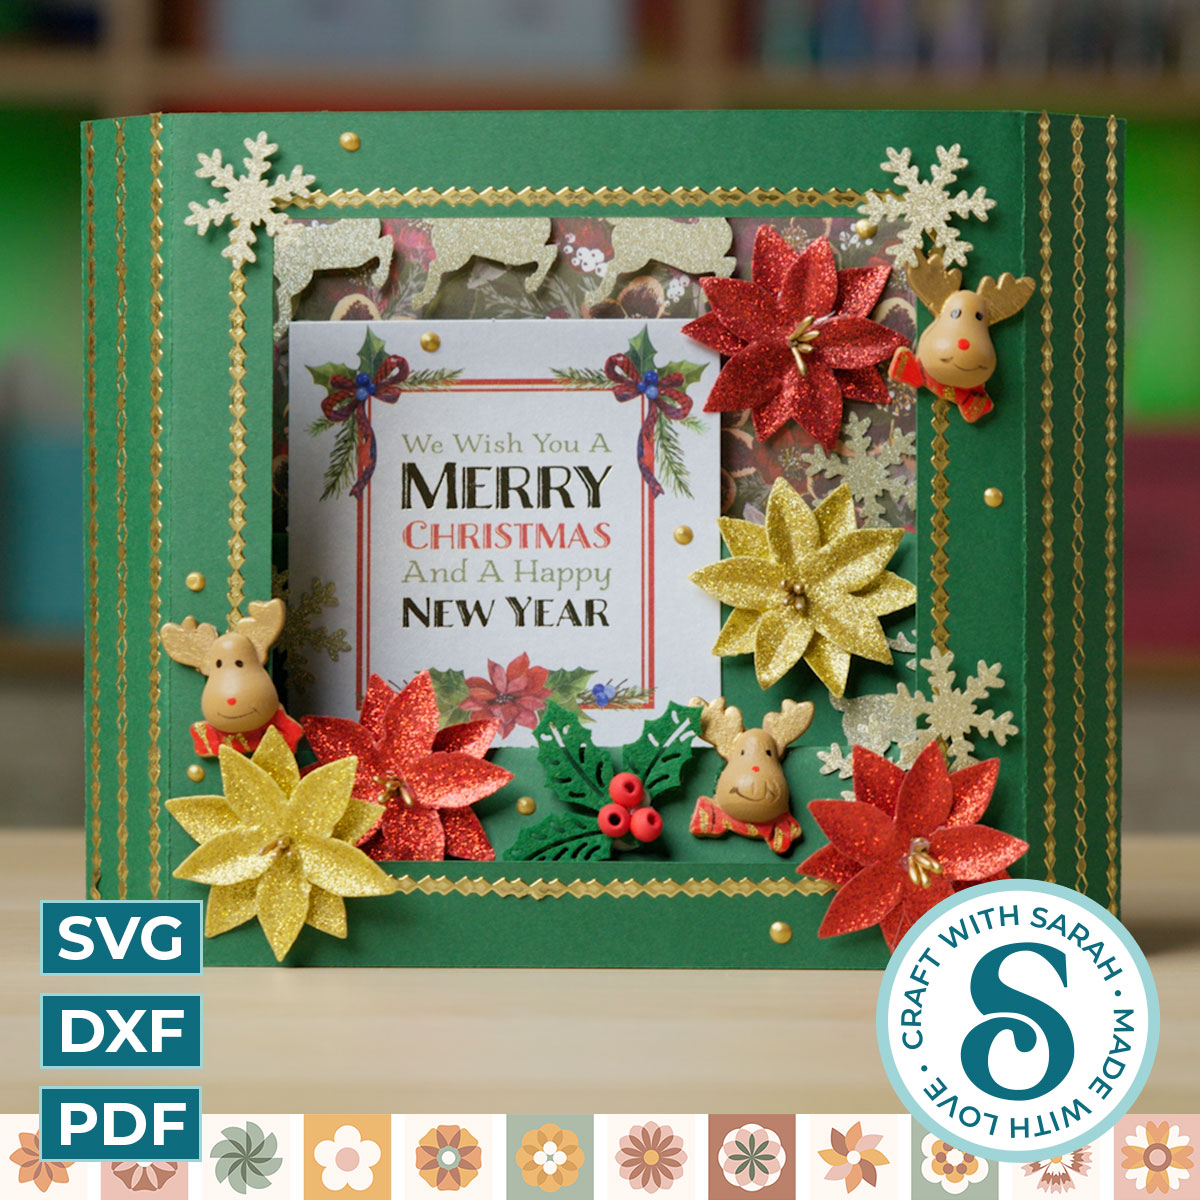
Impressive 3D Concertina Window Cards that Fold Flat for Posting!
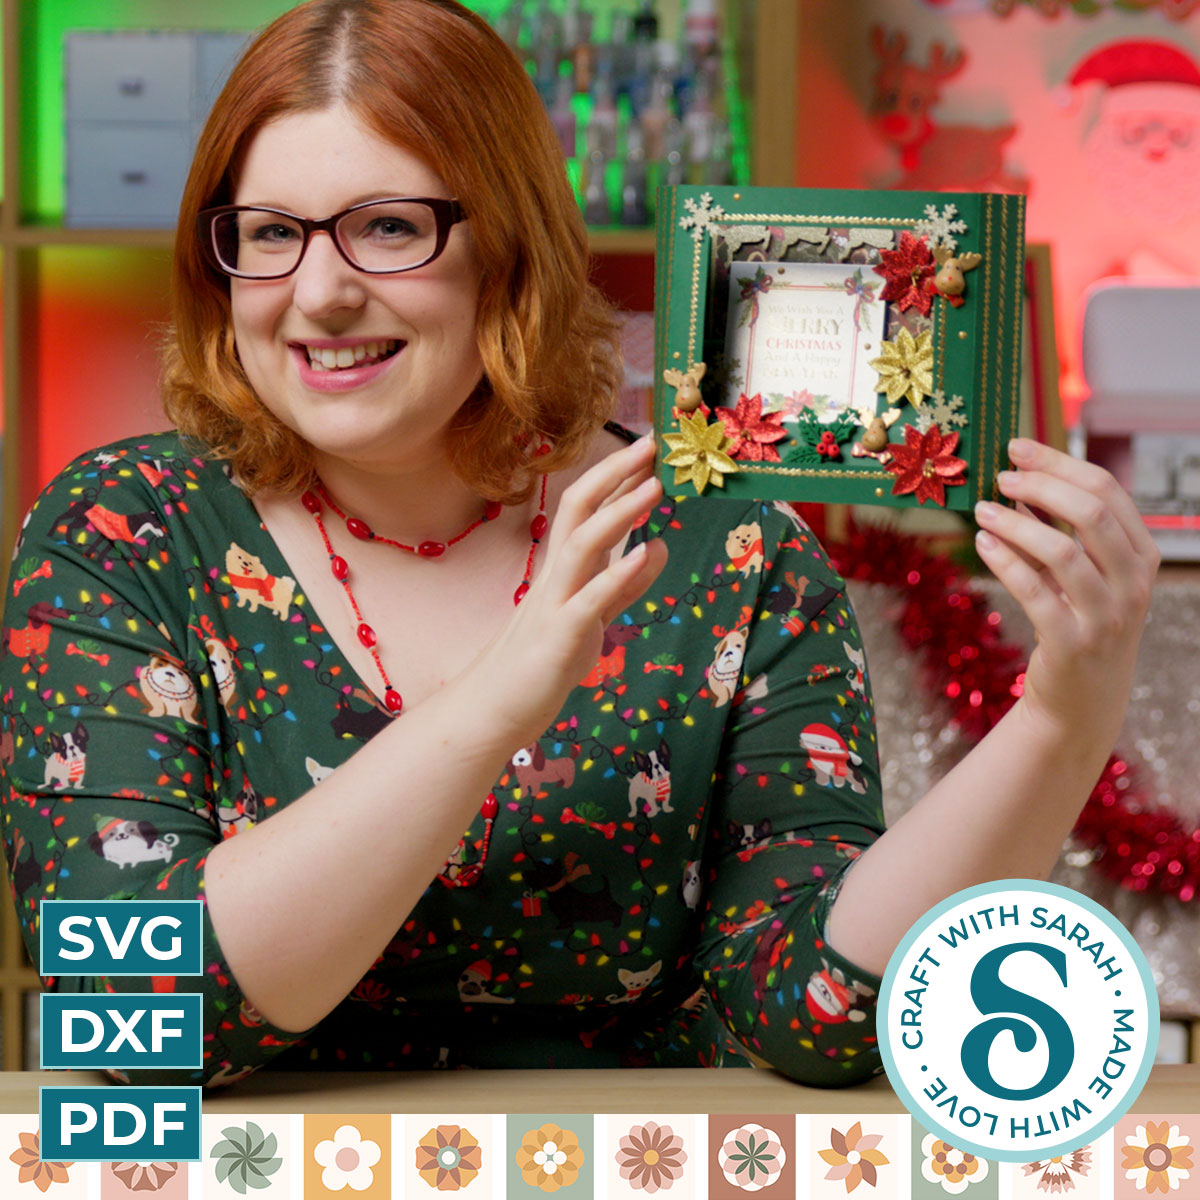
Make showstopper Christmas Cards with these 3D Concertina Window Cards.
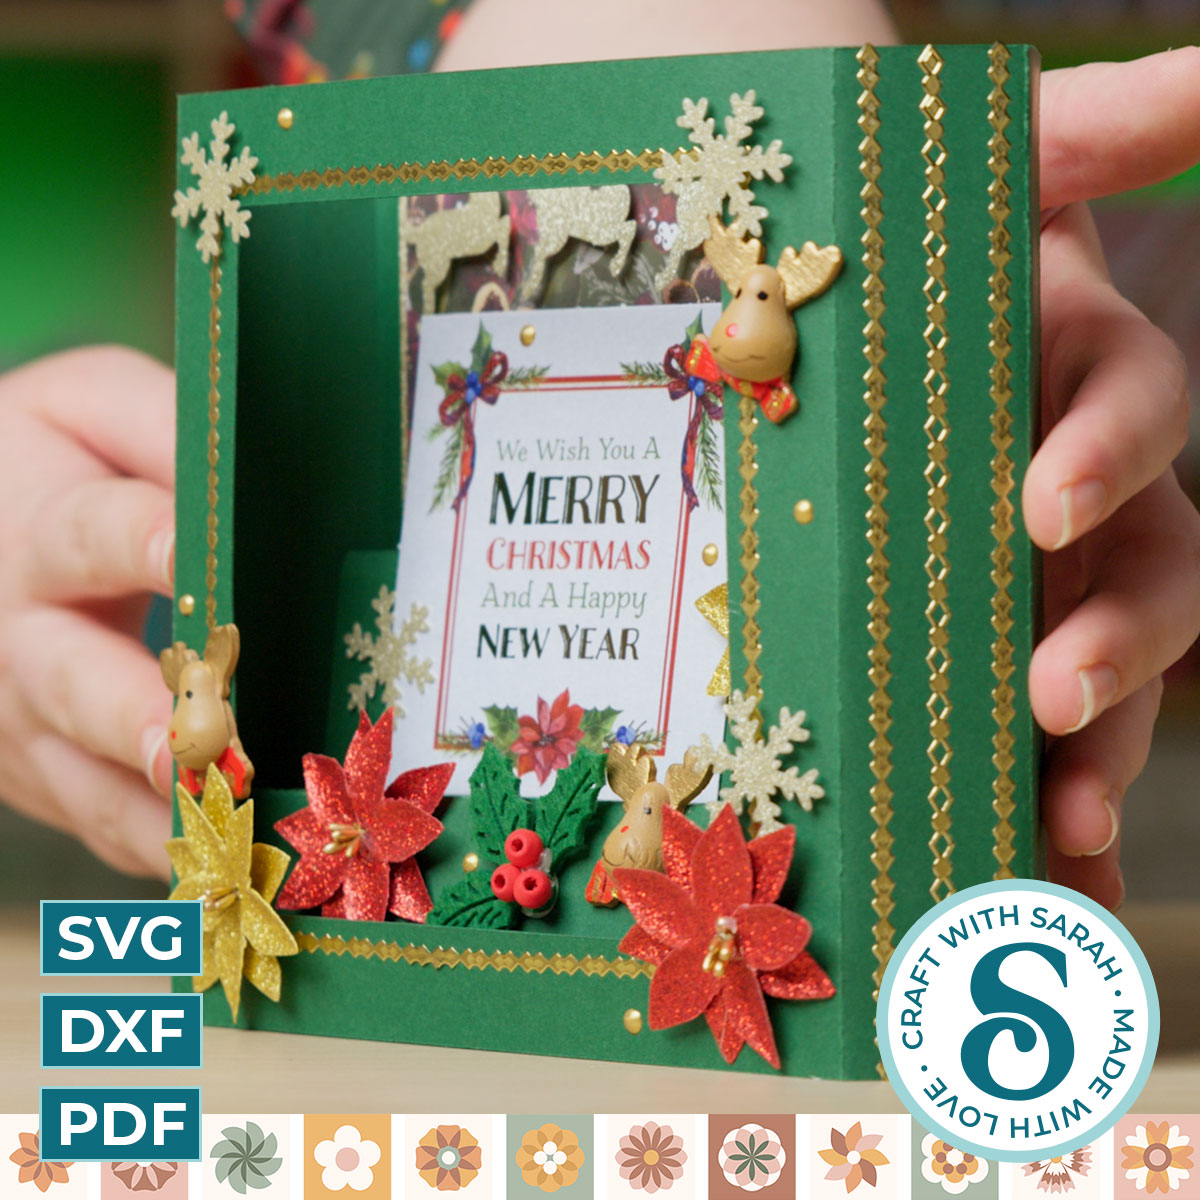
These popup cards have a stepped ‘accordion’ inside which creates a layered card with loads of depth.
Best of all, they fit into an A5 (C5) envelope and they fold completely flat which makes them easy to post!
This project is part of 2021's Christmas Craft Countdown.
Concertina Window Card video tutorial
Watch the video below to see how to make a concertina window card using the cutting file included in the Christmas Craft Countdown. Or, keep scrolling for a written tutorial.
Note: This video was recorded with Design Space version 6.16.124. Later versions might look a little different.
Materials list to make a concertina window card
Here is a list of the materials that I used to make this project:
Please note that some of the links included in this article are affiliate links, which means that if you click through and make a purchase I may receive a commission (at no additional cost to you). You can read my full disclosure at the bottom of the page.
- Cricut Maker
- Light blue Cricut cutting mat
- Dark green card
- Gold glitter card
- White card
- Patterned paper (mine is from a now-retired scrapbook set)
- Christmas embellishments/toppers (mine are all from my craft stash, collected over many years!)
- Gold border peel-off stickers
- Double sided tape runner
- Needle Tip Applicator Bottle
- 3D foam pads
- Gold Nuvo Crystal drops (optional)
- Bone folder (optional)
Concertina window card assembly instructions
Here’s how to make your very own concertina window card using a Cricut machine!
Step 1) Download the file & unzip the downloaded folder
Use the box below to download the cutting files for this project. Please note that this is not a free file.
It is part of the Christmas Craft Countdown which is a collection of 20 exclusive Christmas themed craft projects.
This design is part of the 2021 Christmas Craft Countdown.
Just want this file without signing up for the Christmas Craft Countdown? Purchase it here
If you have already purchased the Christmas Craft Countdown,
please login to your account.
Before you open the project in Design Space, you need to unzip the download folder that it comes in.
- How to unzip a folder on Windows computer
- How to unzip a folder on a Mac
- How to unzip a folder on an iPad/iPhone
- How to unzip a folder on an Android device
Step 2) Open the file in Cricut Design Space
Included in the download folder are several versions of the card template. If you have a Cricut machine then you can use EITHER the Design Space Project link OR the SVG file.
DESIGN SPACE PROJECT VERSION
If you have a Cricut machine then I strongly recommend using the Design Space Project version. This is free to cut in Cricut Design Space (you do not need the Cricut Access subscription) and it’s much easier than loading in the SVG file because the score lines are already formatted and everything is sized correctly.
To find the link to the Design Space project, open the PDF file from the download folder called “Cricut_Design_Space_Project.pdf”.
First, close Design Space if you already have it open. Then, click the link in the PDF file or copy-and-paste it into an internet browser.
It will open Cricut website which looks like this:
Click the “Open” button and then if you get a little popup message asking for permission to open Design Space, click “Yes” or “Open Cricut Design Space”.
Design Space will open on your computer and show a preview of the Project. Click “Customize”.
The Project will then open. Everything is correctly sized and ready to go, but if you want to make any changes then you can.
TIP: If you don’t have a scoring wheel or scoring stylus then delete the “score” layers before you click “Make It”.
When you’re ready to cut the design, click “Make It” and follow the instructions on-screen to cut everything out from cardstock.
SVG FILE VERSION
If you would prefer to use the SVG file instead of the Design Space Project link then you’ll need to do a few “extra” steps to get the card template ready before you can cut it.
After you have uploaded the SVG file and inserted it onto your Project, it will look like this:
BEFORE you can cut it, you must do the following:
- Click all the “single cut line” layers and change the Line Type to “Score”
- “Attach” the score lines to their corresponding layers
- Resize all of the card pieces individually (A = 10.5 inches wide, 6 inches tall // B = 5.75 inches wide, 10 inches tall // C = 5.5 inches wide, 5.5 inches tall // D = 7 inches wide, 6 inches tall)
For a full step-by-step of how to make all those changes, please watch the video at the top of this post as I go through it in detail.
After making those changes, it should look like this:
(Note that I am “zoomed out” to 75% in the video. Your pieces may look larger/smaller if you are at a different zoom level)
When it does, click “Make It” and follow the instructions on-screen to cut everything out from cardstock.
Step 3) Fold the front of the card
The front piece of the card is the one with the square “window” cut out of it.
It has four score lines along it (two on each side of the window).
With the front side of the card facing upwards, mountain-fold along all the score lines.
TIP: A “mountain fold” is when you fold “upwards” to resemble a mountain shape. A “valley fold” is when you fold downwards to make a “V” shape.
When you’ve folded it, it should stand up like this:
TIP: Press along the folded lines with a bone folder to get crisper, neater folds.
Step 4) Fold the concertina piece
The concertina piece is the long rectangle with five score lines down it.
Position it so that the “larger” rectangles are at the top.
Fold along the score lines, starting at the bottom. Your folds should be: Valley fold, Mountain fold, Valley fold, Mountain fold, Valley fold.
This creates an accordion/concertina shape which looks like this:
Step 5) Stick the concertina piece inside the front
Put double-sided tape down the front “tab” piece on the concertina.
Stick it to the bottom of the inside of the front piece.
Step 6) Prepare the back piece
Fold both score lines upwards (valley folds) on the back piece of the card.
Stick the two decorative squares in the middle.
Stick the white square of card and the matching glitter piece onto the back of the same piece of green card. This is where you will write your message.
TIP: It’s easiest to write your message first before adding the panel to the card.
Step 7) Stick the rest of the card together
Add double-sided tape to the tab of card on the back of the concertina piece of card.
Stick the back piece of card to that piece of double-sided tape. The message side (white square) should be facing outwards.
Add double-side tape to the thin tab at the side of the back piece of card.
Fold up the edges from the front piece and attach to the double-side tape.
Repeat for the other side.
Your card is now all ready to decorate! It should stand up of its own accord, then fold flat when you squeeze the sides together.
Step 8) Decorate the card
When you’re adding your decorations in the middle, you need to think about how it will appear when it is folded flat. Don’t put anything too close to the edges that will go underneath the two sides of the card, otherwise you won’t get that flatness.
I added various Christmas themed toppers and embellishments from my craft stash, including some adorable little wooden reindeer, glitter poinsettias and a foiled sentiment topper.
TIP: Keep testing how your card folds flat whilst you are adding the decorations so that you can move things around if they are preventing the card from folding down properly.
I then decorated the sides of the card with gold border peel-off stickers for a little bit of extra glam!
I hope that you enjoyed this tutorial on how to make a 3D concertina window card with a Cricut!
This project is part of 2021's Christmas Craft Countdown.
Happy crafting,
Sarah x