DIY Warm & Cozy Christmas Shadow Box to Personalize!
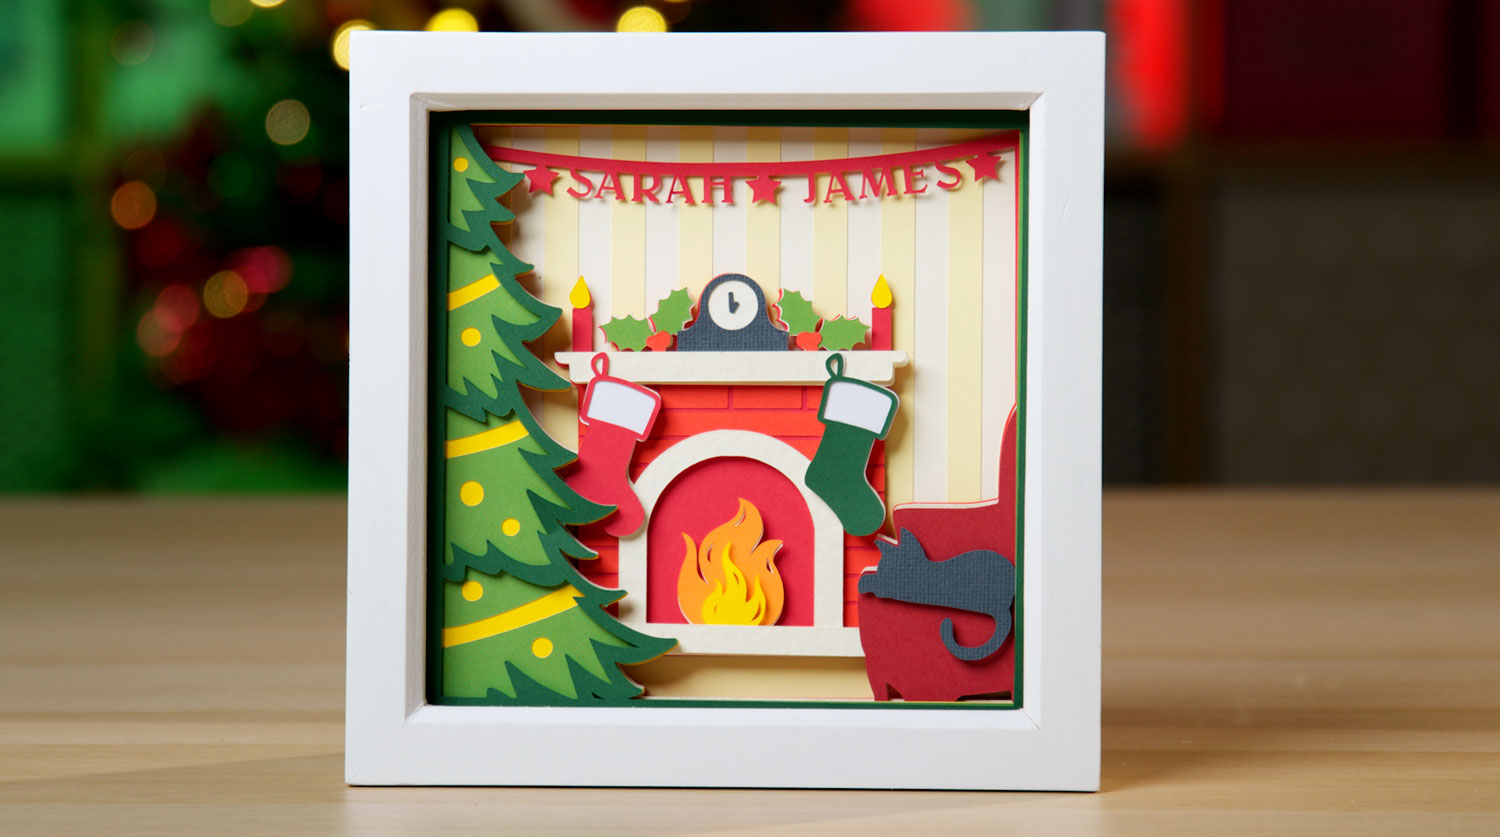
This cozy fireplace shadow box scene is giving me ALL the warm winter feels for a hygge-inspired Christmas shadow box craft.
Welcome to Day 4 of the Christmas Craft Countdown for 2021, where I’m revealing a new craft project every day for 20 days.
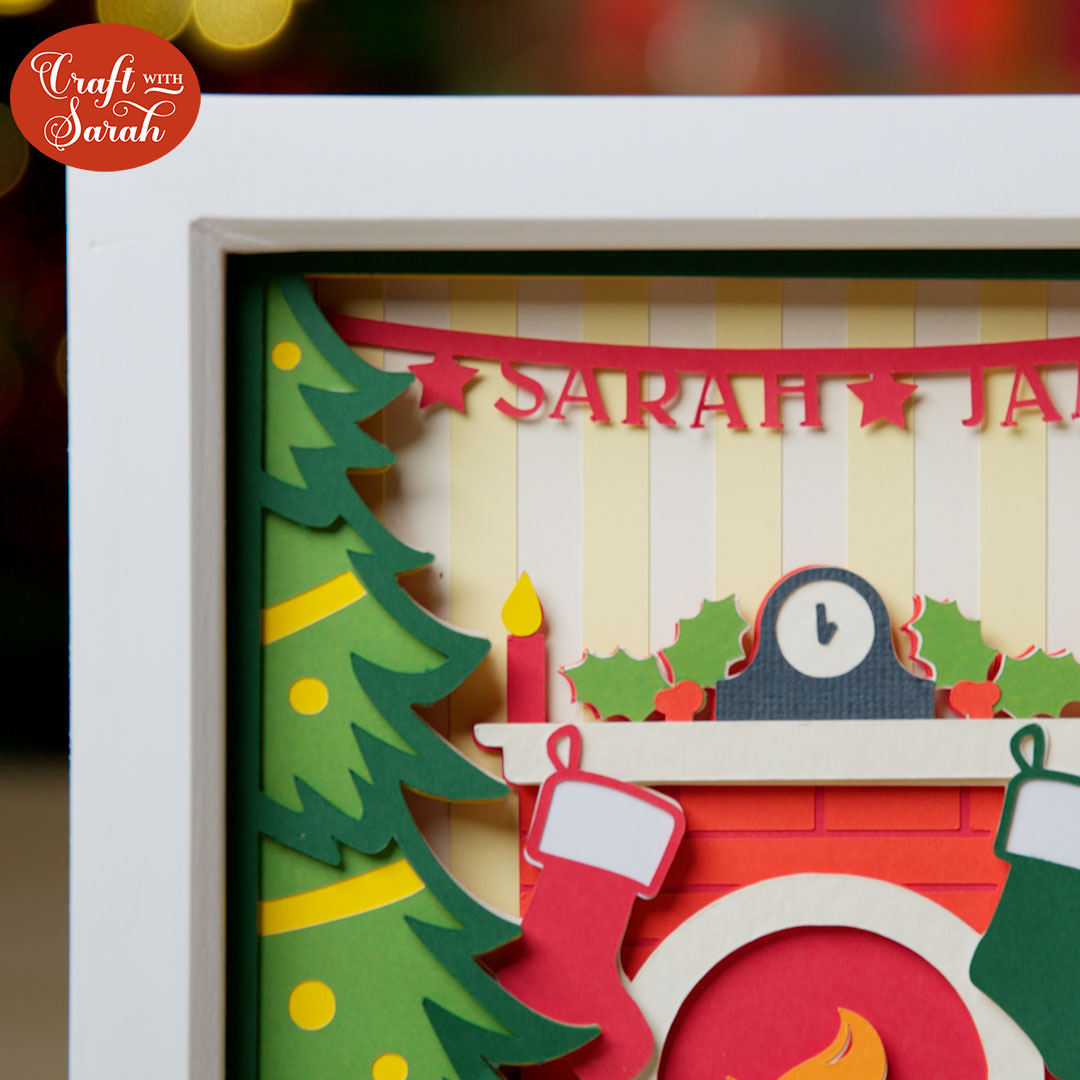
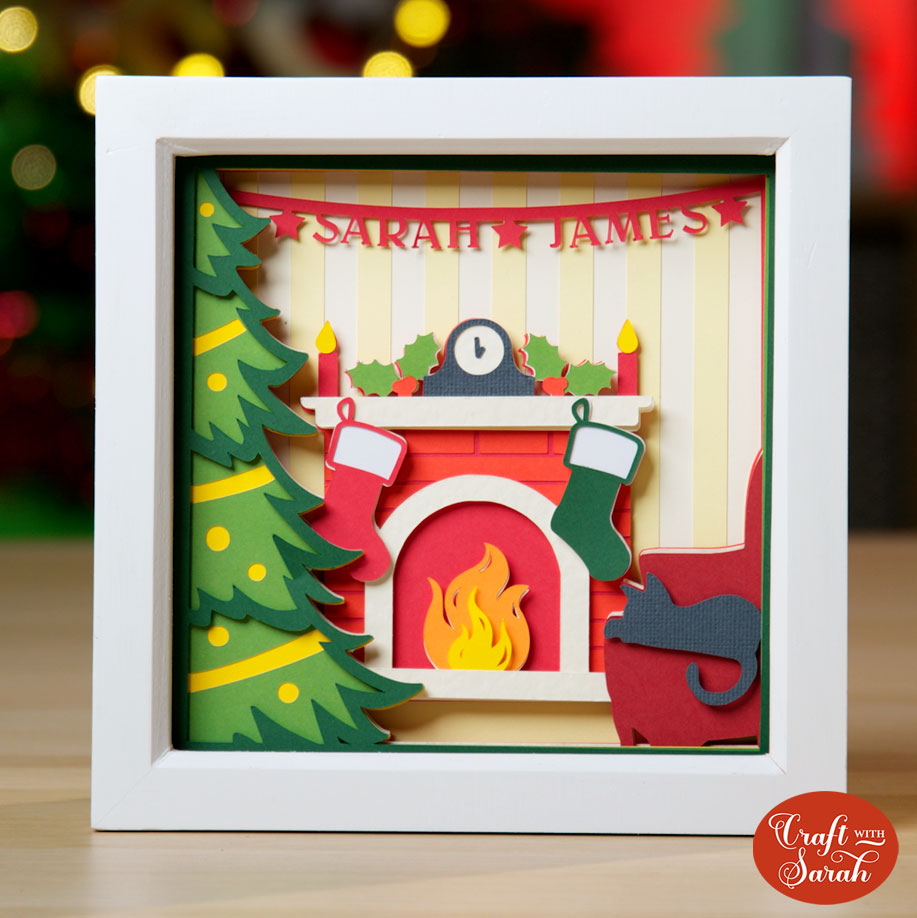
Today’s project is a gorgeous layered shadow box for Christmas. It shows a fireplace with a wonderful roaring log fire, a decorated Christmas tree and a comfy armchair with a lovely little cat having a snooze in front of the fire.
This design is special because you can add the names of your family along the garlands (ribbons) across the top of the frame. However, if you don’t want to do that and you just want to make the frame as is, there is a version included without the garlands.
This project is part of 2021's Christmas Craft Countdown.
Layered winter shadow box video tutorial
Watch the video below to see how to make the layered winter shadow box. Keep scrolling for a written tutorial.
Note: This video was recorded with Design Space version 6.17.143. Later versions might look a little different.
Materials list to make a Christmas shadow box
Here is a list of the materials that I used to make this project:
Please note that some of the links included in this article are affiliate links, which means that if you click through and make a purchase I may receive a commission (at no additional cost to you). You can read my full disclosure at the bottom of the page.
- Cricut Maker
- Light blue Cricut cutting mat
- Coloured Card (I used 160gsm-240gsm weights of card)
- Collall All Purpose Glue
- Needle Tip Applicator Bottle
- 3D foam pads
- Shadow box (I used a 15x15cm shadow box from Hobbycraft)
Layered Christmas shadow box SVG assembly instructions
Here’s how to make your very own Christmas shadow box using a Cricut machine!
Step 1) Download the file & unzip the downloaded folder
Use the box below to download the cutting files for this project. Please note that this is not a free file.
It is part of the Christmas Craft Countdown which is a collection of 20 exclusive Christmas themed craft projects.
This design is part of the 2021 Christmas Craft Countdown.

Just want this file without signing up for the Christmas Craft Countdown? Purchase it here
If you have already purchased the Christmas Craft Countdown,
please login to your account.
Before you upload the SVG to Design Space, you need to unzip the download folder that it comes in.
- How to unzip a folder on Windows computer
- How to unzip a folder on a Mac
- How to unzip a folder on an iPad/iPhone
- How to unzip a folder on an Android device
Step 2) Upload the SVG file into Design Space
Open up Cricut Design Space and click “Upload”.
There are three different versions of this shadow box design to choose from: one with 1 ribbon along the top, one with 2 ribbons along the top and one without any ribbons for if you’d prefer not to add names to the design.
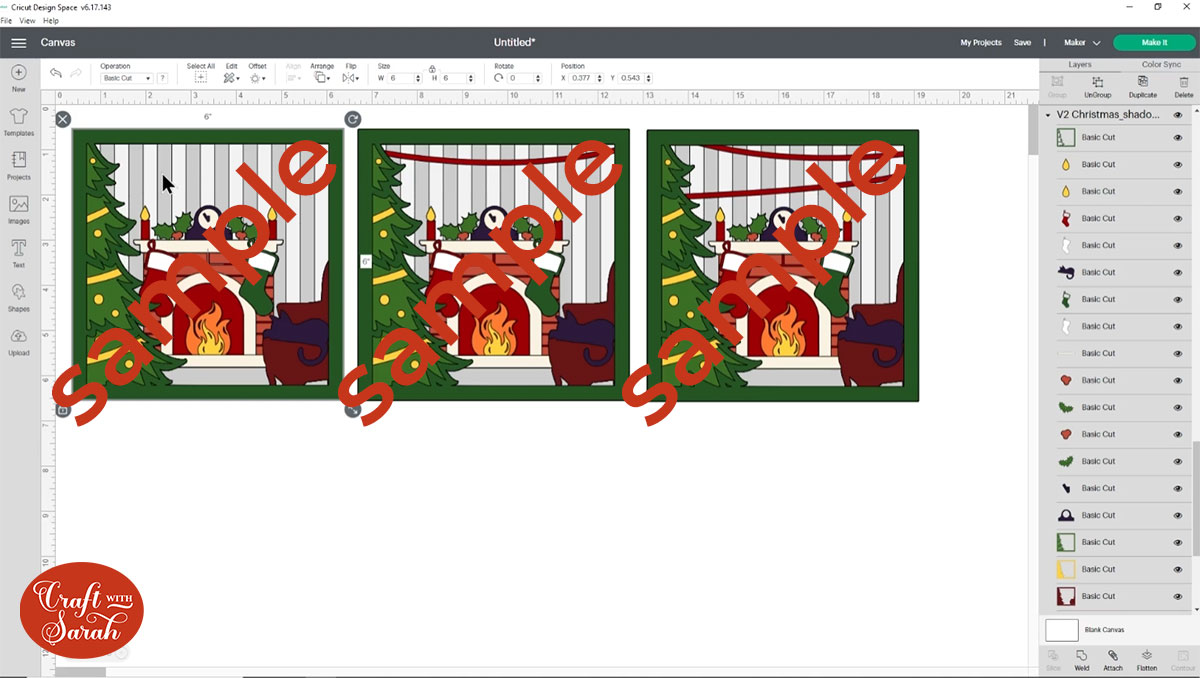
Make sure you upload the file which starts SVG_ in the filename!!
This is how it should look after you have uploaded the file:
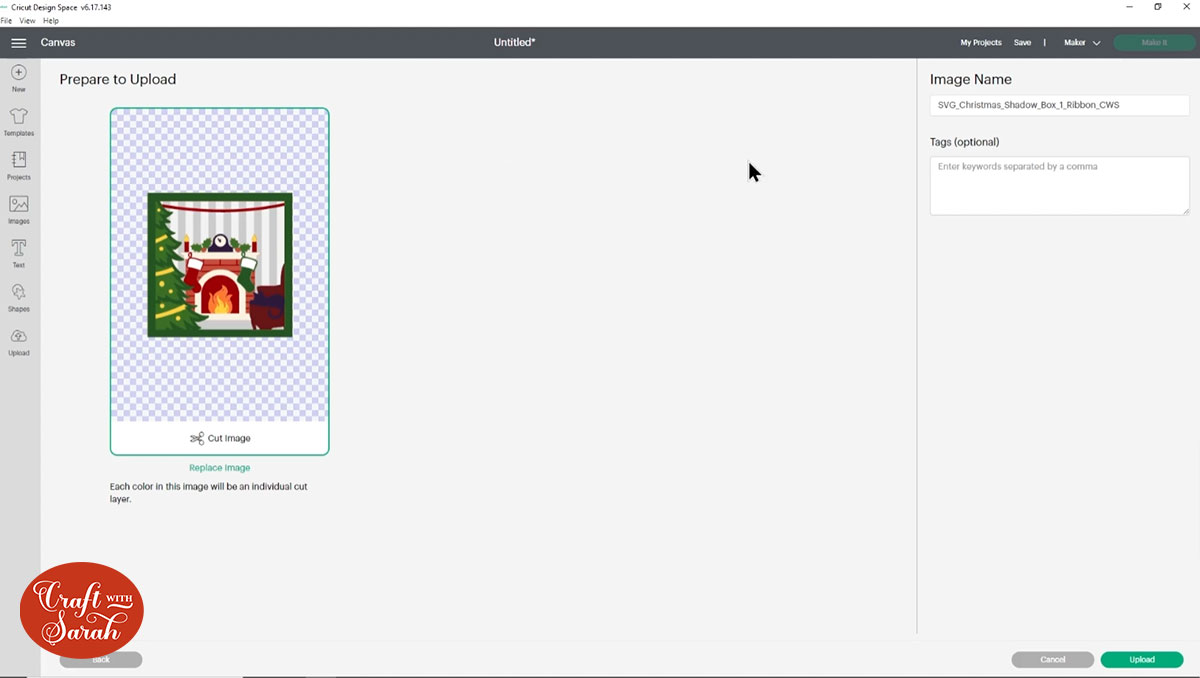
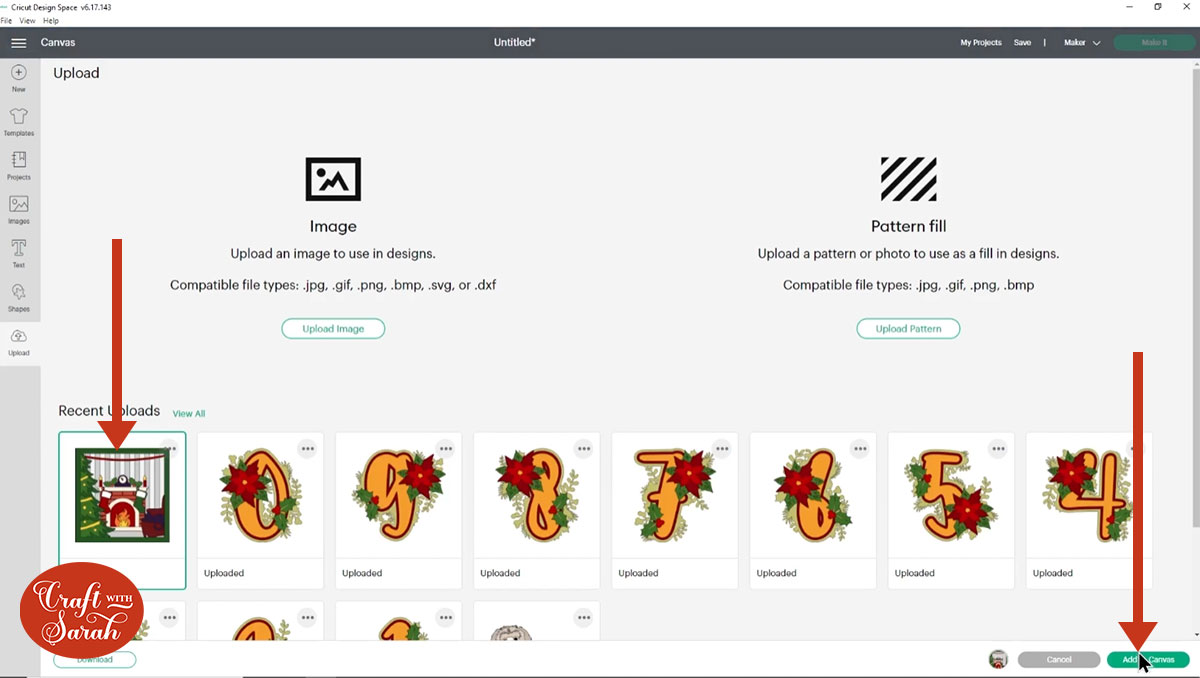
After uploading, the shadow box design will show in your “Recently Uploaded Images”. Click on it and then press “Add to Canvas” to put it onto your Project.
Step 3) Personalize the design
Here’s how to add a message to the ribbons along the top of the design. You could add anything you want here – perhaps your family’s first names or surnames or a greeting such as ‘Merry Christmas’, ‘Season’s Greetings’ or ‘Christmas 2021’.
If you aren’t going to personalize your shadow box then you can skip straight to Step 4!
Click on the shadow box and then press “Ungroup” at the top of the layers panel to separate the layers.

Click the little eye icon next to all the layers apart from the one shown in the image below that contains the ribbons.
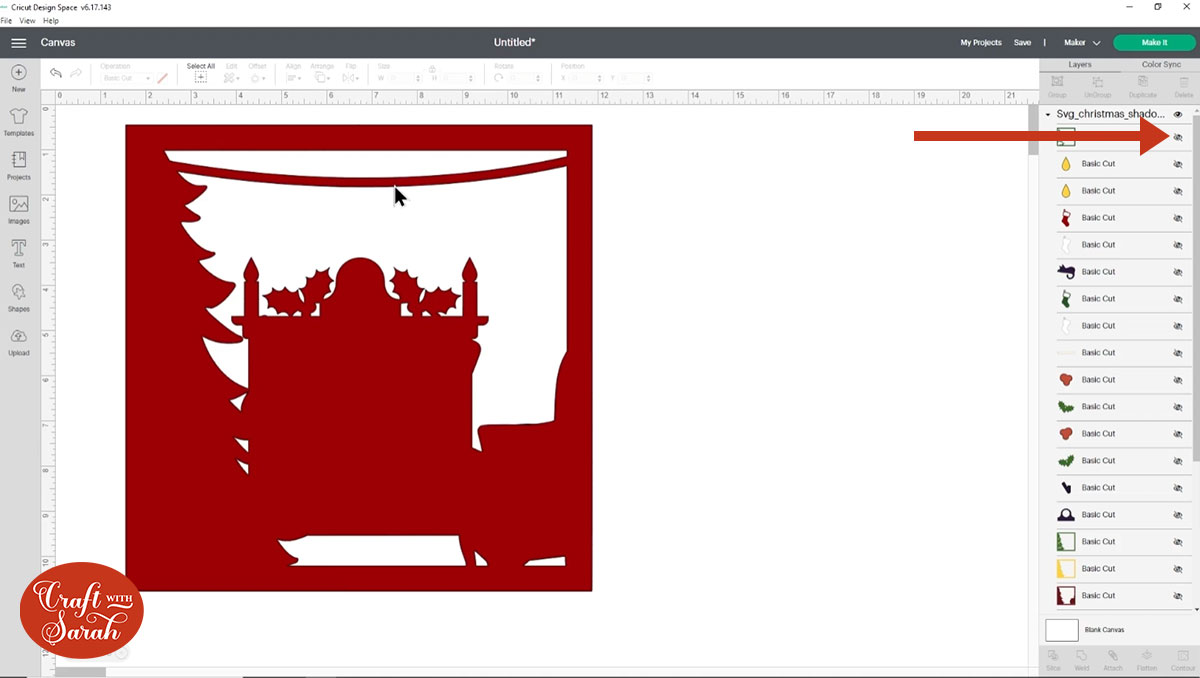
Go into the Text tool and type out the first letter of your first word.
Change the font to something a little bit fancier than the default Cricut one! Choose a font that’s quite bold so that you’ll be able to see the letters when they’re all joined on to the ribbon. I used Belwe Std Medium which is a Cricut Access font.
Resize the letter to make it a suitable size for the ribbon and then rotate it and move it so that it is touching the left side of the ribbon.
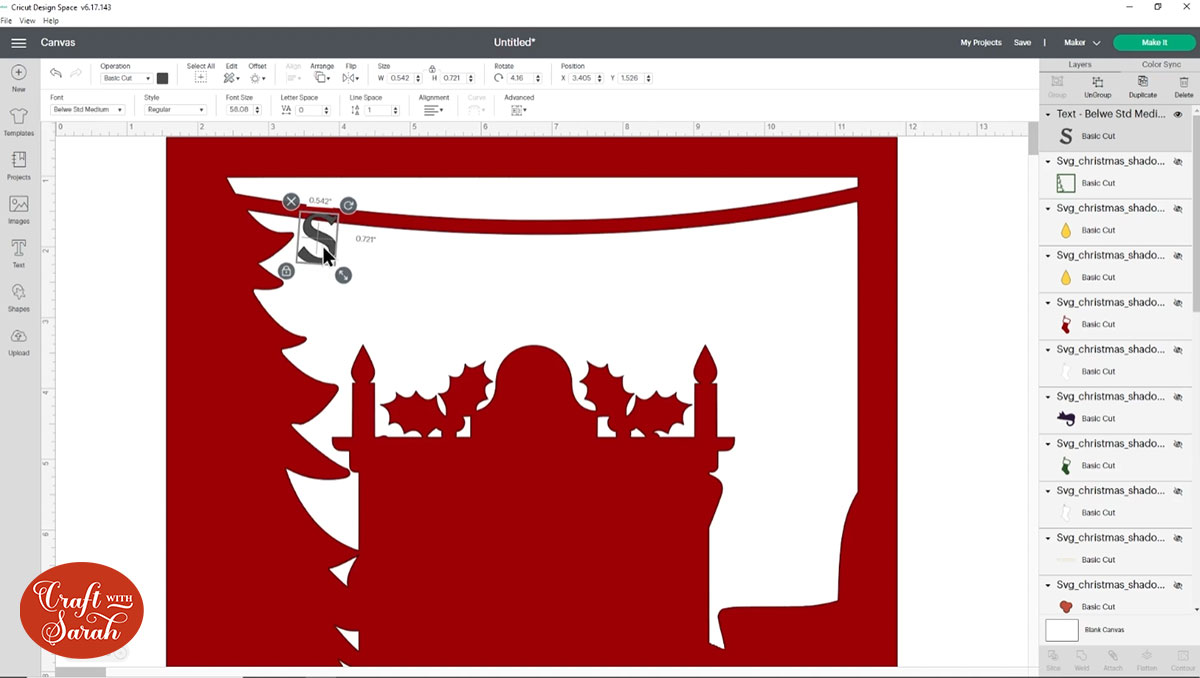
Click the letter and then “Duplicate” it.
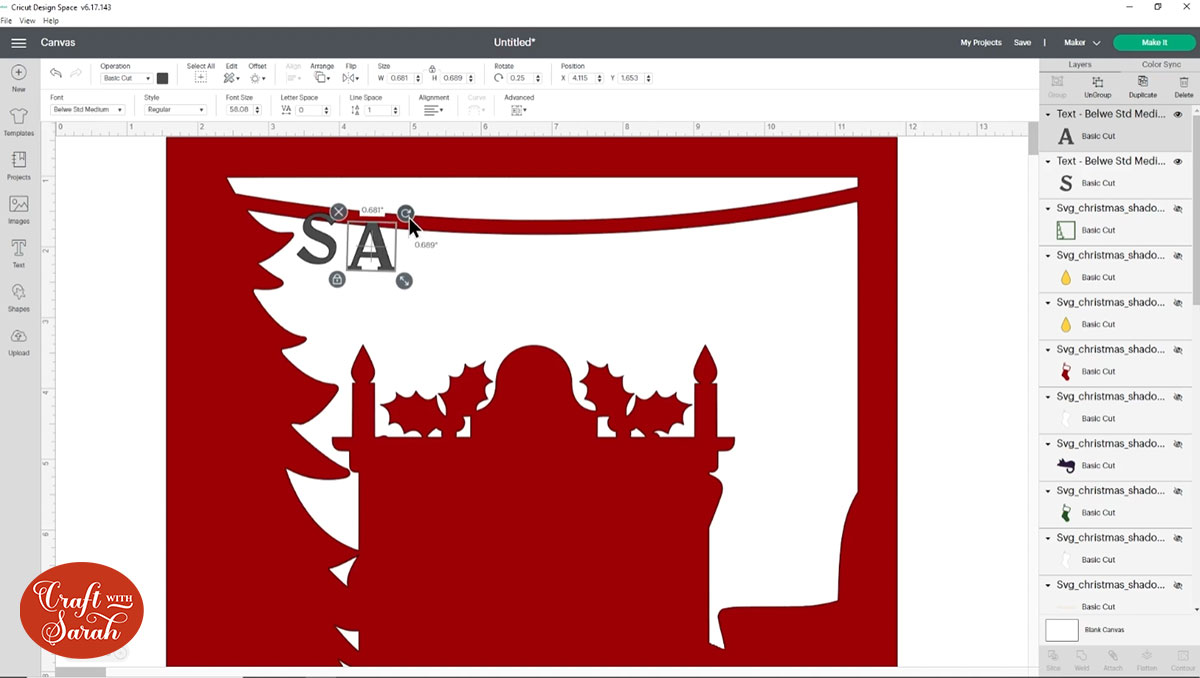
Change the text on the duplicated layer to the next letter in your word, then position it over the ribbon so that the top of the letter is just overlapping.
Keep repeating this step until your words are complete.
Top tip: Place a star shape at the beginning and end of the ribbon and in between every word. This will give you a solid piece of card to add foam pads to when sticking the layers together to give it more of a “3D” appearance.
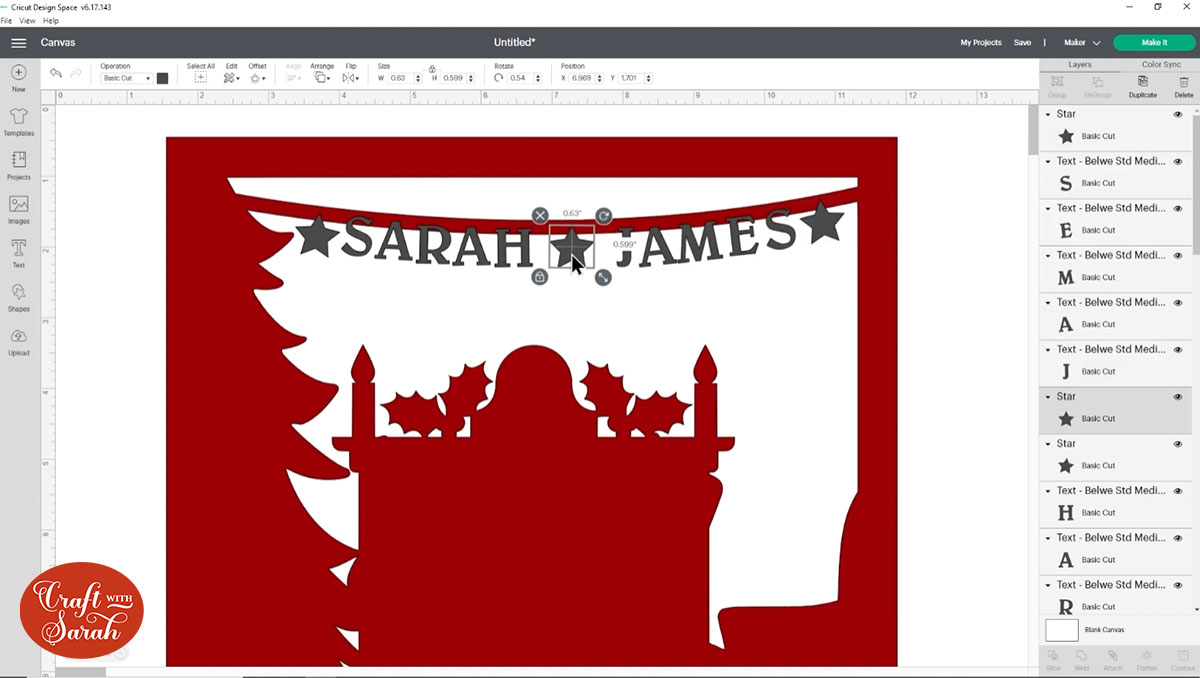
When you’ve finished the words, select all the letter layers and the main shadow box layer and Weld them together.
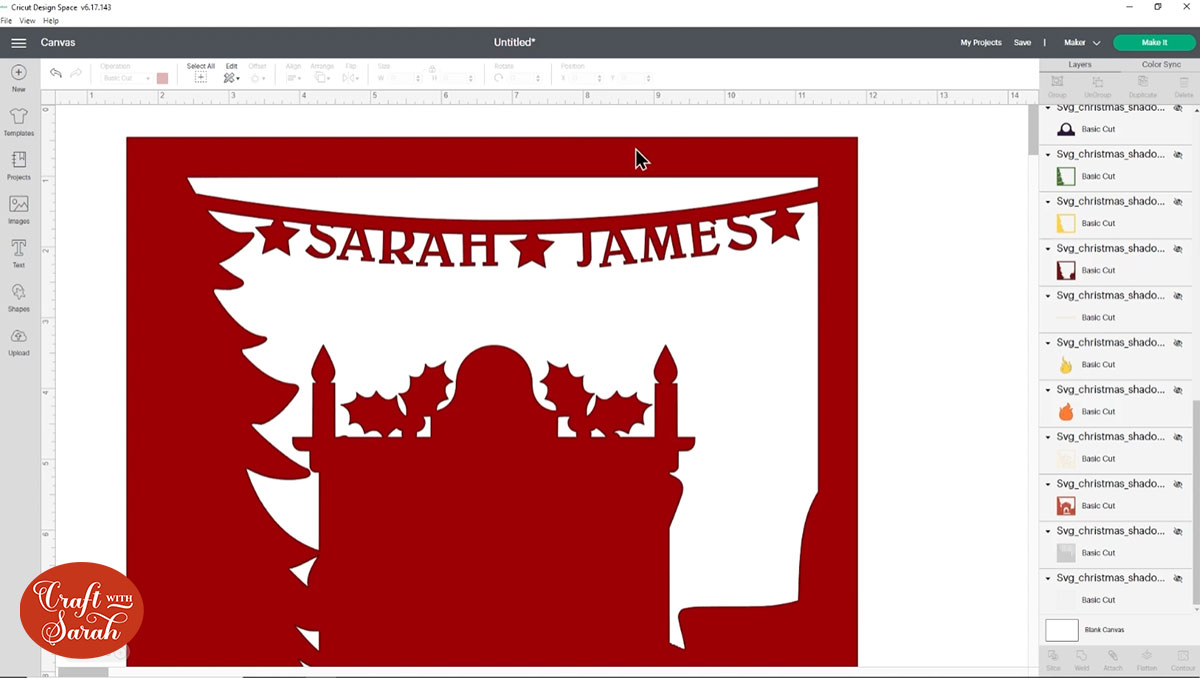
This joins them all into one solid layer which means all your letters will become part of the ribbon.
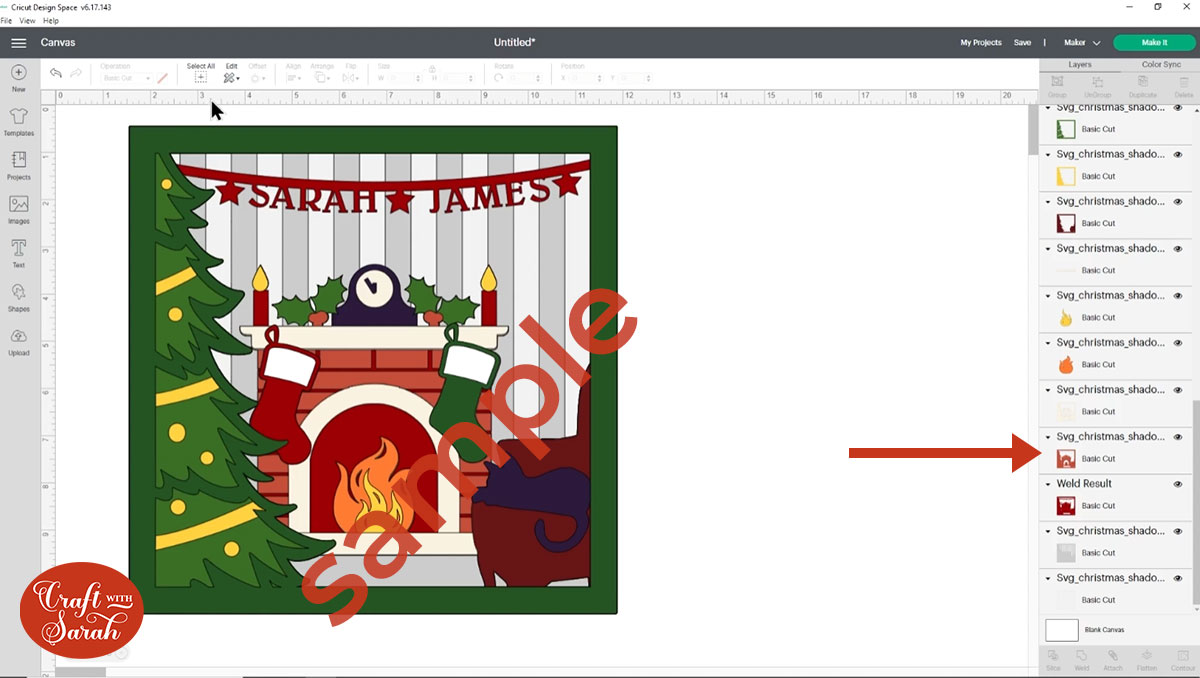
Click the eye icon next to all the hidden layers to turn them back on. Drag-and-drop the red layer so that it is back in the correct position (third from the bottom, above the two grey wallpaper layers).
Step 4) Measure your shadow box & resize the SVG
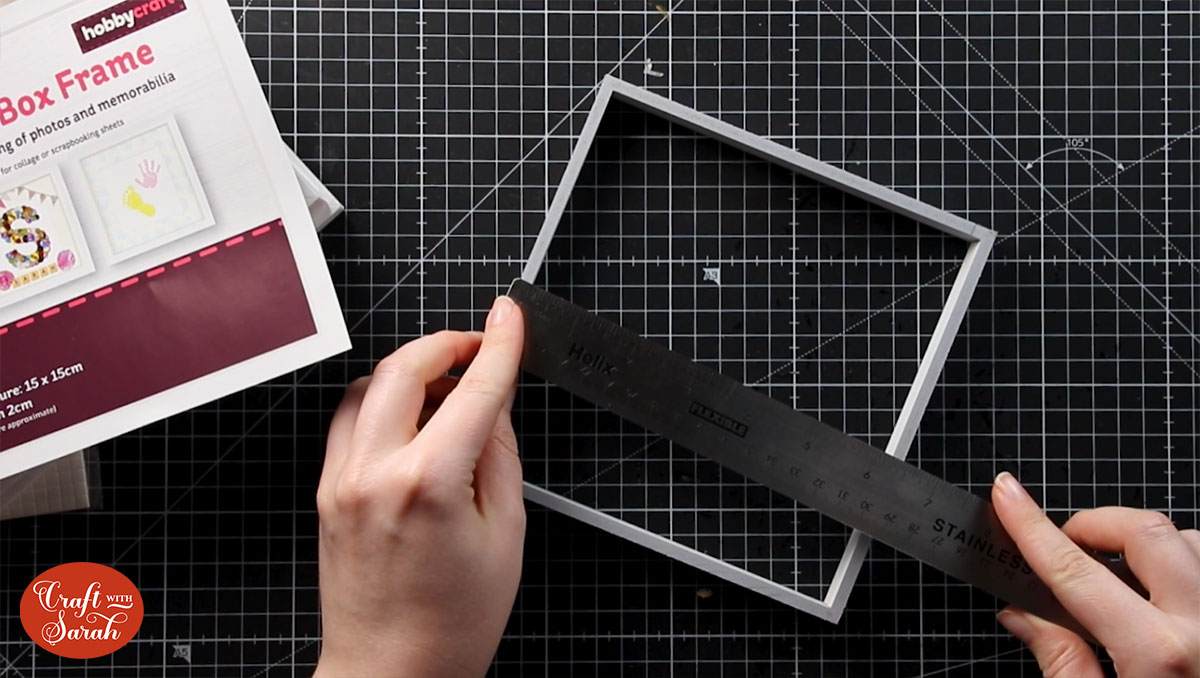
Take the back off of your shadow box and take out the spacer.
Measure from one edge of the spacer to the other.
In Design Space, press “Select All” to highlight all the layers.

Click “Group” so that we can resize them all together at the same time.

Use the width and height boxes at the top of the screen to resize the shadow box design to match the measurement you just took of your frame spacer. Mine was 6.5 inches square.
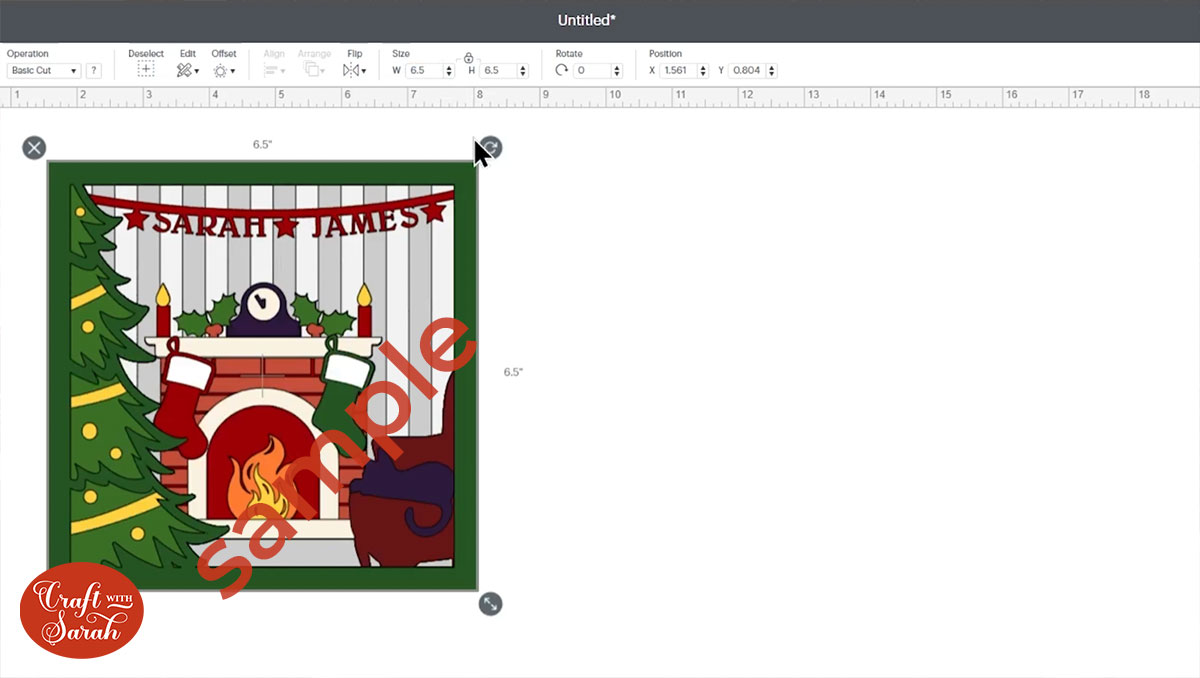
Step 5) Cut out all of the layers
If you haven’t already, make sure you save your Project before you cut it out.
Click “Make It” and cut all the layers of the shadow box from card.
Lay the layers on top of each other after you have cut them (without sticking them) to check you are happy with the colours and that you haven’t missed anything.
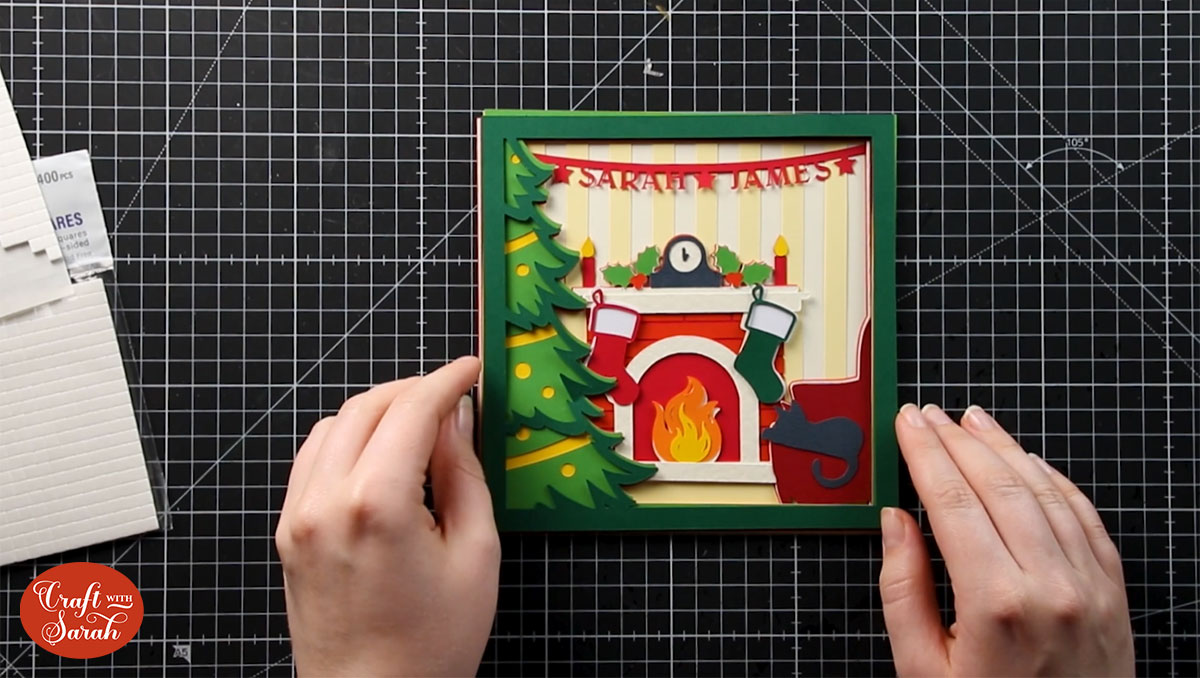
Step 6) Stick the shadow box layers together
Included in the download folder for this design is a PDF file called “Assembly Instructions.pdf”.
Open that on your computer and use it as a guide to see the order to stick the layers together in, and whether you should use foam pads or glue for each layer.
This PDF file can be printed if you don’t craft near to a computer.

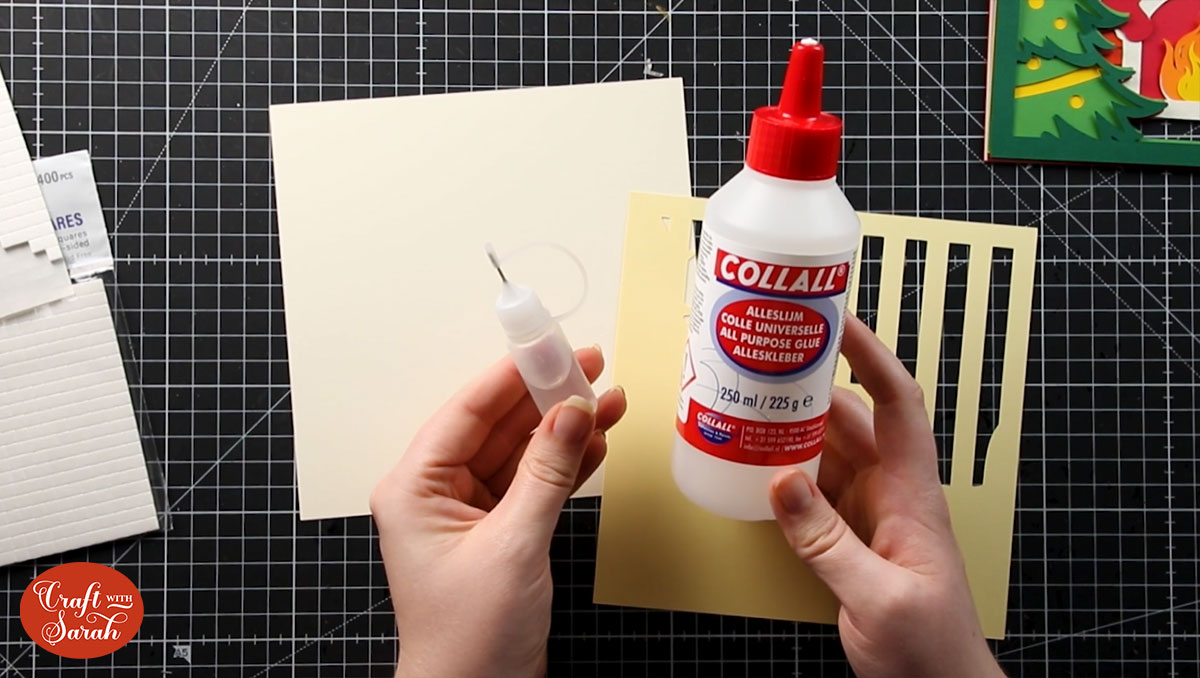
My favourite glue to use on papercraft projects is Collall All Purpose Glue.
It’s SO good because it doesn’t “warp” or bend the cardstock like some glues do. You can use as much of it as you want and the card stays perfect – and it dries perfectly clear too!
To make it even easier to apply glue to layered card projects, I highly recommend getting some of these needle tip applicator bottles to put the glue into.
The nozzles are REALLY tiny which makes them perfect for putting glue in the pieces of cardstock that make up this Christmas shadow box.
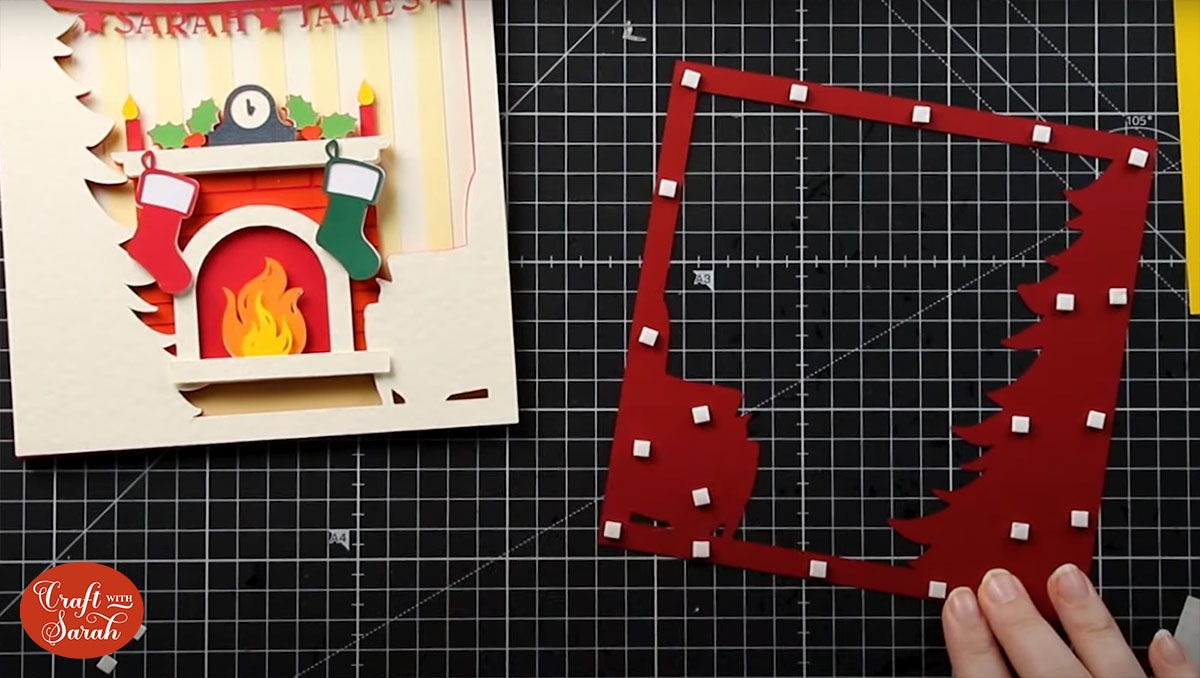
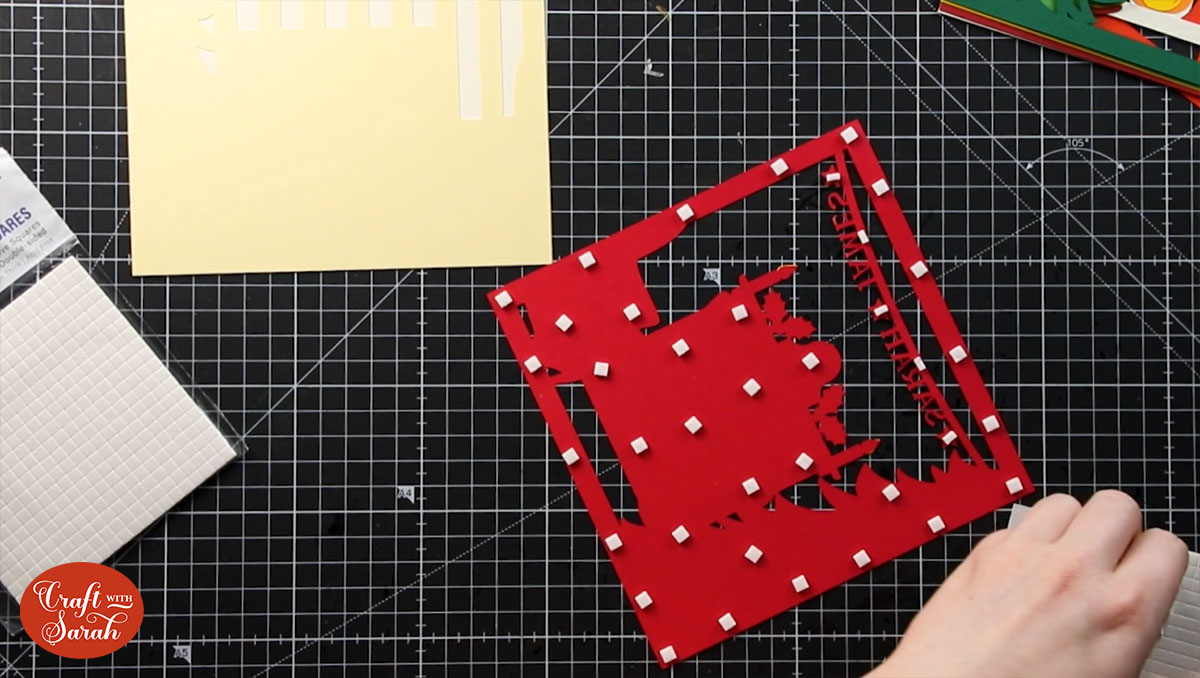
Some of the layers will be stuck together with 3D foam pads to give more dimension and create the “3D” appearance.
When adding foam pads to the square layers, don’t just put foam in the corners. Place a few pieces along each of the edges of the square to give the cardstock stability and to stop it “sagging” in the middles.
When you get to the ribbon layer, try to put foam pads under the star shapes and along the ribbon if it isn’t too thin. This will help the ribbon to “stand out” from the previous layer and give the ribbon a more consistent 3D appearance across the whole of the design.
Step 7) Frame the Christmas shadow box SVG
When everything is stuck together, it’s time to frame the design!
First, clean the glass on the inside with a alcohol wipe to remove any dust or dirt.
Take the spacer out of the frame and then place the design in the frame. Put the back on and close down the metal tabs.
Tip: If your shadow box isn’t quite tall enough to fill the shadow box then you can stick some foam pads together and stick them to the inside glass, close to the inside edges of the frame. Your papercraft project with then sit on top of the foam pads rather than touching the glass, giving it more depth and helping to stabilize it inside the frame.

I hope that you enjoy making this family Christmas shadow box!
This project is part of 2021's Christmas Craft Countdown.
Happy crafting,
Sarah x
