Treats for Santa! š š» Make a Christmas Eve Plate with Vinyl
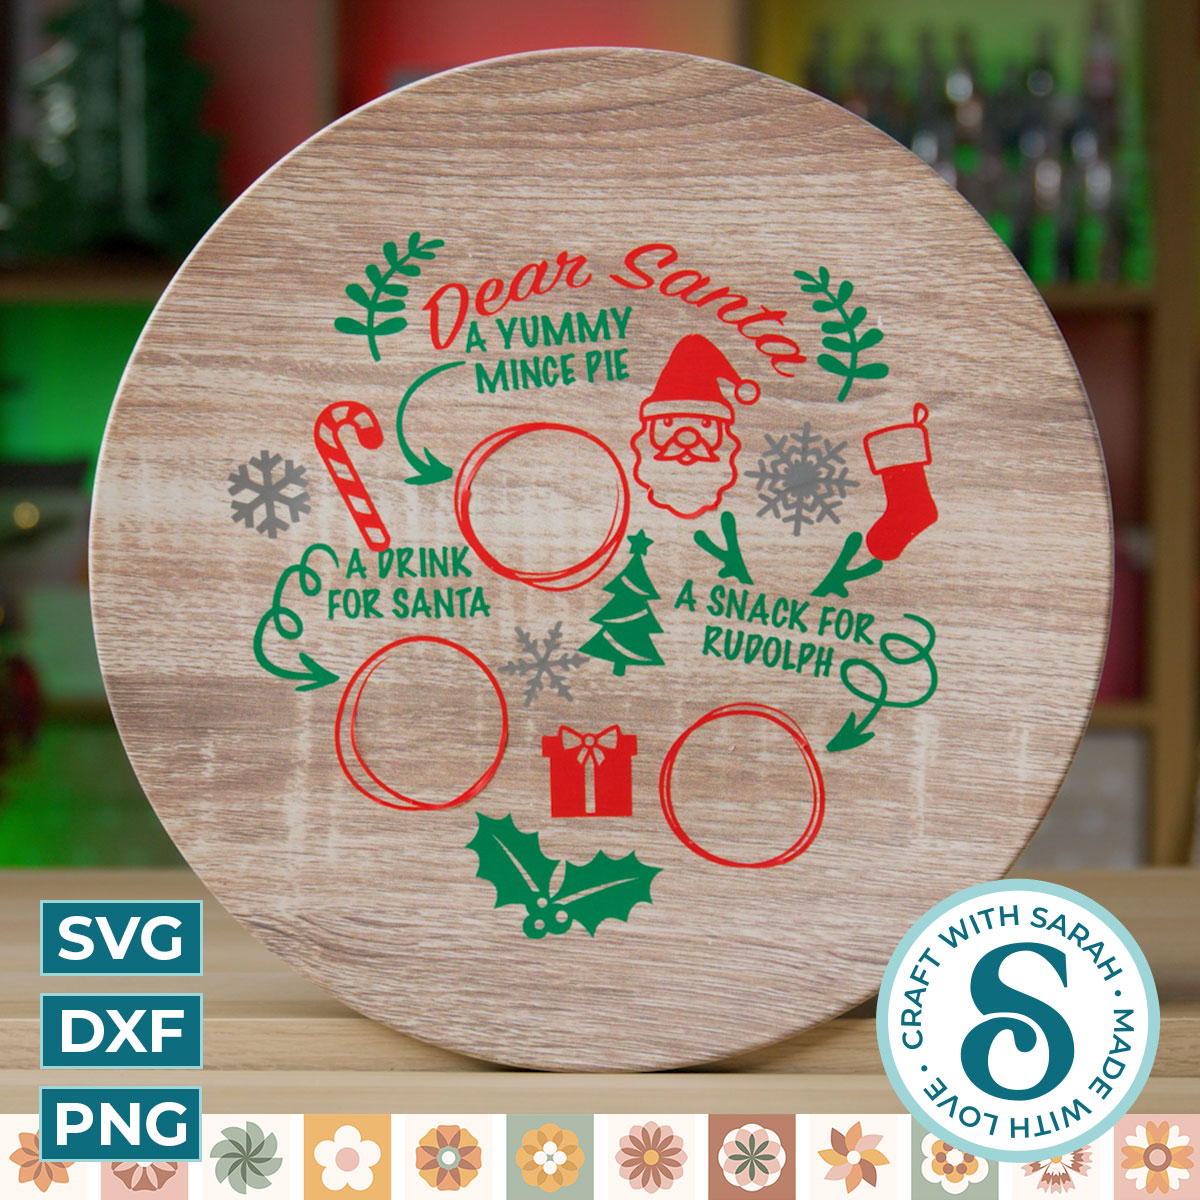
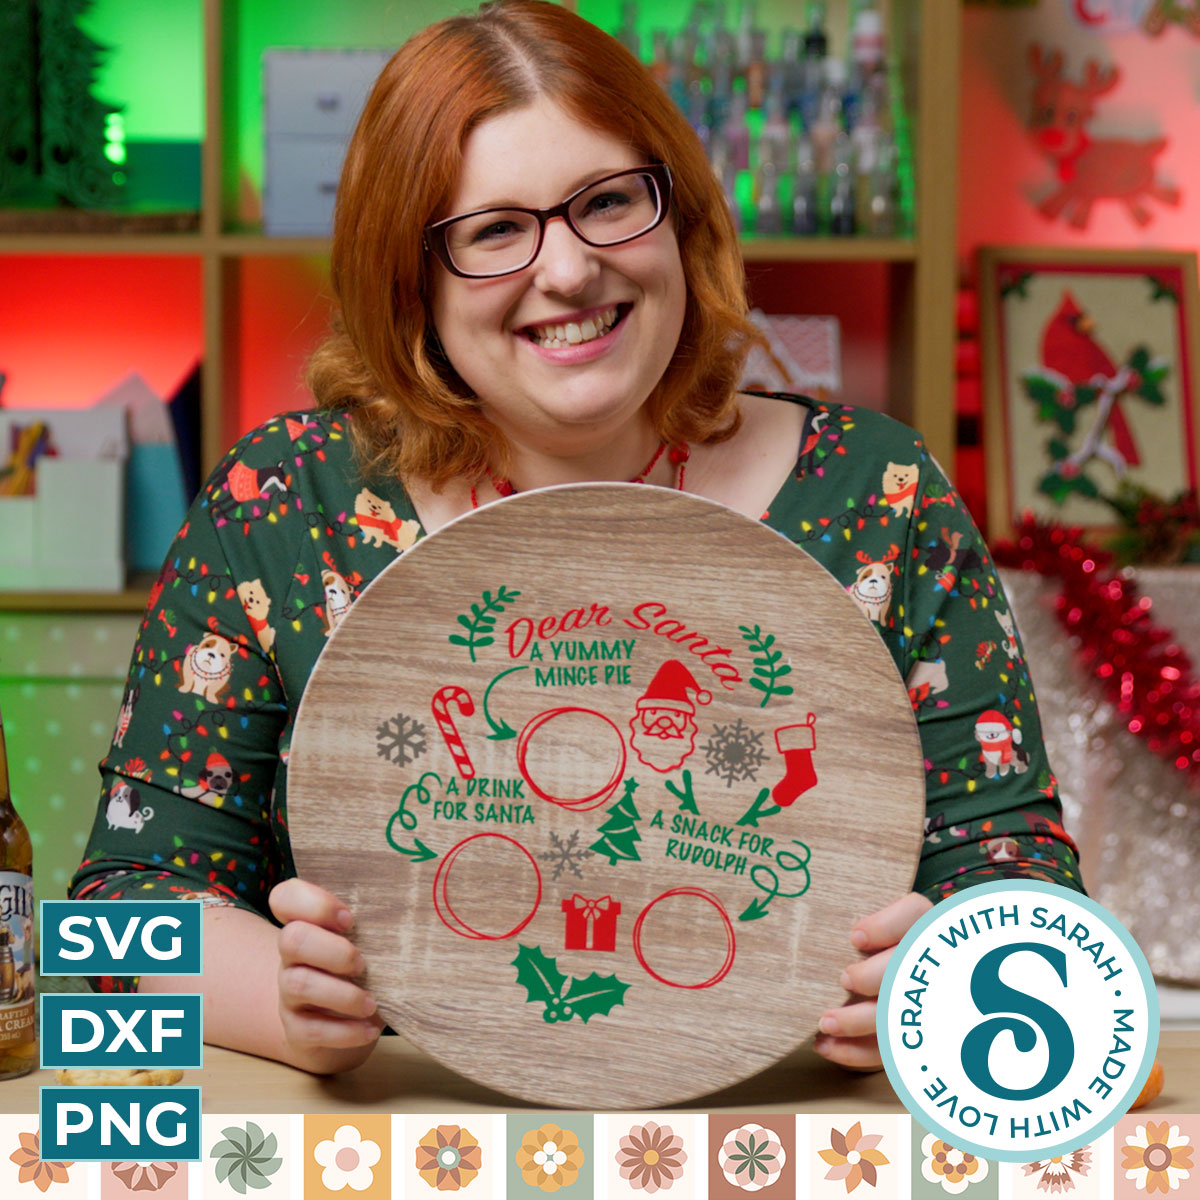
Treat Santa to some tasty cookies or mince pieces and a nice refreshing drink with this decorative Christmas Eve plate made with adhesive vinyl.
Welcome to Day 19 of the Christmas Craft Countdown, where Iām revealing a new Christmas craft project every day for 20 days.
We’re almost at the end of the Countdown now so I thought we’d better fit in one more vinyl project which is a Christmas Eve plate.
These are growing in popularity as a way to leave out a little drink and a snack for Santa, plus some carrots for the reindeer.
This project is part of 2021's Christmas Craft Countdown.
DIY Christmas Eve plate video tutorial
Watch the video below to see how to make this Christmas Eve plate from adhesive vinyl. Or, keep scrolling for a written tutorial.
Materials list to make a Christmas Eve plate
Here is a list of the materials that I used to make this project:
Please note that some of the links included in this article are affiliate links, which means that if you click through and make a purchase I may receive a commission (at no additional cost to you). You can read my full disclosure at the bottom of the page.
- Cricut Maker
- Light blue Cricut cutting mat
- A charger plate or similar
- Adhesive vinyl (permanent or removeable)
- Mince pies/cookies and a drink for Santa plus carrots for the reindeer
How to make a Christmas Eve plate or Santa
Here’s how to make your very own Christmas Eve plate using a Cricut machine!
Step 1) Download the file & unzip the downloaded folder
Use the box below to download the cutting files for this project. Please note that this is not a free file.
It is part of the Christmas Craft Countdown which is a collection of 20 exclusive Christmas themed craft projects.
This design is part of the 2021 Christmas Craft Countdown.
If you have already purchased the Christmas Craft Countdown,
please login to your account.
Before you upload the SVG to Design Space, you need to unzip the download folder that it comes in.
- How to unzip a folder on Windows computer
- How to unzip a folder on a Mac
- How to unzip a folder on an iPad/iPhone
- How to unzip a folder on an Android device
Step 2) Upload the SVG file into Design Space
Open up Cricut Design Space and choose the version of the SVG that you would like to use.
Make sure you upload the file which starts SVG_ in the filename!!
This is how it should look after you have uploaded the file:
After uploading, the design will show in your “Recently Uploaded Images”. Click on it and then press “Add to Canvas” to put it onto your Project.
Step 3) Resize the design
Measure your plate to work out how big to make the design.
Here’s the plate that I’m going to be putting my vinyl on. This is a charger plate which means it’s designed to go underneath a dinner plate to make your table look pretty. If we look on the back, it does actually say this is for decorative use only and it is not food safe.
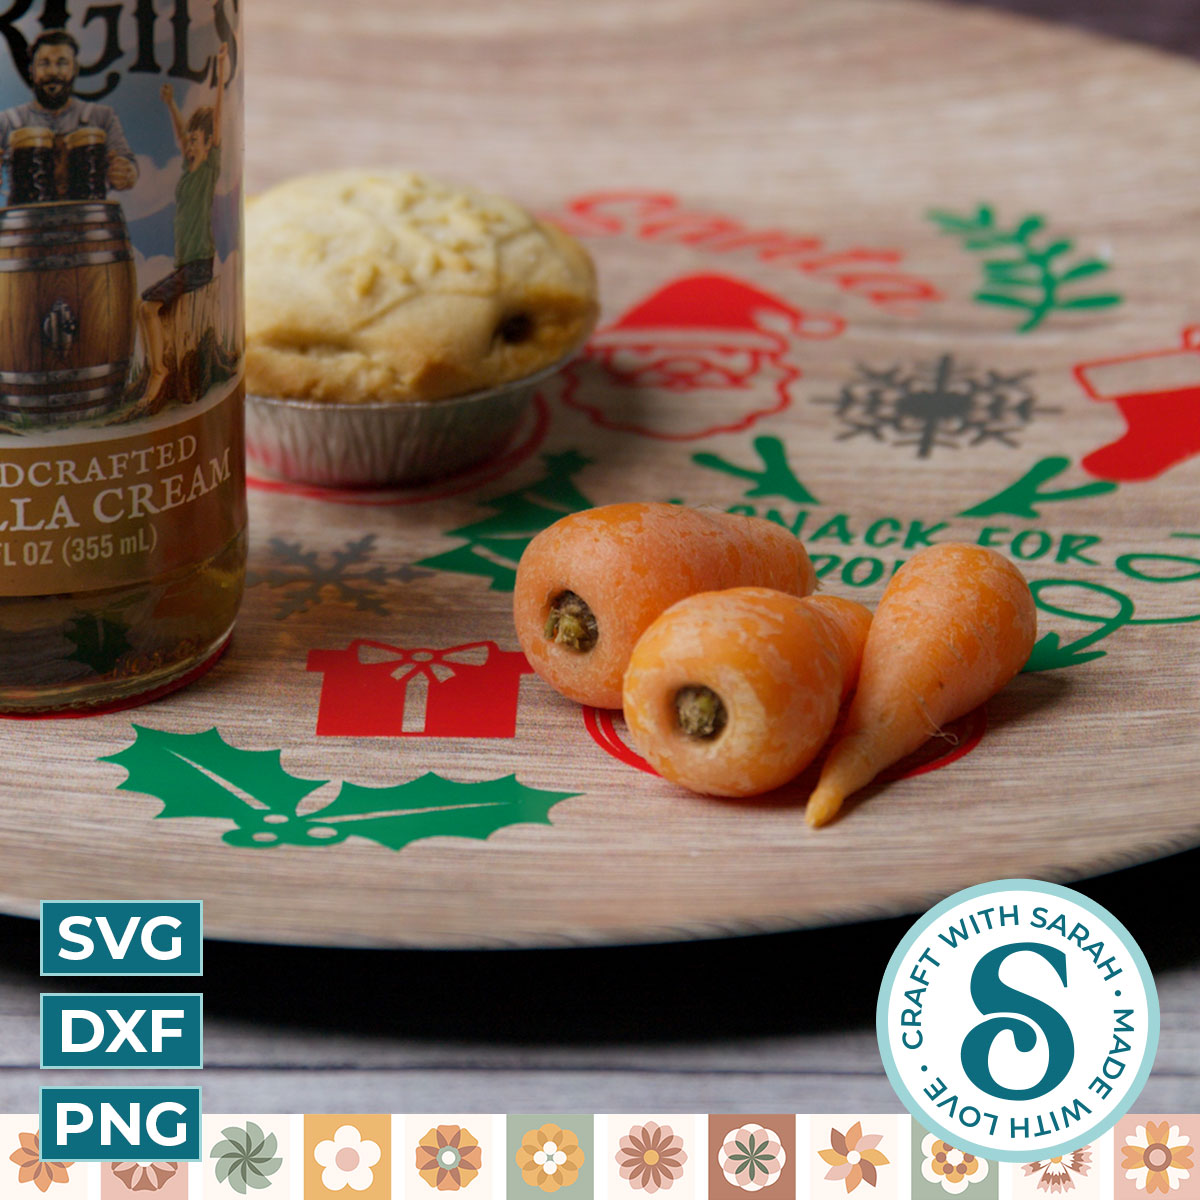
However, as this project is going to be just used one night a year for Santa with drink’s gonna be in a bottle and a mince pie in its metal container so they won’t be touching the charger or the vinyl. It’ll only be the carrot that is touching and I think Rudolph will forgive us for this!
My charger plate has rounded edges and I don’t want the vinyl to go up the sides because it will be more difficult to stick on.
Therefore, I think about 9 inches is a good size for my particular plate.
Click the design in Design Space and resize it.
Step 4) Cut the vinyl
Cut the vinyl from each of the different colours.
Weed away the excess so you just have the parts remaining that you want to stick to the plate.
Step 5) Stick the vinyl to the plate
Use transfer tape to stick the vinyl to the plate.
Add your treats to the top of the plate on Christmas Eve and that’s it – your Christmas Eve plate is all ready for Santa and his reindeer to come and enjoy!
This project is part of 2021's Christmas Craft Countdown.
Happy crafting,
Sarah