Easy Christmas Centrepieces: How to Make 3D Christmas Trees
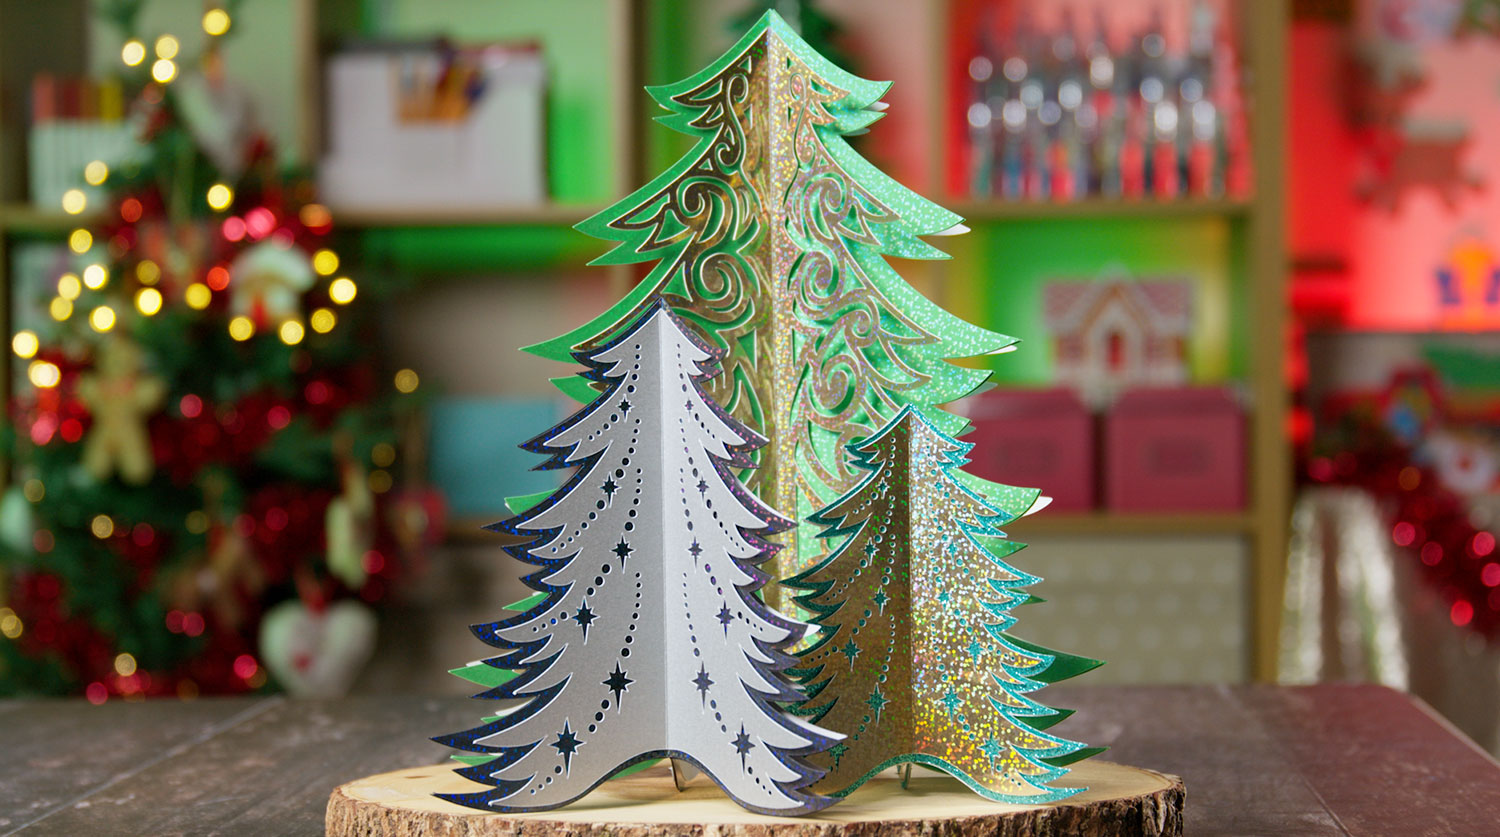
Decorate your dining table with these easy (and impressive!) Christmas centrepieces.
Today’s project is a 3D craft to go on your table this Christmas. It is a three-dimensional Christmas tree centrepiece which comes in two different versions: an intricate swirly version and a more simple version.
Welcome to Day 13 of the Christmas Craft Countdown, where I’m revealing a new Christmas craft project every day for 20 days.
This project is part of 2021's Christmas Craft Countdown.
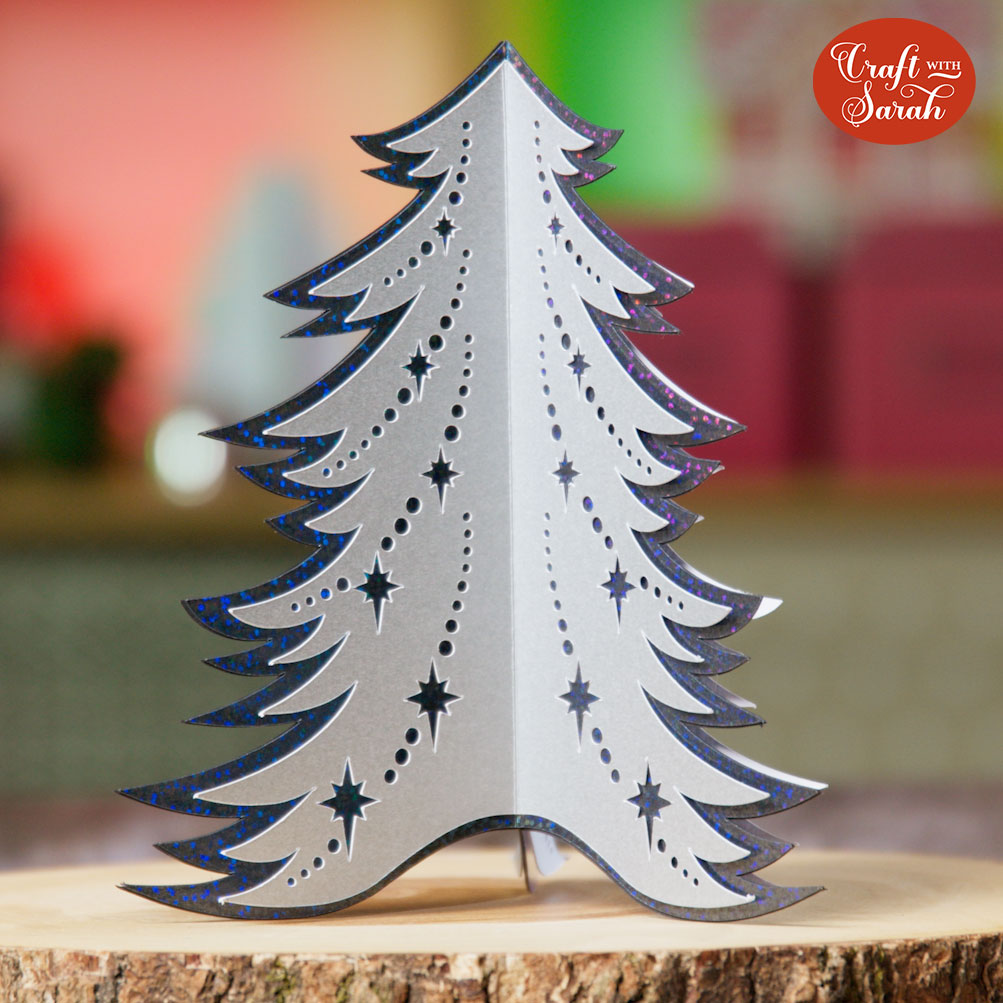
How to make a 3D Christmas tree centrepiece
Watch the video below to see how to make a 3D Christmas tree centrepiece. Keep scrolling for a written tutorial.
This video was recorded using Design Space version 6.17.143. Later versions of Design Space may look different.
Materials list to make a cardstock Christmas centrepiece
Here is a list of the materials that I used to make this project:
Please note that some of the links included in this article are affiliate links, which means that if you click through and make a purchase I may receive a commission (at no additional cost to you). You can read my full disclosure at the bottom of the page.
- Cricut Maker
- Standard grip Cricut cutting mat
- Kraft board
- Holographic cardstock
- Collall All Purpose Glue
- Needle Tip Applicator Bottle
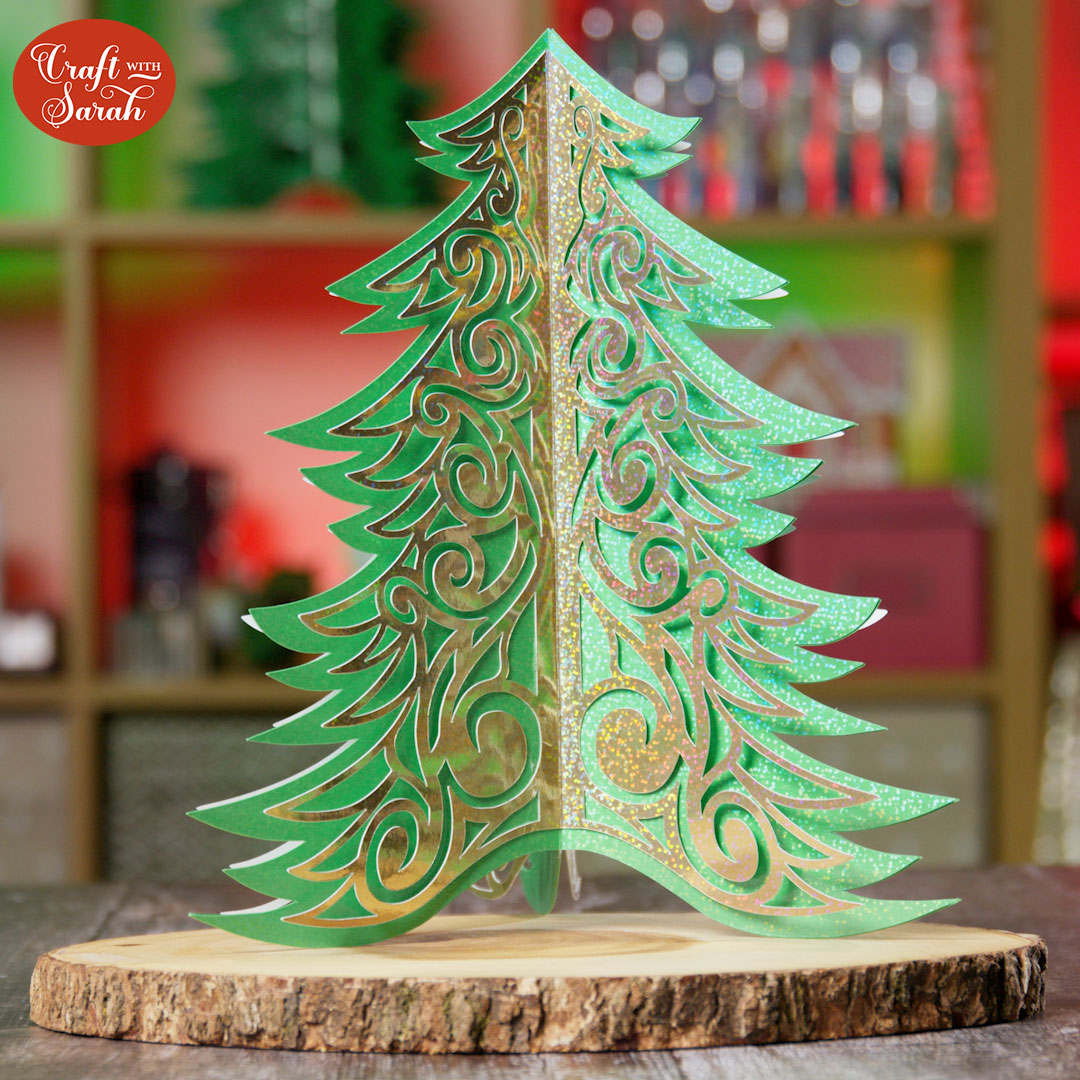
Christmas centrepiece: Assembly instructions
Here’s how to make your very own Christmas centrepiece using a Cricut machine!
Step 1) Download the files & unzip the downloaded folder
Use the box below to download the cutting files for this project. Please note that this is not a free file.
It is part of the Christmas Craft Countdown which is a collection of 20 exclusive Christmas themed craft projects.
This design is part of the 2021 Christmas Craft Countdown.

If you have already purchased the Christmas Craft Countdown,
please login to your account.
Before you upload the SVGs to Design Space, you need to unzip the download folder that they come in.
- How to unzip a folder on Windows computer
- How to unzip a folder on a Mac
- How to unzip a folder on an iPad/iPhone
- How to unzip a folder on an Android device
Step 2) Upload the SVG files into Design Space
Open up Cricut Design Space and upload the Christmas tree designs.
Make sure you upload the files which starts SVG_ in the filename!!
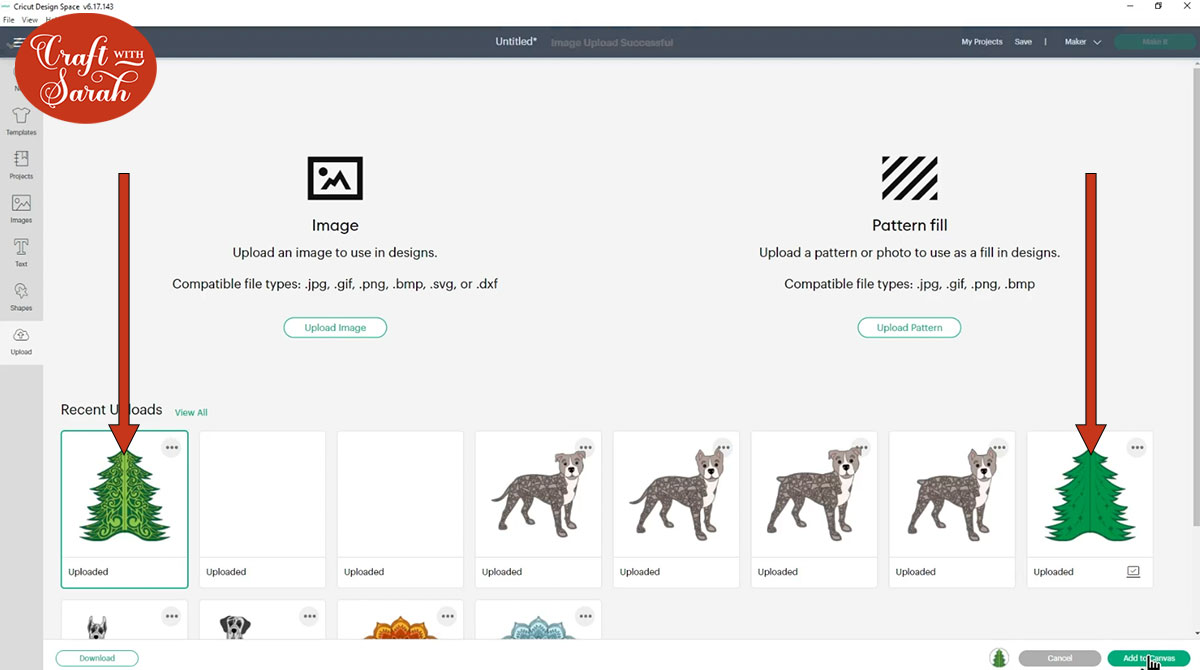
This is how it should look after you have uploaded the swirly Christmas tree:
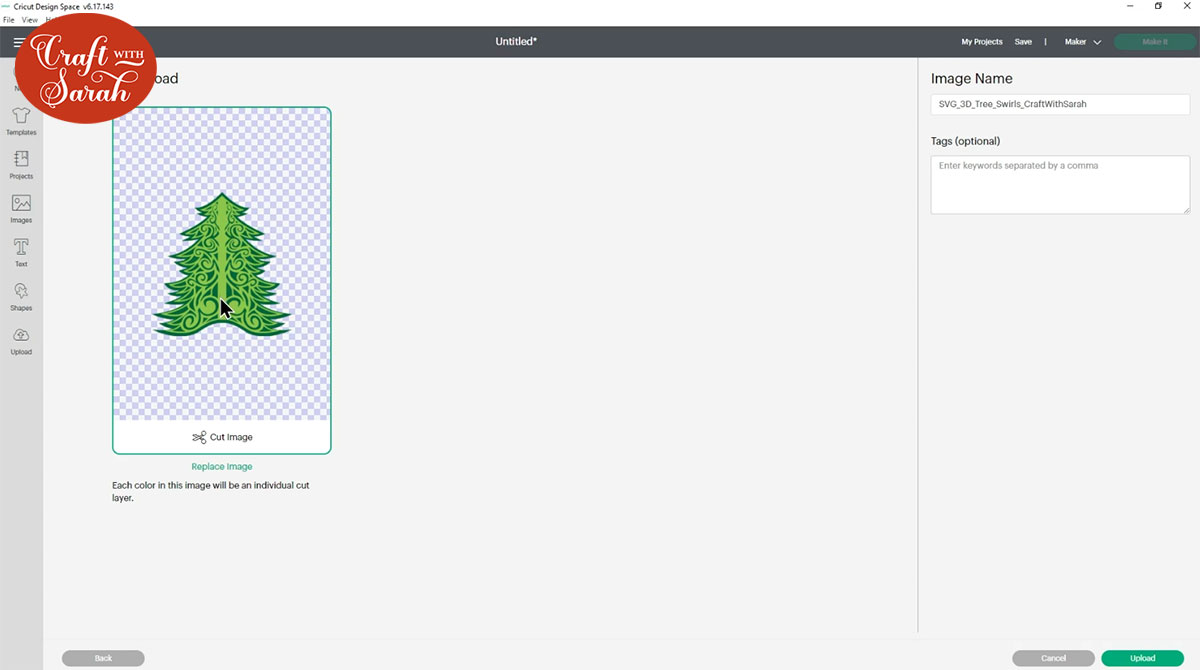
After uploading, the designs will show in your “Recently Uploaded Images”. Click on them and then press “Add to Canvas” to put them onto your Project.
Step 3) Resize the design
Click the design and resize it to the size you want to make the tree. I made mine 11.5 inches tall.
Step 4) Format the score lines
The trees have score lines to help us fold it and create the 3D effect.
However, Design Space doesn’t automatically set them to score lines which means at the moment they would cut instead of score.
Click on the tree image and look at the layers panel on the right-side of your screen. Click “Ungroup” to separate the layers.

For each of the two score layers (shown below), click the layer in the Layers Panel and then under the “Operation” dropdown along the top of the screen, change it from “Basic Cut” to “Score”.
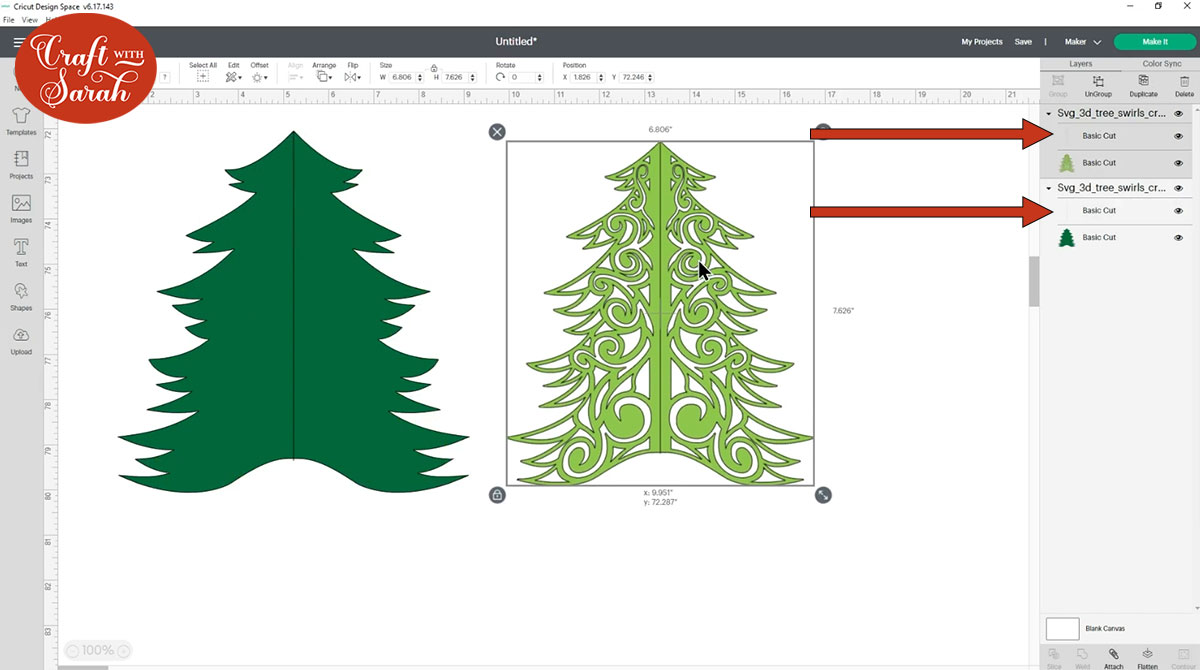
You can tell if it worked because the lines change to look “dashed” instead of a straight line:
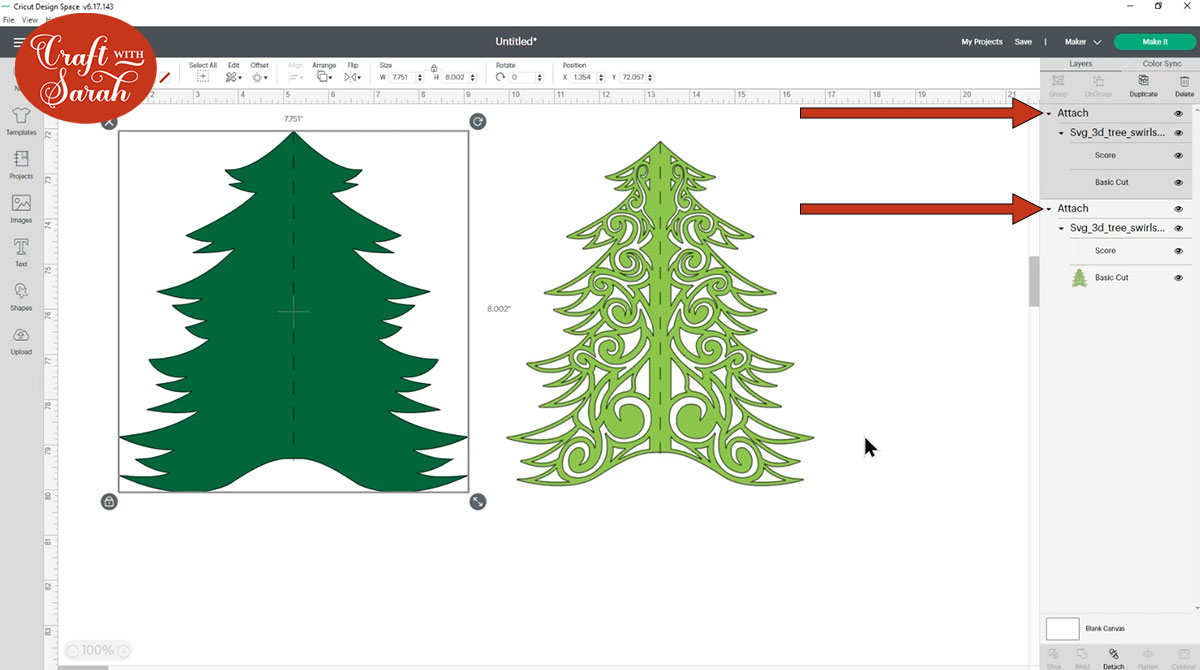
We aren’t quite done formatting the score lines yet though. We also need to “Attach” the score lines to the layers we want them to appear on. “Attach” is what tells the Cricut where to make the score lines on the cardstock.
Click on the bottom tree section and then press “Attach”.

The layers panel should update to show that those two layers are now attached. Do the same for the swirls group.
Step 6) Duplicate the tree layers
Press “Select All” to select all of the layers.

Press “Align” and then “Center” to position the swirls back on top of the base layer.

Click “Group” so that we can work with all the layers at the same time.

Click on the tree and then press “Duplicate” either twice or three times depending on if you want to make a three-sided or a four-sided tree.

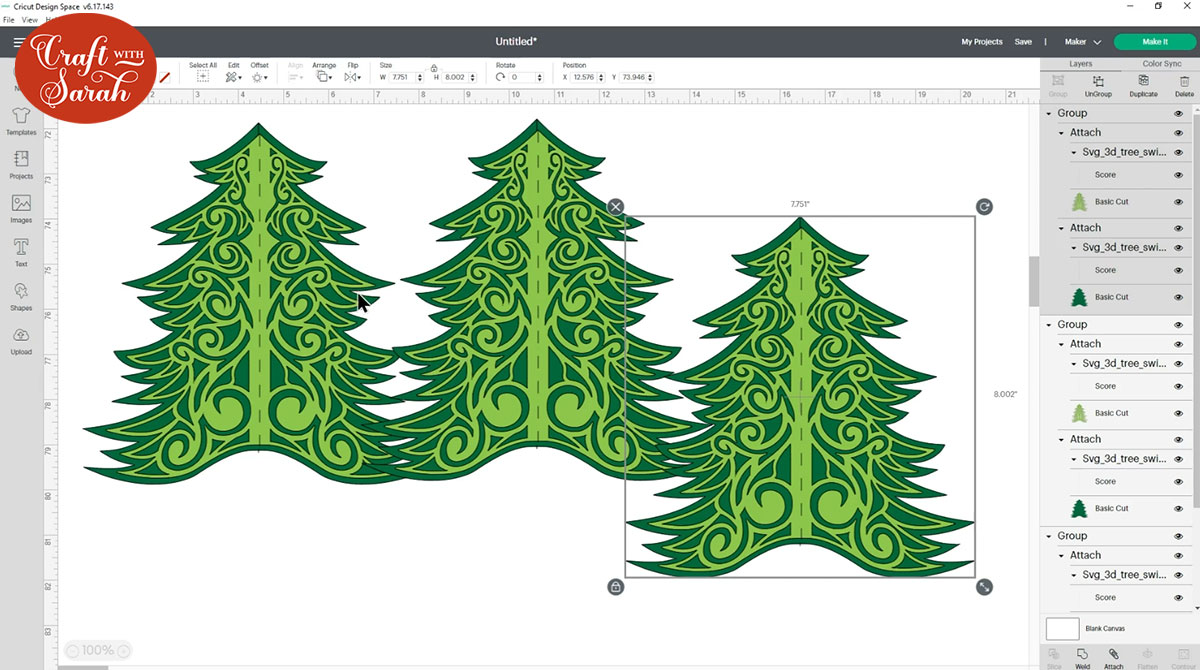
Your design is now ready to cut! Click “Make it” and then follow the on-screen instructions to cut out all the pieces.
TIP: Use thick card such as Kraft board or holographic cardstock. The thicker the card, the more stable your trees will be.
Step 7) Complete the tree base
Take each of the solid pieces of the tree and valley fold them along the score line.
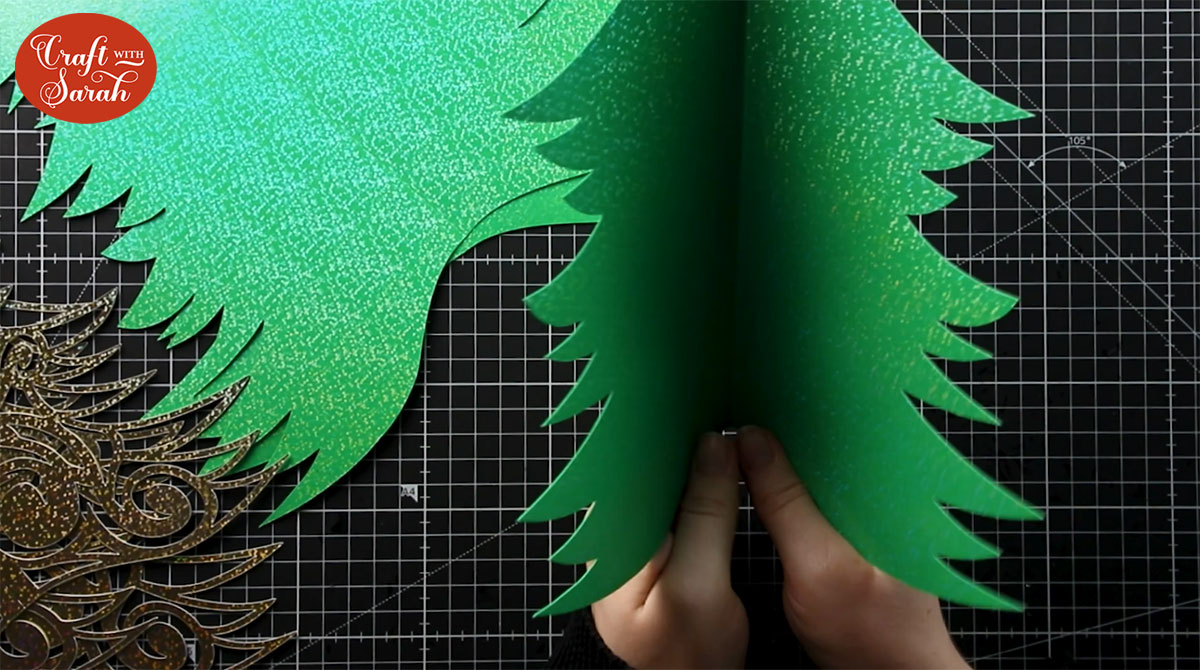
Put glue down one half of the back side of one of the pieces and stick the next piece to it.
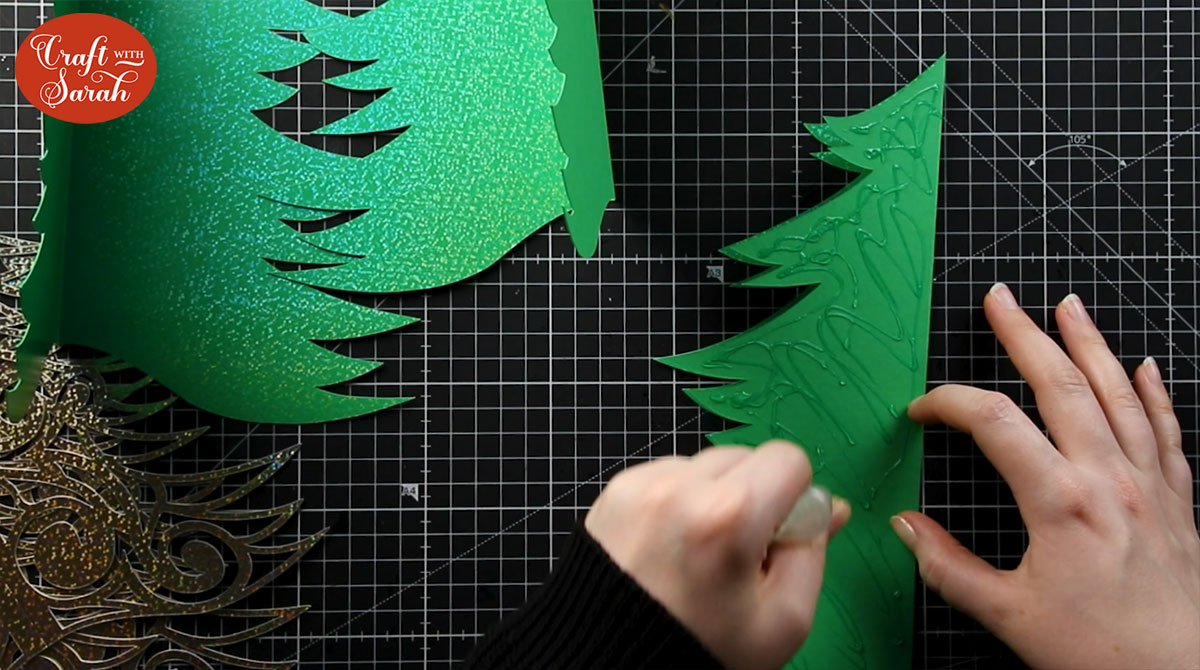
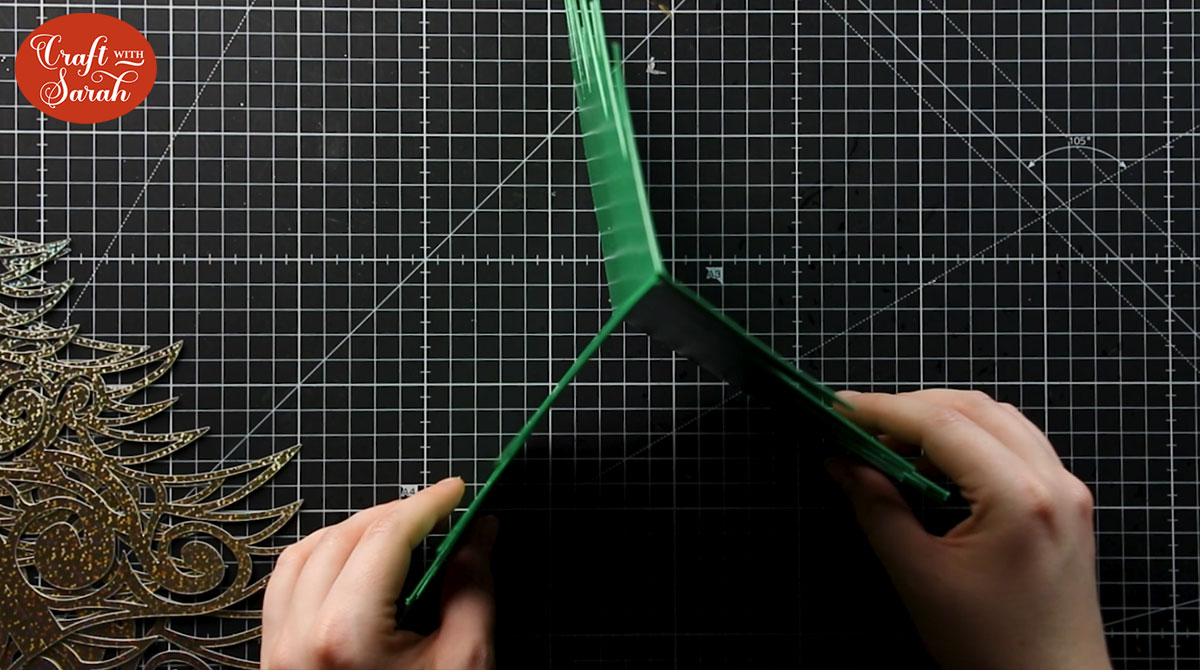
If you are making a three-sided tree then stick the final piece on.
If you are making a four-sided tree then complete these step twice more.
This should make your tree free-standing.
Step 8) Attach the patterned layers
Valley fold each of the patterned layers.
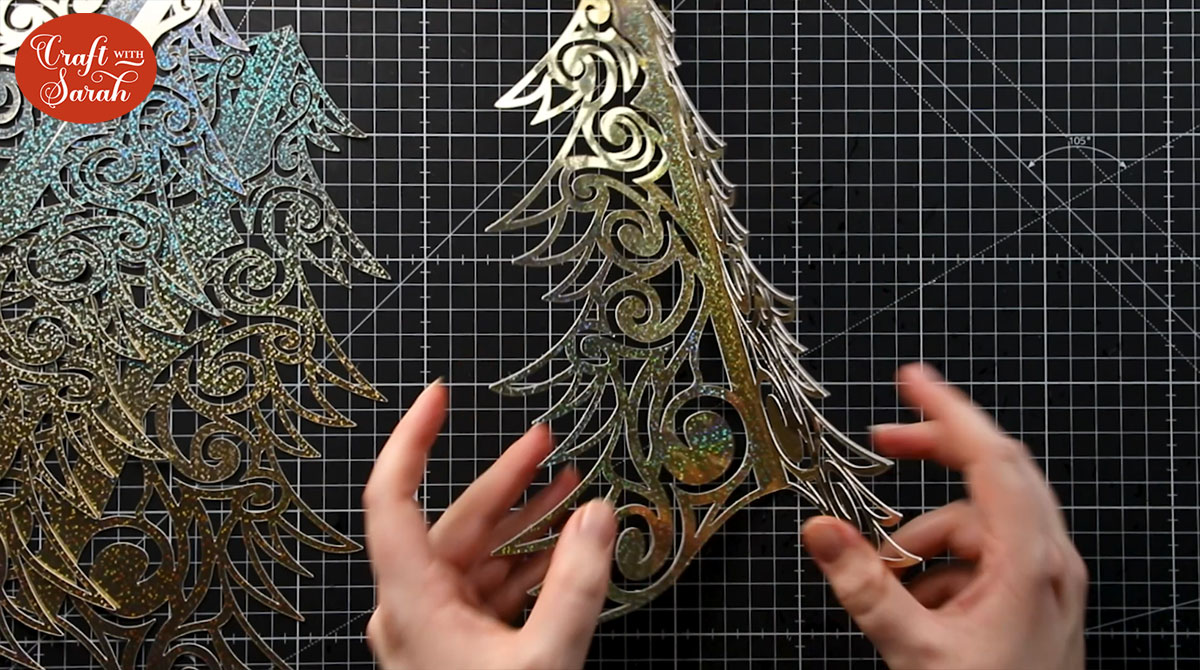
Working one side at a time, put glue down the middle of each side of the base card.
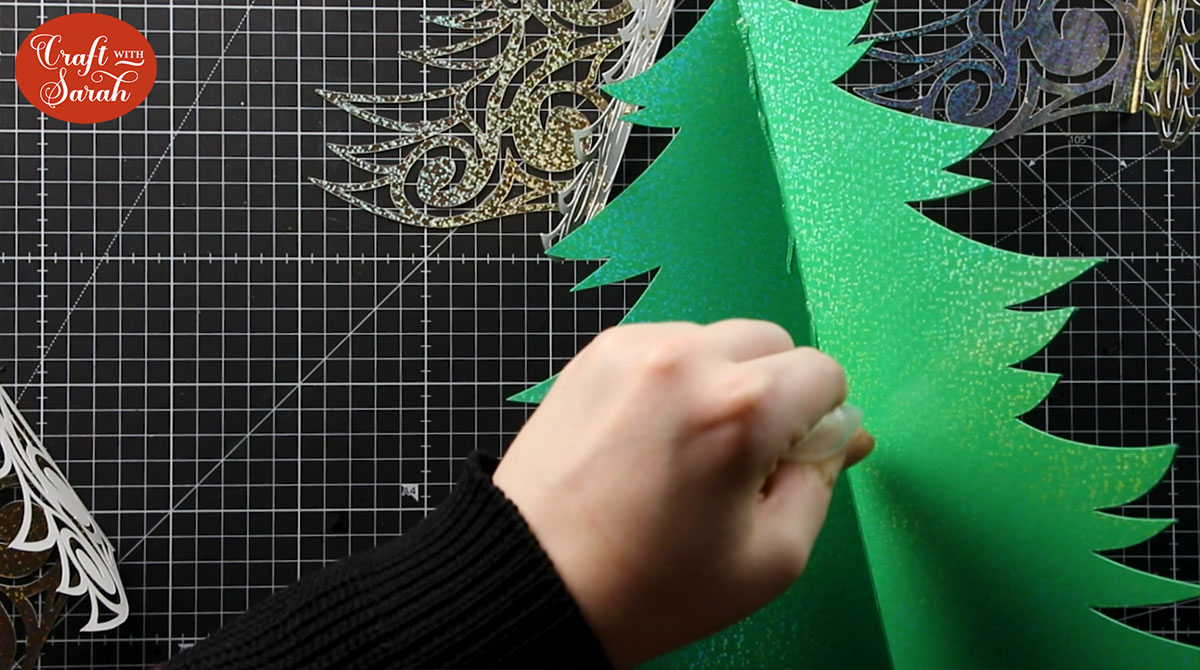
Stick the patterned layers into the glue and hold in place until the glue dries.
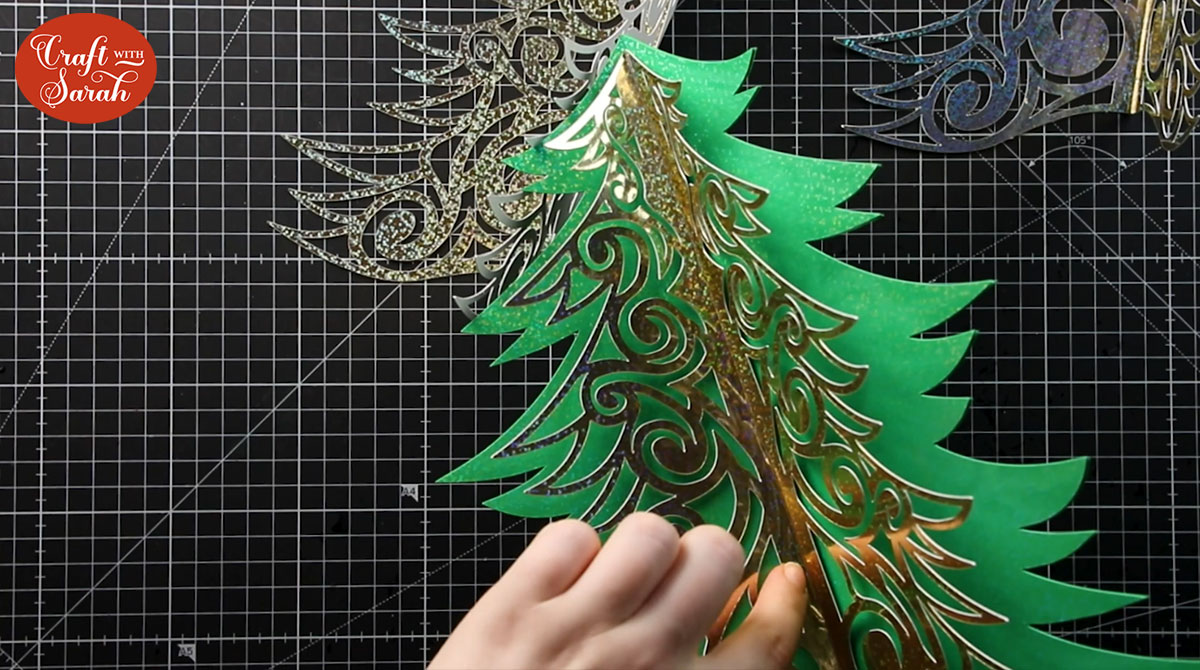
Here is what the trees look like when fully assembled:
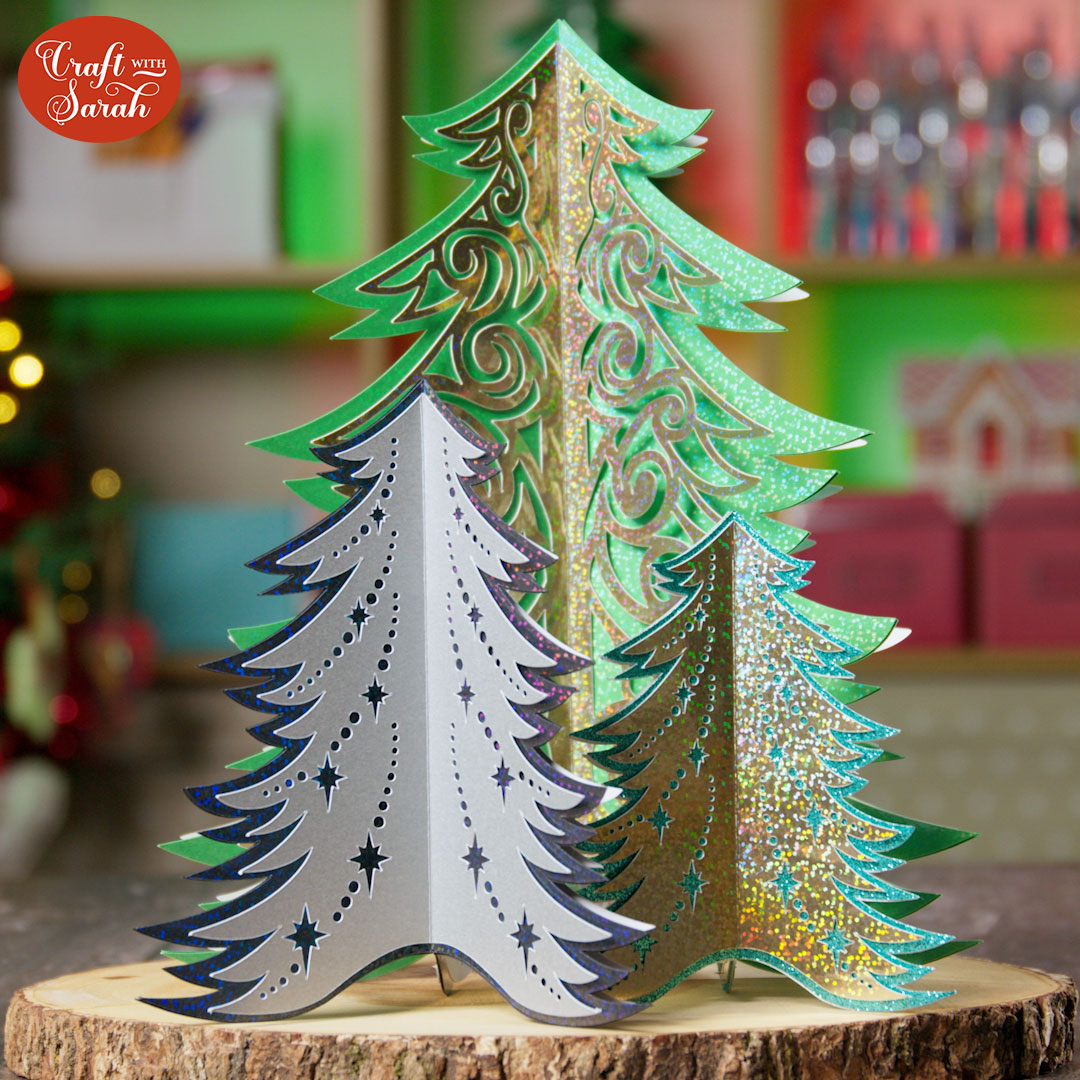
They look lovely cut in a collection of different sizes and positioned on a rustic wood slice.
I hope that you enjoy these Christmas tree centrepieces!
This project is part of 2021's Christmas Craft Countdown.
Happy crafting,
Sarah x
