
CMC 2024 Day 01 ✂️ Gate Fold Card Tutorial

It’s Day 01 of the 2024 Card Making Countdown!
Hello and welcome to Day 1 of the Card Making Countdown, where I’m showing you how to make 10 different types of card with your Cricut machine in 10 days.
Today we’re making gate fold cards! This is a card where the front is “cut” down the middle so that it opens up in both directions from the middle of the card, to look like a gate opening towards you.
I’ve included five different gate fold templates for you as part of today’s download. But remember, they’re only available for free for 24 hours, starting at 9am EDT on 1st June 2024.

The templates are left blank with no pictures or patterns on. This tutorial shows how to add your own decorations to make these cards suitable for whatever theme, decoration or occasion you want.
I hope you enjoy these gate fold card ideas, as well as the segment on how to make your own custom gate fold cards in Cricut Design Space.
This project was part of 2024's Card Making Countdown.
Materials supply list
Here is a list of the materials that are required to make this project.
Please note that some of the links included in this article are affiliate links, which means that if you click through and make a purchase I may receive a commission (at no additional cost to you). You can read my full disclosure at the bottom of the page.
- Cricut machine
- Light blue Cricut cutting mat
- Cricut scoring wheel or scoring stylus
- Cardstock in a range of colours
- Colour printer OR scrapbook/patterned paper
- Glue or double-side sticky tape (I like Bearly Art Glue and Collall brands of glue)
- 3D foam pads (optional)
- Photo paper (optional)
- Card toppers or embellishments (optional)
This project is suitable for the following types of Cricut machine: Explore Air 2, Explore Air 3, Maker, Maker 3 and Joy Xtra. It cannot be used with the original Cricut Joy machines as they cannot cut large enough to make these cards.
Foundation learning
If you’re new to crafting with your Cricut, you may find the below links helpful.
They teach some of the skills mentioned throughout this tutorial.
- How to upload SVG files into Design Space
- How to score with a Cricut (even without scoring tools)
- Print then cut tutorial
- Design Space tools (Combine, Attach, Slice, Weld, Flatten, etc.)
- Pattern fill tutorial (for making backgrounds & cutting images to a specific shape/size)
- Free envelope SVGs that can be sized to fit any card
- How to write inside cards with Cricut pens
- How to cut layered designs at a small size
- Design Space tips & tricks
- Cricut pens tutorial
Video tutorial for gate fold cards
Watch the video below to see how to make gate fold cards with a Cricut machine.
The first part of the video shows how to use the gate fold templates that are included as part of today’s project.
The second part of the video shows how to design your OWN gate fold designs from scratch within Cricut Design Space.
If you prefer to read rather than watch, keep scrolling!
PART ONE: Cricut gate fold cards using pre-made templates
Here’s how to make your very own gate fold cards with a Cricut machine, using the five templates from today’s Countdown project.
Scroll further down this page for how to design your own gate fold cards.
Step 1) Download the file(s) & upload to Design Space
Download the files using the box below.

Before you upload the files to Design Space, you need to unzip the download folder that they come in.
- How to unzip a folder on Windows computer
- How to unzip a folder on a Mac
- How to unzip a folder on an iPad/iPhone
- How to unzip a folder on an Android device
The download folder contains five different gate fold templates: hearts, round curve, semi-circles, stars and straight edges.
Choose your preferred template and upload the SVG file into Cricut Design Space.
TIP: Make sure you upload the file which starts svg- in the filename. Not sure how? Here’s how to upload SVG files into Cricut Design Space.
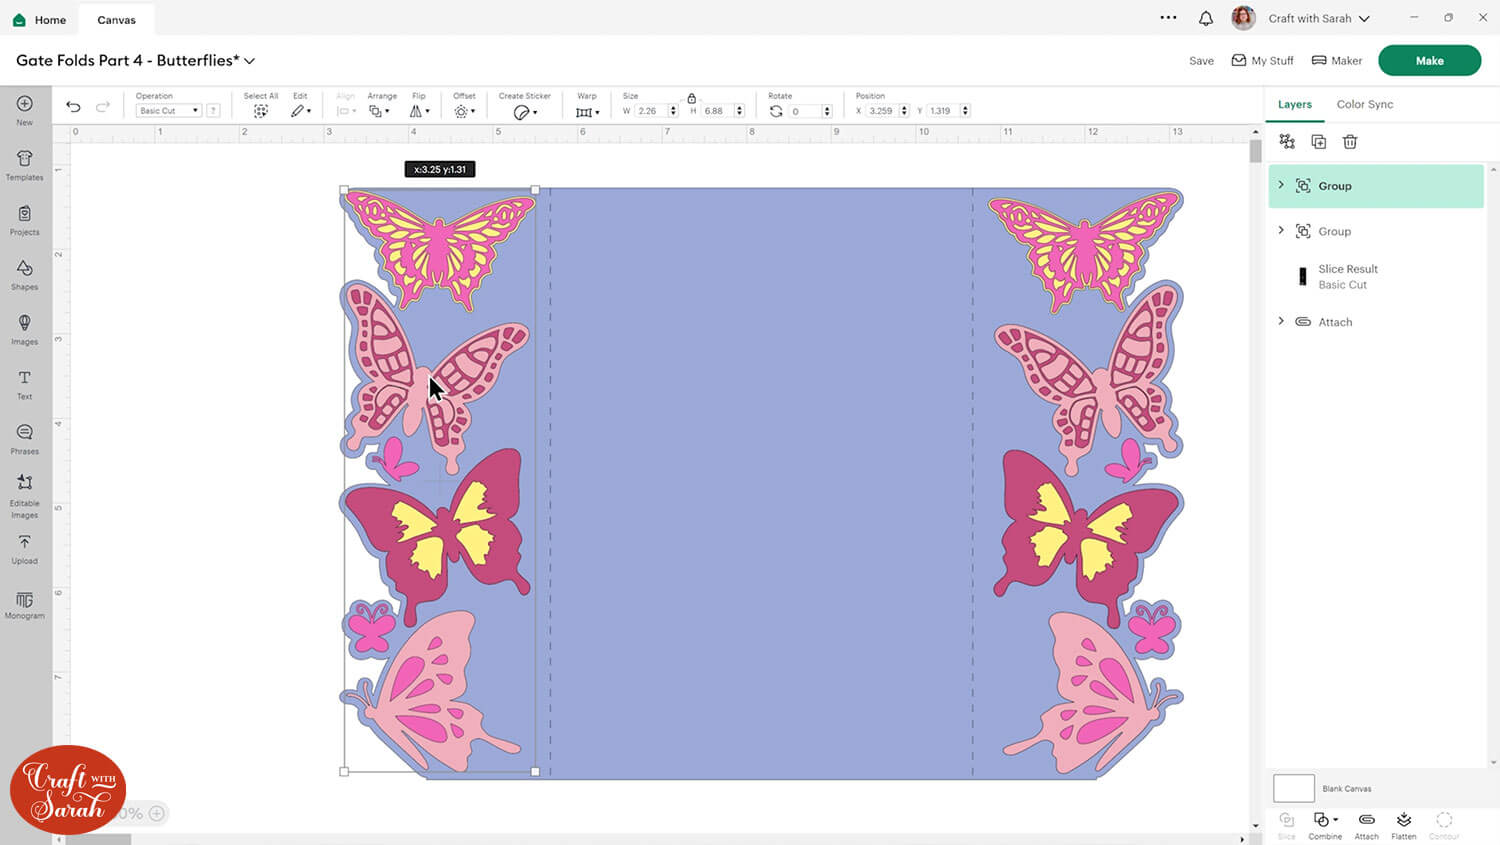
Step 2) Format the score lines
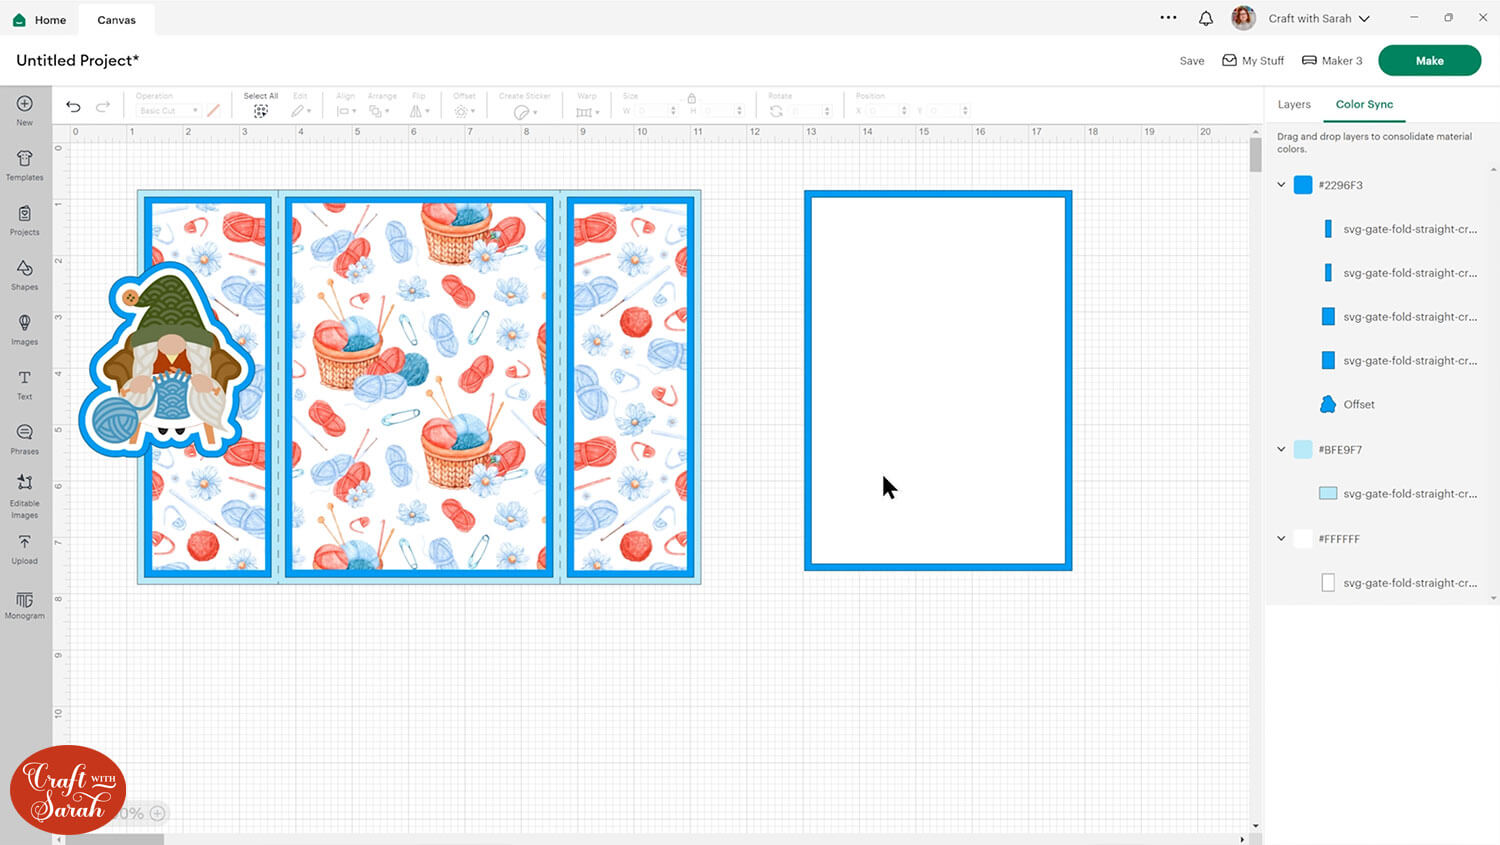
I’m using the straight edge template for this tutorial, but the steps are the same for all of them.
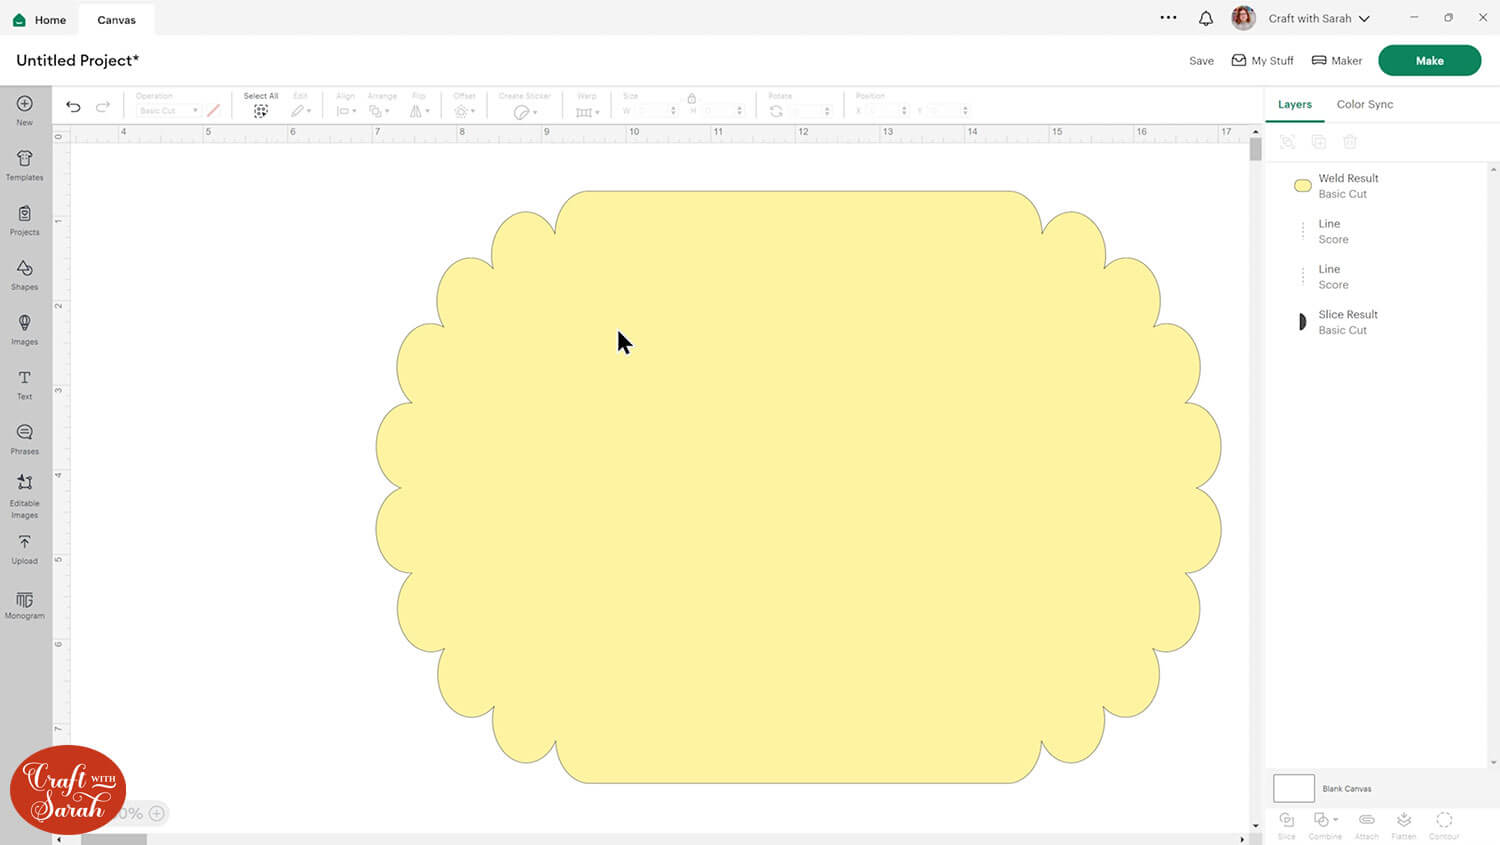
The cards will load into Design Space looking like this:
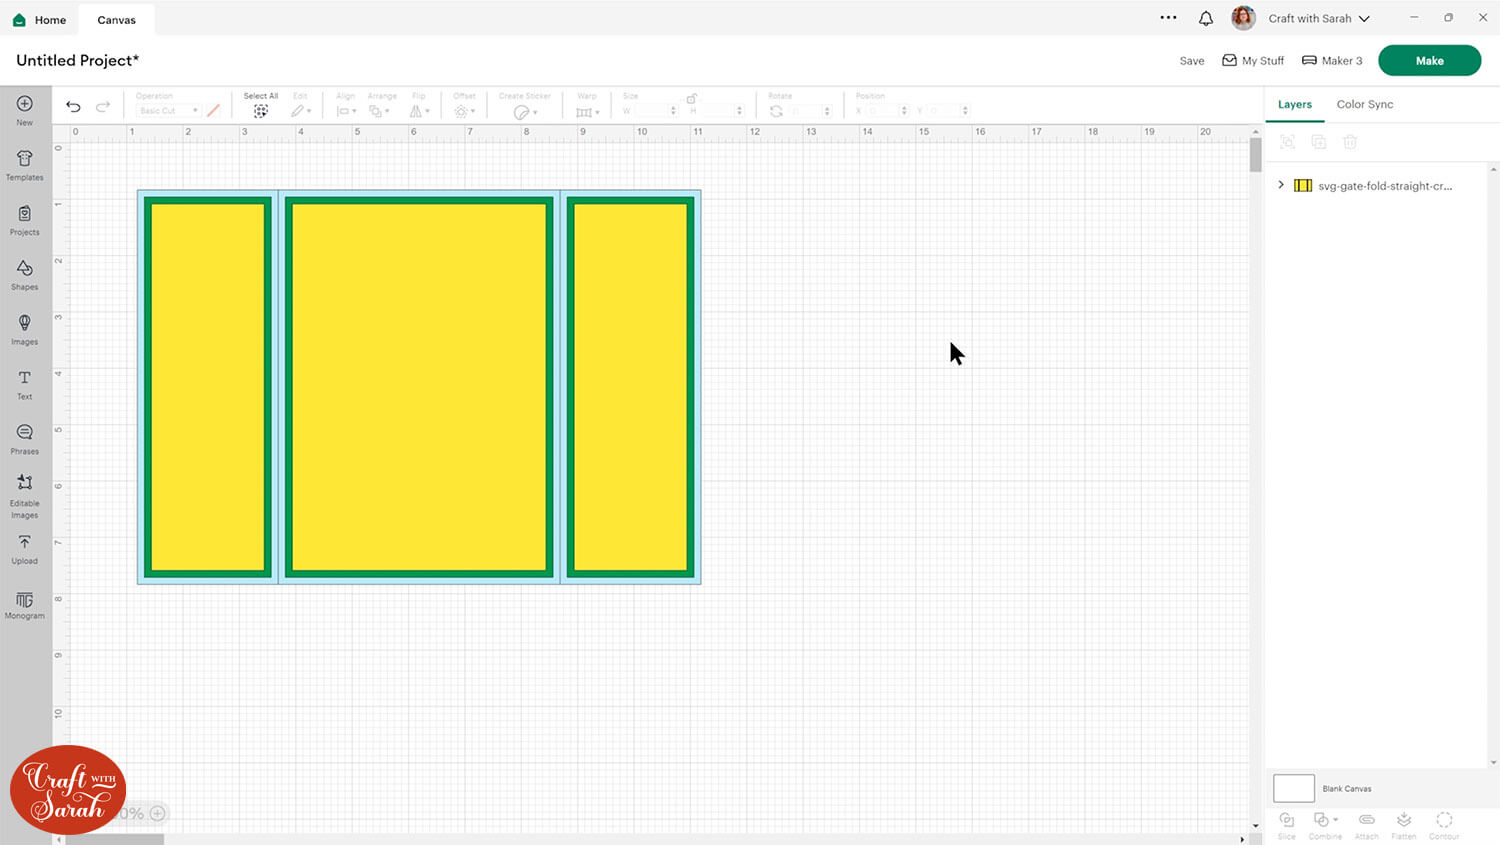
Click the design and separate the layers by pressing the Ungroup button at the top of the layers panel.
You will see there is one mini-group still included. Open this by clicking the little arrow next to it.
You’ll see two layers within it: one solid shape (the background of the card) and one that looks like two vertical lines.
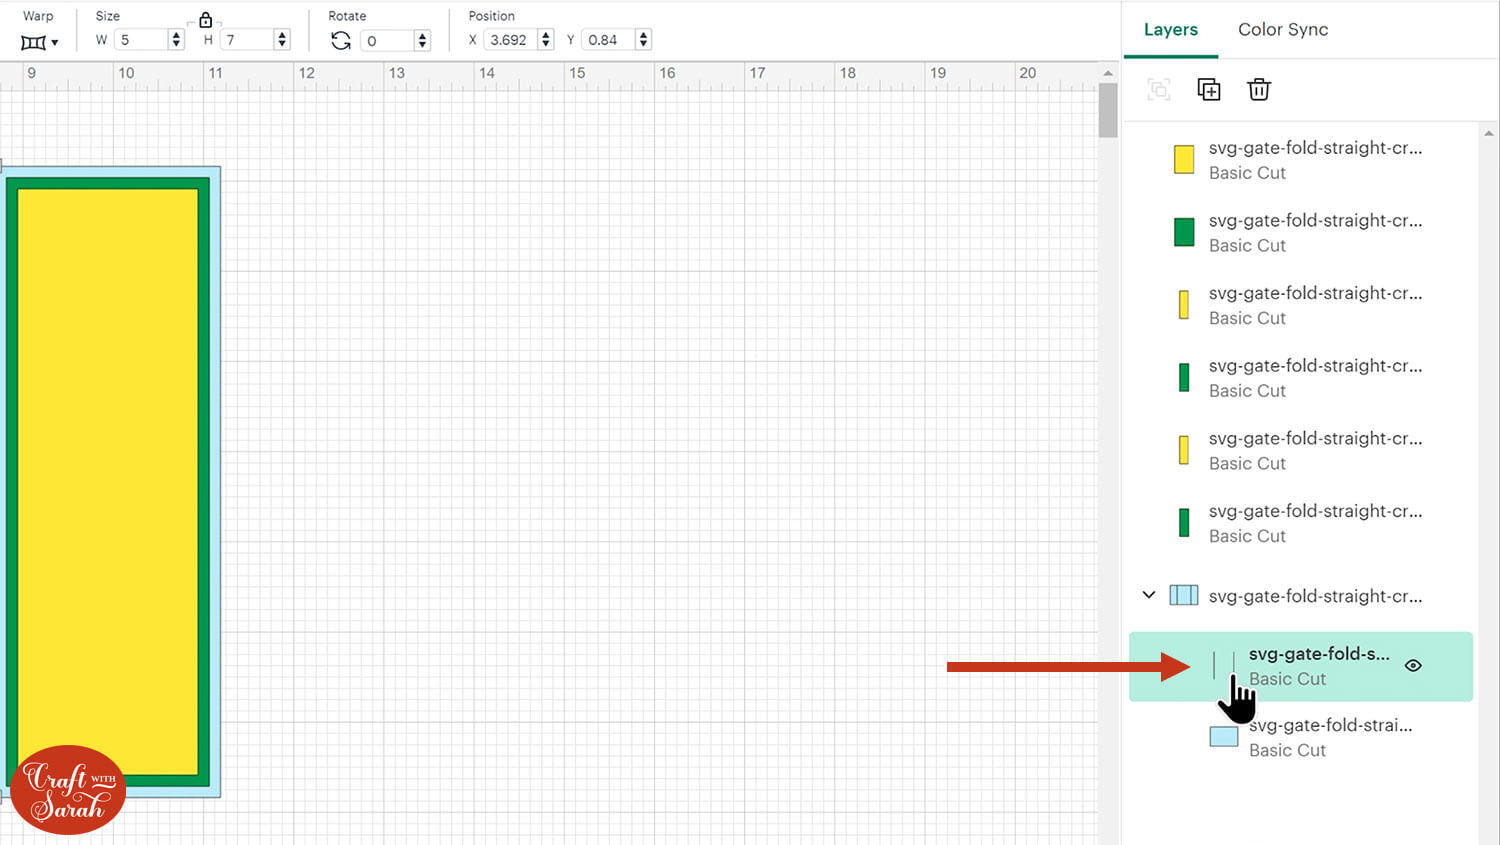
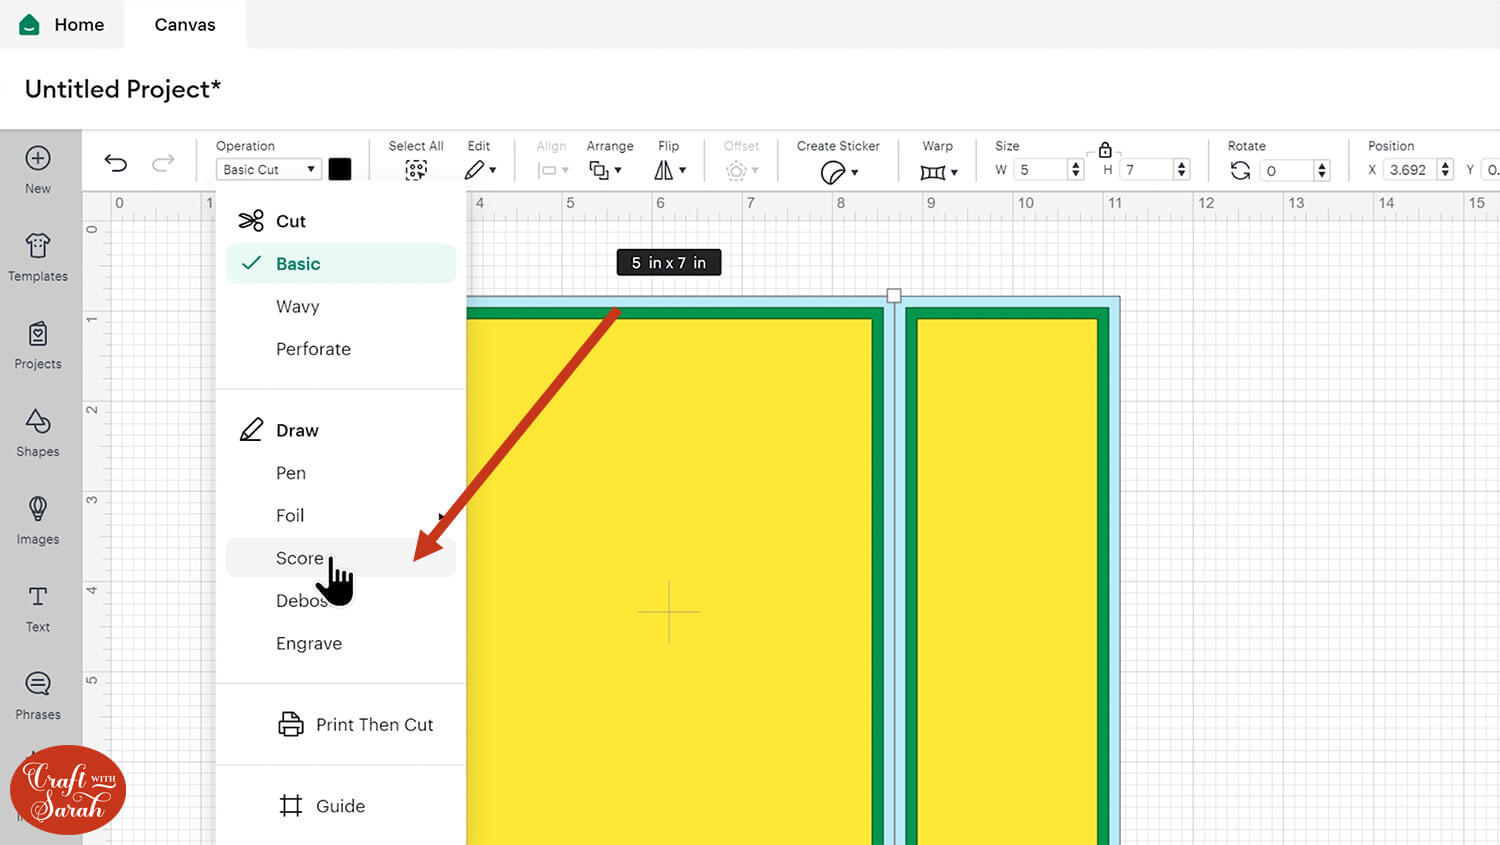
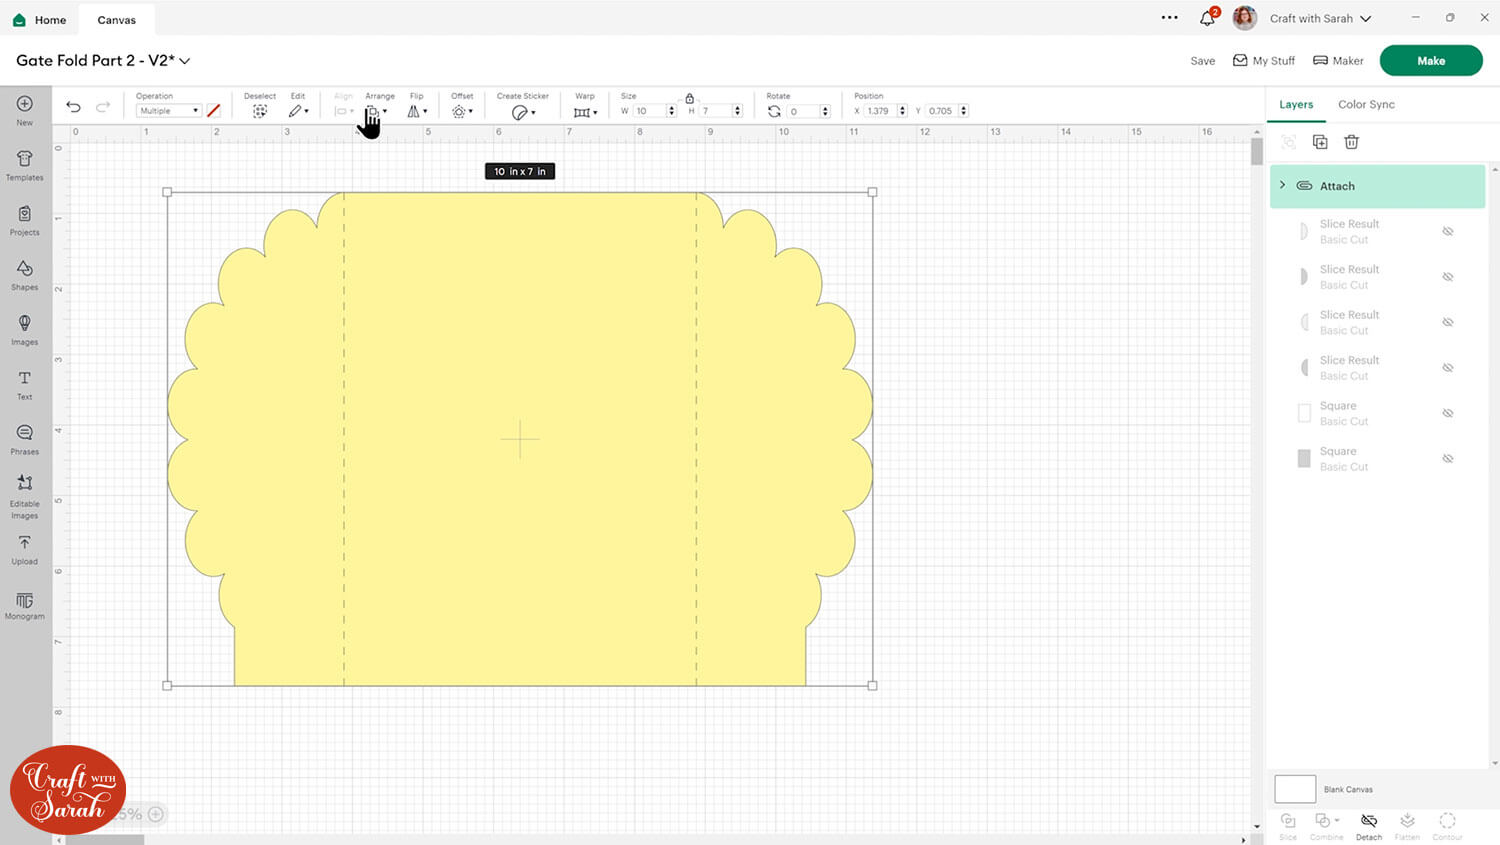
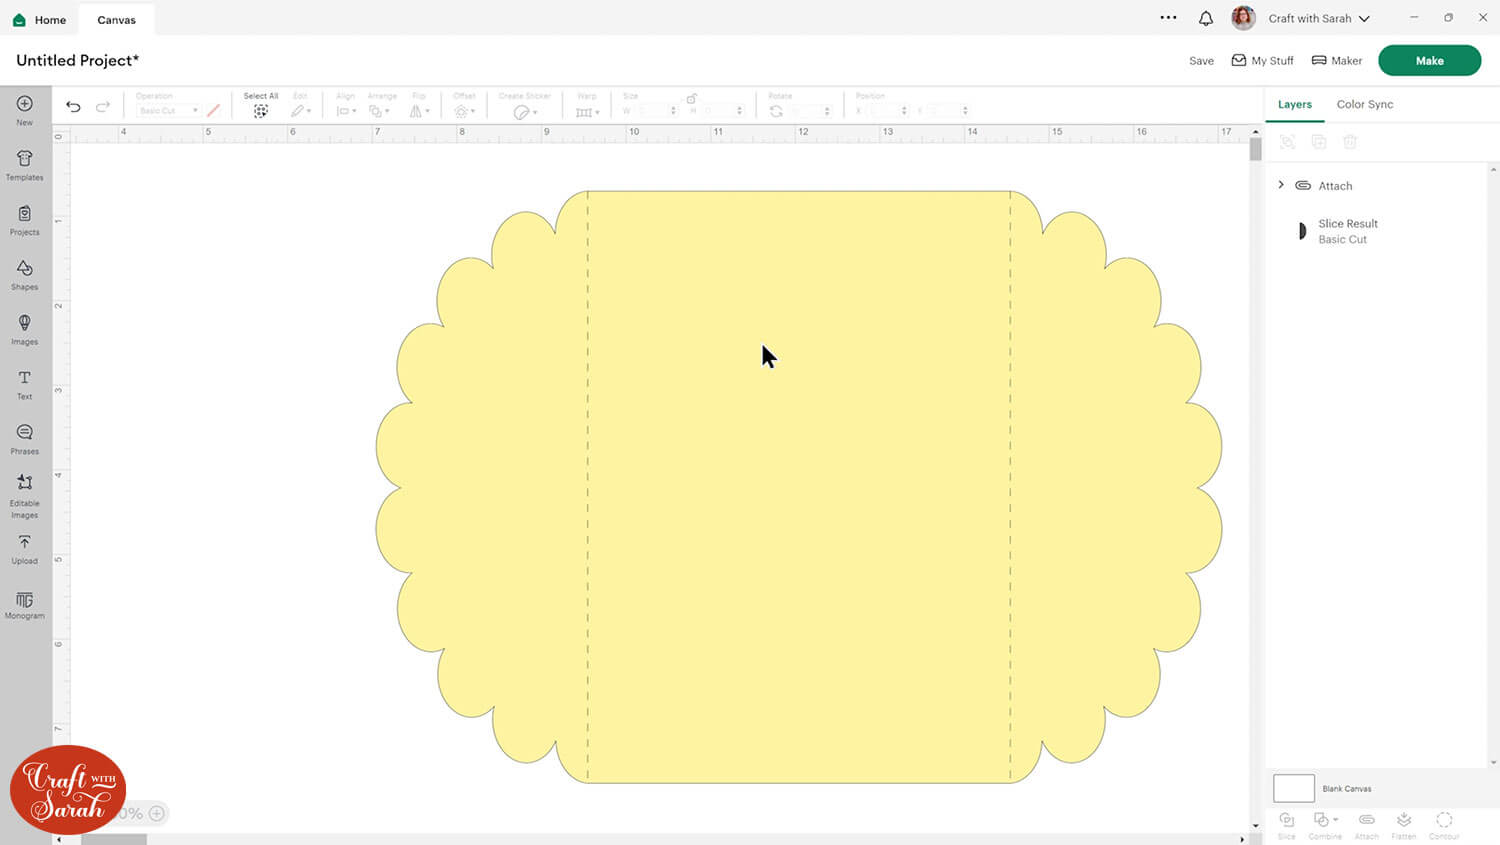
Click the vertical lines layer and change it to “Score” in the operations dropdown menu.
Don’t have a scoring tool? No problem! Here’s alternative ways to score with a Cricut, including scoring with the Joy Xtra.
Click the mini-group containing the base card and the score lines and press “Attach” to join the score line to the shape.
Attaching the layers will move them to the top of the layers panel. Click the base card and press Arrange > Send to Back to move it back to the bottom.

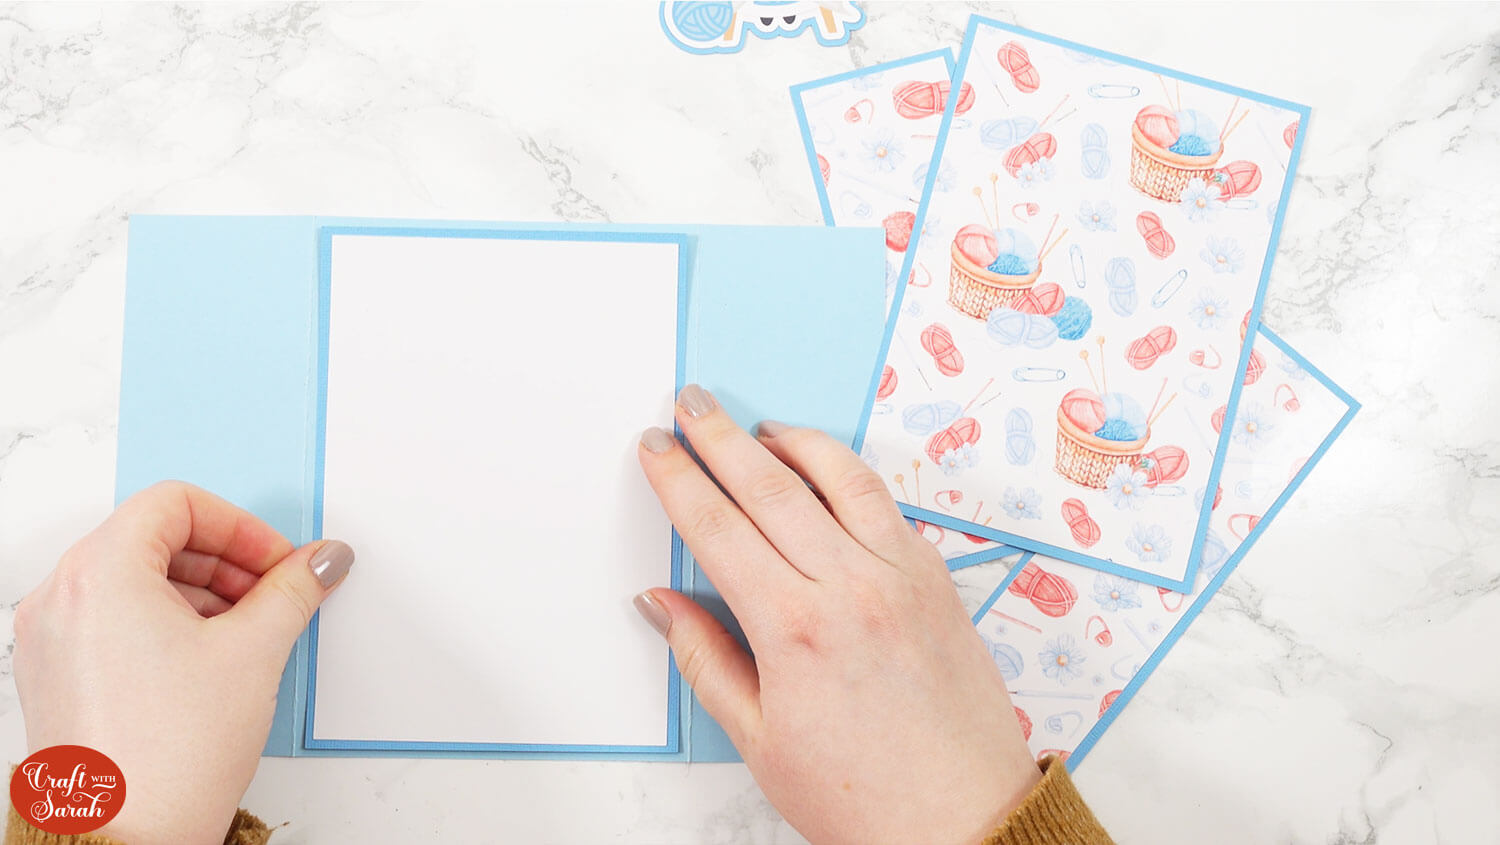
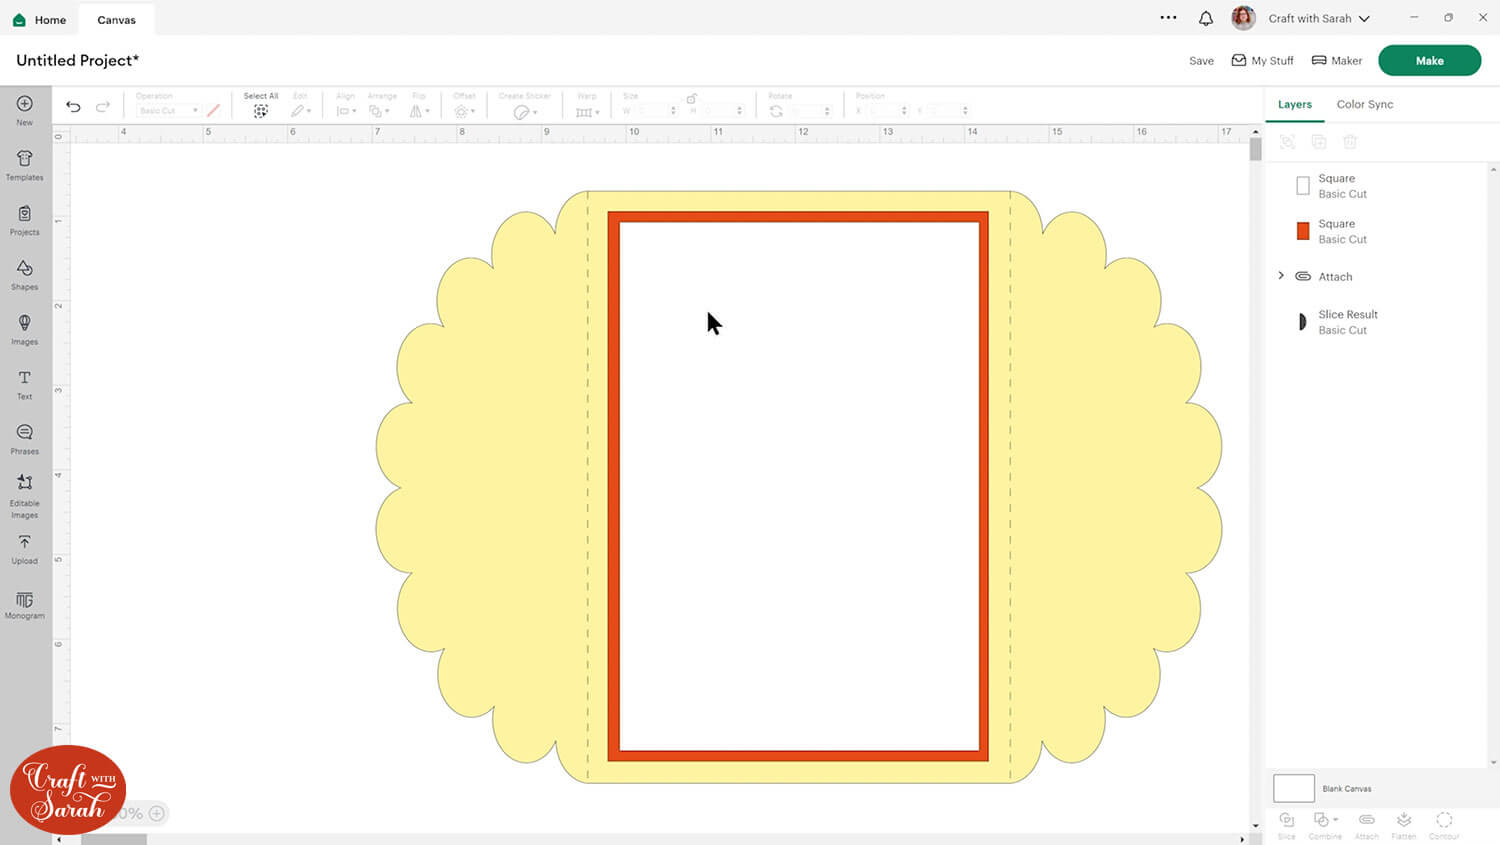
Step 3) Add a message panel (optional)
You can choose to either add your message inside the gate fold card so that it can be seen when the “doors” are opened, or put it on the back.
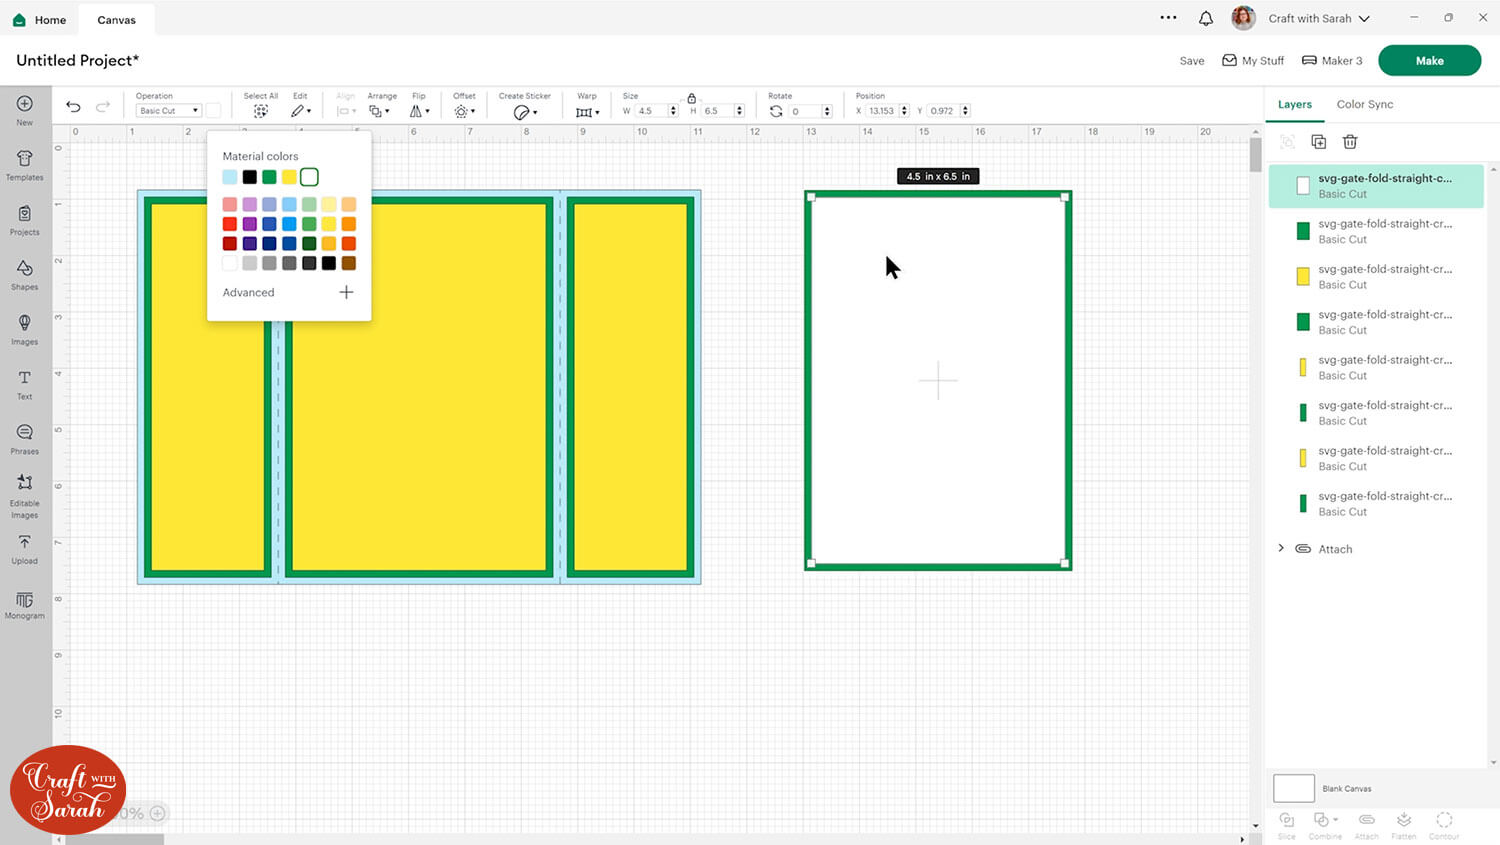
If you want to put it on the back, click the rectangle and border that appear in the middle of the card and Duplicate the layers to make a copy.
Change the copied rectangle to white so that it’s easy to write your message on it.
Step 4) Add decorations and embellishments
This is where you can get creative!
You can either add decorations, embellishments and background patterns within Design Space, or cut the card from different colours/patterns of card or scrapbook papers from your existing craft stash.
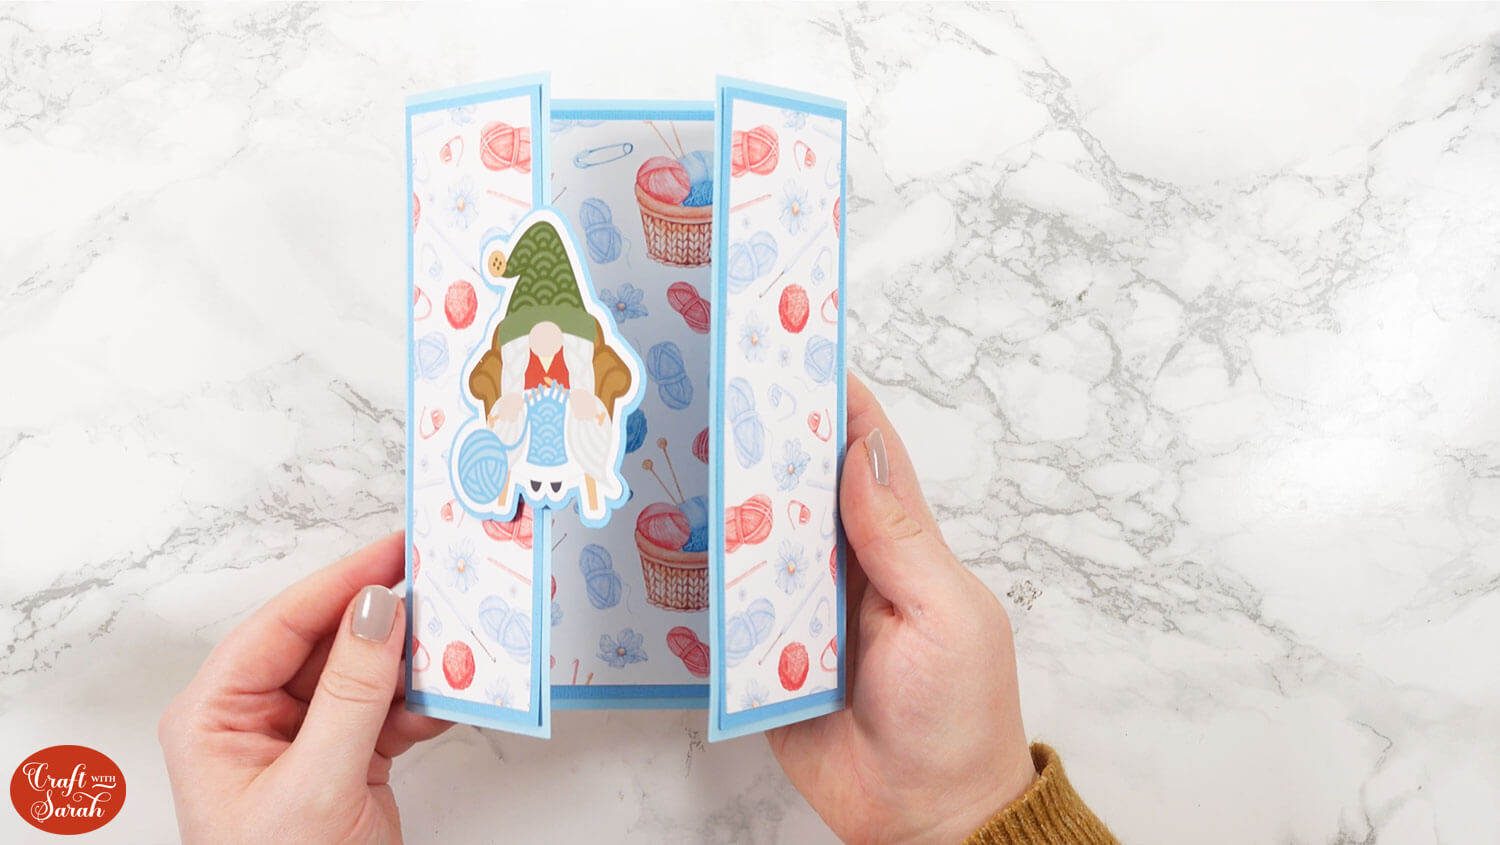
I decided to use of of my layered gnome SVGS – the knitting grandma gnome.
Layered designs look lovely on gate fold cards. You can either choose to cut them really small from cardstock, or use the “Flatten” button to turn them into a print then cut image.
Here’s a comparison of the two:
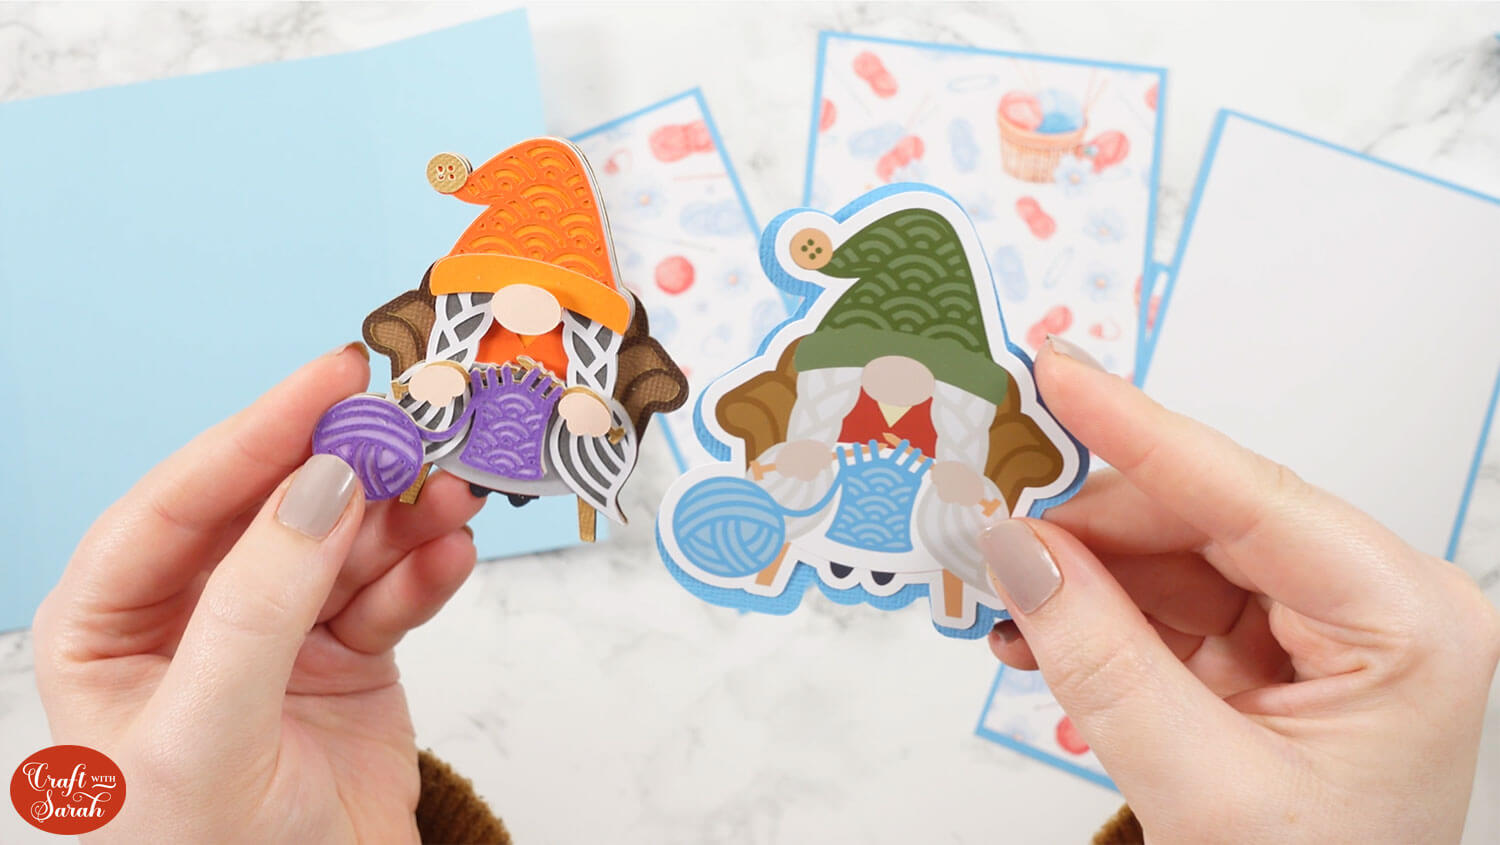
I found some matching background patterns on Creative Fabrica to fill the rectangles.
Here’s how to use the Pattern Fill tool to make the repeating patterns fill the spaces perfectly. That link also contains an alternate method of cropping backgrounds, photos or graphics to fit a particular shape.
Finally, I changed the colour of the main card base and the border layers to better match my design. These will be cut from solid coloured cardstock.
Step 5) Cut the gate fold card project
When you’re happy with how the card is looking, save your project then click “Make” to start the cut process.
Depending on how you have added images, text and patterns, you may need some photo paper or white card to print on. This will only be needed if you have “print then cut” layers in your card project.
If you are new to Print then Cut or if you would like a refresher, here is a tutorial on how to print then cut on a Cricut.
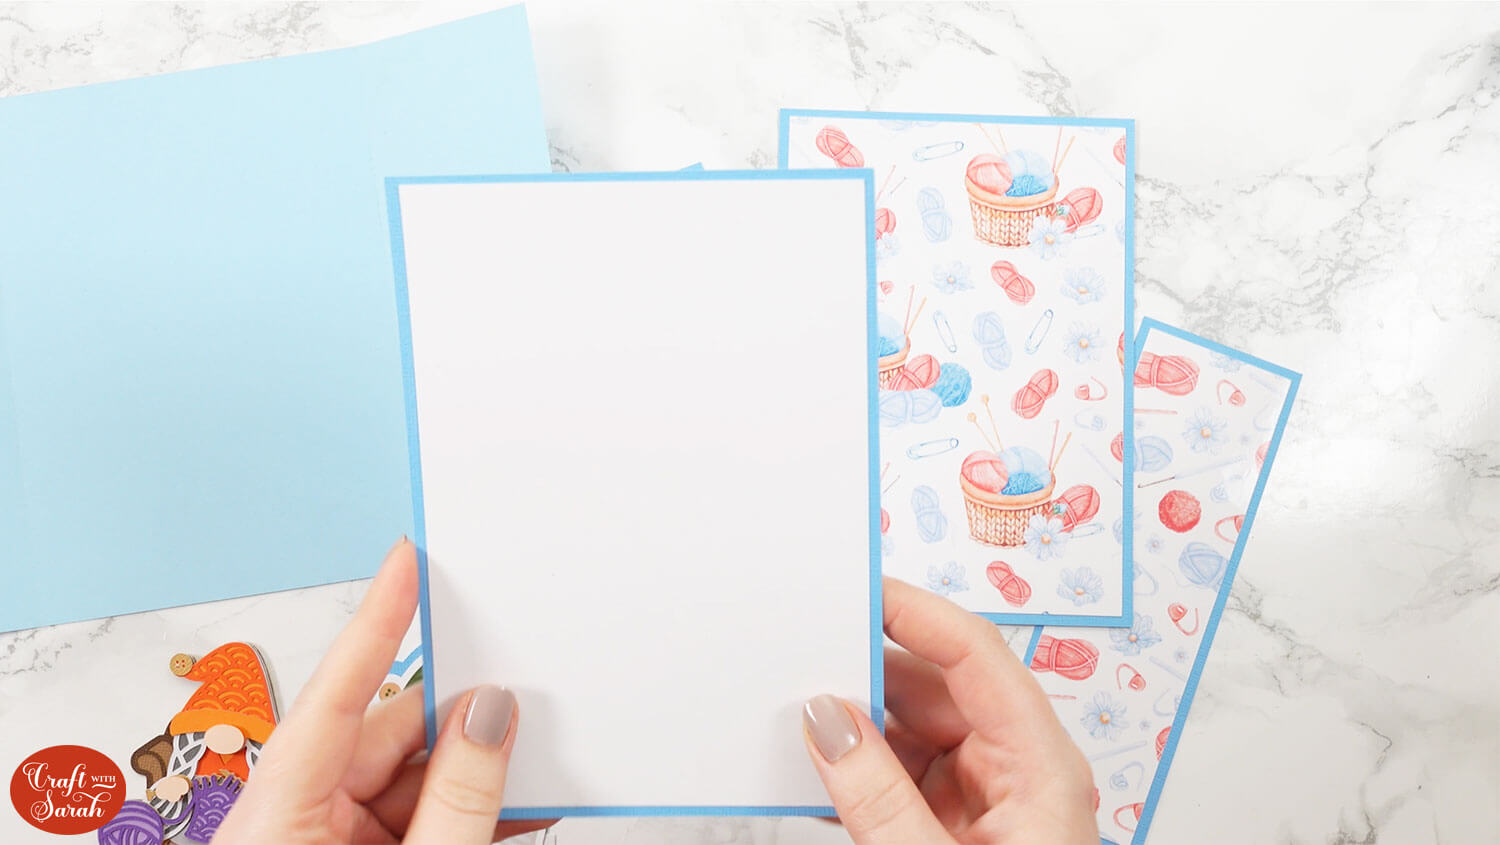
Step 6) Stick the gate fold card together
Glue all the patterned rectangles onto their matching border pieces.
If you made a separate message panel, glue the white rectangle onto its border piece.
Fold the two sides of the card base towards you to make the “gate” effect.
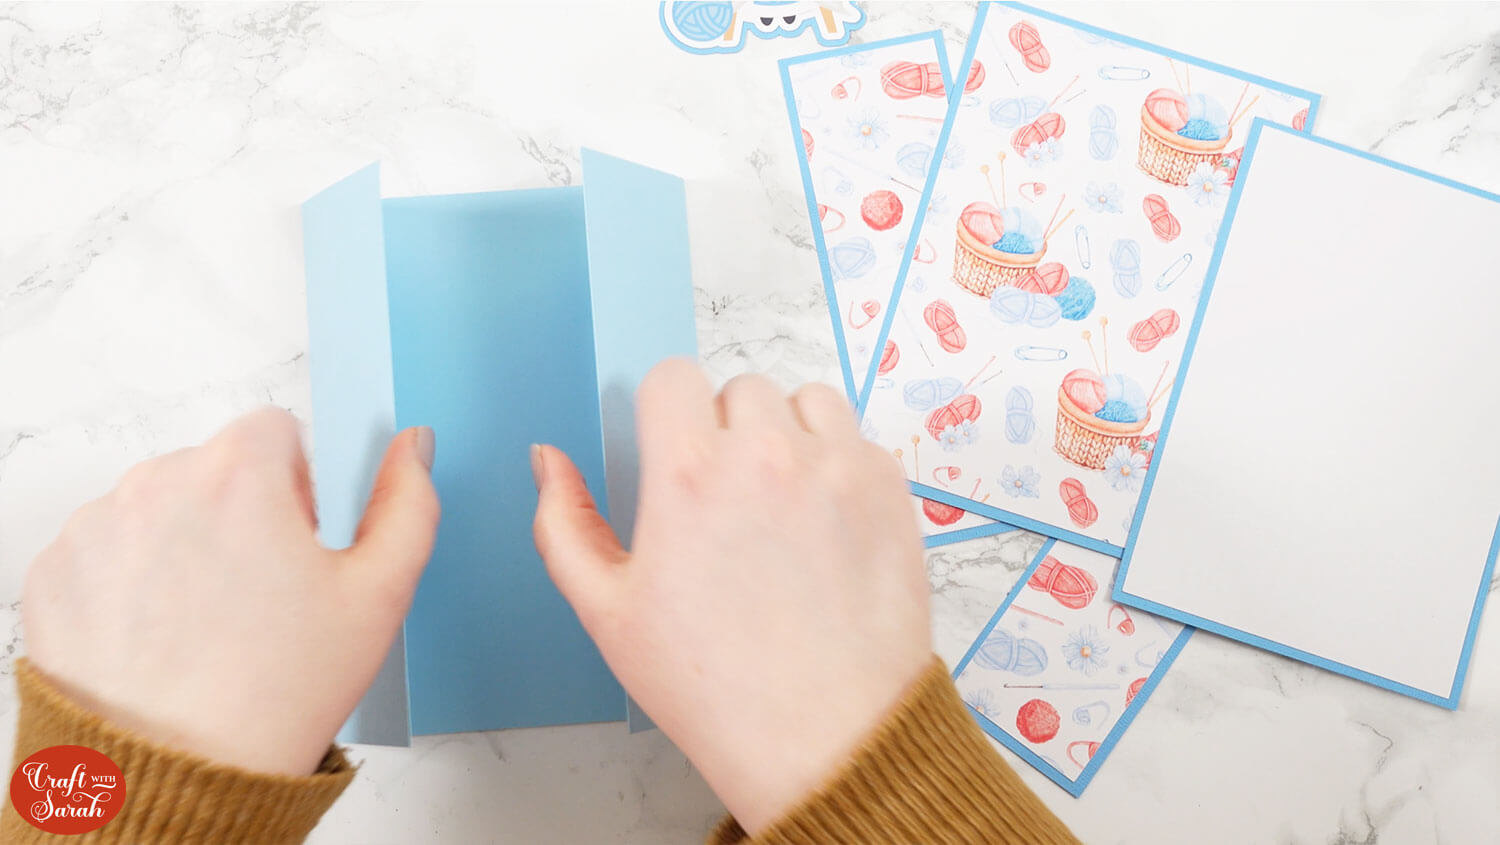
If you included the separate message panel, glue it to the back of the card.
Glue the other big panel inside the card, then glue the two smaller sides to the outside.
TIP: The star and heart templates work a little different as they have several shapes to stick to the outside of the card instead.

Add any extra toppers or embellishments that you wish to decorate the card with.
You can place topper so that they overlap the two sides of the card, but only stick them to ONE of the sides – otherwise your card won’t open!
PART TWO: How to design custom gate fold card designs
This next section is on how to design your own gate fold cards, completely from beginning to end, in Cricut Design Space.
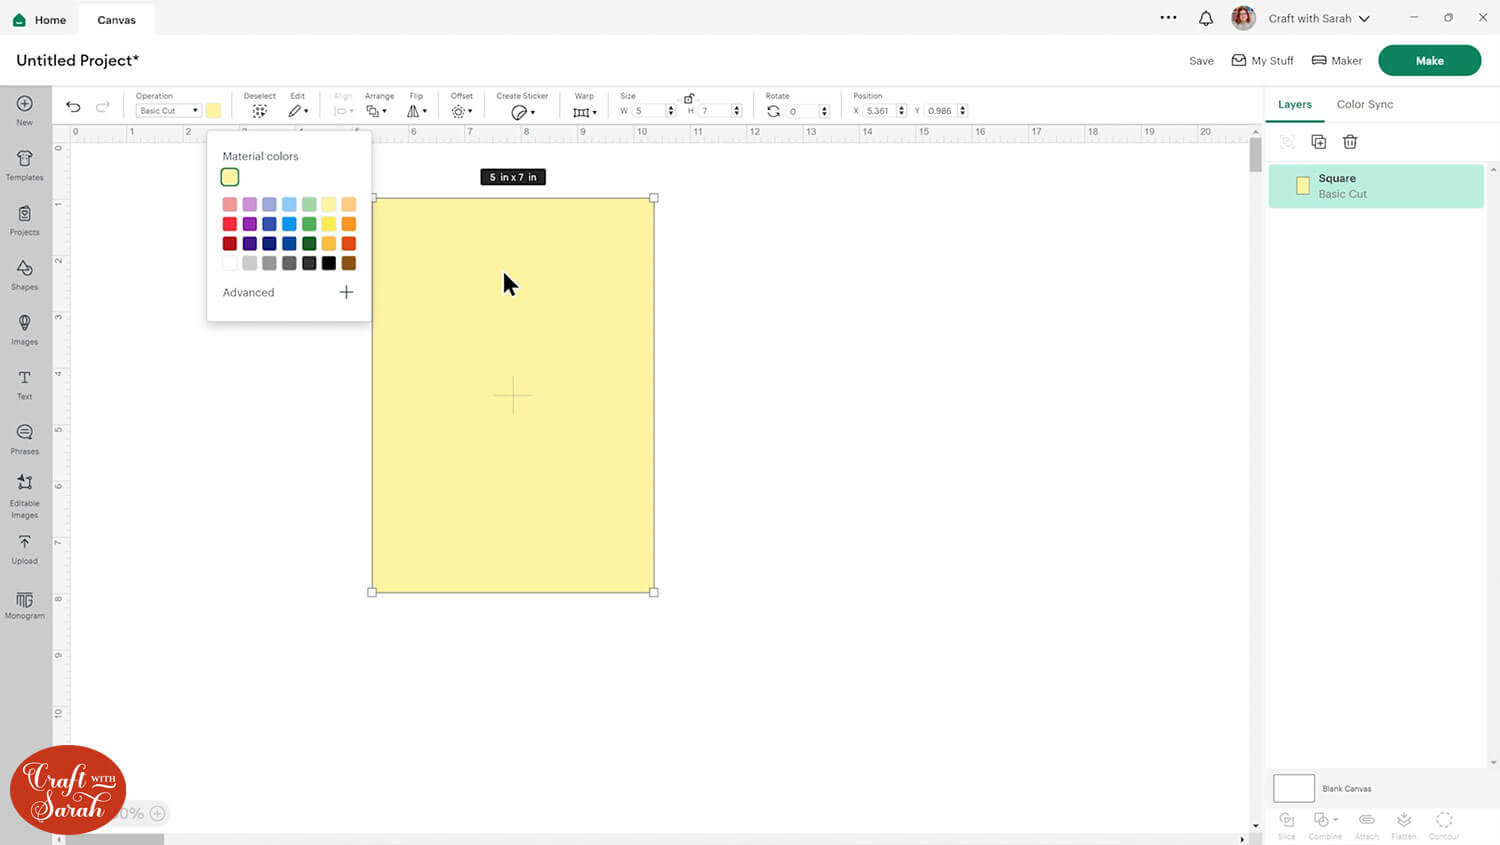
Step 1) Add the base shapes
Add a square and size it to the final size you want your card to be. For me, that’s 5×7 inches. Make it a light colour so it’s easy to see the shape outline.
Choose a shape or image to use for your sides.
If you’re using a shape, cut it in half so that you have a straight edge to work with.
To do that, cover half of it with a rectangle, then “Slice” the two shapes and delete the excess.
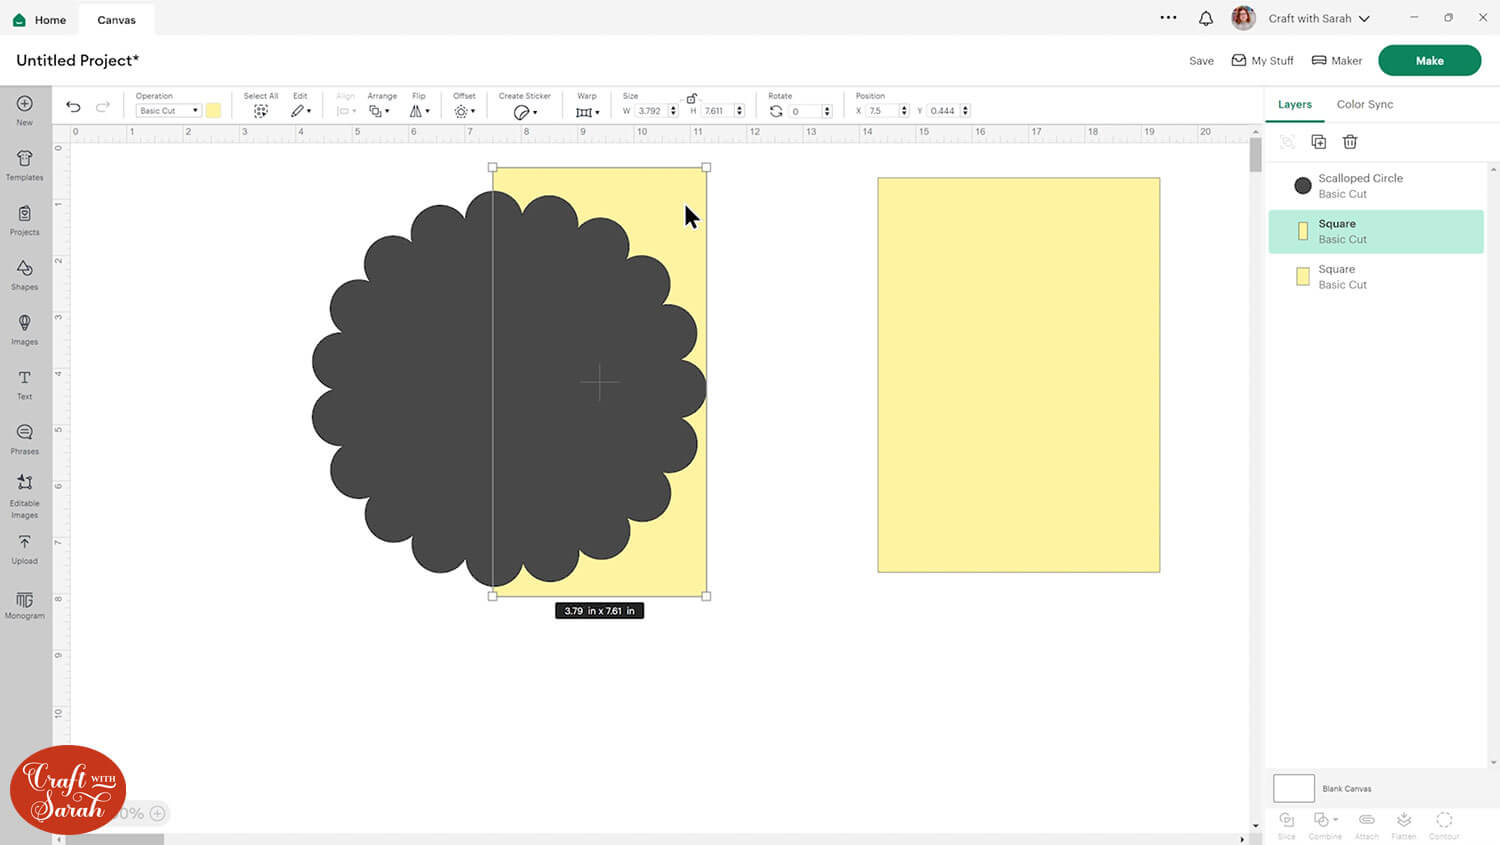
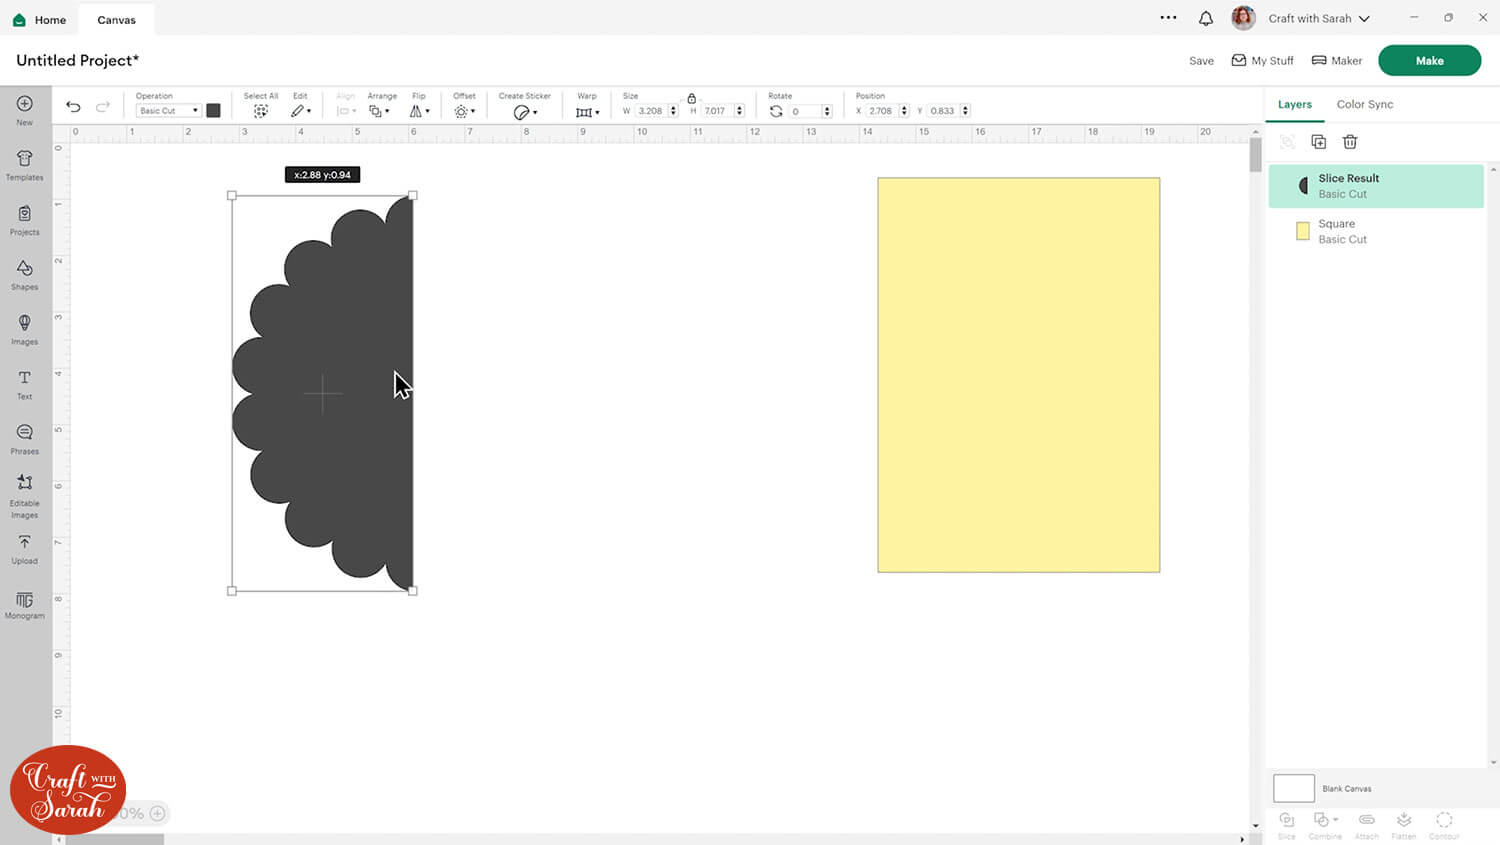
Make the shape the same height as your card and half of the width (7 x 2.5 inches).
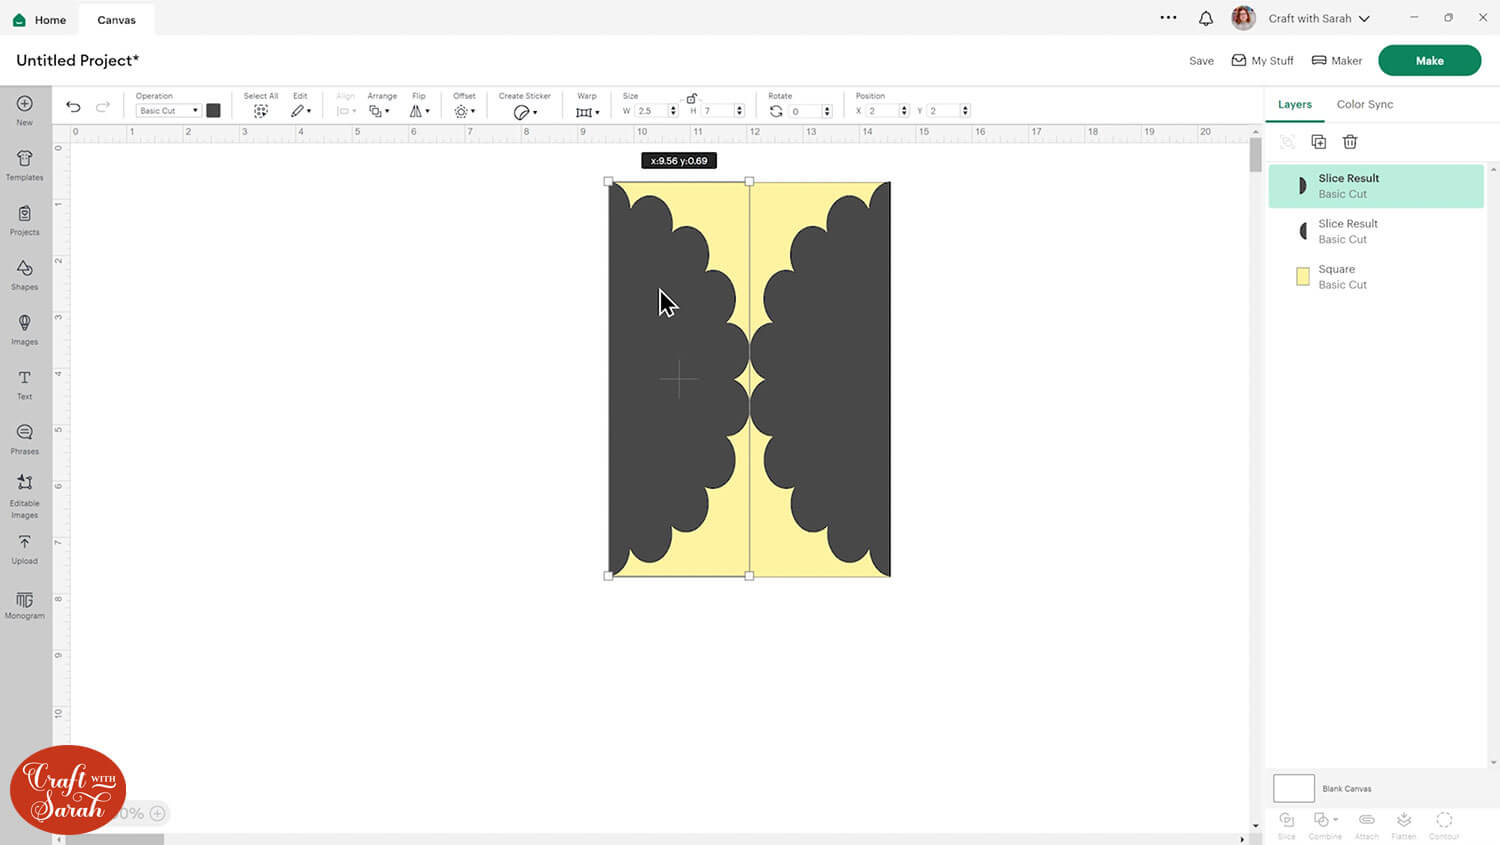
Duplicate it and flip it so it’s facing the other way.
Place the shapes on top of the original rectangle to see how the card will look when it’s closed.
Step 2) Add score lines & build the structure
Hide the second copy of the side by hovering your mouse over it in the layers panel and clicking the eye icon that appears. We’ll use it again at the end.
Insert a score line and make it the height of your card (7 inches).
Select the score line and the side shape and align the score line “Top” and also either left or right depending on what side the straight line is on the shape.
It’s a little hard to see in the image below, but the score line is directly covering the straight edge of the circle shape.
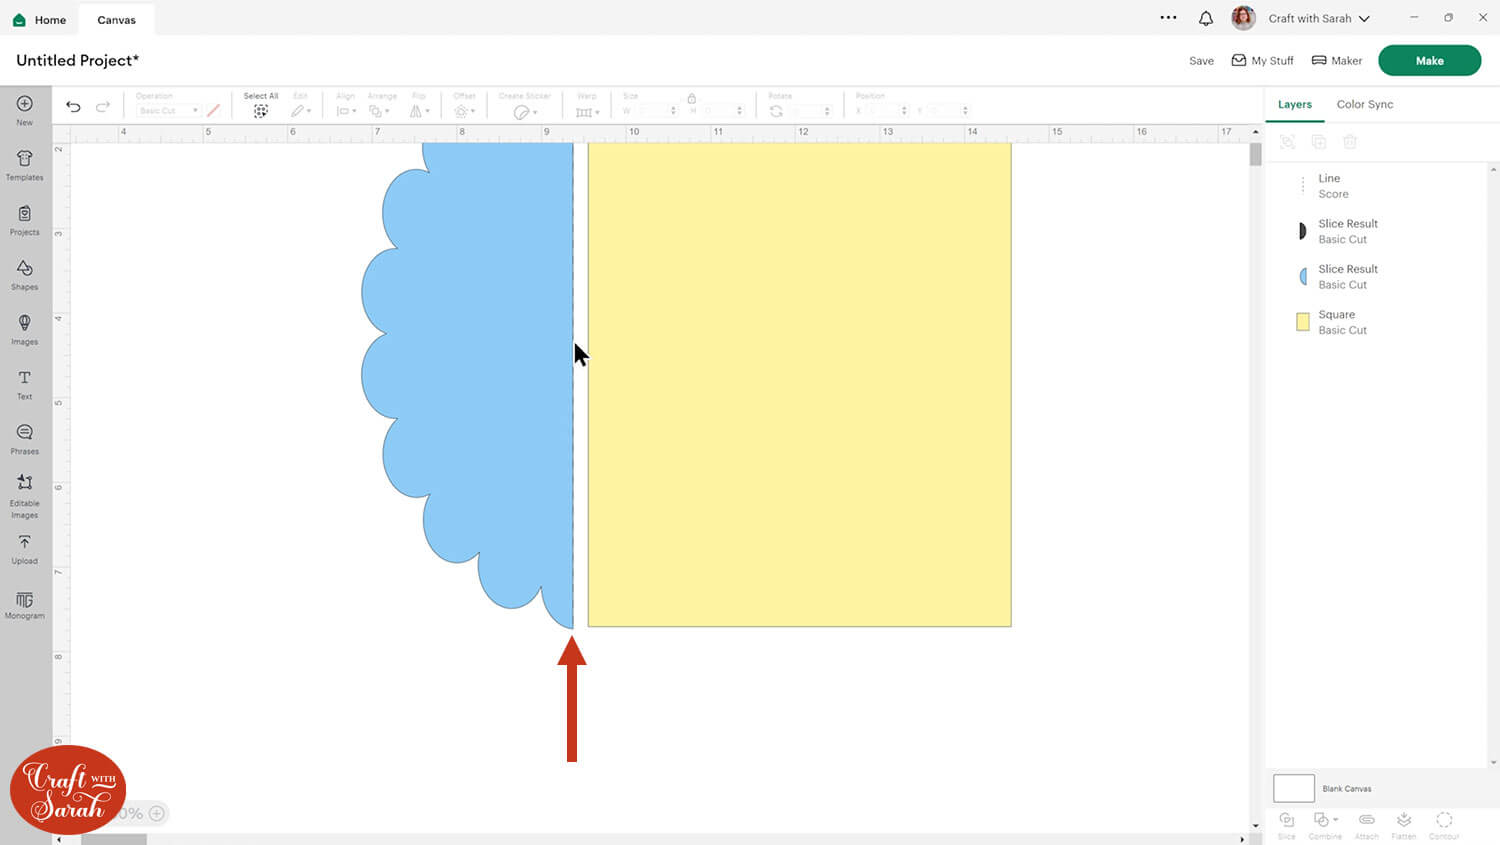
Group the score line and side shape together.
Duplicate and flip.
Place each of the gate fold shapes either side of the base rectangle. Overlap the sides ever so slightly with the rectangle.
Use Align > Align Top and Align > Distribute Horizontally to place them correctly.
Ungroup the sides from the score lines.
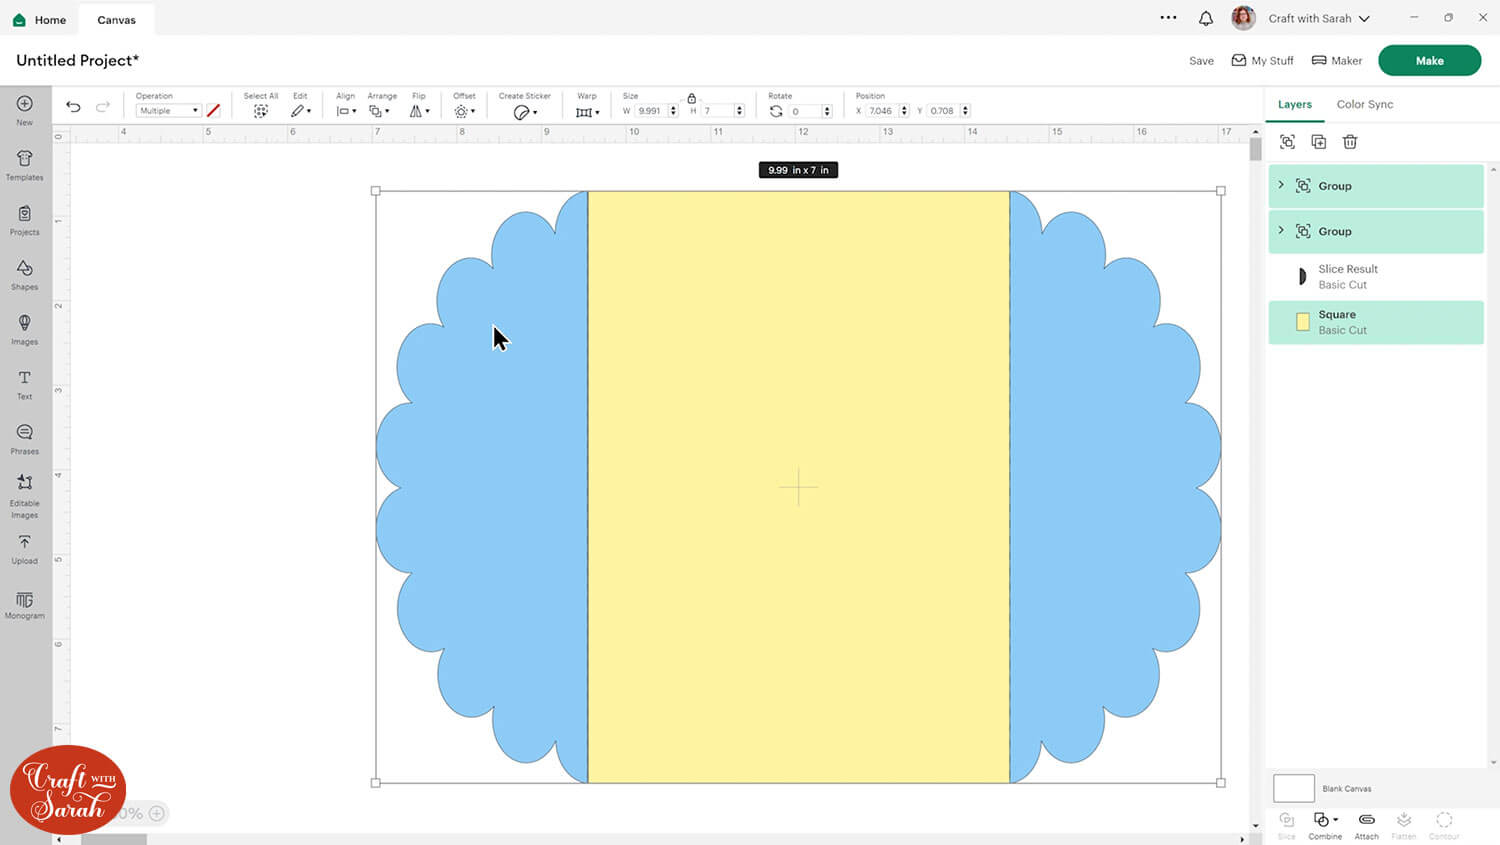
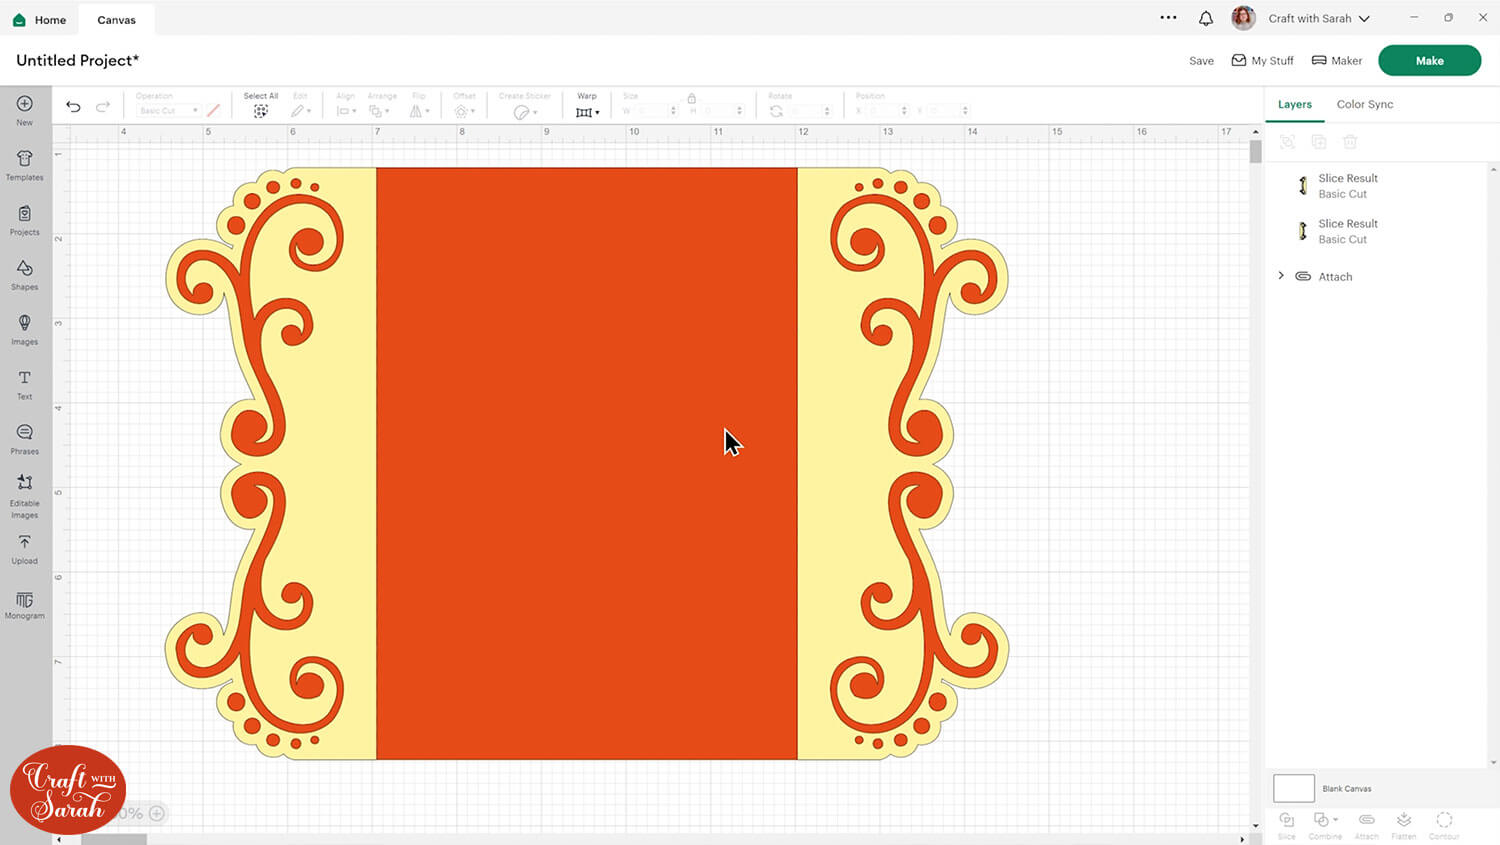
Select the sides and the base rectangle and press Combine > Weld to join them together.
This should form one complete shape, with no cut lines / gaps in the middles:
If your shape looks like the below image instead, that means one of your sides wasn’t quite touching the rectangle. Undo the Weld, move the side in closer and then Weld again.

If the sides to the card don’t have a flat base then your card will not stand up. To correct this, first group everything together that already exists on the Canvas.
Next, add a rectangle along the base of the card. Change the rectangle to a “Guide” in the Operations dropdown to make it easier to see where you are placing it.

Align it to the bottom of the group with the main card. Ungroup the card and Weld the rectangle to the base card.
NOTE: I didn’t realise about needing flat side panels until AFTER I’d created the sides to my custom gate fold card, which is why the next few screenshots don’t have the base rectangle added on to the card. Whoops!
Move the card below the score lines and Attach everything together.
Your card will probably be a slight amount smaller on the width than you want, so resize it to 7 inches tall and 10 inches wide.
Step 3) Add layers to the side
You can add layers to the sides to give you more options to play with different colours and papers.
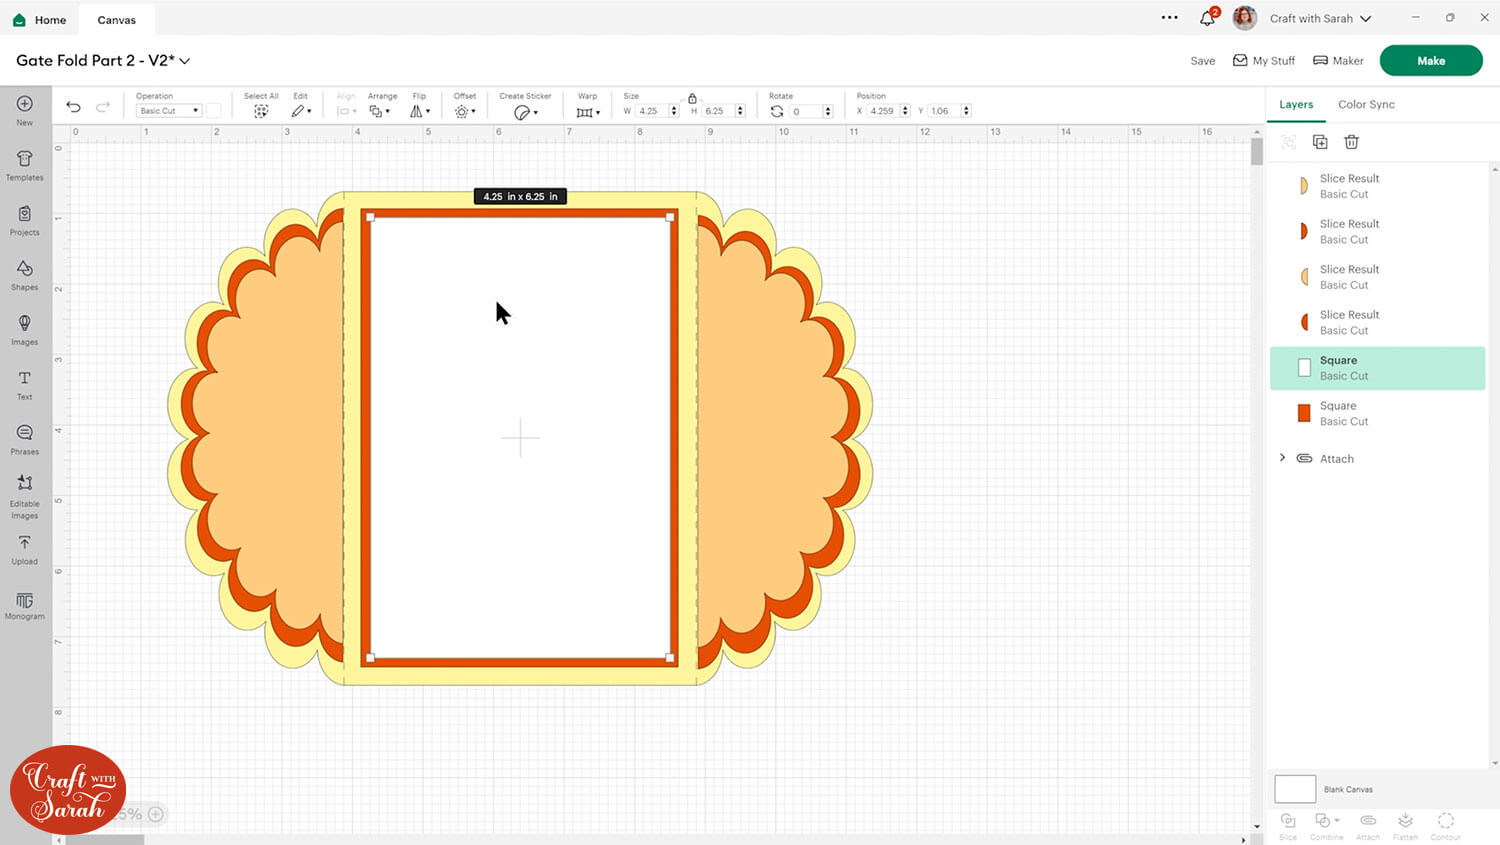
Add a message panel in the middle by creating two rectangles.
I made the red one 6.5 inches tall and 4.5 inches wide and the white one 6.25 inches tall and 4.25 inches wide.
Turn on the side that we hid at the beginning.
Click it, then press “Offset” and create a negative number offset.
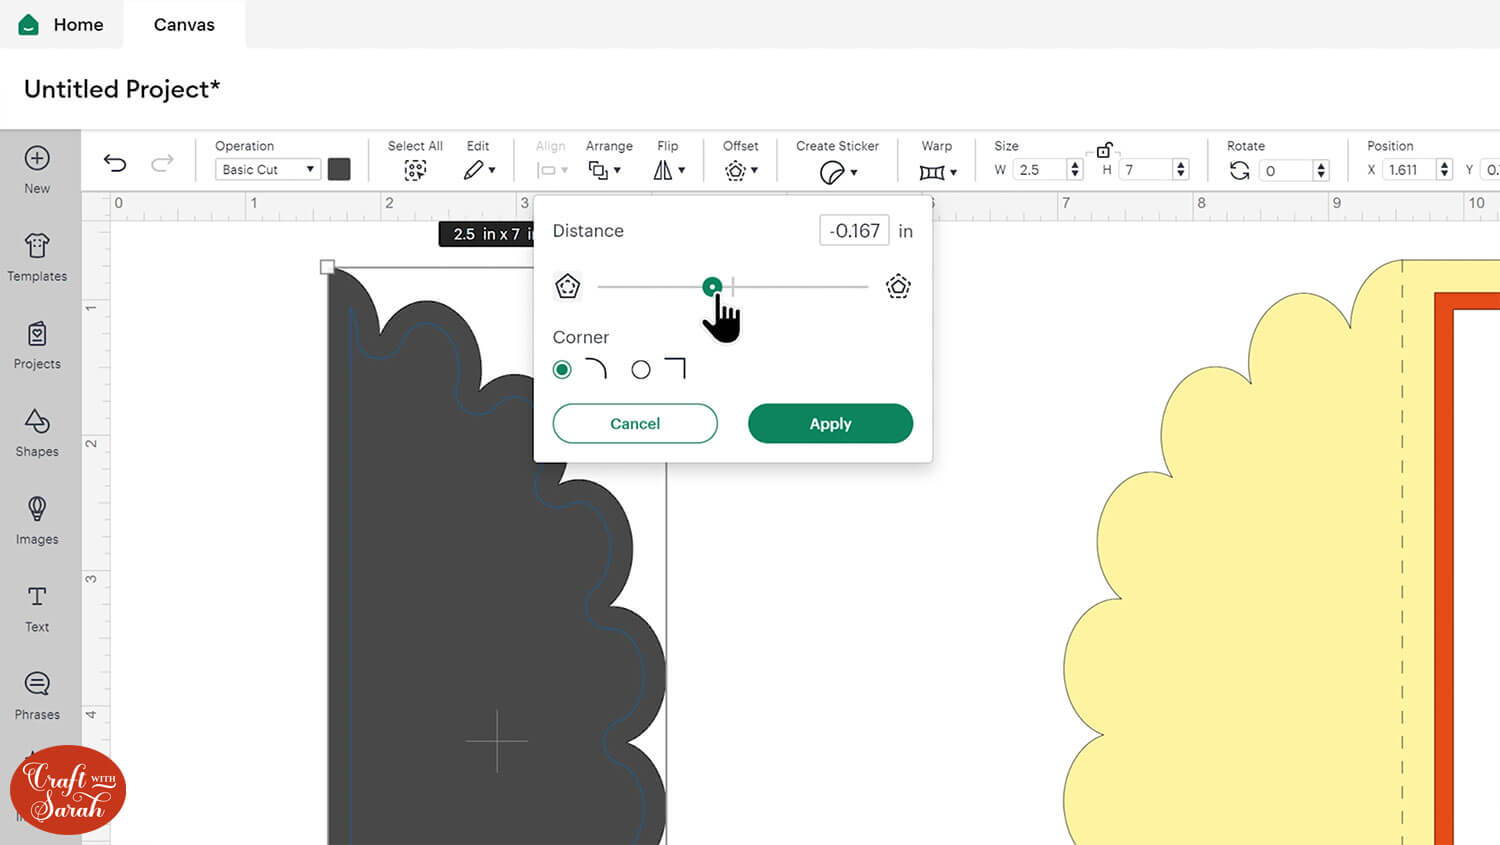
Create a second negative offset and this gives you two layers to add to the sides of the card.

You could also resize the original shape smaller instead of doing it with Offset.
This gives a slightly different effect.
Step 4) Finish the card
Add any other decorations you wish to have on the card, then save the project, cut it out and stick together.

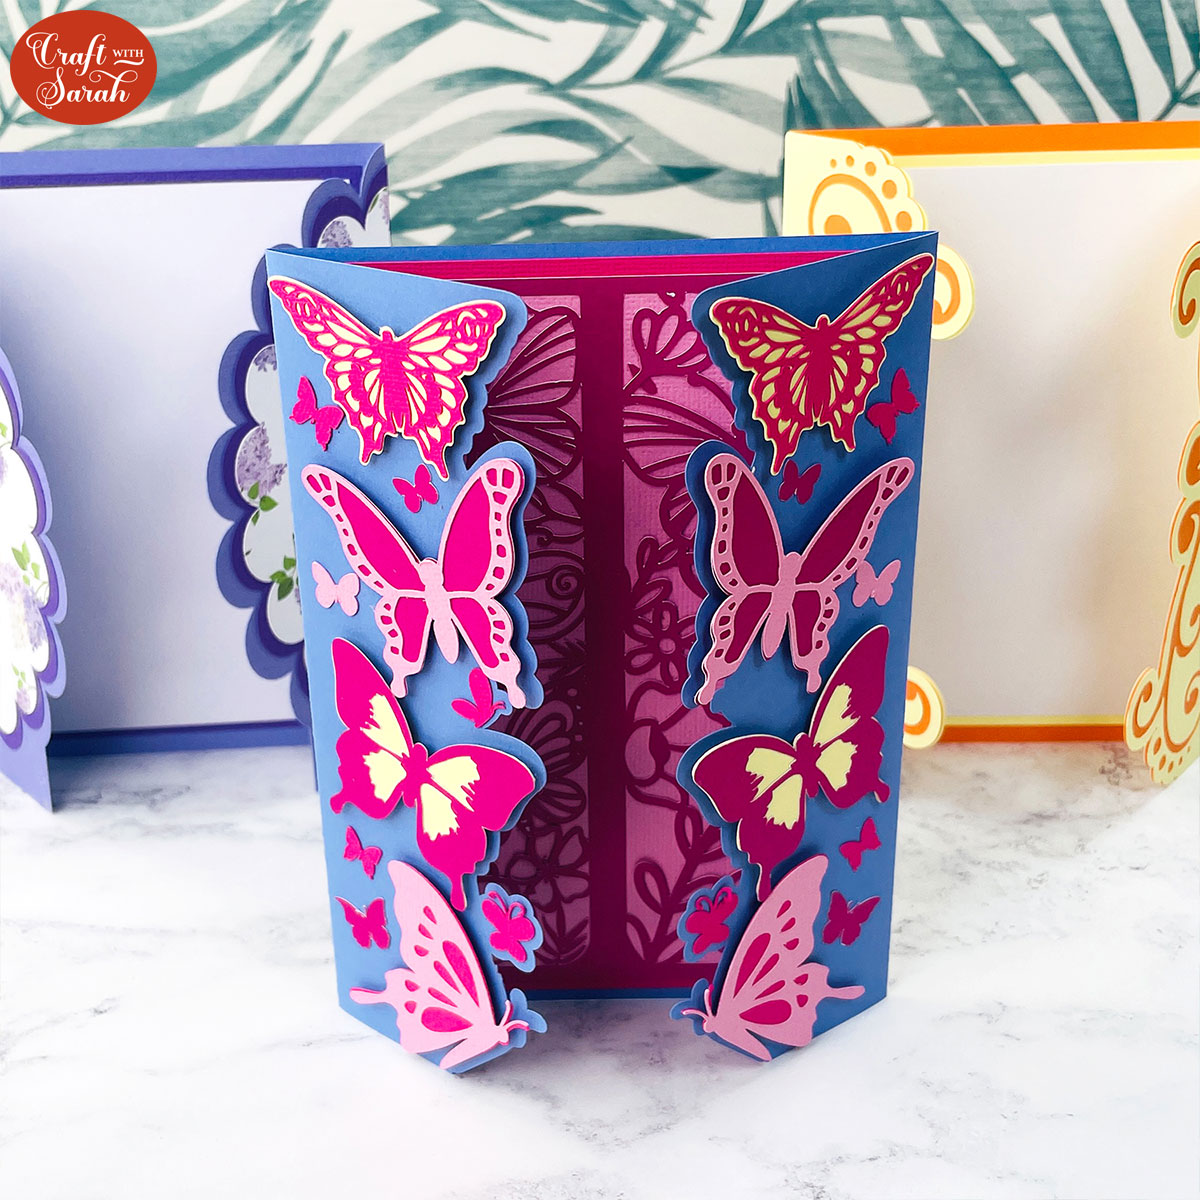
You can use similar steps to make even more complex gate fold cards.
Watch the video at the top of this page to see how to develop your skills into making cards like these:
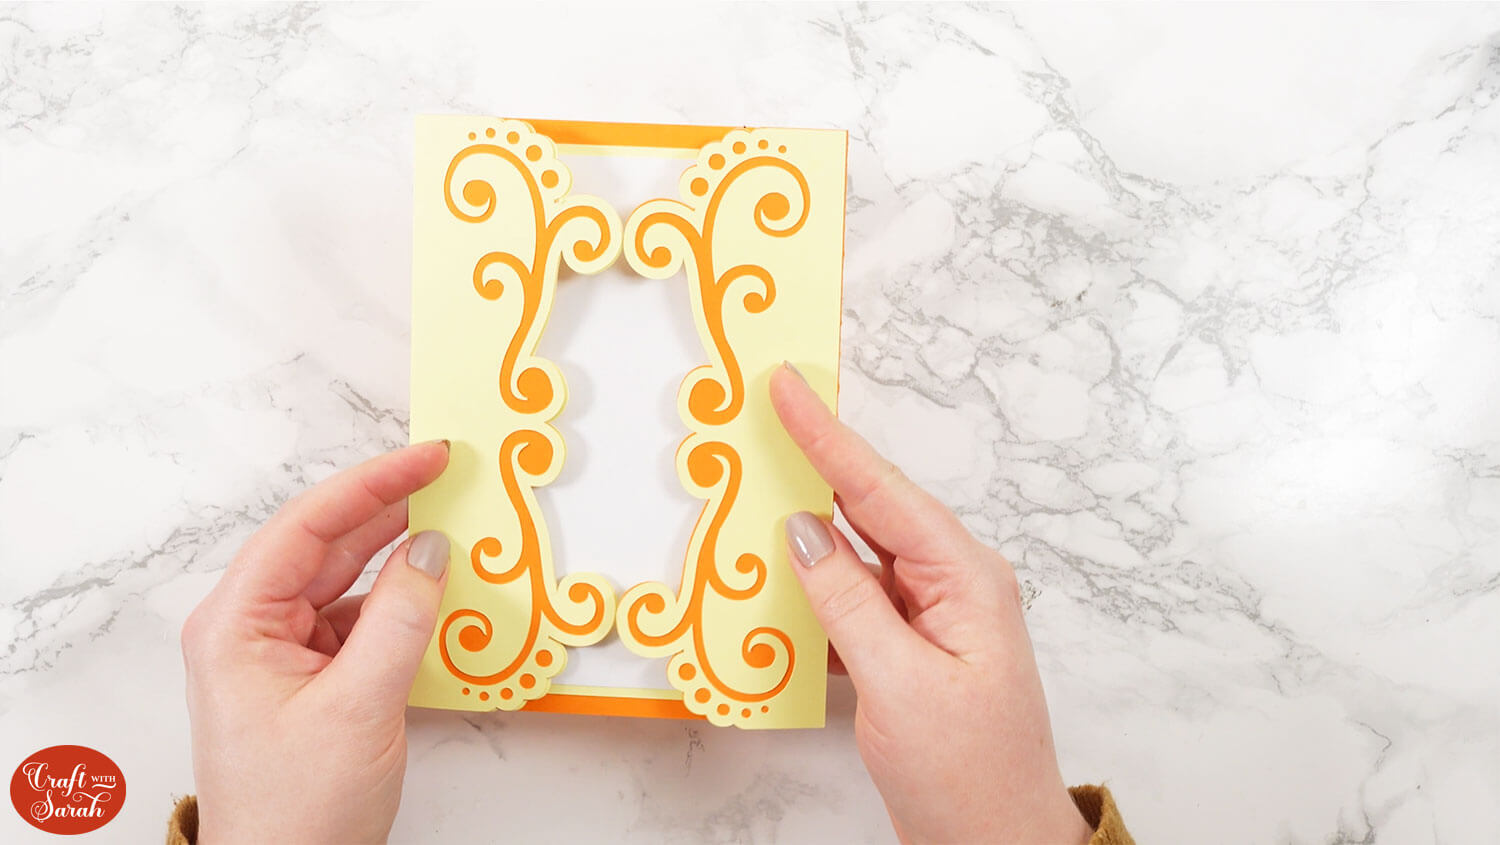
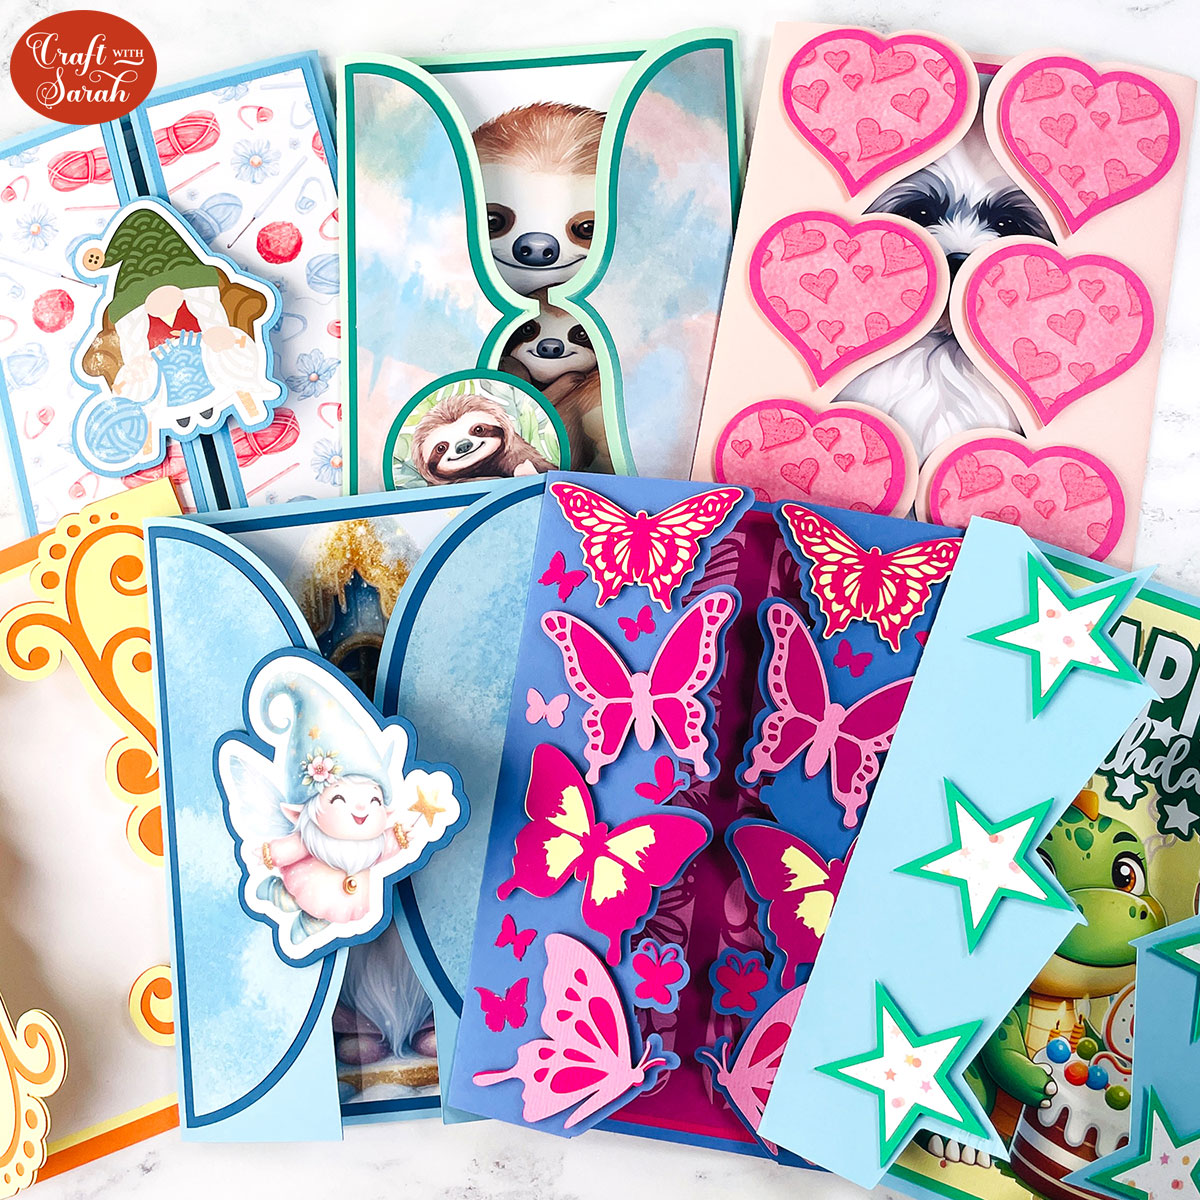
Easy gate fold cards to make with a Cricut
I hope you enjoyed this tutorial on how to use my pre-made gate fold templates, as well as how to design your own!
I love the flexibility of these cards. They truly can be designed for any theme or occasion!
Don’t forget to check back tomorrow for the next Card Making Countdown project.
Happy crafting,
Sarah x