
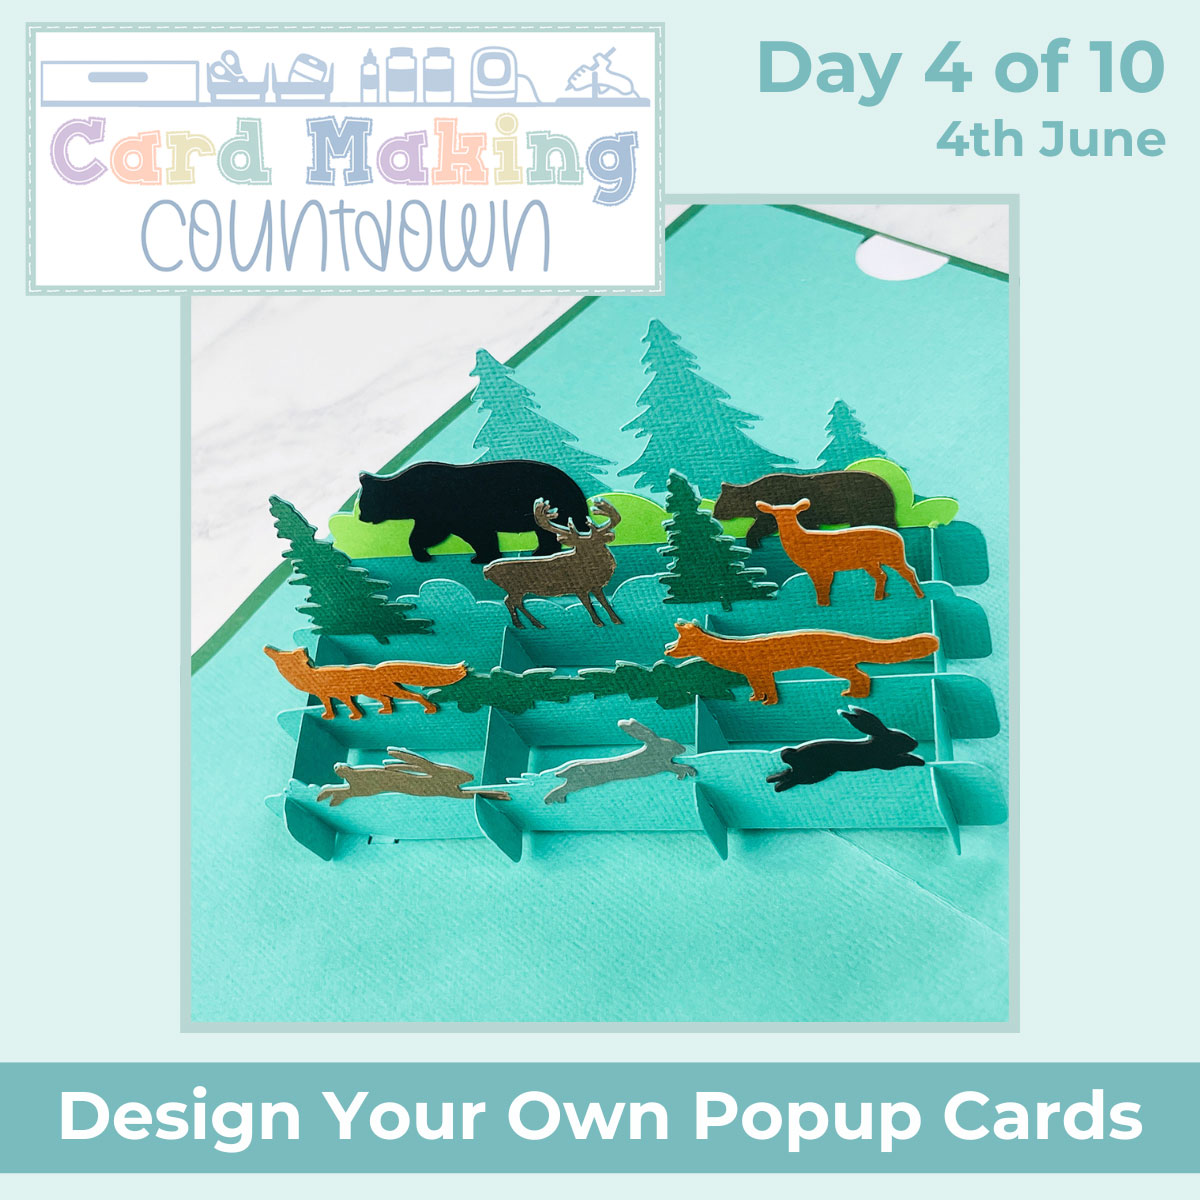
CMC 2024 Day 04 ✂️ Custom Popout Cards
It’s Day 04 of the 2024 Card Making Countdown!
Hello and welcome to Day 4 of the Card Making Countdown, where I’m showing you how to make 10 different types of card with your Cricut machine in 10 days.
I’ve been very excited to show you how you can make your own popout cards!
Over the past few months I’ve been designing and releasing popout card SVGs, like these:
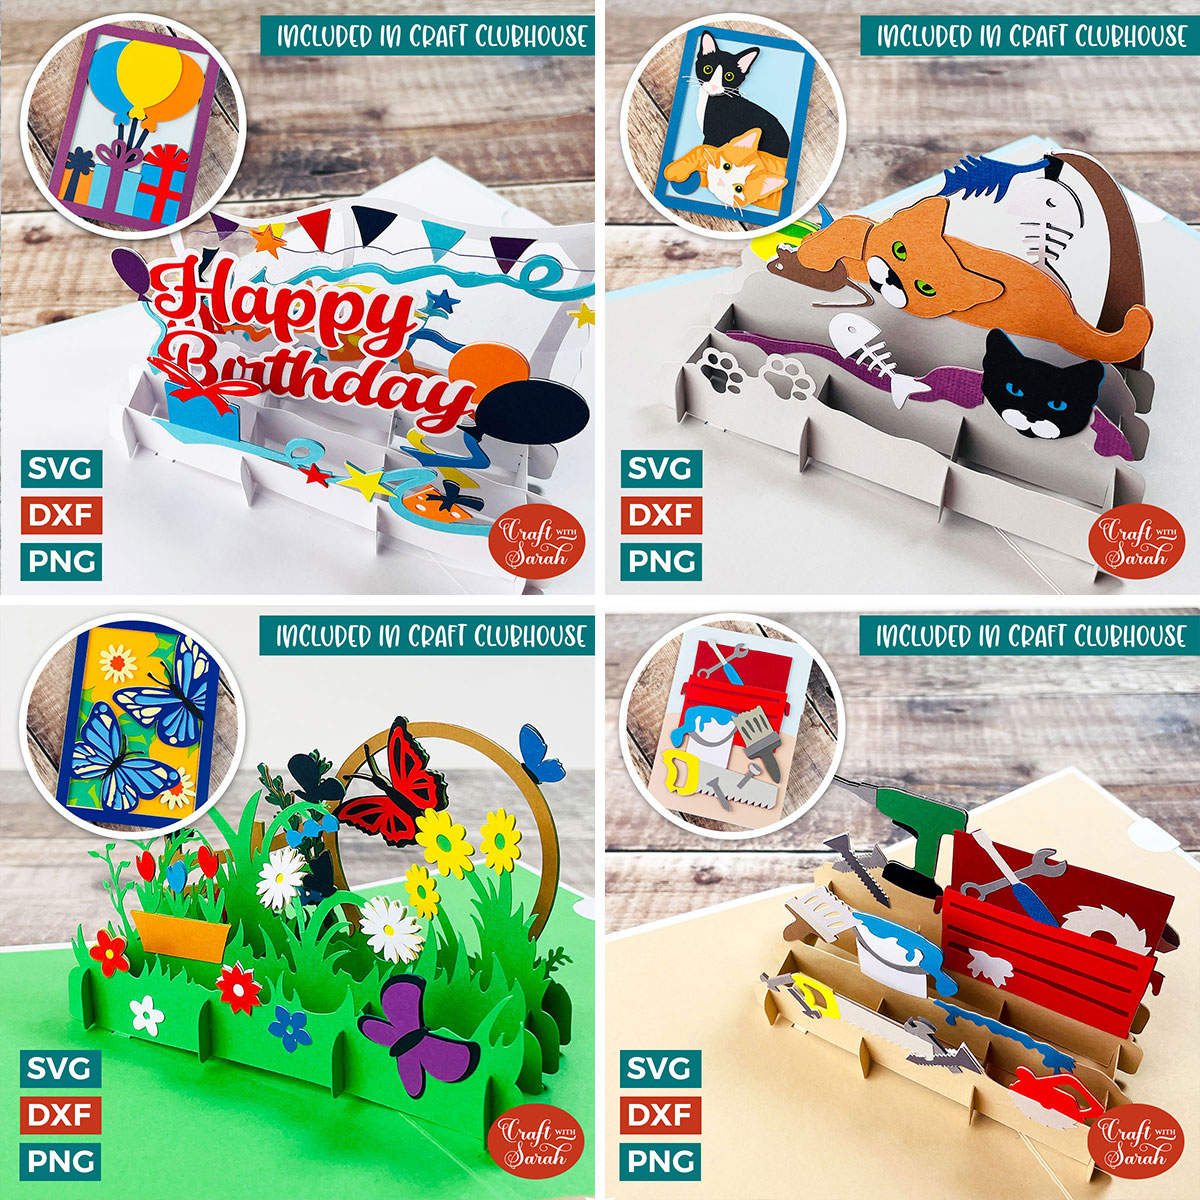
I’ve had lots of requests for different themes so I thought it would be fun to create a template for you so that you can make your very own popout cards for whatever occasion you want.
I’ll take you through all of the steps so that you are confident in making your own.
This might be my favourite tutorial of the whole countdown… although Day 6’s project is a very close contender.
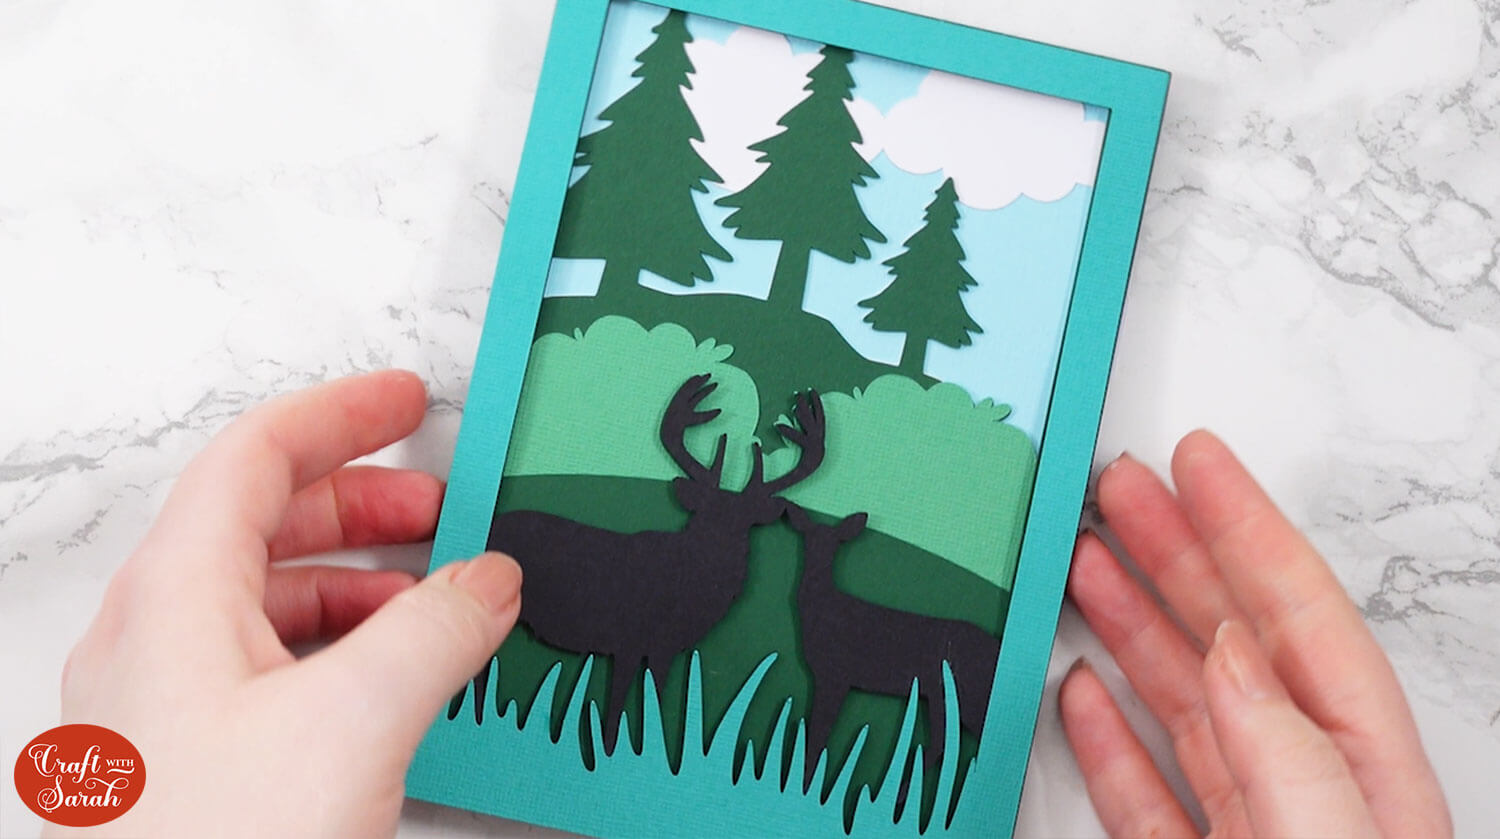
Now you can see why yesterday’s project had to be on designing layered card fronts – you’ll need one to match the inside of your popout card.
This project was part of 2024's Card Making Countdown.
Materials supply list
Here is a list of the materials that are required to make this project.
Please note that some of the links included in this article are affiliate links, which means that if you click through and make a purchase I may receive a commission (at no additional cost to you). You can read my full disclosure at the bottom of the page.
- Cricut machine
- Light blue Cricut cutting mat
- Cricut scoring wheel or scoring stylus
- Cardstock in a range of colours
- Glue or double-side sticky tape (I like Bearly Art Glue and Collall brands of glue)
- Foam pads/squares
- Sticky tape
This project is suitable for the following types of Cricut machine: Explore Air 2, Explore Air 3, Maker, Maker 3 and Joy Xtra. It is too large to be made on the original Cricut Joy.
Foundation learning
If you’re new to crafting with your Cricut, you may find the below links helpful.
They teach some of the skills mentioned throughout this tutorial.
- How to upload SVG files into Design Space
- How to score with a Cricut (even without scoring tools)
- Print then cut tutorial
- Design Space tools (Combine, Attach, Slice, Weld, Flatten, etc.)
- Pattern fill tutorial (for making backgrounds & cutting images to a specific shape/size)
- Free envelope SVGs that can be sized to fit any card
- How to write inside cards with Cricut pens
- How to cut layered designs at a small size
- Design Space tips & tricks
- Cricut pens tutorial
Video tutorial for DIY popout cards
Watch the video below to see how to make custom popout cards with a Cricut machine.
Add images of your choice to the blank popout card template to make custom cards with the WOW factor!
If you prefer to read rather than watch, keep scrolling!
Design your own popout cards
Here’s how to make your very own popout cards with a Cricut machine, using the template from today’s Countdown project.
Step 1) Download the file(s) & upload to Design Space
Download the files using the box below.

Before you upload the files to Design Space, you need to unzip the download folder that they come in.
- How to unzip a folder on Windows computer
- How to unzip a folder on a Mac
- How to unzip a folder on an iPad/iPhone
- How to unzip a folder on an Android device
Upload the SVG file for the blank popout card template into Cricut Design Space.
TIP: Make sure you upload the file which starts svg- in the filename. Not sure how? Here’s how to upload SVG files into Cricut Design Space.

Step 2) Format the template
There are a few different things to change before you can start adding your pictures into the sides of the popup.
To start, click on everything and press the “Ungroup” button at the top of the layers panel to separate out the pieces.
Then, click on the main base card. Look in the layers panel for where this piece is highlighted, and you can see this is a separate group containing a white rectangle and three vertical lines.

Click one of the vertical lines and change it to “Score” in the Operations dropdown.

Repeat this for the other two lines.
Select the group that contains these layers and click “Attach” at the bottom of the layers panel.
Attach is what tells the Cricut to do the score lines on the rectangle underneath.

Format the score line on the large blue rectangle in the same way. Don’t forget to Attach!

The three white shapes along the bottom of the file will make up the hidden message panel contained within the card.
The four small blue shapes (panels) in the image above are the “joining” pieces for the popup mechanism.
The larger blue shapes with the yellow boxes on them are the parts we will be added images to.
The yellow boxes signify guidelines. You need to make sure that none of the pictures you add go outside of that yellow space, otherwise it’s not going to fit in the card when it’s closed up.
The lightest blue panel is the one that will be at the front of the card; the darkest will be at the back.

The front and back panels will have score lines along the little tabs that come out of the bottom, but these will get formatted at the end of the project once all the images have been added.
Step 3) Design your popout card
The first thing to do is to decide on a theme for the card. I’m going to do a woodland theme to match the layered card design that I created for yesterday’s Card Making Countdown project.
The four panels are all different colors of blue at the moment to show the progression from the front of the card to the back, but you can change them to whatever colours you want.
I usually cut them all in the same colour as the card that they will be threaded into, to help blend the mechanism into the card.
You can also tell the order that the pieces go in due to the size of the yellow squares.
The piece at the very front is the smallest because we want to be able to see the other layers behind it which is why they get bigger.
Let’s start choosing some pictures. It’s up to you if you work from the back to the front, or the front to the back.
Just remember when you’re adding the pictures that you do want to be able to see what’s going on behind it.
Go into images and search for some pictures that would go with your theme.
Keep a look out for simple, thick images as they will be easier to cut from cardstock. Single colour images are best as the more colours there are, the more layers you will be cutting from cardstock which will be harder to stick together.
You can select a range of different images and then decide what will look best later on when they are on your canvas.

It does take a little bit of practice to get the images and the scenes built up but the more you do it the easier it will get.
Start positioning your images to get an idea of how you might want it to look. You may have to go back and forth between positioning your images and finding more suitable pictures in Cricut Access.
Don’t worry about the colours at this point, just focus on getting the images in place.

Silhouettes are the best kind of images. You can click an image, press “Contour” and “Hide All Contours” to turn it into a silhouette.
When you’ve roughly got your images in place you can start paying more attention to the backgrounds.
TIP: Don’t forget to save your project every few minutes!
Build up your scenes a little better by zooming in. Make sure nothing goes outside of the edge of the yellow boxes.

To see how the background image will look on the panels, select the panel and the images and press “Combine > Unite” to join them together.

We’ve only United it rather than “Weld”, which means if you can still move things about to change the placement.
You might want to change the colours of the tab pieces as you Unite them too.
Move your images around until you’re happy with all the positioning.
Now is the time to focus on changing the colours of the images to make them all match.
Check you’re happy with them all in front of each other by changing the yellow boxes to a guide in the layers panel.

This will change them from yellow to a pink outline with a transparent middle.
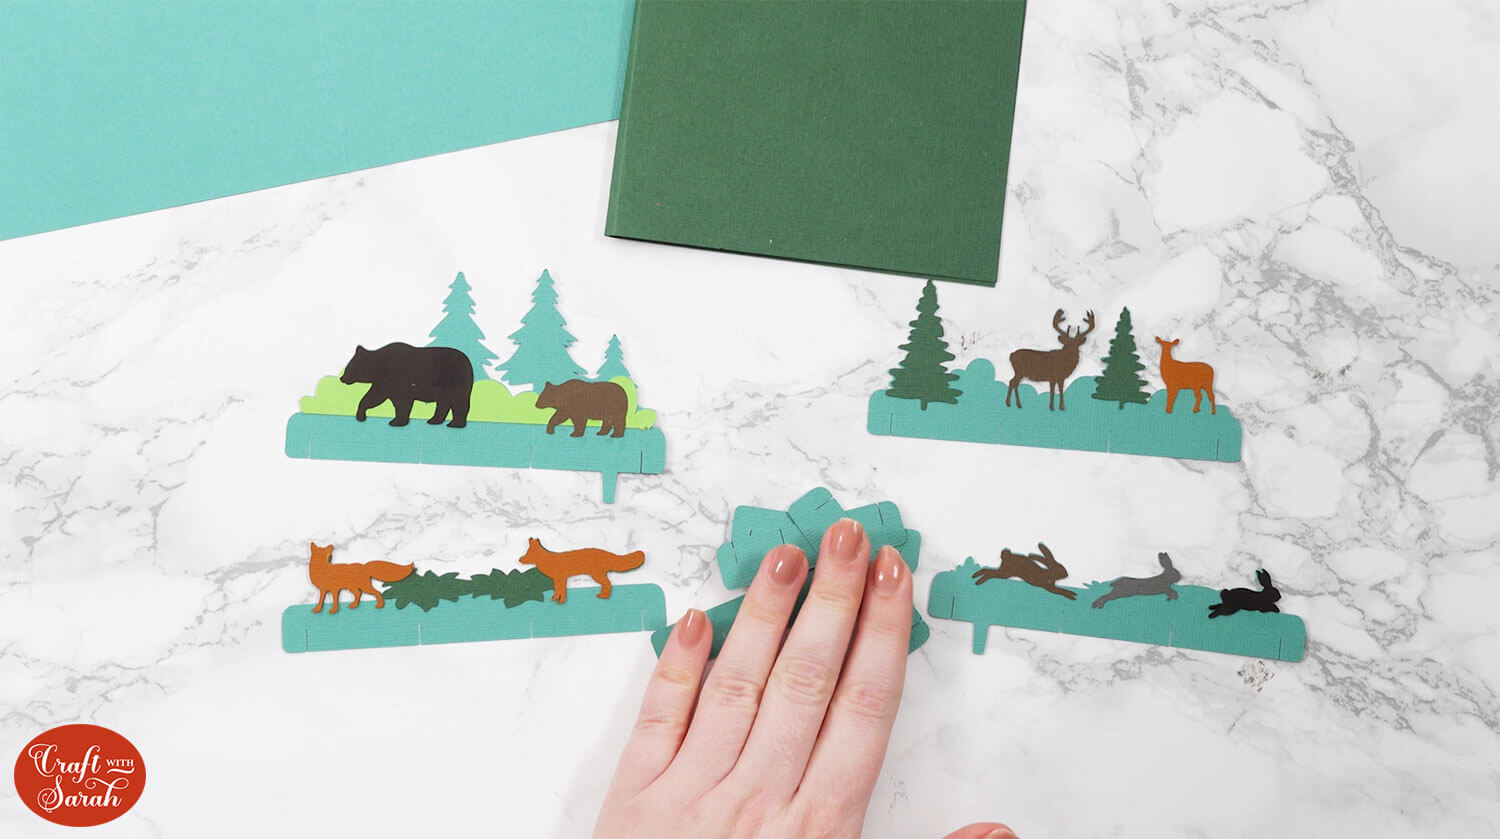
Group each of the little scenes individually. Make sure you don’t miss the little score lines which you can’t see – they are on the tabs.
Then line them up using the bottom so that you can see how it would look when they are lined up in the card.
As you can see here, I haven’t done a particularly good job of lining them up as there are bits that you can’t really see. I’ll need to move some of the images about to improve the look.

I moved my foxes and bears around as you couldn’t quite see my foxes well enough.

If you have empty spaces you might decide you want to fill them, or you might not – it’s completely up to you.
Once you’re happy with how everything is looking you can delete the guide layers (previously the yellow boxes) as you won’t be needing them any more.
You might want to change the colours of the other pieces of your card too so that they match in with your theme. Make sure you keep the message panel nice and light in colour so that you can read whatever you choose to write on it.

Save your work again and call it “Version 2” so that it saves a copy. That way, you can come back to this stage at any point by opening the original saved project.
Step 4) Create the panel shapes
Now we need to add the shape of all of the images onto the base panels, so that we’ve got something to stick them to.
You can see if I move the bears and the bush, you can see that at the moment I wouldn’t easily be able to glue these on, as there is nothing behind them on the panel to glue them to.

Select the images from one of the panels and duplicate them in place by holding the ALT key and clicking with your mouse.
This makes a copy of the layers in the exact same place.
Hide the duplicate images in the layers panel.

Select the original images and the panel and select “Combine > Weld” to join them into one.
IMPORTANT – Make sure you do not Weld the small horizontal score lines on the smallest and largest panels. Keep those as separate layers.

You might end up with a few tiny gaps in this piece. If so, go “Contour” and click into the small gaps to fill them in.
Now you can turn the hidden images back on and move your Welded layer behind them.

If you’re working on the front or back panel, change the horizontal line layer to “Score”, move it above the panel shape so you can see it, then “Attach” it to the panel shape.
Change the line to a score line (this is for the tab) and I’ll go arrange, bring to front so I can see it there it is and then select your base and that score line and attach.
Group the finished panel.

Repeat the same steps for the other three panels.
You might find when you Weld, it changes it to the wrong colour, in which case just switch it back to the one you wanted to be.

Once you have finished all the panels, click the “Color Sync” button on the top-right of the screen to separate out all the layers by colour.

It’s worth looking down the colours to check that you don’t have two colours that are similar shades that could be cut from the same sheet of card.
Drag-and-drop layers into another colour to change them.
Also change the card base colours to match, and the four smaller tabs.

Here’s my card ready to cut. I saved it again with a different filename, so that I know this is the one to select in the future if I want to cut it again.

You will also need to create a 5×7 inch card front, using the tutorial from yesterday’s Card Making Countdown project.
Step 5) Cut and assemble the popout mechanism
Click “Make” and follow the on-screen instructions to get everything cut and scored with your Cricut.
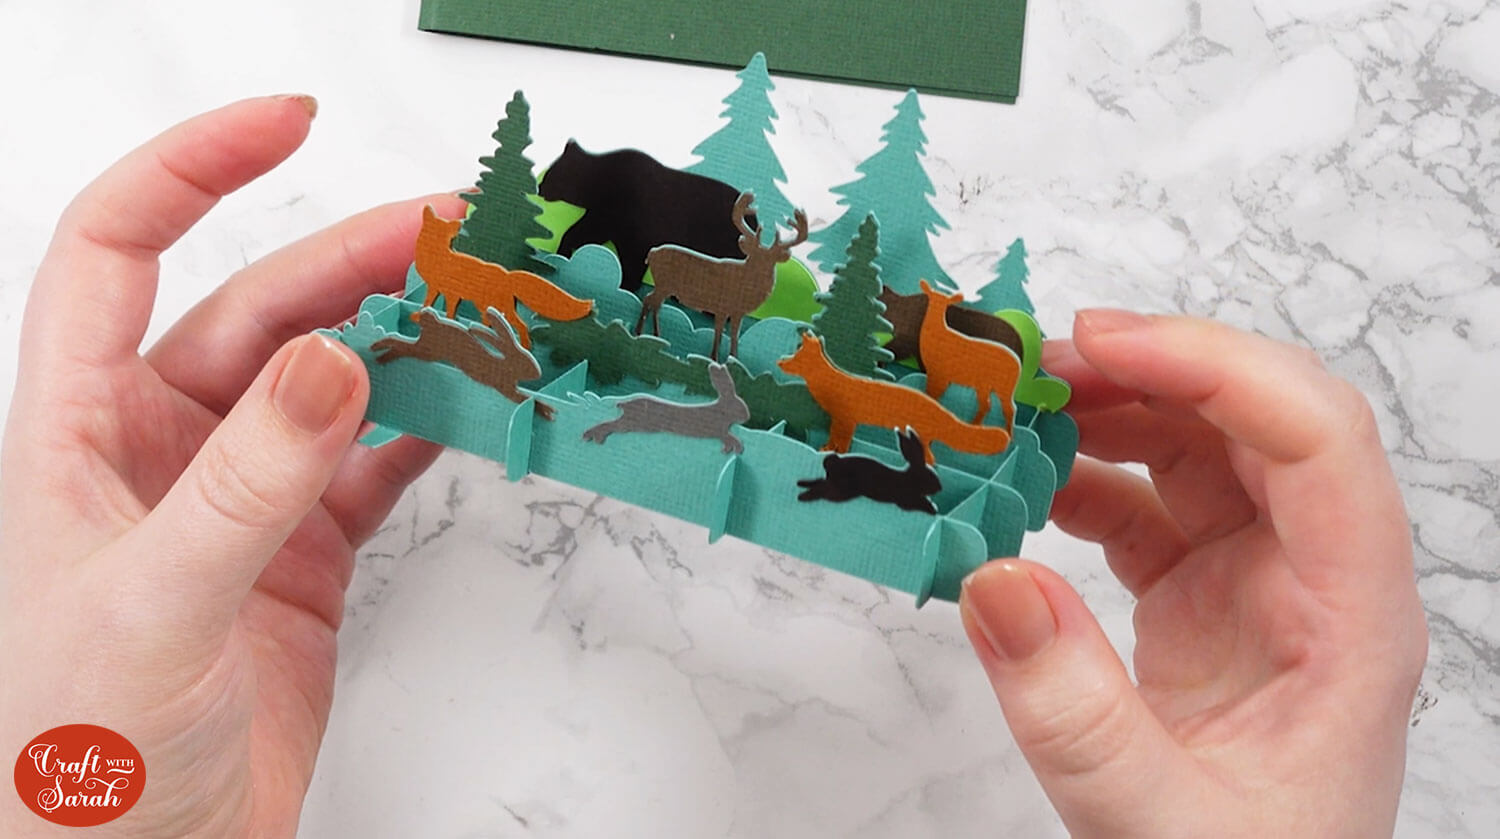
Then, glue all the small images onto the corresponding panels.
Line up the panels and make sure you have them the correct way around. Your very back layer, the biggest one, should have the tab on the right side. The front layer, which is the smallest one, should have the tab on the left.
It’s important that they are the correct way around otherwise the card won’t go together properly.
Now we can start to assemble the popout mechanism.
This is the basic structure that we will be creating. You can see it’s a simple 4×4 grid which opens and closes with the card.

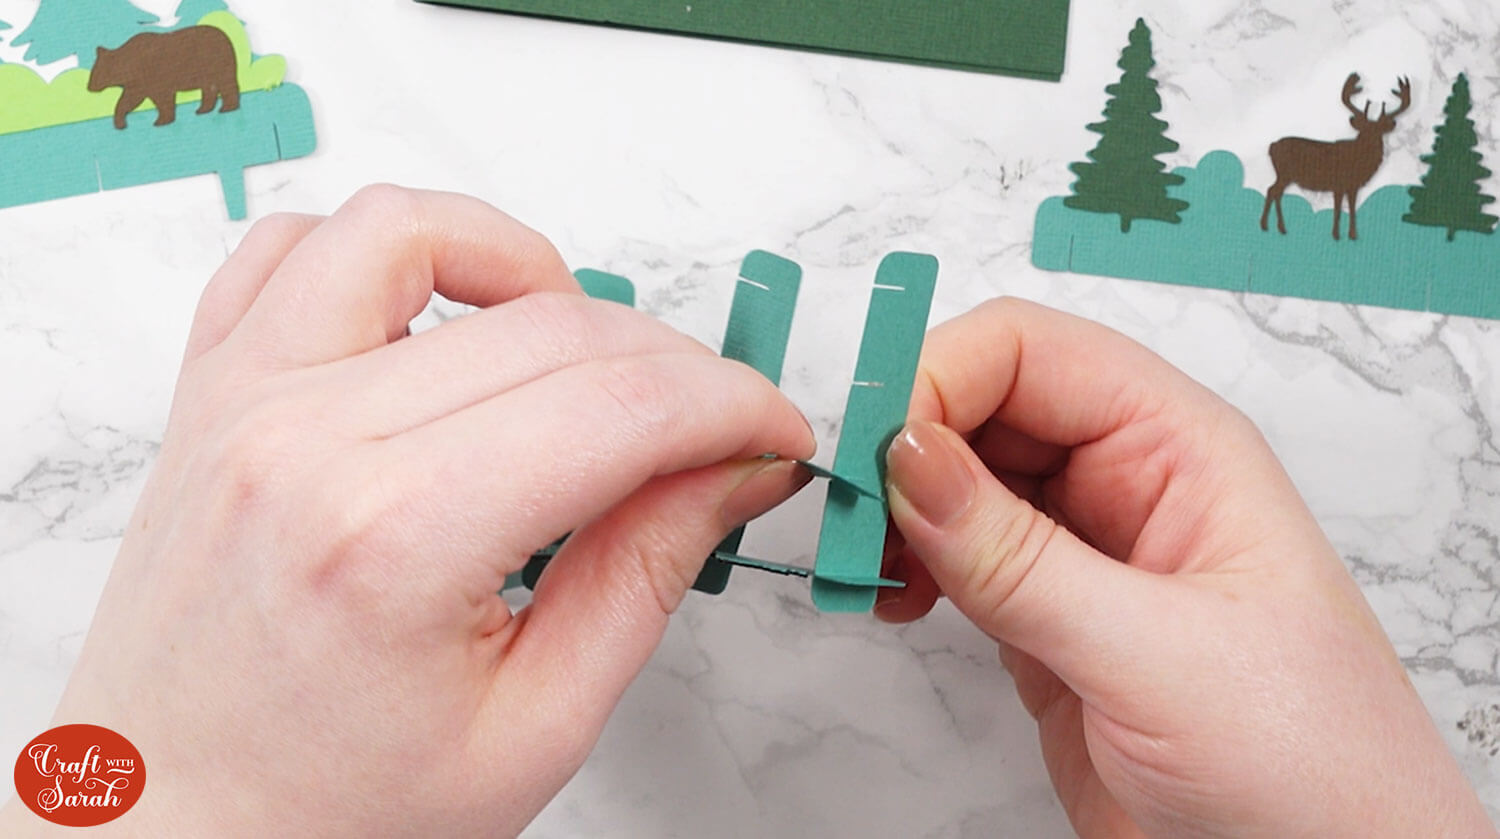
Take the front panel and fold the score line on the tab upwards towards you.

Take one of the smaller side pieces and slide it into the first hole of your main panel.

Add in the other three smaller side pieces.

Thread the next main panel into the seconds slits in the side pieces.
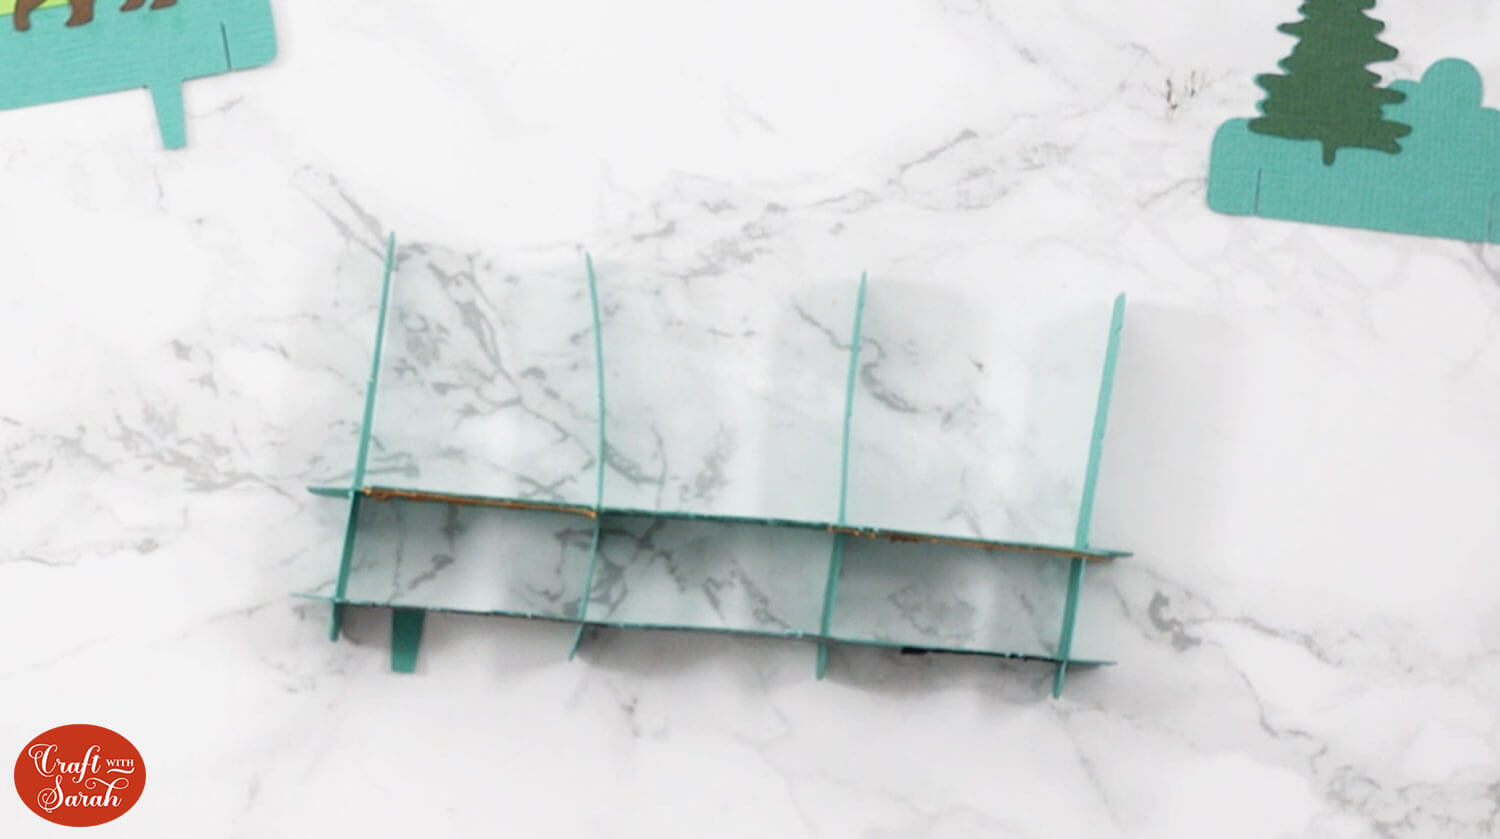
Do the same for the third panel. Make sure everything sits flush along the bottom.

Finally, select Piece 4 and make sure the tab is on the RIGHT. Fold the score line back behind itself (away from you). Then you can slot it into the last row.
Give the popout effect a try by gently closing up the grid. It should fold in on itself to become flat.

Step 6) Finish making the popout card
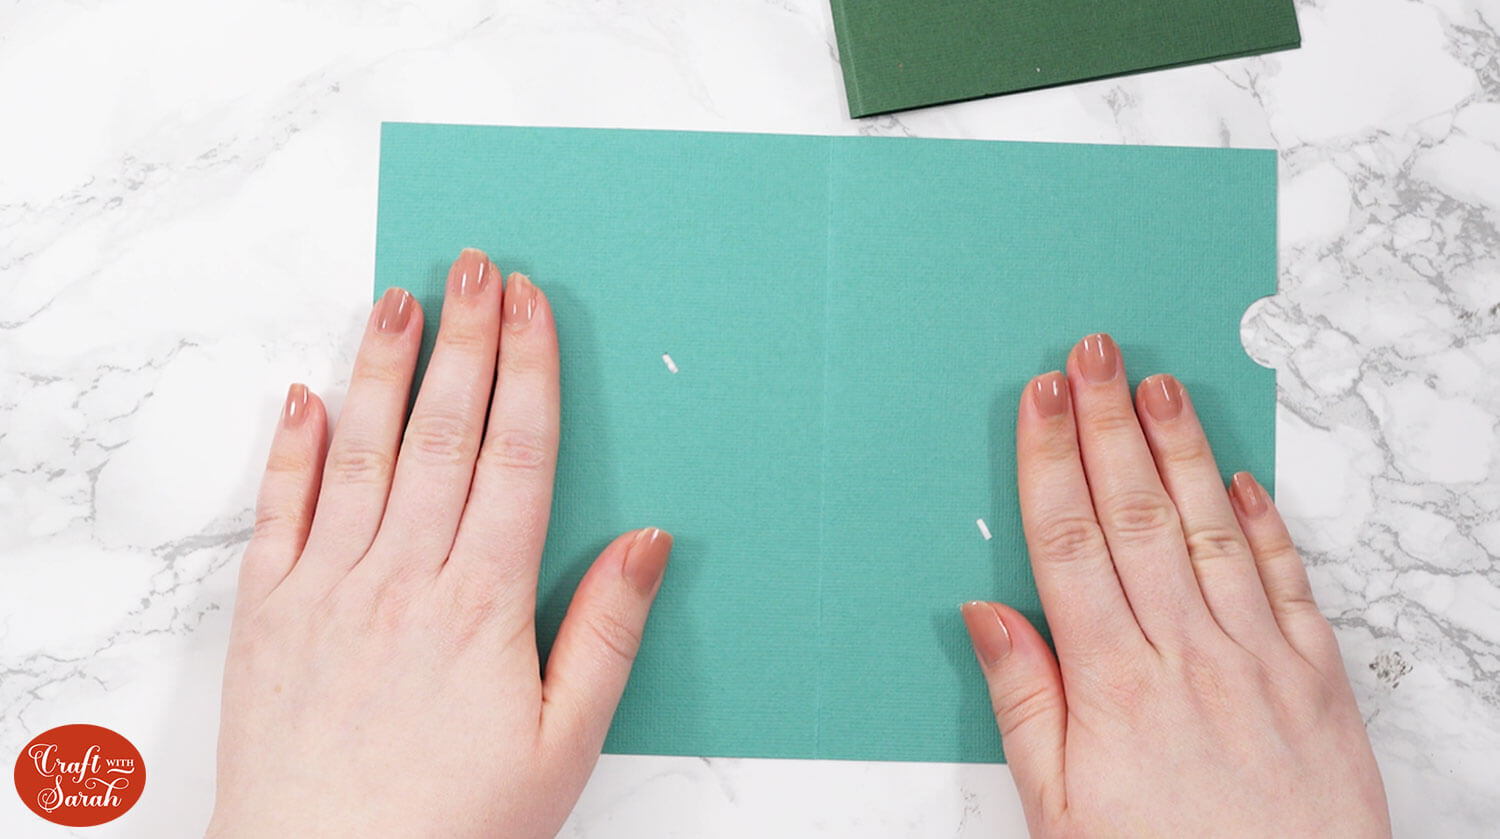
Take the base card that has ONE score line and fold it down the middle. Place it on your work surface so that the cut out for the hidden message panel is on the right.
You will see the two cut outs which are where the tabs on the popout mechanism will go through.
Take the popout mechanism and position it so that the top cut out on the left side is where the tab on your front panel (the smallest one) will go through.
The other cut out which is lower down on the right side will be for your back panel (the largest one).
Carefully slide the front tab in the corresponding hole and secure it on the other side using tape. The tab should be pointing in a bottom-right direction.
It is important to get these the right way around so that the popout mechanism works.


Do the same for the back tab and secure it using sticky tape. Make sure this tab is pointing in a top-left direction.


Now your popout should be secure!
Next, select the message panel and glue the border piece on top of the white rectangle.

Place the pull out section inside. Glue around the edge piece but do not glue the message tab itself.

Stick it to the back of the card, to line up with the semi-circle cutout.

Take the main card base piece which has three score lines in the middle. Fold the middle scoreline and then the other two so that it looks like this.

Add glue to the back of the card that’s holding your popup, but only on one side.
Place it inside the main base card and line it up along the score lines.
Make sure it is central.

Close the card up and press it together so that the glue sticks.
Open the card up and add glue to the other side.

Close the card to stick together, then open it up to check it’s all central. You might need to wiggle the inner piece around a bit.
There will be a little gap where we did the 3 fold lines, that’s how it’s supposed to be and then it folds wonderfully flat for posting.

Make and assemble a 5×7 inch design to go on the front of the card.
Stick it to the front.
And you’re done!
How to make popout card with a Cricut
I hope you enjoyed this tutorial on how to design your own popout cards using the template from today’s Card Making Countdown project.
I love how these types of card make such a beautiful surprise for whoever opens it!

Don’t forget to check back tomorrow for the next Card Making Countdown project.
Happy crafting,
Sarah x